Happy Friday everyone! We started sleep training Alice this week out of sheer desperate need to regain a good night’s sleep. Please send happy thoughts that it clicks soon! Luckily I have a husband that knows how to mix a stiff drink – I have a feeling we’ll need a couple this weekend. But in the meantime…

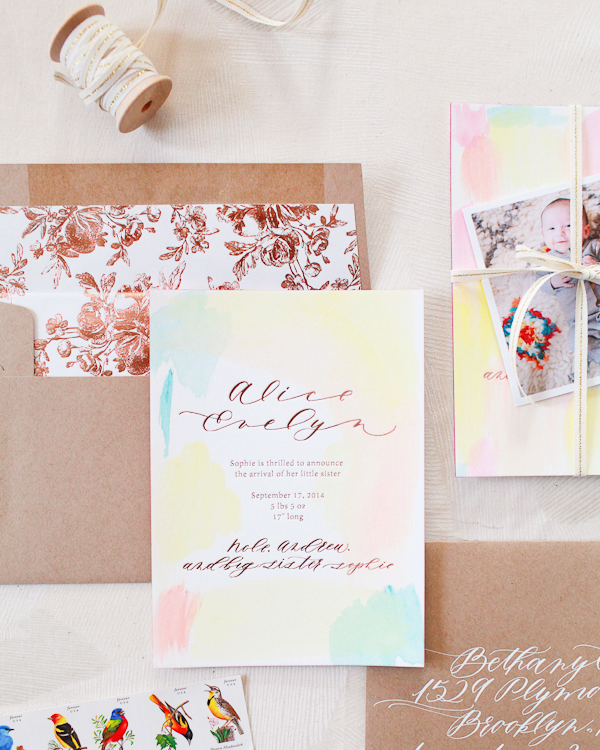
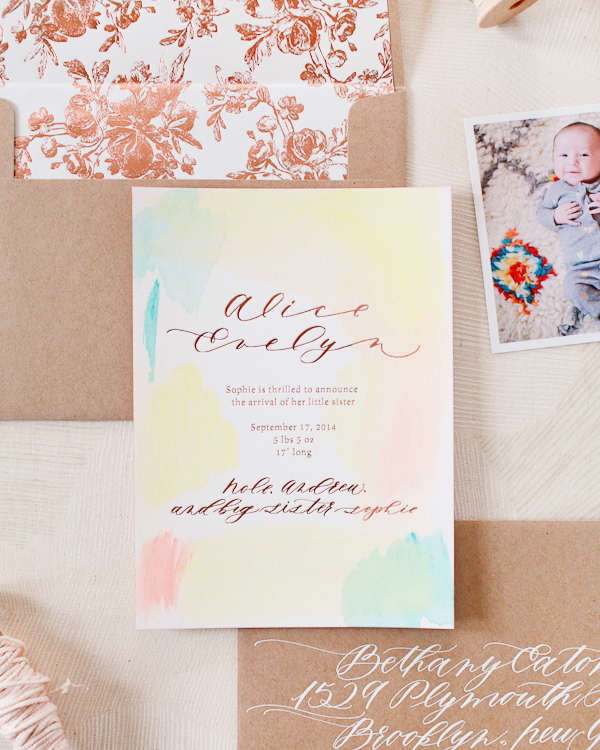
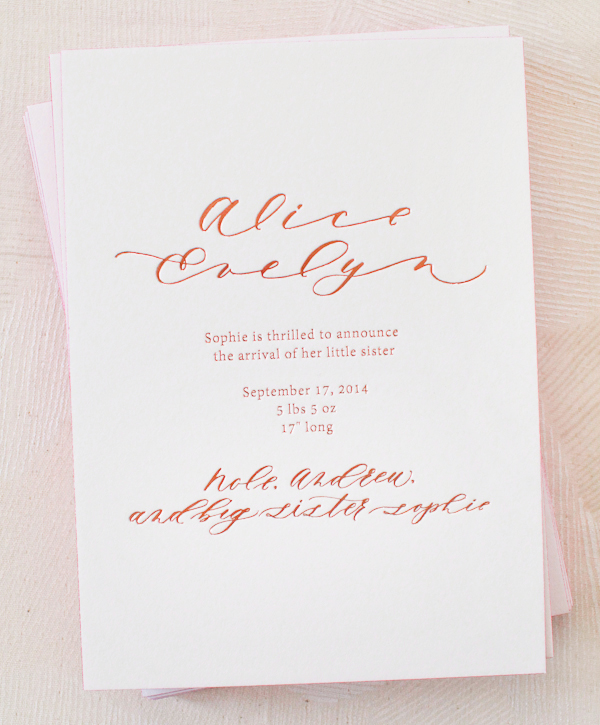
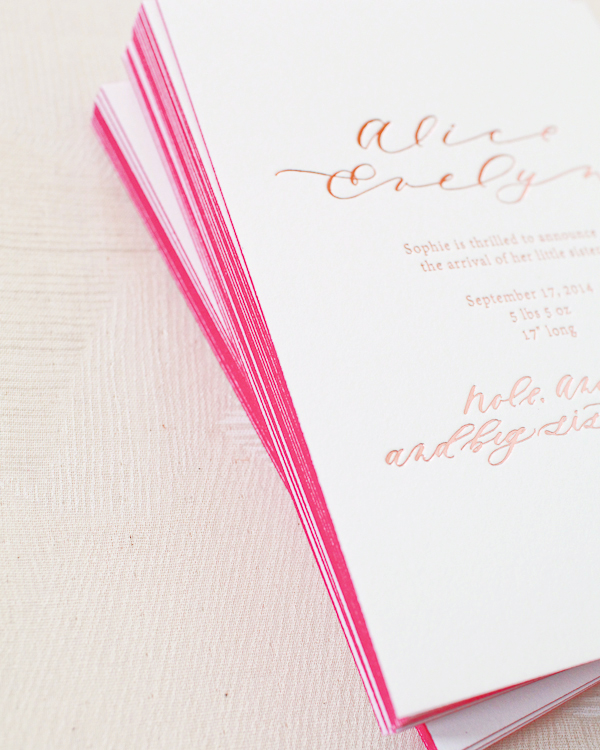
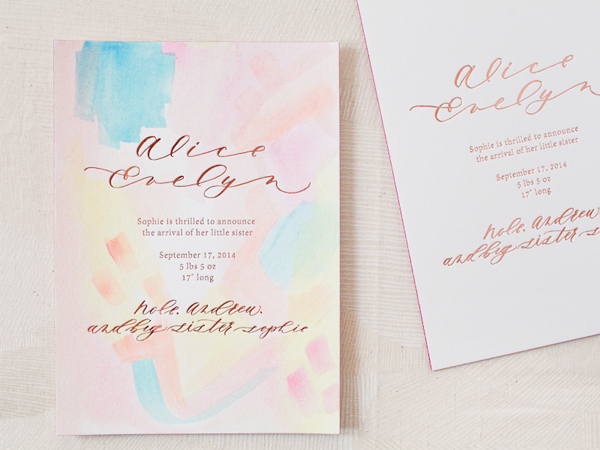
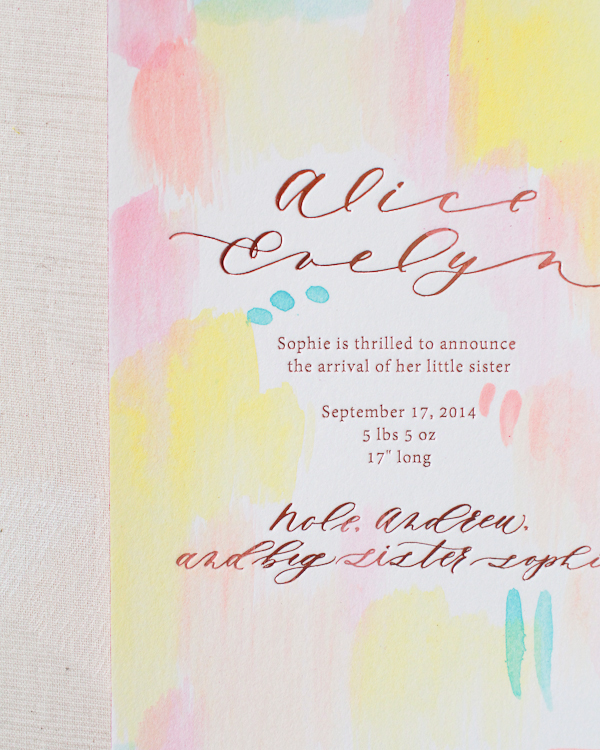
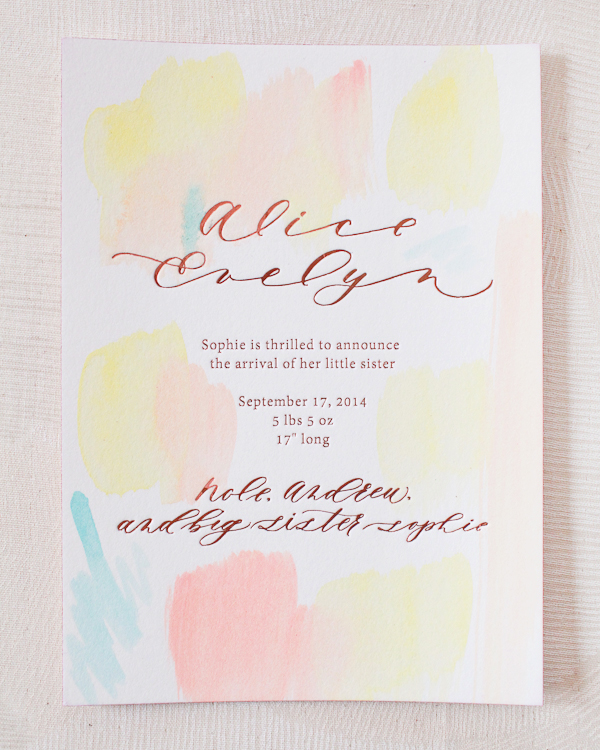
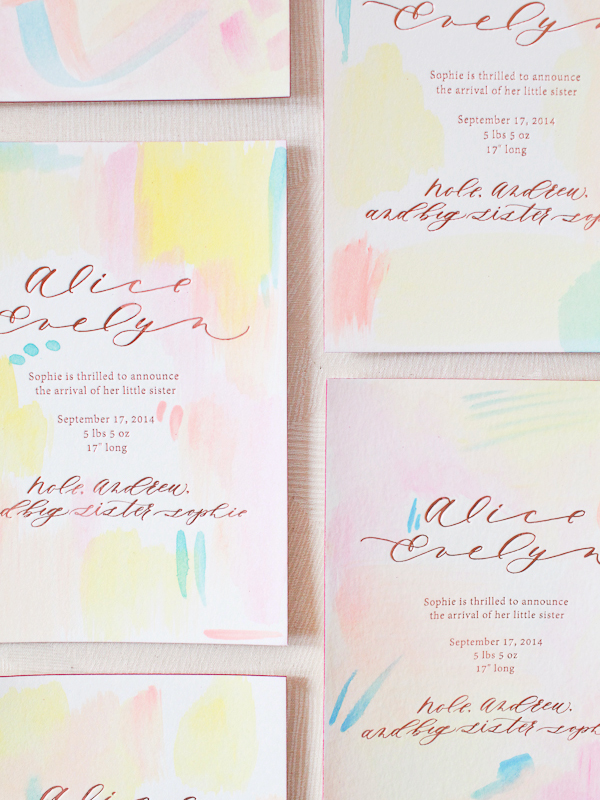
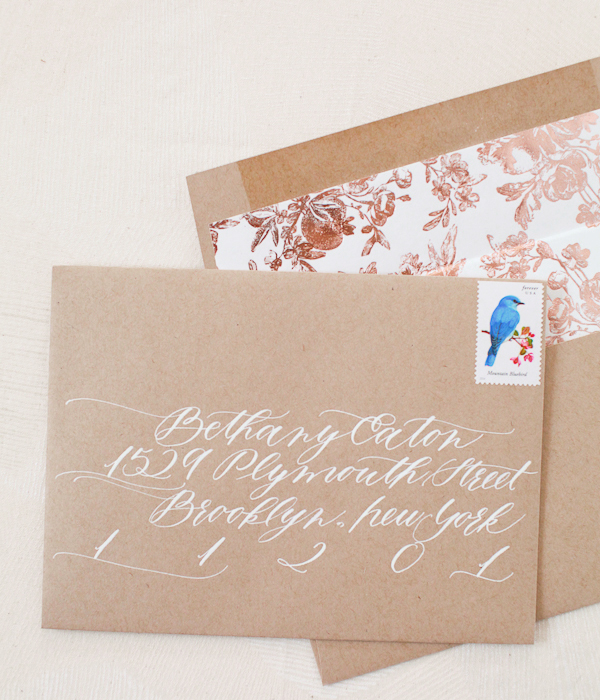
Image by Hardink Calligraphy via Instagram
a few links for your weekend!
- Amazing color-blended calligraphy (and upcoming classes for those of you in the SLC area!)
- These paper scrap necklaces are so great!
- Pretty paper crowns for St. Patrick’s Day
- Understanding the changes to your Pinterest feed
- LOVE the new Kate Spade kids collection!
This week on Oh So Beautiful Paper:
- Pretty new desktop + phone wallpapers for March!
- Gorgeous leather and gold foil passport save the dates
- Hand lettered gold and white wedding invitations
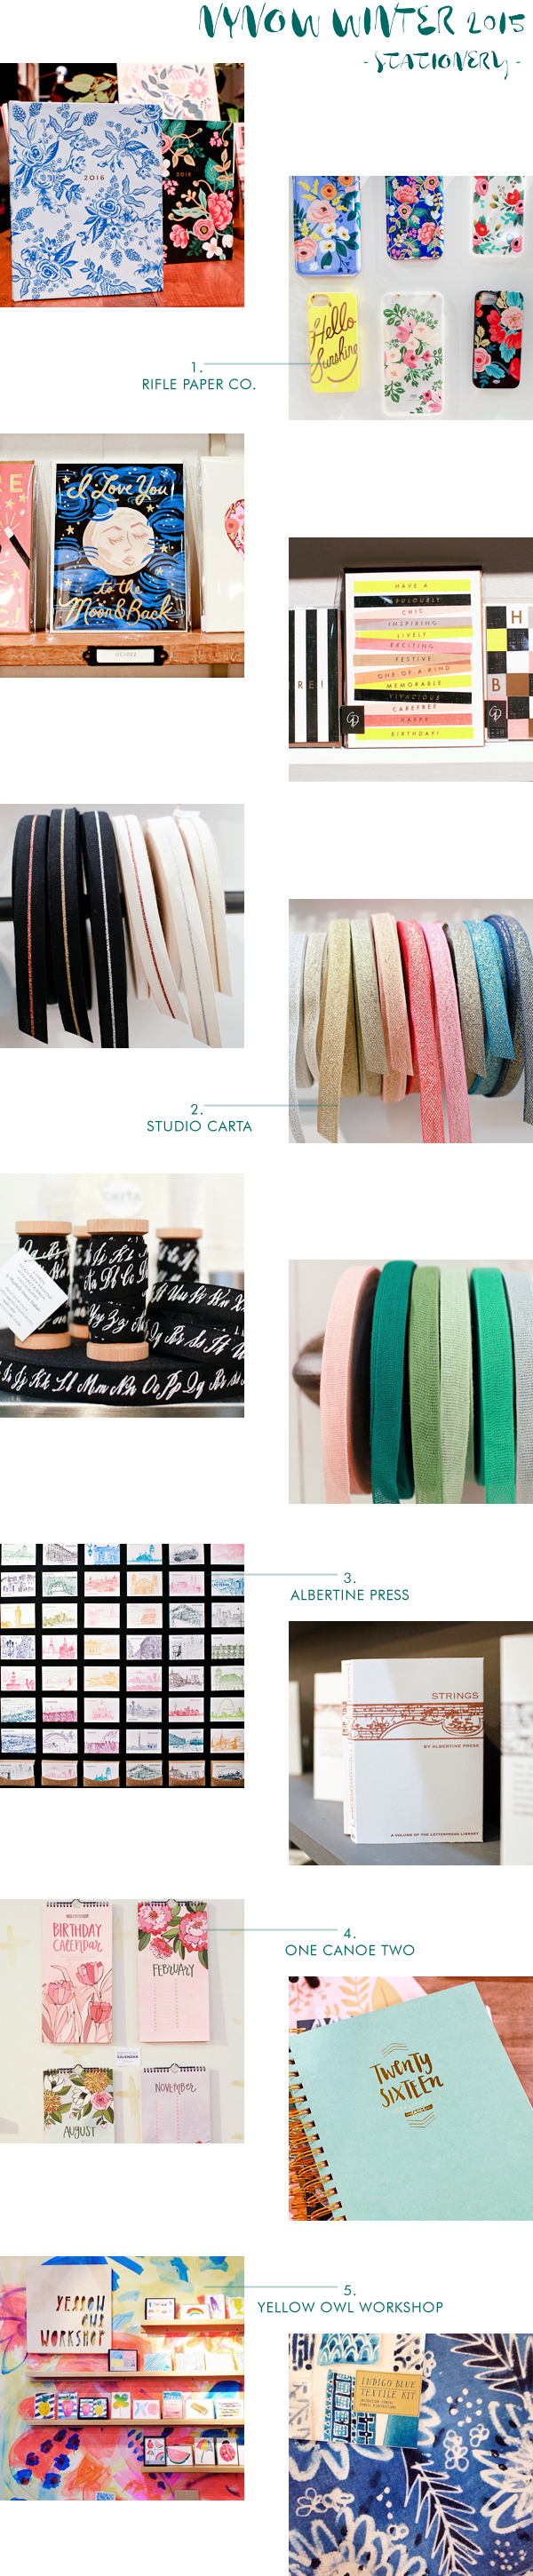
- My final posts from the NYNOW Winter Market: Part 6 (Tattly, Three Potato Four, and Hester & Cook), Part 7 (Ban.do, Kate Spade, and Maika), and Part 8 (the adorable Meri Meri booth)
- A Pot of Gold party for St. Patrick’s Day
- DIY wedding table runner ideas!
- Well Said Type: Emily in White
- A dose of spring in paper flower form: Icelandic Poppies
- Illustrated tea towel wedding invitations
- Burlap and wax seal invitations for a destination wedding in Greece
- Pretty new cards from Happy Cactus Designs
Check back this afternoon for this week’s cocktail recipe! Have a wonderful weekend, and I’ll see you back here on Monday! xoxo


 Step Three: Punch a hole in the right-hand corner of each heart tag.
