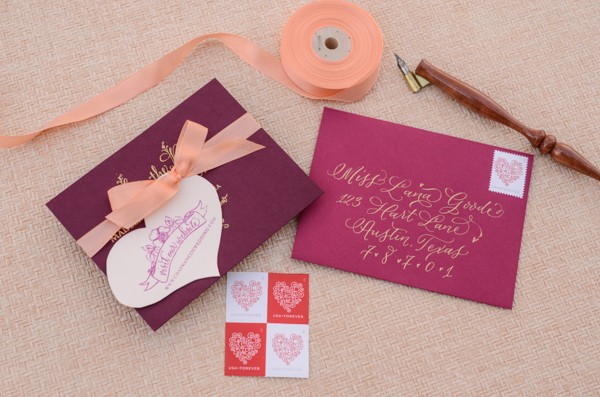
We’ve definitely been in the Valentine’s Day spirit over the past few weeks! We’ve been busy sending out cards and decorating our studios with hearts and shades of pink and red. We just love the way that all of the shades of red, magenta, and purple played together and thought that they would make a stunning save the date design. Our tutorial today incorporates tonal papers, a touch of gold and a love theme for a beautiful but not over the top cutesy design – perfect for any time of year! –Bailey and Emma of Antiquaria
Materials
Floral Calligraphy Save the Date Stamp
Floral Banner Website Card Stamp
8.5″ x 11″ Cardstock (for web cards) in Old Lace
Pencil & Eraser
Scissors
Hole Punch
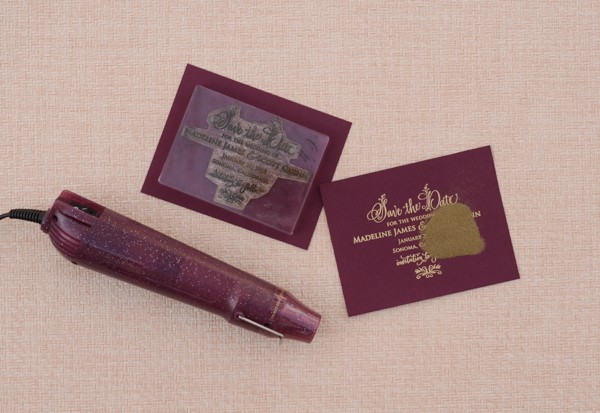
Step One: To start, you will emboss the save the date card (we used our Floral Calligraphy Save the Date stamp) in gold.  Simply stamp your save the date design in the center of your A2 card (either in matching ink or with Versamark glue ink, as pictured), dust the powder over it, tap off the excess, and heat set the print. For more information about how to emboss using stamps, please watch this instructional video.
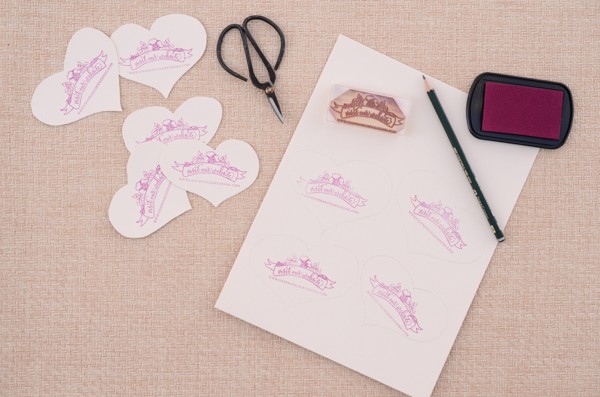
Step Two: These days, wedding websites are almost a requirement to manage wedding logistics and pass along event information. More often than not, our clients ask to include their web address on their save the dates or invitations. For this save the date, we decided that instead of having a standard rectangular tag, we’d mix it up and cut out cute heart shaped tags! It really is super simple! Just stamp your web card stamp (we used our Floral Banner Web-card stamp) on a sheet of 8.5″ x 11″ card stock, spacing each printing out so that there is room around each design (we got 6 out of one sheet). With a pencil, freehand heart shapes around the design and cut out the cards. Erase any stray pencils lines that remain after cutting. Questions about using stamps? Please watch this video for more information.
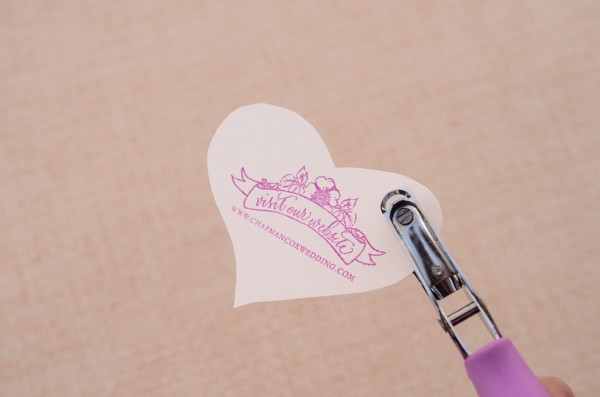 Step Three: Punch a hole in the right-hand corner of each heart tag.
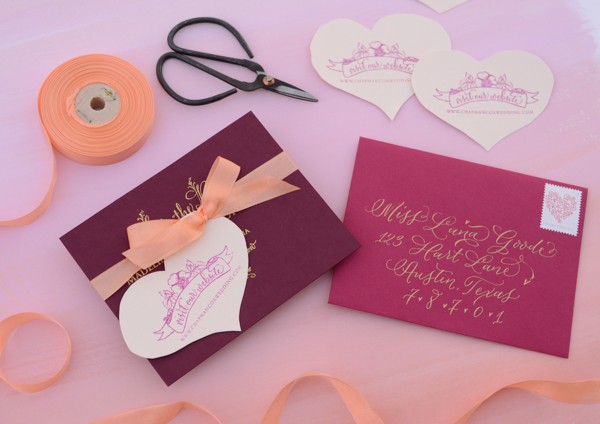
Step Four: Now that all of your individual pieces are complete, you’re ready for the final touches. Tie your heart tag onto the save the date with peach tailors ribbon or another tonal shade. Address your your save the dates in a matching gold ink (either calligraphy ink or gold gel pen) and apply postage to them. We LOVE the new forever heart postage from USPS and think it ties in beautifully with the tonal heart design!
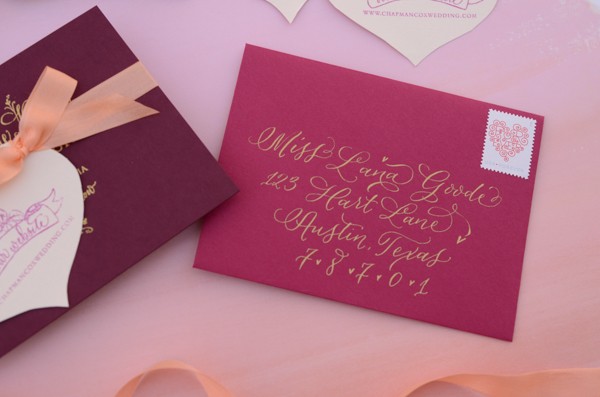
Photography by Antiquaria for Oh So Beautiful Paper

Wow that’s the nice one for which I am looking for. I have choose the watercolor wedding theme and invitation as well to invite the guests into my wedding ceremony. And I like the Save Date Cards as well and specially its fonts and creativity. Thank You