Best of 2013: Cocktails

It’s Friday – which means time for an end of the week Happy Hour! We’ve had so much fun coming up with cocktail recipes to share with you every week, from seasonally-inspired recipes to classic cocktails that you can enjoy year round. Here are a few of our favorite recipes from 2013!

OSBP-Cocktail-Recipe-The-Love-Letter

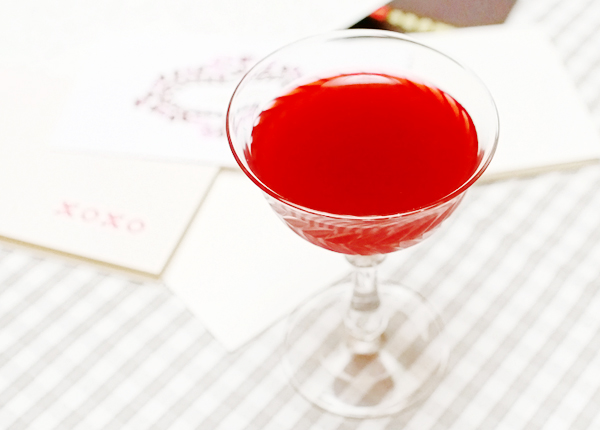
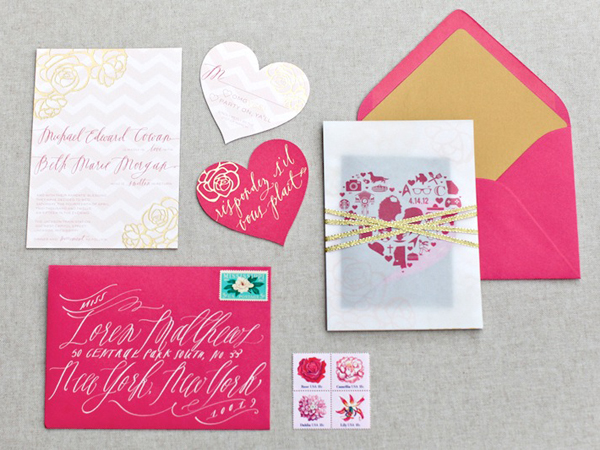
The Love Letter with Hibiscus-Infused Gin, Lemon Juice, and Grenadine

OSBP-Cocktail-Recipe-Pisco-Punch

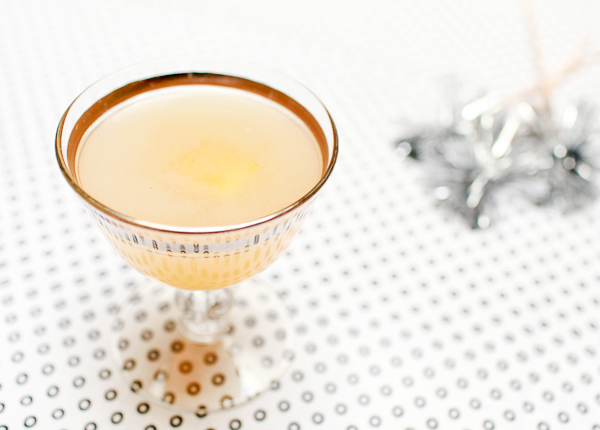
Pisco Punch with Pisco, Lime Juice, and Pineapple-Infused Simple Syrup

OSBP-Signature-Cocktail-Recipe-Peach-Margarita

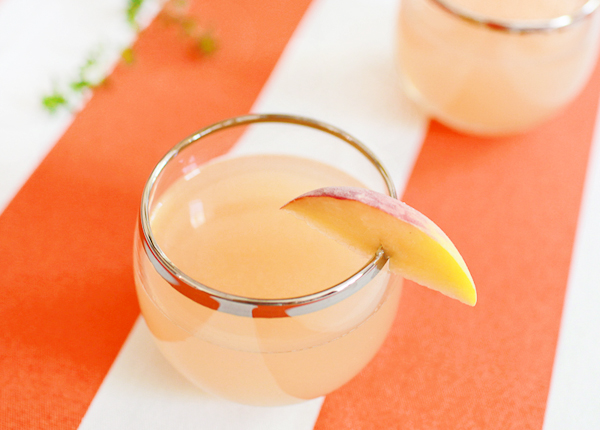
Peach Margarita with Tequila, Peach Liqueur, Lemon and Lime Juice, and Simple Syrup

OSBP-Signature-Cocktail-Recipe-Sunset-Mai-Tai

Sunset Mai Tai with Rum, Lime Juice, Triple Sec, Velvet Falernum, Orgeat Syrup, Grenadine, Angostura Bitters, and Mint

OSBP-Signature-Cocktail-Recipe-Summer-Rose

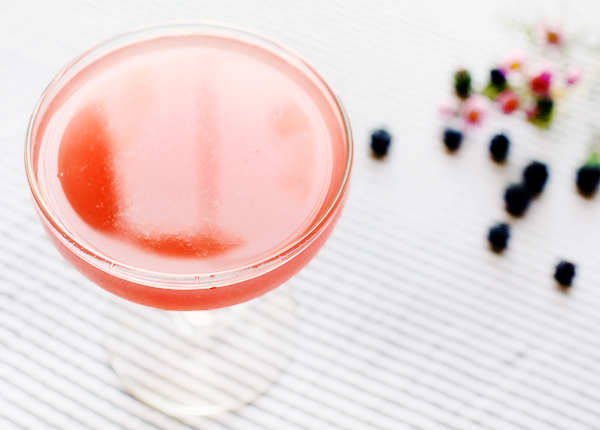
The Summer Rose with Gin, Lemon Juice, Lavender Simple Syrup, and Blueberries

OSBP-Signature-Cocktail-Recipe-Mai-Pen-Rai

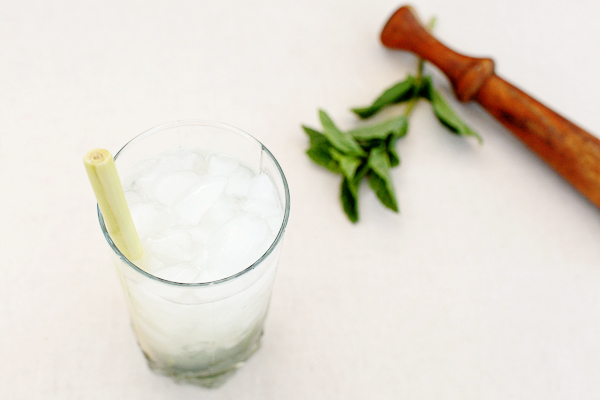
The Mai Pen Rai with Batavia Arrak, St-Germain, Lemongrass Simple Syrup, Mint, and Soda Water

OSBP-Signature-Cocktail-Recipe-Left-Bank-Cider

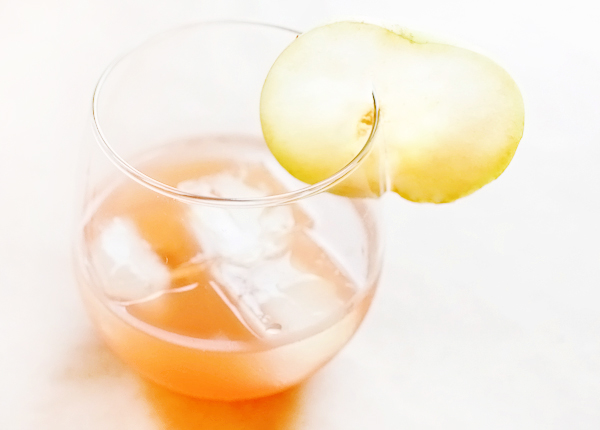
Left Bank Cider with Dry Sherry, White Port, St-Germain, Apple Cider, and Lemon Juice

OSBP-Signature-Cocktail-Recipe-Raised-in-a-Red-Barn

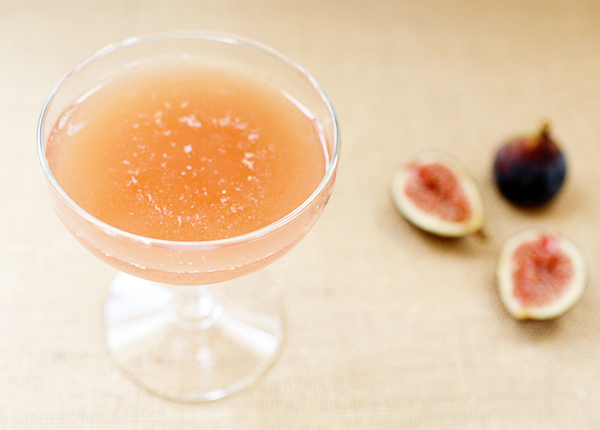
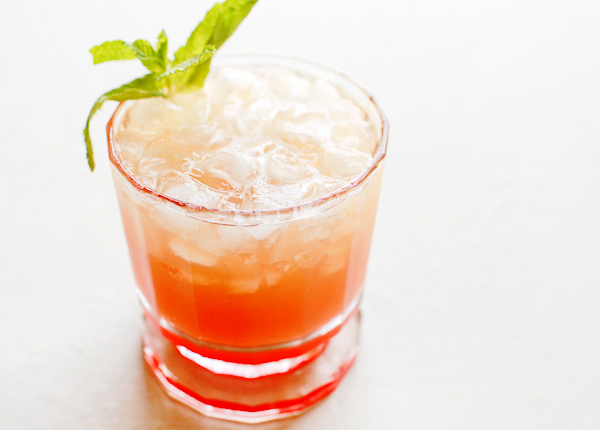
Raised in a Red Barn with Bourbon, Sweet Vermouth, Lemon Juice, and Figs

OSBP-Signature-Cocktail-Recipe-Winter-Cobbler

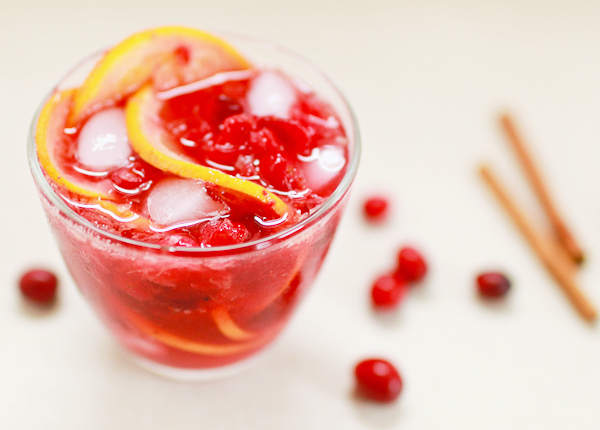
Winter Cobbler with Bourbon, Dry Sherry, Cranberries, and Citrus

More cocktail recipes right here!

Best of 2013: Wedding Invitations

Another year is coming to a close – so in keeping with my annual tradition, it’s time to recap some of my favorite posts from the year that was. And today I’m starting with some of my very favorite wedding invitations from 2013!

Travel-Inspired-Wedding-Invitations-Ruby-the-Fox2

Charles + Sara’s Travel-Inspired Calligraphy Wedding Invitations by Ruby the Fox and Molly Jacques

Orange-Teal-Chevron-Stripe-Fabric-Pocket-Wedding-Invitation8

Janine + Craig’s Modern Fabric Pocket Wedding Invitations by Janine Rae Design and Boxcar Press

Pink-Gold-Foil-Heart-Wedding-Invitations-August-Blume

Michael + Beth’s Modern Pink and Gold Foil Wedding Invitations by August Blume

Orange-Blue-Letterpress-Overprint-Wedding-Invitations-Studio-SloMo

Audrey + Erik’s Gingham Overprint Wedding Invitations by Studio SloMo

Brooklyn-Wedding-Invitations-Swiss-Cottage-Design2

Courtney + Paul’s Brooklyn Wedding Invitations by Swiss Cottage Designs

Arizona-Desert-Sunset-Wedding-Invitations-Lovely-Paper-Things

Trisha + Richard’s Arizona Sunset Wedding Invitations by Lovely Paper Things

Gold-Foil-Calligraphy-Wedding-Invitations-Lauren-Chism-Fine-Papers

Carly + John’s Calligraphy Gold Foil Wedding Invitations by Lauren Chism Fine Papers

Woodland-Toile-Wedding-Invitations-Ladyfingers-Letterpress

James + Molly’s Woodland Toile Wedding Invitations by Ladyfingers Letterpress

Watercolor-Flower-Stripes-Wedding-Invitations-Hoopla-Love3

Renee + Duncan’s Modern Floral Watercolor Wedding Invitations by Hoopla Love

Looking for more inspiration? Check out the real wedding invitations gallery right here!

Happy Holidays!

OSBP-Holiday-Wreath-2013

And just like that, it’s Christmas Eve! We’re spending a quiet Christmas right here in DC, just the three of us. And I can’t wait. The last few months have been such a crazy whirlwind, and I’m looking forward to a few days with nothing but my two favorite people in the world. It’s just what we need at just the right time.

I’ll be recapping some of my favorite posts from 2013 over the next week before returning with brand new content in 2014. I wish you all an absolutely wonderful holiday, and I’ll see you back here soon! xoxo

DIY Decorative Tape Envelopes

Last week, I shared two of my favorite ways to personalize hand delivered envelopes: with paint and rubber stamps. Today I’m sharing one final idea, and it’s the easiest one yet! Which is good, there’s no time to lose. Today’s idea involves something that we all have at home (or can easily grab on a quick trip to Target) – decorative tape!

OSBP-DIY-Colorful-Washi-Tape-Glitter-Tape-Envelopes-85

For these examples, I used some colorful washi tape and metallic glitter tape on Mohawk Loop kraft envelopes. I love pairing metallics with neutral kraft paper any time of year, but particularly during the holidays. I also had my little nieces and nephews in mind when creating these envelopes, so I wanted to keep things really bright and colorful.

OSBP-DIY-Colorful-Washi-Tape-Glitter-Tape-Envelopes-77

OSBP-DIY-Colorful-Washi-Tape-Glitter-Tape-Envelopes-81OSBP-DIY-Colorful-Washi-Tape-Glitter-Tape-Envelopes-93

I also picked up some silver, gold, and white alphabet stickers at my local office supply store to use instead of writing out the names by hand. They come in a variety of sizes, but I chose the 1″ tall size. Use just the first initial or spell out the entire name!

OSBP-DIY-Colorful-Washi-Tape-Glitter-Tape-Envelopes-88OSBP-DIY-Colorful-Washi-Tape-Glitter-Tape-Envelopes-43

My favorite patterns are diagonal stripes that start in front and run over the back envelope flap and horizontal stripes over the front of the envelope, but there are so many fun pattern options! Just place, smooth, trim with scissors – and have fun!

OSBP-DIY-Colorful-Washi-Tape-Glitter-Tape-Envelopes-37

OSBP-DIY-Colorful-Washi-Tape-Glitter-Tape-Envelopes-42

OSBP-DIY-Colorful-Washi-Tape-Glitter-Tape-Envelopes-21

Happy holiday card giving!

Photo Credits: Nole Garey for Oh So Beautiful Paper

Printable Pop Up Winter Forest Place Cards

The wonderful team behind Caravan Shoppe is stopping by again today – this time with some really fun place cards to bring extra cheer to your holiday celebrations! Inspired by snowy winter trees, Alma at Caravan Shoppe designed these beautiful printable pop up forest place cards. The artwork is available in four colorways – green, pink, blue, and gray – so just pick your favorite, follow a few basic instructions, and you’ll have a fun addition for Christmas dinner!

OSBP-DIY-Pop-Up-Winter-Forest-Place-Cards-Caravan-Shoppe-41

OSBP-DIY-Pop-Up-Winter-Forest-Place-Cards-Caravan-Shoppe-54

OSBP-DIY-Pop-Up-Winter-Forest-Place-Cards-Caravan-Shoppe-27

Materials

White Cover Weight Paper or Cardstock

Scissors

Double Sided Tape or Glue

Bone Folder (optional)

OSBP-DIY-Pop-Up-Winter-Forest-Place-Cards-Caravan-Shoppe-2OSBP-DIY-Pop-Up-Winter-Forest-Place-Cards-Caravan-Shoppe-7

Step 1: Print out the place cards in your chosen colorway, then cut out each card along the blue outline.

Step 2: Cut out the white space between each tree. Be sure to cut a line down to the base of each tree – you’ll use those when folding later!

OSBP-DIY-Pop-Up-Winter-Forest-Place-Cards-Caravan-Shoppe-13OSBP-DIY-Pop-Up-Winter-Forest-Place-Cards-Caravan-Shoppe-15

Step 3: Fold each card at the middle blue line. Depending on the thickness of your paper or cardstock, you may want to use a bone folder and ruler to score the lines at each folding point (optional).

Step 4: Fold each tree backwards along the base.

OSBP-DIY-Pop-Up-Winter-Forest-Place-Cards-Caravan-Shoppe-24OSBP-DIY-Pop-Up-Winter-Forest-Place-Cards-Caravan-Shoppe-57

Step 5. Use glue or double sided tape to secure the underside of each tree to the place card base.

Step 6. Fold the snow line up.

OSBP-DIY-Pop-Up-Winter-Forest-Place-Cards-Caravan-Shoppe-40

Step 7: Write a name in the snow area, and you’re done!

OSBP-DIY-Pop-Up-Winter-Forest-Place-Cards-Caravan-Shoppe-37

OSBP-DIY-Pop-Up-Winter-Forest-Place-Cards-Caravan-Shoppe-56

Thanks so much Alma!

Click here to download the files!

Artwork copyright Caravan Shoppe, created exclusively for Oh So Beautiful Paper. All artwork is for personal use only. Caravan Shoppe specializes in printable digital downloads – from calendars to prints to holiday goods. They have some wonderful Christmas products right here!

Photo Credits: Nole Garey for Oh So Beautiful Paper