DIY Moving Announcement Bookmarks

It’s the ladies of Anti­quaria, back with another fab­u­lous and cre­ative DIY project for you!  This week they’re here with some awesome DIY moving announcement bookmarks!

Here at Antiquaria, we’ve got moving on the brain.  Emma recently moved the Antiquaria design studio out to sunny California and Bailey is prepping to relocate the vintage shop and registry at the end of the year.  As lovers of all things paper… this means only one thing, sending out moving announcements!

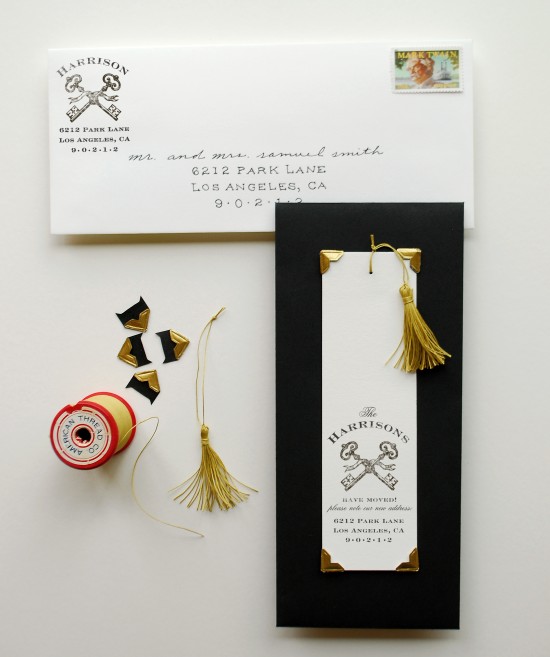
We were brainstorming, looking for something that might be fun to send out; that recipients interact with and can use…instead of just a card to keep on their fridge.  And voila…moving bookmarks!  So fun, useful and an impressive little gift to receive in the mail.

DIY Rubber Stamp Moving Announcements

We love the coordinating designs of the moving announcement and the matching return address stamp.

DIY Rubber Stamp Moving Announcements

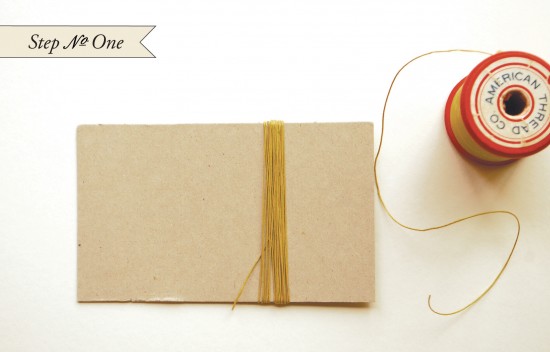
Step One: Get a little rectangle of cardboard and cut it to the height that you would like your tassle to be (we made ours 3 inches).  Wrap your thread around the card approximately 20 times or until you reach your desired thickness.  Leave the tail at the bottom as seen in the photo above.

DIY Rubber Stamp Moving Announcements

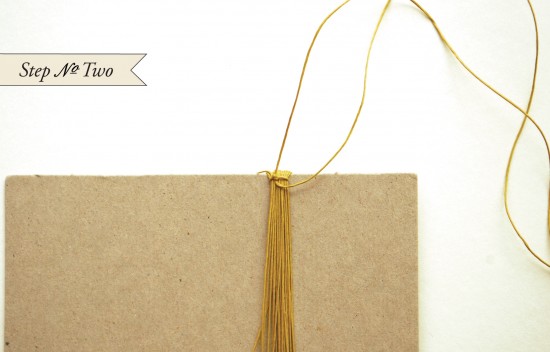
Step Two: Using another piece of thread (~10 inches long), tie a knot at the top of the cardboard, securing all the loops together.

DIY Rubber Stamp Moving Announcements

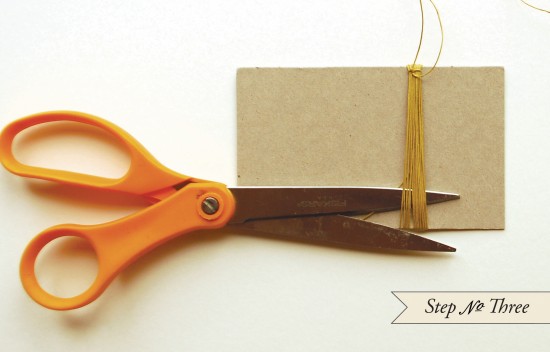
Step Three: Cut the bottom loops, freeing the tassel from the cardboard.

DIY Rubber Stamp Moving Announcements

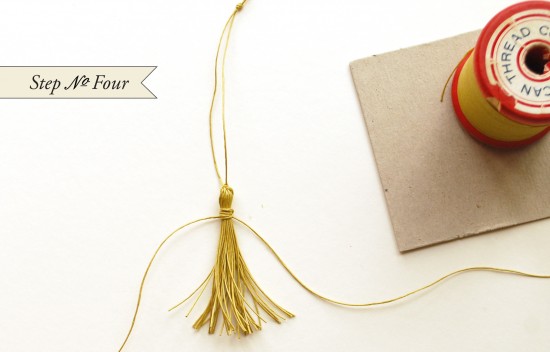
Step Four: With another length of thread (~15 inches), wrap thread close to the top of the tassel and secure with a knot.  Trim the ends, ensuring that you don’t cut the knot.

DIY Rubber Stamp Moving Announcements

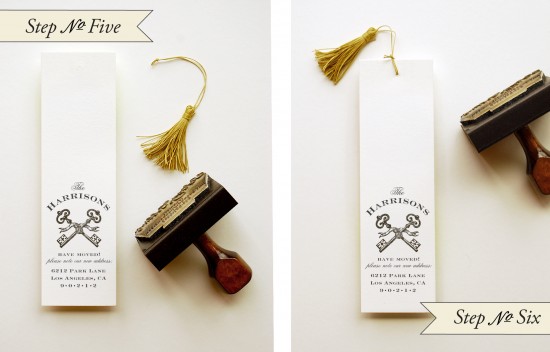
Step Five & Six: Cut bookmarks to desired size (2.125 x 7.25″).  On the bottom of the bookmark, print your stamp (we used our Keys Moving Announcement Rubber Stamp).  Ink stamp throughly and press evenly on a hard surface.  Lift stamp straight up and let ink dry.  Once dry, punch a small hole at the top center of the bookmark and tie on the tassel.

DIY Rubber Stamp Moving Announcements

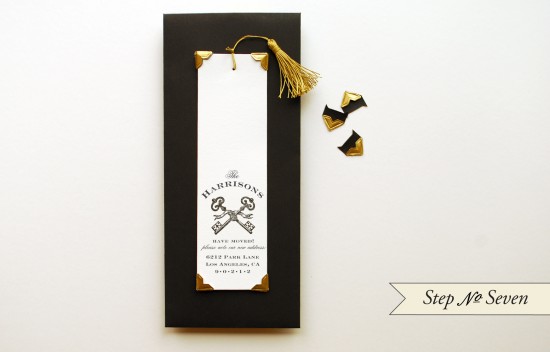
Step Seven: Cut black backers to (4 x 9.25″).  Stick gold photo corner on each corner of the bookmark, lick to activate the adhesive.  Center and press the bookmark down onto the backer.  Let adhesive dry.

DIY Rubber Stamp Moving Announcements

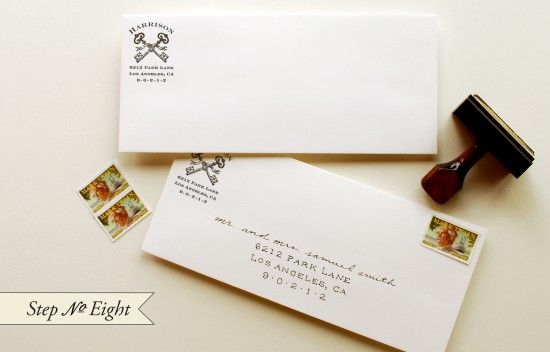
Step Eight: Stamp upper left hand side of an #10 envelope with your new return address stamp.  Address, apply postage and mail them out!!

Materials:

Stamps: Keys Moving Announcement Rubber Stamp, size medium, Keys Return Address Rubber Stamp

Stamp Pad 

Thread: Thrift for vintage thread or buy some at your local craft or fabric store.  Use a thicker cotton thread, such as one for hand quilting.

Scrap Cardboard

Scissors

Hole Punch

Paper for Bookmarks cut to (2.5 x 7.25″), we used luxe white

Paper for Backers: #10 or (4 x 9.25″), we used black

Photo Corners

#10 Envelopes (we used luxe white)

Photo Credits: Antiquaria

NYIGF August 2011, Part 1

As promised, today I’m kicking off my coverage of the Summer 2011 New York International Gift Fair.  If you follow me on twitter or instagram you’ve already seen a few sneak peeks, but there’s tons more that I’m excited to share.  Like the National Stationery Show, the Gift Fair is a wholesale trade show, but this show takes place twice a year and covers way more than paper.  There are sections just for global importers, handmade products, home and bath, baby and kid products, and lots, lots more.  It’s huge!  I only feature a small part of the show here – and today we’re starting with a few of my favorite exhibits in the Handmade section!
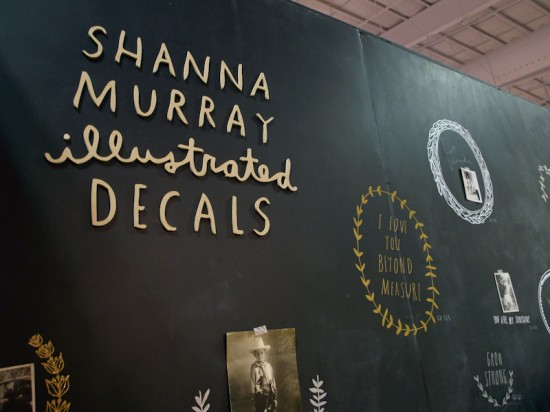
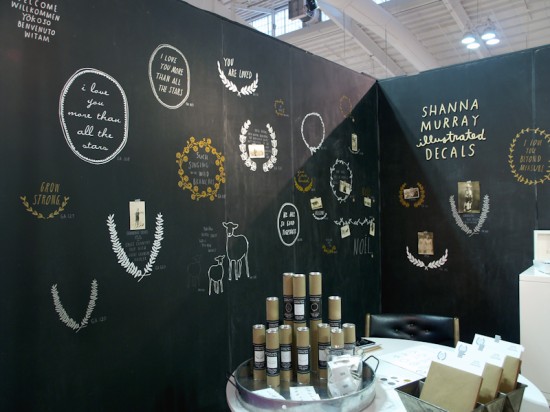
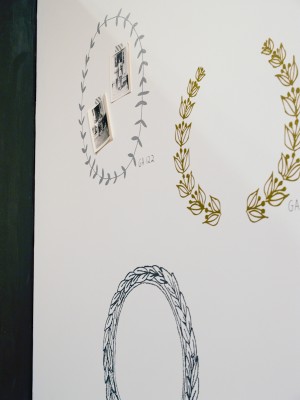
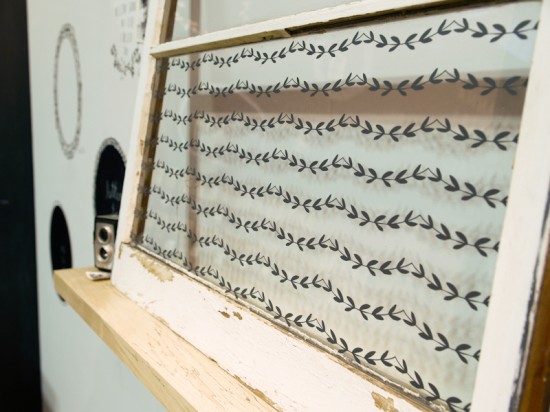
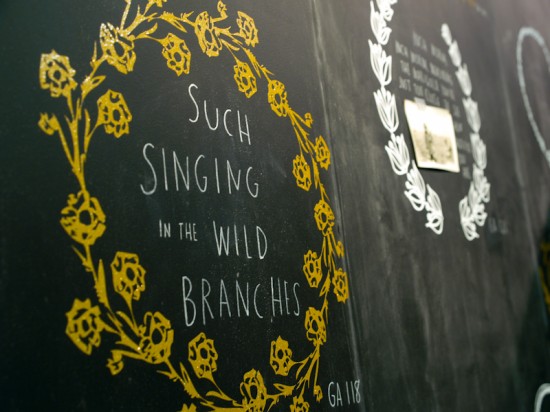
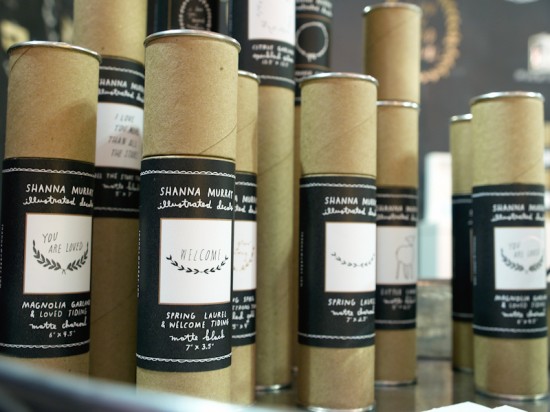
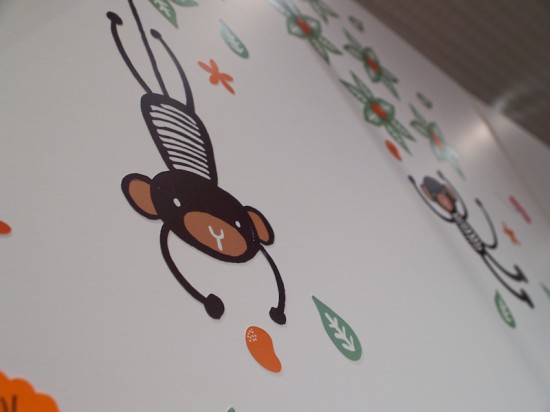
First up, the lovely Shanna Murray, making her trade show debut at this show.  I’m a longtime fan of Shanna’s wall decals and was thrilled to see her beautiful booth at NYIGF.  Shanna recently introduced some gorgeous new designs, as well as a brand-new collection of decals specifically for windows!


Shanna Murray

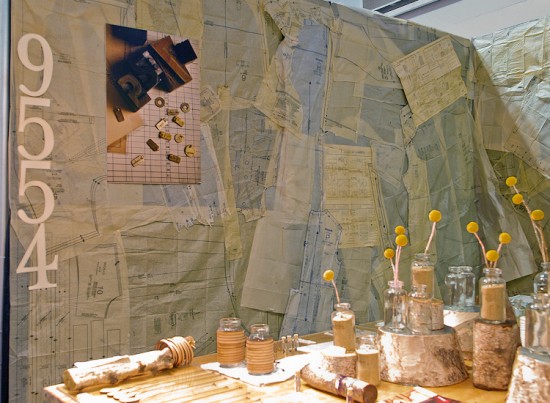
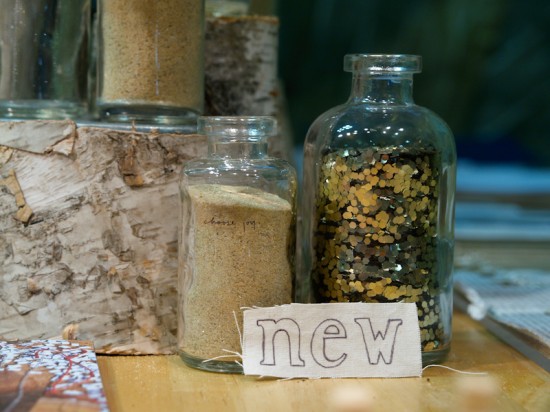
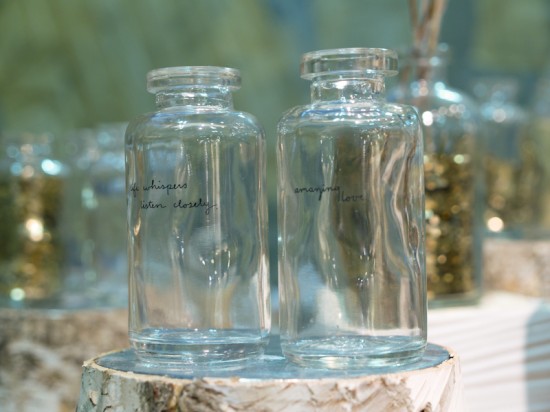
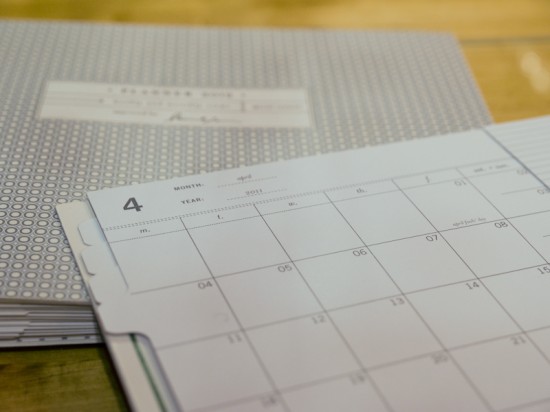
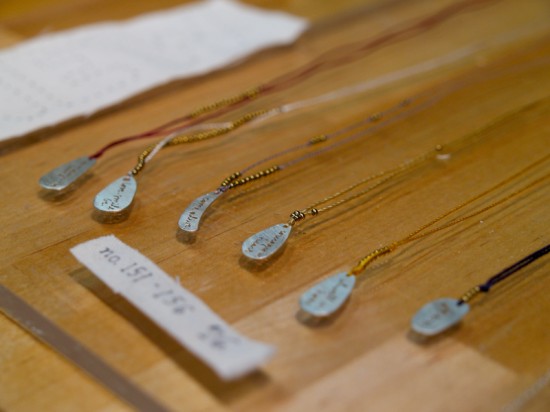
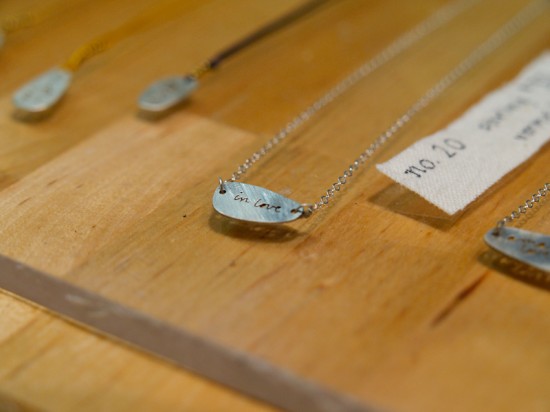
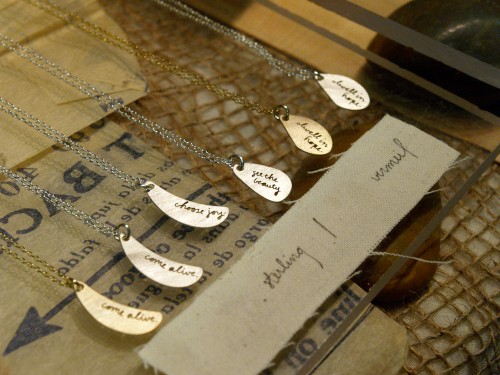
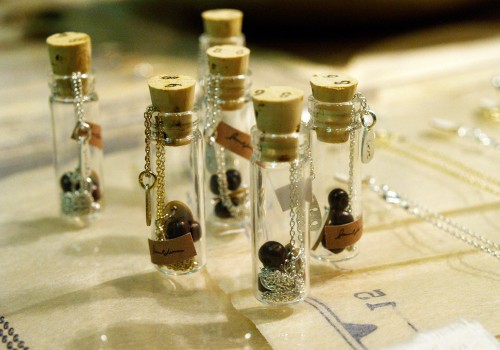
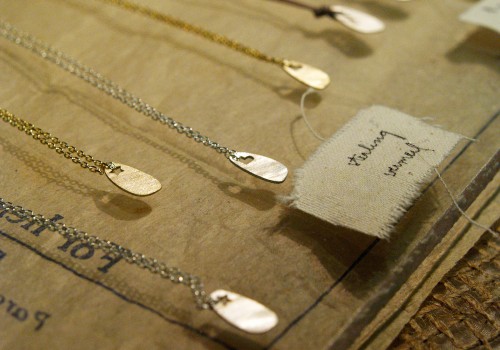
My friend Laurel from Laurel Denise is a trade show veteran and I always look forward to seeing her creative booth displays.  This year Laurel went with a cool industrial vibe – using old manuals and charts! – as a cool contrast against her delicate jewelry and beautiful glass vases.  I’m loving the colorful new silk edition of her simply stated collection below.

The 2012 edition of Laurel’s awesome yearly planner (available for pre-order here).

Laurel Denise

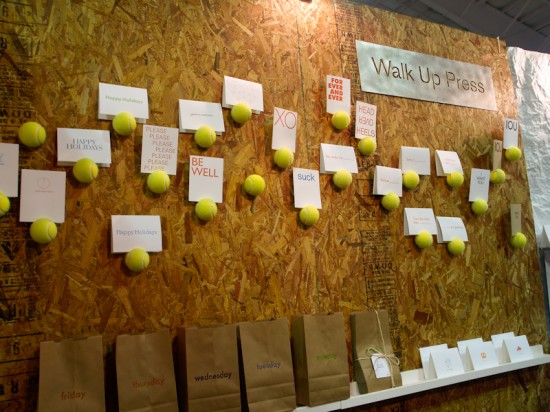
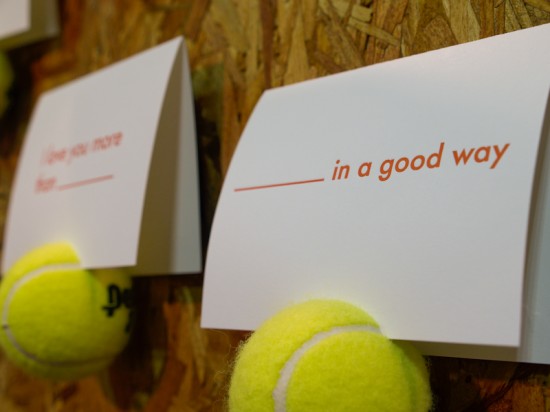
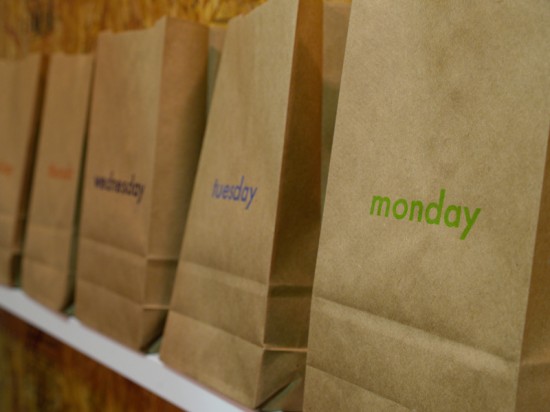
I also checked out the Walk Up Press booth a couple aisles over.  The fill-in-the-blank letterpress cards and day of the week lunchbags are so much fun, and I’m loving the new letterpress gift wrap sheets!

2012 write-on monthly desk calendar

New letterpress wrapping paper!

Walk Up Press

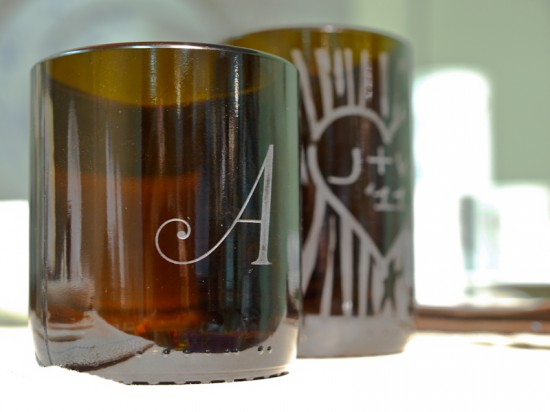
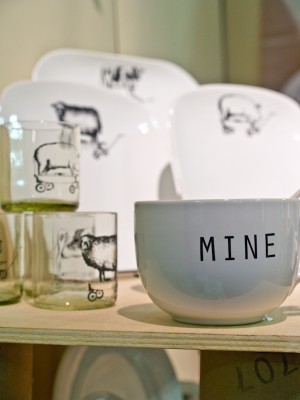
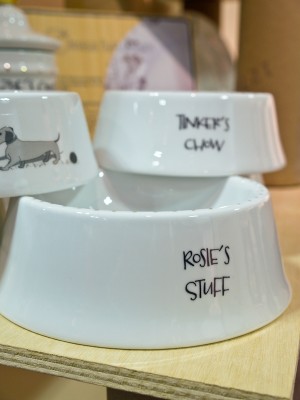
It was such a pleasant surprise to find Jessica Rust Designs at this year’s show.  I love Jessica’s personalized mugs and heirloom plates (they make a perfect wedding gift).  Jessica recently added some new etched glasses made from recycled wine bottles to her collection, along with some farm animal designs and cute personalized pet food bowls.

Jessica Rust Designs

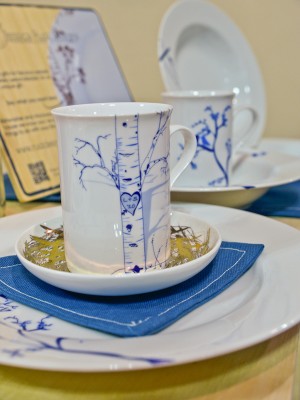
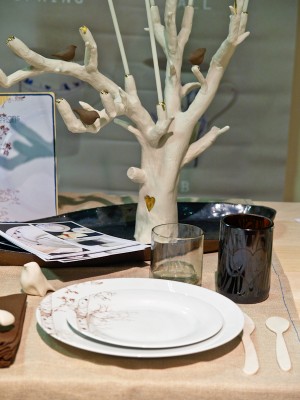
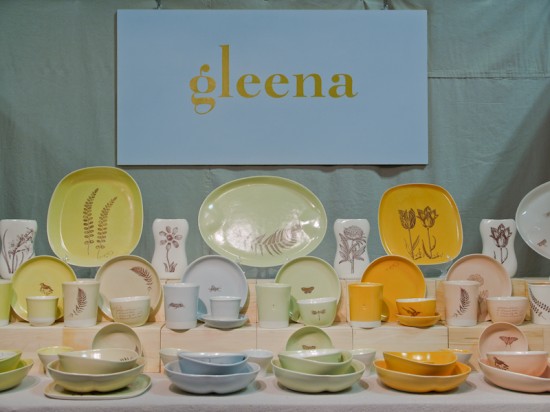
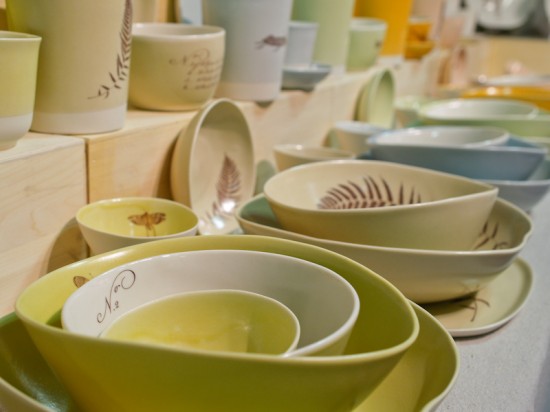
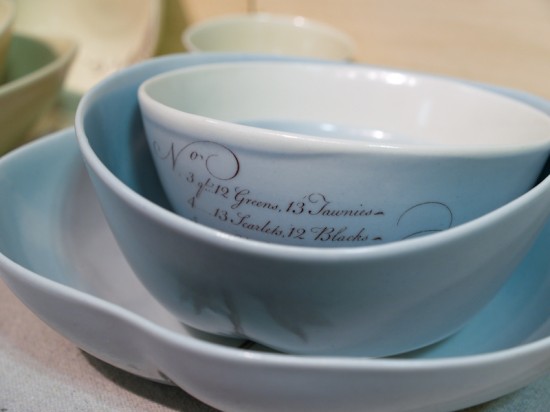
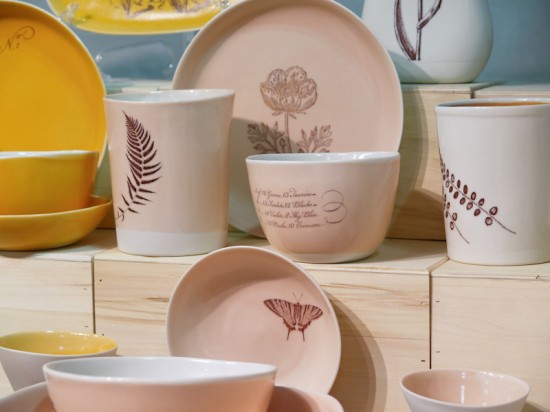
Speaking of dinnerware, it was wonderful to see Asya from Gleena at this year’s show.  I’ve been a fan of her beautiful numbered porcelain bowls for a couple of years now, and I love the newer botanical designs and color additions to her collection.

Gleena


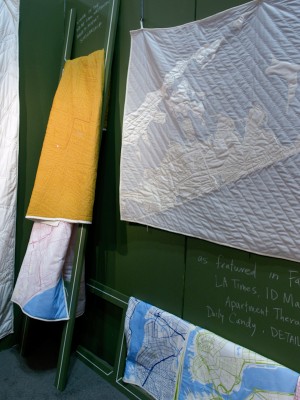
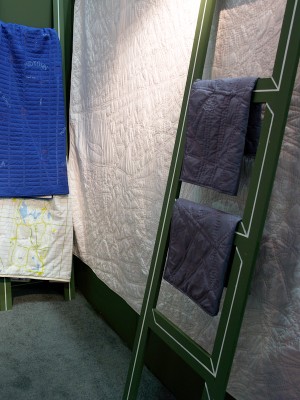
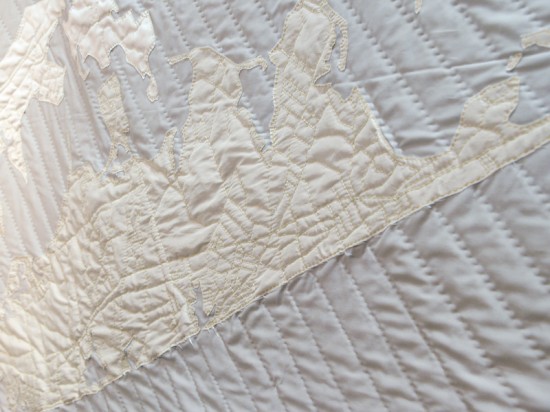
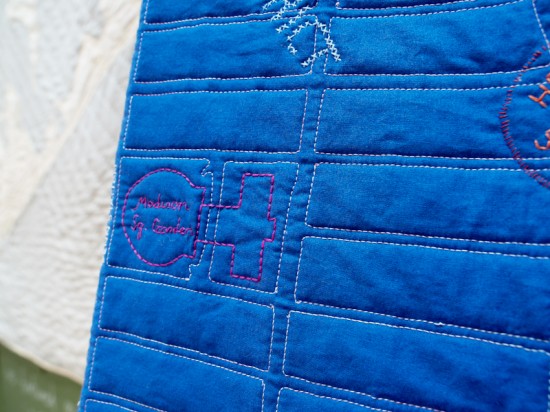
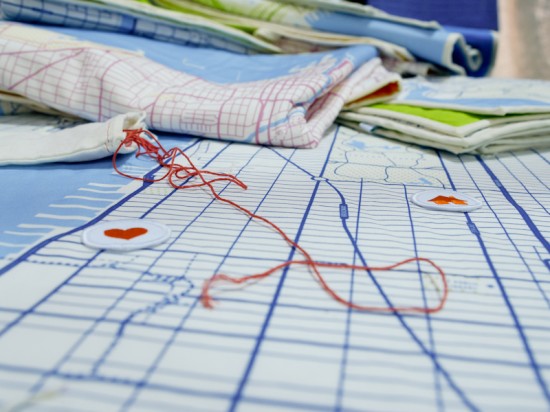
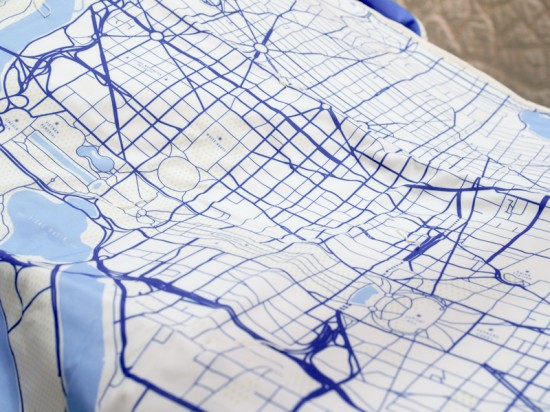
Also in the Handmade section, Brooklyn-based Haptic Lab – they make the most gorgeous embroidered fabric map quilts.  Each of the large quilts is literally hand sewn (no machines)!  Such a lovely heirloom.  They also have a fun DIY option; city maps are screen printed onto smaller quilts and come with little icons and patches that can be sewn onto the quilt to indicate homes, locations of first dates, etc.  They also have a DC version, which made me very happy.

Haptic Lab

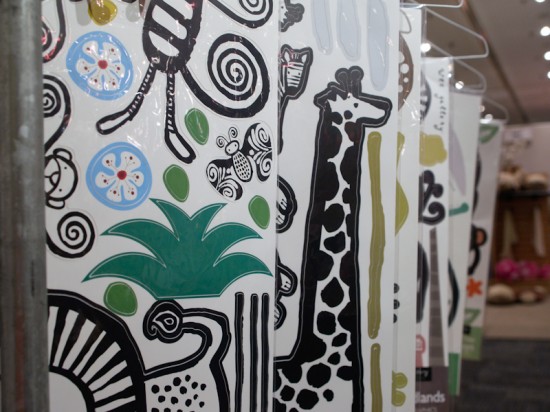
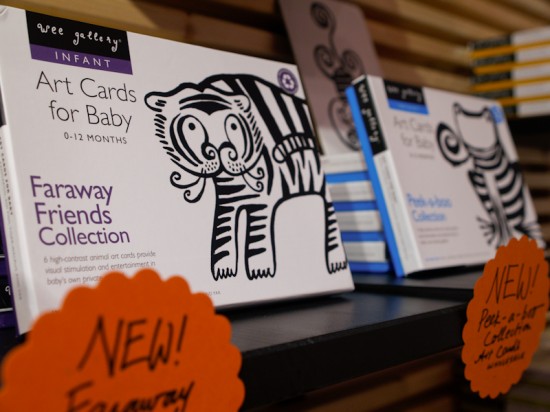
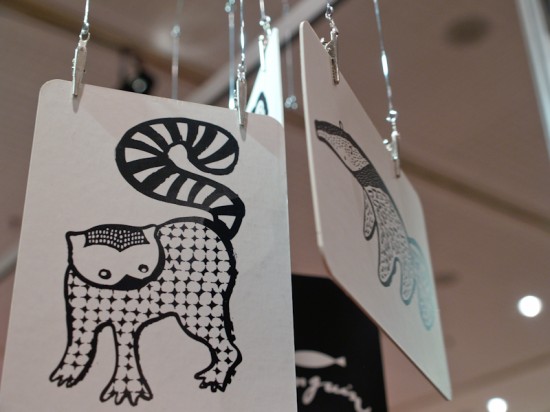
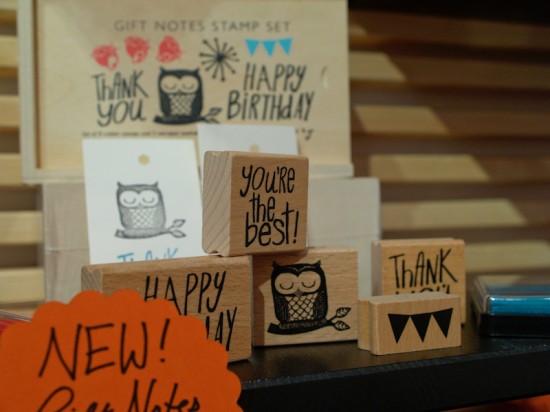
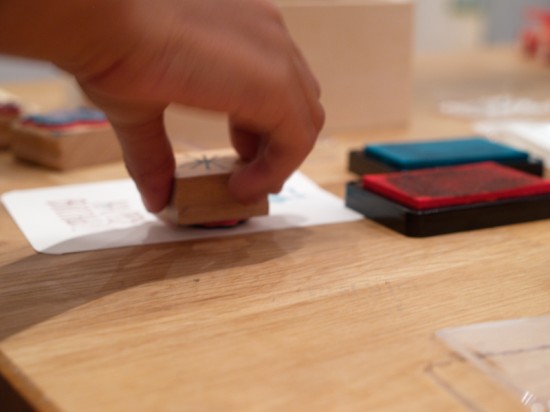
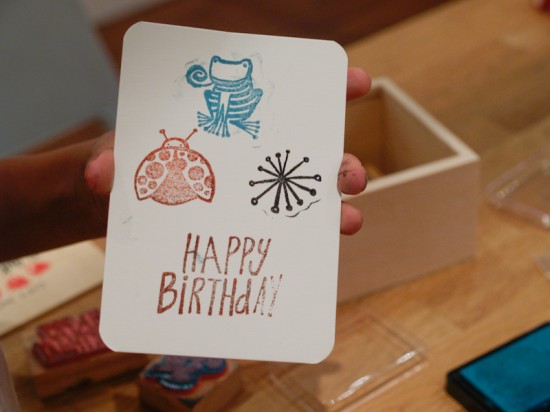
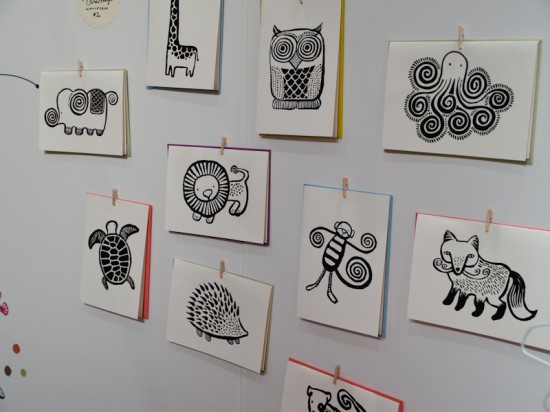
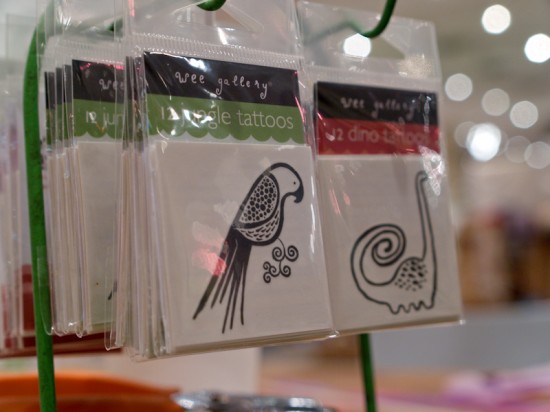
After checking out the exhibitors in the Handmade section, I wandered off to Baby & Child where I had a great time catching up with the folks from Wee Gallery.  We played with their rubber stamp sets and checked out the new (moveable) wall decals and art cards, and my husband and I totally want to get the temporary tattoos for our niece and nephew!

Wee Gallery

I’ll be back with more from NYIGF tomorrow!  You can check out past year coverage from NYIGF right here.

Photo Credits: Nole Garey for Oh So Beautiful Paper

{happy weekend!}

Happy Friday everyone!  This week practically flew by (as is often the case after a holiday weekend), but I’m looking forward to the weekend – even though painting my bedroom is the most exciting thing I have planned.  I’m trying to check some home projects off my to do list before my husband comes home in a couple of months, and although painting is tedious work I’m looking forward to a bit of change.  But in the meantime…

Summertime

…a few links for your weekend:

This week on Oh So Beautiful Paper:

That’s it for me this week!  I hope you all have a wonderful weekend, and I’ll see you back here on Monday! xoxo

Photo Credit: Simple Tess

January 2011 NYIGF, Part 1

I’m up in New York this week helping to judge this year’s LOUIE Awards, and on Tuesday I ran through most of the New York International Gift Fair in an all-day marathon session.  The NYIGF is held twice a year, in August and January, and you can see my coverage of the August show (and other past shows) right here.  The NYIGF is a huuuge show, so I only managed to photograph a tiny portion of the show this time around, but of course I made a special effort to visit my stationery friends exhibiting at the show!

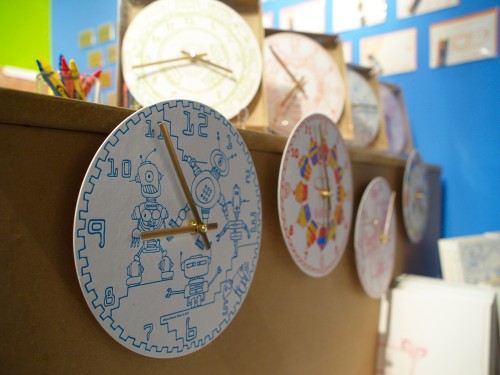
First up, 9SpotMonk had some really cool new letterpress coloring books and letterpress color-in clocks – both perfect for kids!

9SpotMonk-Letterpress-Color-In-Clocks

{9spotmonk}

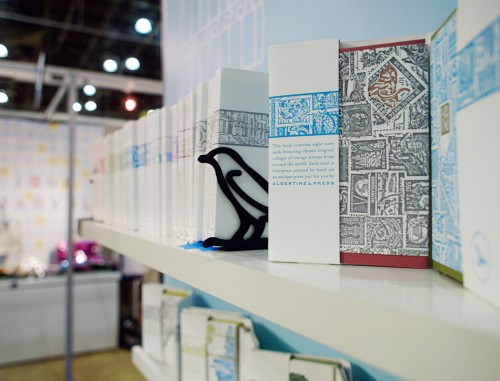
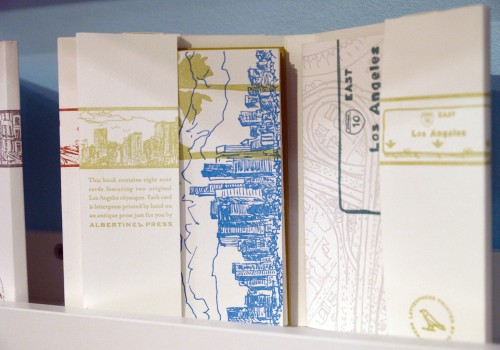
Shelley from Albertine Press has been busy adding new designs and patterns to her letterpress library collection – I’m particularly fond of the hand drawn fabric patterns and city sets:

{albertine press}

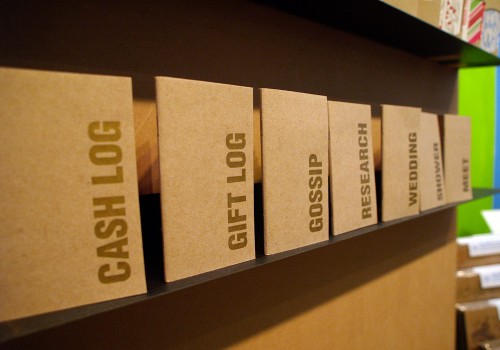
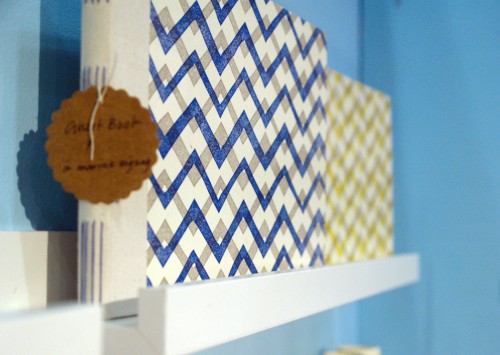
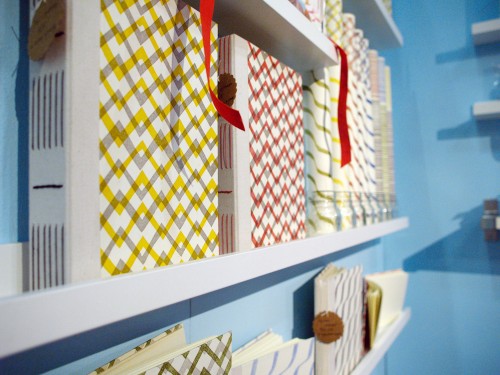
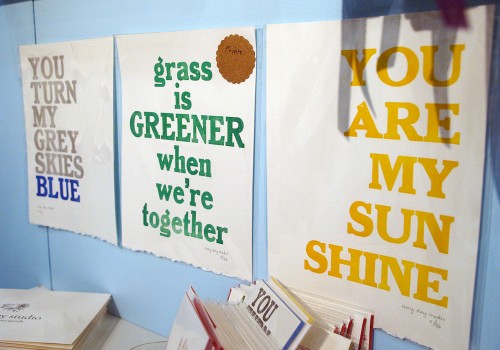
Lots of cool letterpress zigzag guest books, gift wrap sheets, and prints from May Day Studio:

{may day studio}

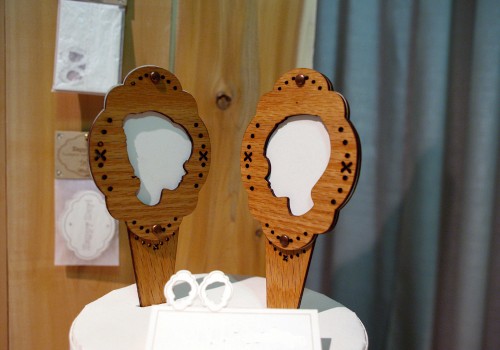
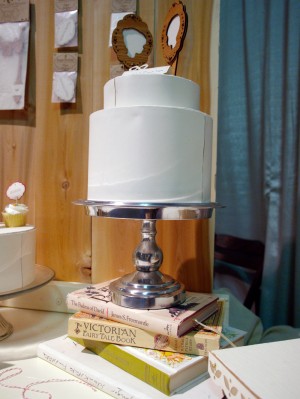
Over in the handmade section of NYIGF, I stopped by the Figs and Ginger booth for a preview of their gorgeous line of custom silhouette wood veneer cake toppers and wedding banners, all coming very soon!

{figs + ginger}

And my girl Laurel from Laurel Denise had some beautiful new jewelry in her booth.  These necklaces are so delicate and lovely in person:

{laurel denise}

I also stopped by the DaisyD and Friends booth to check out some of the new goodies from Night Owl Paper Goods, including some super-cute Valentine’s Day cards:

{night owl paper goods}

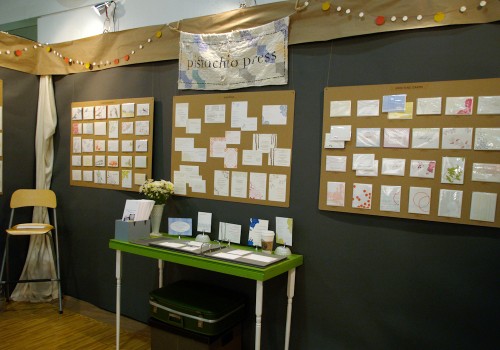
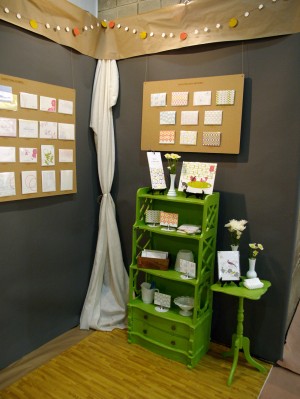
After making their NYIGF debut back in August, Pistachio Press was back at the January show with a super-cute booth:

{pistachio press}

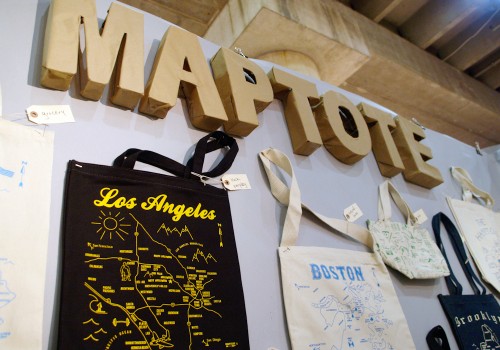
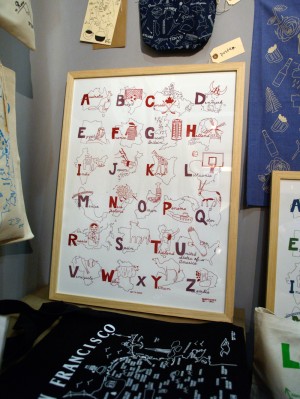
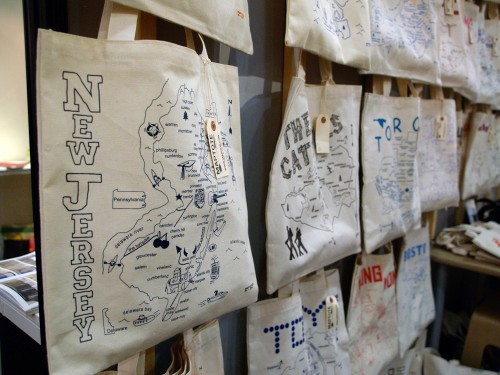
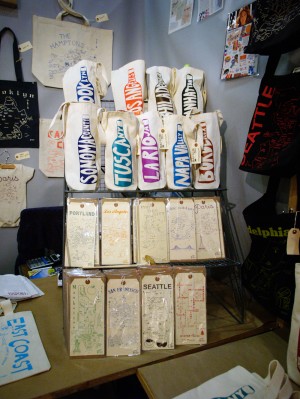
I also stopped by the Maptote booth to check out their newest tote bags.  They also have some new screen printed alphabet prints, with each letter illustrated by a different country (so awesome!):

{maptote}

I’ve got more from the January 2011 NYIGF to share with all of you, so check back soon!

{all photos by me}

{happy weekend!}

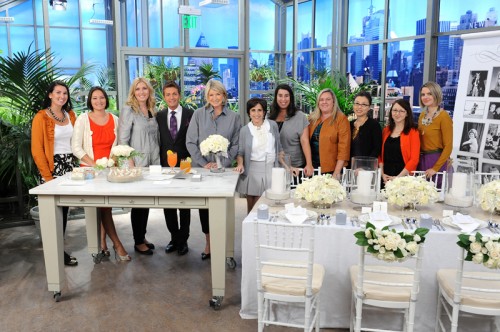
Happy Friday everyone!  This has been an incredibly full week for me; if you follow me on twitter you may know that I spent most of the weekend and the earlier part of this week up in New Jersey and New York, working on a project with my Dad and seeing some of my fellow bloggers in town for Bridal Market.  On Tuesday, I attended a taping of the Martha Show – and if you’ll allow me to geek out for a quick second, the bloggers in attendance got to take a photo with Martha and Darcy Miller at the end of the show (that’s me in the red sweater on the right)!

So much fun!  Now that I’m back at home and the weekend is almost here, I’m looking forward to relaxing and enjoying the cooler weather here in DC.  But in the meantime…

…a few links for your weekend!

…and just in case you missed it, a quick round-up of this week’s posts:

That’s it for me this week!  I hope you all have a wonderful weekend, and I’ll see you all back here on Monday!

{image courtesy of martha stewart living omnimedia}