The Gimlet

Many of the great classics are beautifully simple, and the Gimlet is no exception. Gin, lime cordial – and it should be lime cordial, which we’ll get to in a moment – and that’s pretty much it. This drink is somewhere between a Gin Sour and a Gin Old Fashioned and it’s all wonderful. – Andrew
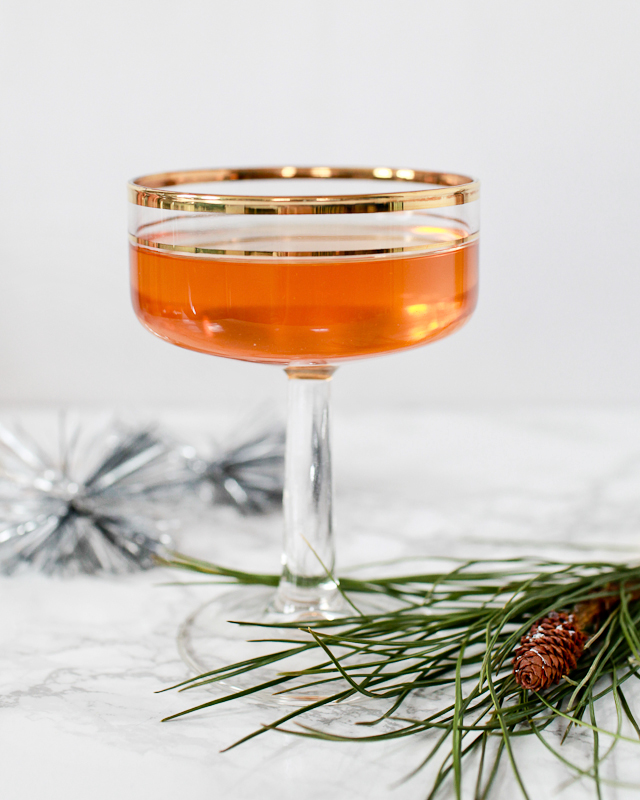
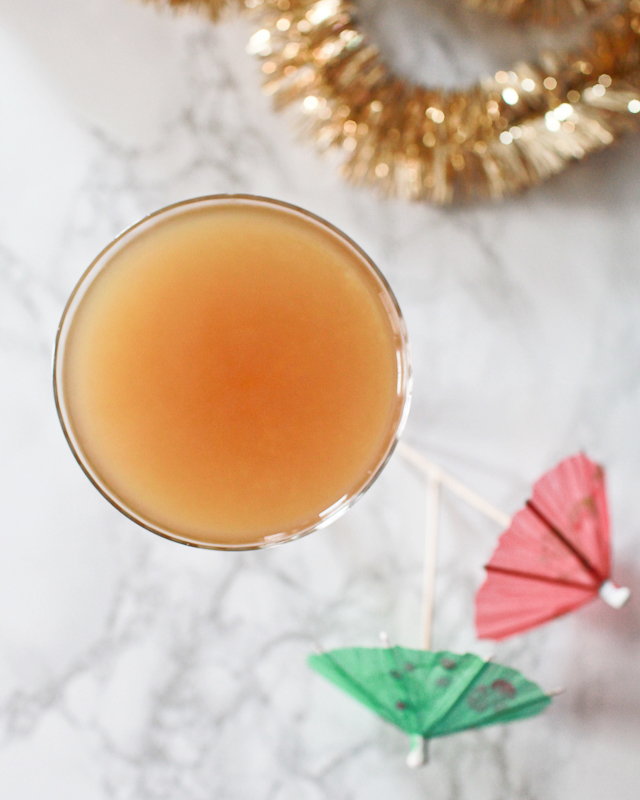
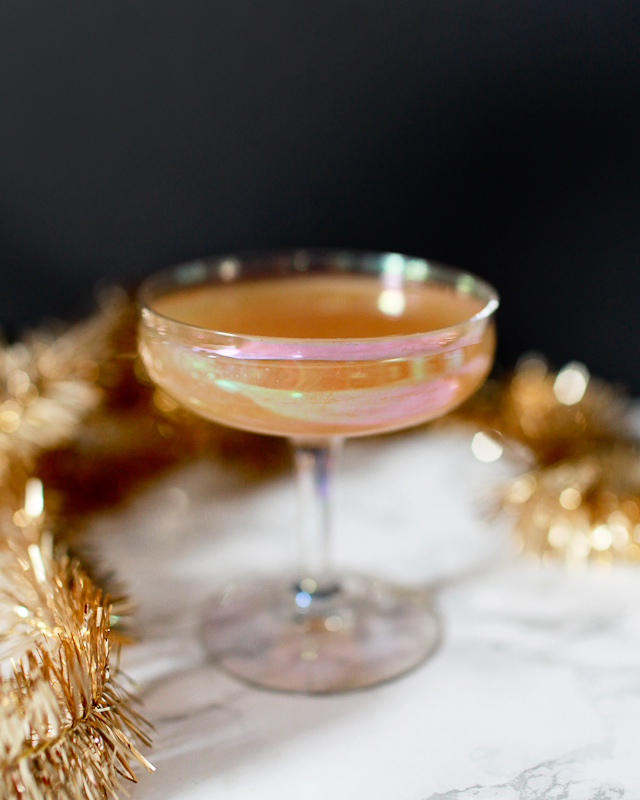
The Gimlet Classic Cocktail Recipe / Liquorary for Oh So Beautiful Paper

The Gimlet

2 oz Dry Gin
1 oz Lime Cordial
1 dash Angostura Bitters

Combine all the ingredients in a mixing glass with ice and stir well. Strain into a chilled cocktail glass. Enjoy!

The Gimlet is a snappy little drink: it has both gin’s sharp herbaceous kick and lime cordial’s citrusy, tart zing. A dash of bitters just helps bring those flavors together and make them pop. Like the Manhattan or the Martini, there’s no real bad time for a Gimlet; they’re all-weather drinks.
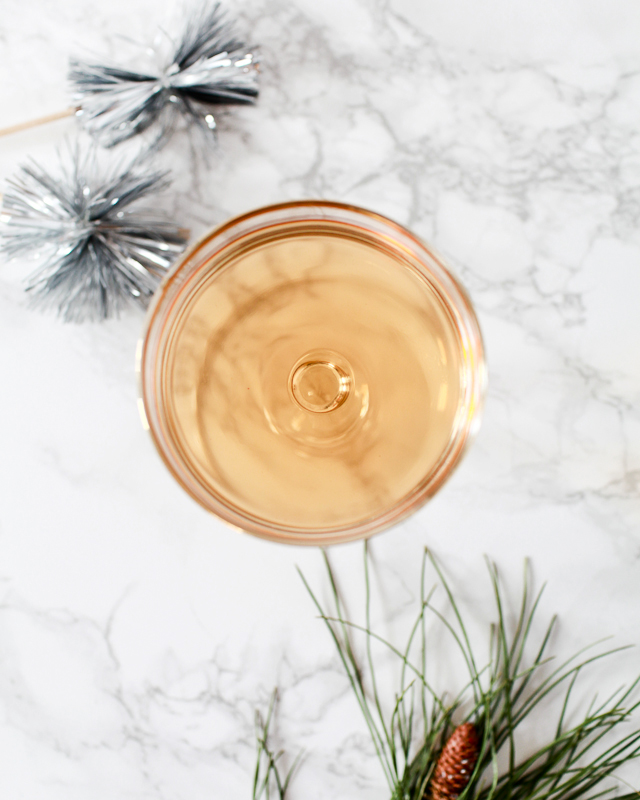
The Gimlet Classic Cocktail Recipe / Liquorary for Oh So Beautiful Paper

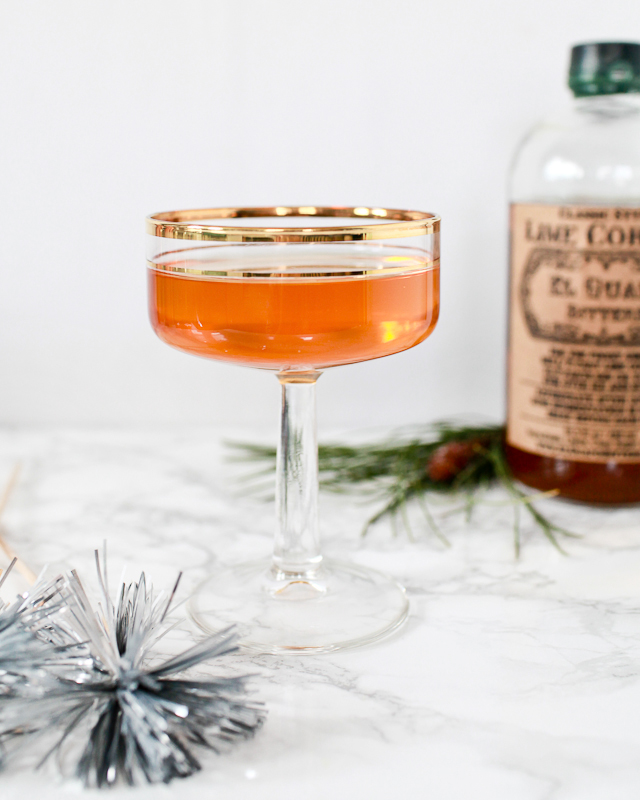
Like I said: lime cordial. For a long while, ordering a Gimlet meant either that you were going to get a glass of gin with some lime juice and a bit of sugar, if you were lucky, or a glass of gin sweetened with a thick syrupy mess sold as “cordial.” Both would deprive you of real lime cordial’s tremendously refreshing, tongue-twisting sweet-tartness.

You can make lime cordial at home, somewhat laboriously, by zesting and juicing some limes, then adding an equal amount by weight of sugar to the juice, letting the whole thing sit for a day or two in a nonreactive vessel, and then straining out the zest. It’s delicious when fresh but, like I said, a lot of work. But for years, your only options were to make your own or buy a bottle of Rose’s, which dates all the way back to 1867 but for years has been made with barely any real lime in it at all. Fortunately, more and more purveyors of craft cocktail ingredients are starting to make and sell lime cordial with fresh, basic ingredients.
The Gimlet Classic Cocktail Recipe / Liquorary for Oh So Beautiful Paper

The Gimlet, despite its appearance in Betty Draper’s hand in more than one episode of Mad Men, has a rough-and-tumble origin. Sailors in the British navy were issued rations of lime or lemon juice to prevent scurvy. Back in 1867, one Lauchlan Rose figured out a way of preserving citrus juice for long sea journeys with sugar instead of rum, and the Rose’s I mentioned above was born. But sailors also got liquor rations, and it didn’t take long for them to put the two together. (I imagine sailors back then probably tried mixing pretty much anything they found anywhere in the world with booze.) So the Gimlet was basically a drunken sailor’s way of making his gin ration more palatable. Or his lime ration more exciting. Or both.
The Gimlet Classic Cocktail Recipe / Liquorary for Oh So Beautiful Paper

For the most authentic experience, we recommend picking a navy proof gin. “Navy proof” refers to the strength of the liquor; it’s a measure of the amount of alcohol in spirit needed to still ignite gunpowder that had been dowsed in the spirit. You know, a basic safety measure to ensure the ship could still fight even if its drunken sailors spilled their booze all over the gunpowder. The minimum is 114 proof, in contrast to the 80 proof that most spirits are bottled at today. So you’re going to get a wallop of flavor and booze and heat from a Gimlet made from navy proof gin. Which doesn’t sound too bad.

(Don’t forget to follow us on Instagram, where we’ve been posting our experiments before they make their way onto this column!)

Glassware by Liquorary

Photo Credits: Nole Garey for Oh So Beautiful Paper

The Daiquiri

I like a lot of drinks. Some people like boozy drinks or bitter drinks or sweet drinks, but I like pretty much anything. Which makes picking a favorite pretty tough. But if I were stuck with just two drinks (because I couldn’t ever pick just one), one would be the Sazerac, and the other would be the Daiquiri. If I’m ever feeling lazy and don’t want to put together something elaborate, I throw together a Daiquiri because I know, no matter what, that it will be awesome and I will love it. – Andrew

The Daiquiri Classic Cocktail Recipe / Liquorary for Oh So Beautiful Paper

The Daiquiri

2 oz Aged Rum
1 oz Lime Juice

1 oz Cane Syrup

Shake everything with ice and strain into a chilled cocktail glass. That’s it. No garnish, no fancy footwork needed. Just enjoy!

The Daiquiri Classic Cocktail Recipe / Liquorary for Oh So Beautiful Paper

The Daiquiri is a beautifully simple combination of rum, lime, and sugar. Which means that this classic cocktail is tremendously versatile. In the summer, use silver rum; in winter, use dark rum. You can throw in other citrus, like grapefruit or pineapple; you can mess around with the sugar, getting fancy with falernum or cinnamon syrup; you can even throw in some orange curacao or another liqueur. It’s a simple, classic template that allows for lots of great experimenting.

The Daiquiri Classic Cocktail Recipe / Liquorary for Oh So Beautiful Paper

Or you can just keep it simple, like the original. Rum: smooth and dark this time of year. Lime: fresh squeezed is always best, but no one will judge you if you’re in a hurry. Sugar: there are a lot of ways you can do this, but cane syrup – a deep and rich syrup made from boiling down sugar cane juice – adds a wonderfully flavorful, rustic layer to the Daiquiri. So: sweet, tart, rich, delicious. Go make one.

(Don’t forget to follow us on Instagram, where we’ve been posting our experiments before they make their way onto this column!)

Glassware by Liquorary

Photo Credits: Nole Garey for Oh So Beautiful Paper
Happy Weekend!

Happy Friday everyone! And guess what? Today my husband and I are celebrating the ten year anniversary of our very first date! Ten years! We’ve been through grad school together, major career developments and changes, several cat adoptions and rescues, not to mention a wedding and two kids. It’s been a wild and crazy first ten years, but I’m so excited for the next ten and beyond. But in the meantime…

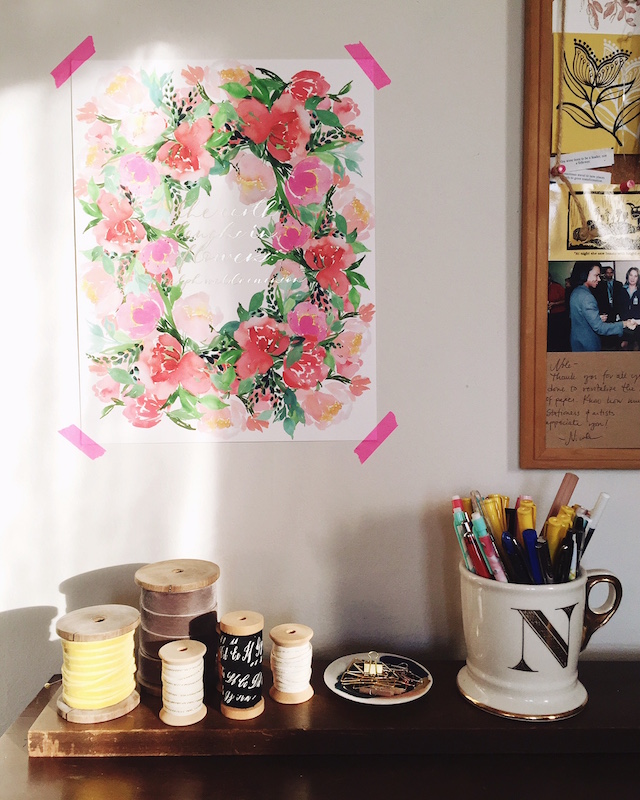
OSBP Office Sneak Peek / Instagram

A favorite corner of my office in late afternoon light, from my Instagram

…a few links for your weekend!

This week on Oh So Beautiful Paper:

That’s it for me this week! Check back a bit later for this week’s cocktail recipe – and I hope you all have a wonderful weekend! I’ll see you back here on Monday! xoxo

DIY Watercolor Paper Snowflake Gift Toppers

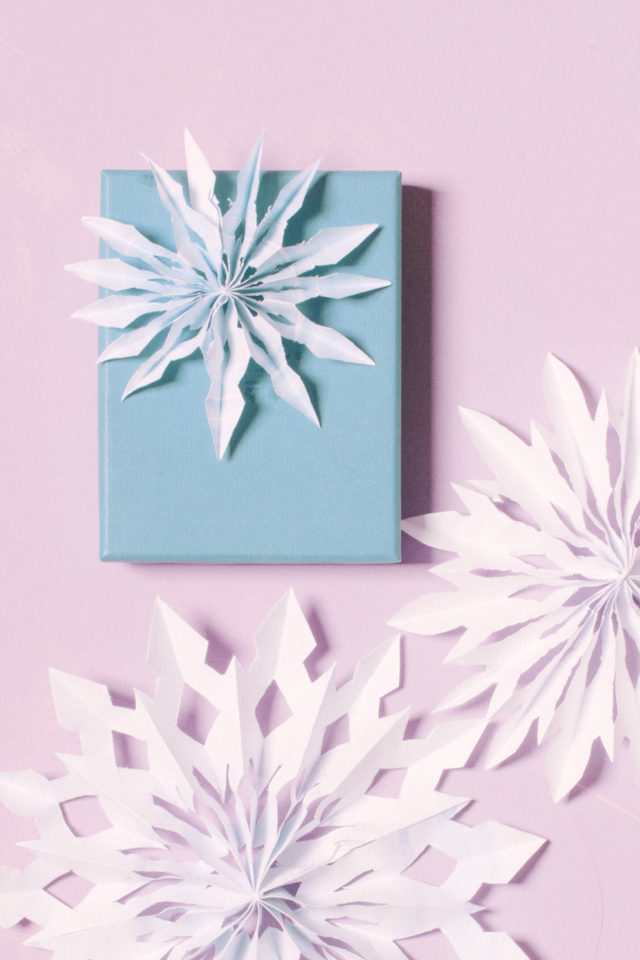
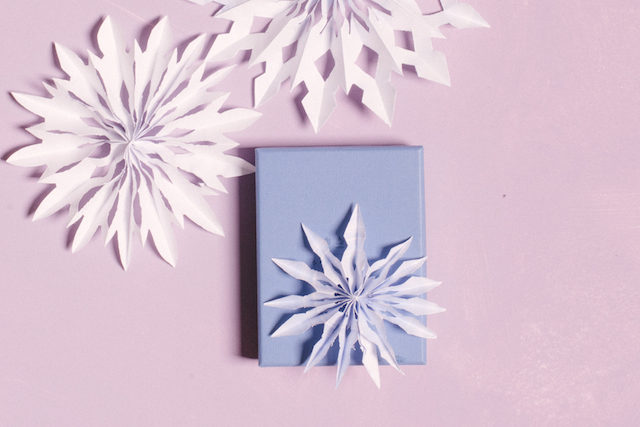
We’ve been playing “Jingle-Bells” since the moment the weather turned chilly here in London. It is, after all, the most wonderful time of the year! With under three weeks to go until Christmas Day, I wanted to share an easy gift wrap idea that you can make with things you can find at home. These snowflakes are – like the real ones – unique and personal in every way. They only take 5 minutes but look amazing! - Erin from BerinMade Paper Goods

DIY Watercolor Paper Snowflake Gift Toppers / BerinMade for Oh So Beautiful Paper
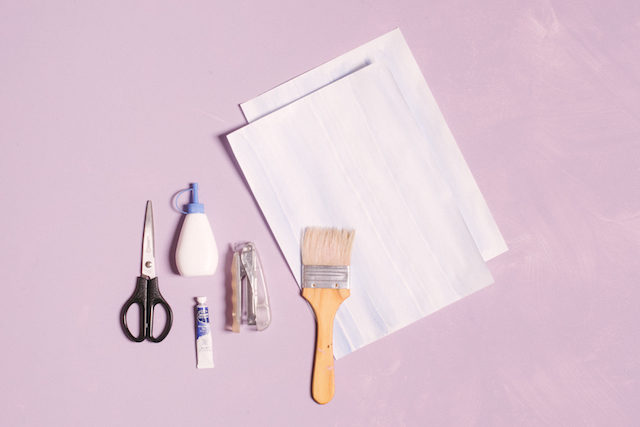
Supplies

Copier paper (1 sheet makes two small ones)

Flat brush

Stapler

PVA glue

Blue watercolor paint or acrylic paint

Sharp scissors

DIY Watercolor Paper Snowflake Gift Toppers / BerinMade for Oh So Beautiful Paper
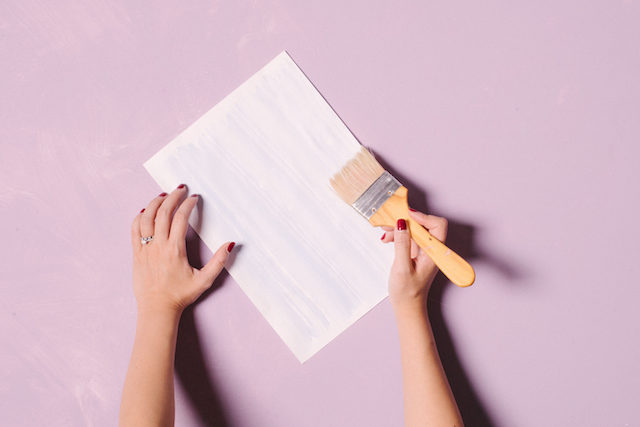
Step 1. Dilute your paint with water in a plastic container. Dip your brush into the paint, then tap the brush so that the brush is slightly wet but not dripping. Stroke lightly over the paper to make faint, painted lines. Paint over the entire piece of paper. If you’re making more than one gift topper you can also paint multiple sheets at the same time.

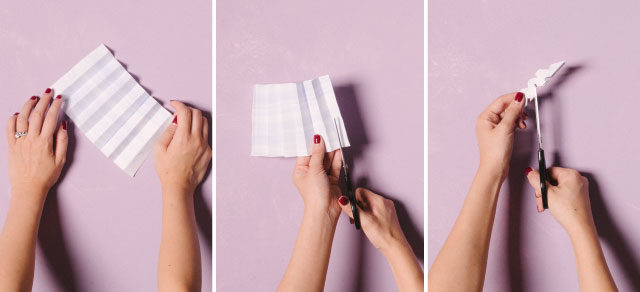
Step 2. Cut the paper in half length-wise, and fold into a 12-part accordion, and trim the ends into points. Staple the center of the accordion, then cut a combination of straight and curvy lines into the folded accordion. Get creative with your snowflake designs by experimenting with different sizes and shapes for the cutouts.

Step 3. Fold the accordion in half and gently open it up like a fan, carefully separating the snowflake tips. Secure the ends with glue or double-sided tape.

Step 4. Use mounting squares or double-sided tape to adhere the gift topper to your present!

DIY Watercolor Paper Snowflake Gift Toppers / BerinMade for Oh So Beautiful Paper
 

DIY Watercolor Paper Snowflake Gift Toppers / BerinMade for Oh So Beautiful Paper


_JBD3901

_JBD3907 2

Photo Credits: Lauhaus Co

Behind the Stationery: Wild Ink Press

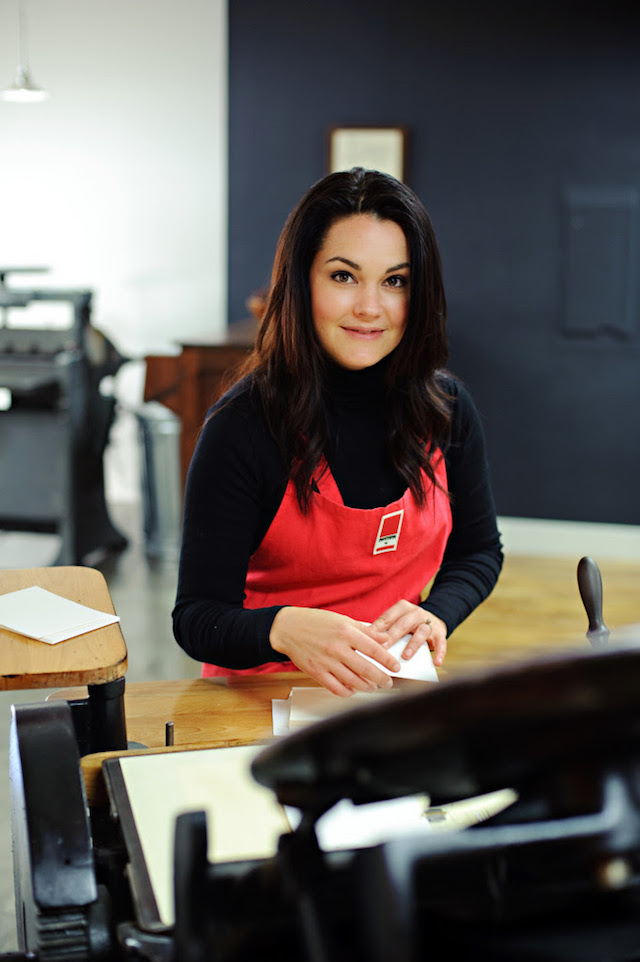
Today we’re bringing you a MEGA edition of Behind the Stationery with the one and only Rebekah of Wild Ink Press­! She shares a little bit of everything: why she started Wild Ink Press, a tour of their studio and small storefront, the process behind her designs, and so much more. Thanks Rebekah!

Behind the Stationery: Wild Ink Press / Oh So Beautiful Paper

Behind the Stationery: Wild Ink Press / Oh So Beautiful Paper

Hello! Rebekah Tennis here – owner, designer, and general boss lady at Wild Ink Press â€“ and I’m delighted to take you behind the scenes of our stationery company!

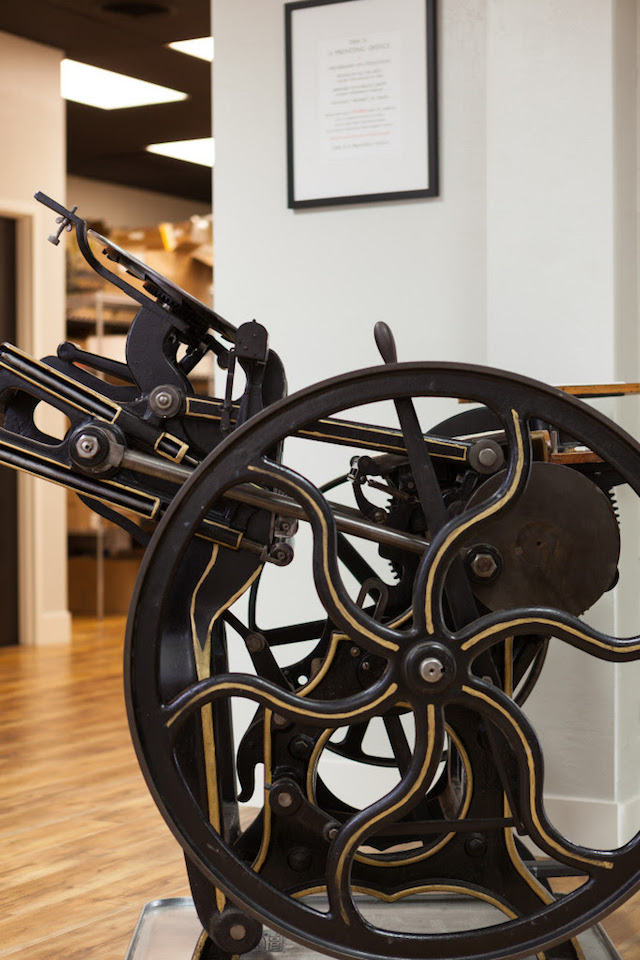
I started Wild Ink Press­ in 2009, springing out of a desire to create a cherished, finished product. I have a BFA in Graphic Design, and while I loved my job working in a corporate design firm, I found the nature of branding design to be frustrating – websites getting tweaked over and over, logos stretched out of proportion, with no finality to the work. I longed to create art that was both finished (forever!) and something that I loved, and so Wild Ink Press was born to create beautiful paper goods that others would value and enjoy. My husband Matt listened to my wild-haired ideas and we both took a series of letterpress classes at the San Francisco Center for the Book, then made the plunge and purchased a 1908 Chandler & Price Platen 10 x 15 Press on Ebay.

Behind the Stationery: Wild Ink Press / Oh So Beautiful Paper

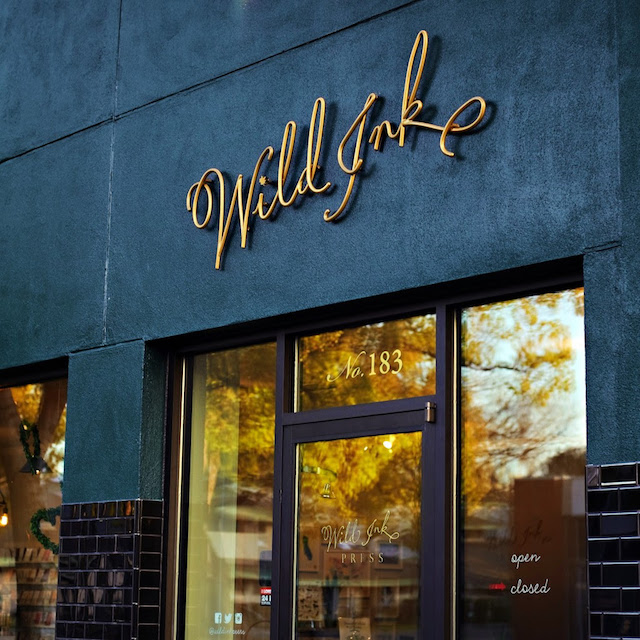
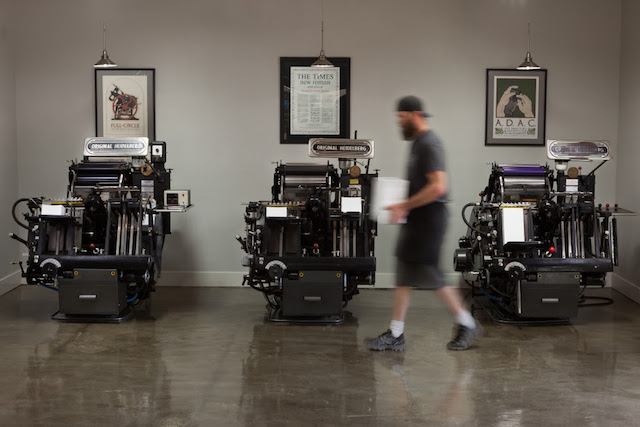
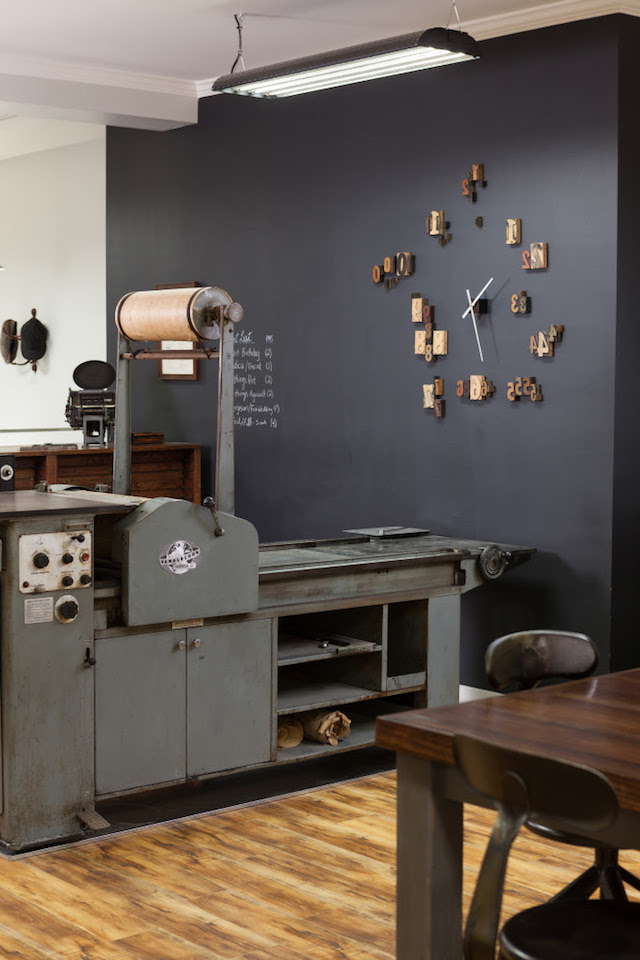
Our company has grown and expanded over the years (through lots of blood, sweat, and tears, believe me) and we now are a staff of seven with a retail and printing space in a converted old soda bottling shop in downtown Chico, Northern California. It houses our letterpress machines, inventory, and also our creative and packaging space. We bought the abandoned building, and it has been very rewarding to restore it to its former glory and let it shine as a 3200 square-foot open studio workspace. We now have three Heidelberg Windmills, a 1912 Golding Jobber, a Vandercook Universal I, and a baby Kelsey 5 x 8 press (for the kids) in addition to our original C & P. And yes, we do print on all of them!

Behind the Stationery: Wild Ink Press / Oh So Beautiful Paper

Behind the Stationery: Wild Ink Press / Oh So Beautiful Paper

Continue reading