Behind the Stationery: Lionheart Prints

Next up on Behind the Stationery is Liz from Lionheart Prints based in New Orleans! With a hybrid storefront and studio on Magazine Street, she manages her business, staff of 6, and creates all of the designs for Lionheart Prints. She’s here to share her story about how working a hodgepodge of jobs right after college brought her into the stationery world and open up about some of her struggles as a small business owner. Take it away, Liz! —Megan Soh

Behind the Stationery: Lionheart Prints

Photo by Oli Alexander of Gigsy.co

From Liz: I graduated college in 2008, during the height of the financial crisis. My dream was to find a job as a designer in a fancy ad agency, but there were no such positions available. Instead, I worked a lot of (what felt like) random part-time jobs, that ended up paving the way to starting my own business. One of them happened to be a job as a shopgirl at Paper Source in Houston. I loved everything about that job, from helping customers find the perfect gift, to guiding couples through the custom wedding invitation process – but especially restocking the card wall. Every time I would unpack a box of cards, I would turn over each one to read about the brand and how they were made. Realizing that these companies were small studios, often run out of their homes by one or two people getting to make beautiful, funny, tiny pieces of art for a living. I said to myself, “Yeah, that’s the job for me.”

A few years later, I moved to New Orleans and was still balancing the freelance design / part-time job hustle. I was exhausted — working at Pier One during the day, doing improv comedy at night, and squeezing in client work in between. One day I saw a listing for my dream job: a full-time position as retail manager and designer for a beautiful stationery shop on Magazine Street. I got the job and worked my tail off handling dozens of custom holiday cards, invitations, and whatnot, all while managing the retail shop. It was a lot, but I loved it. However, the owner of the store neglected to inform me that this would be her last holiday season, and I was merely hired to get her through the rush. She closed up shop in the beginning of January, and once again, I was out of a job.

Crestfallen, and refusing to get stuck in the same cycle again, I looked back at all the experience I had accumulated and decided that I was going to start my own line. The name Lionheart comes from that feeling; it’s about being brave and doing what you believe in. It’s been five years since I started the company and I’m so proud of what we’ve built it to be today. It started as a little dream, just a gut instinct, a side hustle. Now it’s bigger and better than I ever imagined – and we’re just getting started.

Behind the Stationery: Lionheart Prints

Our studio is located in the heart of Magazine Street, home of the best shopping in New Orleans. We print all our cards in house on two antique letterpress machines, which are visible from the retail floor. Our studio and shop is bright and happy, and we often hear customers say how much they enjoy being in the space, which always makes our day. The front half of the space is all retail, and the back half houses all of our inventory, production area and our office spaces. The space used to be a Buffalo Exchange (used clothing store) so we knocked out the walls where the dressing rooms used to be, and that’s where our offices are located now. In the very back, we have our retail backstock, a break room, and my favorite part – a photo studio! We can shoot products in house, and also use the space to record our podcast, Lionheart Living.

Behind the Stationery: Lionheart Prints

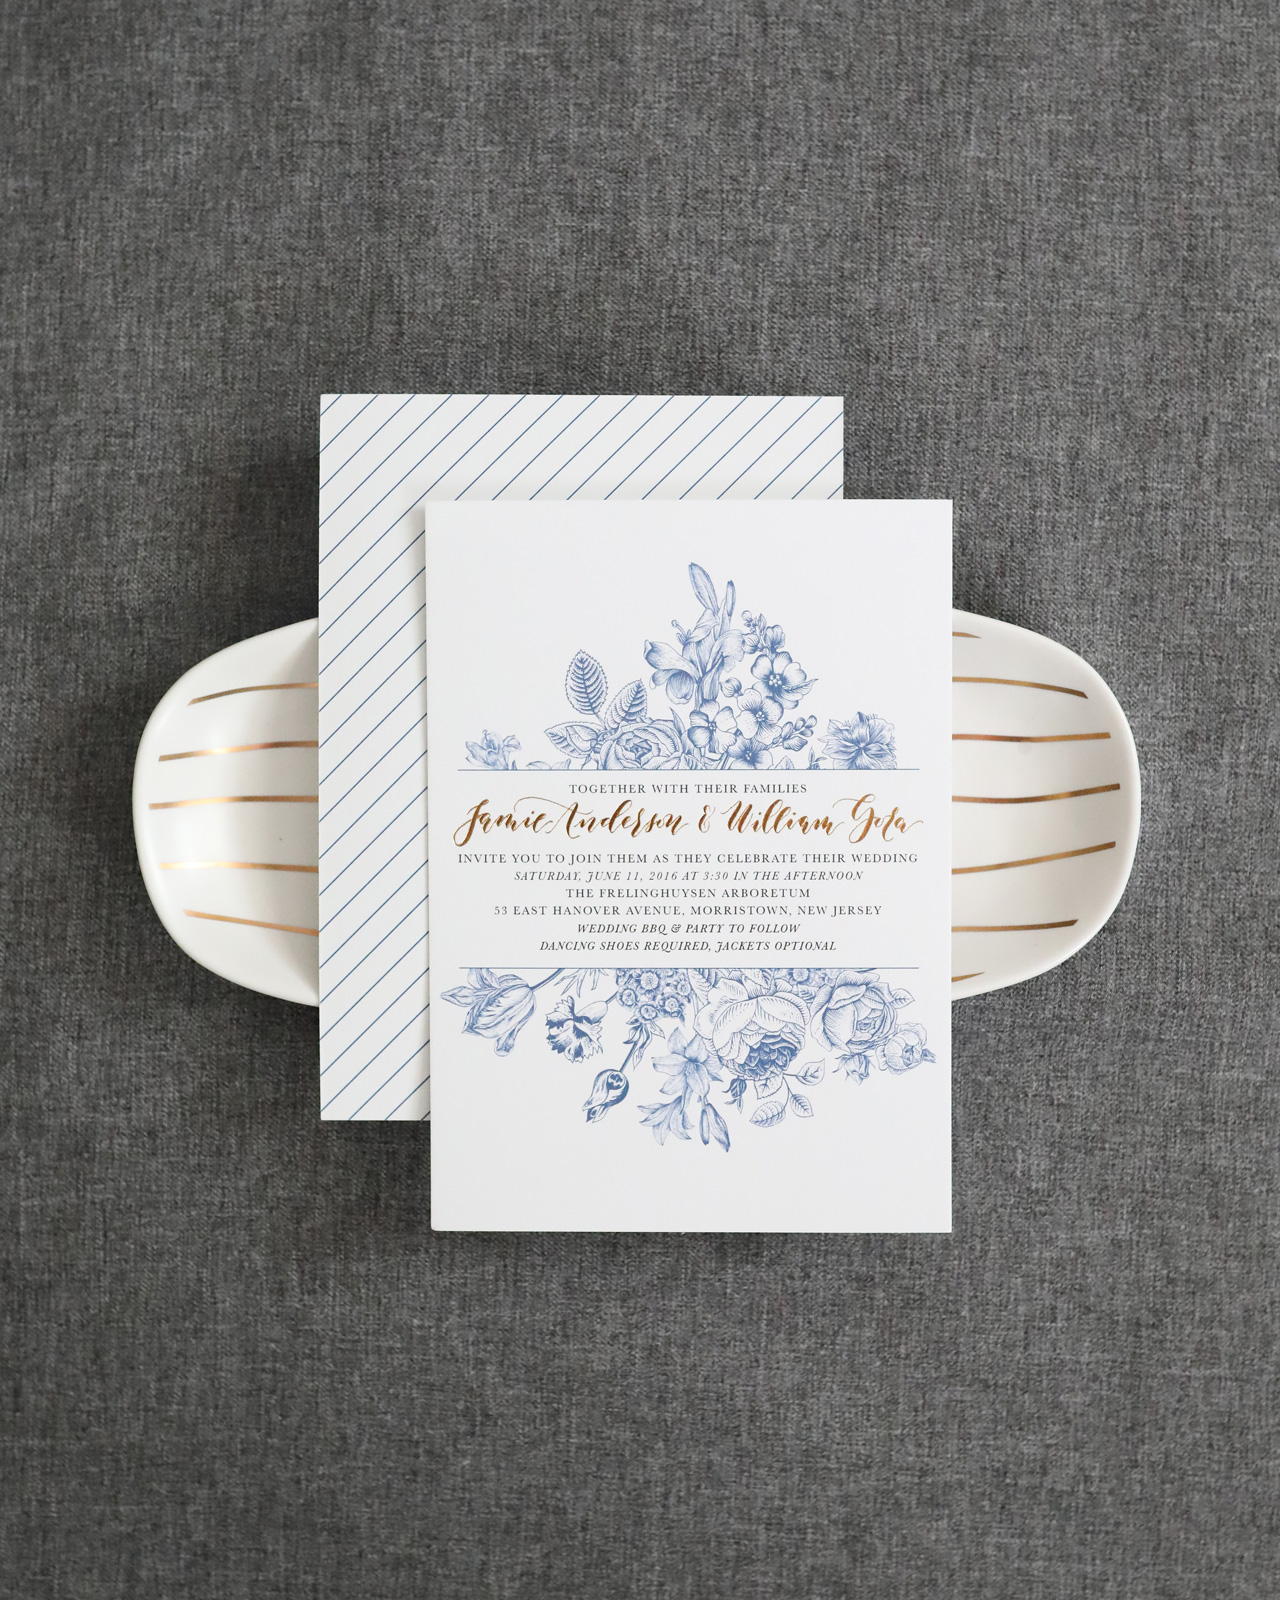
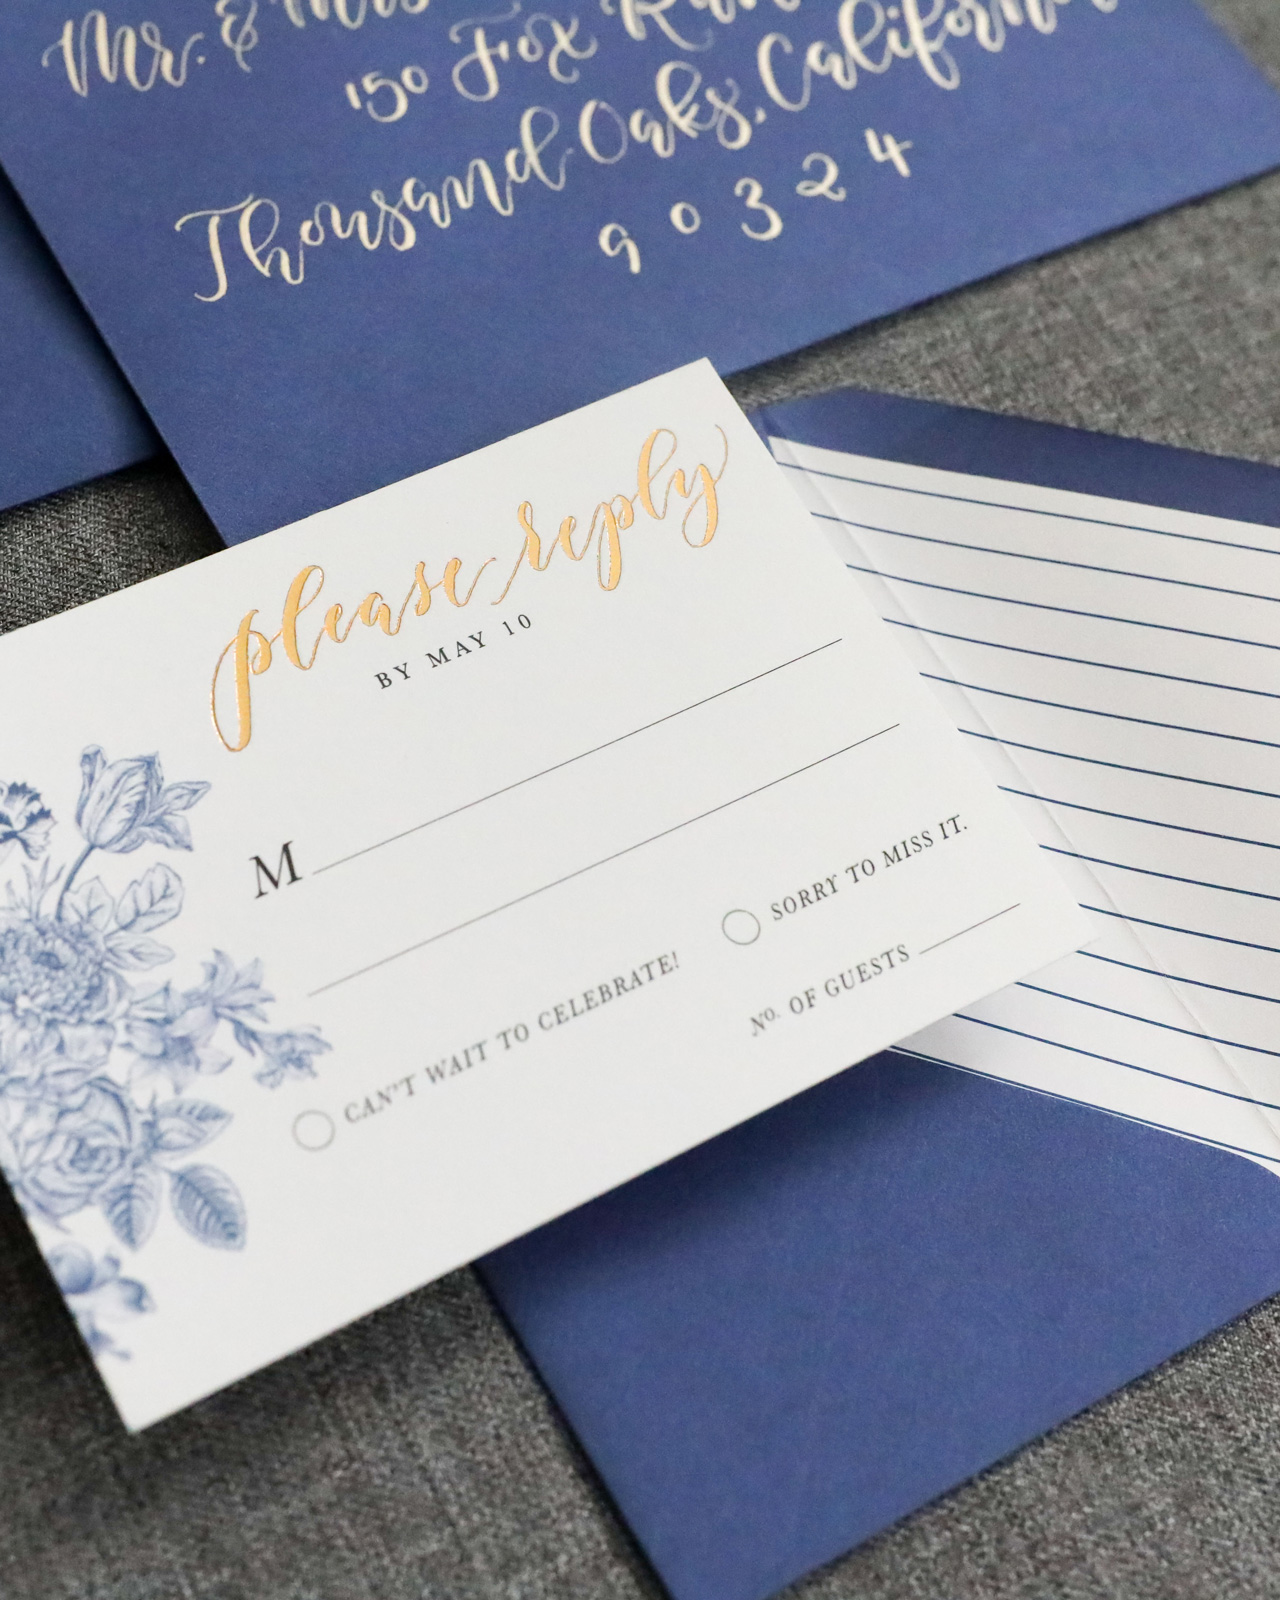
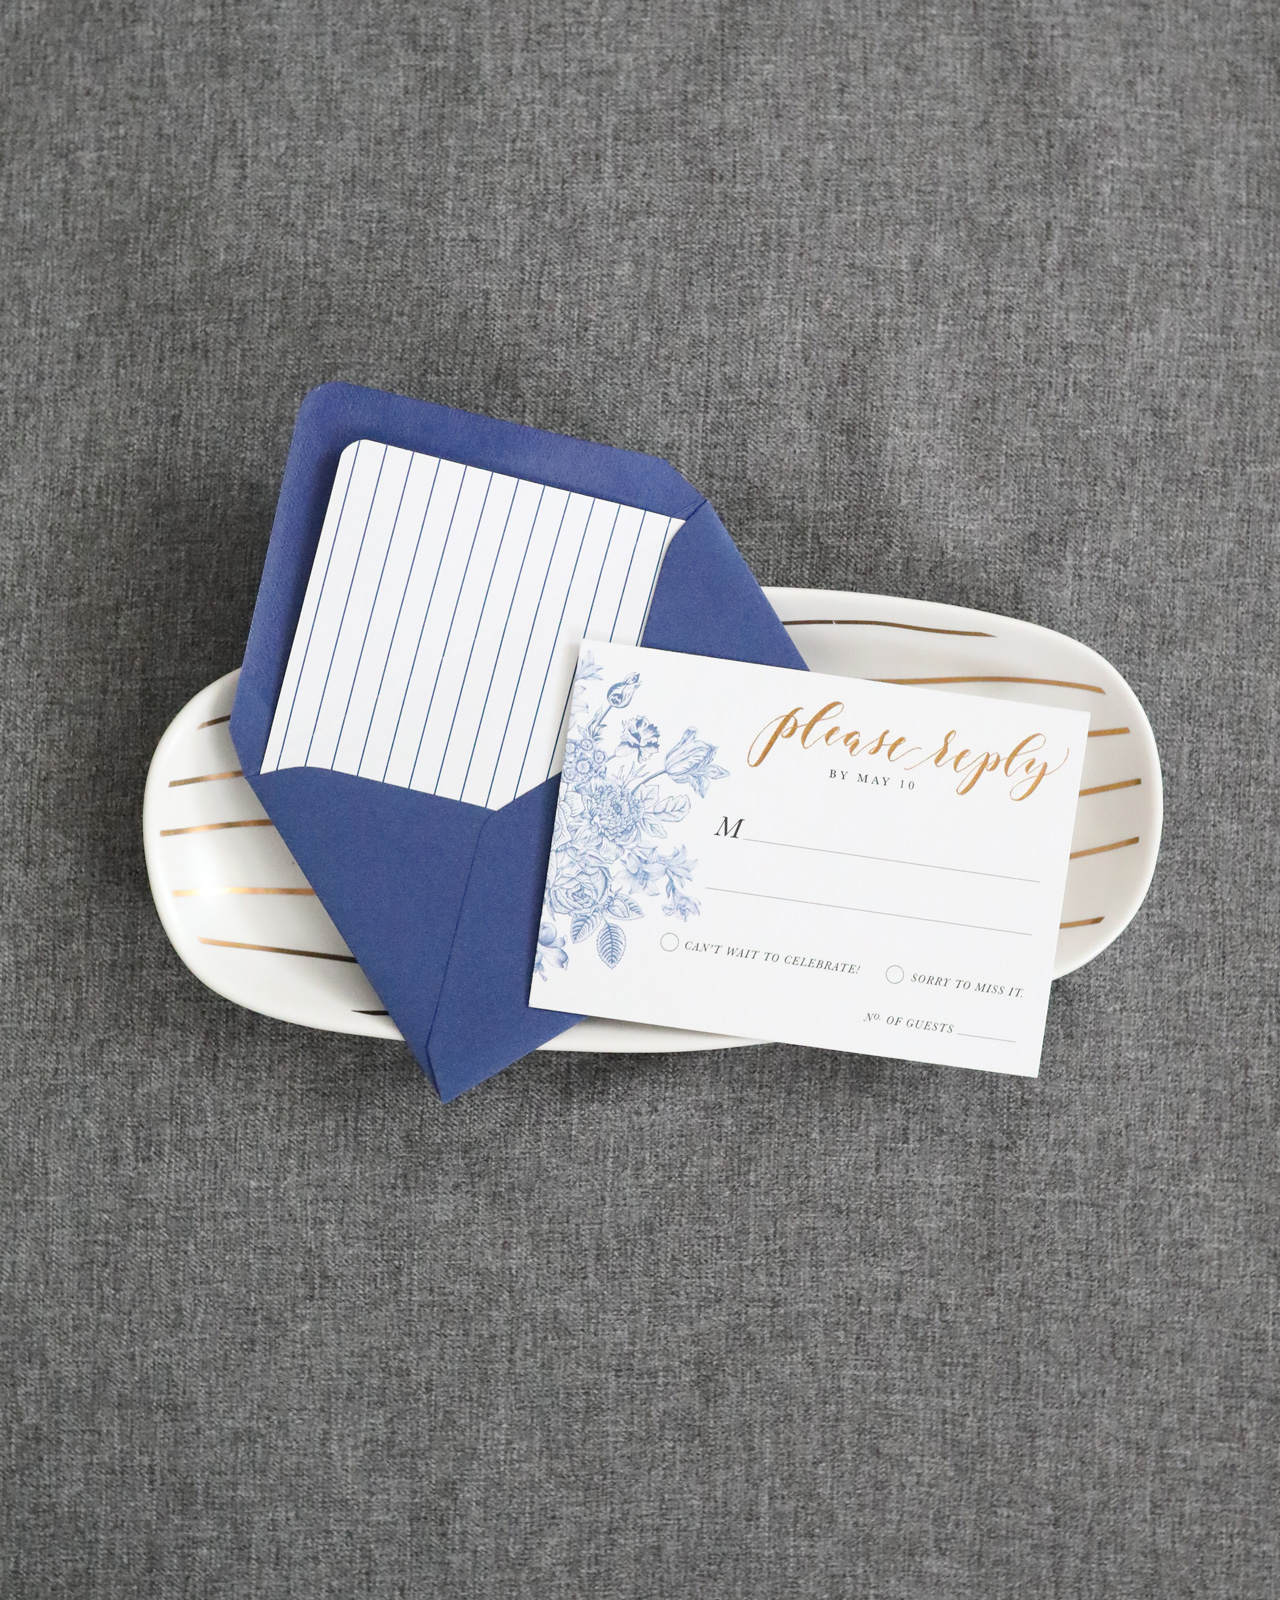
We specialize in hand-lettering and letterpress printing. We love the tactile feel of letterpress printing paired with the humanist touch of hand-lettering; I really think it brings our messages to life. Everything we make is rooted in positivity, so all the copy for our products is either funny or empowering, and in some cases, a little of both. I try to stay away from snark or self-deprecating humor, because I truly believe that the messages we give ourselves have the power to change our lives. I think that underlying philosophy really separates our brand from the crowd.

Behind the Stationery: Lionheart Prints

Since buying our own presses, we are cutting all of our digitally printed cards from our line. It’s really satisfying as we re-release cards in their new letterpress printed versions because it makes our whole line so much more cohesive in terms of color and style.

Behind the Stationery: Lionheart Prints

Typical work day? What even is that?! What I probably love most about my job is how unpredictable each day is. It keeps things exciting! I work in the shop almost every day except for Tuesday and Wednesday which are my “off” days, but really I’m still working, just usually from my home studio where I create the artwork for our line. I get up around 6:30-7:00AM, take care of things around the house, get some exercise, then head to work about 10:30AM. The store opens at 10ish (we have a great store hours sign, which is always a hit on Instagram), but Lauren, our wholesale manager goes in early around 9am to get started on work before the store opens. Ross is our press operator and works regular store hours from 10AM-6PM. We have several retail sales associates who are mostly college students and work in the front of house in shifts of 10AM-2PM and 2-6PM. Between the six of them, we are almost always able to have someone helping customers at the front. Whenever we don’t, I get to play shopgirl – it’s always fun getting to connect with our customers. Magazine Street is a heavy foot traffic area, so the shop stays pretty busy most days.

Behind the Stationery: Lionheart Prints

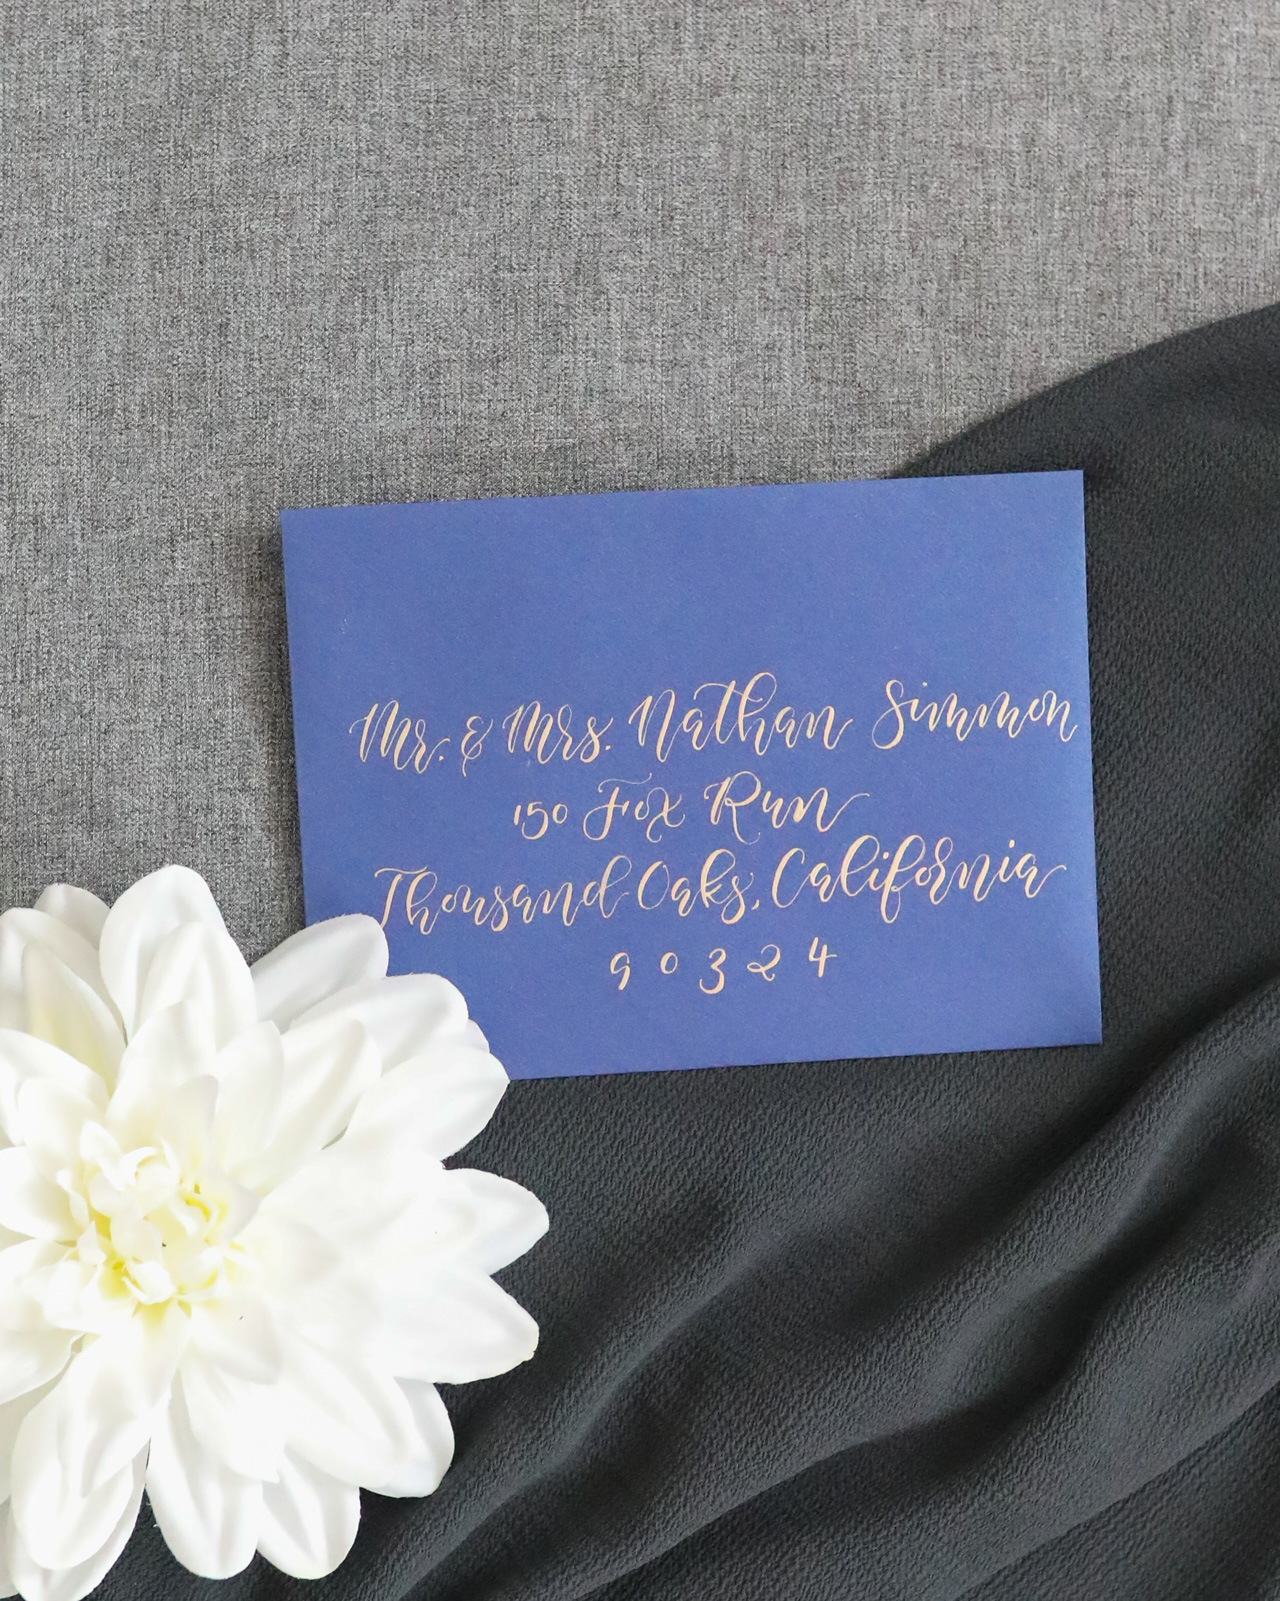
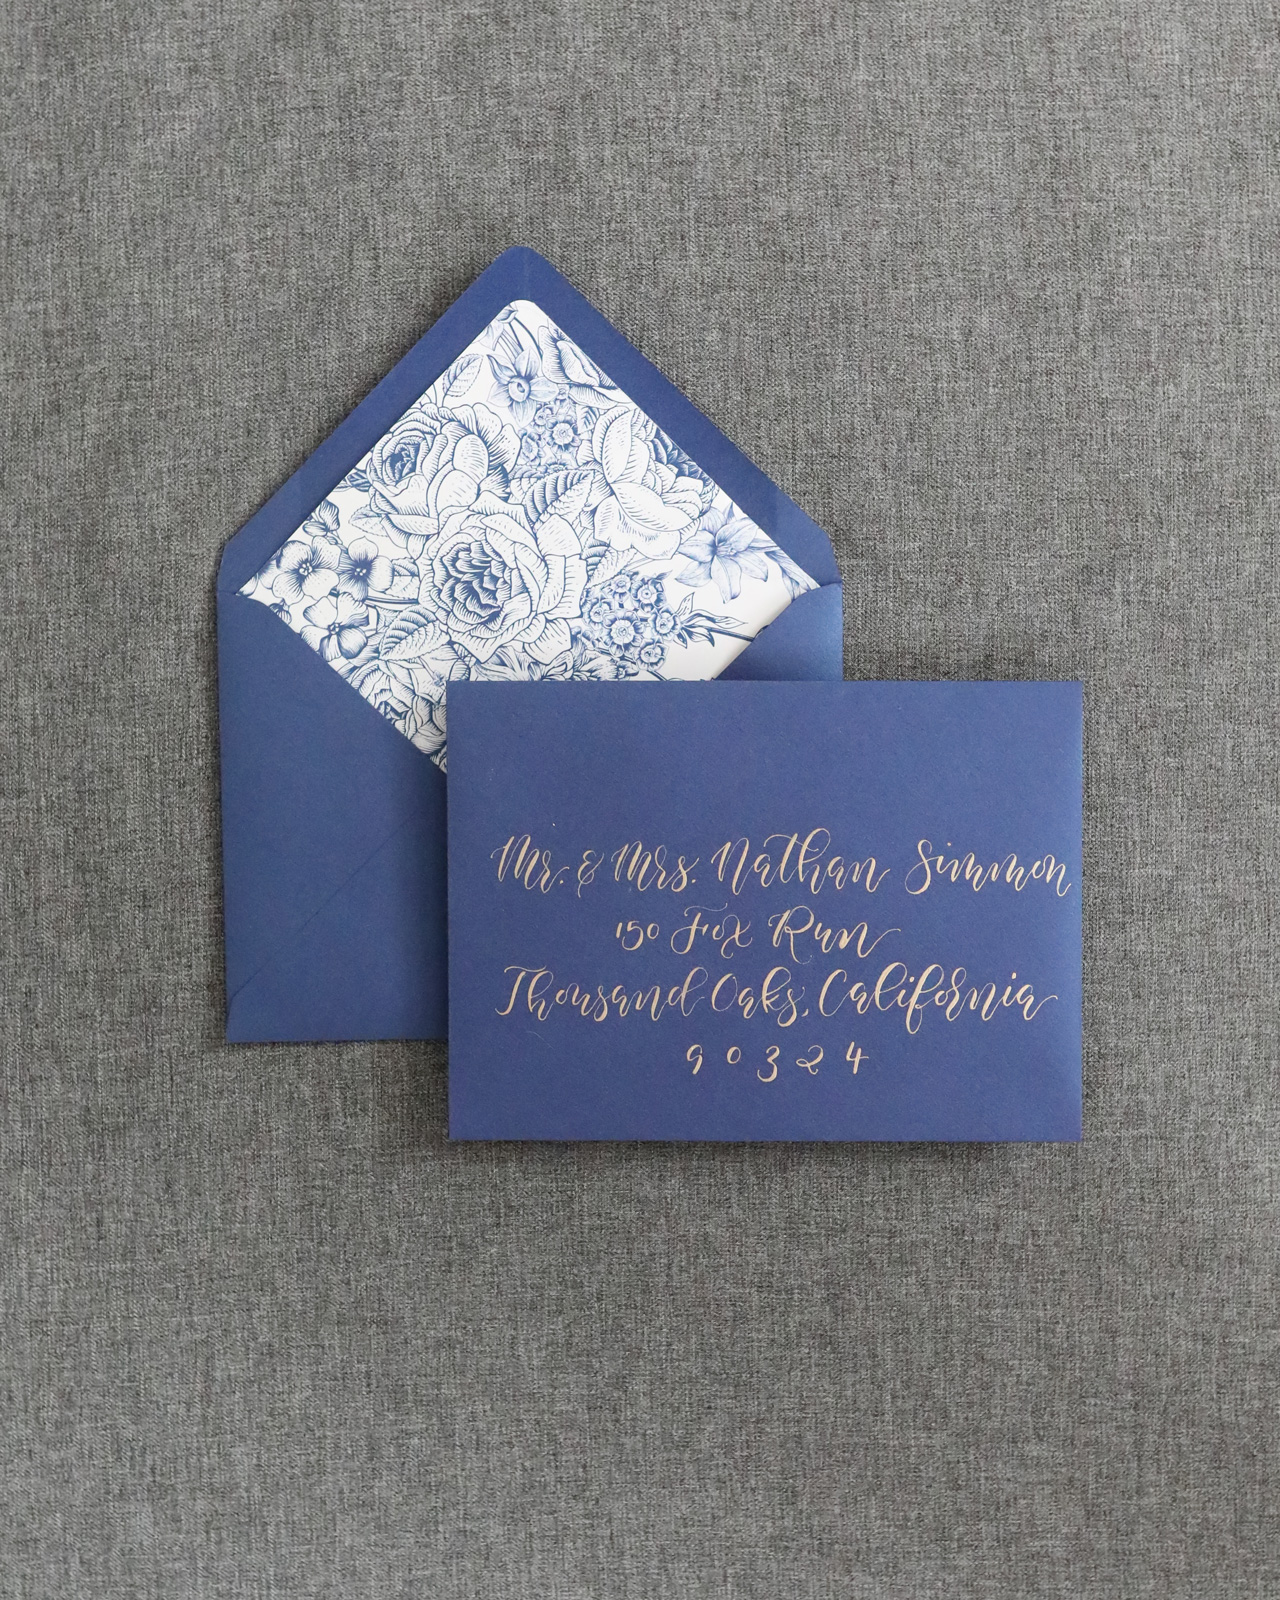
All of our designs are hand lettered, which means that I don’t use fonts to create our designs (which sometimes I resent not just being able to type good ideas and call it a day, haha!).

Everything starts as an idea, inspired by real life situations and people. When something happens or I say something that I think has potential, I add it to my running notes list of ideas in my phone. It’s about a mile long. When getting ready to design a new collection or group of cards, I’ll sit down with our amazingly funny and creative team to read off what ideas I’ve accumulated since the last release. It’s a good chance to spitball with them and see what actually works, and also figure out what doesn’t make as much sense. Sometimes they aren’t totally on board with an idea, but if I really believe in it, at the end of the day, it’s my risk to take.

Behind the Stationery: Lionheart Prints

Once we get a good tailored list of ideas we want to focus on, I’ll go spend my studio days over the next few weeks bringing the concepts to life. I try to make words look they way they feel. Through typography, colors, shapes and lines, I treat hand-lettering like the costume words wear to get the idea across.

Behind the Stationery: Lionheart Prints

First, I’ll start with a pencil sketch (more like several, if it’s a more intricate design). Once I like the way the text looks and feels, I’ll scan it or take a photo on my phone or iPad (depending on the complexity and detail), and I’ll either draw over it in ProCreate on my iPad Pro, or I’ll plot the points in Illustrator. The goal at this point is just to get the design in black and white, so we can send the file off to be made into a letterpress plate or die for foil stamping.

Behind the Stationery: Lionheart Prints

When we get the plates in, our pressman, Ross, uses our specific library of colors that we have mixed for our line. He’ll place the newly made photopolymer plate on the base, add the ink to the inkwell and start printing. It always takes some tries to get it just right, but once everything looks correct, we can print about 1200 cards in an hour on our Heidelberg Windmills. We usually print 400-800 of any given card to start out with unless we know it’s a best-seller, then we’ll print a couple thousand at a time.

Behind the Stationery: Lionheart Prints

Once they’re printed and scored, we then pair them with envelopes and put them in cello sleeves for wholesale and retail. This is where my experience with Lean Logistics really comes in handy. We have very specific processes for folding such large volumes of cards so that we can maximize efficiency. Then, they hit the shelves and wait for someone to buy them to send to someone they love! It’s pretty awesome being in the business of spreading good vibes. 🙂

Behind the Stationery: Lionheart Prints

I spend most of my time doing about a dozen things at once. My days are filled with managerial tasks like paying bills, ordering products for the store, supplies for production, guiding employees with decisions, and taking meetings with custom clients. Every day is different, and very little of my time is spent actually getting to make artwork. I’m trying to change that though. One of the main reasons I have to make the artwork from home is because my role as the boss is always requiring me to answer questions and juggle many tasks simultaneously. It’s impossible to get in the zone and get into the deep, thoughtful work of creating artwork for products. It’s one of the biggest challenges of running this business along with finding time to make the work that moves our company forward. As a wholesale line, our success depends on consistently releasing new products several times a year. The sheer volume of keeping pace with the wholesale industry is very difficult when balancing so many other high-level aspects of my business. I have hired off a lot of tasks, but there are still just some things that I’m the only one who can handle.

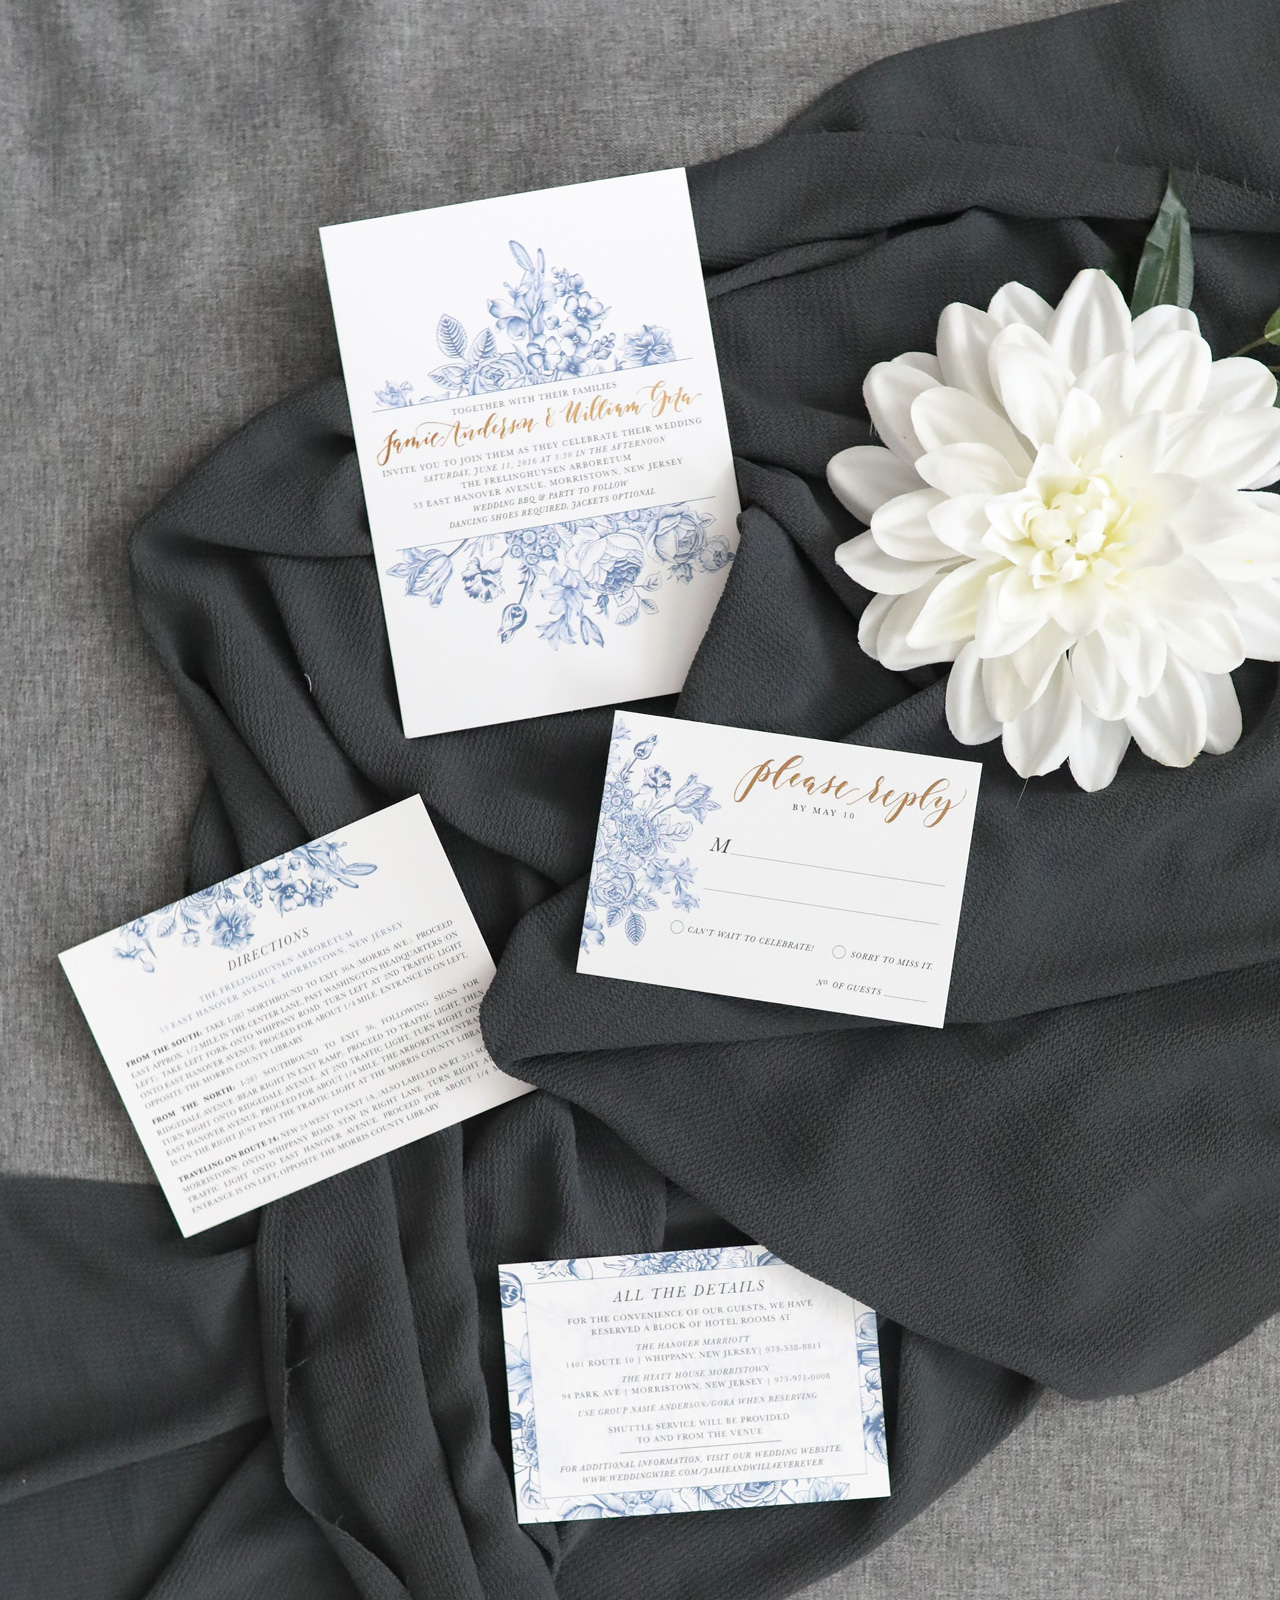
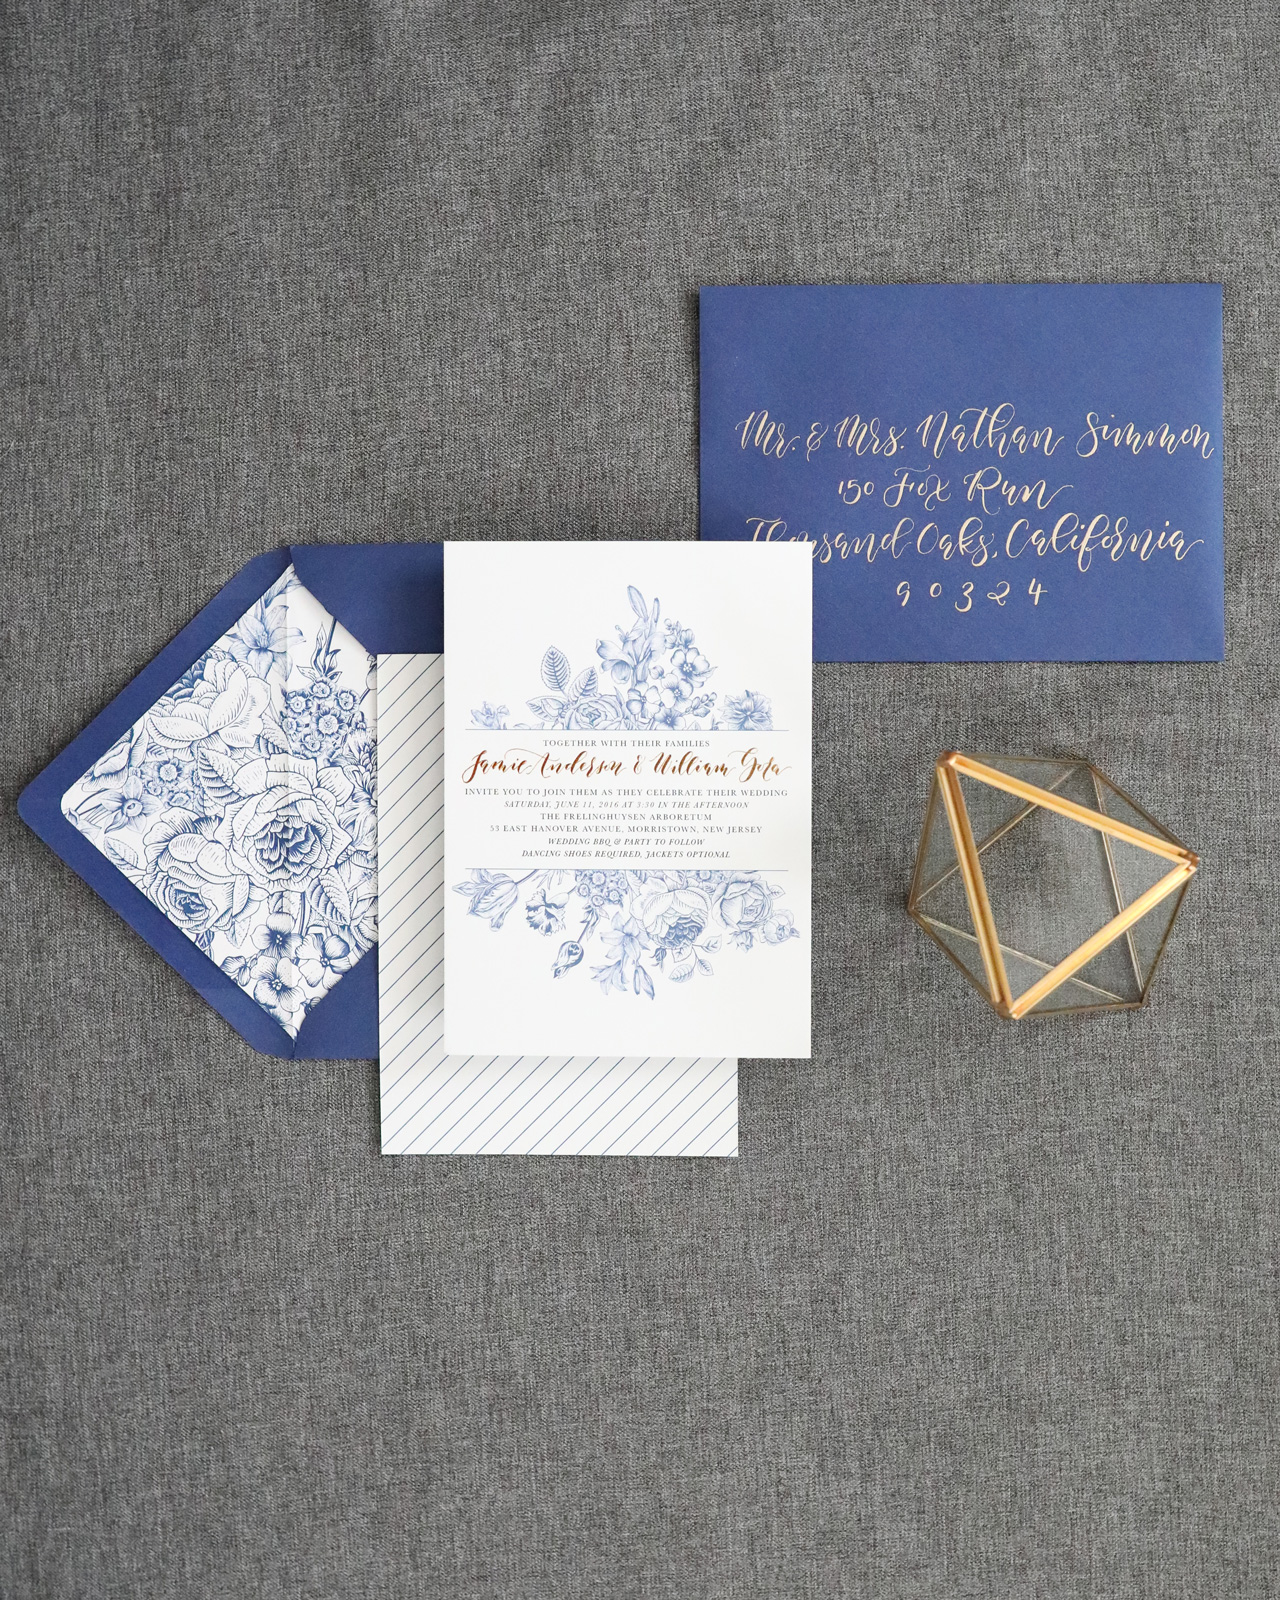
Another big daily struggle is cash flow. We have a huge store to fill and, of course, we can’t sell what we don’t have. Our studio space quadrupled, along with our rent, payroll, and retail floor when we moved to Magazine Street last summer. Although our retail sales are through the roof, it’s still hard balancing all the payments going in and coming out. We are a wholesale line with a retail store, we also do custom wedding invitations, and host workshops frequently. It’s really important to have different verticals for our business, so that when one is slower, we can put energy into another to keep everything in flow. It’s not easy!

Behind the Stationery: Lionheart Prints

Photos courtesy of Lionheart Prints.

Want to be featured in the Behind the Stationery column? Reach out to Megan at megan [at] ohsobeautifulpaper [dot] com for more details.

Understated Blush and Teal Wedding Invitations

The serif typography in these understated blush and teal wedding invitations is such a wonderful reminder that a well-curated serif typeface can make a stunning and modern statement. Designer Jaclyn Lee Bergmann, of her namesake Designed by Jaclyn, designed these beautiful invitations for her own special wedding celebration, with a gorgeous blush and teal color palette that is totally having a moment right now, rose gold and matte white foil, and dreamy vellum envelopes!

Understated Teal and Blush Wedding Invitations by Design by Jaclyn

From Jaclyn: As a visual designer, it was important to me that our wedding stationery reflect our personalities, relationship, and the laid-back elegance of our wedding day that we hoped to convey. Plus, it was such a personal (and indulgent!) experience to design for our very own wedding and our invitation suite now serves as the perfect reminder of that magical day.

Understated Teal and Blush Wedding Invitations by Design by Jaclyn

Understated Teal and Blush Wedding Invitations by Design by Jaclyn

While we were inspired by our redwood grove venue with its organic feel, we opted for something a bit more modern that both blended with and balanced out the rustic space. To do so, we paired clean lines, modern typefaces, and a hint of floral detail with a modern color palette of blush tones, rose gold, and rich dark teal to create our take on a fresh, modern elegant wedding invitation suite.

Understated Teal and Blush Wedding Invitations by Design by Jaclyn

A clean design for our main invitation let the gorgeous blush paper and rose gold foil shine, while the addition of our floral wedding logo added a lighthearted touch. Along with the main invitation we included a details card that featured a nature-inspired image from our engagement shoot and a screen-printed RSVP card in a rich dark teal hue. Together, the three pieces resulted in a playful range of texture and color.

Understated Teal and Blush Wedding Invitations by Design by Jaclyn

Understated Teal and Blush Wedding Invitations by Design by Jaclyn

To complete the suite, a printed vellum enclosure featuring our wedding logo held the three pieces together and added an elegant texture to the invitation. The printed vellum was folded to create a layered geometric look and allowed the recipient to see the layered stationery pieces upon receiving the invite. Lastly, each vellum enclosure was then sealed with a simple, yet bold rose gold sticker and slipped into an envelope.

Understated Teal and Blush Wedding Invitations by Design by Jaclyn

Understated Teal and Blush Wedding Invitations by Design by Jaclyn

We carried the layered approach of our invitation suite to our day-of wedding stationery as well, including our wedding programs and guest place cards. Our wedding programs featured three pieces of varying sizes and color paired with a simple rose gold paperclip, which when layered together created a clean, geometric look. While for the place cards, we layered blush and dark teal shapes to create a unique name tag for each guest.

Understated Teal and Blush Wedding Invitations by Design by Jaclyn

Our wedding stationery perfectly emoted the laid-back, modern elegant spirit we had envisioned for our wedding day and we love how it came together!

Understated Teal and Blush Wedding Invitations by Design by Jaclyn

Thanks Jaclyn!

Design: Design by Jaclyn
Printing: Czar Press

Check out the Designer Rolodex for more tal­ented wed­ding invi­ta­tion design­ers and the real invi­ta­tions gallery for more wedding invitation ideas!

Photo Credits: Jaclyn Lee Bergmann 

DIY Matisse-Inspired Easter Eggs

My kids think Easter is the greatest thing ever. They get to decorate eggs, then hunt for them several times over with their friends and cousins, and of course there’s plenty of chocolate involved. Total kid jackpot, right?? Over the years I’ve done some really fun Easter egg projects, from simple marbled Easter eggs (which I’ll be doing with my 3 year-old’s preschool class on Friday!), to DIY illustrated temporary tattoo Easter eggs, to Easter eggs dipped in hologram glitter, to DIY galaxy Easter eggs. But I realized that I’ve never done anything specifically for plastic Easter eggs – the kind that split in half so you can hide something inside. Let’s fix that today with these DIY Matisse-inspired Easter eggs!

DIY Matisse-Inspired Easter Eggs

After doing temporary tattoos, marbling, nail polish, and glitter – this was my first time using craft vinyl to decorate Easter eggs! But after making these colorful Matisse-inspired pumpkins for Halloween, I knew I wanted to give it a try! This time, I let the plastic eggs bring in all the color and chose a “neutral” silver hologram vinyl to make the shapes. If hologram vinyl isn’t your thing, these eggs would be super cute with a regular metallic vinyl or a mix of colorful vinyl. The more color, the better!

DIY Matisse-Inspired Easter Eggs

My kids LOVE this kind of plastic Easter egg. And with a fun surprise inside, what’s not to love? I grabbed a few colorful plastic eggs from my local Target and a roll of silver hologram vinyl – and voila! Between the colorful plastic eggs and vinyl shapes, this was so easy and fun! Just pop a little treat inside, apply the vinyl shapes, close it up, and you’re good to go! Are you ready to make some??

DIY Matisse-Inspired Easter Eggs

DIY Matisse-Inspired Easter Eggs

Supplies

Plastic Easter eggs in fun colors

Craft vinyl in your chosen color (I used this hologram foil)

Silhouette Cameo or Cricut Explore cutting machine

Note: If you don’t have a Silhouette or Cricut, you could also paint the Matisse-inspired shapes onto the Easter eggs using acrylic craft paint. I know a couple of you painted the shapes on your pumpkins back in October – so clever!

DIY Matisse-Inspired Easter Eggs

To make the DIY Matisse-inspired Easter eggs:

Step 1. Download our templates at the bottom of the post, and use your Silhouette Cameo or Cricut to cut the shapes from your vinyl. Each template should cover approximately a dozen Easter eggs.

Step 2. Carefully peel individual shapes from the adhesive backing and apply to the faux Easter eggs like a sticker. I found it easiest to start by placing two or three of the larger shapes around the Easter egg, then fill in with the smaller shapes. If you place a shape and then change your mind, you should be able to move it by very carefully peeling the vinyl from the Easter egg and moving it to a new spot.

Step 3. Continue placing vinyl shapes until you’ve covered the entire Easter egg, and enjoy!

DIY Matisse-Inspired Easter Eggs

DIY Matisse-Inspired Easter Eggs

DIY Matisse-Inspired Easter Eggs

So fun, right? If you make these, or any of our other Easter egg projects, please be sure to share a photo on Instagram with the hashtag #madewithosbp so I can see it!

Download the templates below!

MATISSE-INSPIRED EASTER EGG TEMPLATE (Silhouette Studio file)

MATISSE-INSPIRED EASTER EGG TEMPLATE (SVG file)

p.s. DIY Hologram Foil Easter Eggs, DIY Painterly Pink and Gold Easter Eggs, and DIY Illustrated Temporary Tattoo Easter Eggs

Photo Credits: Nole Garey for Oh So Beautiful Paper

Chinoiserie-Inspired Blue and White Wedding Invitations

There’s something so charming about the ornate blue and white chinoiserie patterns on classic southern ginger jars. Megan from Honeybee Paper Co. designed these chinoiserie-inspired blue and white wedding invitations with gold foil accents for an elegant, outdoor picnic-inspired wedding. The playful pin stripes on the back of the invitations are the perfect complement to the floral illustrations. Royal blue envelopes with floral envelope liners and calligraphed addresses bring everything together to create a truly memorable wedding invitation suite!

Chinoiserie-Inspired Blue and White Wedding Invitations by Honeybee Paper Co.

From Megan: When Jamie, the bride, came to me for custom wedding invitations and said that I had free reign creatively, I couldn’t even contain my excitement! The bride and groom were planning an elegant outdoor barbeque picnic inspired wedding that took place at an arboretum with beautiful botanicals and a regal manor home on the grounds.

Chinoiserie-Inspired Blue and White Wedding Invitations by Honeybee Paper Co.

Chinoiserie-Inspired Blue and White Wedding Invitations by Honeybee Paper Co.

The bride wanted the invitations to be elegant and still convey the more casual laid-back feel of their nuptials so I let the theme and venue drive the inspiration behind the design. They chose royal blue and yellow as the color palette, so the gold foil was the perfect fit for this invitation suite — and let’s be honest, I love foil!

Chinoiserie-Inspired Blue and White Wedding Invitations by Honeybee Paper Co.

The florals on the invitation were so lovely that we carried them over to the rsvp and enclosure cards, and even the envelope liner, using them in slightly different ways to add some variation to the suite. The cards were all printed on a white cotton stock, adding another layer of texture. The response envelopes even got their own complementary liners that matched the reverse side of the invitation card. I for one LOVE envelope liners, so to be able to include them in the response envelopes as well was a real treat for me.

Chinoiserie-Inspired Blue and White Wedding Invitations by Honeybee Paper Co.

Chinoiserie-Inspired Blue and White Wedding Invitations by Honeybee Paper Co.

The couple’s names and “please reply” on the response card were spot calligraphed and printed in gold foil. The darker blue of the design really allowed the gold foil to shine — literally and figuratively! To complete the suite, we chose a metallic blue envelope which contrasted nicely with the white space of the overall design. Of course, the envelopes were addressed with a lustrous gold ink in the same calligraphy style that was used on in the suite. The simplicity of this suite makes it so stunning, and I was truly delighted to have the opportunity to design it.

Chinoiserie-Inspired Blue and White Wedding Invitations by Honeybee Paper Co.

Chinoiserie-Inspired Blue and White Wedding Invitations by Honeybee Paper Co.

Thanks Megan!

Design: Honeybee Paper Co.
Printing: StationeryHQ

Check out the Designer Rolodex for more tal­ented wed­ding invi­ta­tion design­ers and the real invi­ta­tions gallery for more wedding invitation ideas!

Photo Credits: Megan Veliz

Happy Weekend!

Happy Friday everyone! We made it through a very cold and snowy week here on the East Coast! I keep thinking that if I just think about flowers and Spring long enough, it will suddenly appear. Ha! We have a warm cocktail recipe coming up this afternoon – perfect for these cold nights! But in the meantime, read below for weekend links and sales!

Angela Liguori Neutral Ribbons

Photo Credit: Angela Liguori

Boston friends! Angela Liguori and Kathryn of The Everyday Co. are co-hosting a styled wedding event Saturday, March 10 from 11 – 4! You can find all the details right here – if you’re in the area, you don’t want to miss it!

You guys! Everything at Gap is 40% off right now! I just scooped up a couple dresses for my girls; I couldn’t resist this sequin unicorn dress and this rainbow plaid dress for Easter.

How to quiet the voice in your head that tells you “you can’t”

So excited for this book from the ladies of Hello!Lucky: It’s called Be the Change and it has 16 creative projects to encourage civic and community action by kids!

DIY hologram foil Easter eggs

That 30% off sale at JCrew is still going strong! I’m loving this lace top in Deep Copperthis hand lettered graphic t-shirt, and this super cute embroidered sweater

MAKE: Funfetti cake batter popsicles!!


Stay tuned for a cocktail recipe this afternoon! Have a great weekend, and I’ll see you back here on Monday! xoxo