Easter is this weekend! Did it sneak up on you? Or do you already have all of your egg decorating activities planned out? So far this season, I’ve gone all in on my love for all things hologram and sparkly with these DIY marbled hologram galaxy Easter eggs and these DIY hologram foil Easter eggs. This week, I’m sharing a couple of last-minute Easter egg ideas that can easily be pulled off with a quick trip to your local craft store – and today we’re starting with these fun DIY hologram glitter dipped Easter eggs!

The general idea behind these hologram glitter dipped eggs is roughly the same as the hologram foil eggs – but a whole lot easier to execute. Only three steps! They’re easy enough to do with tiny decorators, and if your kids love sparkly things as much as mine do, they’re pretty much guaranteed to be a crowd pleaser. Let’s make some!
Supplies
Pre-dyed hardboiled eggs or faux eggs
Hologram glitter and iridescent glitter
Mod Podge or school glue
Paint brush
Non-aerosol Hairspray (optional)
To make the DIY hologram glitter dipped Easter eggs:
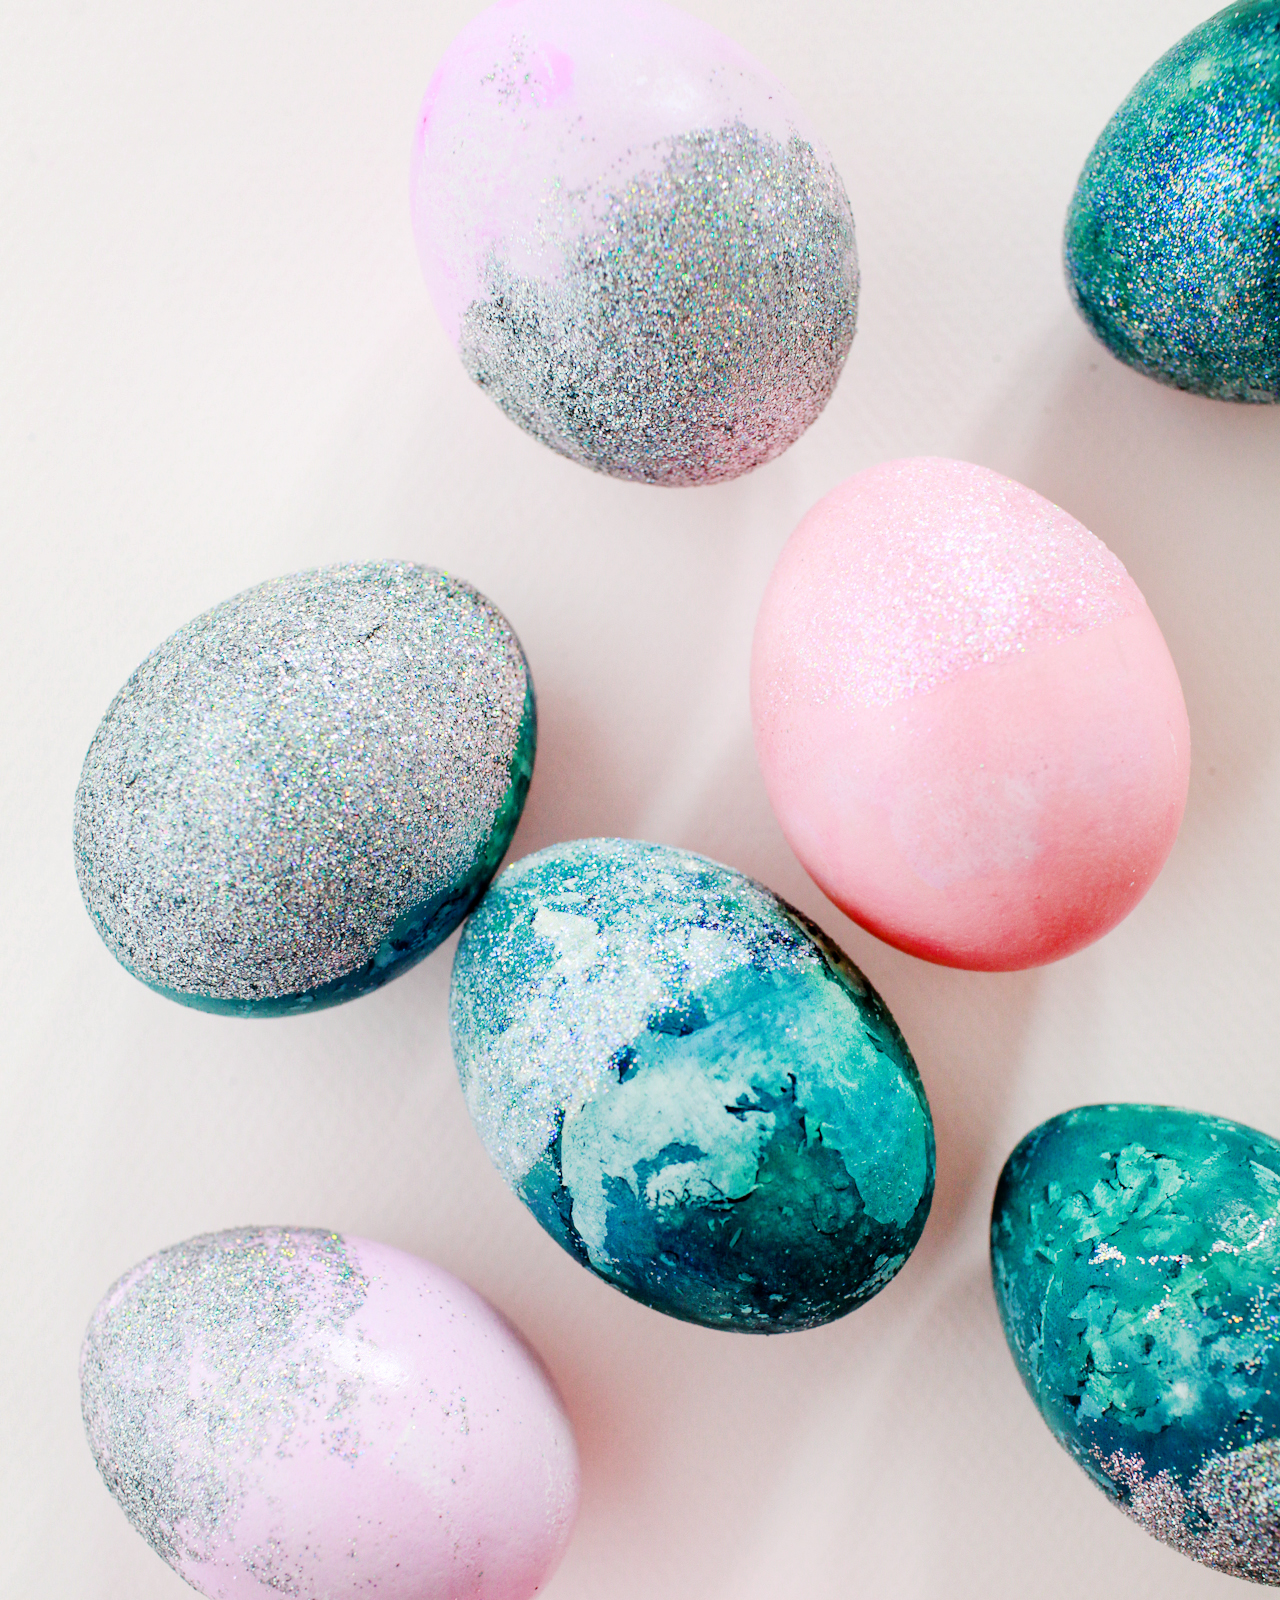
Step 1. If you’re using hard boiled eggs, start by dyeing your eggs in your chosen color palette. I used a mix of deep blue, light pink, and lavender hard boiled eggs. The deep blue eggs were naturally dyed with red cabbage (I like this tutorial for cabbage dyed eggs) and left in the dye bath for several hours to achieve that deep blue hue. The lavender and pink eggs were dyed with liquid food coloring. Allow the eggs to dry completely.
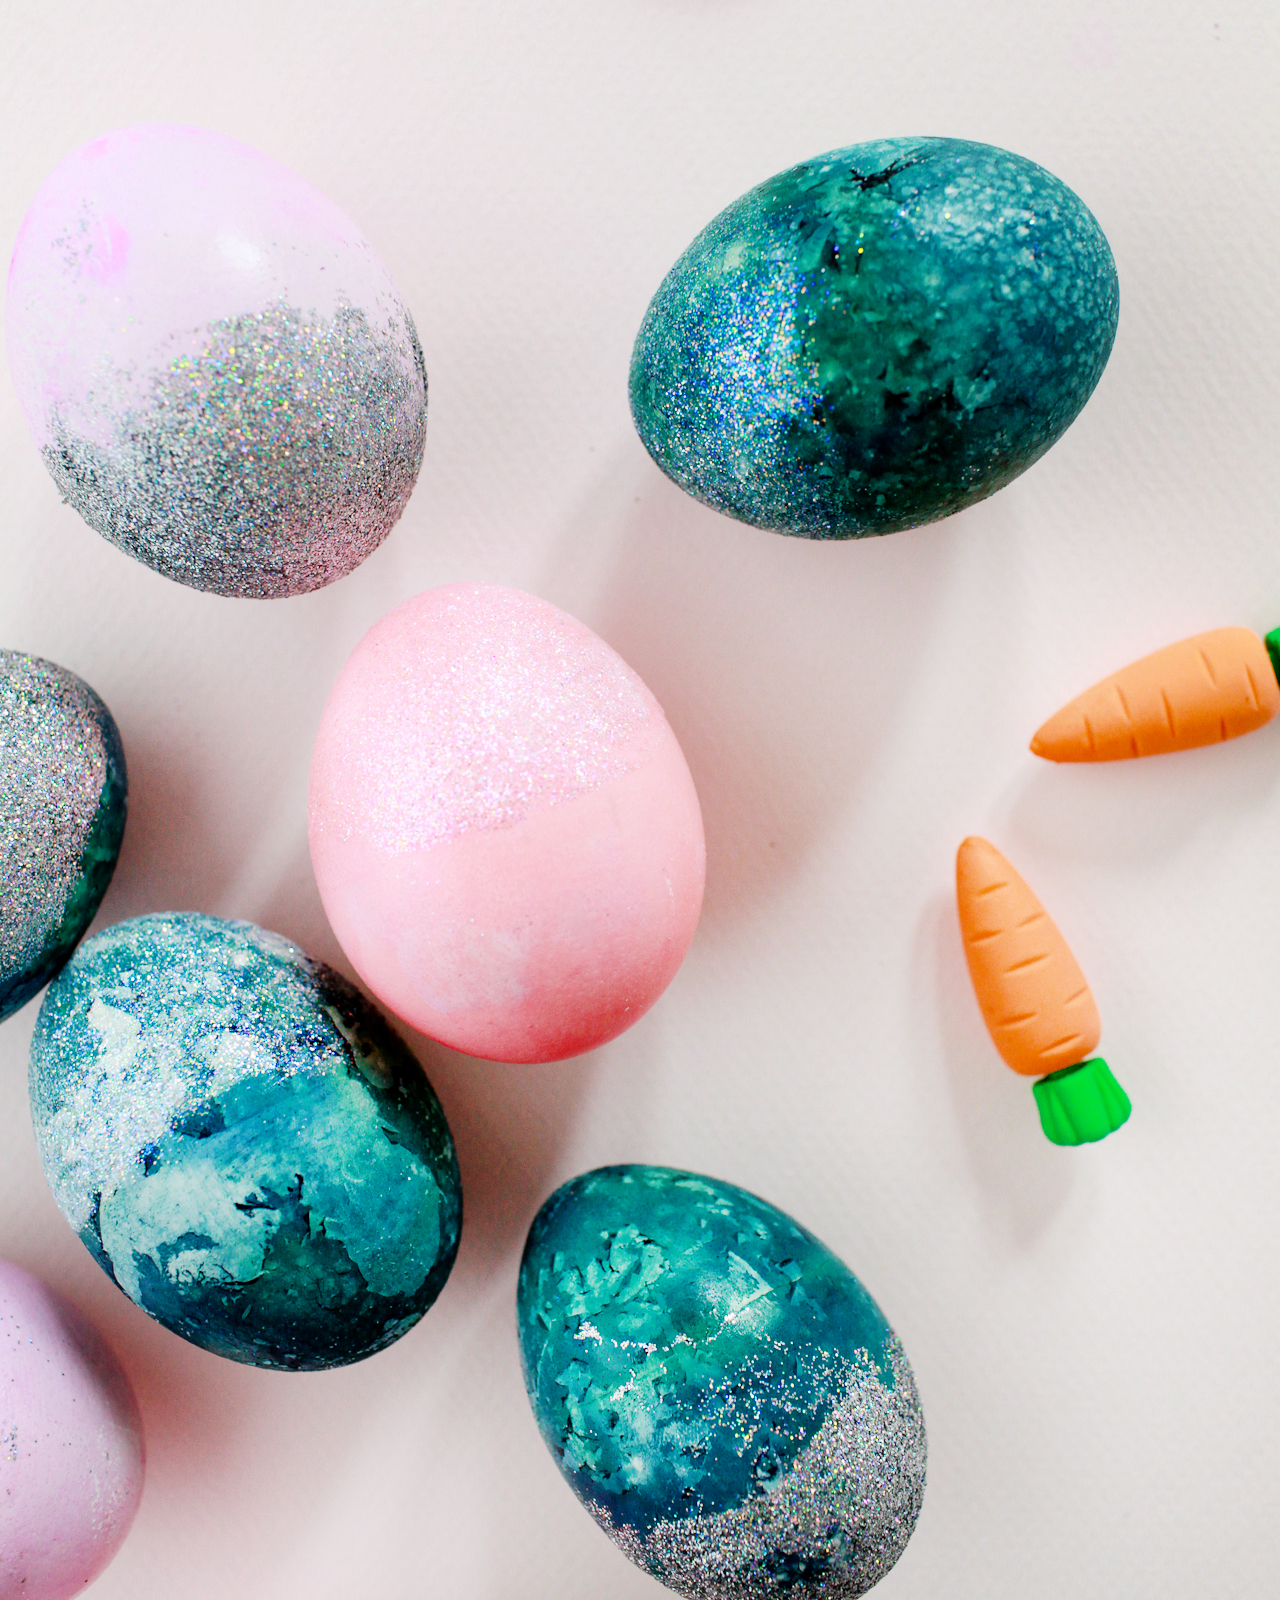
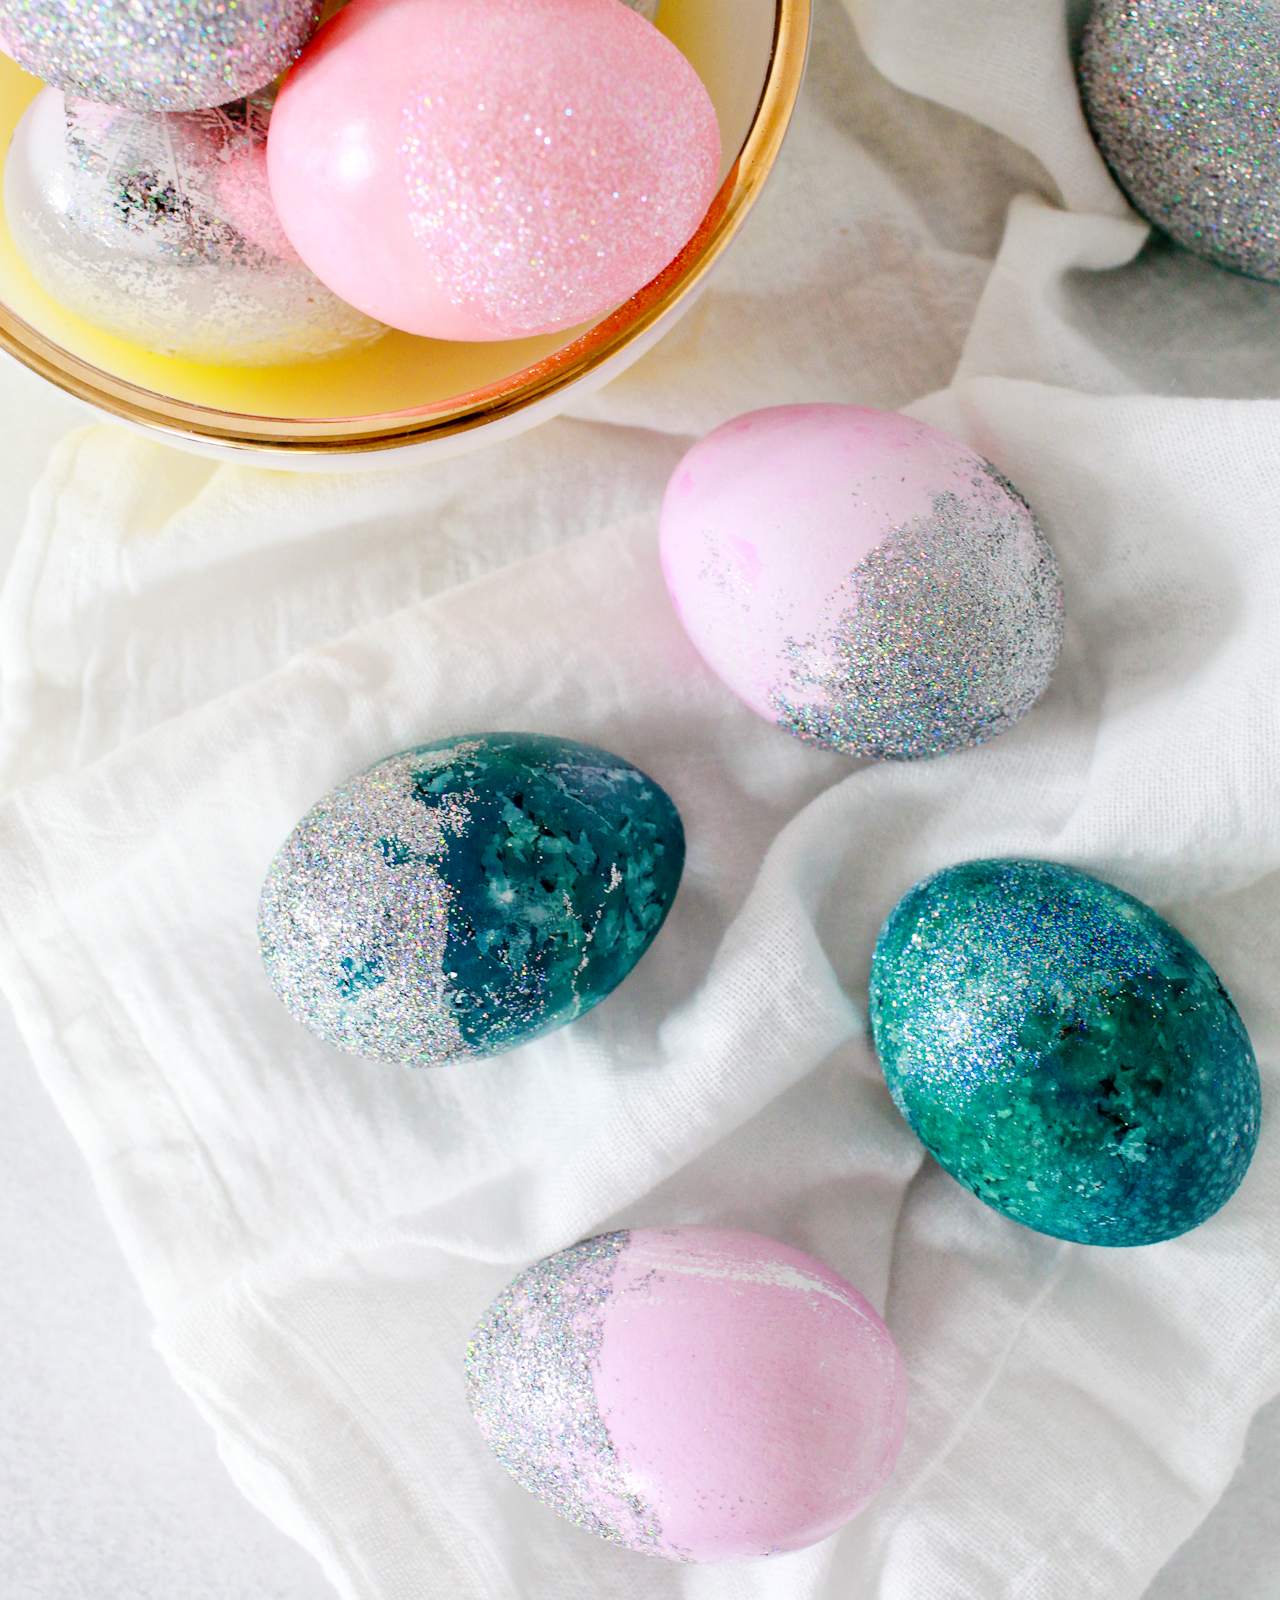
Step 2. Pour some of the glitter into a small bowl or paper plate. Paint a layer of Mod Podge or glue onto one half of an egg. Holding the egg by the opposite end, roll the glue-covered portion of the egg in the glitter until you’re satisfied with the amount of coverage. Set the egg onto a drying rack or sheet of wax paper and allow it to dry completely. Repeat this process for each egg.
Step 3. Once all the eggs are covered in glitter and fully dry, take them outside and spray them with non-aerosol hair spray to seal the glitter on the egg. Revel in your ability to touch the glitter dipped egg without getting glitter everywhere. Yay!

I used a food safe hologram and iridescent glitter to make my eggs, but if you’re not worried about using a food safe version you can easily find hologram glitter at Michael’s and other craft stores. And if you’re worried about getting glitter everywhere making these eggs, don’t be! Seriously, hair spray is like magic when it comes to sealing microscopic pieces of glitter without compromising the sparkle factor. Just give the entire glitter-covered area a nice coat of hair spray and everything will stay put. I picked up the cheapest bottle of non-aerosol hairspray that I could find at my local grocery store and it worked like a charm!

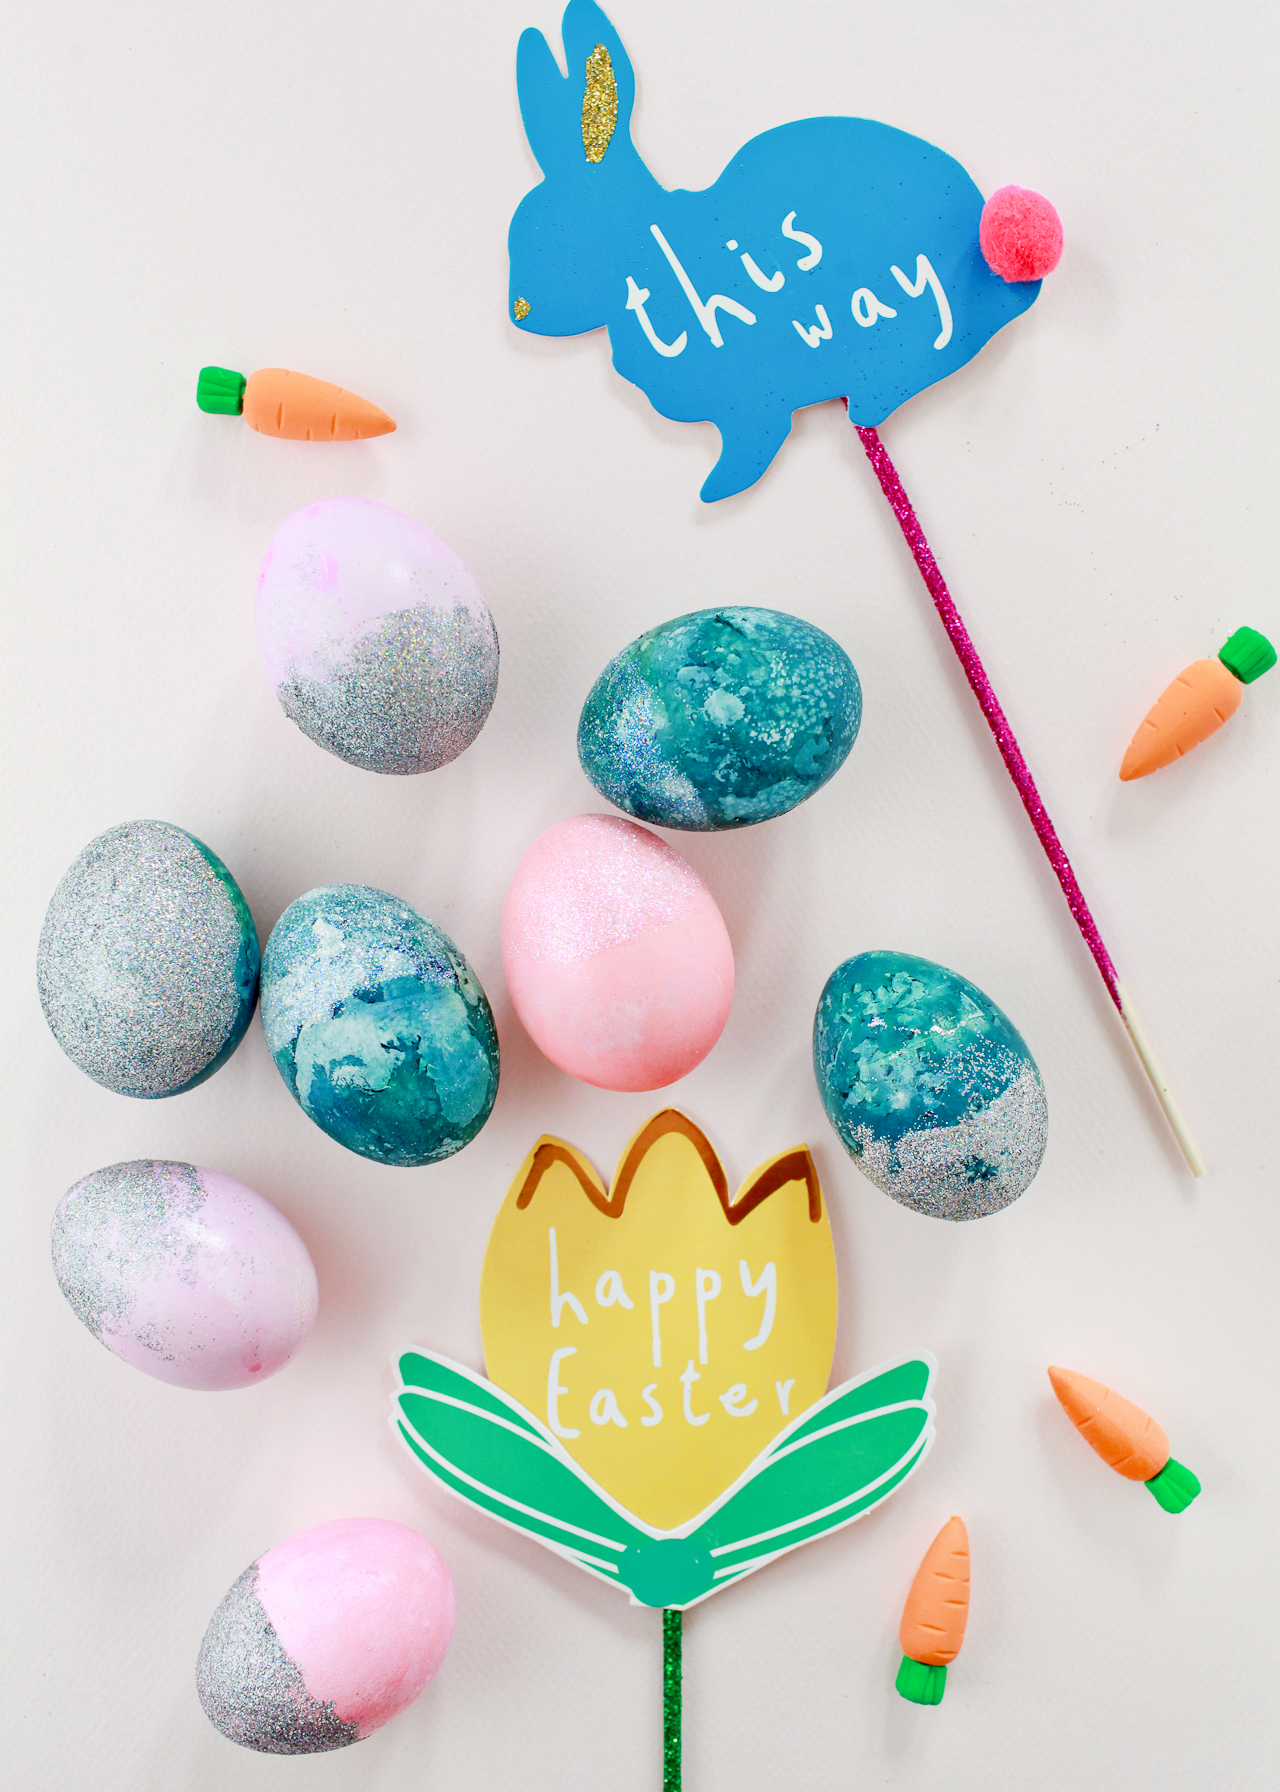
Just look at all that sparkle! The iridescent glitter is translucent, which creates a really beautiful tone-on-tone glitter effect with dyed eggs. But I still just can’t get over those rainbow sparkles from the hologram glitter. So pretty!
Photos by Nole Garey for Oh So Beautiful Paper
It’s a good design for Easter eggs. I think the method of doing it is fun since you dip the eggs to the glitter. First thought was that it looks like a candy lol.