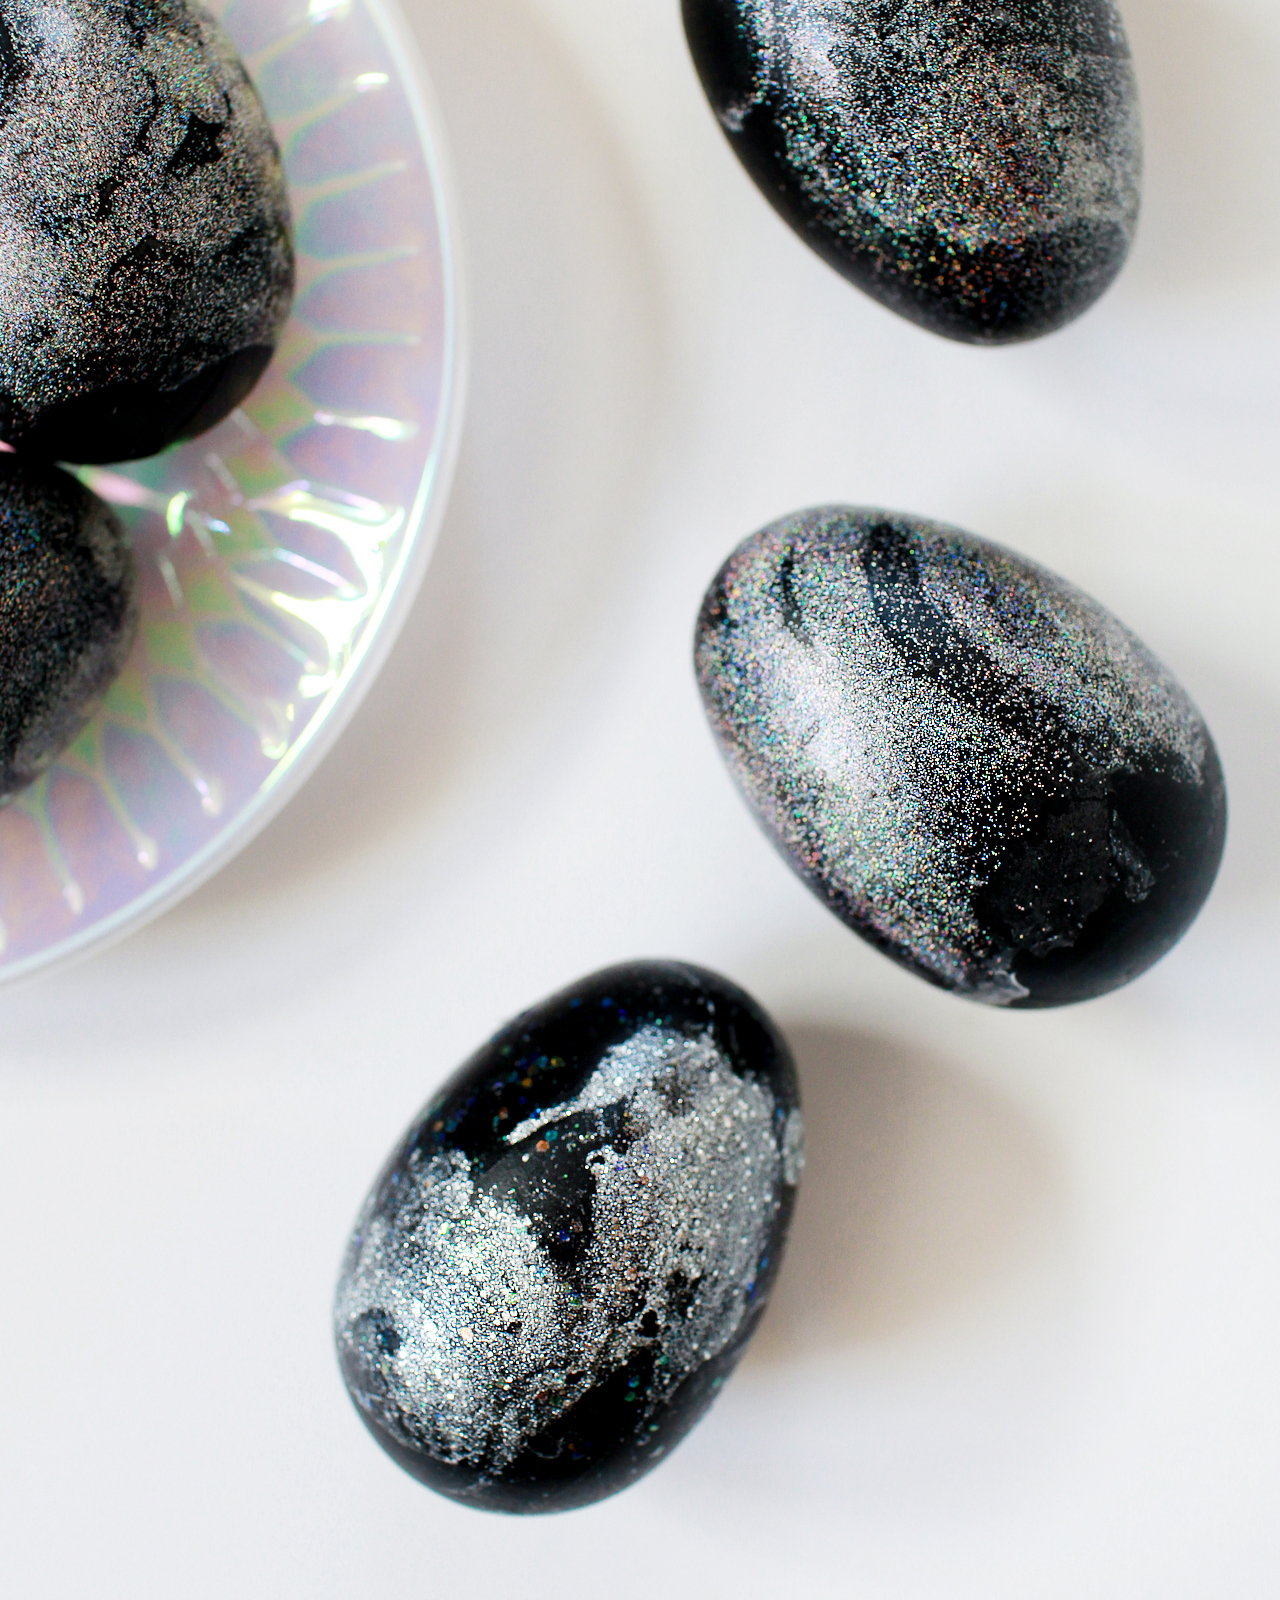
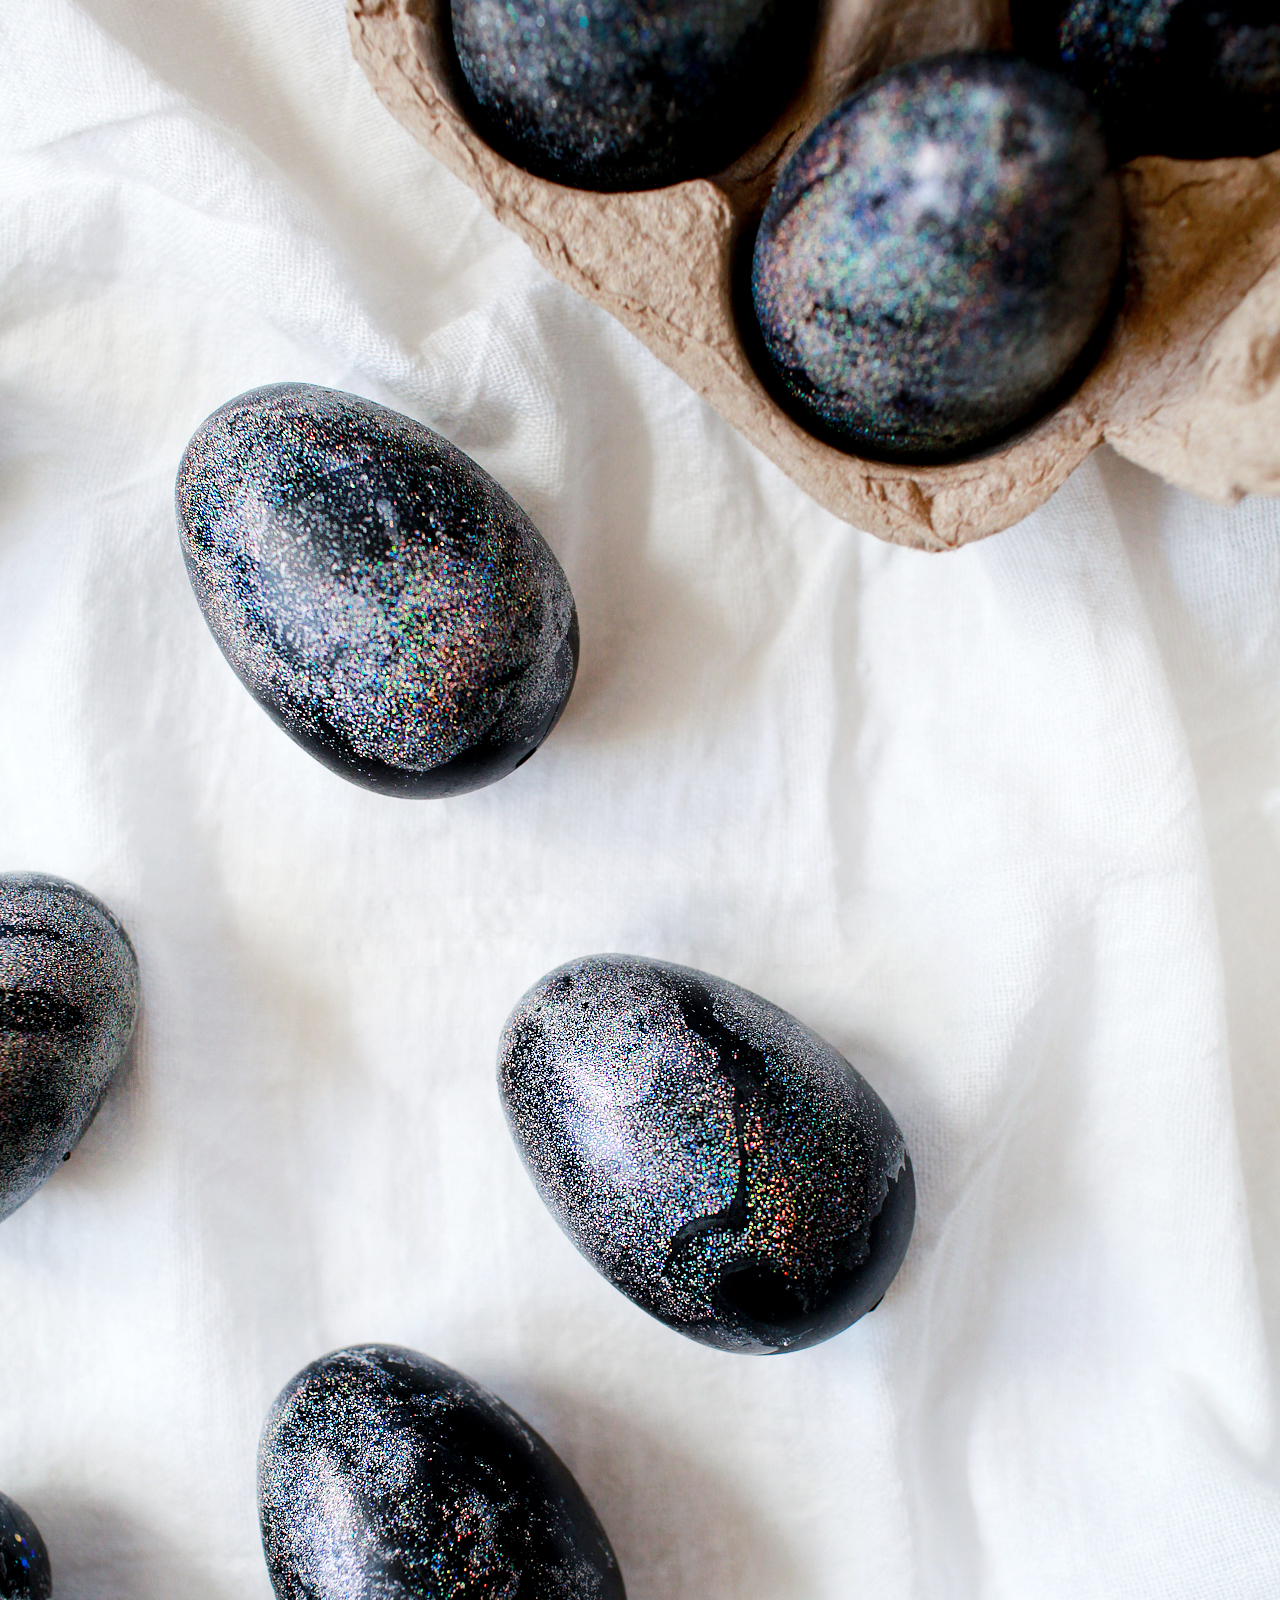
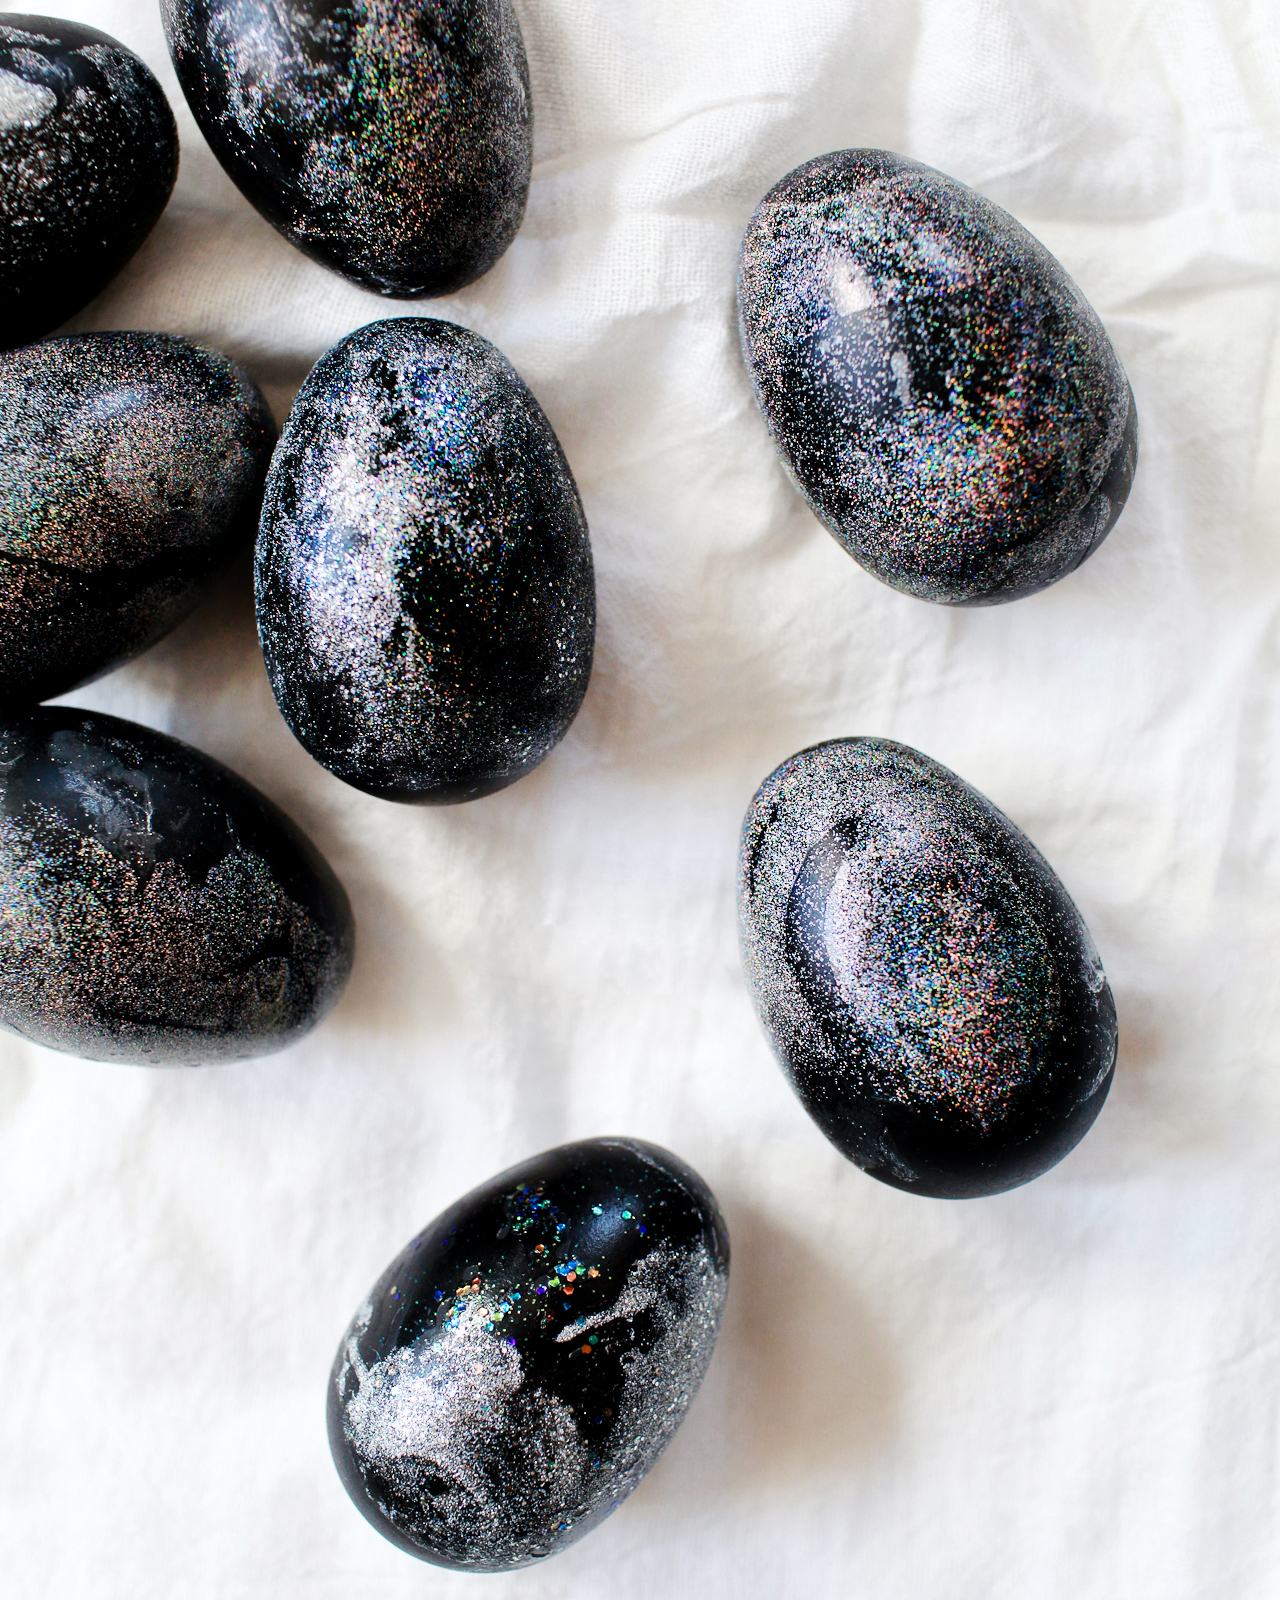
Happy Monday everyone! Today I’m excited to share my first Easter egg tutorial of the season – DIY Hologram Galaxy Easter Eggs! I loved the marbled hologram pumpkins that I made back in October, and I was excited to apply the hologram marbling concept to Easter eggs. When marbled, the hologram nail polish takes on a galaxy-like quality that I absolutely LOVE, especially against a dark background. And they’re super sparkly, which my daughters both love. So fun!
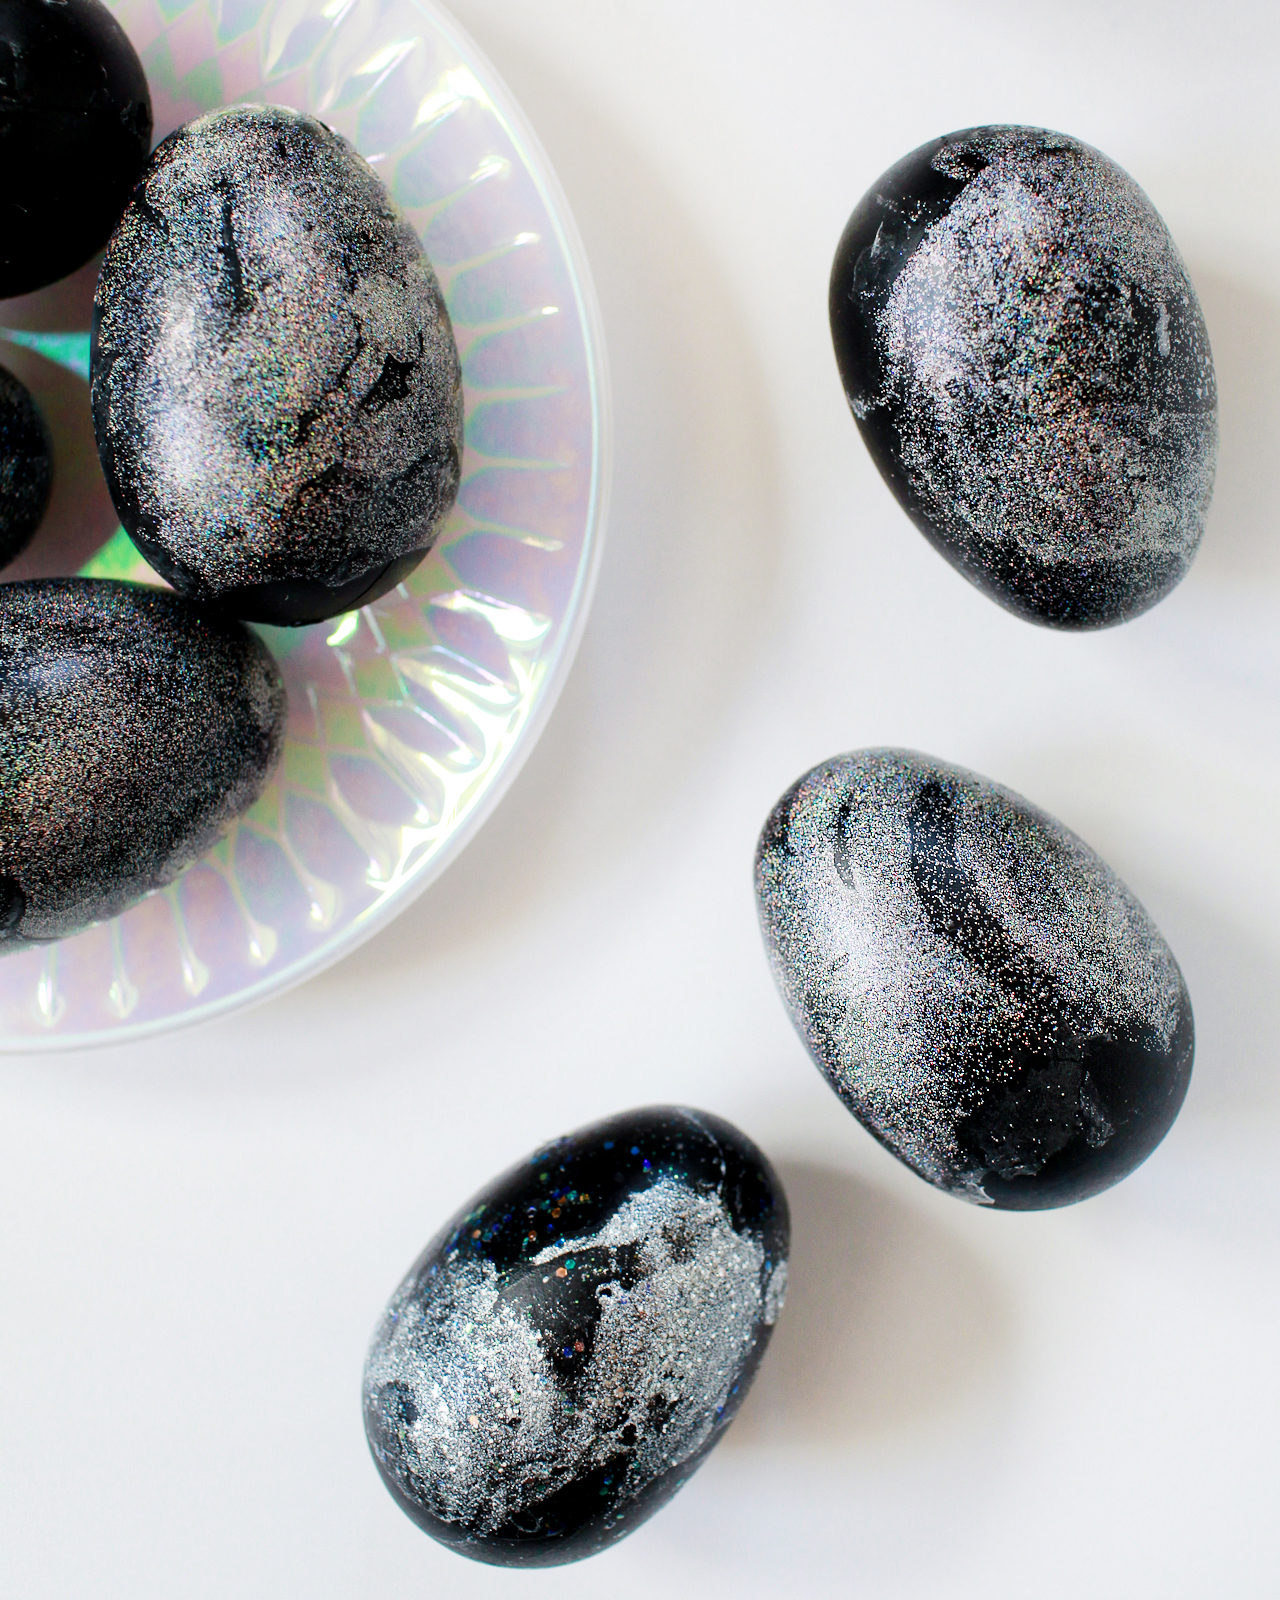
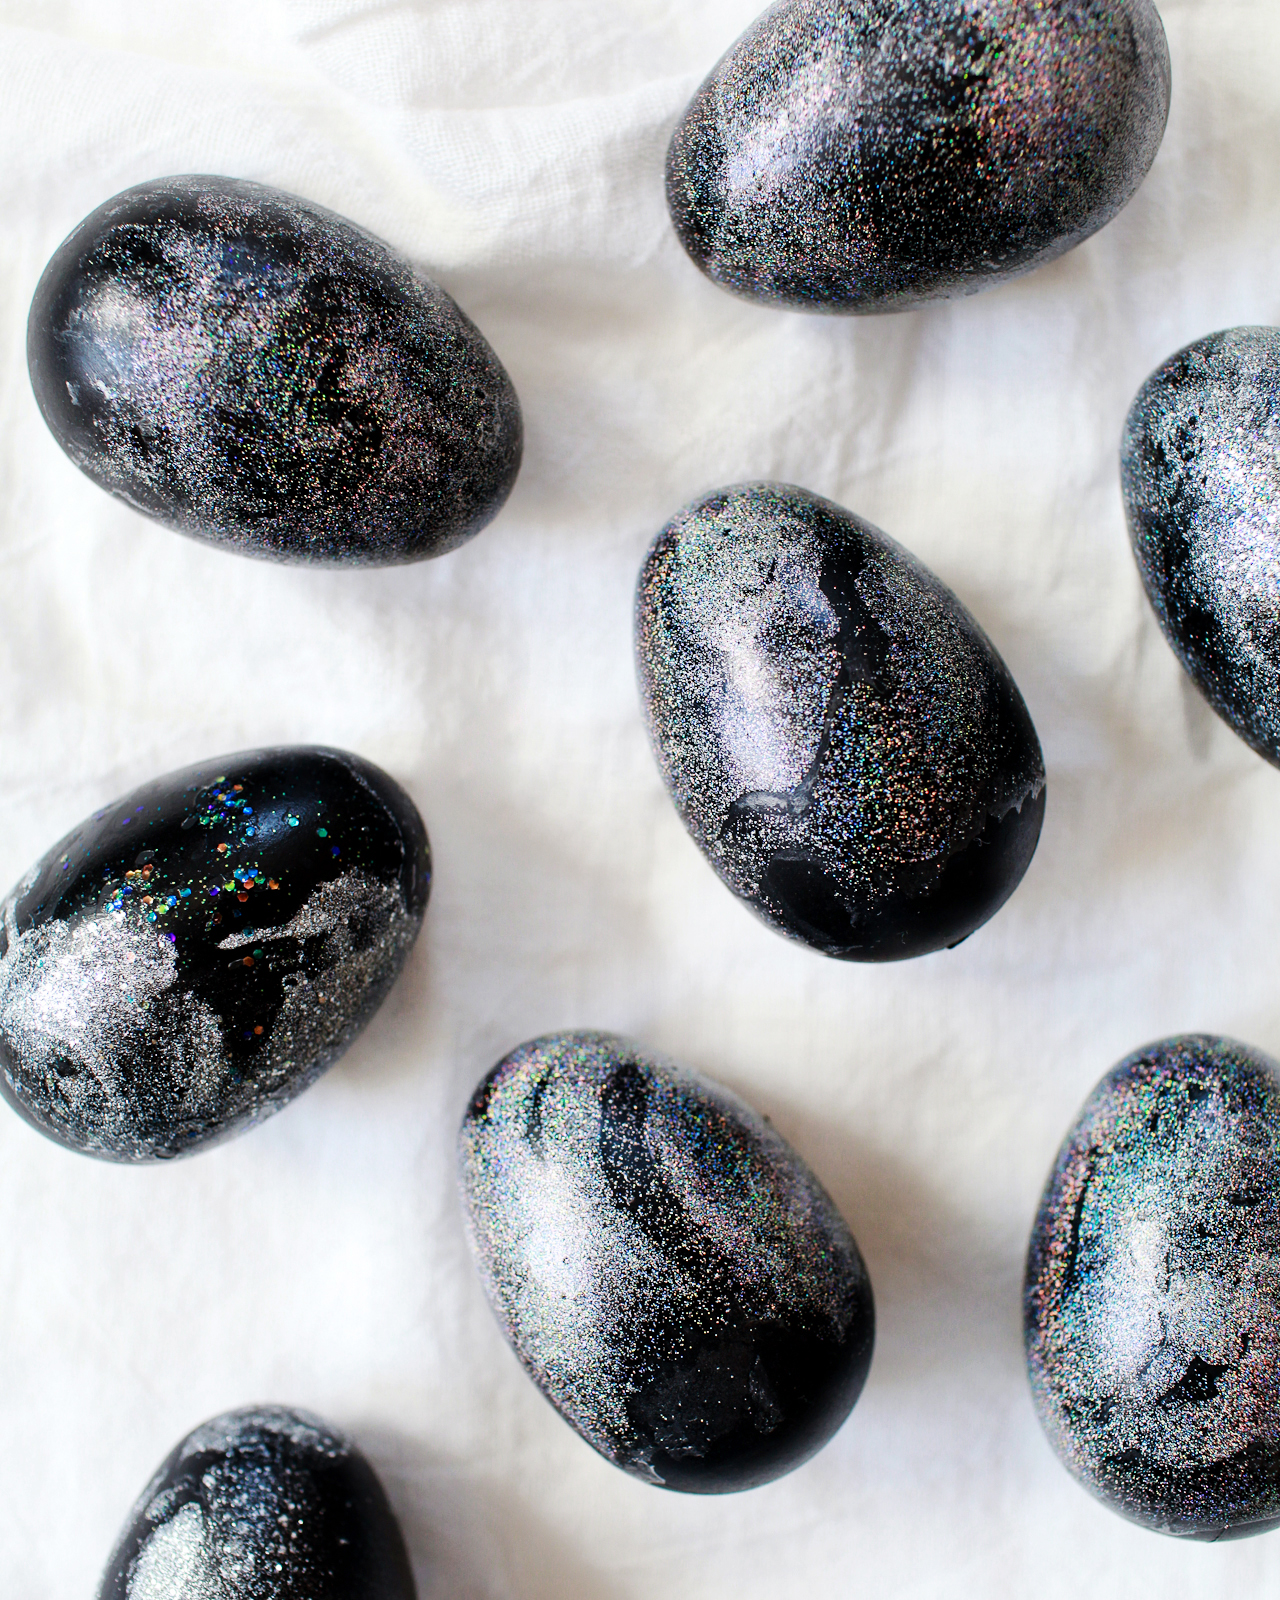
I mean, what’s not to love about shimmery rainbow sparkles on an Easter egg? I knew I wanted to use the hologram nail polish against a super dark color, so I decided to make things easy for myself and marble a few black plastic chalkboard Easter eggs. You could also paint regular hard boiled eggs with black craft paint or chalkboard paint! I tried mixing a few different types of glittery hologram and iridescent nail polish together, and while it still worked, I found that I got the best results when I stuck to just a few drops of a single nail polish color. Each egg only takes a few drops of nail polish and a few seconds to make – so easy!
Supplies
Latex gloves
Disposable plastic container
Paper towels
To make the DIY hologram galaxy Easter eggs:
Step 1. Fill a disposable plastic container with lukewarm water. The container should be slightly wider than an egg and deep enough to cover the entire egg in water (I used a grande size plastic Starbucks cup!).
Step 2. Drizzle a few drops of nail polish in curvy circular patterns. Wait a few seconds for the hologram glitter nail polish to naturally disperse over the surface of the water. Wearing disposable gloves, dip the egg into the water and twirl it all the way around before removing from the water.
Step 3. Set the egg on a sheet of wax paper to dry. The nail polish actually dries REALLY fast, so you can usually pat the eggs with a paper towel to soak up any excess water.
Step 4. Use a toothpick, stir stick, or disposable utensil to remove any excess nail polish from the water. Repeat steps 2 and 3 for all the remaining eggs!
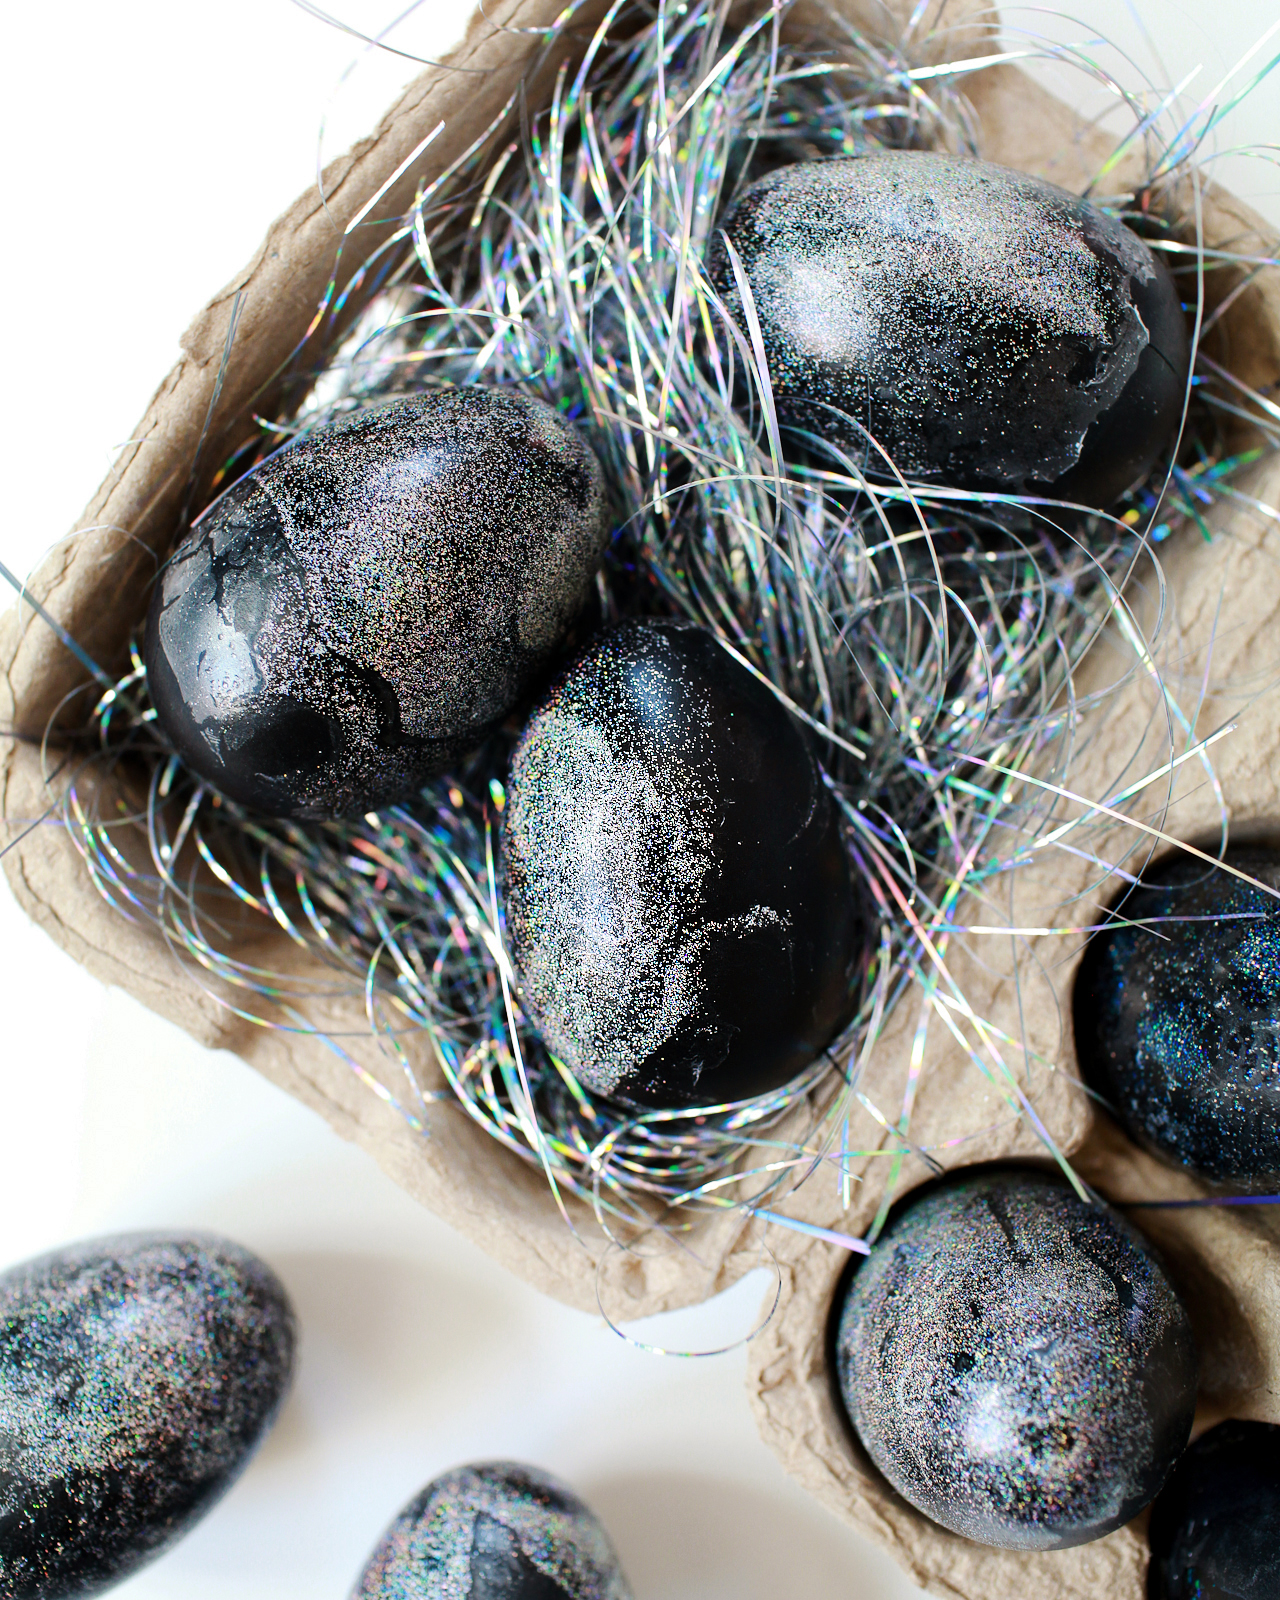
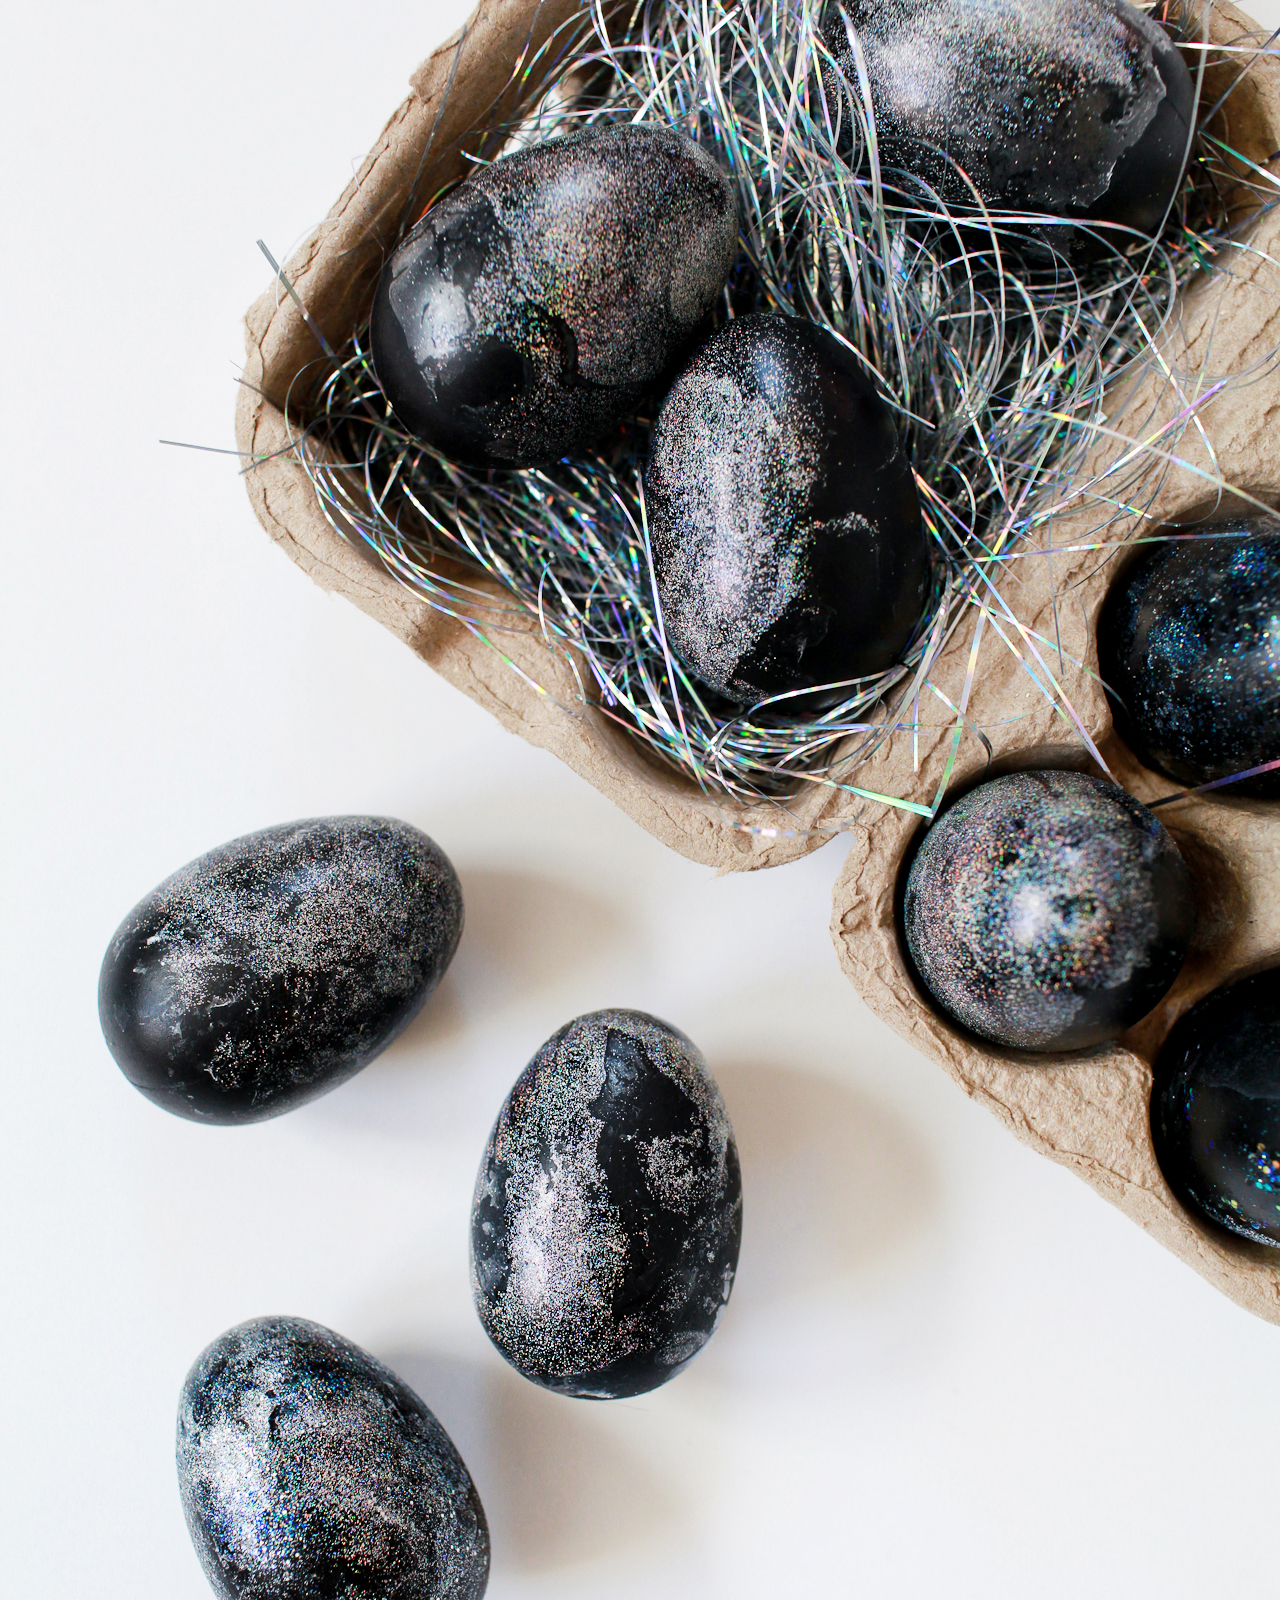
Can you tell I’m just totally obsessed with these hologram Easter eggs? I’m so excited to add these hologram galaxy eggs to our Easter egg hunt this year! I hope you’ll try making some, too!
p.s. DIY marbled Easter eggs using liquid food coloring and DIY tropical leaf Easter eggs
Photos by Nole Garey for Oh So Beautiful Paper
Super cute! Where do you get the iridescent Easter grass?
Isn’t the hologram grass so much fun?? It’s from Target! They also had blue and hot pink iridescent grass the last time I stopped by.