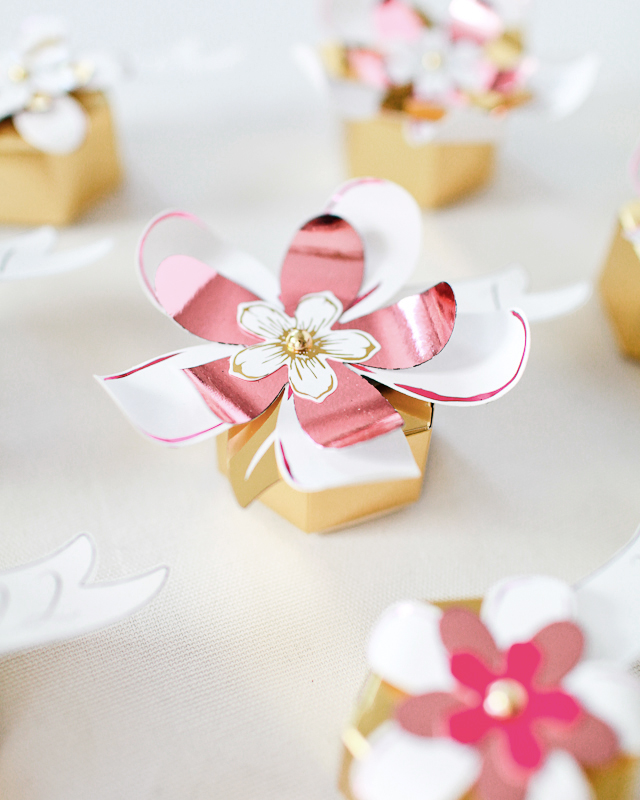
Behind the Stationery: Wild Ink Press

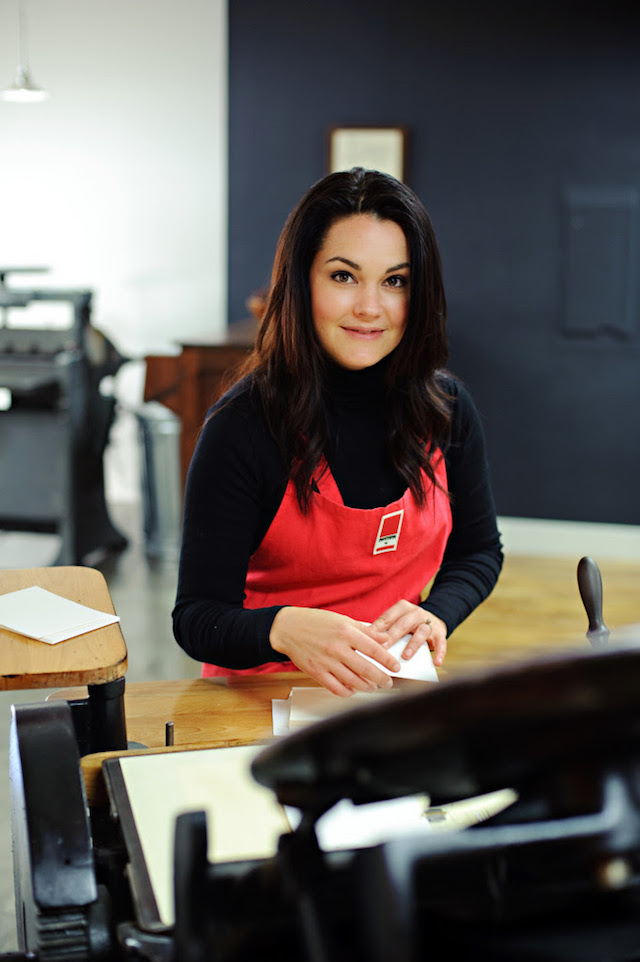
Today we’re bringing you a MEGA edition of Behind the Stationery with the one and only Rebekah of Wild Ink Press­! She shares a little bit of everything: why she started Wild Ink Press, a tour of their studio and small storefront, the process behind her designs, and so much more. Thanks Rebekah!
Behind the Stationery: Wild Ink Press / Oh So Beautiful Paper

Behind the Stationery: Wild Ink Press / Oh So Beautiful Paper

Hello! Rebekah Tennis here – owner, designer, and general boss lady at Wild Ink Press â€“ and I’m delighted to take you behind the scenes of our stationery company!

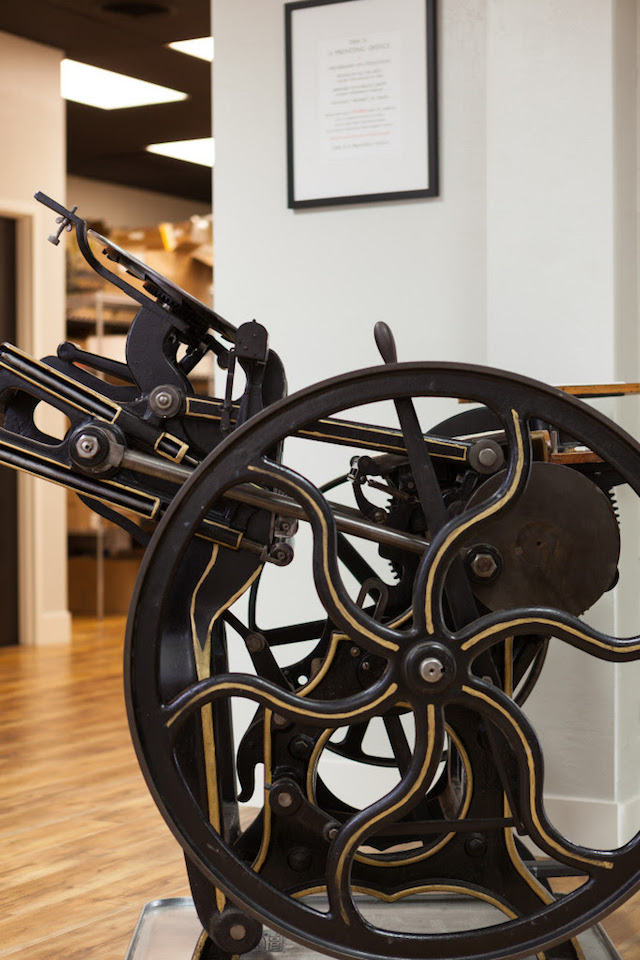
I started Wild Ink Press­ in 2009, springing out of a desire to create a cherished, finished product. I have a BFA in Graphic Design, and while I loved my job working in a corporate design firm, I found the nature of branding design to be frustrating – websites getting tweaked over and over, logos stretched out of proportion, with no finality to the work. I longed to create art that was both finished (forever!) and something that I loved, and so Wild Ink Press was born to create beautiful paper goods that others would value and enjoy. My husband Matt listened to my wild-haired ideas and we both took a series of letterpress classes at the San Francisco Center for the Book, then made the plunge and purchased a 1908 Chandler & Price Platen 10 x 15 Press on Ebay.
Behind the Stationery: Wild Ink Press / Oh So Beautiful Paper

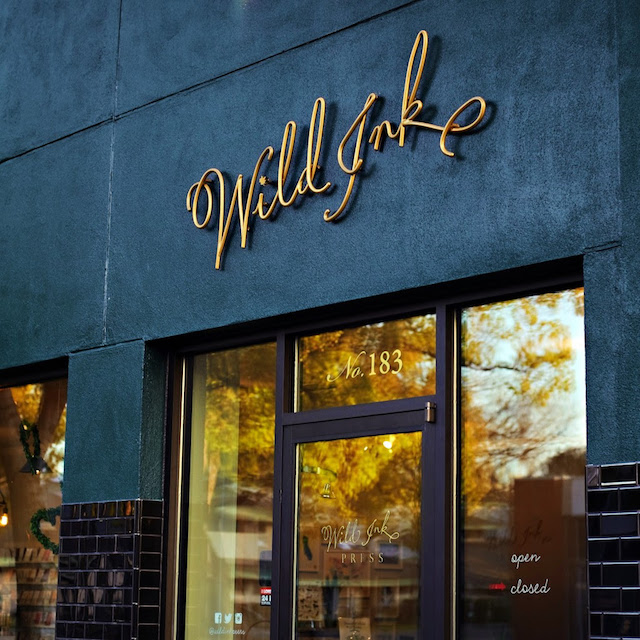
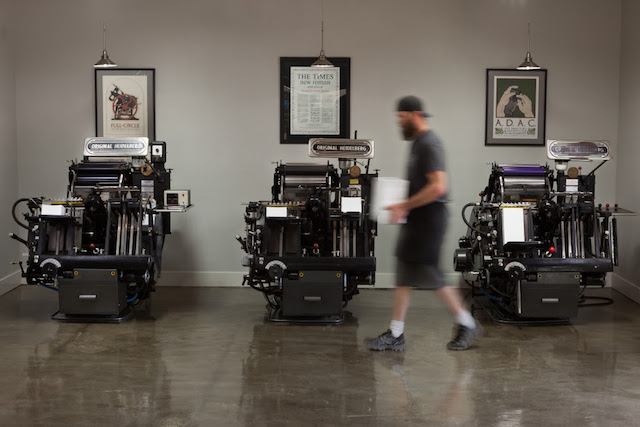
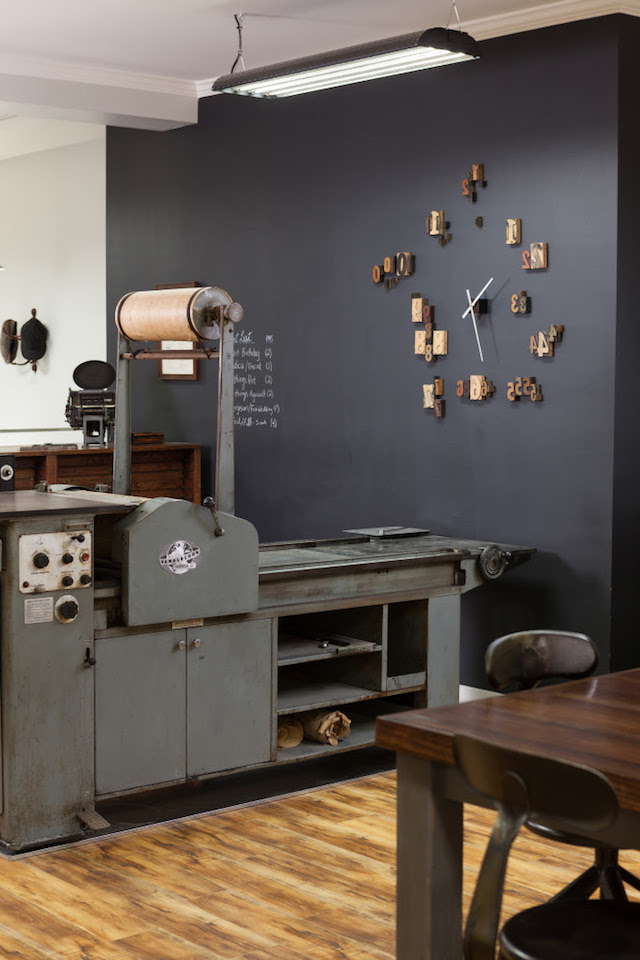
Our company has grown and expanded over the years (through lots of blood, sweat, and tears, believe me) and we now are a staff of seven with a retail and printing space in a converted old soda bottling shop in downtown Chico, Northern California. It houses our letterpress machines, inventory, and also our creative and packaging space. We bought the abandoned building, and it has been very rewarding to restore it to its former glory and let it shine as a 3200 square-foot open studio workspace. We now have three Heidelberg Windmills, a 1912 Golding Jobber, a Vandercook Universal I, and a baby Kelsey 5 x 8 press (for the kids) in addition to our original C & P. And yes, we do print on all of them!
Behind the Stationery: Wild Ink Press / Oh So Beautiful Paper

Behind the Stationery: Wild Ink Press / Oh So Beautiful Paper

Continue reading

Happy Weekend!

Happy Friday everyone! This has been such a busy week, and I’m not even exaggerating when I say that I’m looking forward to cleaning my house this weekend! My house is normally pretty crazy thanks to the two little muchkins running around, but we haven’t even had a chance to unpack from going away for Thanksgiving! Yikes. I’m also looking forward to getting our Christmas tree this weekend and pulling all the decorations out of storage! But in the meantime…

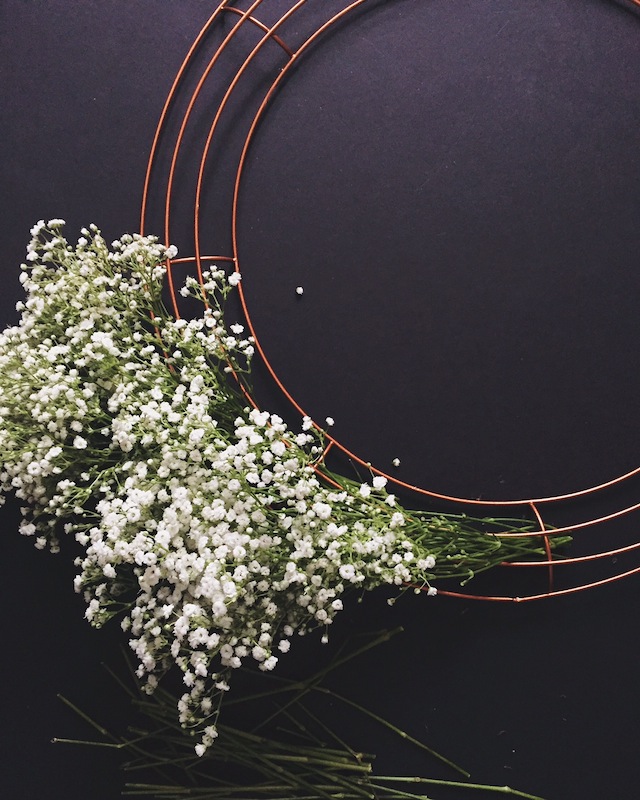
Oh So Beautiful Paper Wreath / Instagram

A little behind-the-scenes peek at something we worked on this week, via my Instagram

…a few links for your weekend!

This week on Oh So Beautiful Paper:

That’s it for me this week! Check back a bit later for this week’s cocktail recipe – and I hope you all have a wonderful weekend! I’ll see you back here on Monday! xoxo

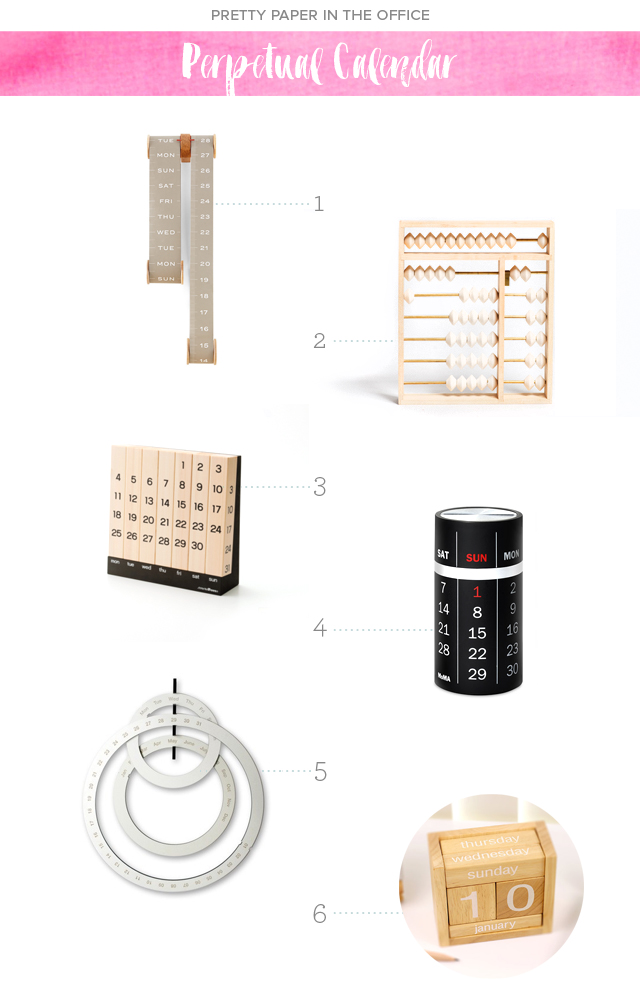
Pretty Paper in the Office: Perpetual Calendars

A calendar is essential in many workspaces – and the way you work can dictate the type of calendar you need. Nole has a great round up of calendars each year that I consult before making my own purchase. But there are other calendar options that don’t rely on the year. Today’s round up is all about the perpetual calendar; your tried and true friend that stays with you year after year.  – Julie
Pretty Paper in the Office: Perpetual Calendar Round Up / Oh So Beautiful Paper
1. SOVRAPPENSIERO

2. Kaufmann Merchantile

3. More Trees

4. Paul Koh

5. Sebastian Bergne

6. Bsiri

Happy Thanksgiving!

Happy Thanksgiving Eve! For those of you traveling, I wish you all safe and uneventful travels. And for everyone I wish a happy, relaxing, and wonderful weekend filled with good food, great company, and tons of pie. I’ll see you back here next Monday! But in the meantime…

Knot & Bow / Oh So Beautiful Paper

Photo (and rainbow beeswax candles) by Knot & Bow via Instagram

…a few links for your weekend!

This week on Oh So Beautiful Paper:

xoxo

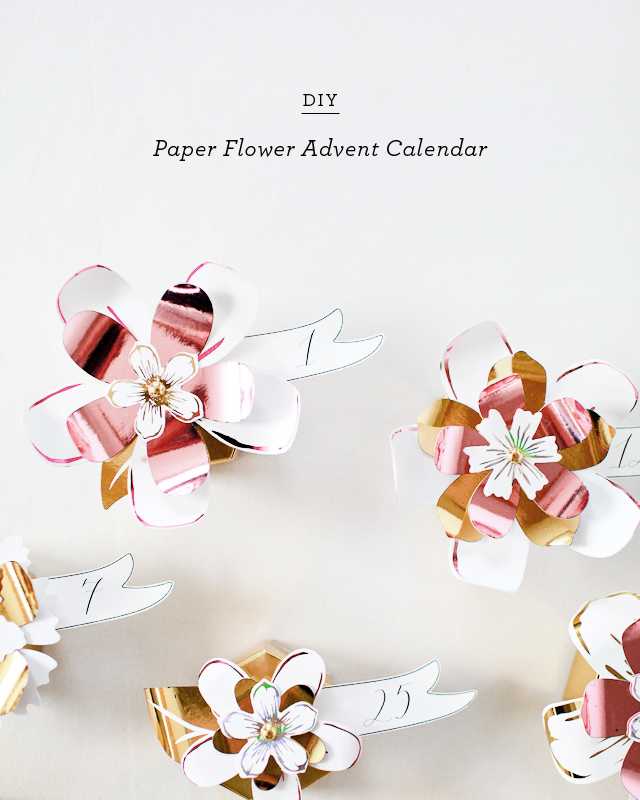
DIY Paper Flower Advent Calendar

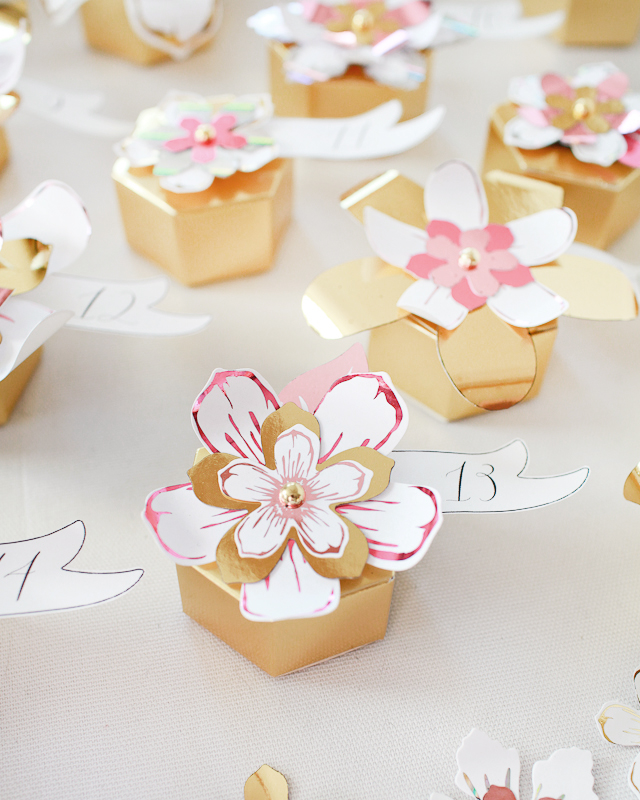
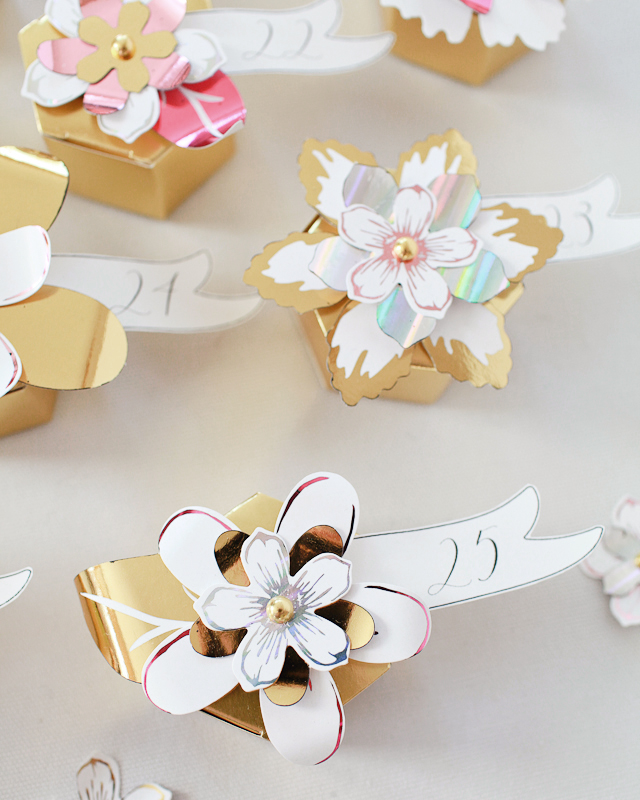
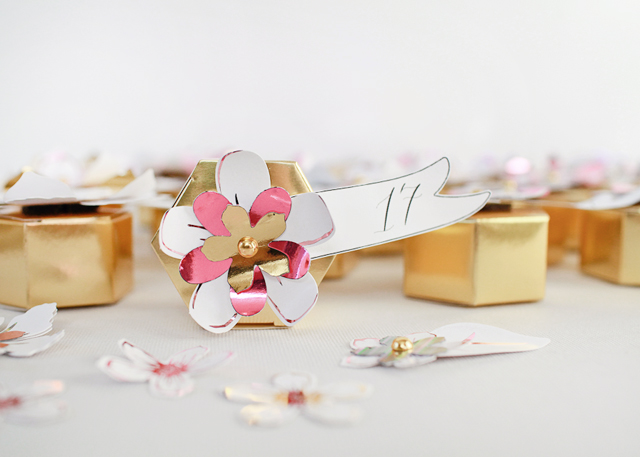
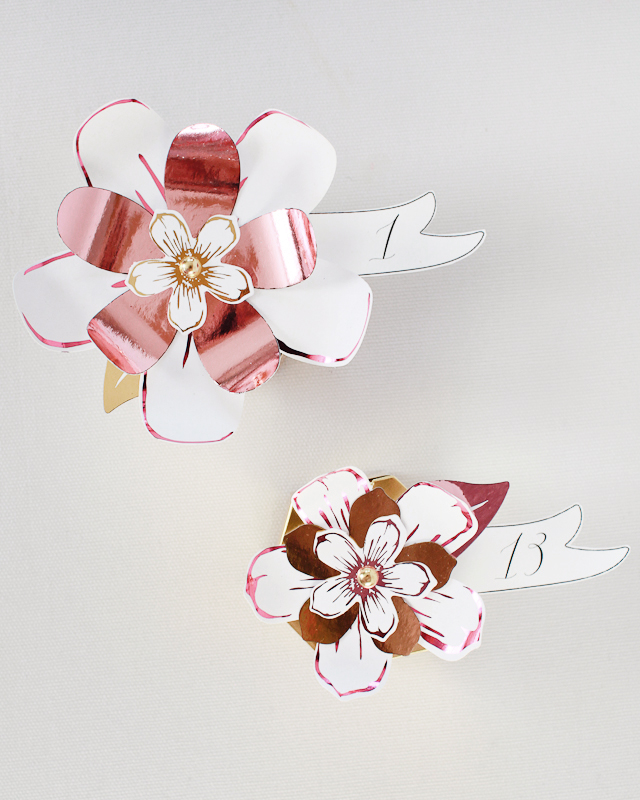
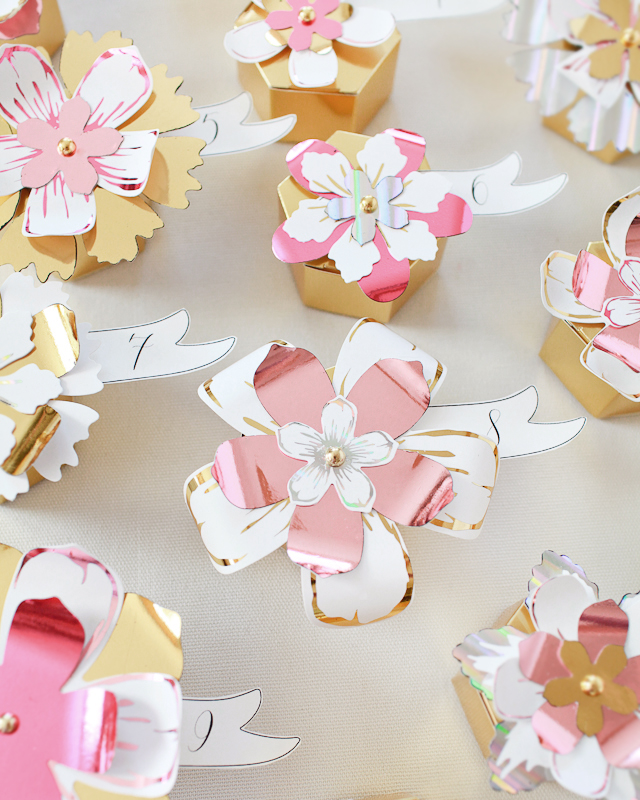
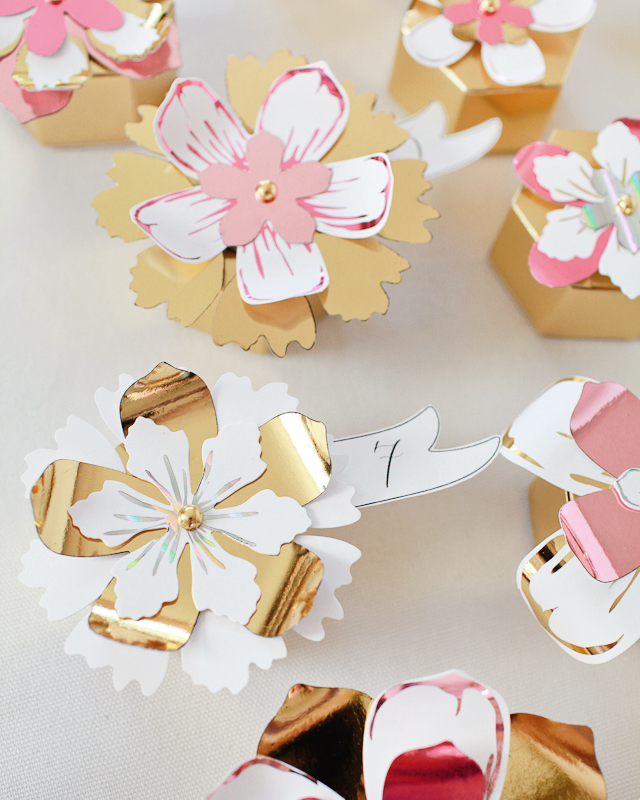
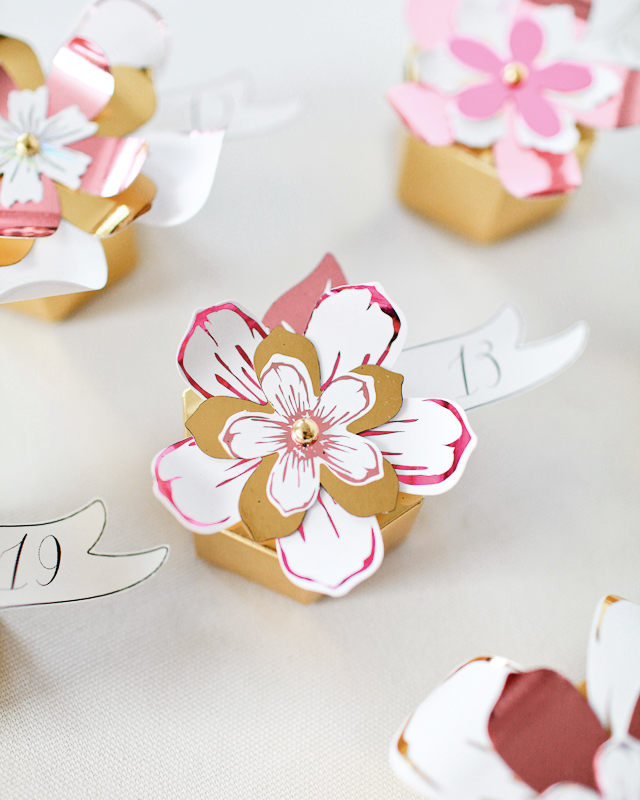
You guys! I’m SO excited to share today’s DIY post! I’ve been wanting to make an advent calendar for years, but I never really found something that felt quite like “me.” Well, along came my favorite Heidi Swapp Minc foil applicator and all of a sudden it just clicked! I shared a couple of DIY projects over the summer involving the Minc, but if you want to create your own DIY projects with the Minc you need access to a laser printer or copier since it works with toner ink. Well, for those of us that might not have regular access to a laser printer or copier, Heidi Swapp offers a few ready made DIY kits – including these amazing 3D flowers! I decided to pair the 3D flowers with some gold hexagon favor boxes from the Oh Happy Day party shop to create a DIY paper flower advent calendar of my dreams!

DIY Paper Flower Advent Calendar / Oh So Beautiful Paper

DIY Paper Flower Advent Calendar / Oh So Beautiful Paper

DIY Paper Flower Advent Calendar / Oh So Beautiful Paper

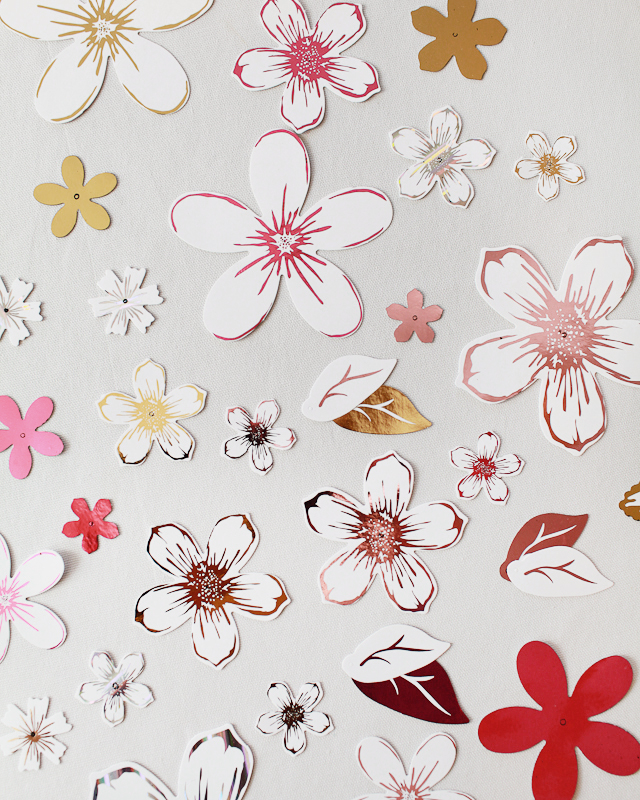
The Minc has easily become my favorite DIY tool in the last few months. You can find the Minc at Michael’s and craft stores, or pick one up right here. This was my first time experimenting with one of the readymade kits and I’m now completely obsessed with these 3D flowers. They come flat in sheets with pre-printed toner ink, so you just run them through the Minc to apply the foil – then pop them out and assemble the layers into beautiful flowers! I kind of want to do an entire backdrop using these gorgeous metallic flowers! But I’m getting ahead of myself. The holidays are just around the corner: advent calendars first!

DIY Paper Flower Advent Calendar / Oh So Beautiful Paper

DIY Paper Flower Advent Calendar / Oh So Beautiful Paper

DIY Paper Flower Advent Calendar / Oh So Beautiful Paper

To make the DIY paper flower advent calendar:

Step 1. Cut sheets of foil just big enough to fit over each flower sheet. We chose light pink, hot pink, gold, and silver hologram foil, and we were able to fit three sheets of flowers at a time in the Minc folder. Run the flowers through the Minc foil applicator on high heat (at least the “4” setting).

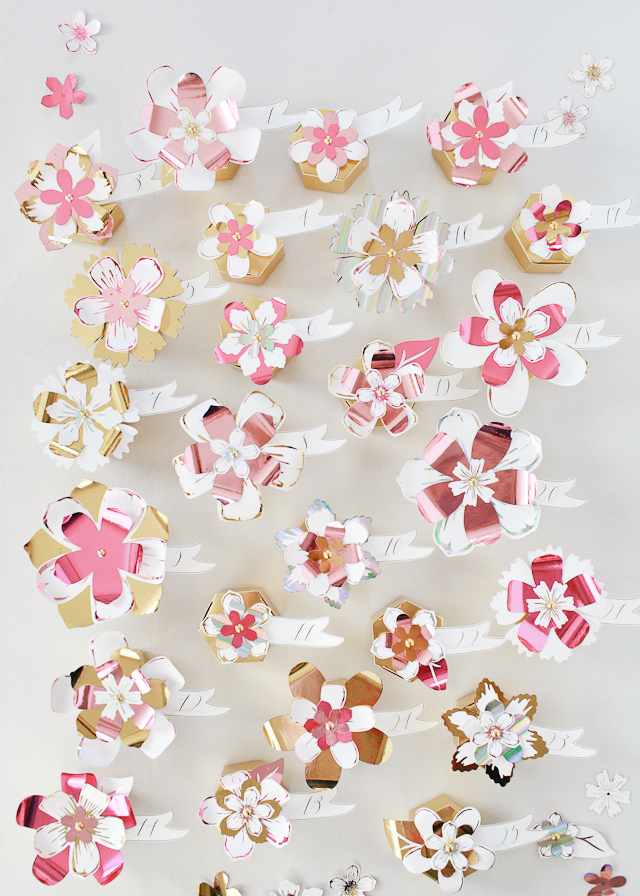
Step 2. Pop the foiled flowers out of each sheet and assemble flowers according to package instructions. You’ll want a total of twenty-five flowers with a nice mix of large, medium, and small flowers for the advent calendar.

Step 3. Print the advent calendar number template on text weight paper and cut out each number. Place a number under each flower, then adhere to the gold hexagon boxes using double-sided tape or removable mounting squares.

Step 4. Fill each box with candy or small trinkets! You can use removable mounting squares to mount the boxes to the wall, or just set them out on a side table to open and enjoy!

DIY Paper Flower Advent Calendar / Oh So Beautiful Paper

DIY Paper Flower Advent Calendar / Oh So Beautiful Paper

DIY Paper Flower Advent Calendar / Oh So Beautiful Paper

DIY Paper Flower Advent Calendar / Oh So Beautiful Paper

DIY Paper Flower Advent Calendar / Oh So Beautiful Paper

DIY Paper Flower Advent Calendar / Oh So Beautiful Paper

I can’t wait to start the advent calendar tradition with Sophie – she already spotted the flowers on my desk and she’s so excited to open all the little boxes! Are any of you planning to do an advent calendar this year?

This post was created in partnership with American Crafts. All content and opinions are my own. Thank you for supporting the sponsors that make Oh So Beautiful Paper possible!

Photos by Nole Garey for Oh So Beautiful Paper