Woodsy Illustrated Wedding Invitations

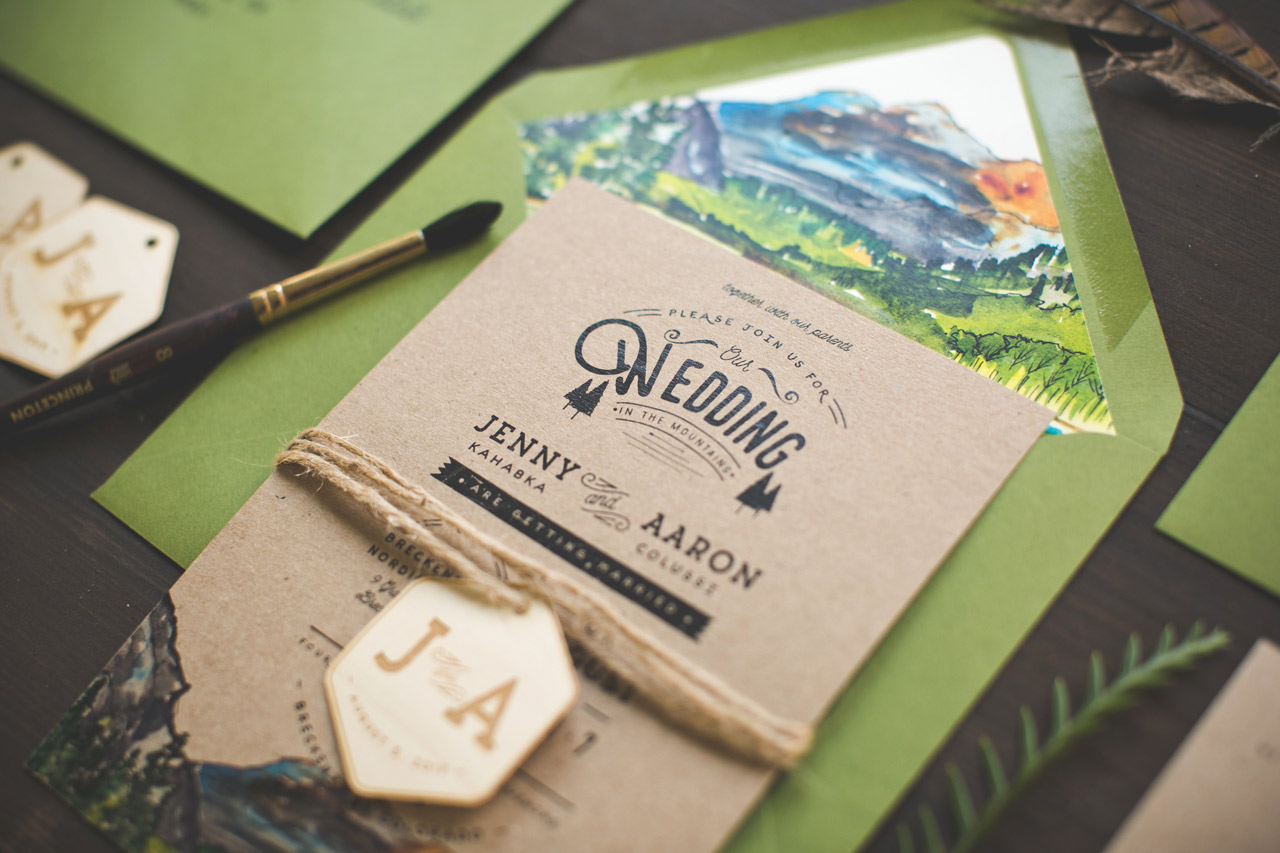
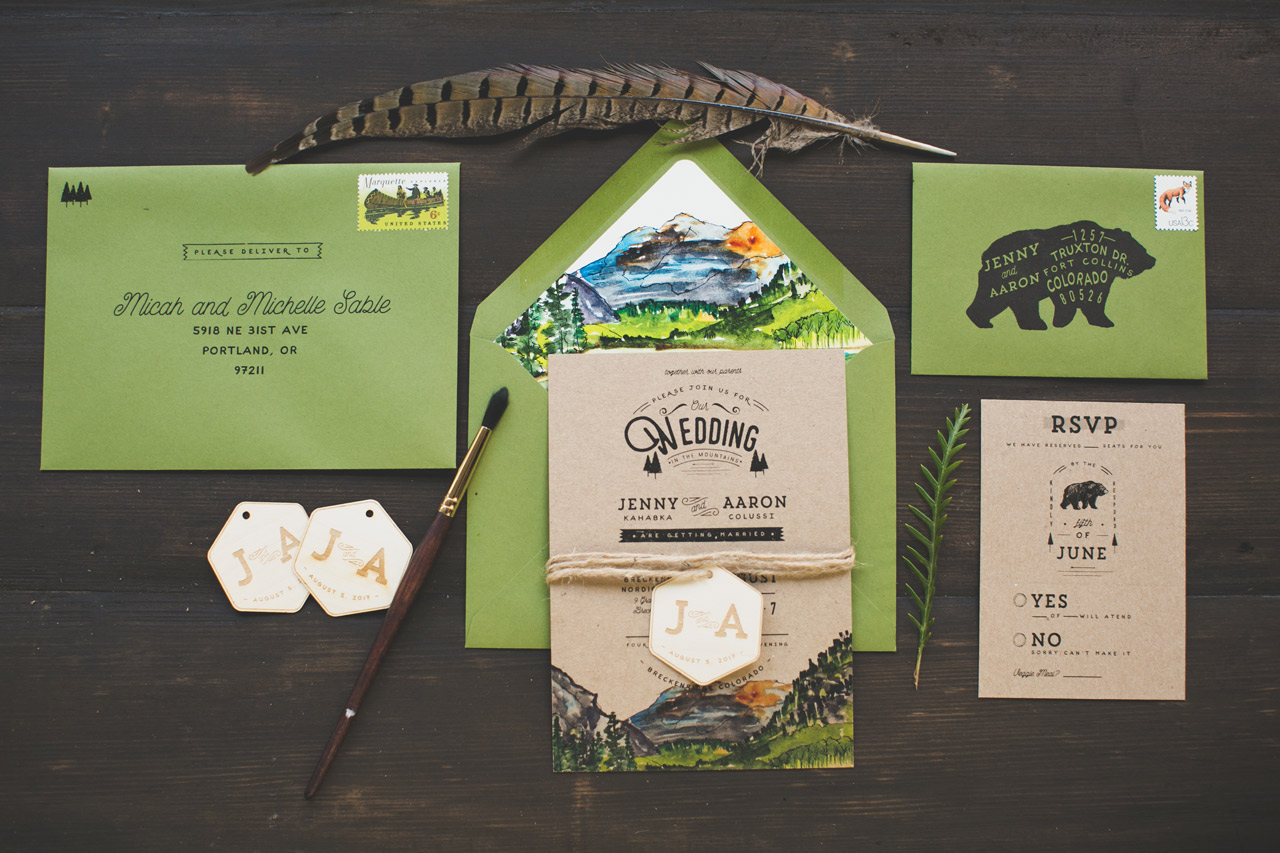
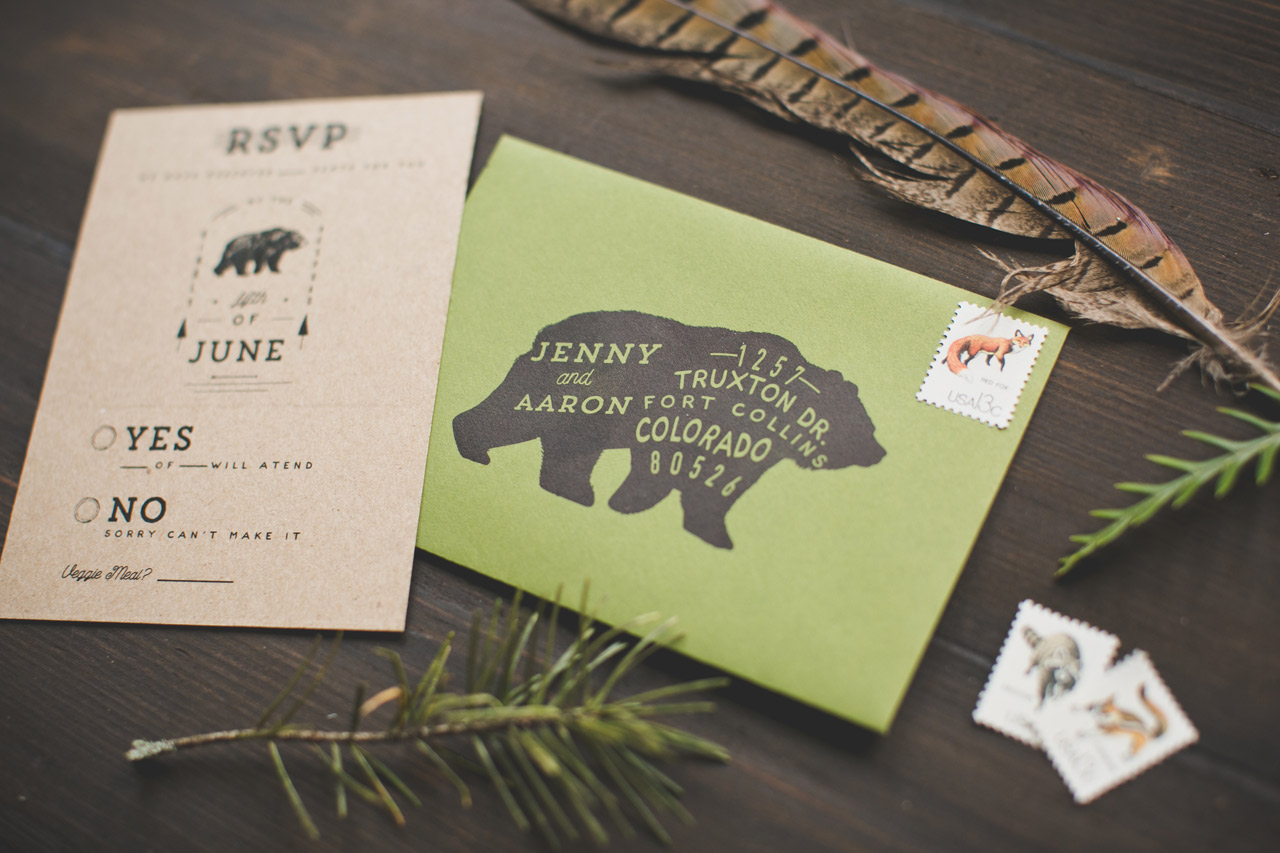
Now that Spring has arrived, we’re itching to break out our hiking boots and spend a weekend exploring and enjoying nature! In the meantime, we’ll just have to gaze at these rustic and woodsy illustrated wedding invitations by Amanda of Wide Eyes Paper Co.! Don’t you just love the illustrated bear for the reply envelope address? Here’s hoping that’s the only bear we encounter anytime soon!

Woodsy Illustrated Wedding Invitations by Wide Eyes Paper Co

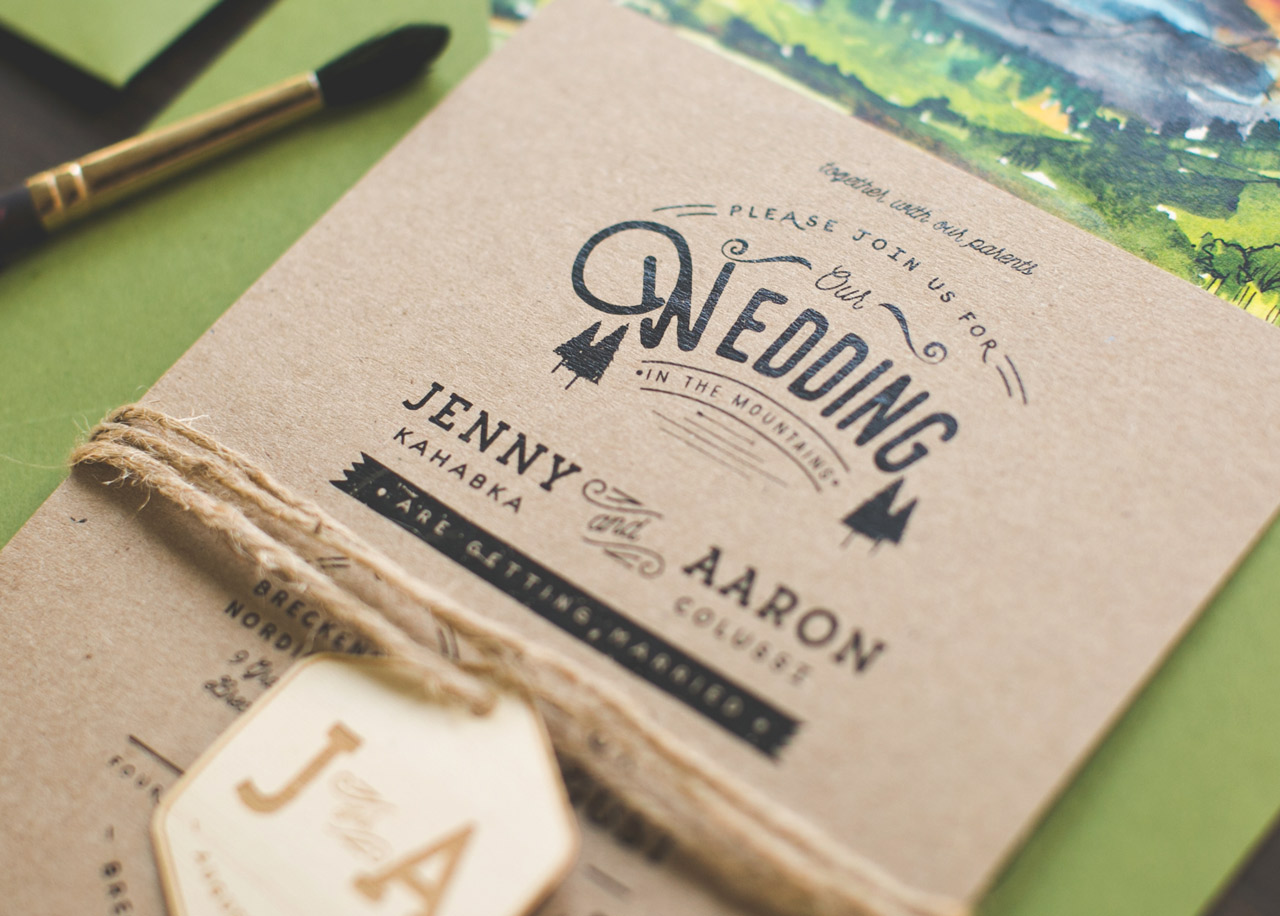
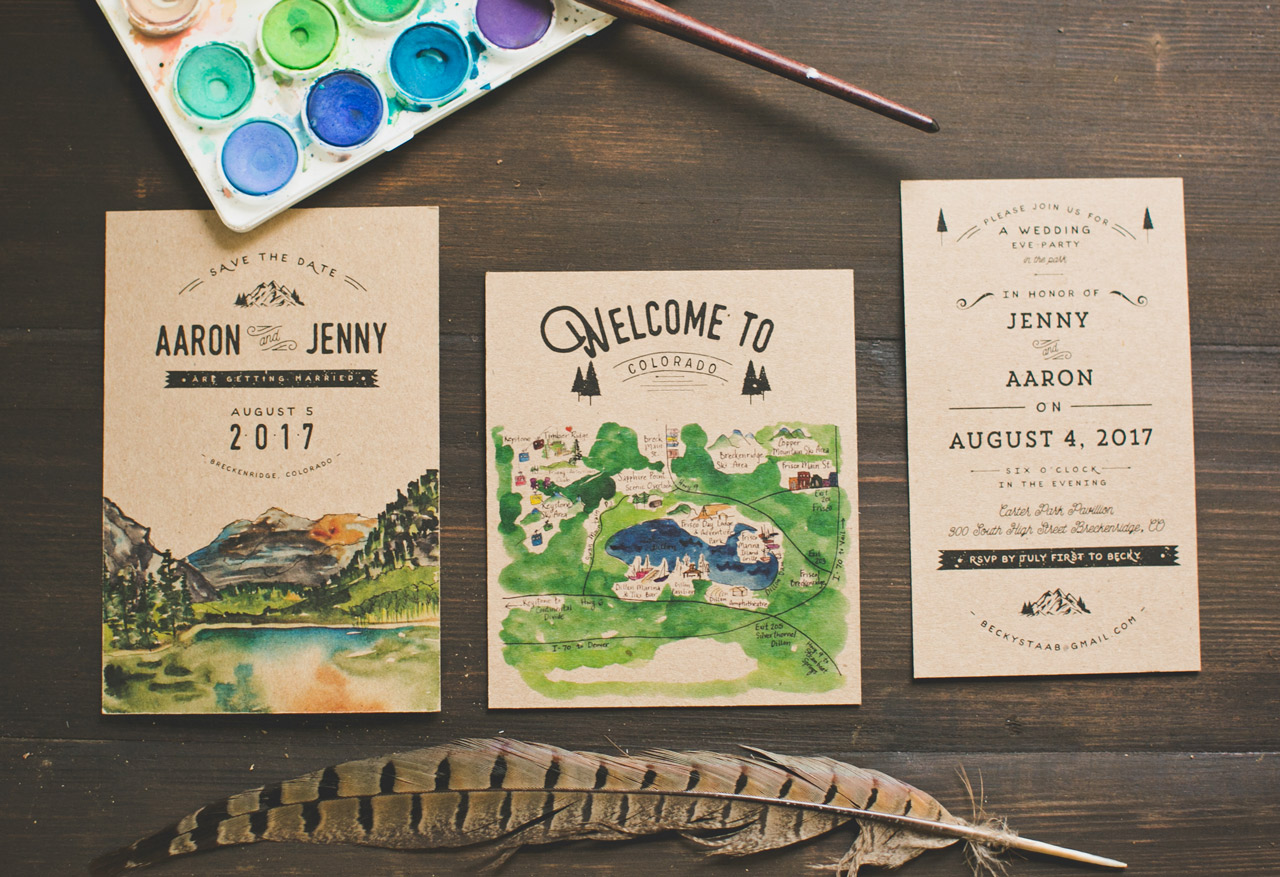
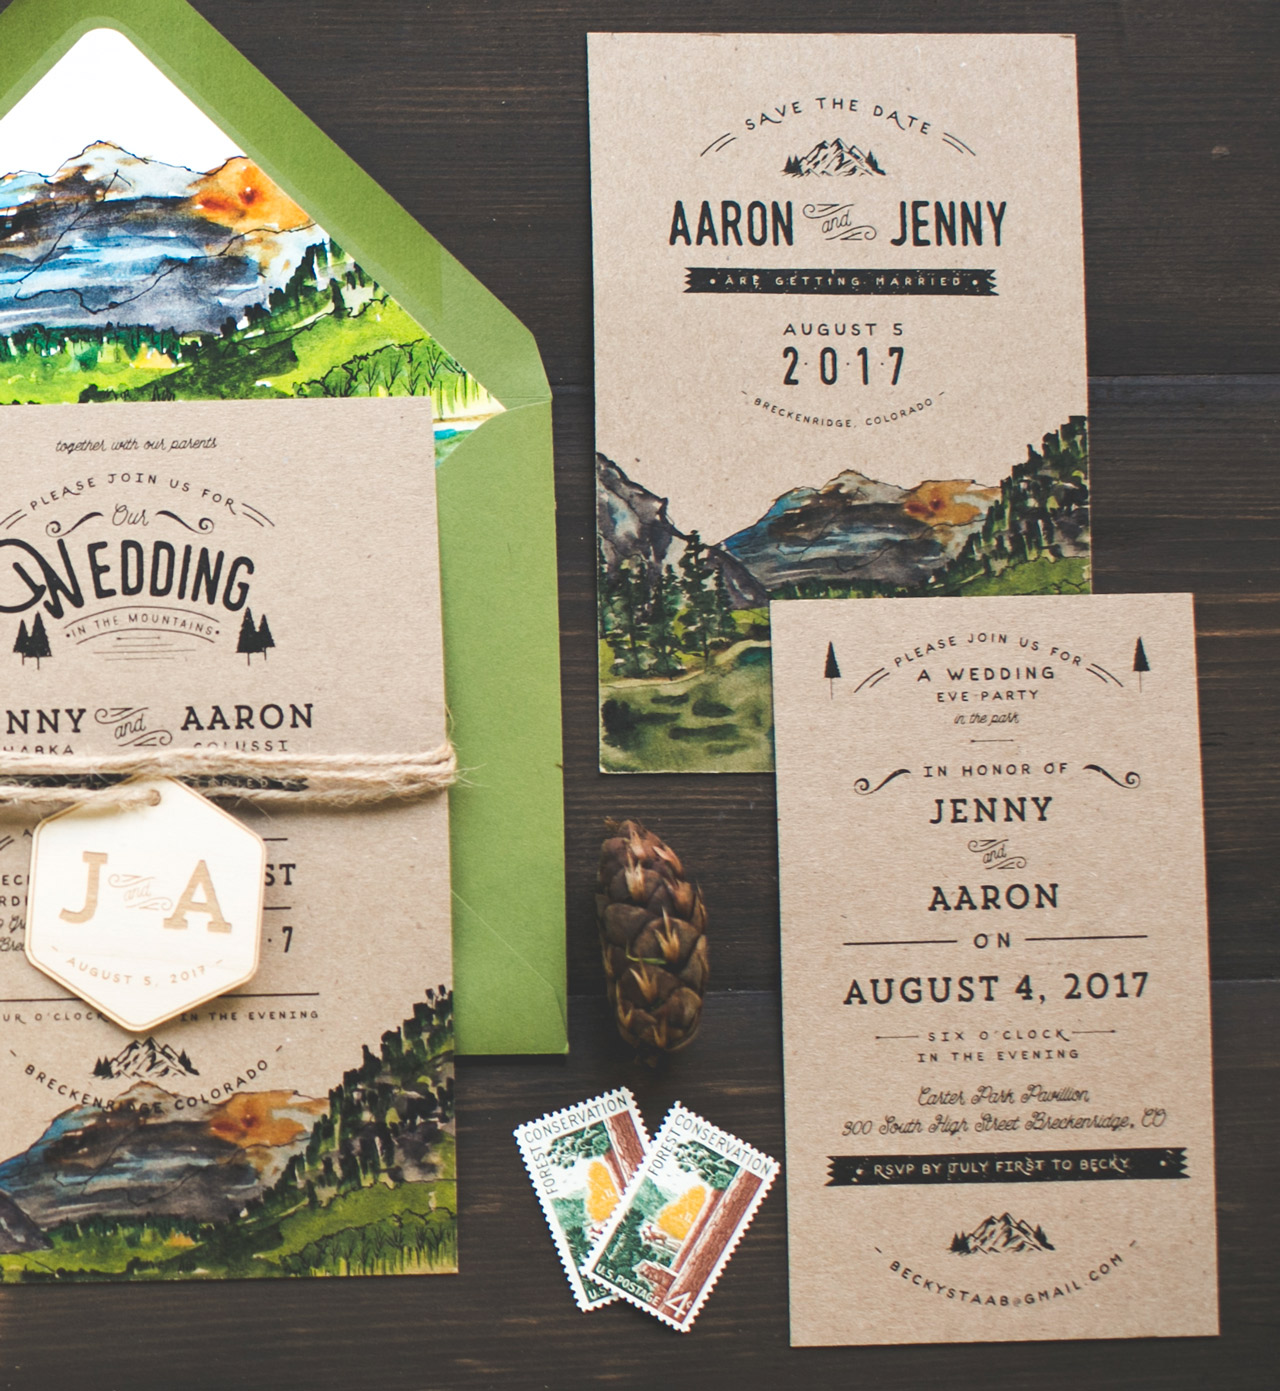
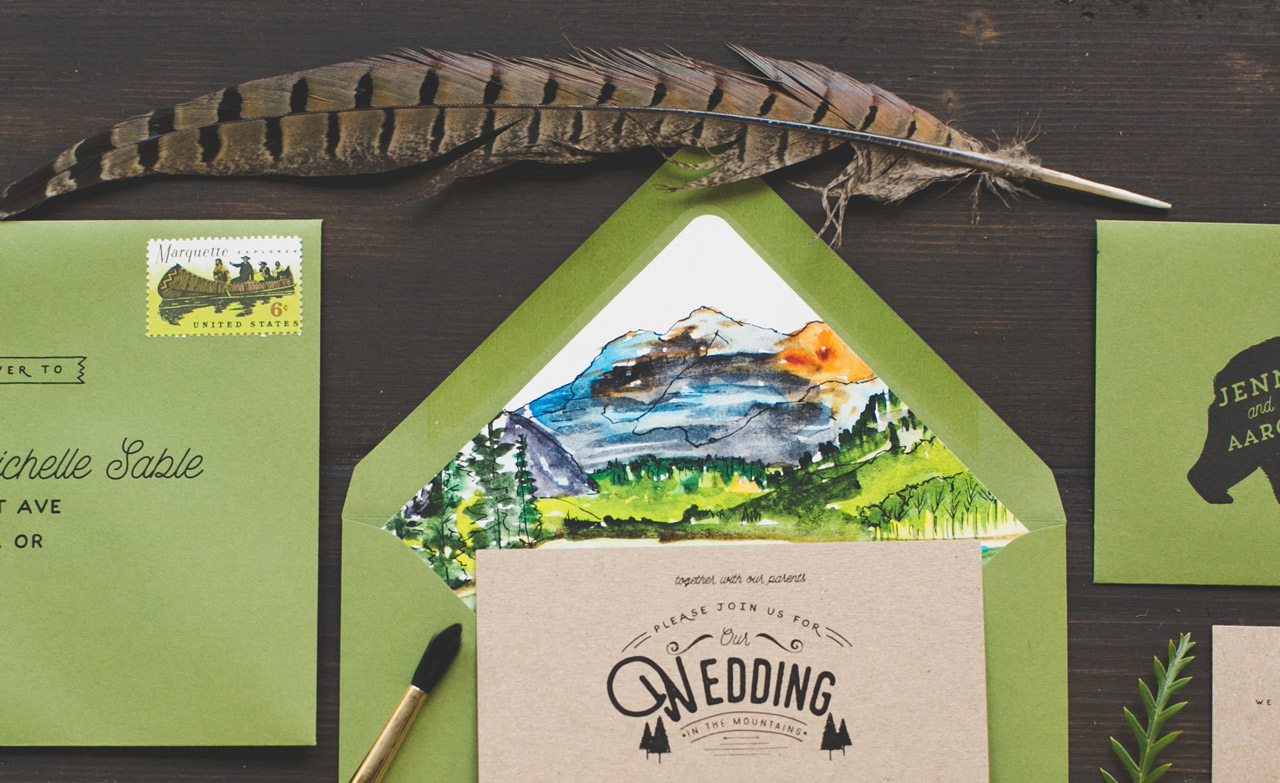
From Amanda: A striking watercolor scene of Colorado’s Rocky Mountains makes these invitations simply majestic. Jenny and Aaron are a hip duo that enjoys the great outdoors and wanted their rustic, quirky vibe to be reflected in all of their stationery. We were so excited to craft up a complete custom watercolor stationery suite for them. Starting with the save the date cards all the way through to the main invitation suite, we dreamed up a woodsy wonderland to announce their rustic soirée.

Woodsy Illustrated Wedding Invitations by Wide Eyes Paper Co

Woodsy Illustrated Wedding Invitations by Wide Eyes Paper Co

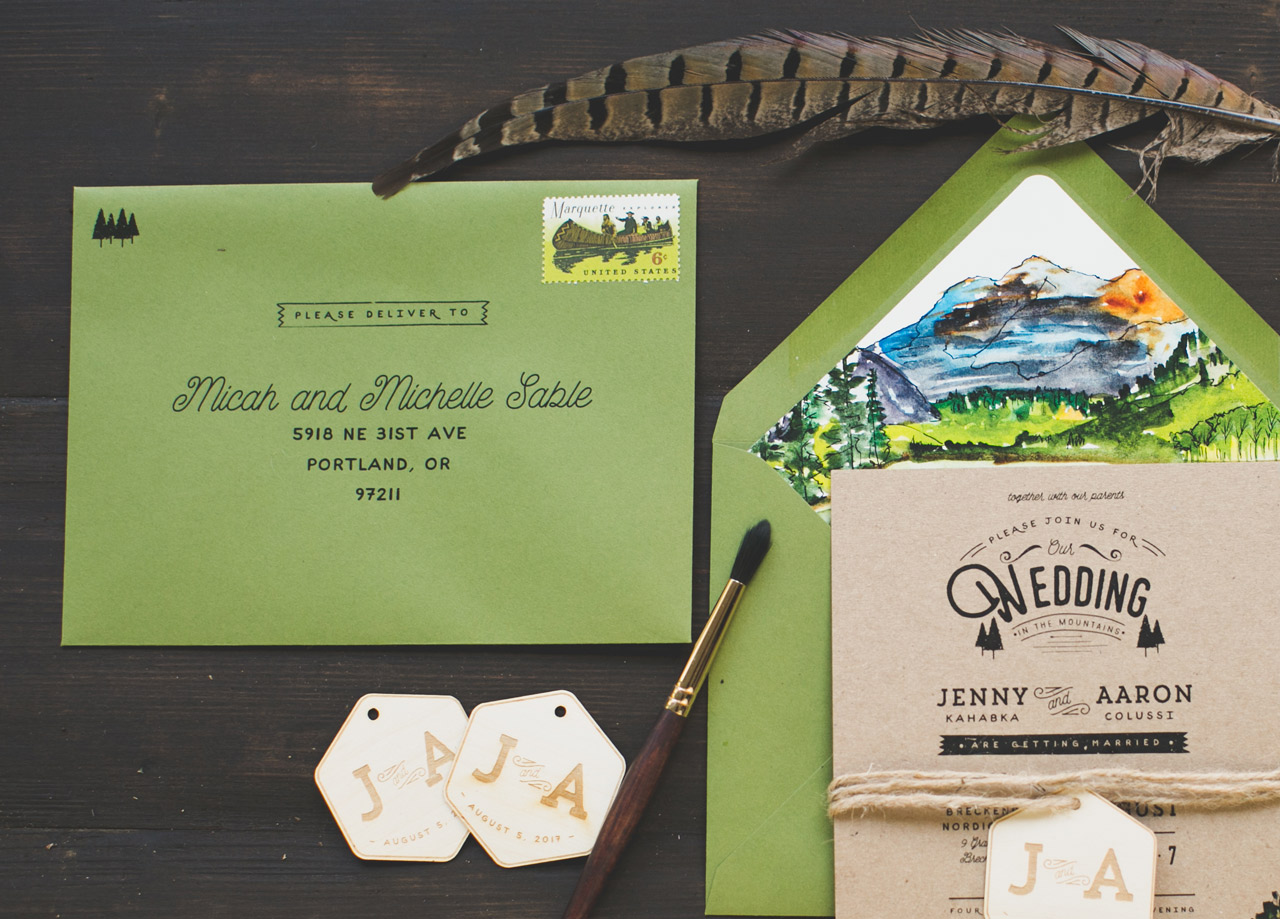
This invitation suite is certainly not shy of the details. Along with the custom watercolor scenery, we also illustrated a custom grizzly bear that is seen throughout the little details in this set. We intentionally illustrated this bear to creatively ensconce the sender’s address. We used this motif for the custom envelope printing for both the main invitation envelope as well as the reply envelope. Keeping the theme consistent, we also incorporated the Colorado Rocky watercolor scenery onto the envelope liners for a bit of pop and whimsy.

Woodsy Illustrated Wedding Invitations by Wide Eyes Paper Co

To enhance the natural, organic feel of the suite we printed each piece on 100 percent recyclable French Muscletone Kraft card stock. This paper lends itself to a great rustic appeal, especially paired with the nature-inspired green envelopes.

Woodsy Illustrated Wedding Invitations by Wide Eyes Paper Co

Jenny and Aaron are not the traditional type, so they opted for an illustrated way to let their guests know about some of the main attractions in the area. Instead of going with a more formal, written information card we created a custom watercolor map. We included many landmarks that are special to the couple such as their favorite Ski Lodge and the local marina Tiki Bar. (Everyone has gotta love a good Mai Tai!)

Woodsy Illustrated Wedding Invitations by Wide Eyes Paper Co

To spice the invitation suite up even more, we created a custom monogram that is seen on the wood engraved tags. These wood engraved additions are perfect for any rustic occasion and pair well with all of our woodland inspired sets.

Woodsy Illustrated Wedding Invitations by Wide Eyes Paper Co

Woodsy Illustrated Wedding Invitations by Wide Eyes Paper CoThanks Amanda!

Design: Wide Eyes Paper Co.

Printing: Advanced Reprographics

Wide Eyes Paper Co. is a member of the Designer Rolodex – you can see more of their beautiful work right here or visit the real invi­ta­tions gallery for more wedding invitation ideas!

Photo Credits: Kelly Wilde

Behind the Stationery: Iron Curtain Press

Welcome to another installment of Behind the Stationery! Today we’re joined by LA-based designer and owner of Iron Curtain Press, Rosanna. Iron Curtain Press has grown their letterpress business by staying true to what inspires them, beginning designs with a particular occasion or person in mind. In need for more space, Rosanna shares about their search for a larger studio and, serendipitously, a storefront for their connected retail store, Shorthand, which has been a special way to extend the Iron Curtain Press personality. Welcome, Rosanna! –Megan
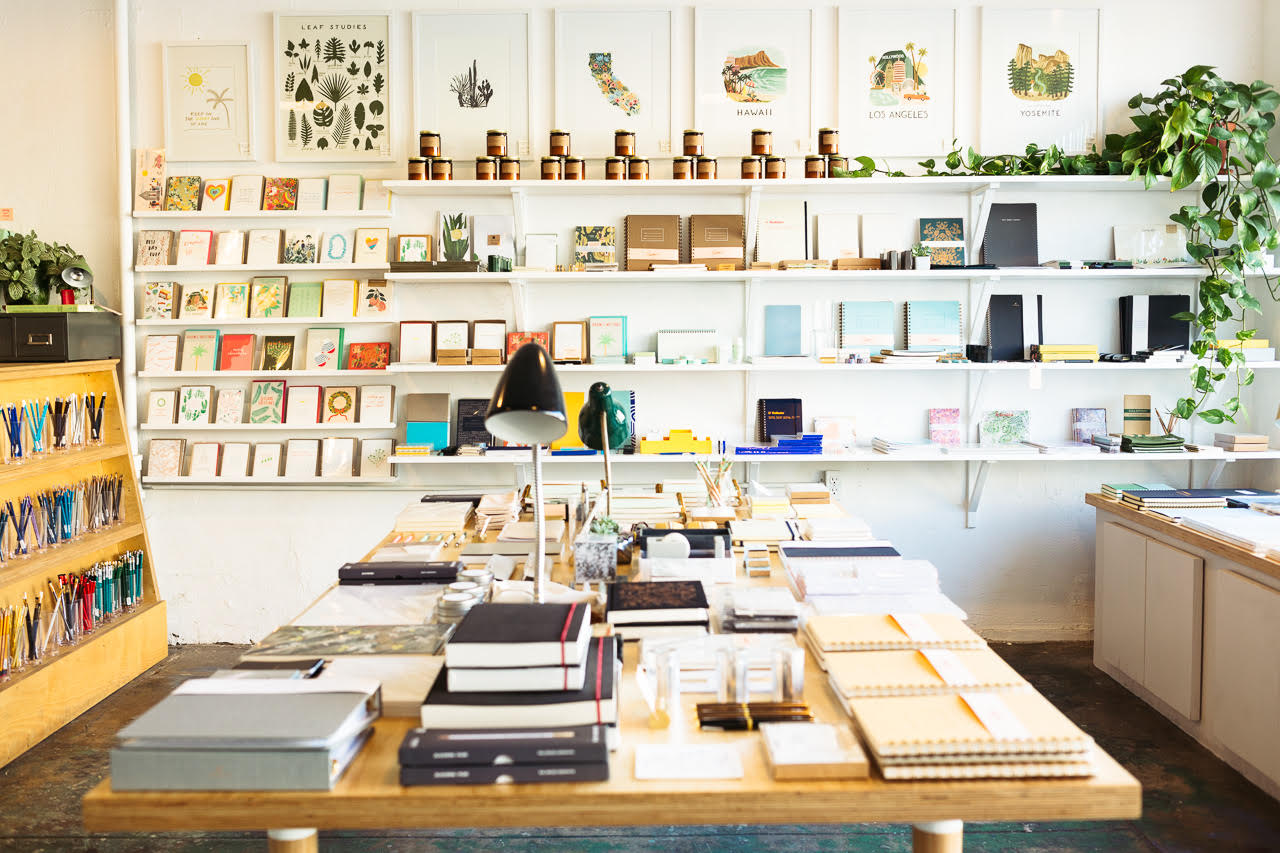
Iron Curtain Press: Shop Shorthand

From Rosanna: I have been so fortunate to spend my entire professional life working in paper. When I was searching for what to do with my English Literature degree shortly after I graduated from college, I took a letterpress printing class and never looked back. I apprenticed with the fabulous Bremelo Press before striking out on my own a few months later. This February was the 9 year anniversary of working for myself as Iron Curtain Press. I think I was just young enough and idealistic enough to take the leap without thinking too hard about all the potential risks that come from owning your own business. Years of hustle, hard work, dreaming big along with a lot of sweat and tears have led to where we are now!

We’ve called North East Los Angeles home for the past 5 years. We’ve been in our current location since January 2016 and hopefully this will be our home for many years to come! The print shop where we create all our own products plus print all the custom projects that come through our doors each year is the bulk of the space.
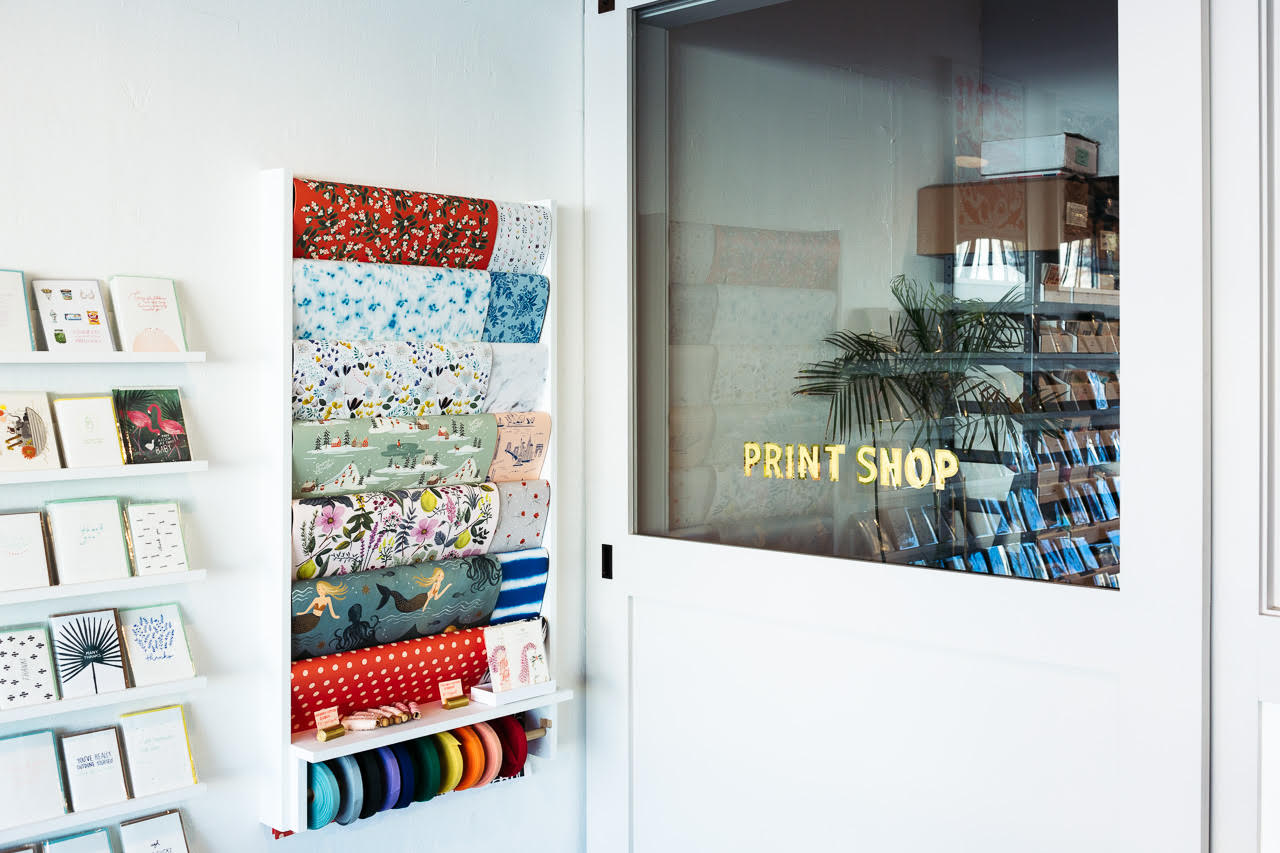
Iron Curtain Press: Print Shop

We were able to open a small store front specializing in cute supplies for your desk just about a year ago. Shorthand sprang to life almost by accident. We were looking for a new studio space, ideally near our home, and a space on one of our favorite streets in our neighborhood became available. Owning a retail store had never been a top priority goal, but as soon as we saw the space I knew what I would want if I opened a store! Of course, we would sell all our own products, and then I wanted to find cute desk supplies that would complement our offerings. I started tracking down products for the store by figuring out who made my favorite little brass pencil sharpener and then once I found them, realized they made a bunch of cool stuff.
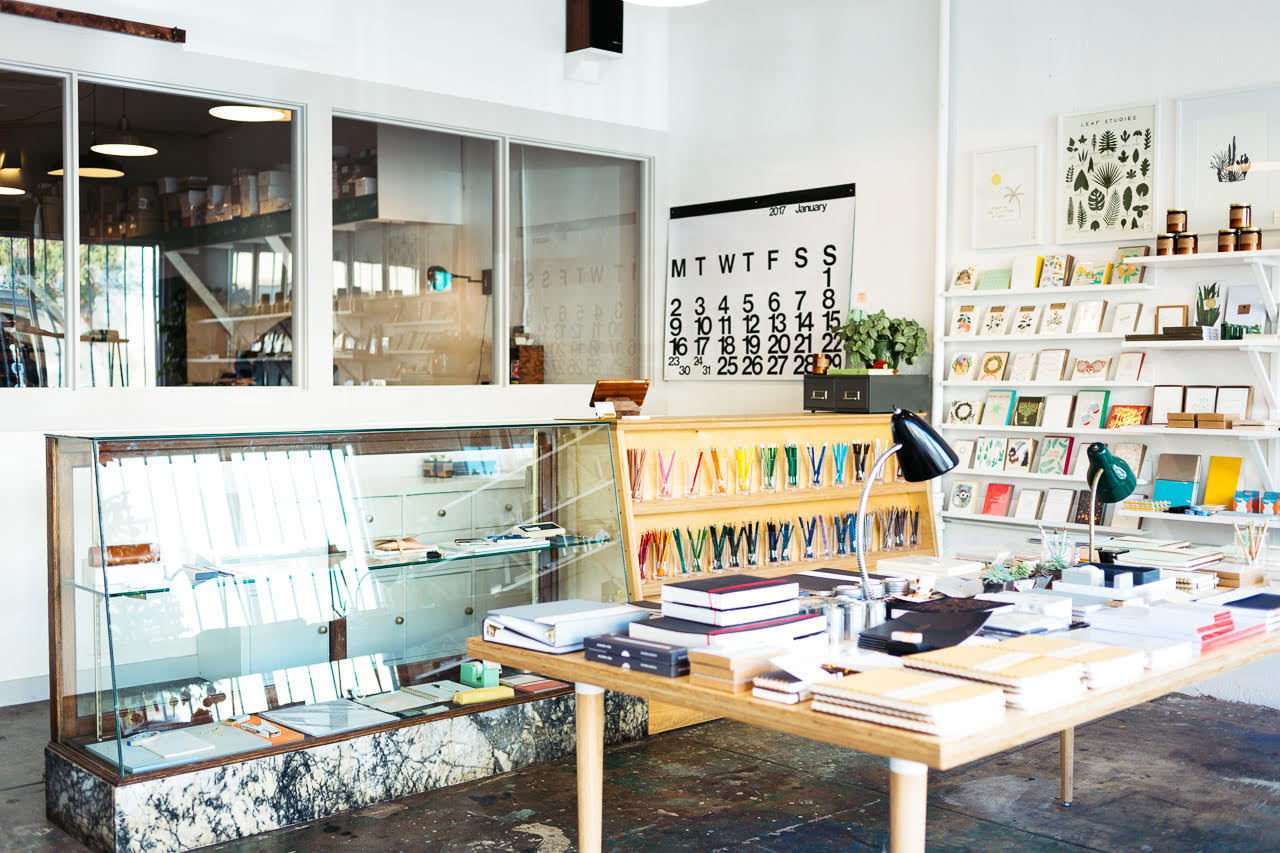
Iron Curtain Press / Shorthand

Over and over, I’ve just had in my mind something I want to carry, figured out who made it, and then found a wealth of other amazing products made by the same company or manufacturer. Our tagline is “for the love of your desk” and that helps me stay focused on what we bring in to the store. We thought, worst case scenario, this will be a cute showroom for our own products. But it’s really taken on a life of it’s own and buying for the store has become one of the best parts of my job. I love how delighted our customers are when they come in and experience our overwhelming appreciation of desk accessories and supplies.
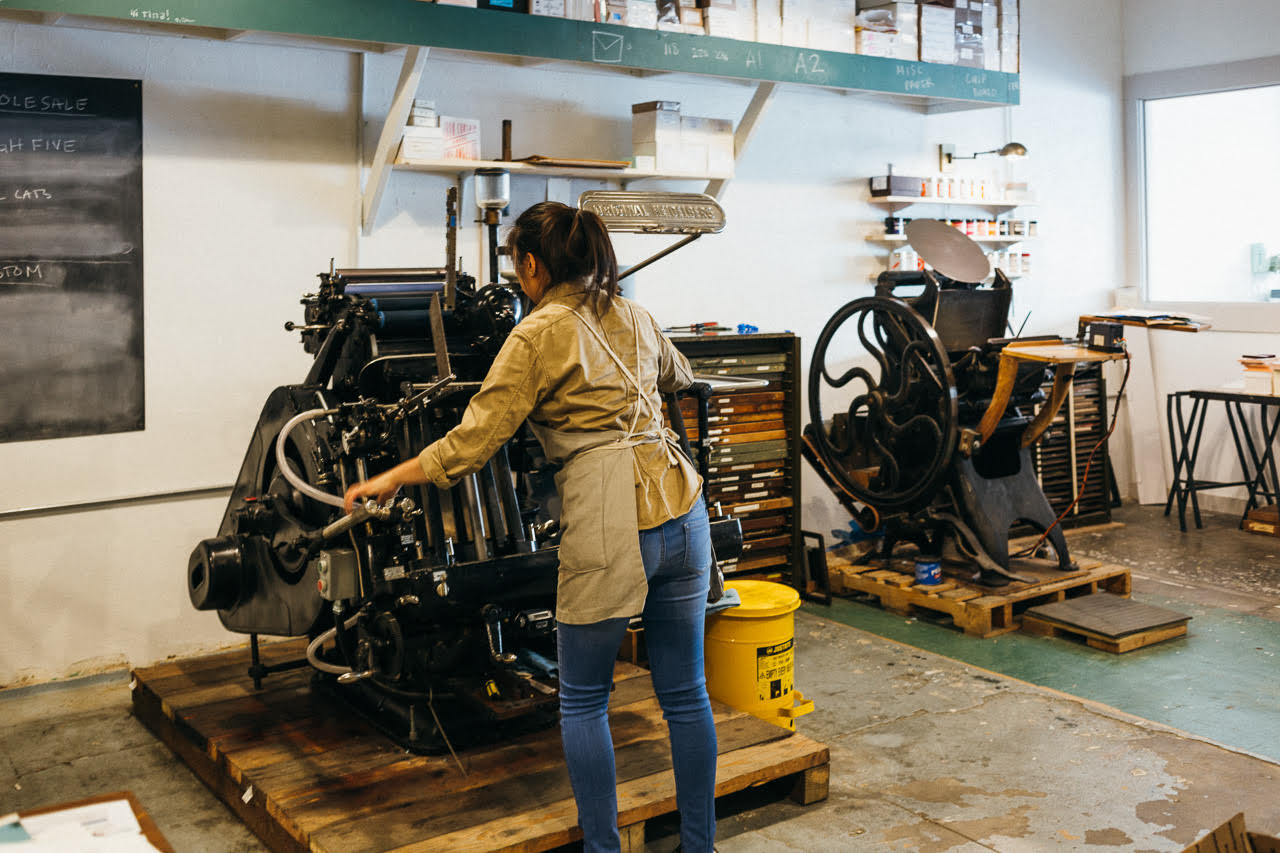
Iron Curtain Press / Letterpress Printing

Iron Curtain Press is a letterpress print shop. Everything we print has that lovely tactile quality that modern letterpress printing is known for. We also have a variety of finishing methods that we offer: mounting, edge painting, and die cutting to name a few. There are two kinds of jobs we print every day: projects for ourselves that become products that we sell (greeting cards, notebook covers etc) and then projects for our custom clients (business cards and stationery, small product packaging, invitations, etc). The custom projects are fun because they push our skills and boundaries and make us better printers. We are not a design studio in that we will happily consult about paper and ink but do not offer design services. We limit our design work to the items we create to sell.
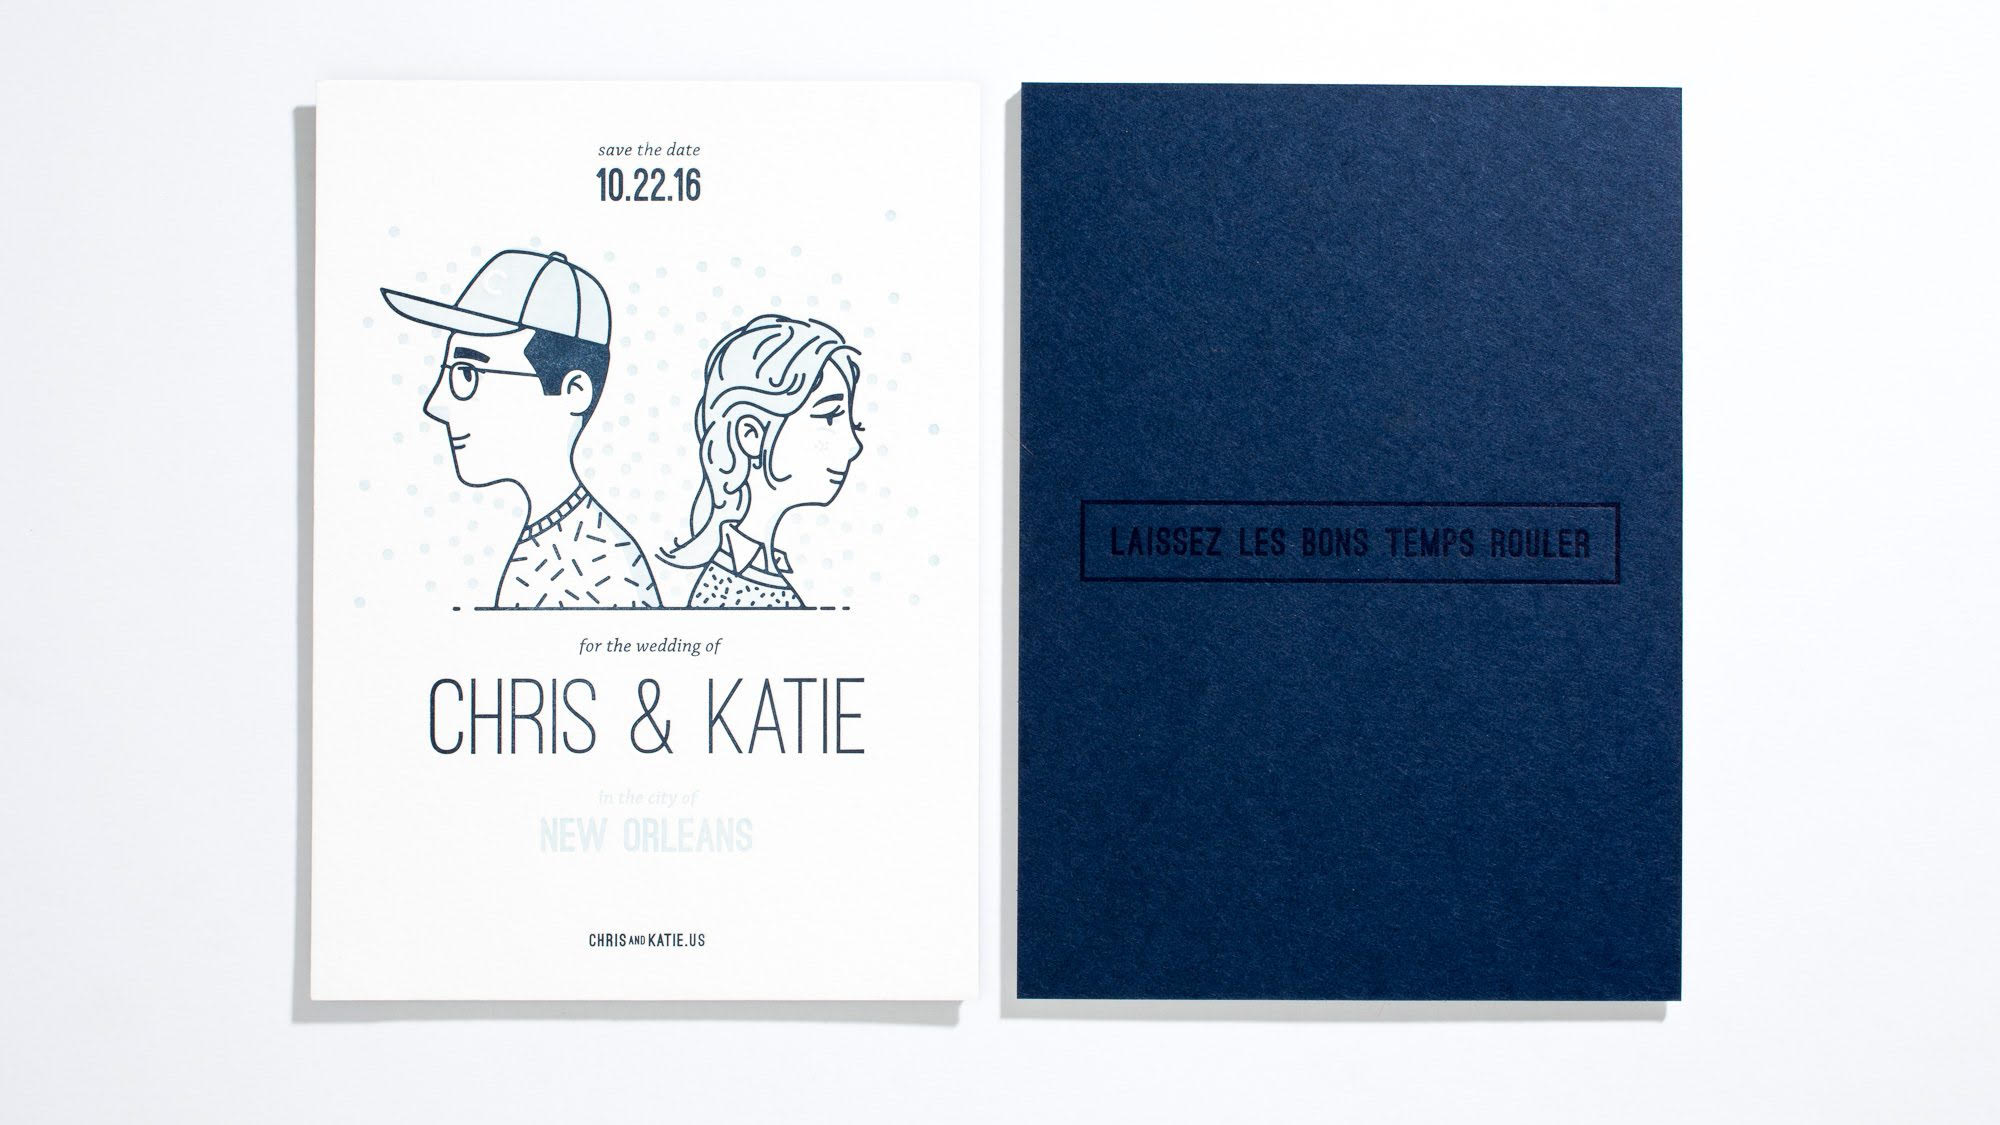
Iron Curtain Press / Wedding Invitation

We’ve cultivated a pretty magical team working with us here every day. We check in together in the morning to decide the priorities of the day, but there are always orders to be shipped out, payments to be collected, greeting cards to be re-printed, notebooks to be made, photographs to be taken, custom projects to be printed / inspected, and emails to be answered.
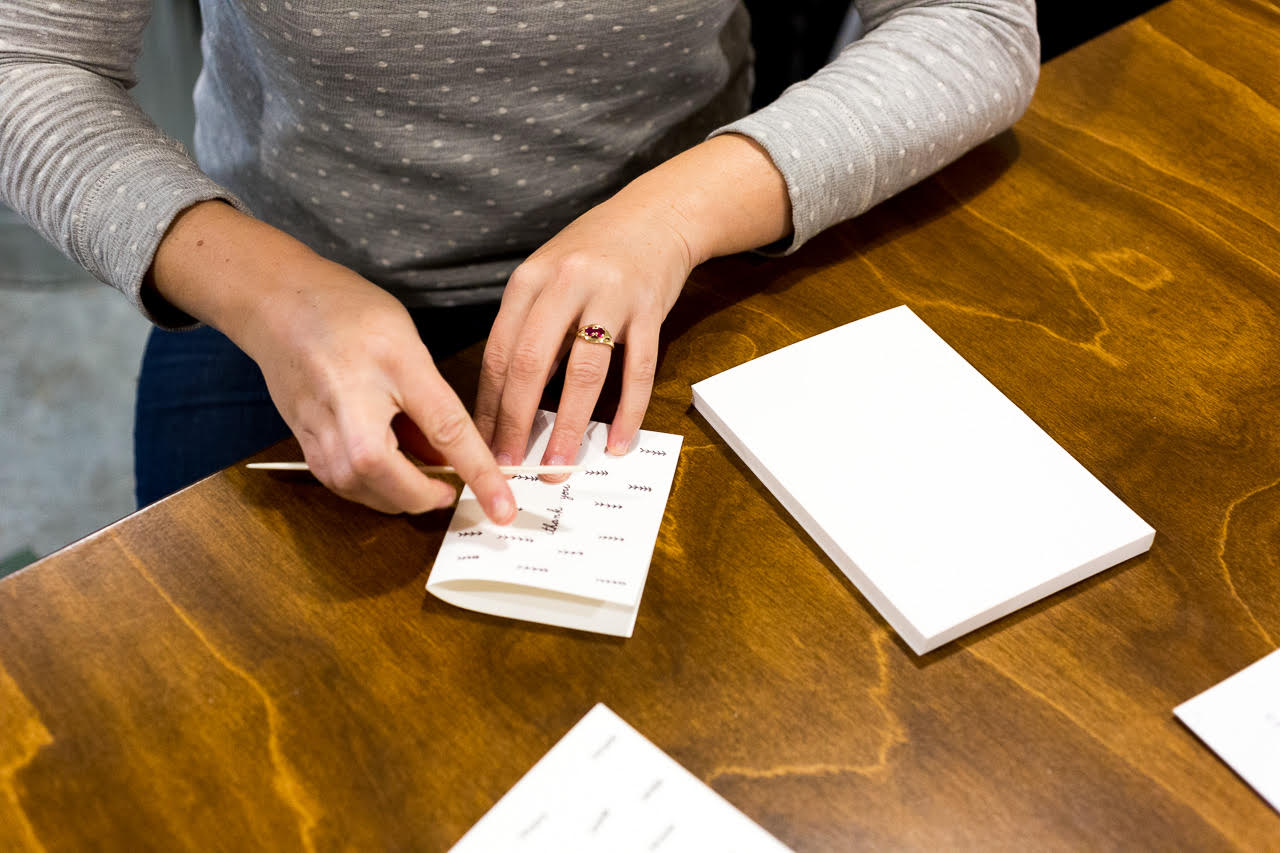
Iron Curtain Press / Card Folding

Currently, I spend most of my time writing estimates for custom projects, making plans for how the business will grow in the next quarter and year and placing orders for Shorthand. We are a hard working team, but I am a firm believer in not fostering an environment of workaholics. Our work days have a definite start time and stop time and we take our weekends. I believe building a small business is a marathon not a race.
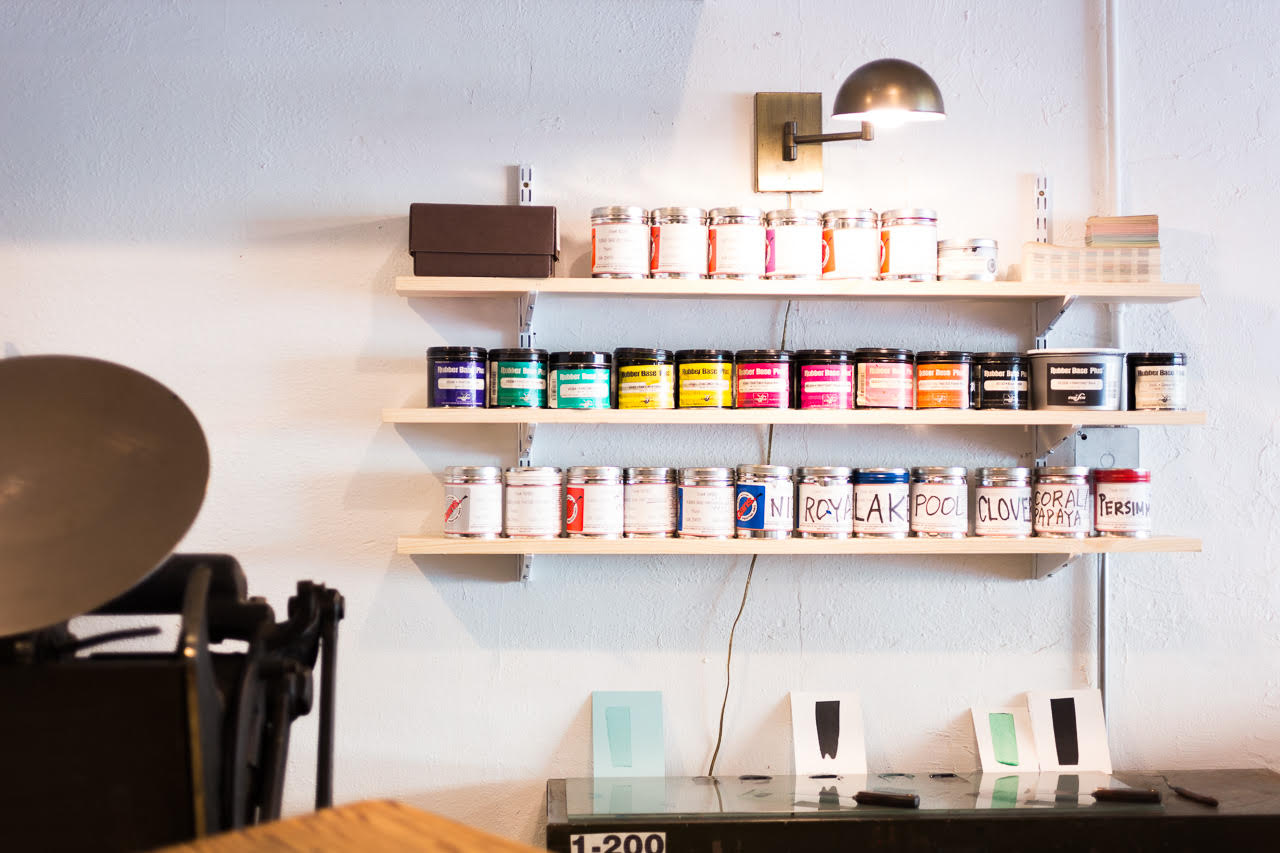
Iron Curtain Press / Inks

I am so grateful that my job allows me to express my creative vision in so many ways. I love to create greeting cards by thinking of a specific occasion and person. Greeting cards are so personal and I’m most inspired (and the card sales reflect this) when I design a card for a particular person / occasion. When I design products for our line that are not greeting cards, I start by thinking about what I want to make and then price out the potential item to determine the hard costs, the potential wholesale price, the potential retail price and then researching to see if that seems to match what the market will bear. Once I know the product will actually work, I move into the design and prototyping phase.
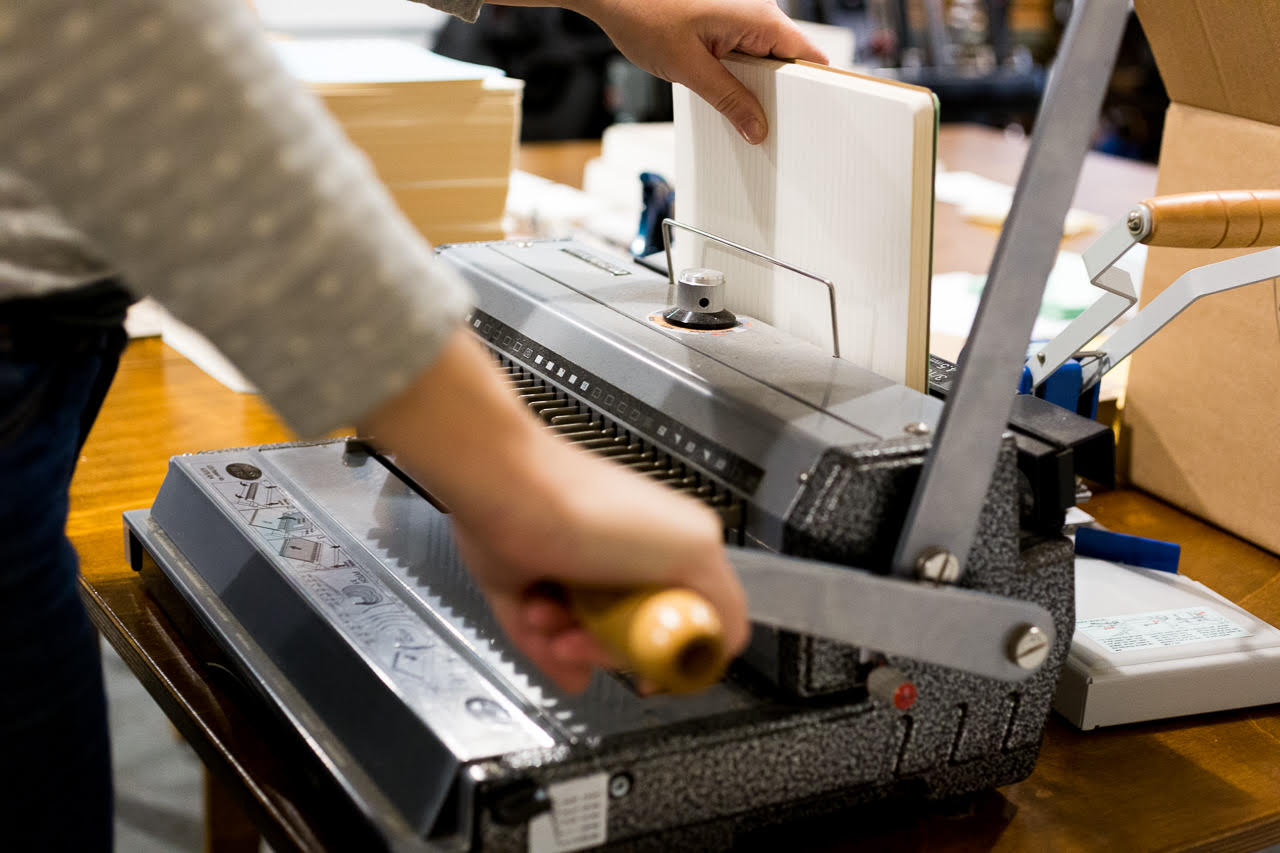
Behind the Stationery: Iron Curtain Press

At this point, I’ve thought about the new item so much that it seems to come together pretty quickly, but really I’ve just been thinking about it for a very long time. I am currently working on a pretty big release that will debut at the National Stationery Show in May – I’m in the prototyping stage and it’s so fun!

As the head of Iron Curtain Press, I am also so fortunate to be able to design every aspect of the business. As our company has grown, my husband Joel has come on board full time. His background is in photography and woodworking, so he takes all the photographs for our catalog and online, has built out both our print shop along with building all the fixtures for Shorthand. I love being able to work with him to design our spaces and see my vision executed so beautifully.
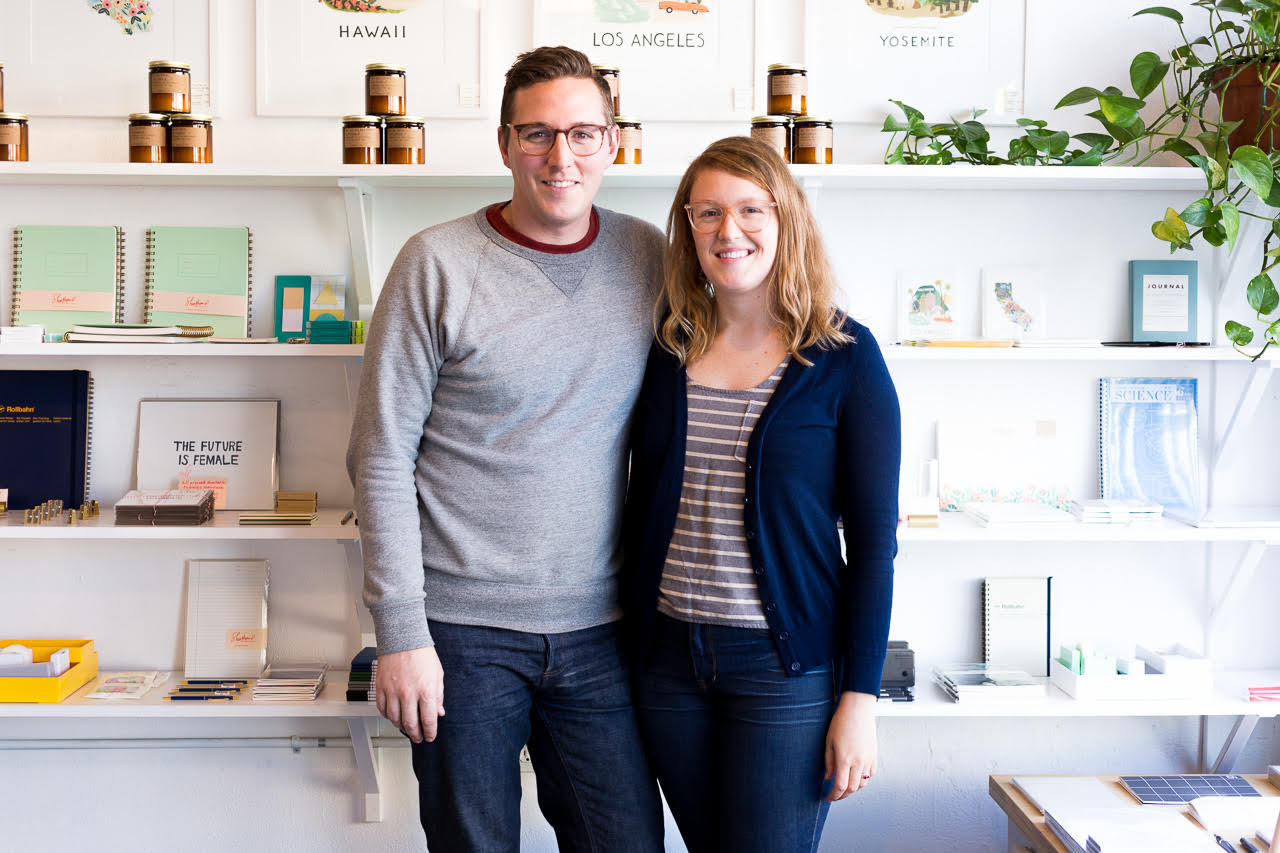
Iron Curtain Press: Rosanna and JoelWe are stoked for what 2017 holds for our cute little business. I love my job, I love the people that work with us every day and all of our clients and customers that allow us keep doing what we love.

All photos courtesy of Iron Curtain Press.

Want to be featured? Reach out to Megan at megan[at]ohsobeautifulpaper.com for details.
DIY Hologram Foil Easter Eggs

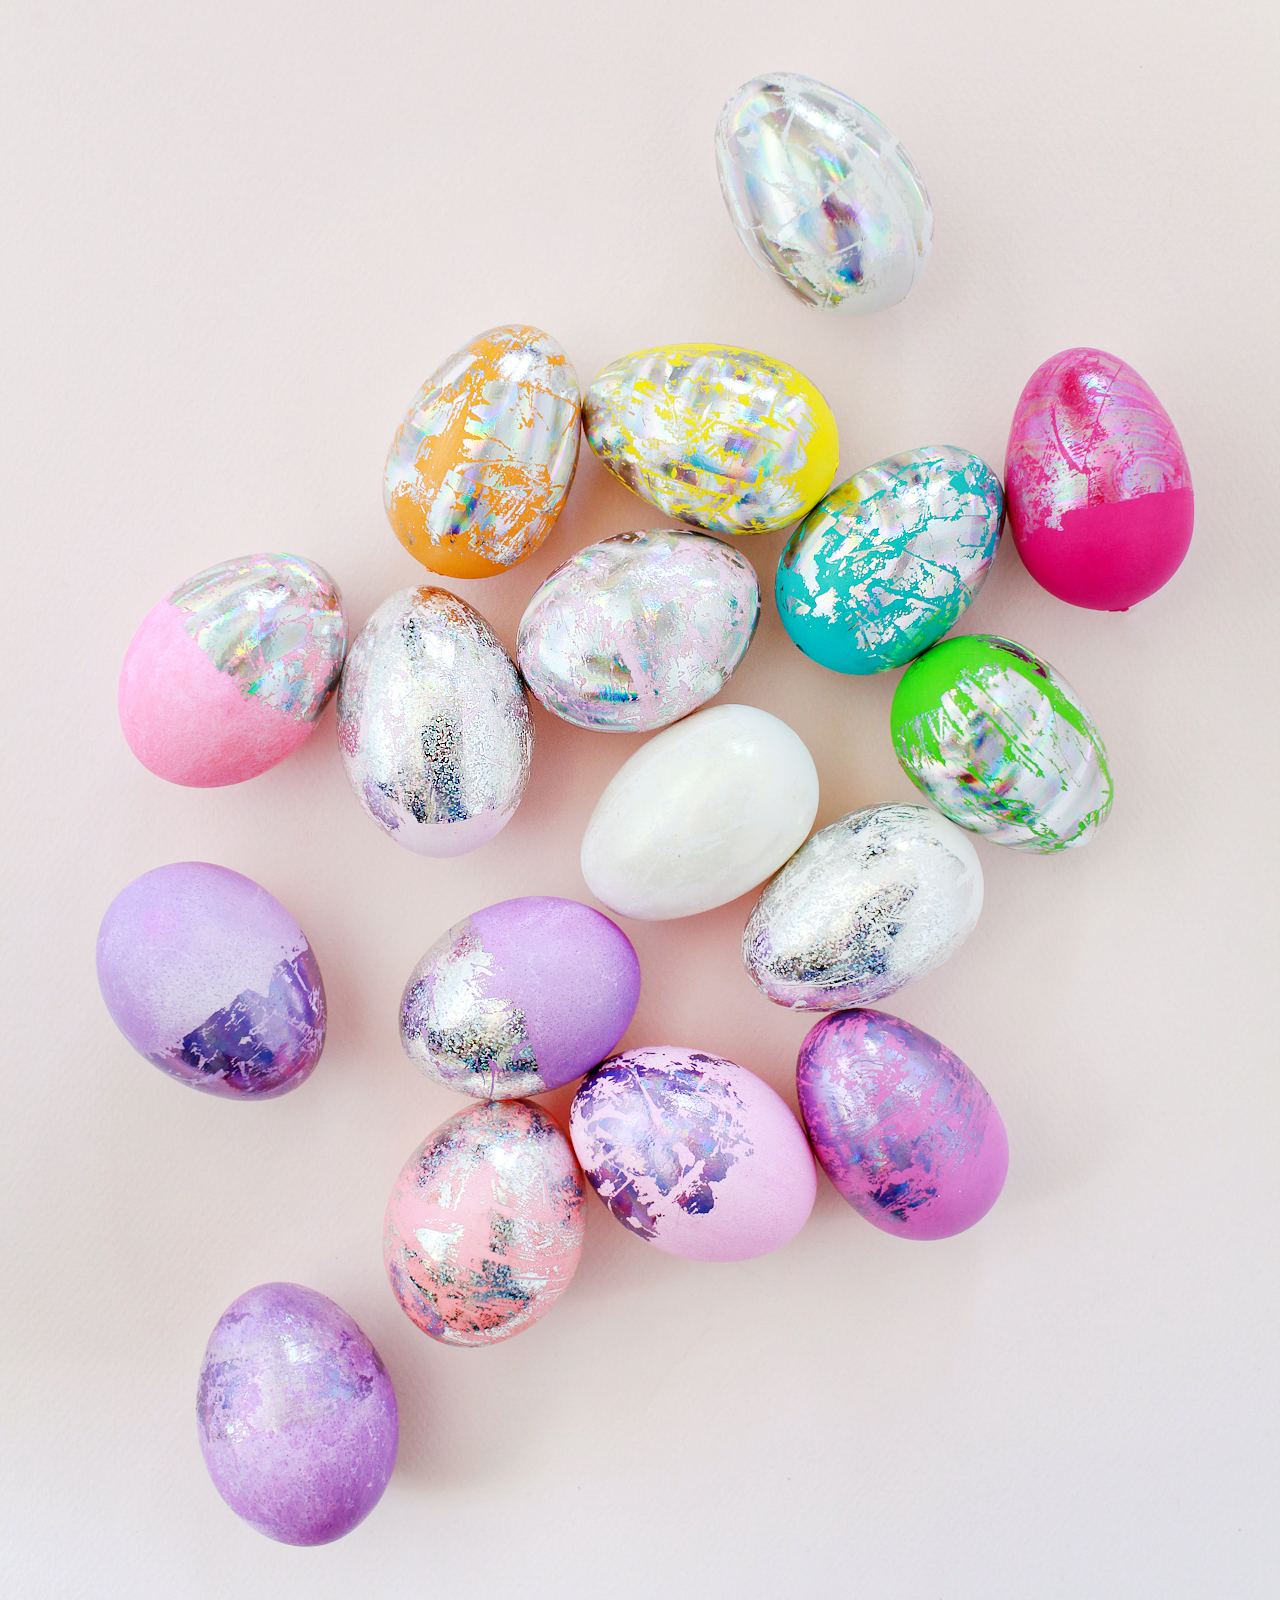
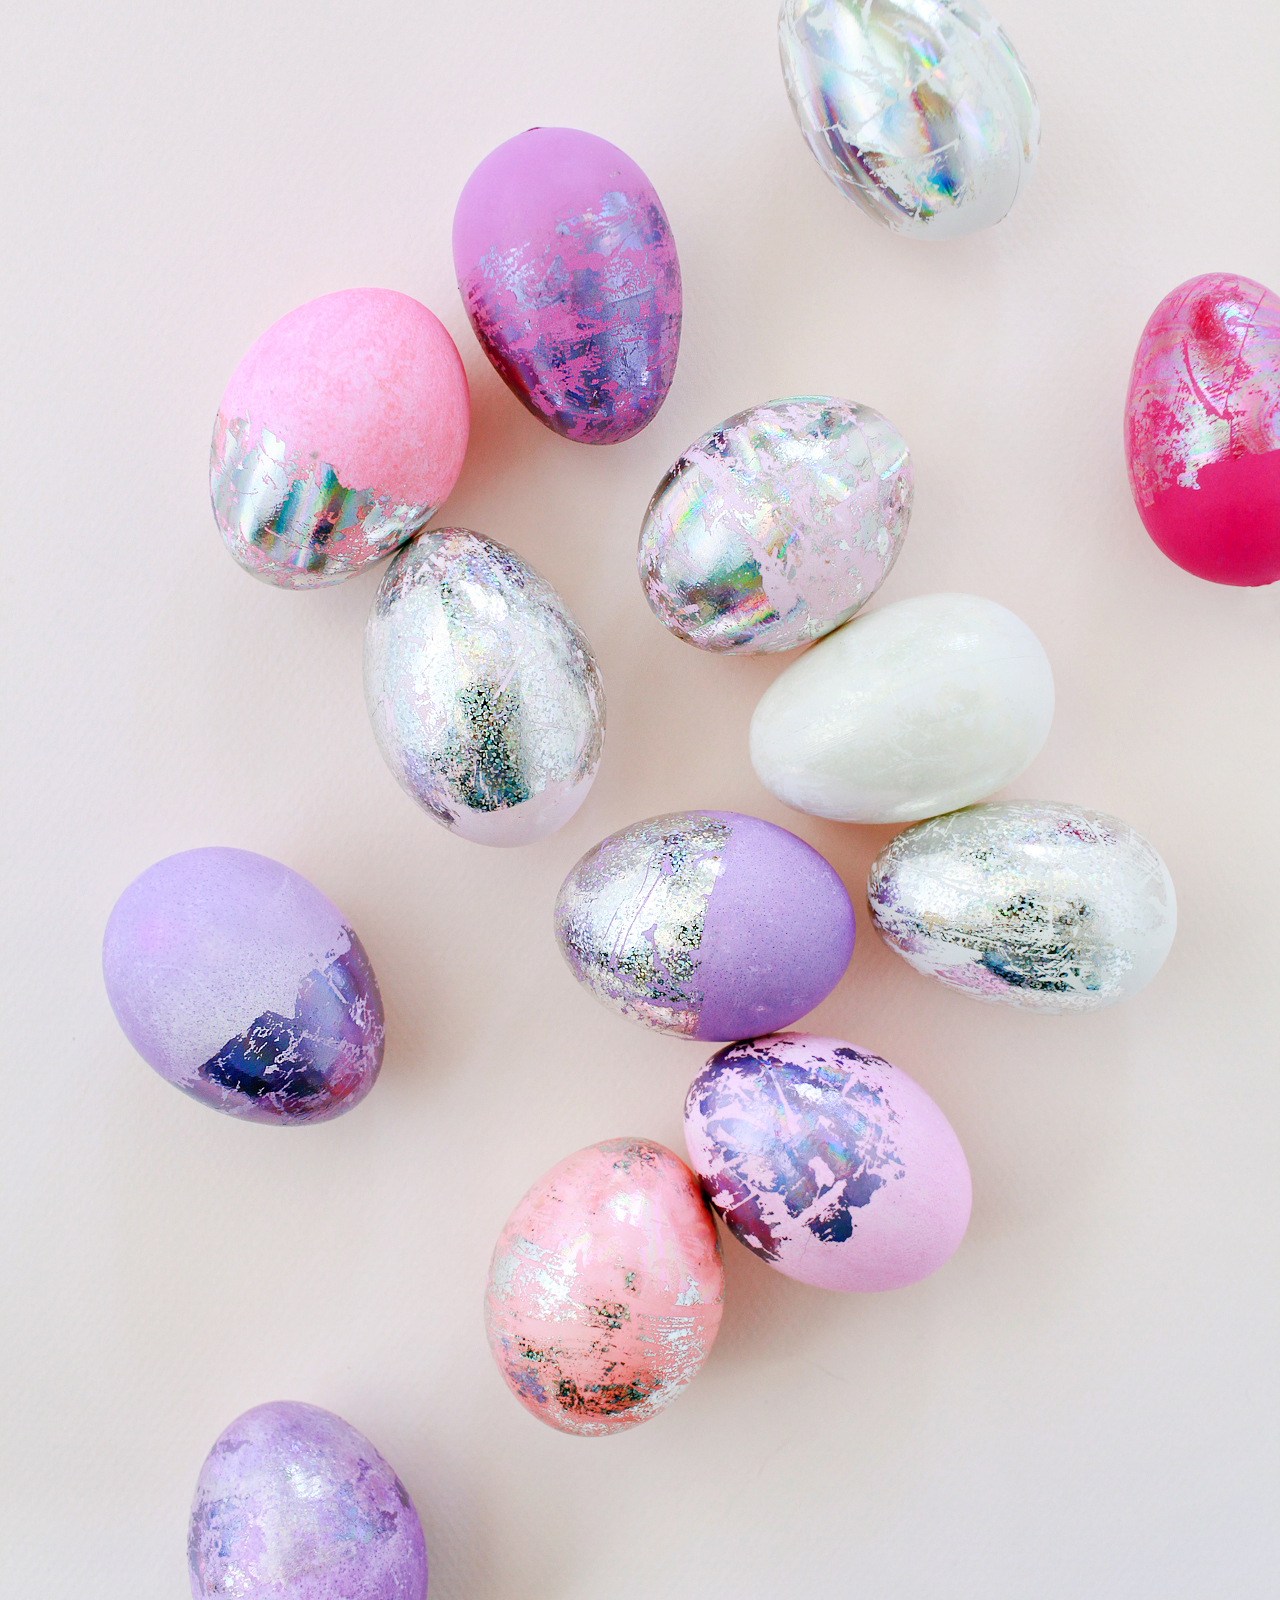
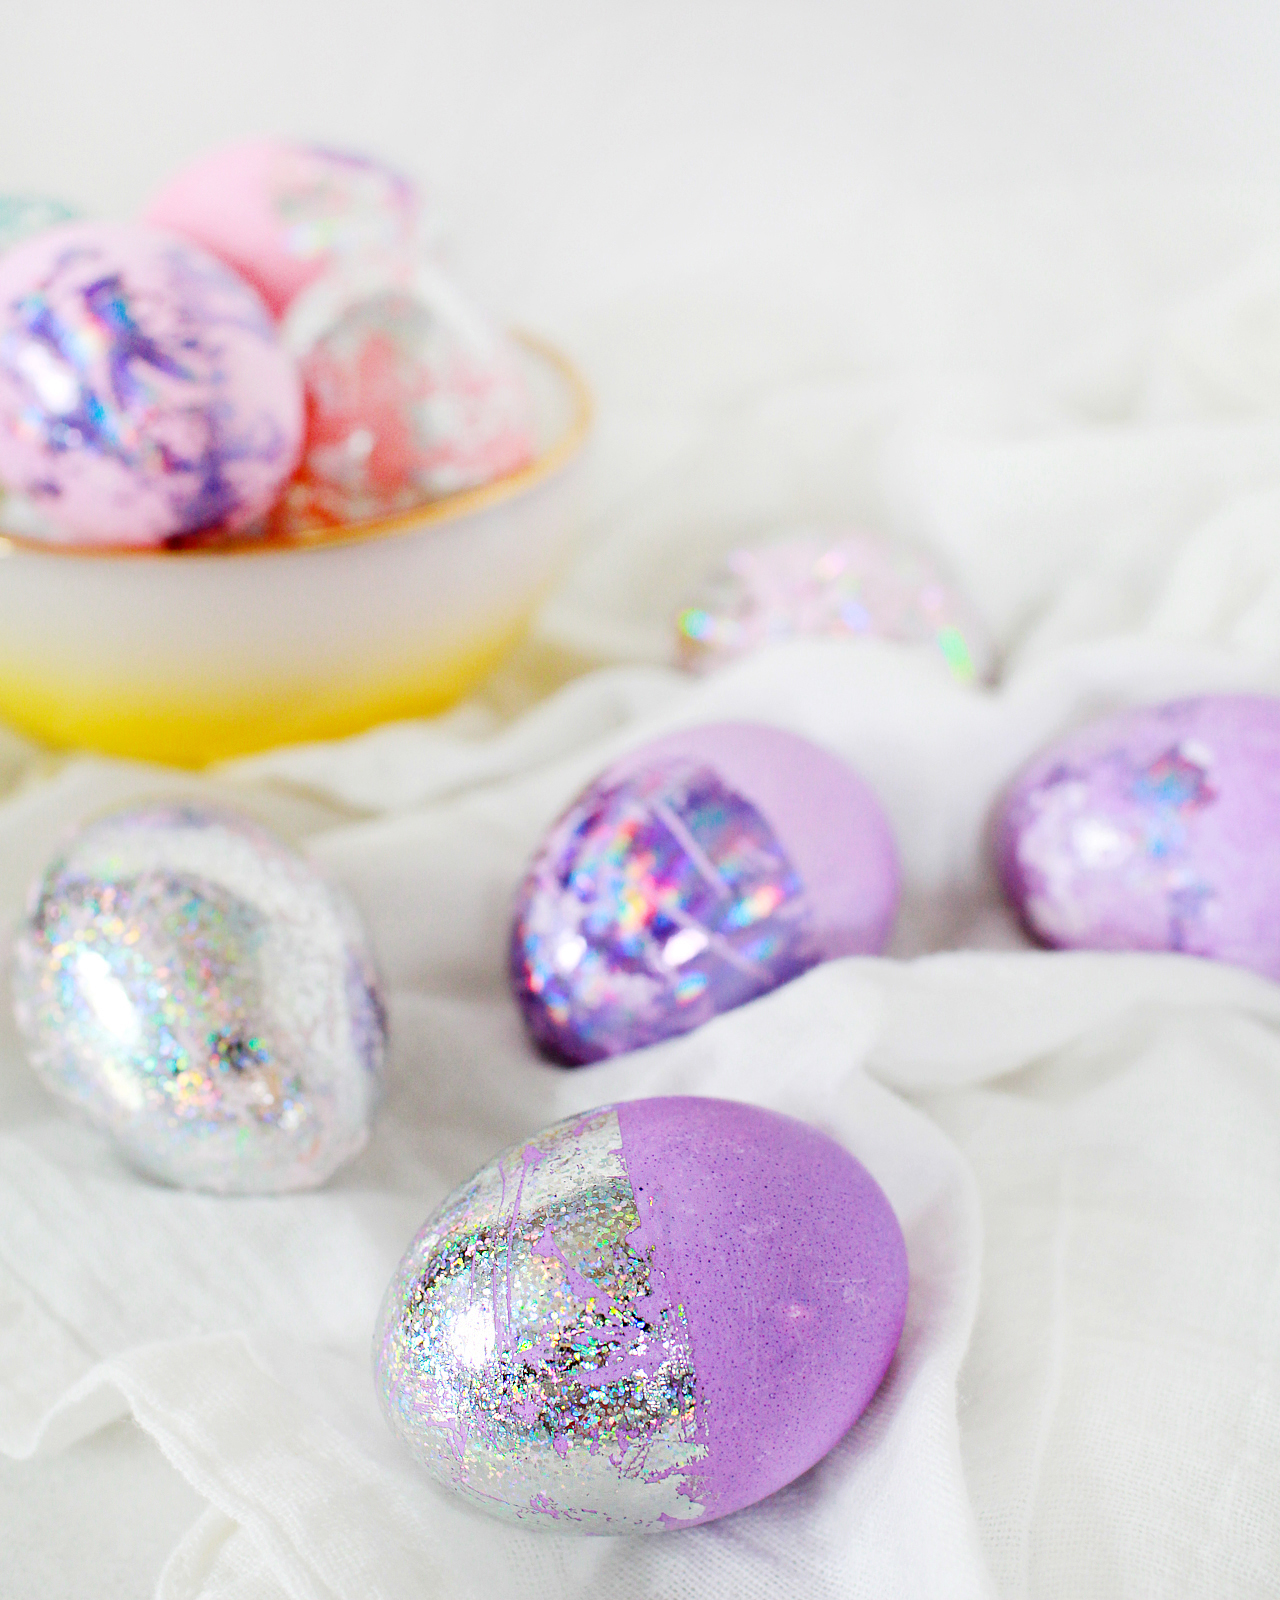
Happy Monday everyone! Today I’m sharing another DIY Easter egg tutorial – and this might just be my favorite yet: DIY hologram foil Easter eggs in every shade of the rainbow! These holographic Easter eggs just make me so happy every time I look at them, and you can even apply the technique to faux eggs to enjoy them year after year. All it takes is a few rolls of hologram nail foil, nail foil transfer adhesive, and you’re good to go!

DIY Hologram Foil Easter Eggs

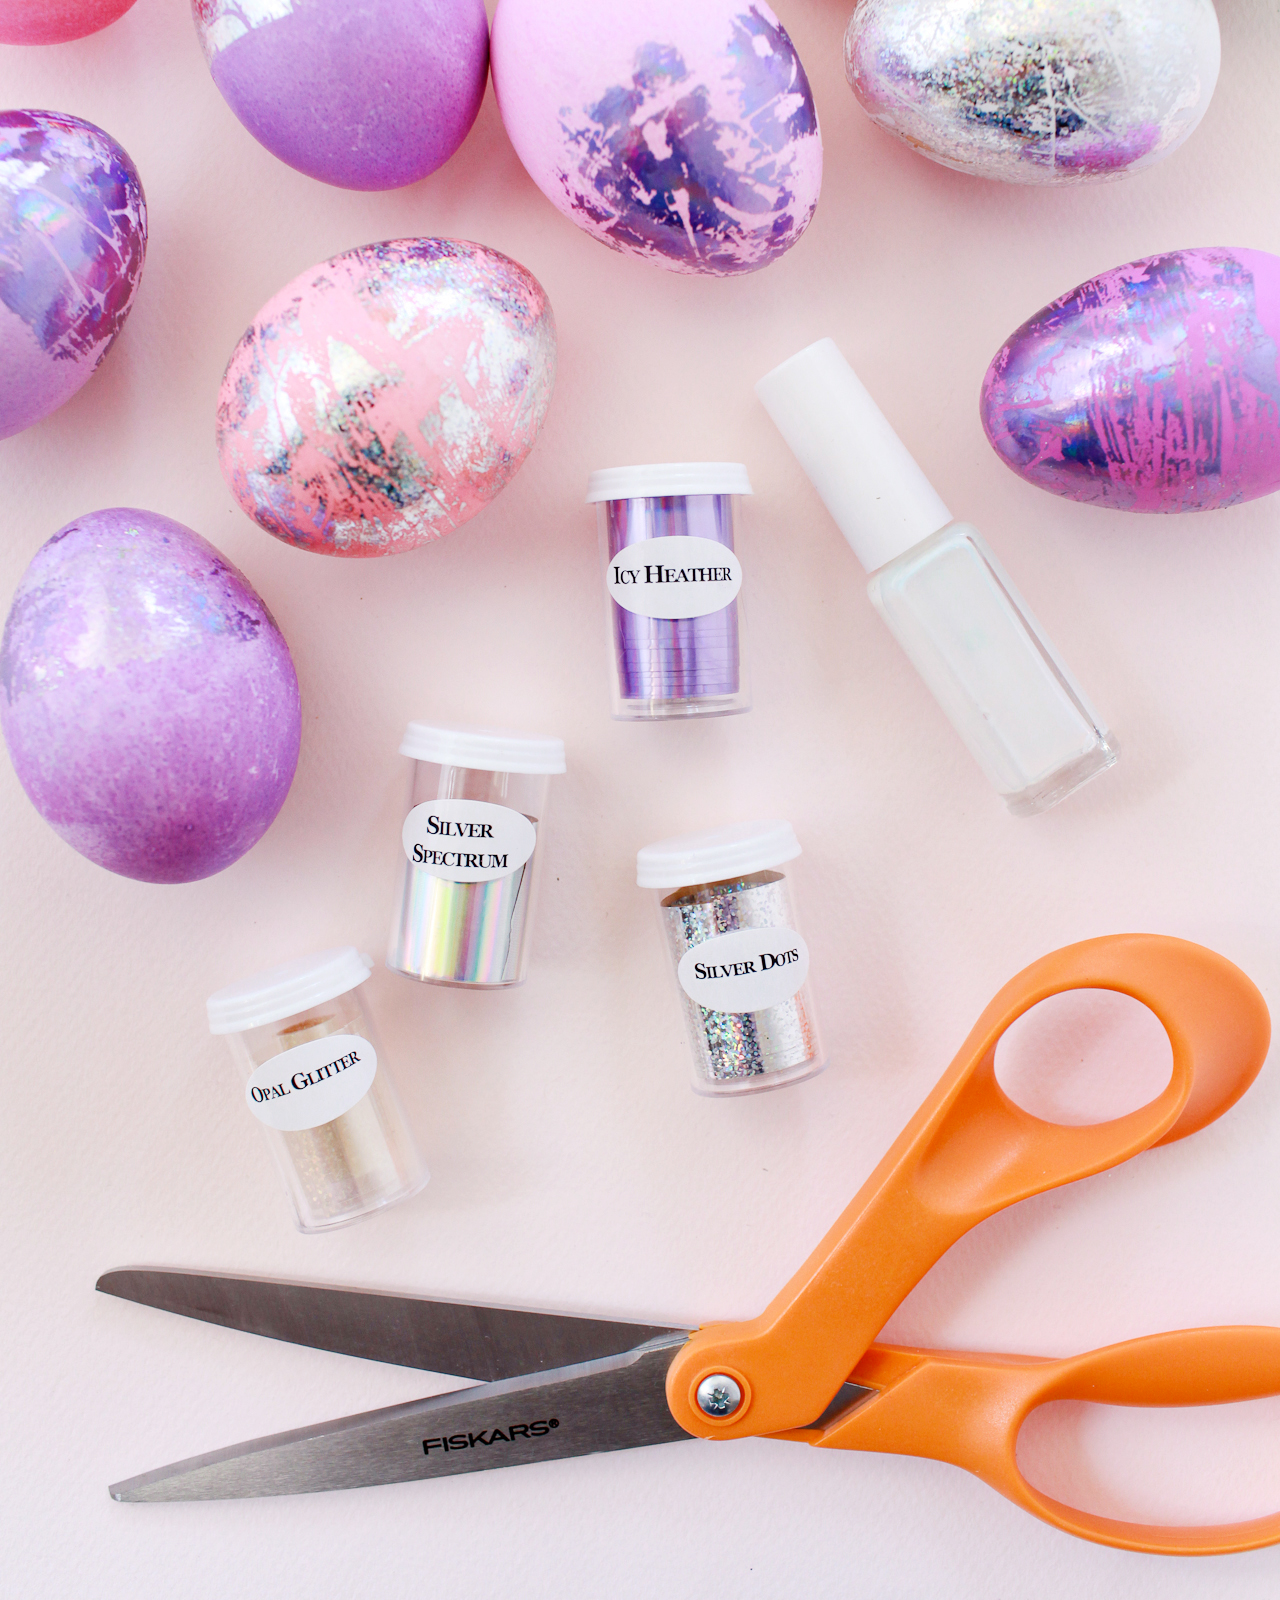
So first, if you don’t already know about the amazing magic that is nail transfer foil, you’re welcome. It’s super cheap (only $1 for a roll of 5 feet!!), comes in the most amazing range of color and patterns, and you can use it to give yourself a really fun manicure when you’re not busy making holographic Easter eggs. I stuck to a color palette of silver hologram, lavender hologram, and a clear iridescent foil, but you could create an entire rainbow of hologram and iridescent easter eggs just using the nail foils. Now how fun would THAT be??

DIY Hologram Foil Easter Eggs

Supplies

Faux or hardboiled eggs

Nail foil in your choice of color – I used Silver Spectrum, Silver Dots, Opal Glitter, Icy Heather, and a bit of Opal Swirl. I bought all my nail foils here, but you can also find some fun colors and patterns on Amazon.

Nail foil transfer adhesive

DIY Hologram Foil Easter Eggs

To make the DIY hologram foil Easter eggs:

Step 1. Start with faux Easter eggs in fun colors (I picked mine up from the dollar spot at Target) or dye hardboiled eggs in a rainbow of bright colors. Just a quick FYI: I tried this foil technique with naturally dyed eggs, and it didn’t go too well. The foil adhesive seemed to have a difficult time sticking to the naturally-dyed eggs. But the eggs dyed with regular liquid food coloring turned out great! The hologram foil also looks pretty great against white eggs, so you could just skip the dye and go straight for the hologram foil.

Step 2. Cut several 2-inch lengths of nail foil in your chosen colors. I usually needed about six 2-inch pieces of foil to cover a single egg. The foiling process moves pretty quickly, so it’s helpful to have a bunch of pre-cut pieces ready to apply ahead of time.

Step 3. Apply the nail foil transfer adhesive to your egg and allow it to dry for several minutes, or until the adhesive becomes clear and tacky. I found it easiest and most effective to apply the adhesive to several eggs at once, but only one half of the egg at a time. I lined up about six eggs at a time and applied the adhesive to each egg, and by the time I was done the first egg was usually ready for hologram foil.

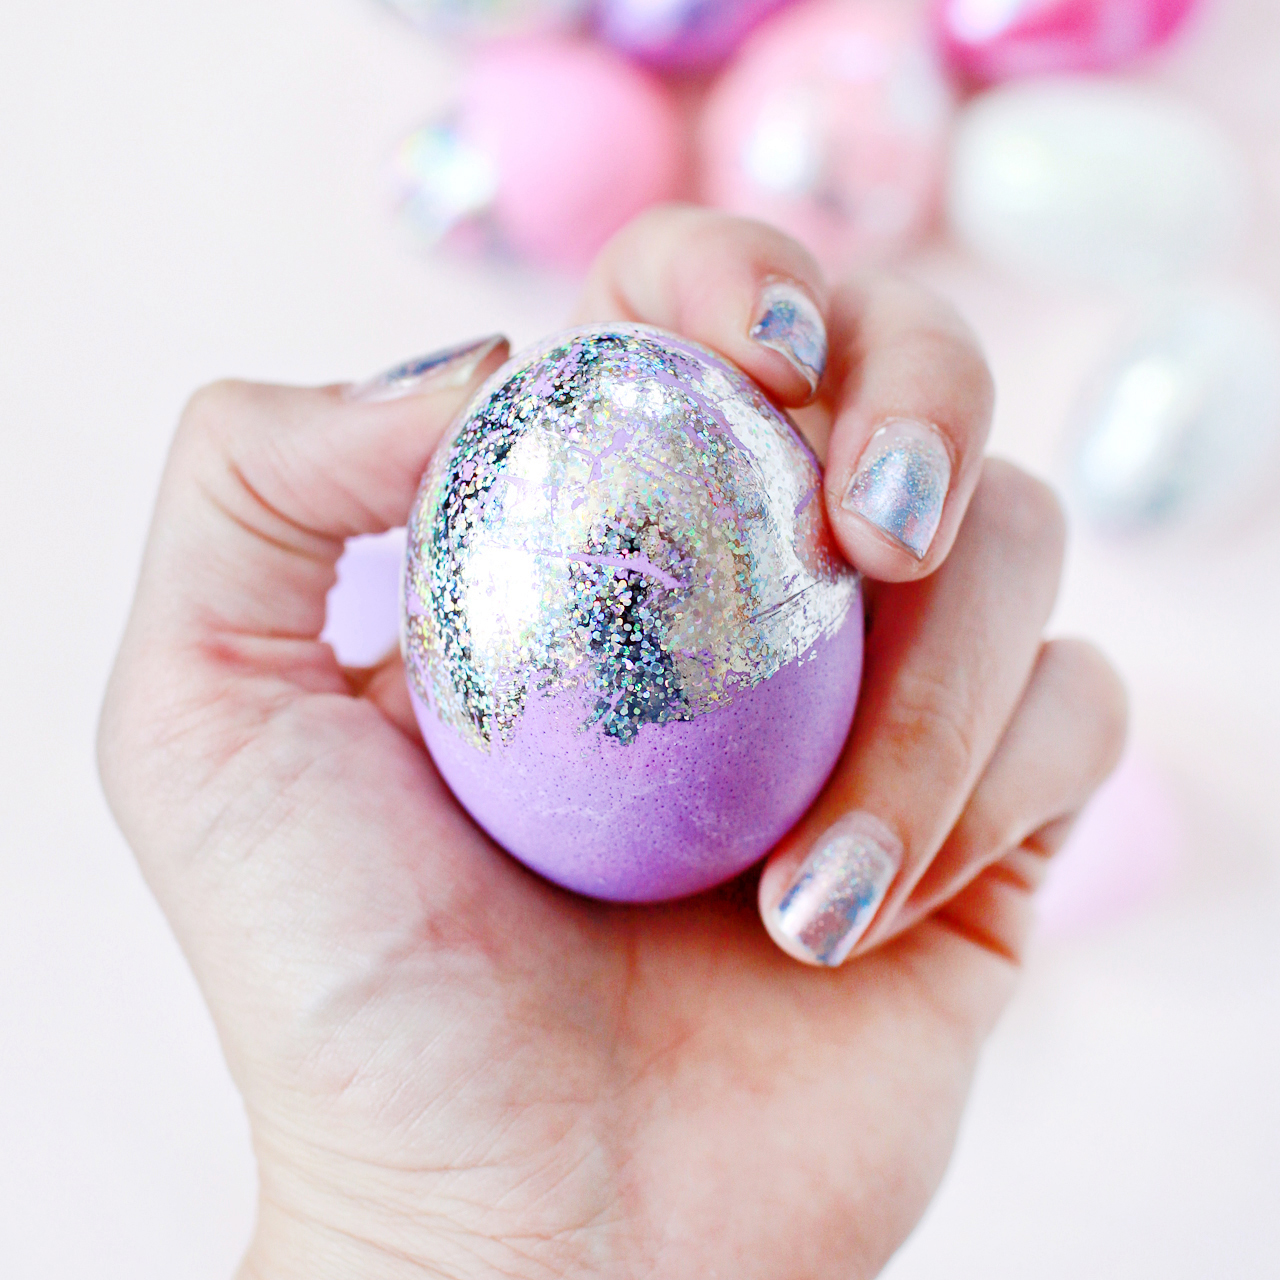
Step 4. Once the adhesive is clear and tacky to the touch, apply the hologram foil to the egg. For more solid coverage, press a piece of foil over the adhesive and smooth it down with your fingers. If you want more of the egg color to show through, quickly tap the foil against the adhesive and then move to another section of the egg. Continue around the entire area until you’re satisfied with the amount of coverage.

DIY Hologram Foil Easter Eggs

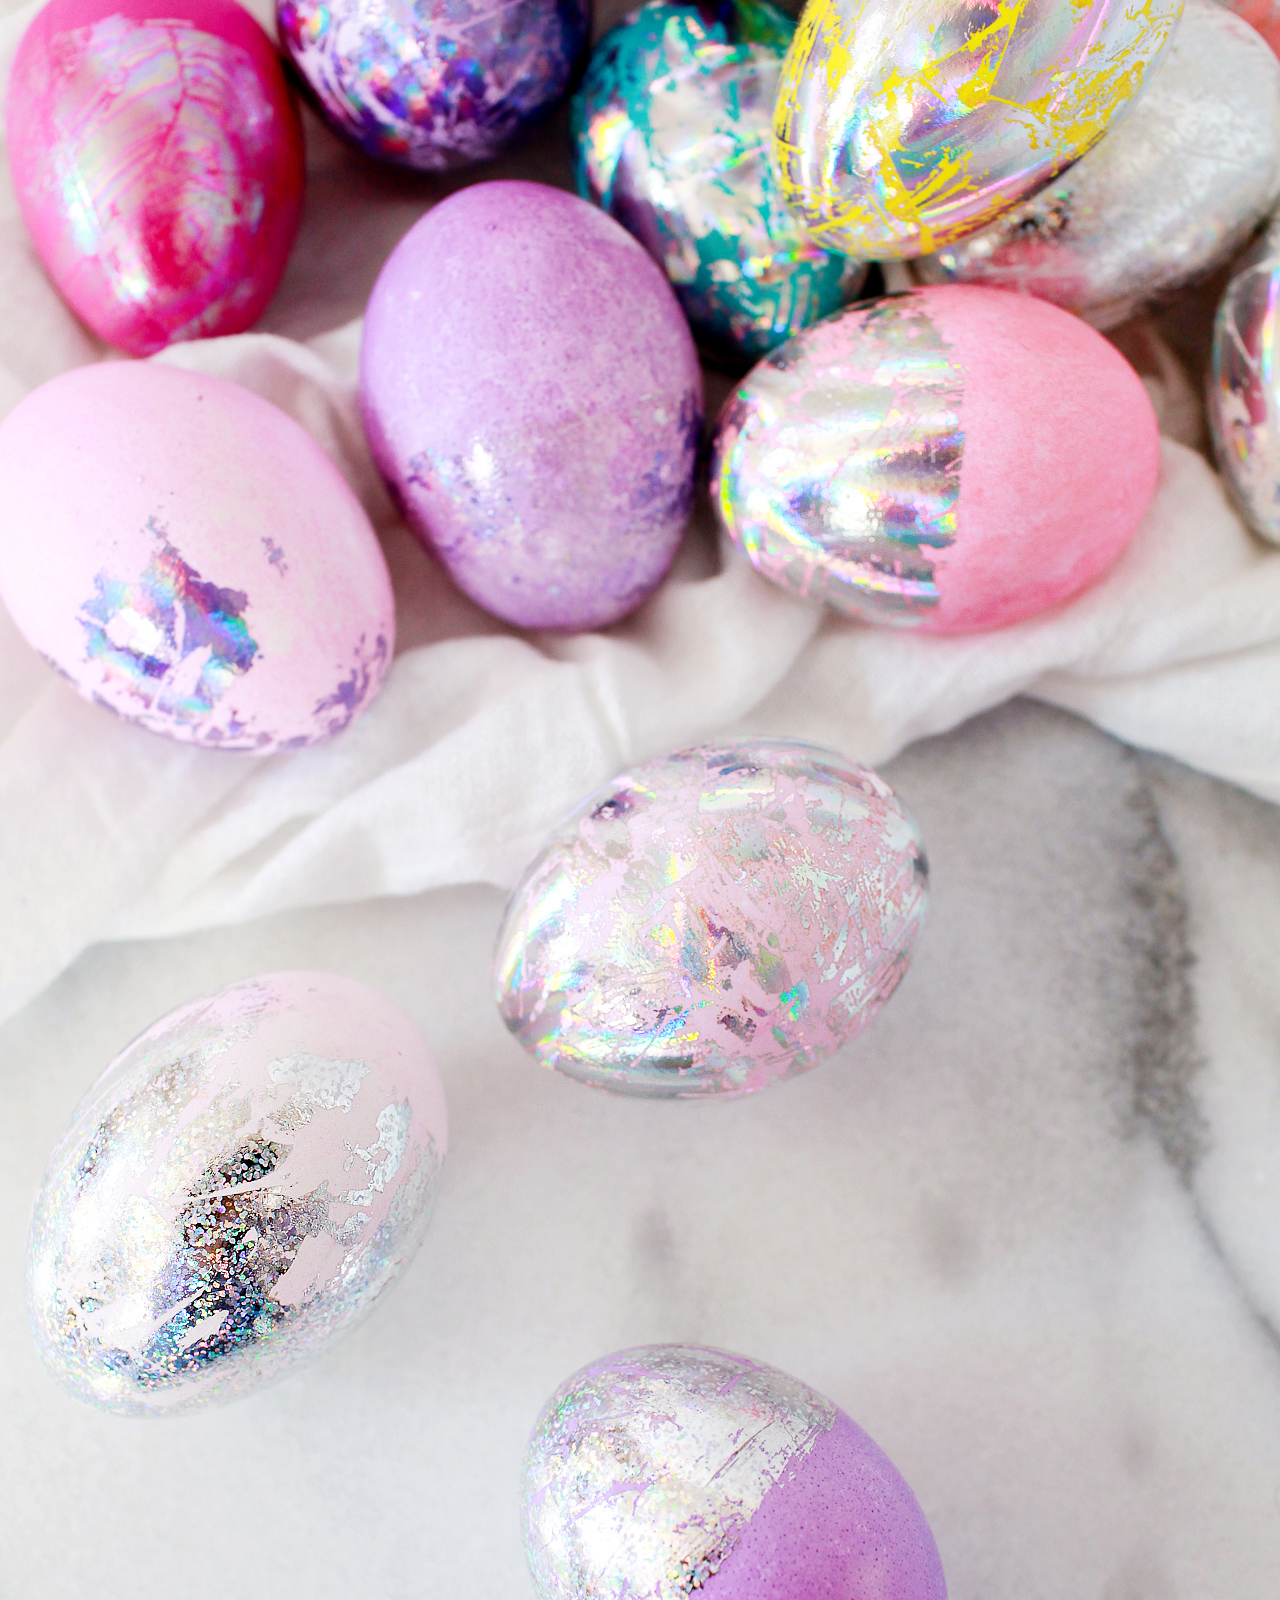
The silver spectrum and silver dots hologram foils are so much fun – and they look good on both white and colorful eggs! The opalescent foils are really subtle in person and look best on brighter or dark color eggs, but are just so gorgeous in person. And how pretty is that lavender (aka icy heather) hologram foil?? So many great color combinations, so little time!

DIY Hologram Foil Easter Eggs

DIY Hologram Foil Easter Eggs

DIY Hologram Foil Easter Eggs

DIY Hologram Foil Easter Eggs

Sparkle! Rainbows! Gah, I just love these eggs SO much! But what do YOU think?? Will you be making holographic Easter eggs this year? If you do, be sure to share a photo on Instagram with the hashtag #madewithosbp so I can see it!

p.s. DIY painterly pink and gold Easter eggs and DIY tropical leaf Easter eggs

Photos by Nole Garey for Oh So Beautiful Paper

Happy Weekend!

Happy Friday everyone! I have a question for all of you. We’ve fallen into a bit of a recipe rut with our weeknight dinner recipes. So I’m on the hunt for new quick and relatively easy dinner recipes. What are your favorites?? I’m all ears! I’d love it if you could share your favorite recipes in the comments. But in the meantime…

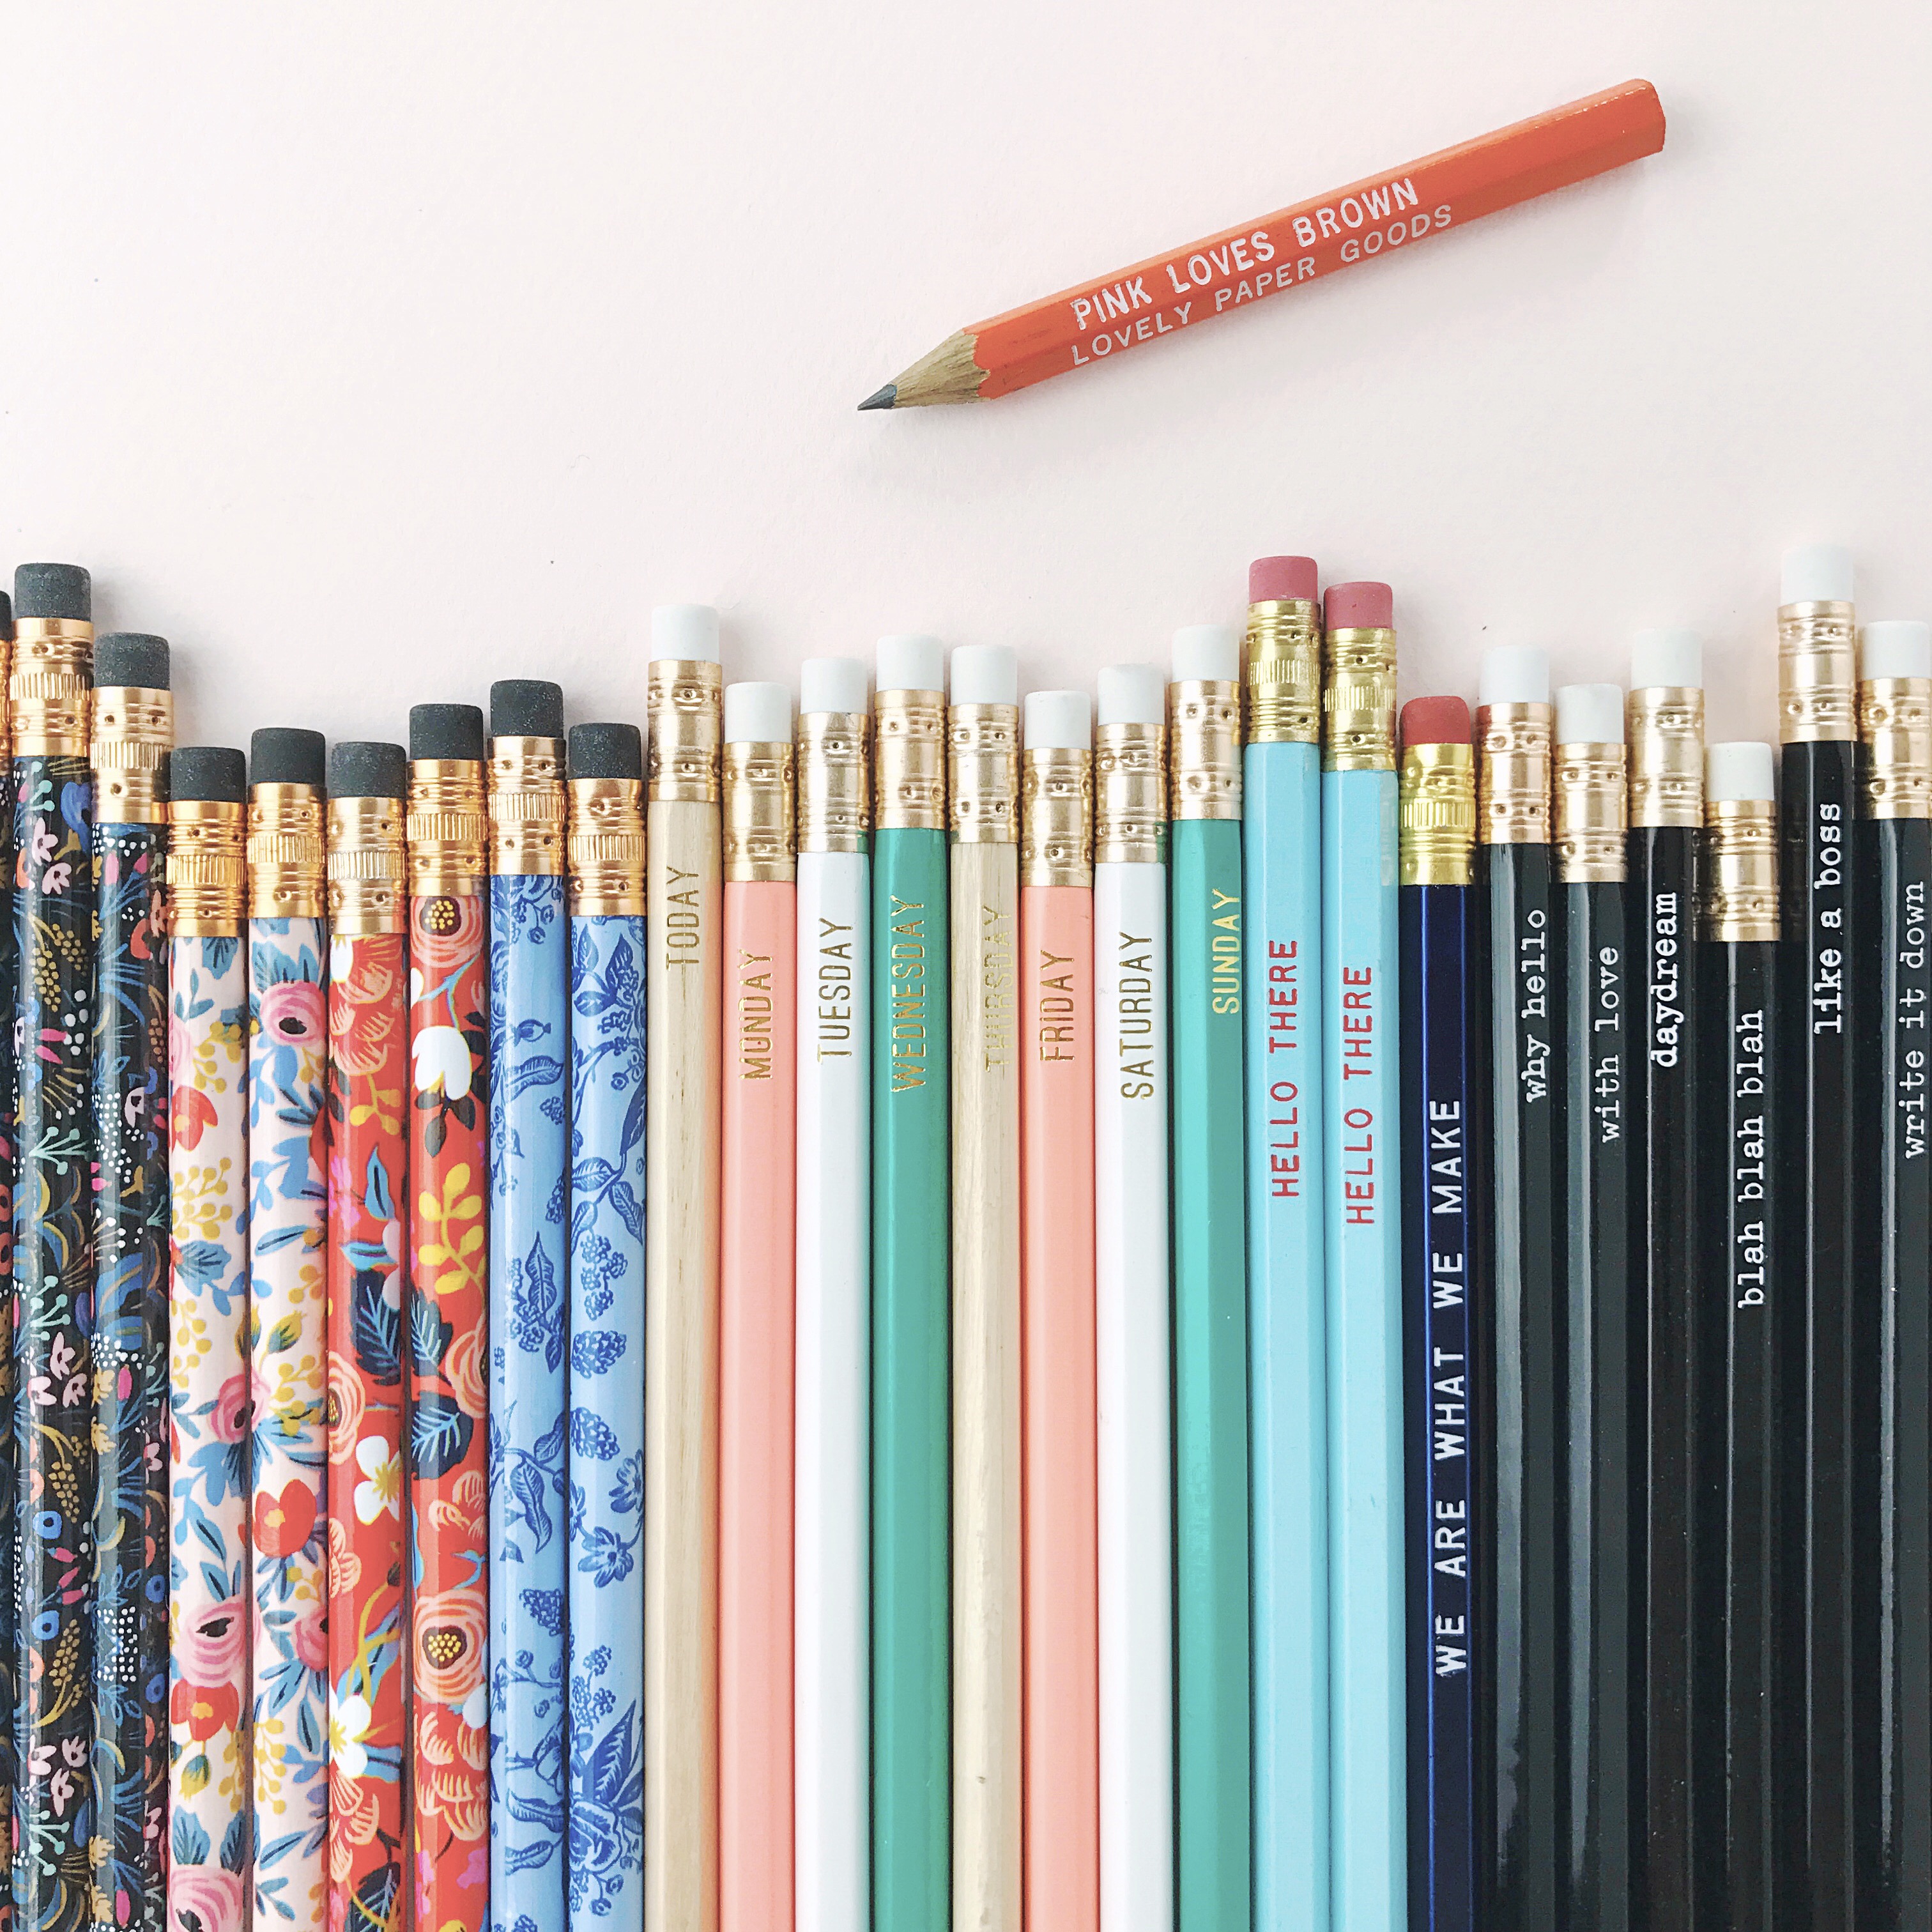
Oh So Beautiful Paper Pencils

…a few links for your weekend!

Loving these hologram leather flats with a cute pointed toe

Cutting foreign aid makes America less safe

These DIY confetti eggs are so fun!

My favorite indoor-outdoor rug in a new shade of coral pink!

This floral mat is so pretty

The not-so-glamorous side of buying and renovating an older home

This rattan side table is just SO GOOD

MAKE: Savory herb French Toast (yum!) â€“ and I’m also thinking about making this Cocoa Pecan Torte for our Passover dinner


This week on Oh So Beautiful Paper:

DIY hologram galaxy Easter eggs

One of my favorite trends for 2017: Vellum!

Rustic succulent-inspired wedding invitations

Some seriously cute Easter cards

So many cute designs in the Cherry Berry Paper for Target collection!


April Desktop Downloads!

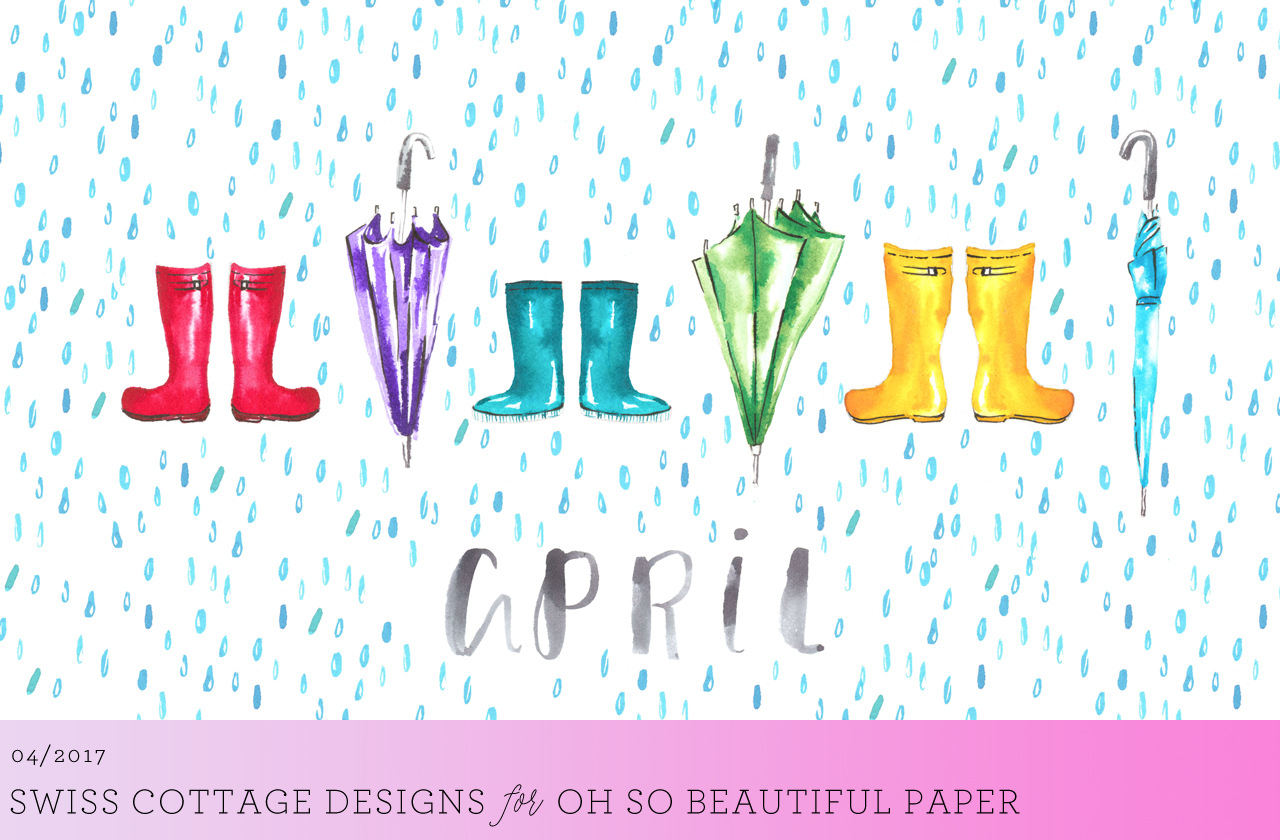
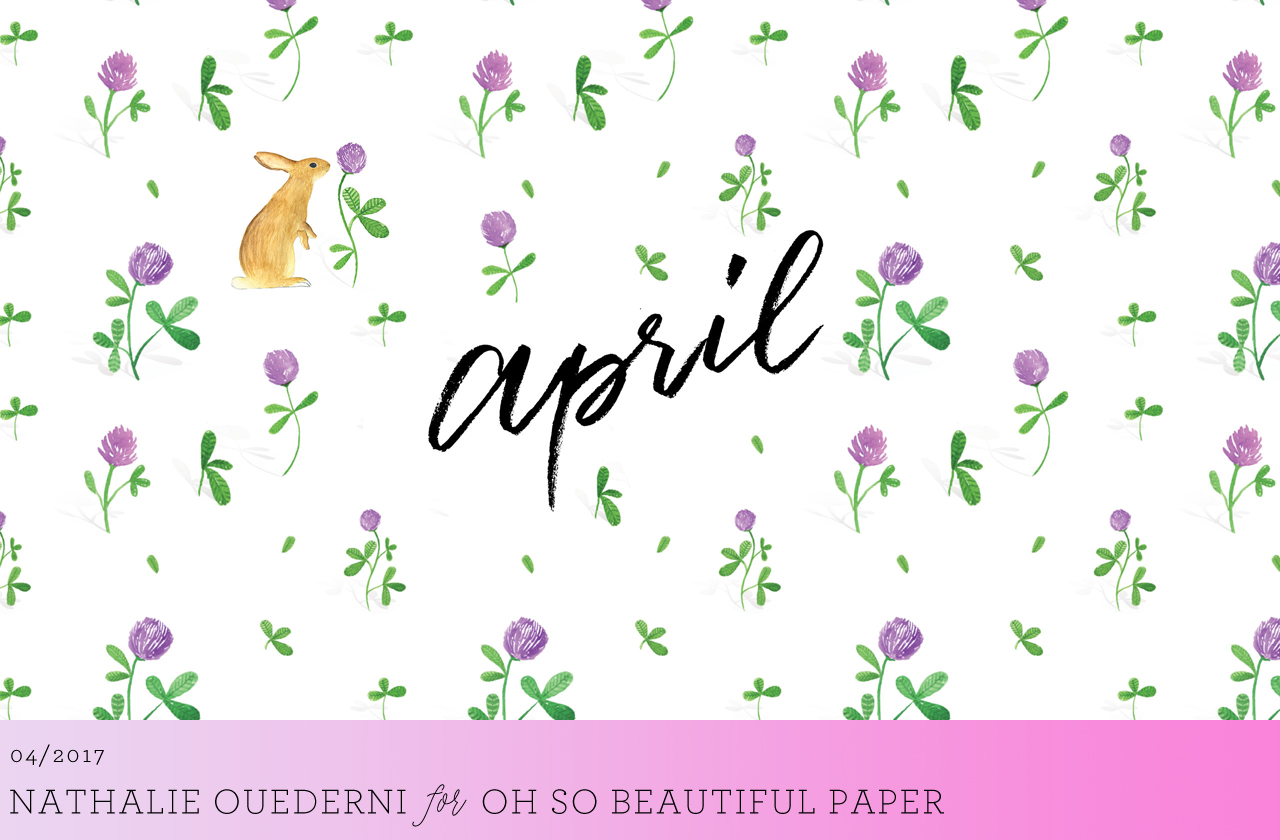
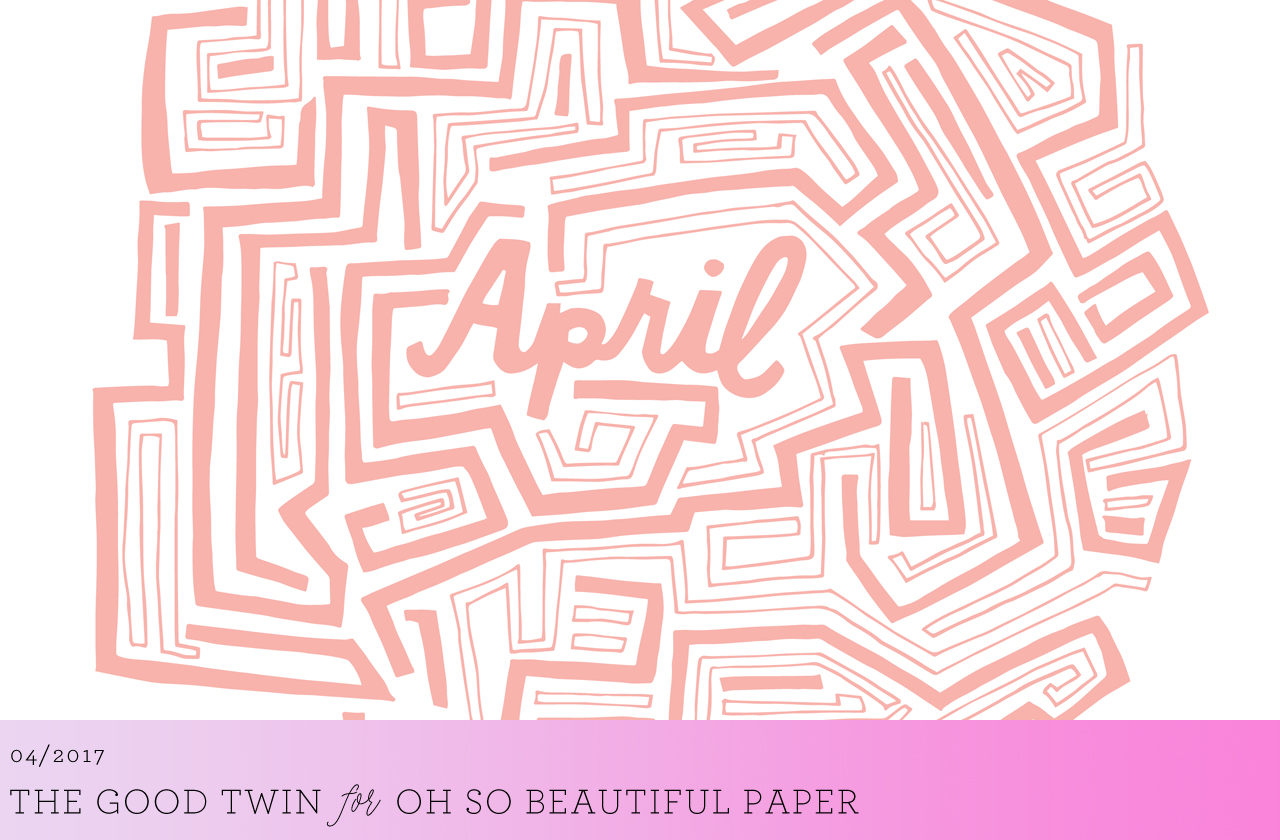
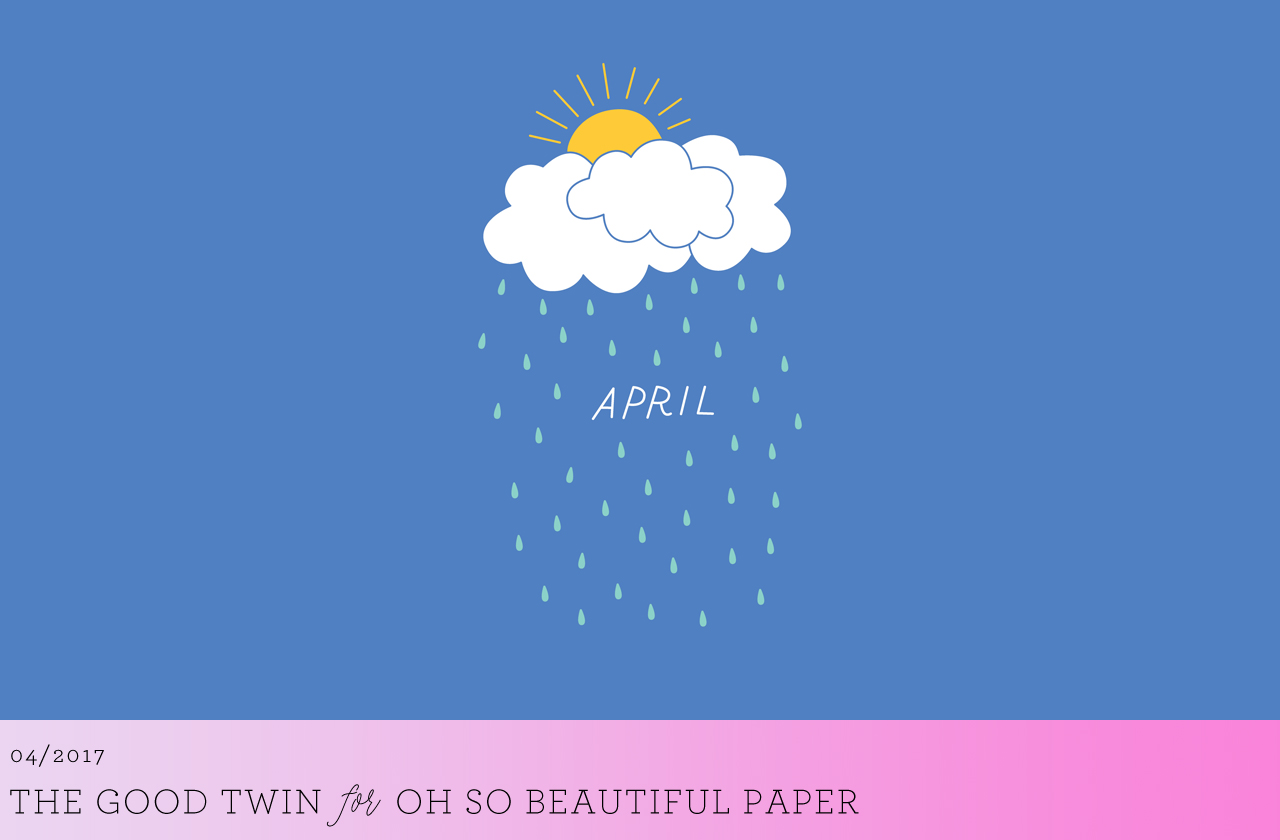
Ah, April. The first full month of Spring! And also known for lots of rain, which is totally fine with me since it means lots of flowers in May! Here in DC, the cherry blossoms are in full bloom, tulips and daffodils are everywhere, and the days are getting longer – all of which make me so very happy. To celebrate the new season, we have a wealth of illustrated wallpapers to help brighten your screens this month, with four new designs from Swiss Cottage DesignsThe Good Twin, and Nathalie Ouederni! Pick your fave (or two!) and download the files via the links below! xoxo

April Showers Illustrated Wallpaper by Swiss Cottage Designs

Desktop | iPhone

Illustrated April Wallpaper by Nathalie Ouederni

Desktop | iPhone

April Maze Illustrated Wallpaper by The Good Twin

Desktop | iPhone

April Showers Illustrated Wallpaper by The Good Twin

Desktop | iPhone

Illustrations © Swiss Cottage DesignsThe Good Twin, and Nathalie Ouederni. All artwork is made available for personal use only. By downloading the wallpapers you agree to the terms of use.

p.s. If you’re a designer or illustrator interested in contributing your own designs to this column, please email your design to hello(at)ohsobeautifulpaper.com with the subject line “desktop downloads” and image files in both desktop and iPhone retina screen sizes. If it’s a good fit I’ll add it to the post for the following month!