DIY Modern Color-Blocked Easter Eggs

This post is sponsored by The Incredible Egg. All content and opinions are my own. Visit The Incredible Egg for Easter recipes and inspiration!

Easter is such a fun holiday, don’t you think?? I’m partial to any holiday that involves decorating – and eggs are the cutest little canvases that can be decorated in so many fun and colorful ways. And now that my kids are old enough to join in on the Easter egg decorating fun, it’s even better! I love coming up with new Easter egg decorating ideas each year, and this year I’m really feeling inspired to experiment with new color palettes and color combinations. So today I’m partnering with The Incredible Egg to share these fun DIY modern, color-blocked Easter eggs!
DIY Modern Color-Blocked Easter Eggs

DIY Modern Color-Blocked Easter Eggs

My family looks forward to decorating Easter eggs all year long. We typically spend the holiday with my husband’s family, so we gather everyone around the kitchen table on Easter morning to dye eggs together. I love seeing the colors (and color combinations!) everyone chooses for their eggs and all the ways they express themselves creatively. Plus my kids absolutely love both getting to decorate eggs and then hunt for them with their cousins several times in the afternoon!
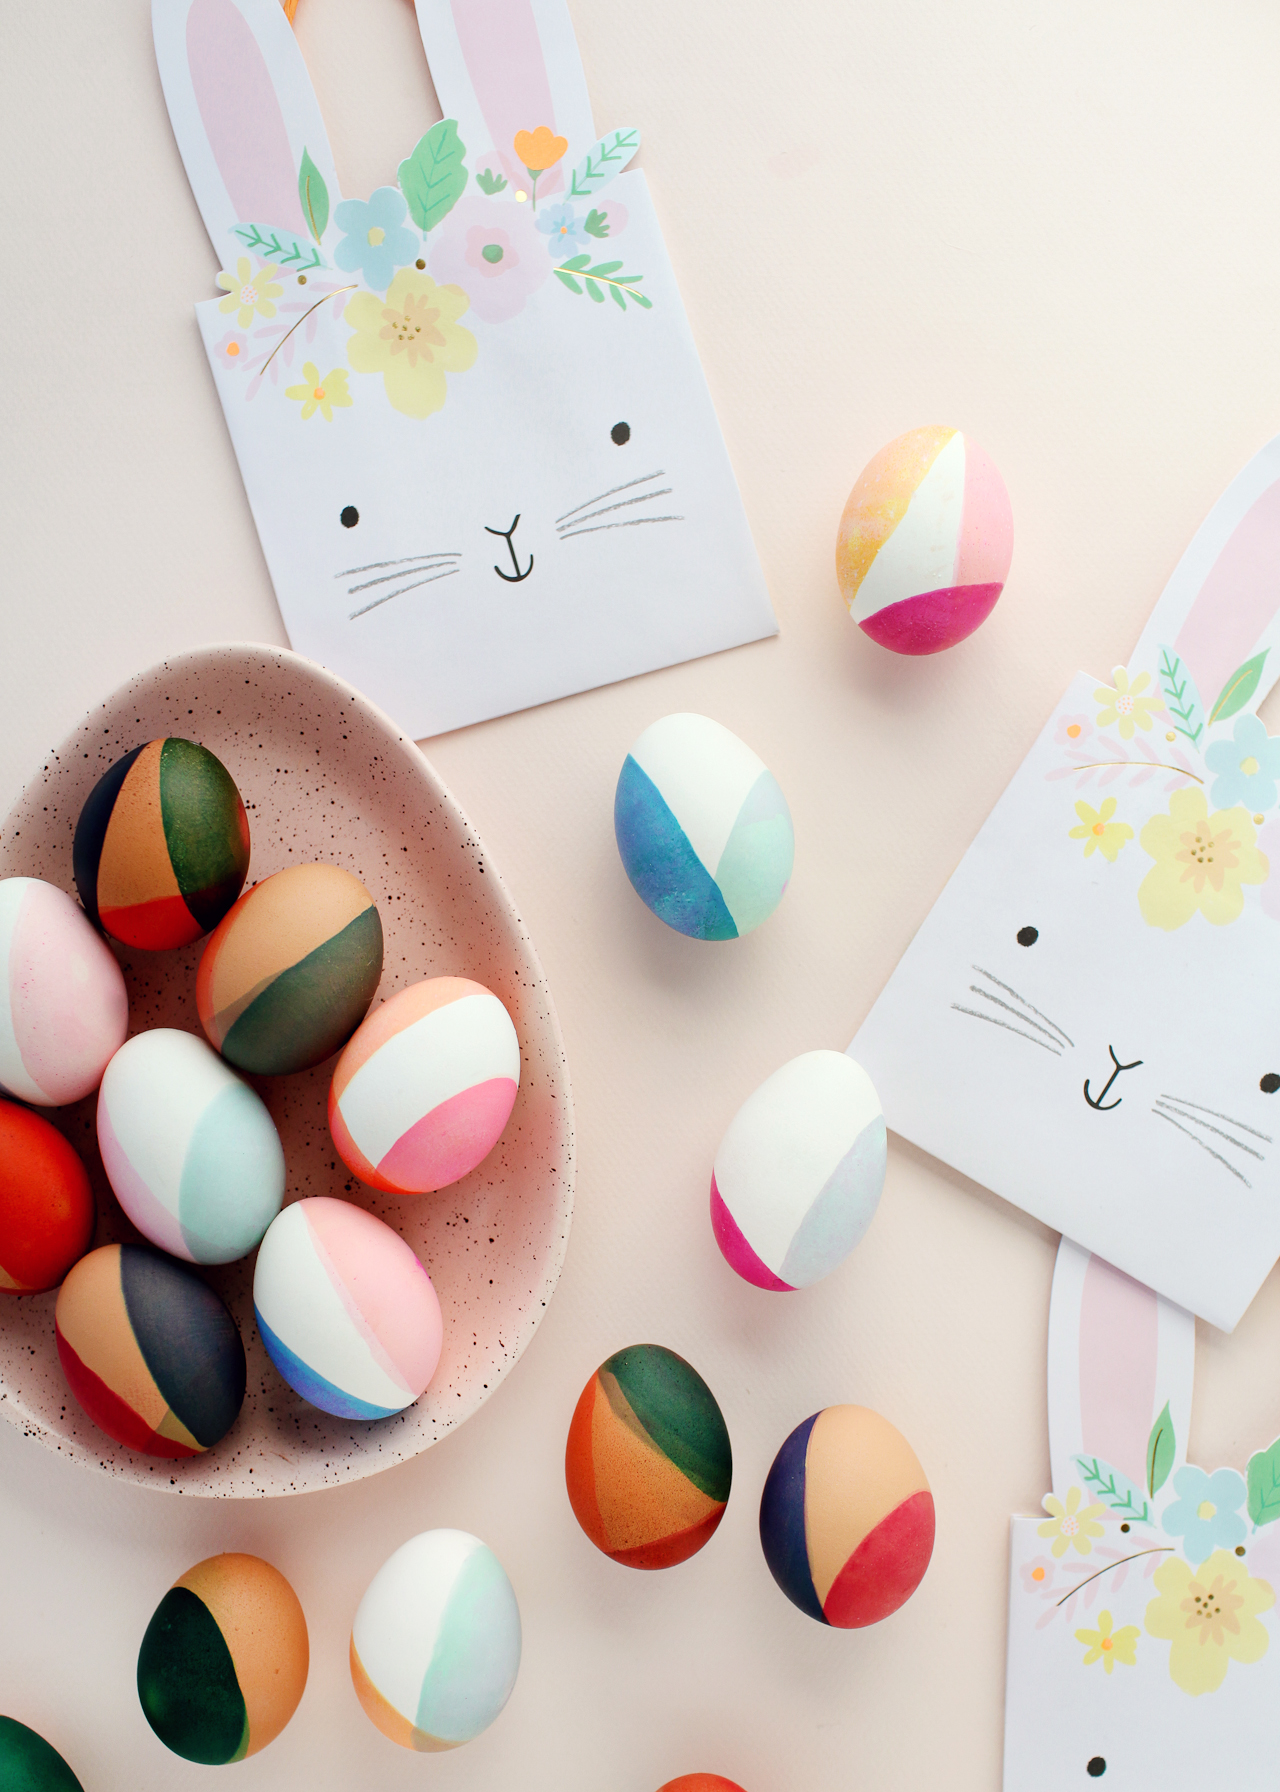
DIY Modern Color-Blocked Easter Eggs

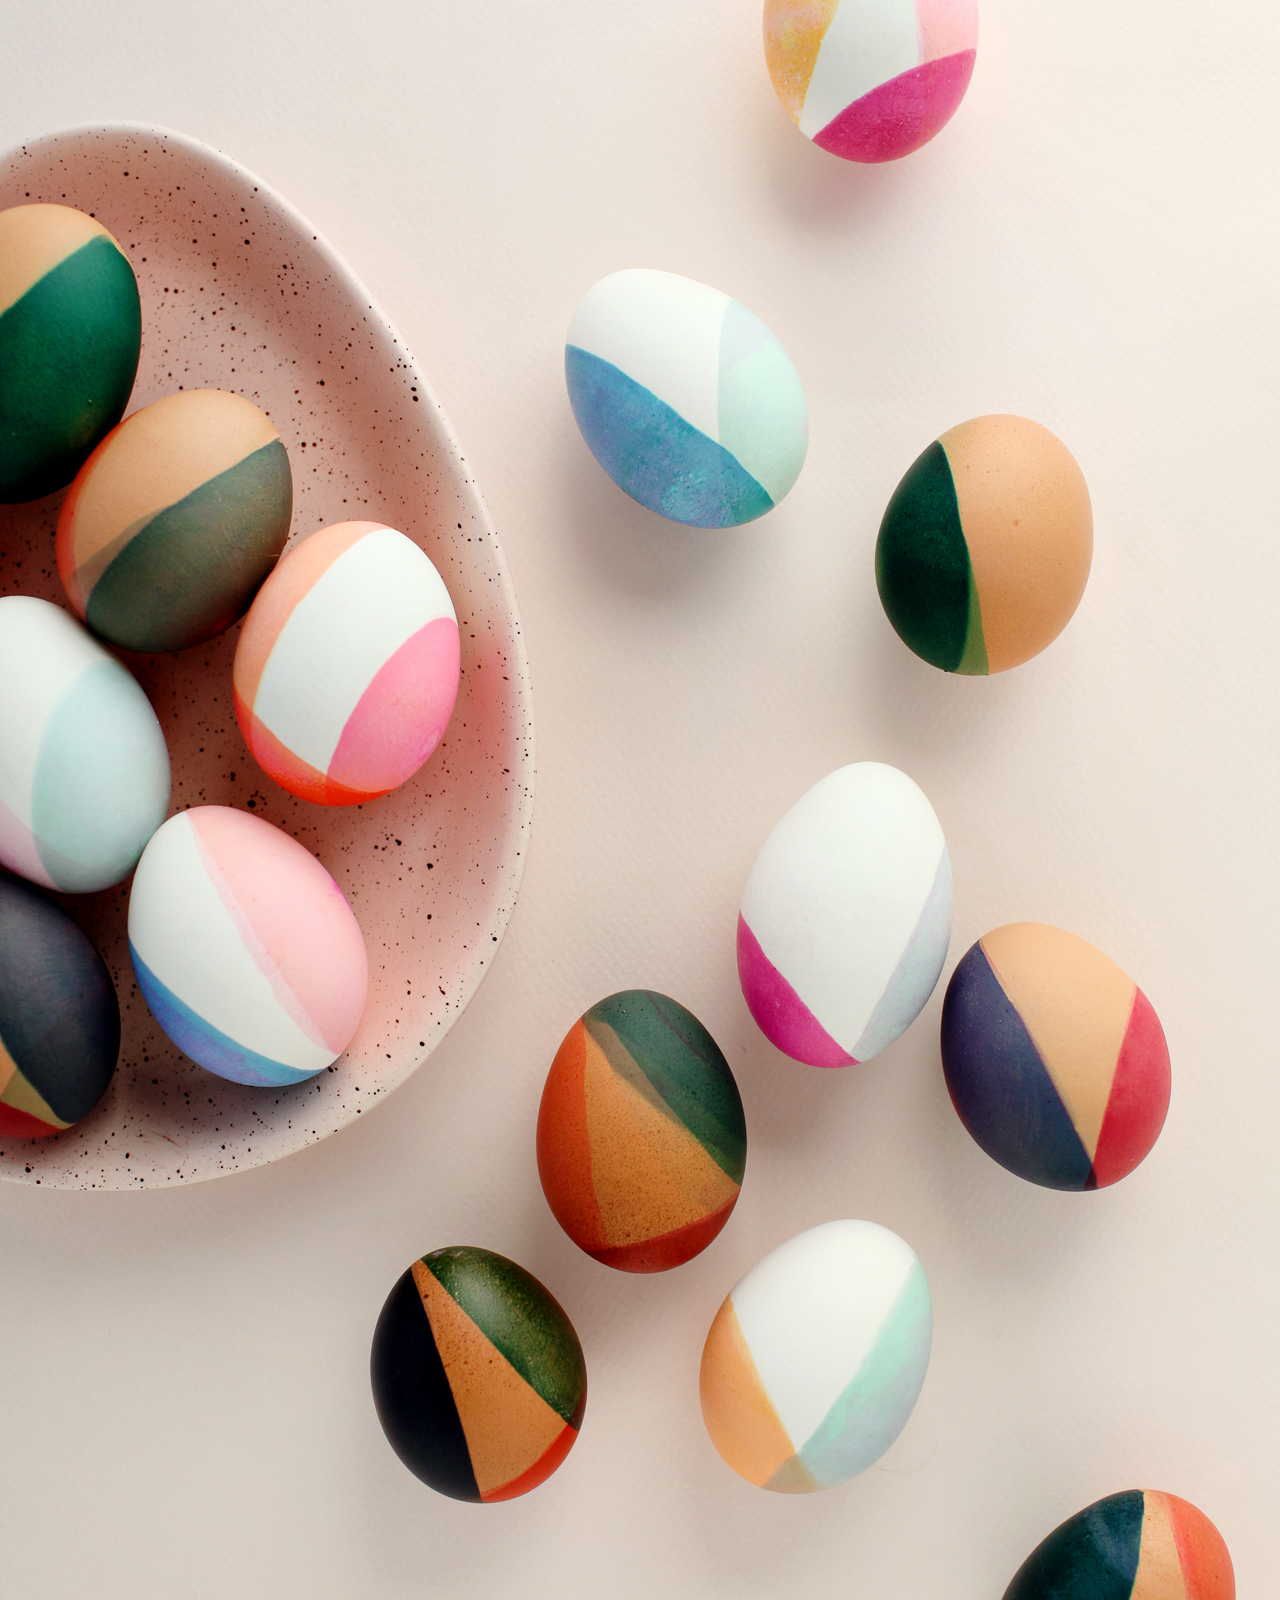
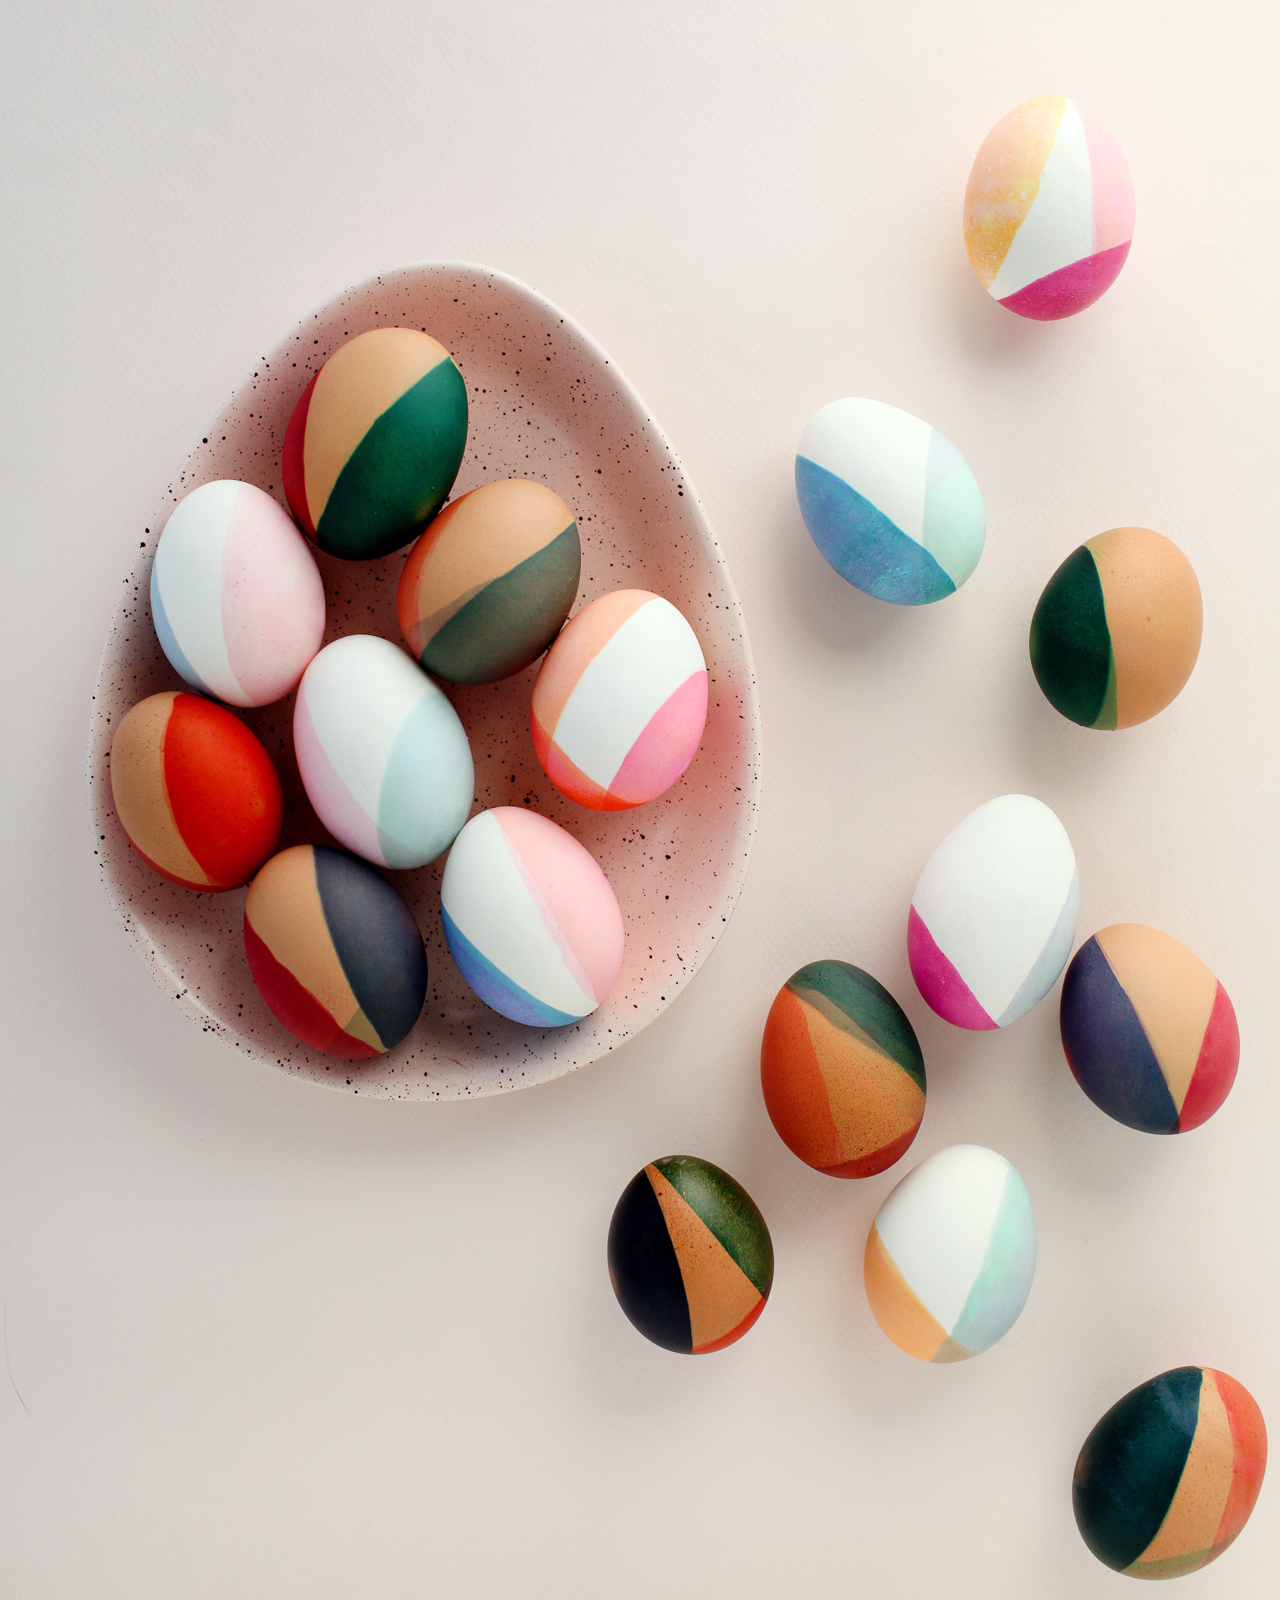
I’ve been feeling really inspired by earthy tones and neutral pastels this year – from bold burgundy and yellow tones to soft pinks and sage green hues. I am especially loving terra cotta paired with navy blue and soft pink paired with mustard yellow. I knew these color pairings would be a beautiful and unexpected application on Easter eggs, especially with a modern, color-blocked dip-dye treatment.
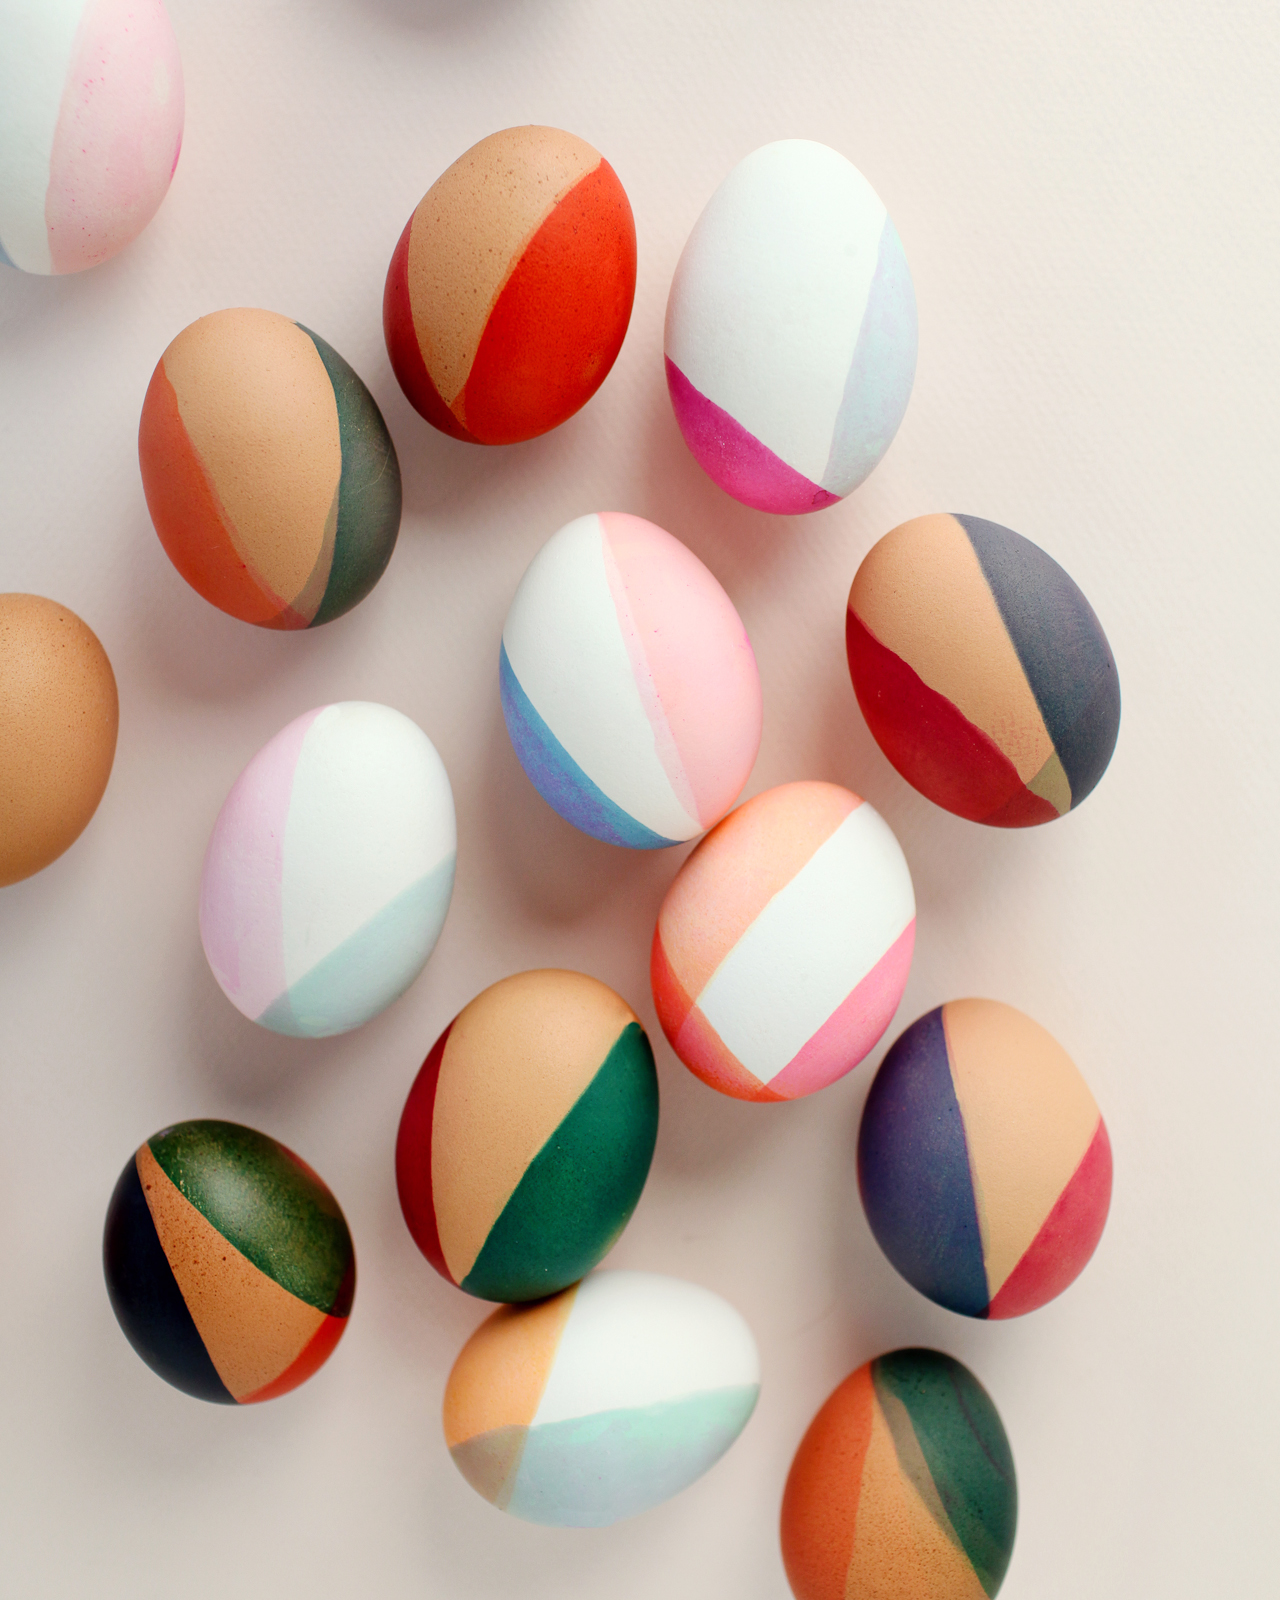
DIY Modern Color-Blocked Easter Eggs

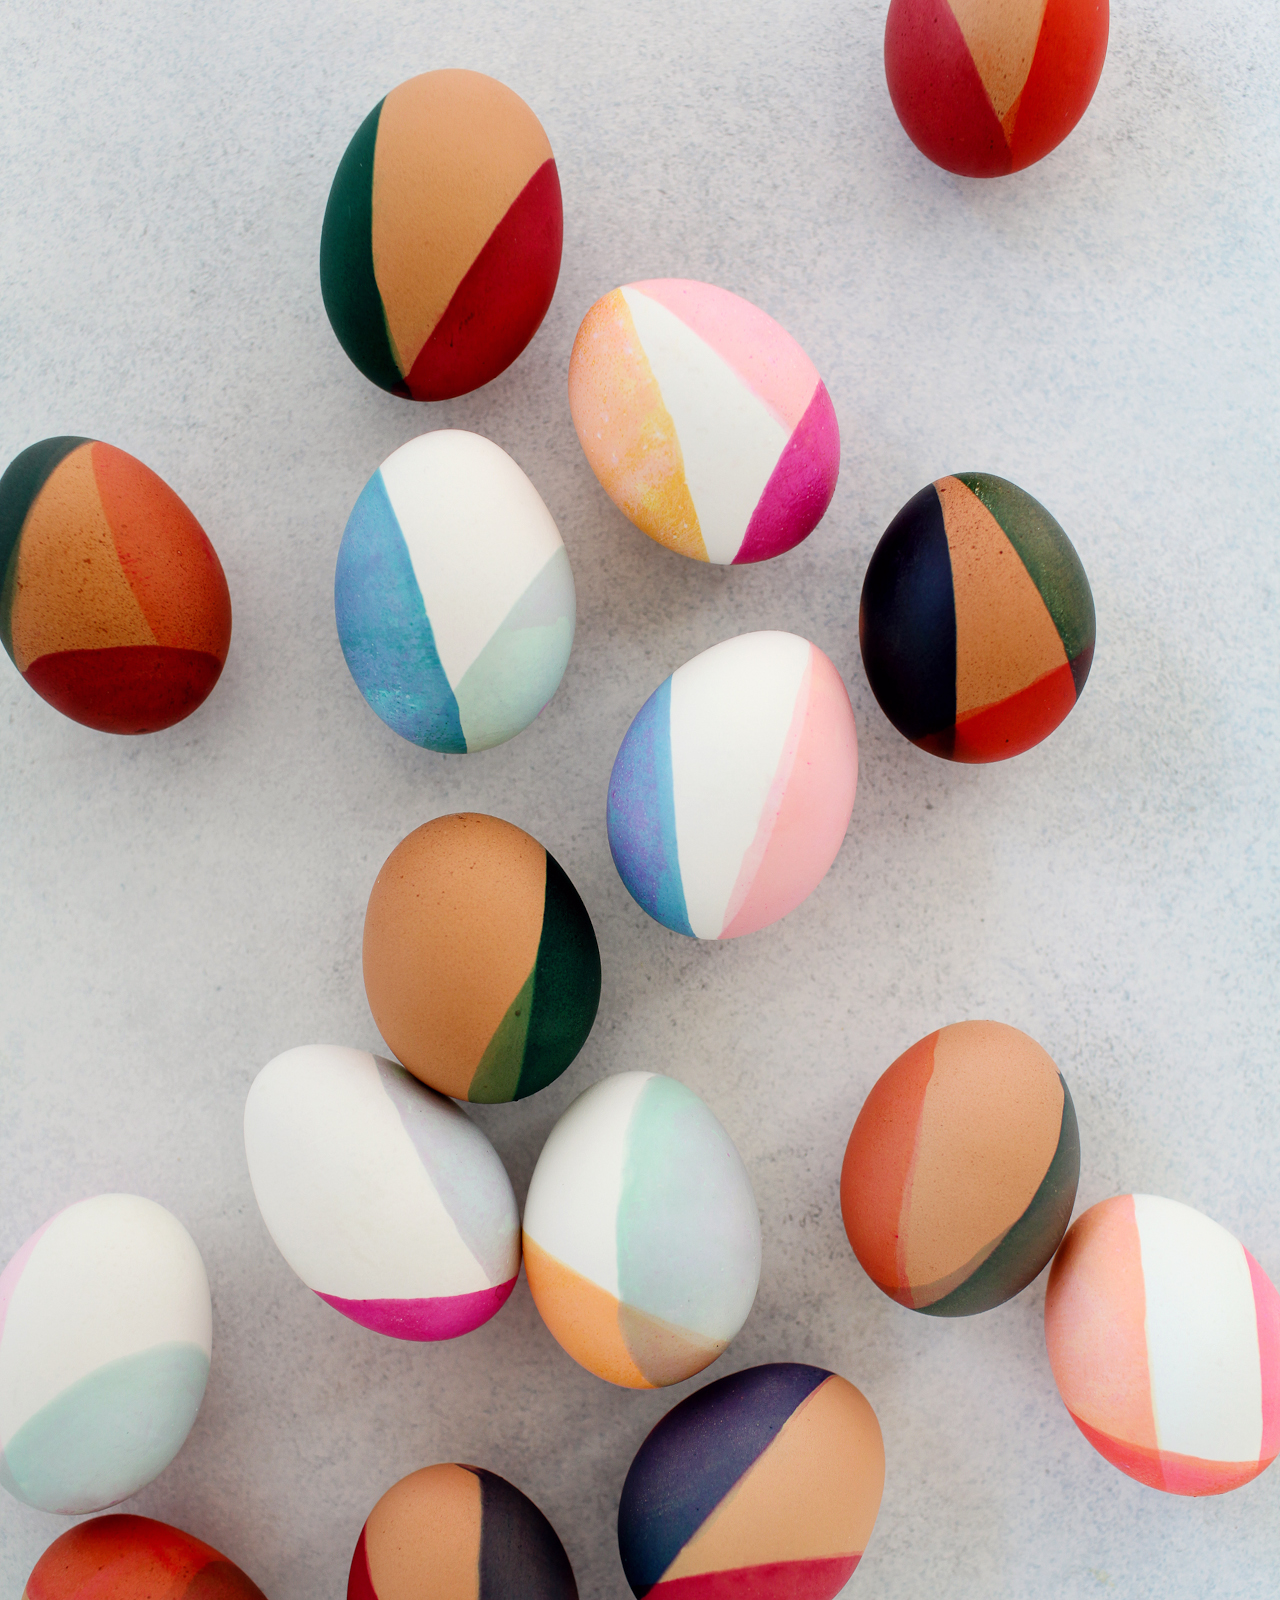
Another exciting development? As you may have noticed, I’m using both white and brown eggs this year! I’ve always dyed white eggs in the past, but brown eggs work so beautifully with the deeper earth tones that I just couldn’t resist. Aren’t they just absolutely DREAMY with the color blocked dip dye?? I also loved the idea of creating different colors and tones using the same color dyes on both brown and white eggs. The lighter pastel tones produced a beautiful color wash effect on the brown eggs, while the deeper hues produced rich jewel tones by leaving the eggs in the dye bath for a longer period of time.
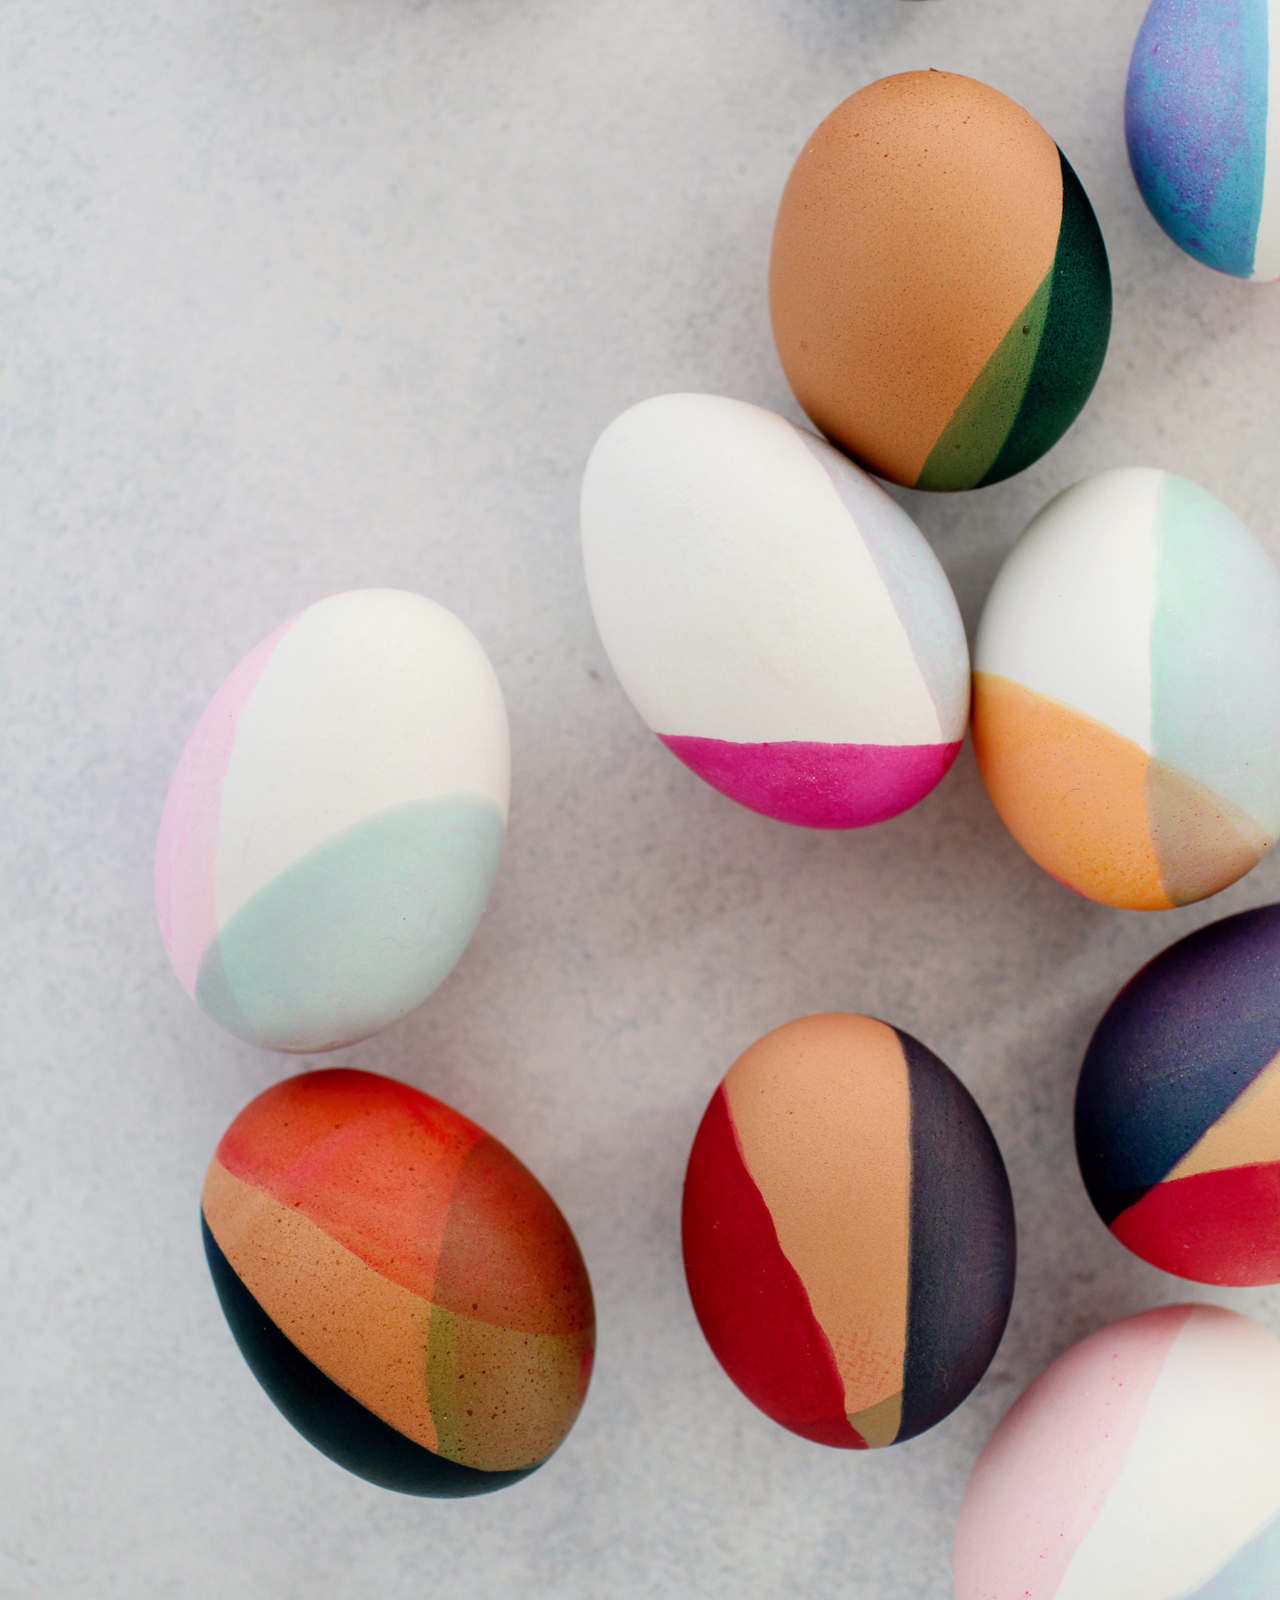
DIY Modern Color-Blocked Easter Eggs

Here’s the color palette that I used as my starting point, along with the food coloring dye formulas that I used to dye the eggs:
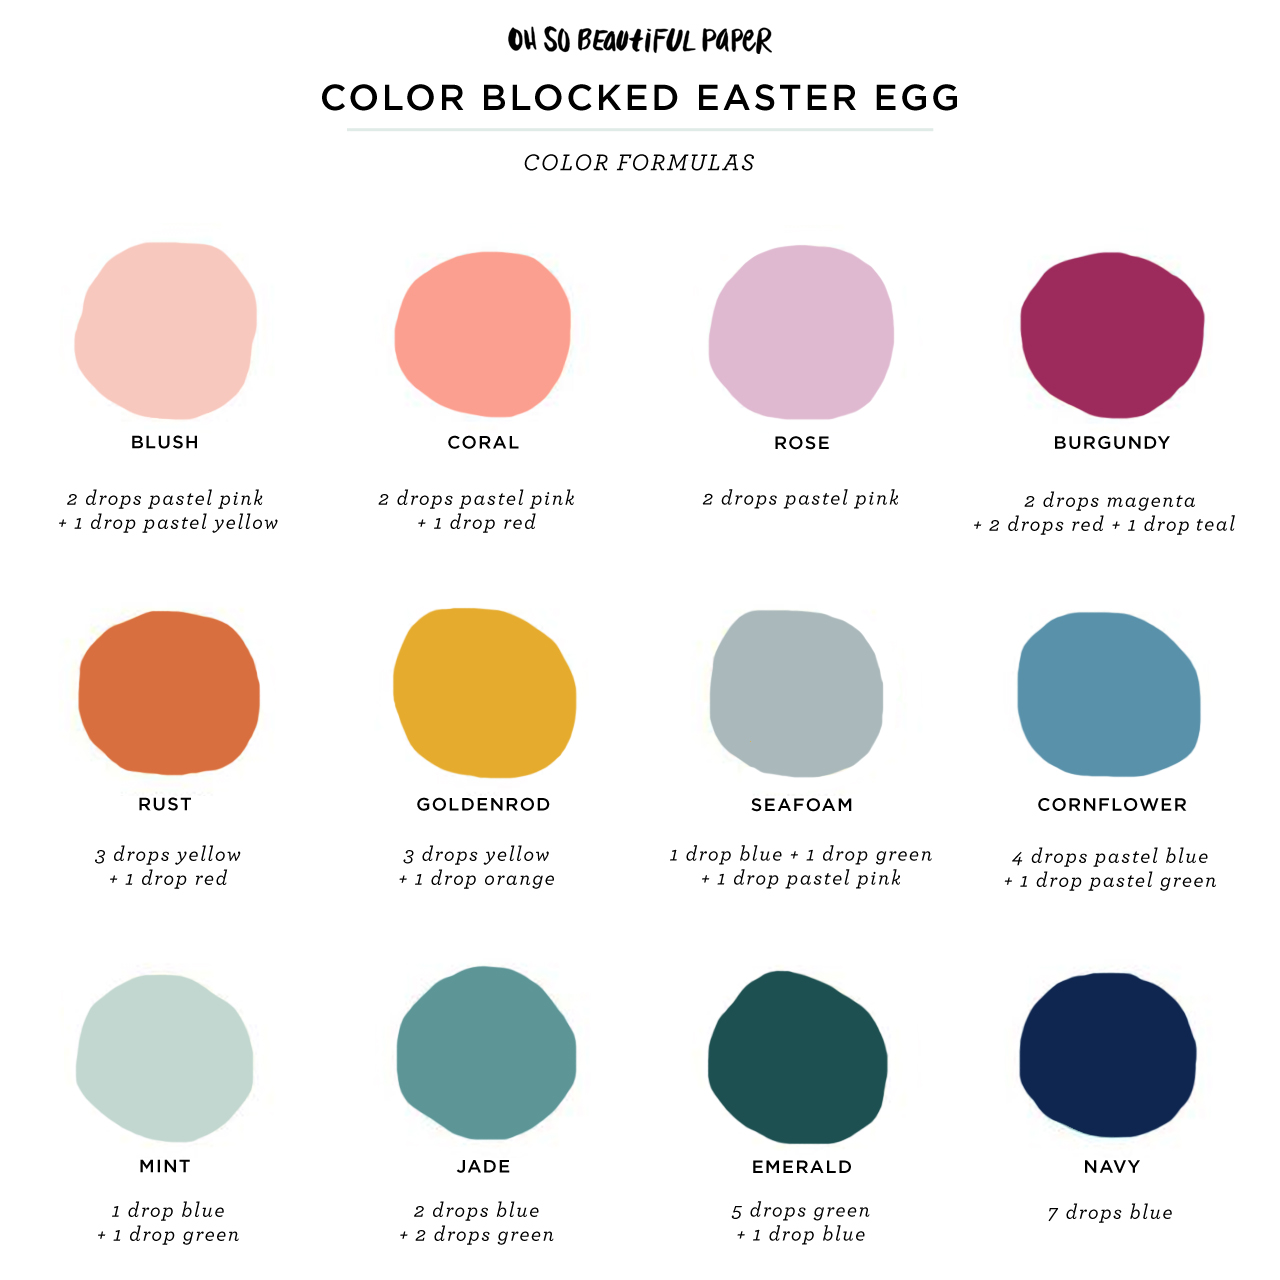
DIY Modern Color-Blocked Easter Eggs Color Formulas

A quick note: The color formulas above achieved *slightly* different results in person – but it’s pretty close to my original color palette objectives! When you make these color formulas at home, always test the colors with a napkin or paper towel before dyeing your eggs!
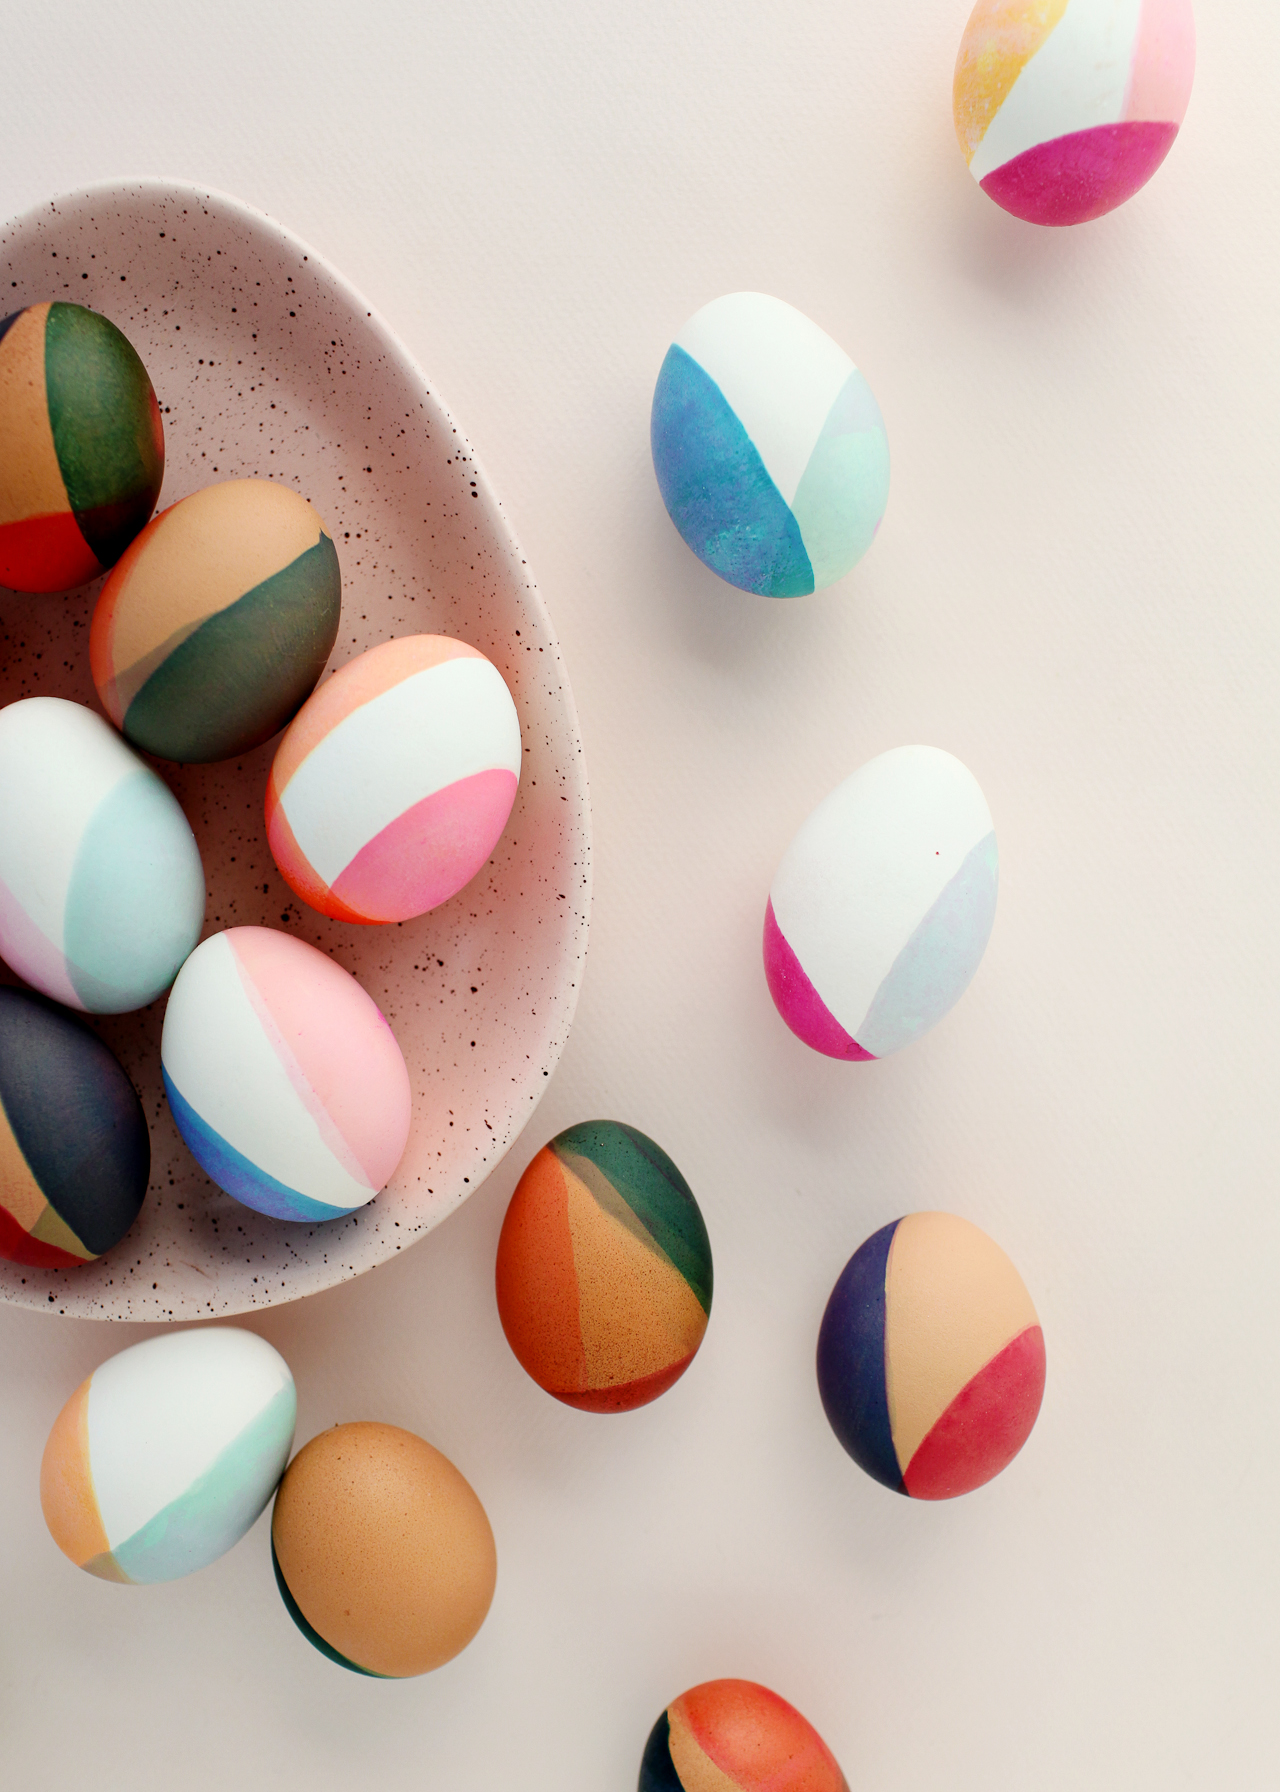
DIY Modern Color Blocked Easter Eggs

There are a million ways to decorate Easter eggs – from soft painterly pink and gold eggs to tissue paper eggs – and I love putting a modern twist on traditional decorating techniques. All you need is traditional food coloring dye to achieve the gorgeous colors in these DIY modern, color-blocked Easter eggs! Are you ready? Let’s get started!
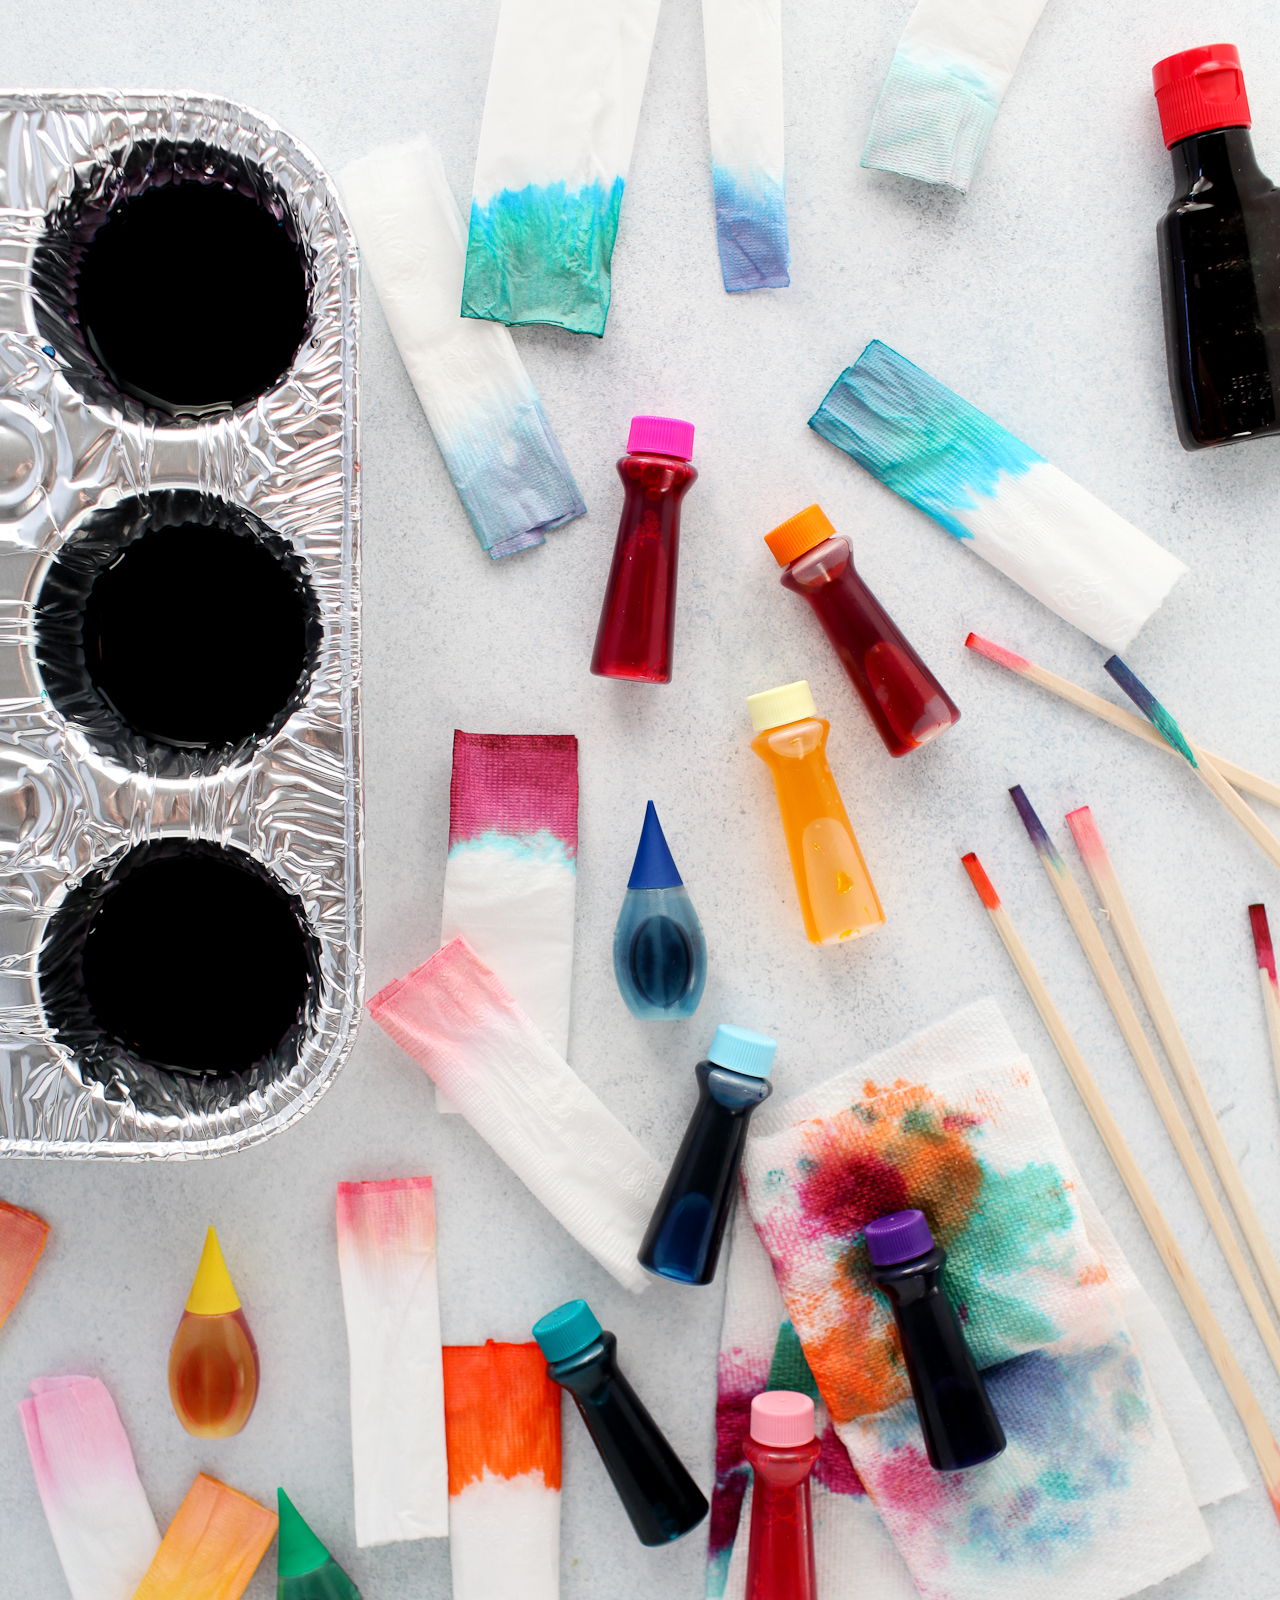
DIY Modern Color Blocked Easter Eggs

Supplies

White and Brown Hardboiled Eggs

Liquid Food Coloring

Muffin pan or small bowls for dyeing the eggs (note: the food coloring can leave permanent stains, so don’t use anything too precious!)

Vinegar

Tooth picks or wood chopsticks for stirring

Paper Towels

Disposable Gloves (optional)
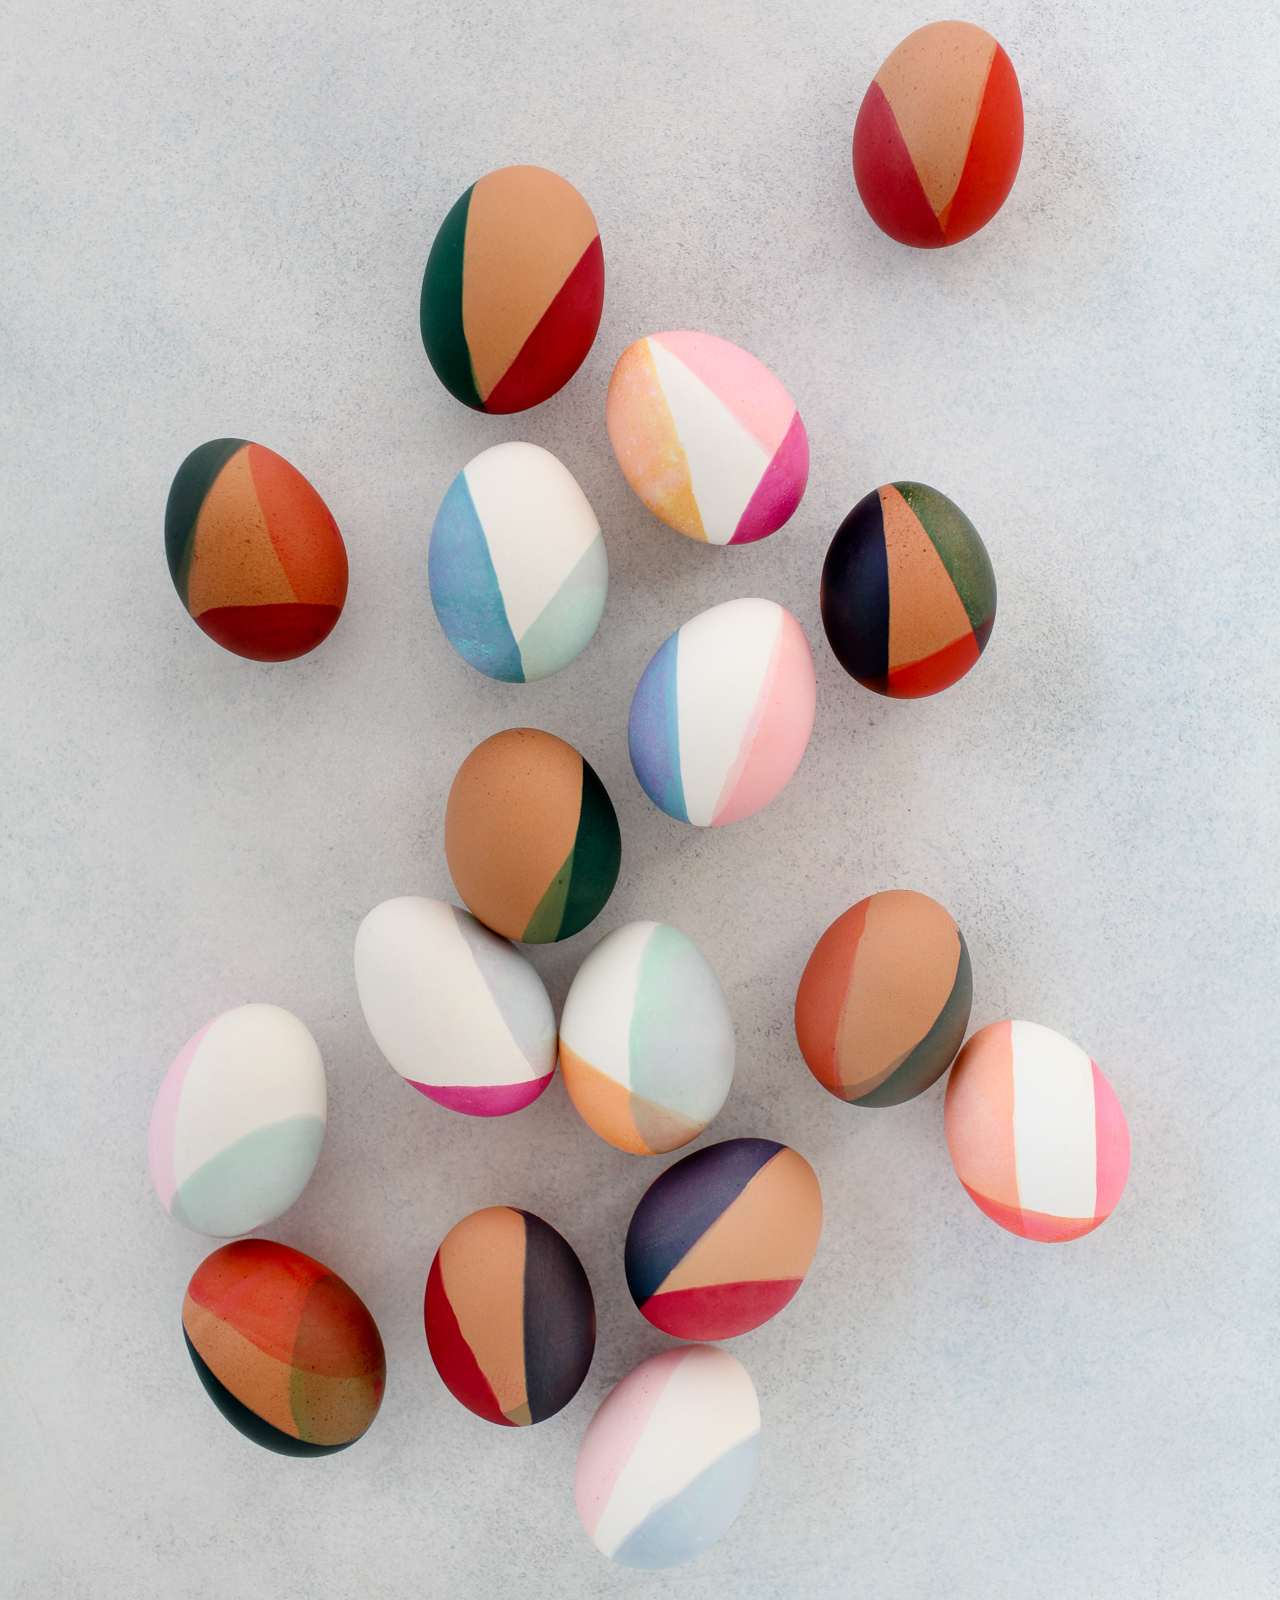
DIY Modern Color Blocked Easter Eggs

To make the DIY modern color-blocked Easter eggs:

Step 1. Boil two cups of water, then add two tablespoons of vinegar to the hot water. Fill the cups of a muffin pan or a small bowl with about half an inch of the hot water. Add liquid food coloring based on the color formulas above or to achieve your own desired color palette. I used a variety of store-bought food coloring to create my dye colors, including standard red, yellow, green, and blue liquid food coloring, pastel gel food coloring, and bright magenta, teal, and orange gel food coloring. Use a toothpick or spoon to stir the food coloring together until completely blended, then give it another quick stir before dipping your egg into the dye bath.

Tip: Test the dye color with a paper towel before submerging your eggs, but keep in mind that a paper towel will absorb the dye much faster than an egg, so you’ll need to leave the egg in the dye bath for a minute or two if you’re hoping to achieve brighter/more saturated colors.

Step 2. Wearing disposable gloves, pick up your egg and gently dip one side of the egg into the dye bath. The dye should not cover the entire egg and you should continue to hold the egg in place while it’s in the dye bath so it doesn’t roll over. Hold the egg in place for several seconds for lighter colors or around a minute for deeper/more saturated colors.

Step 3. Remove from the dye bath and pat dry with a paper towel.

Step 4. Repeat steps 2 and 3 with a second and third dye color (if desired), covering a different portion of the egg with each new dye color.
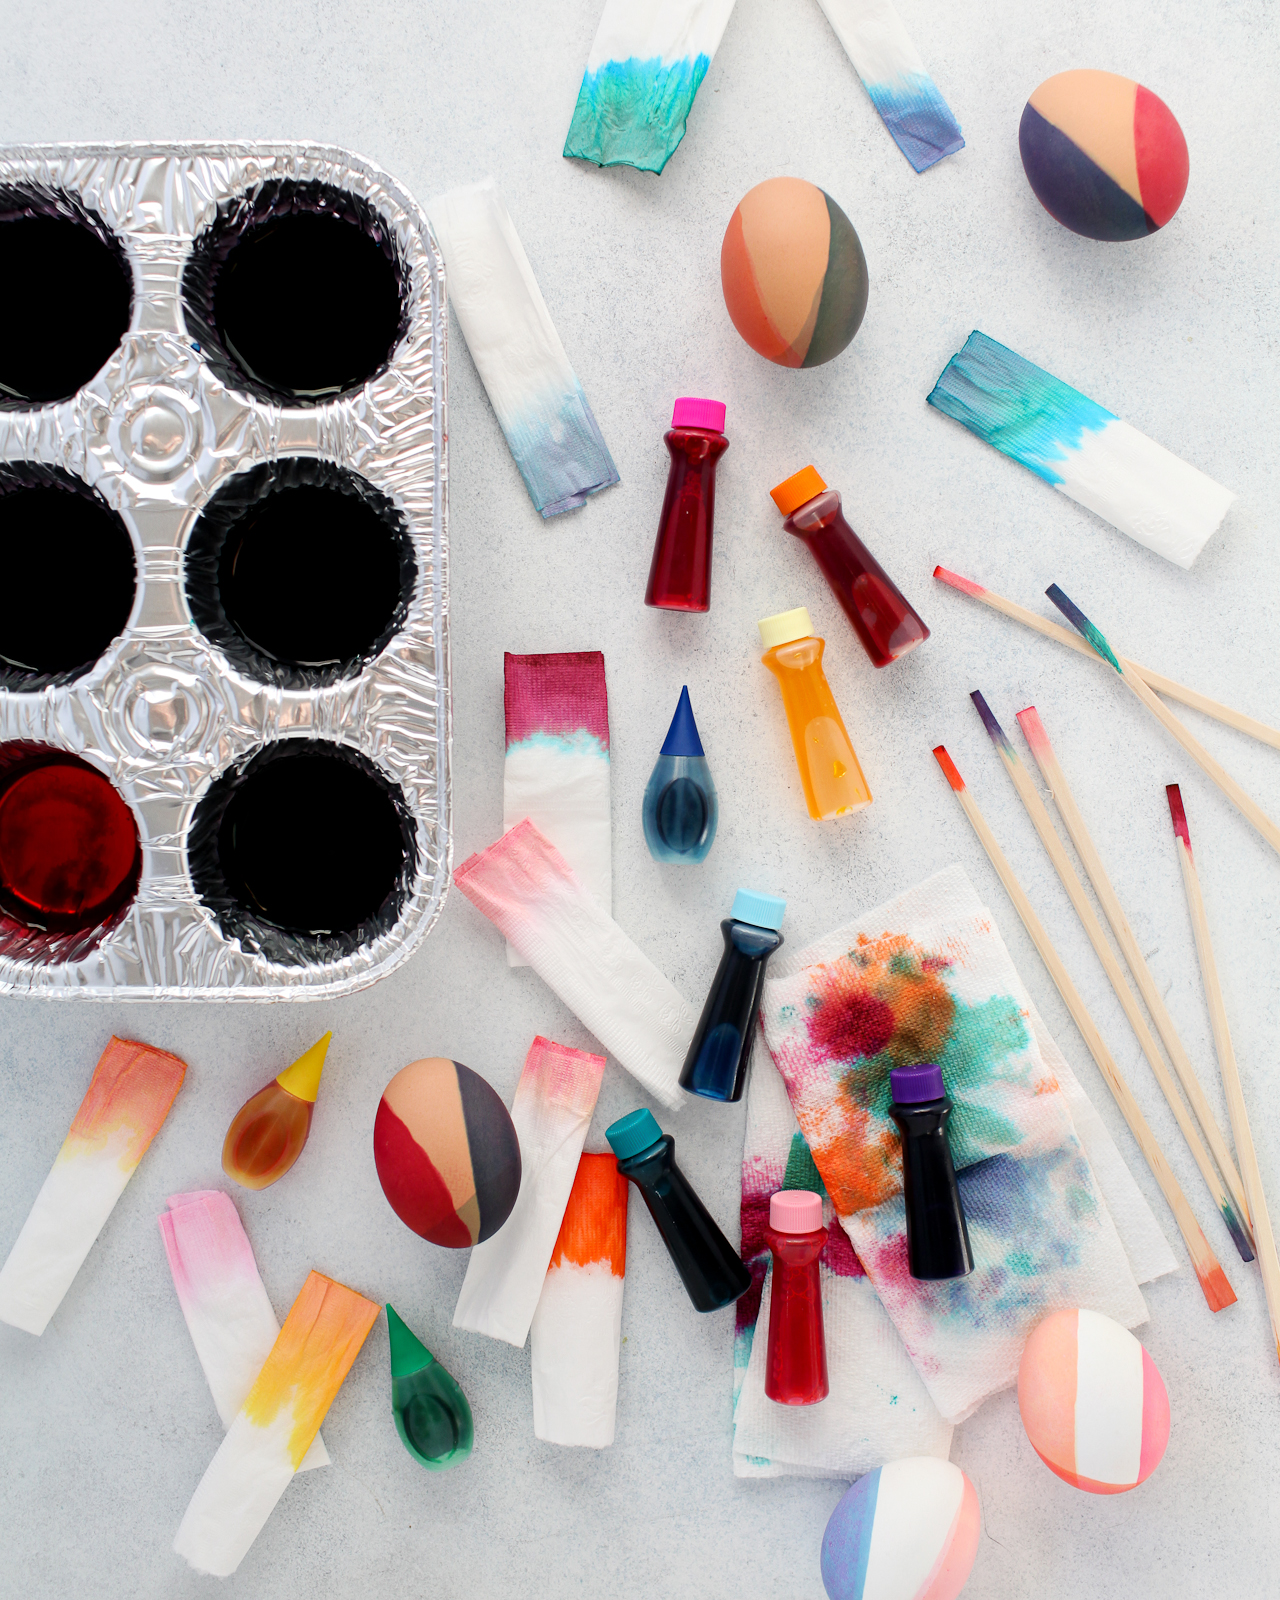
DIY Modern Color Blocked Easter Eggs

DIY Modern Color Blocked Easter Eggs

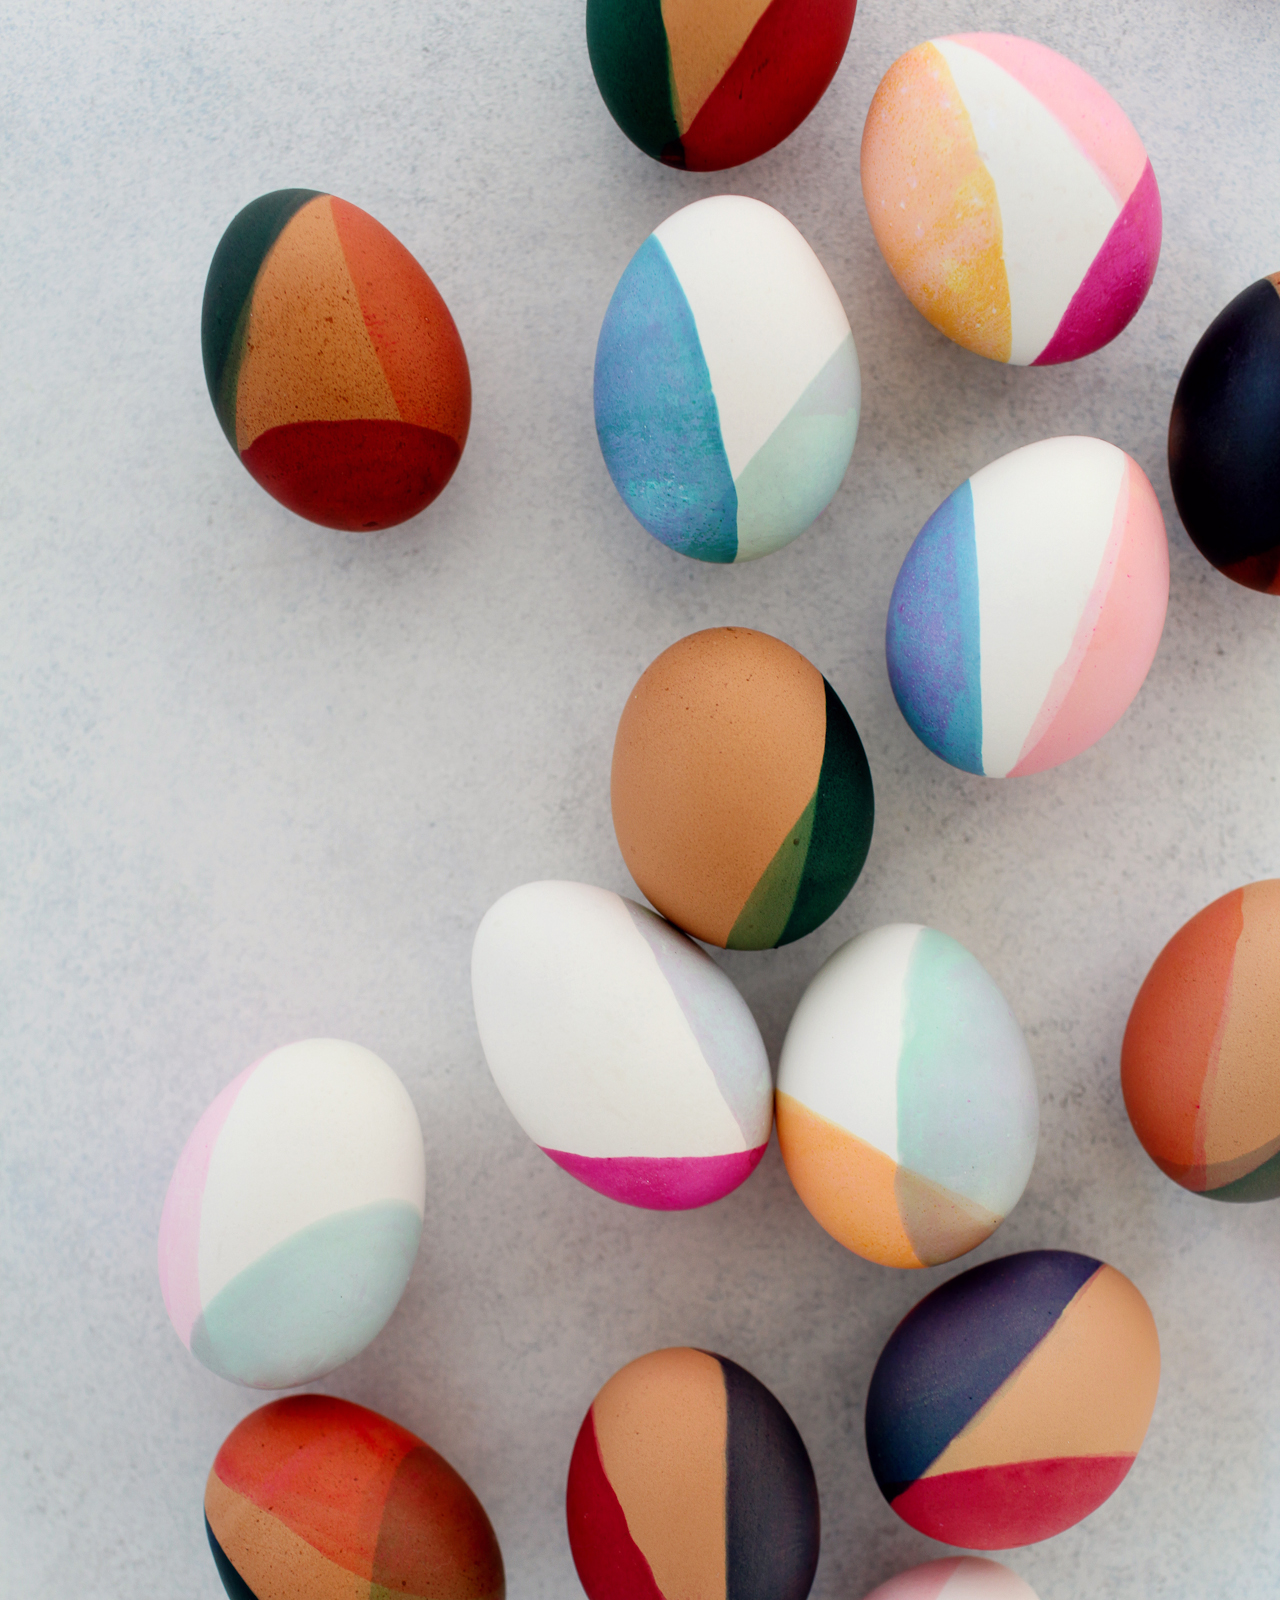
I just can’t stop staring at these colors! I love all the subtle color variations between the white and brown eggs and the different overlapping tones. The non-traditional color combinations are so special and unique!
DIY Modern Color Blocked Easter Eggs

Neutral pastels! Earth tones! Jewel tones! Gah, I just love these eggs SO much! Do you love this color palette as much as I do? Will you be making color-blocked eggs this year?? Let us know if you do! And don’t forget to head over to The Incredible Egg for more Easter inspiration and recipe ideas!

This post was created in partnership with The Incredible Egg. All content and opinions are my own. Thank you for supporting the sponsors that make Oh So Beautiful Paper possible!

Navy and Leather Bachelor Party Invitations

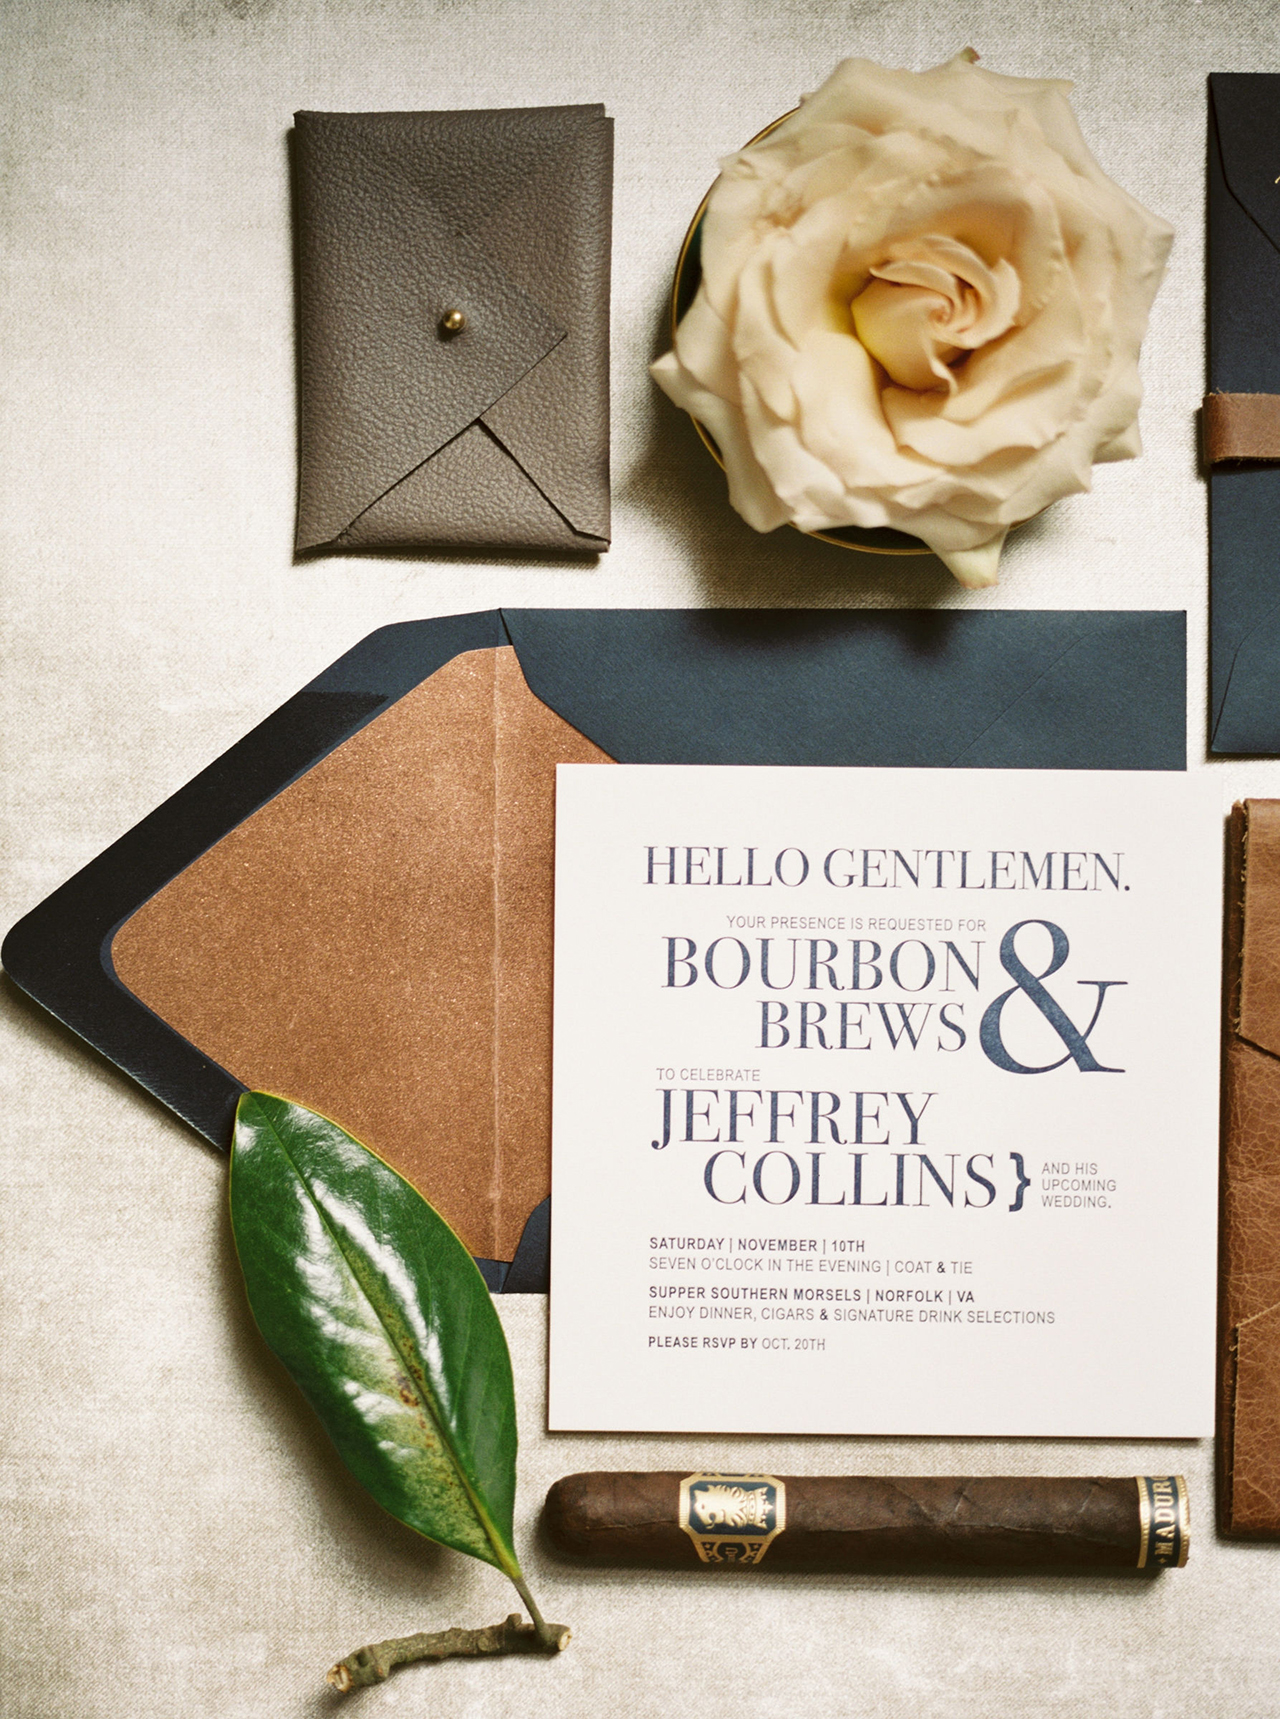
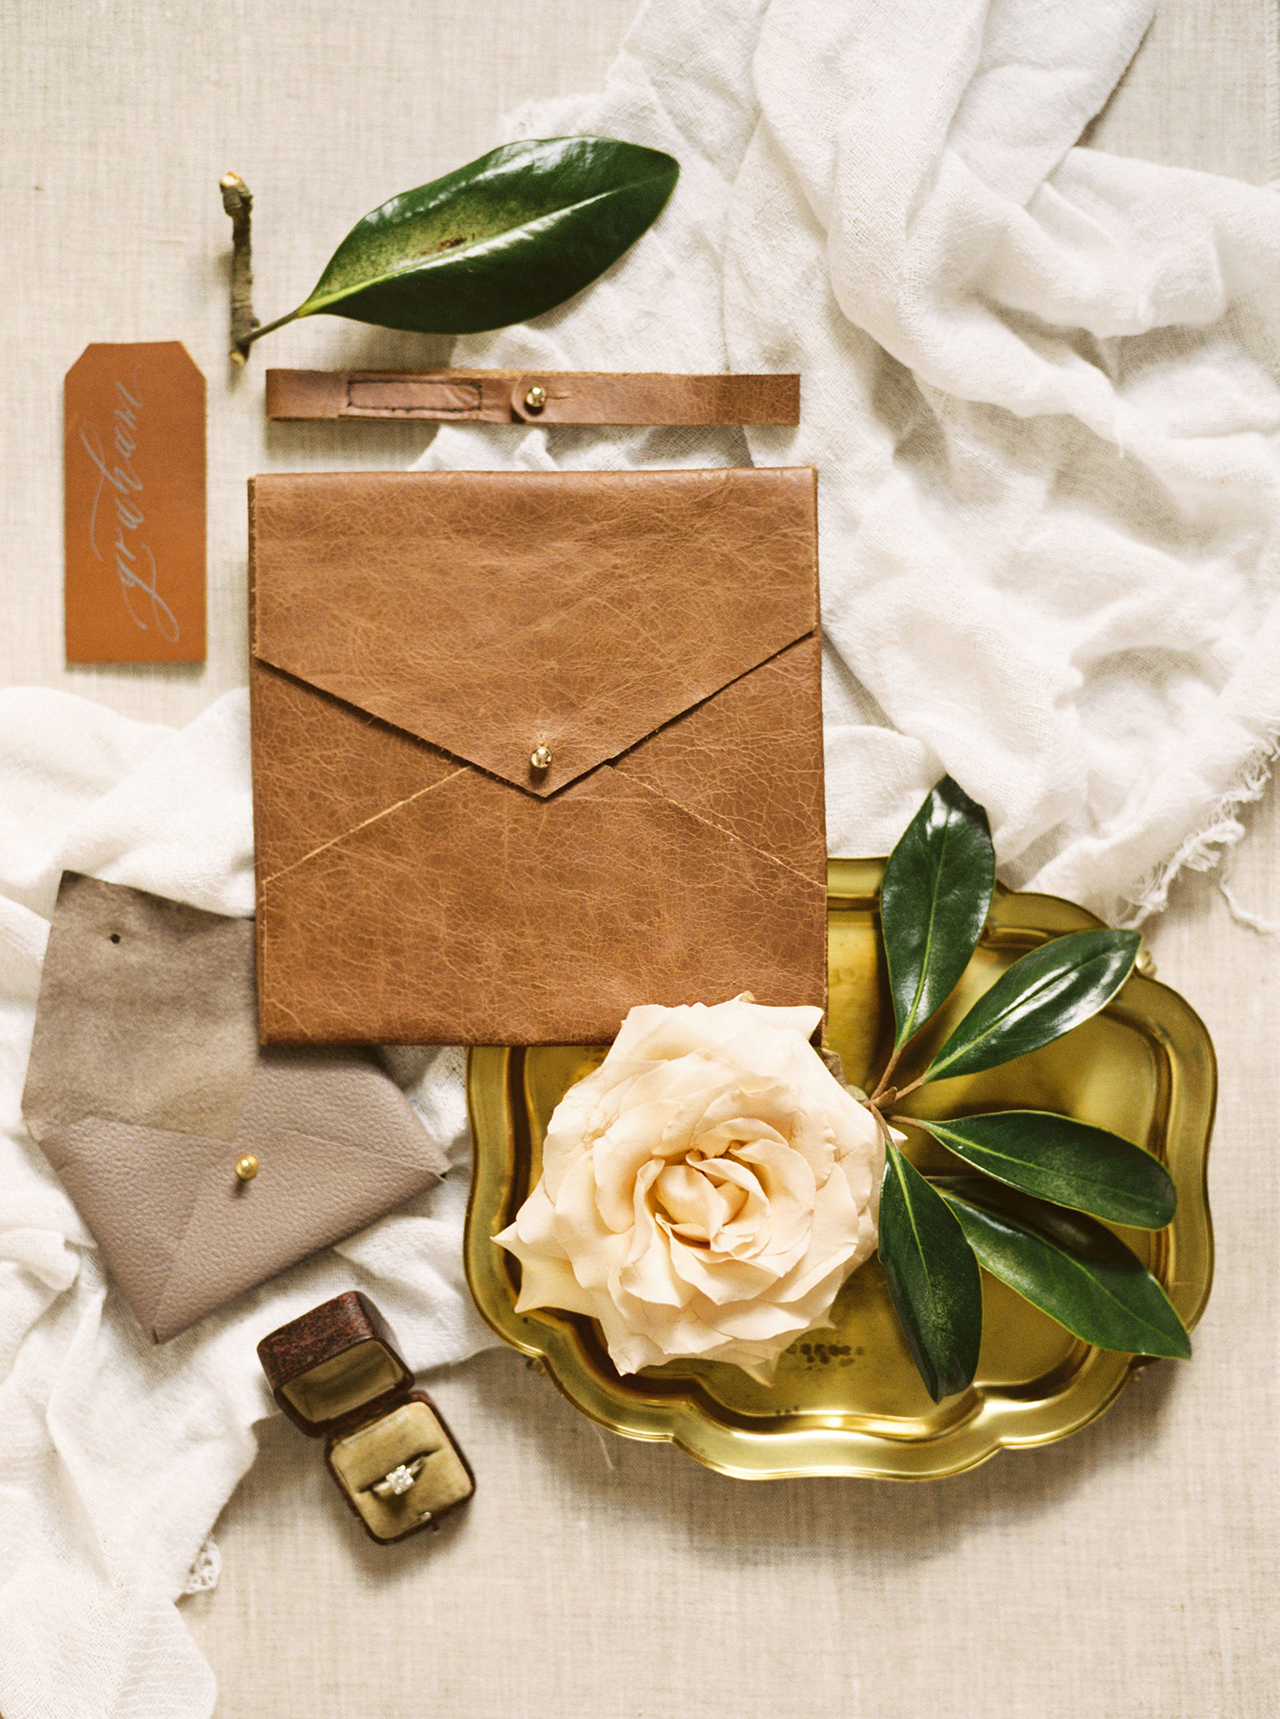
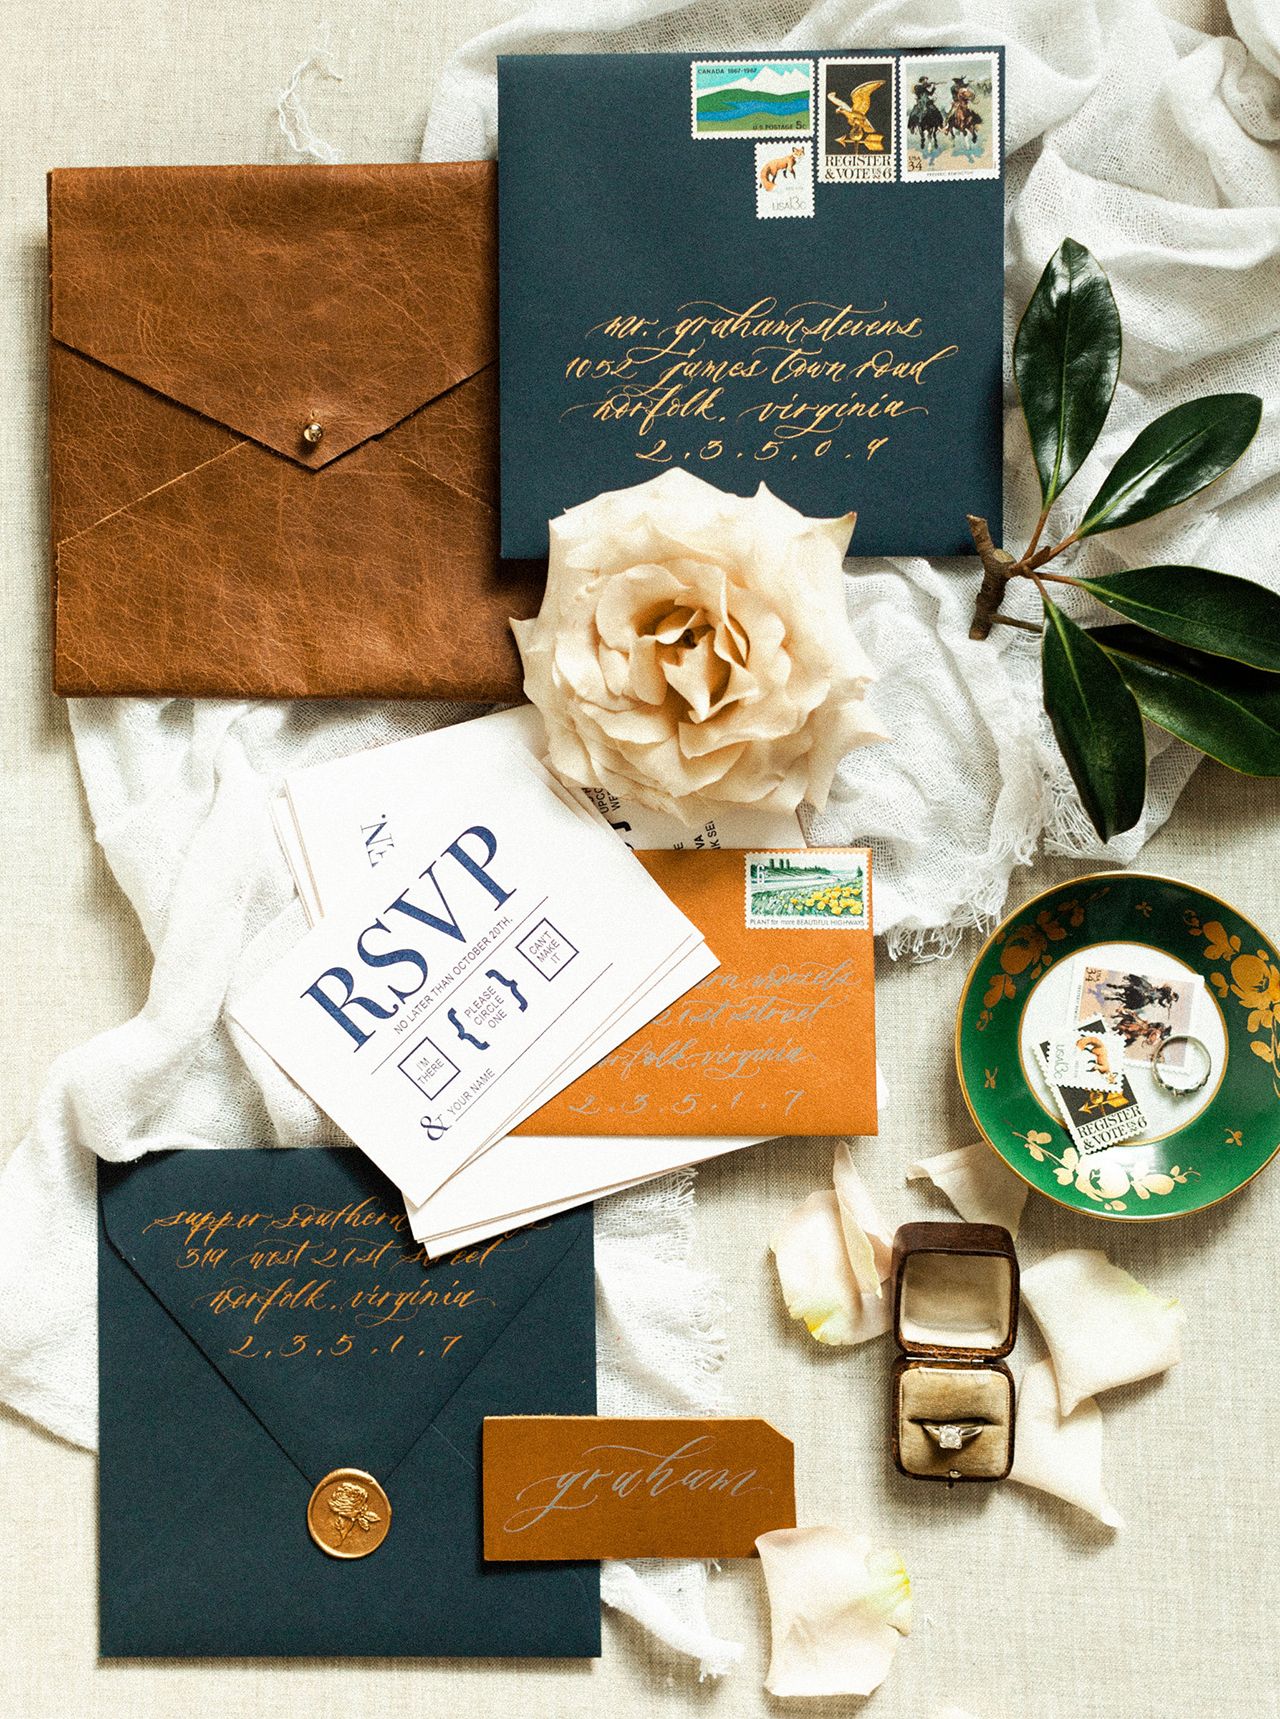
These navy and leather bachelor party invitations by Kristin of Lustre Theory are a fun way to start the week! Beautiful deep blue and copper envelopes with calligraphy by Seniman Calligraphy, vintage postage stamps, and yes, plenty of leather details throughout the suite. Leather is such a fun way to add some texture to wedding invitations and party invitations, especially when paired with such beautiful jewel tones!

Blue and Leather Bachelor Party Invitations by Lustre Theory

From KristinI designed this unique stationery suite for an editorial shoot coordinated by A Lively Affair in Norfolk, Virginia. The shoot was inspired by the idea of an upscale fall bachelor party incorporating textures of leather, wood, and metal. The cigar and magnolia leaves, along with the leather pieces, help add the perfect southern touches.

Blue and Leather Bachelor Party Invitations by Lustre Theory

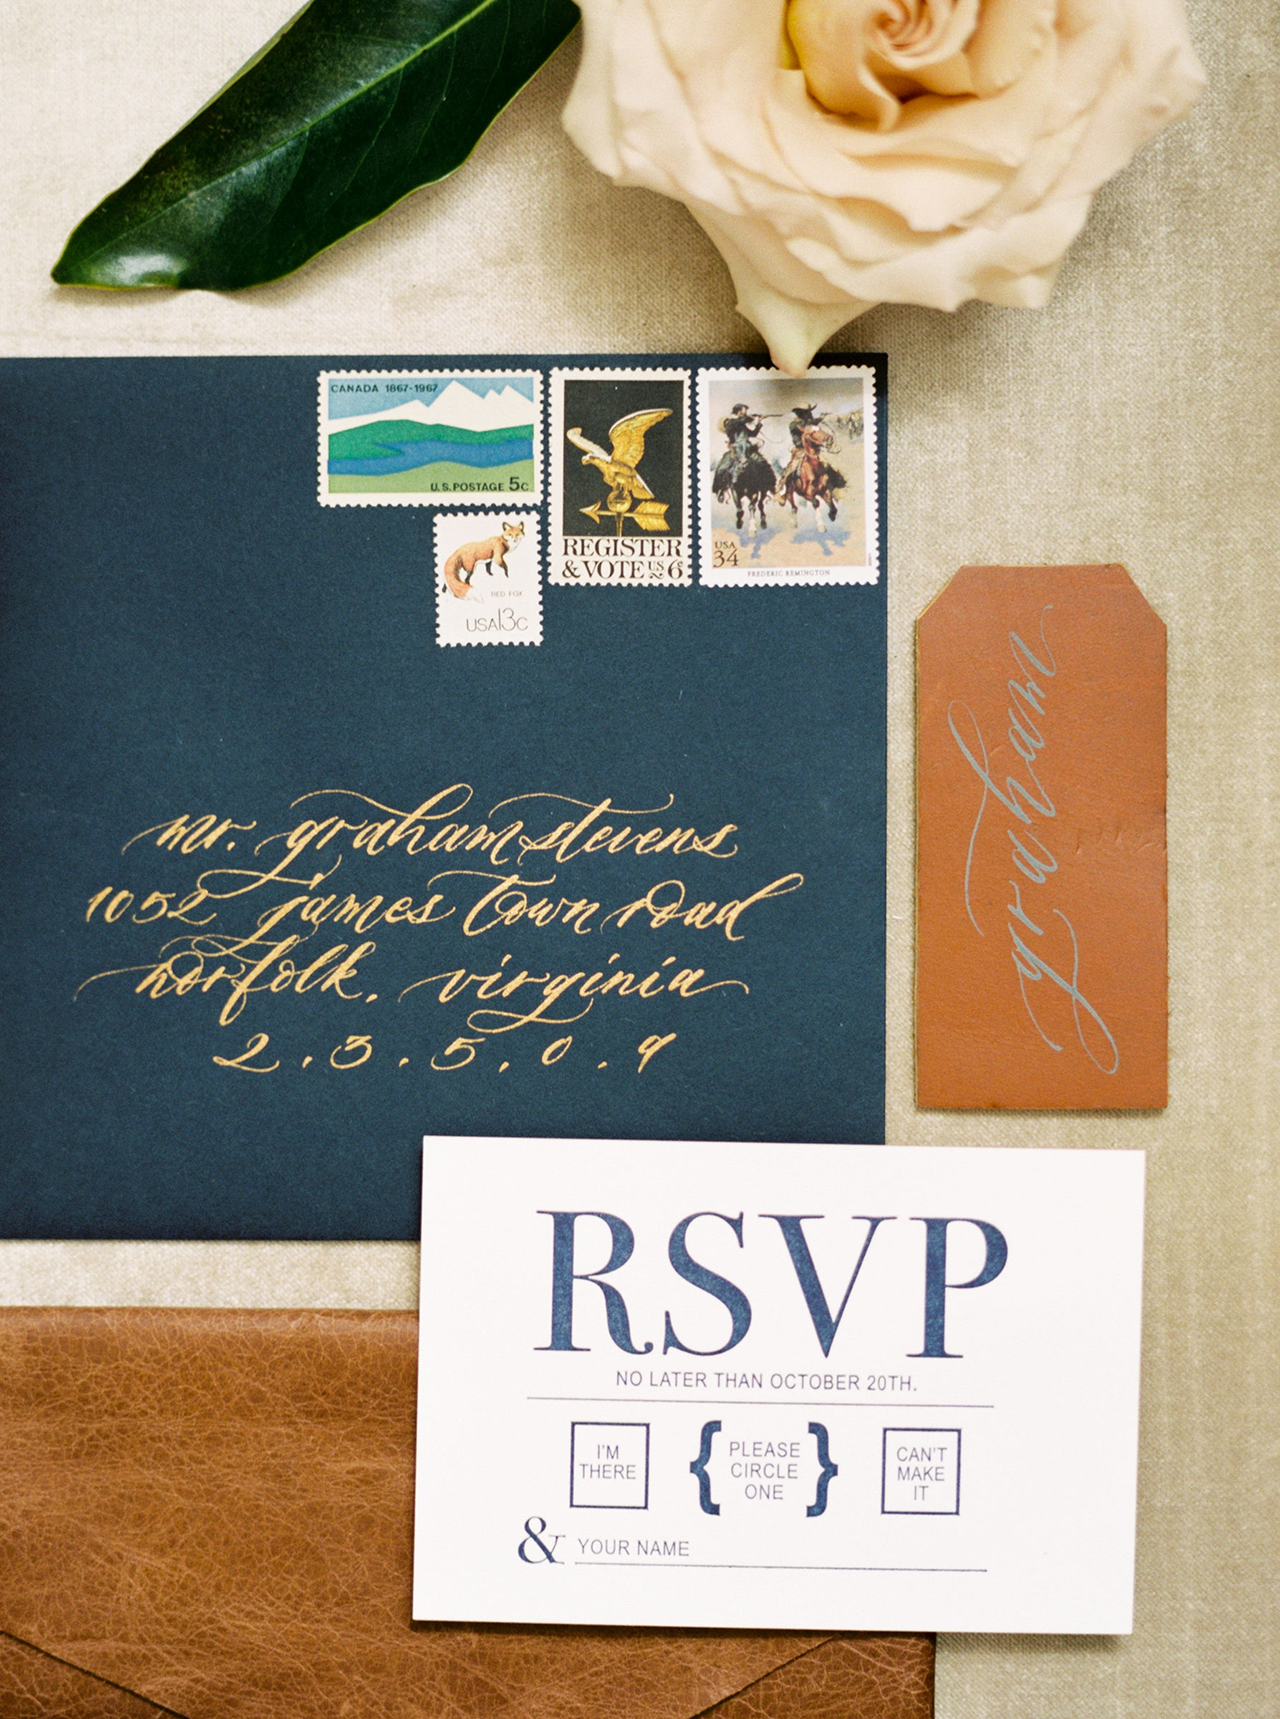
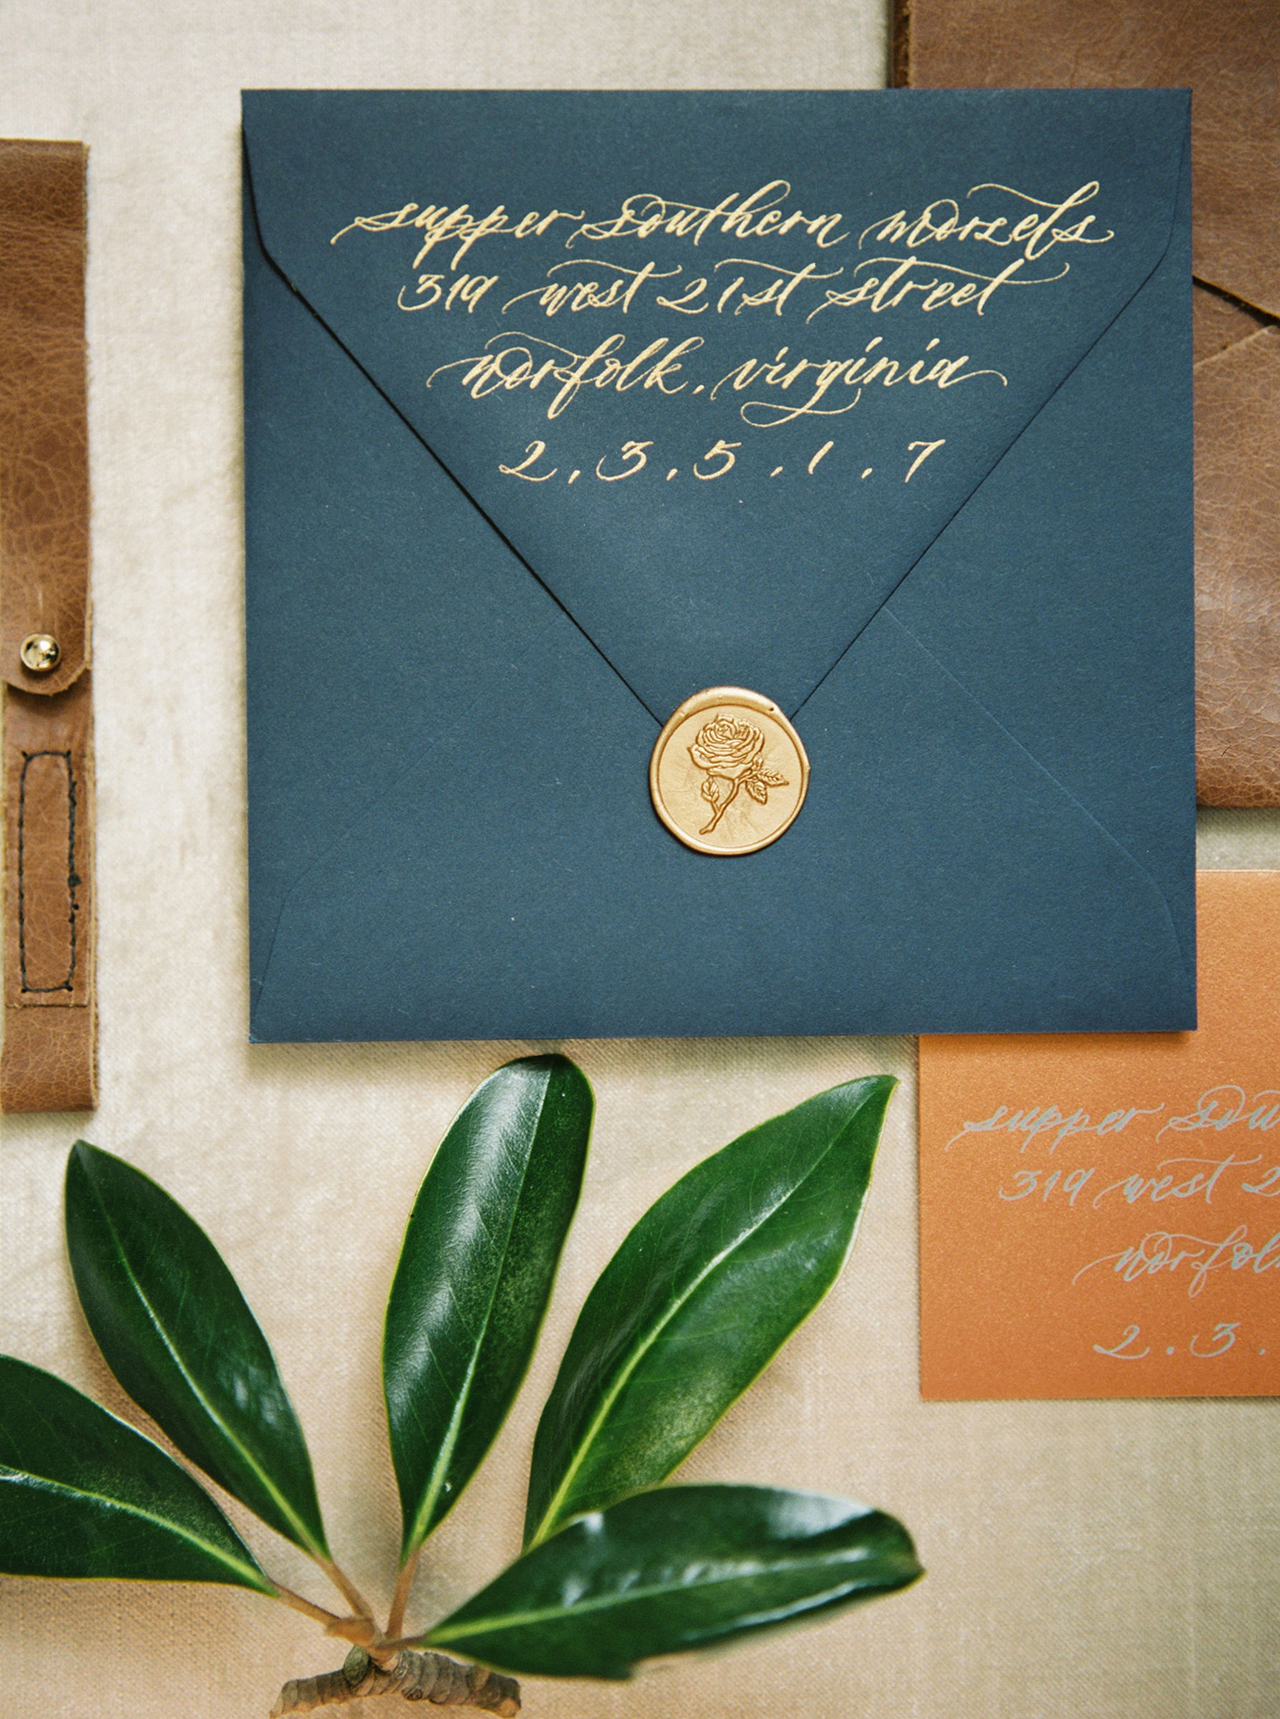
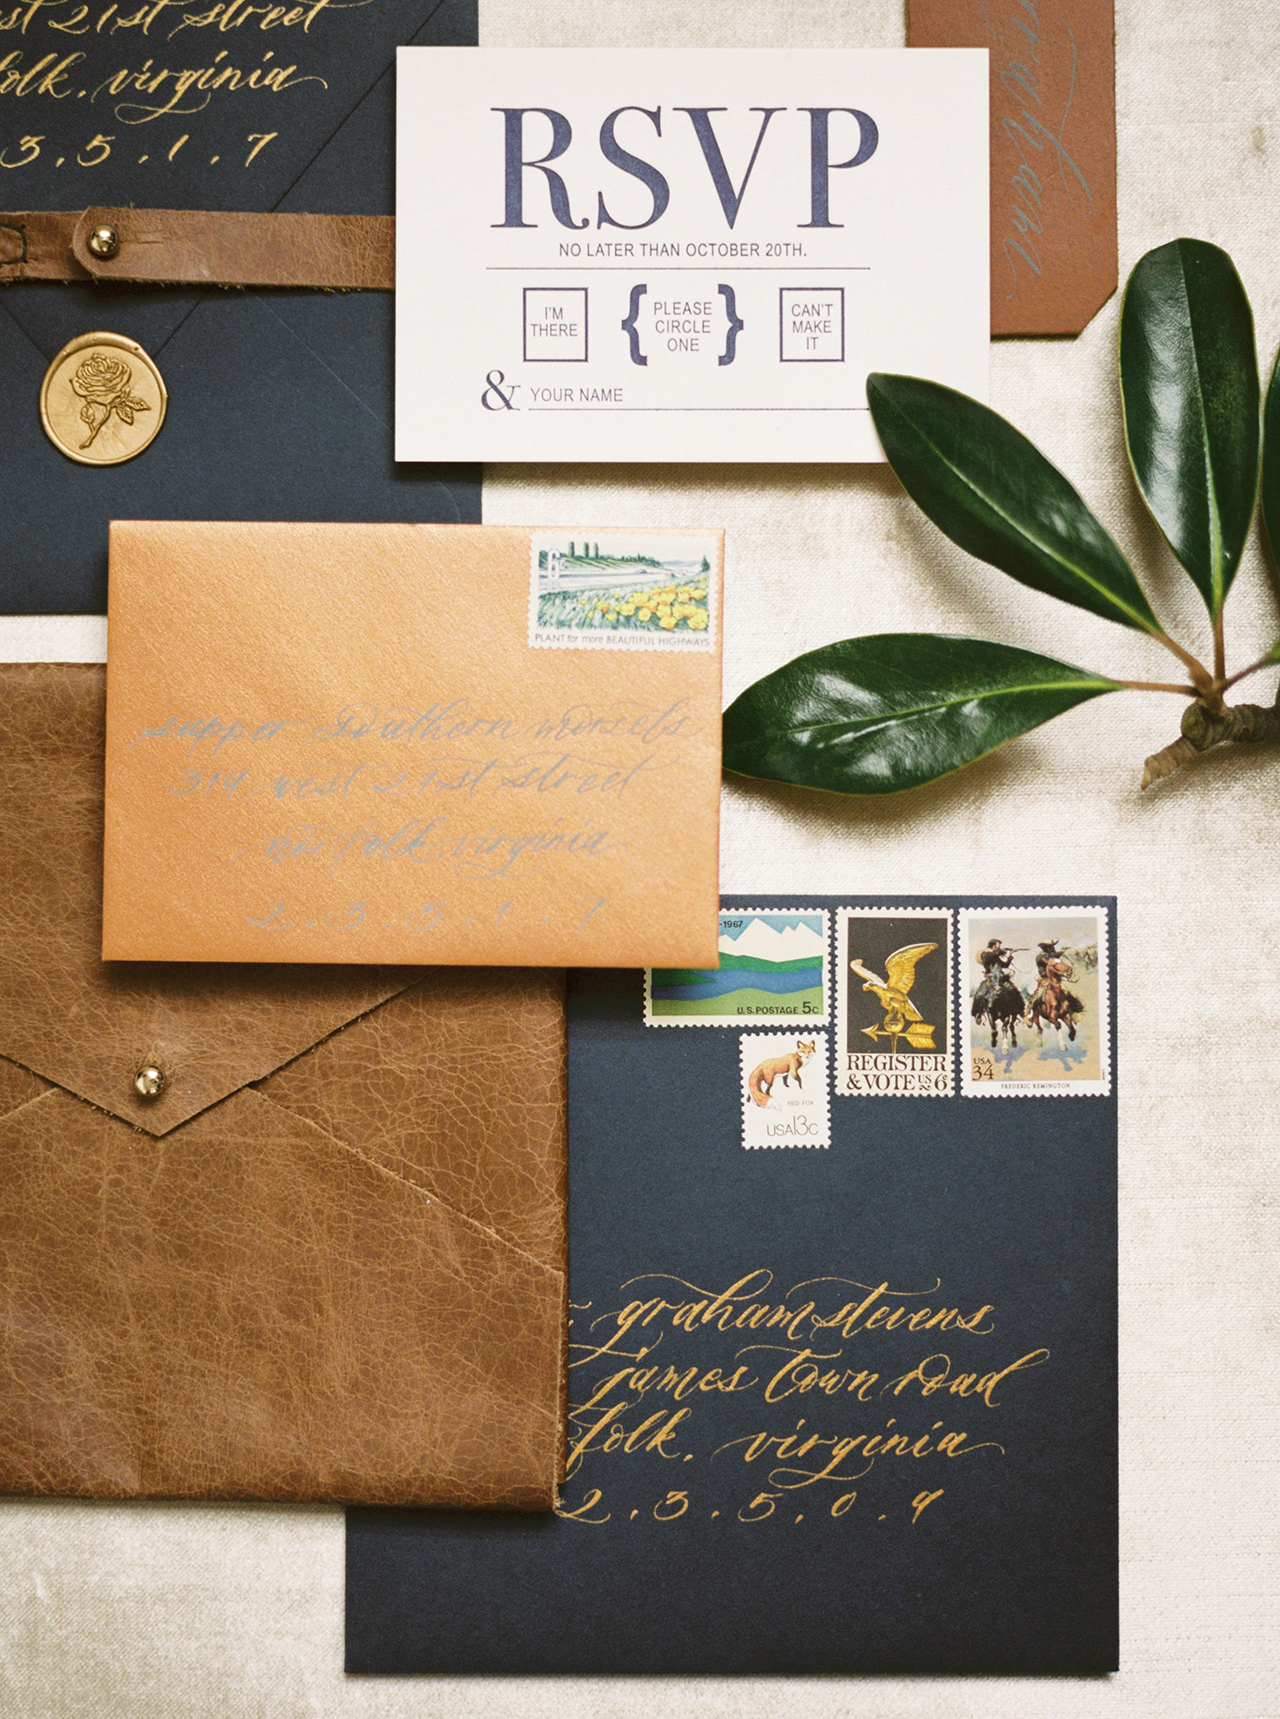
The invitation design was inspired by all the different textures mentioned above, from the leather outer envelope to the copper textured liner and dark navy inner envelope. It’s not often I get to design a stationery suite geared towards a primarily male event, which made this one extra exciting. I wanted the invitation design to have old southern charm combined with classic elegance. The beautiful envelope calligraphy by Seniman Calligraphy is the perfect contrast to the typography selections in the square invitation and rsvp card. We added vintage postage stamps to carry the color palette through to the envelope and add a touch of whimsical, outdoorsy artwork. 

Blue and Leather Bachelor Party Invitations by Lustre Theory

Blue and Leather Bachelor Party Invitations by Lustre Theory

The invitations and RSVP card are letterpress printed in dark navy blue ink. Both are finished with a metallic copper edging process and pressed on extra thick white cotton paper. It was important that the invitation card and rsvp card have a strong typographical presence but an overall simple design layout. The leather pieces are all handmade to specification by HJ Leather Arts, a local craftsman in Norfolk. They include an outer main envelope, an invitation band and an event place card.

Blue and Leather Bachelor Party Invitations by Lustre Theory

Blue and Leather Bachelor Party Invitations by Lustre Theory

Thanks Kristin!


Invitation Design: Lustre Theory

Envelopes: Cards & Pockets

Calligraphy: Seniman Calligraphy

Letterpress Printing: Fino Print

Leather pieces: HJ Leather Arts


Photo Credits: Angela Elise Photography

DIY No Carve Terrazzo-Inspired Pumpkins

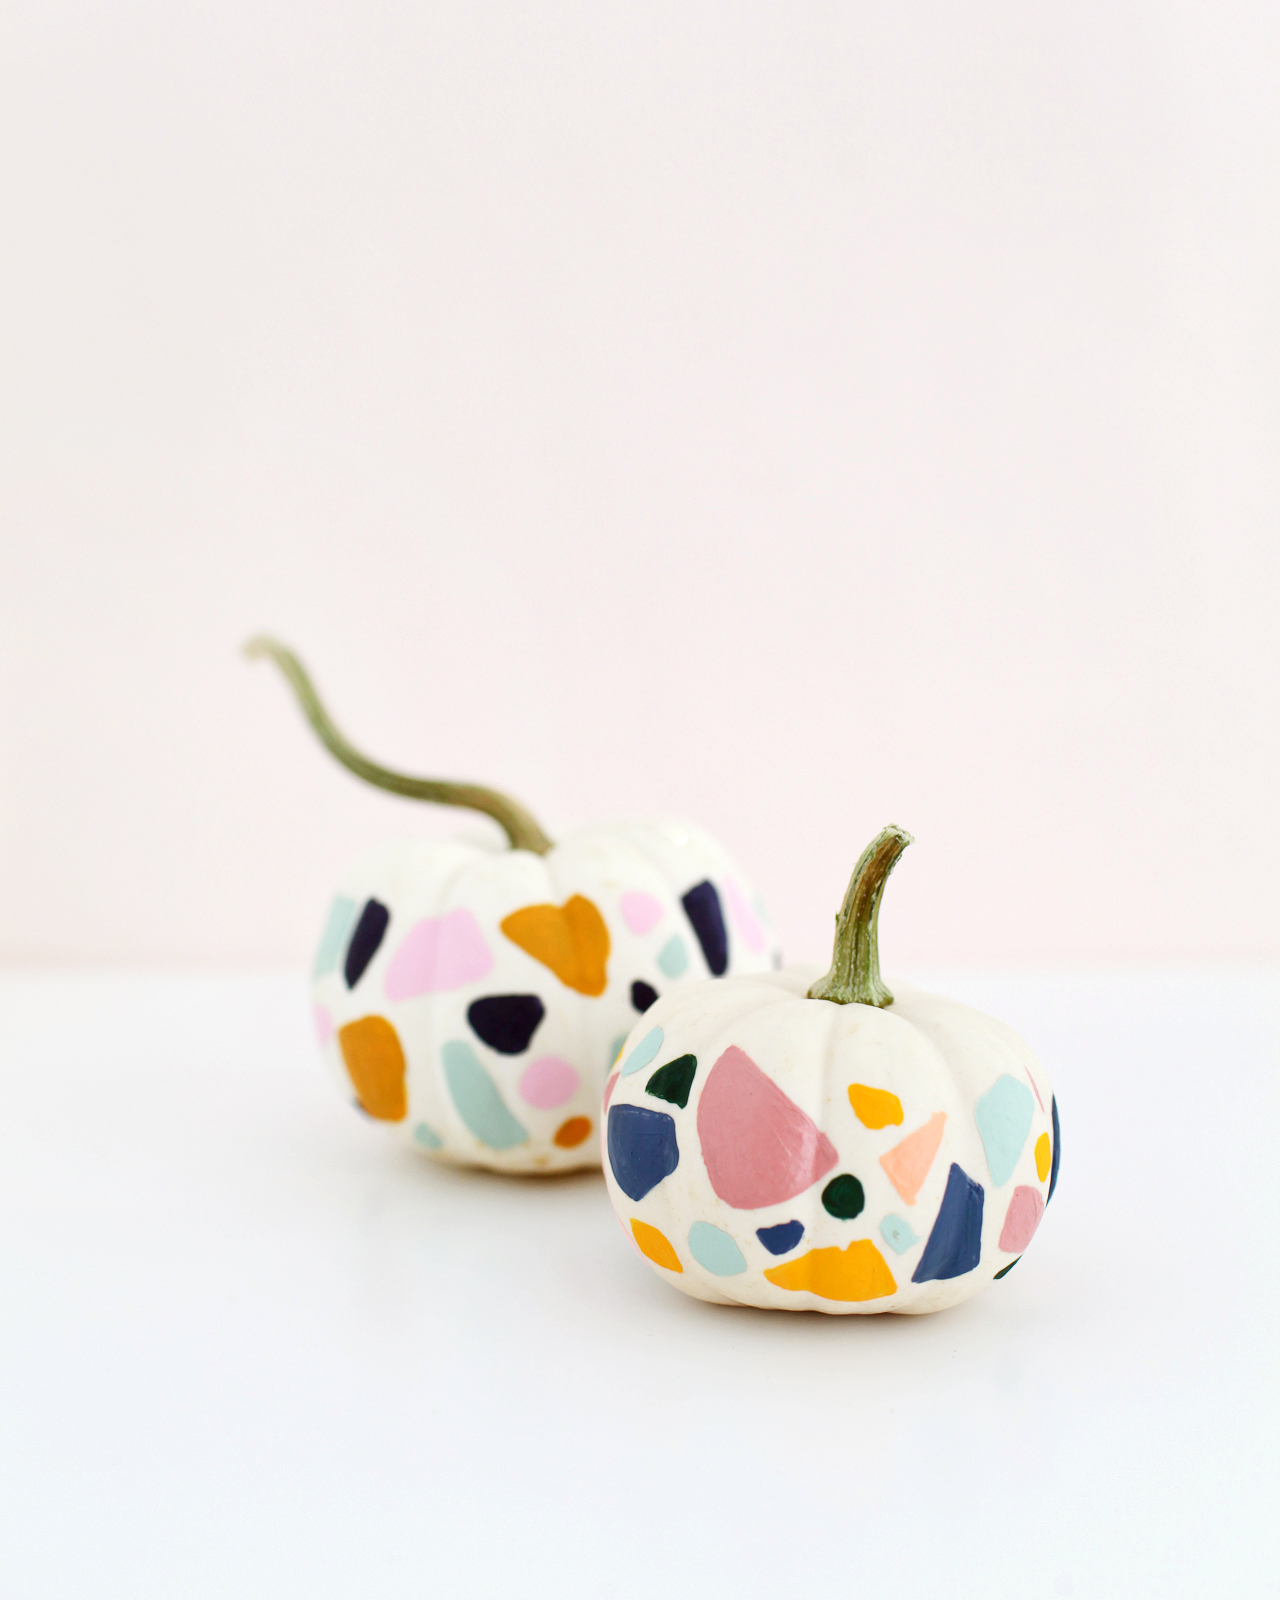
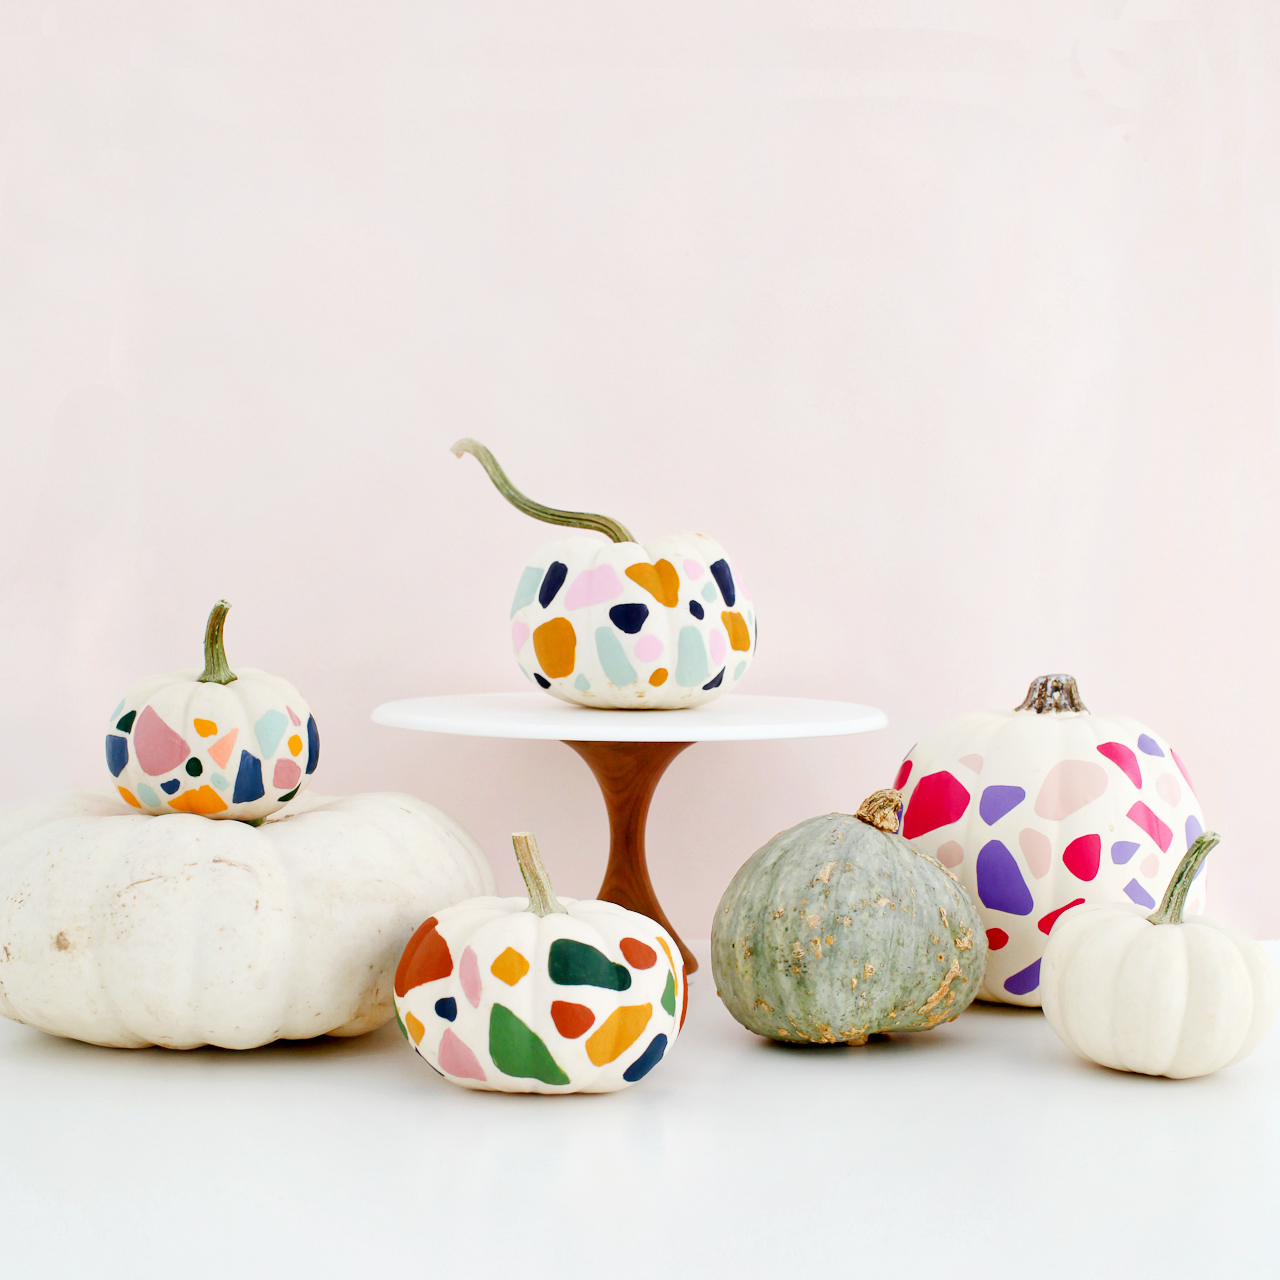
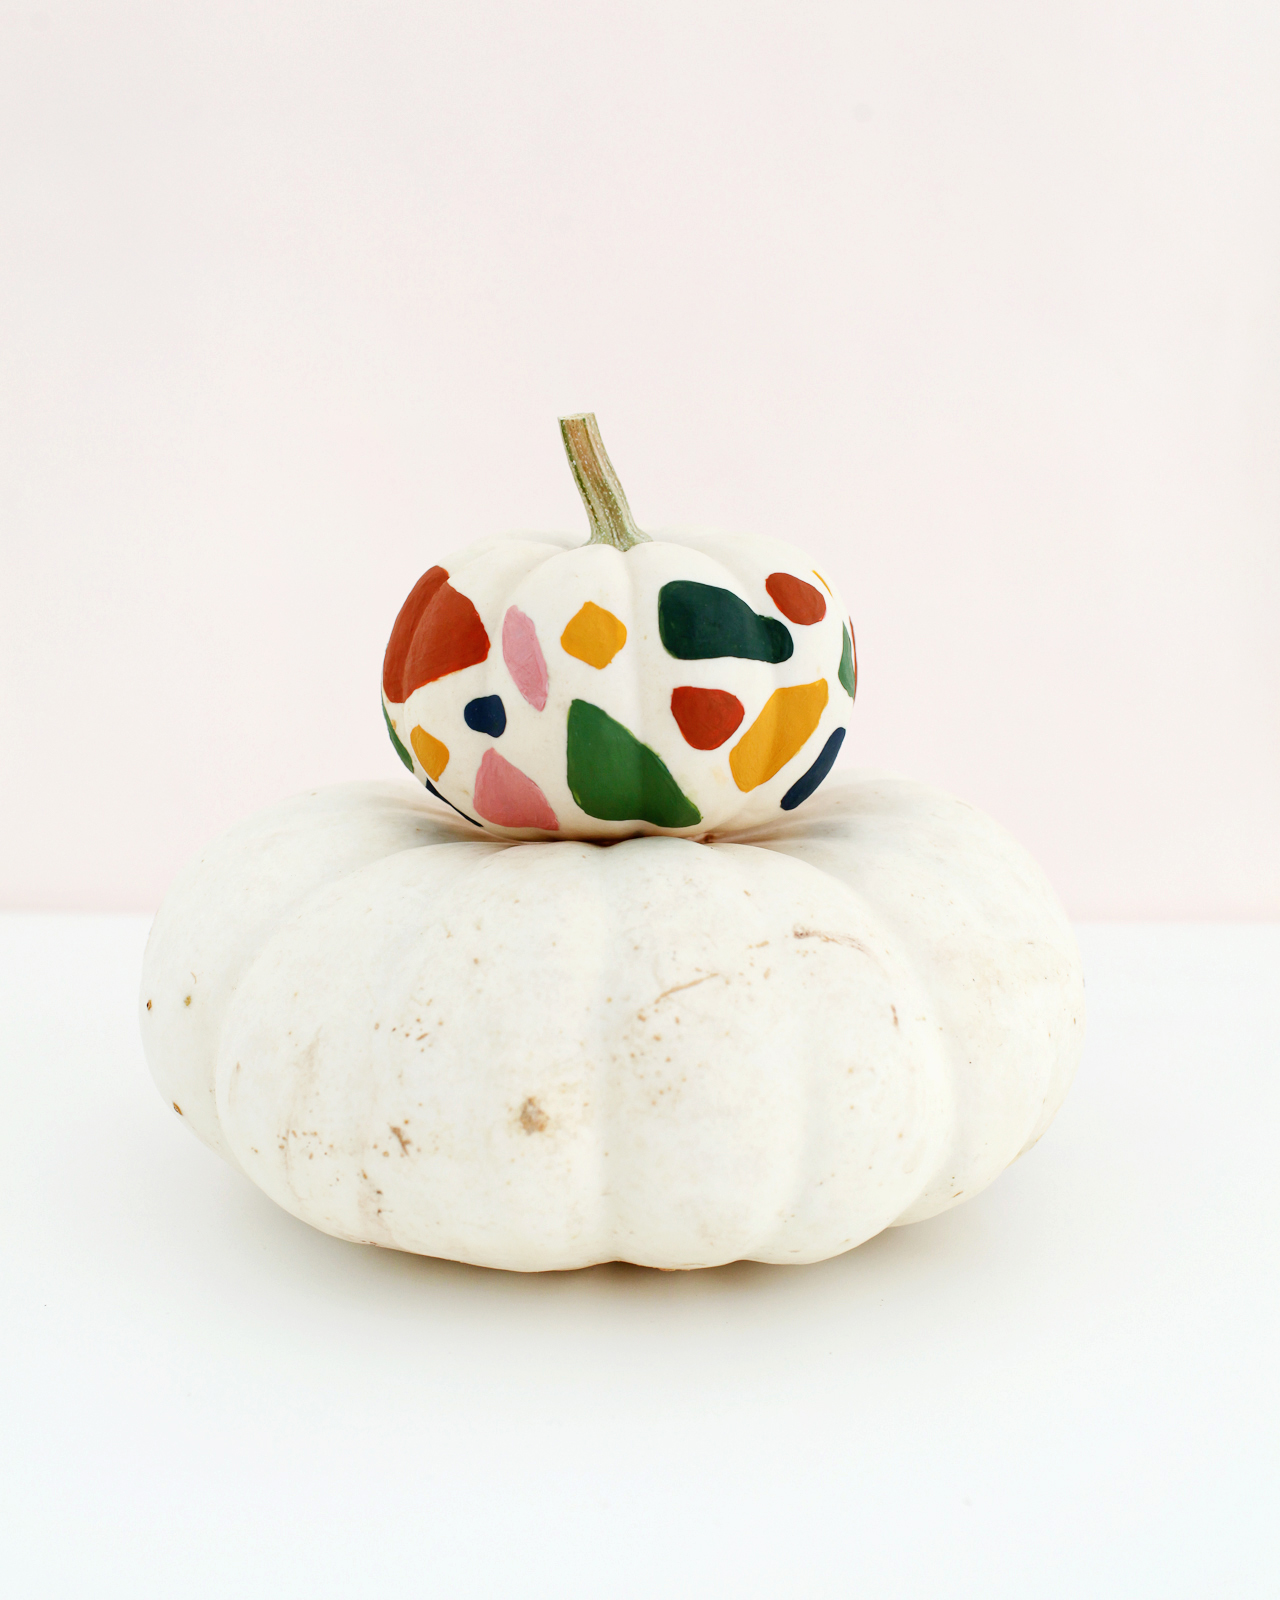
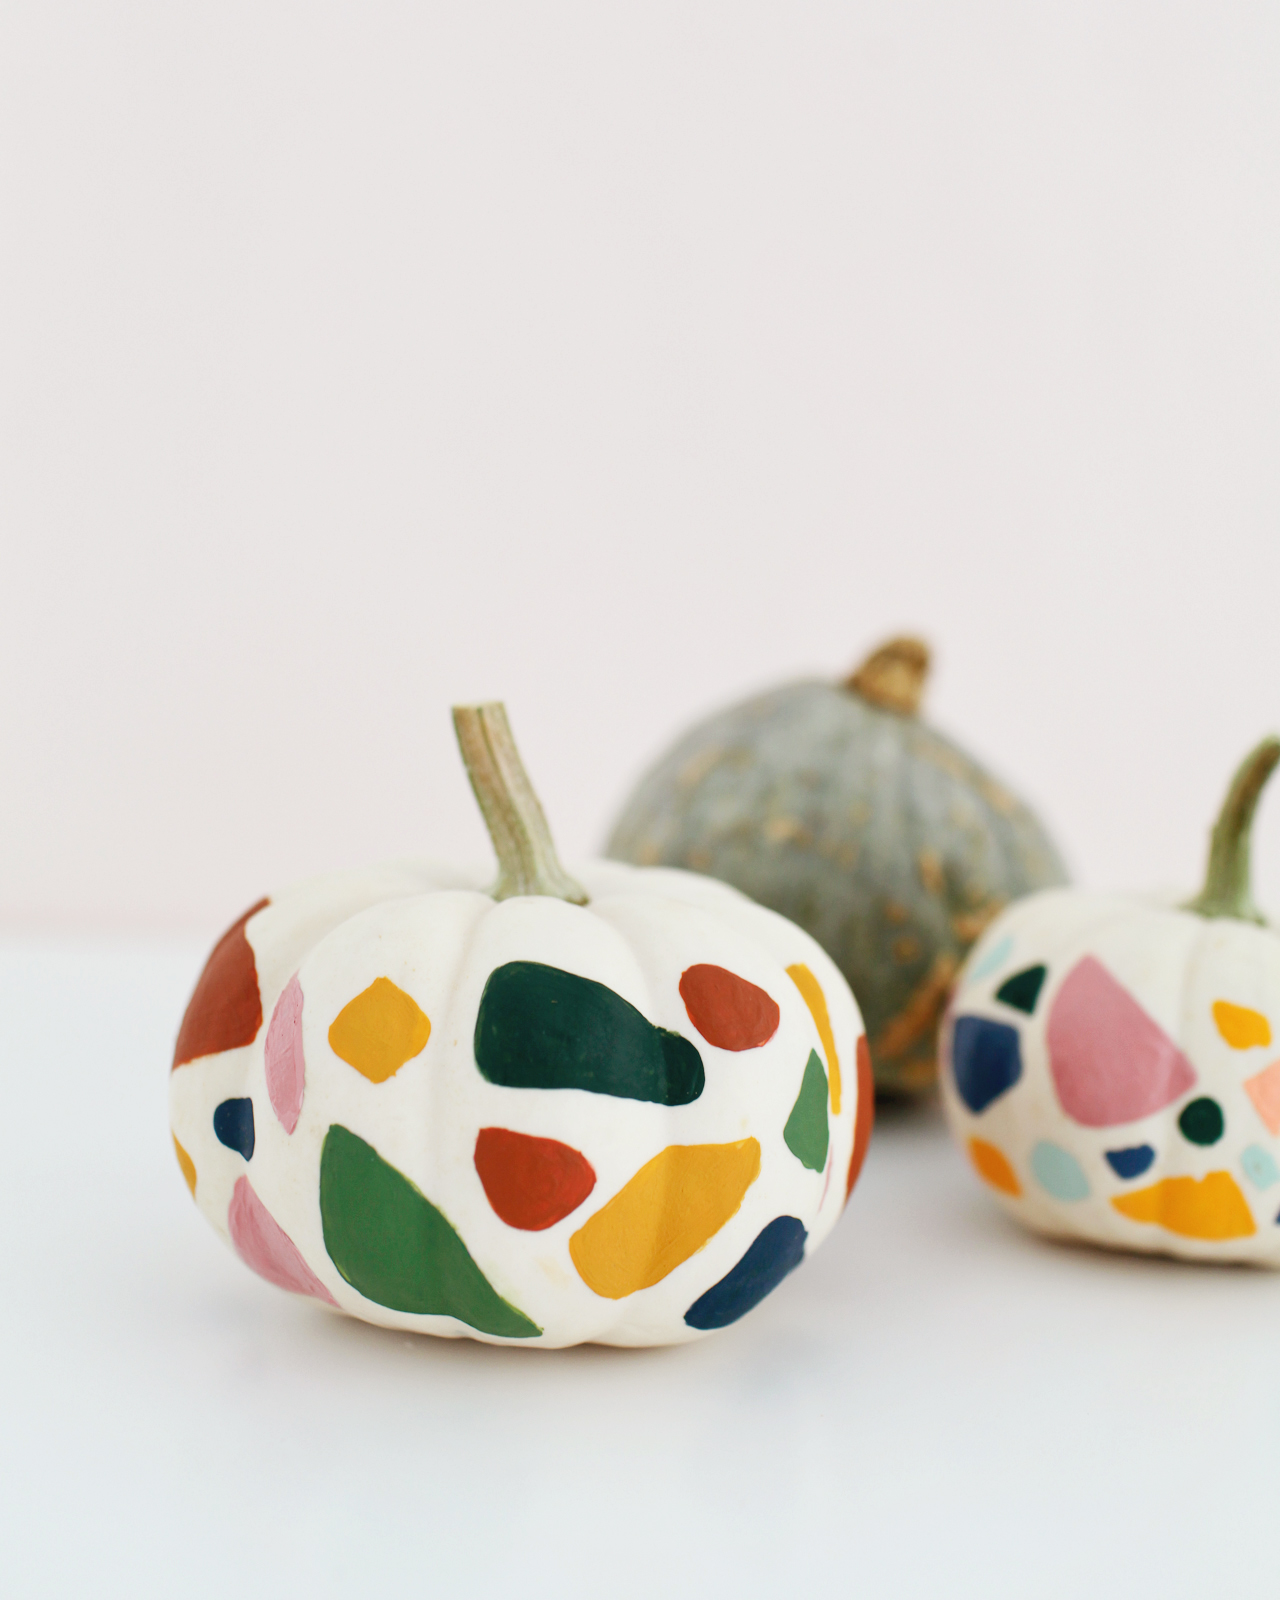
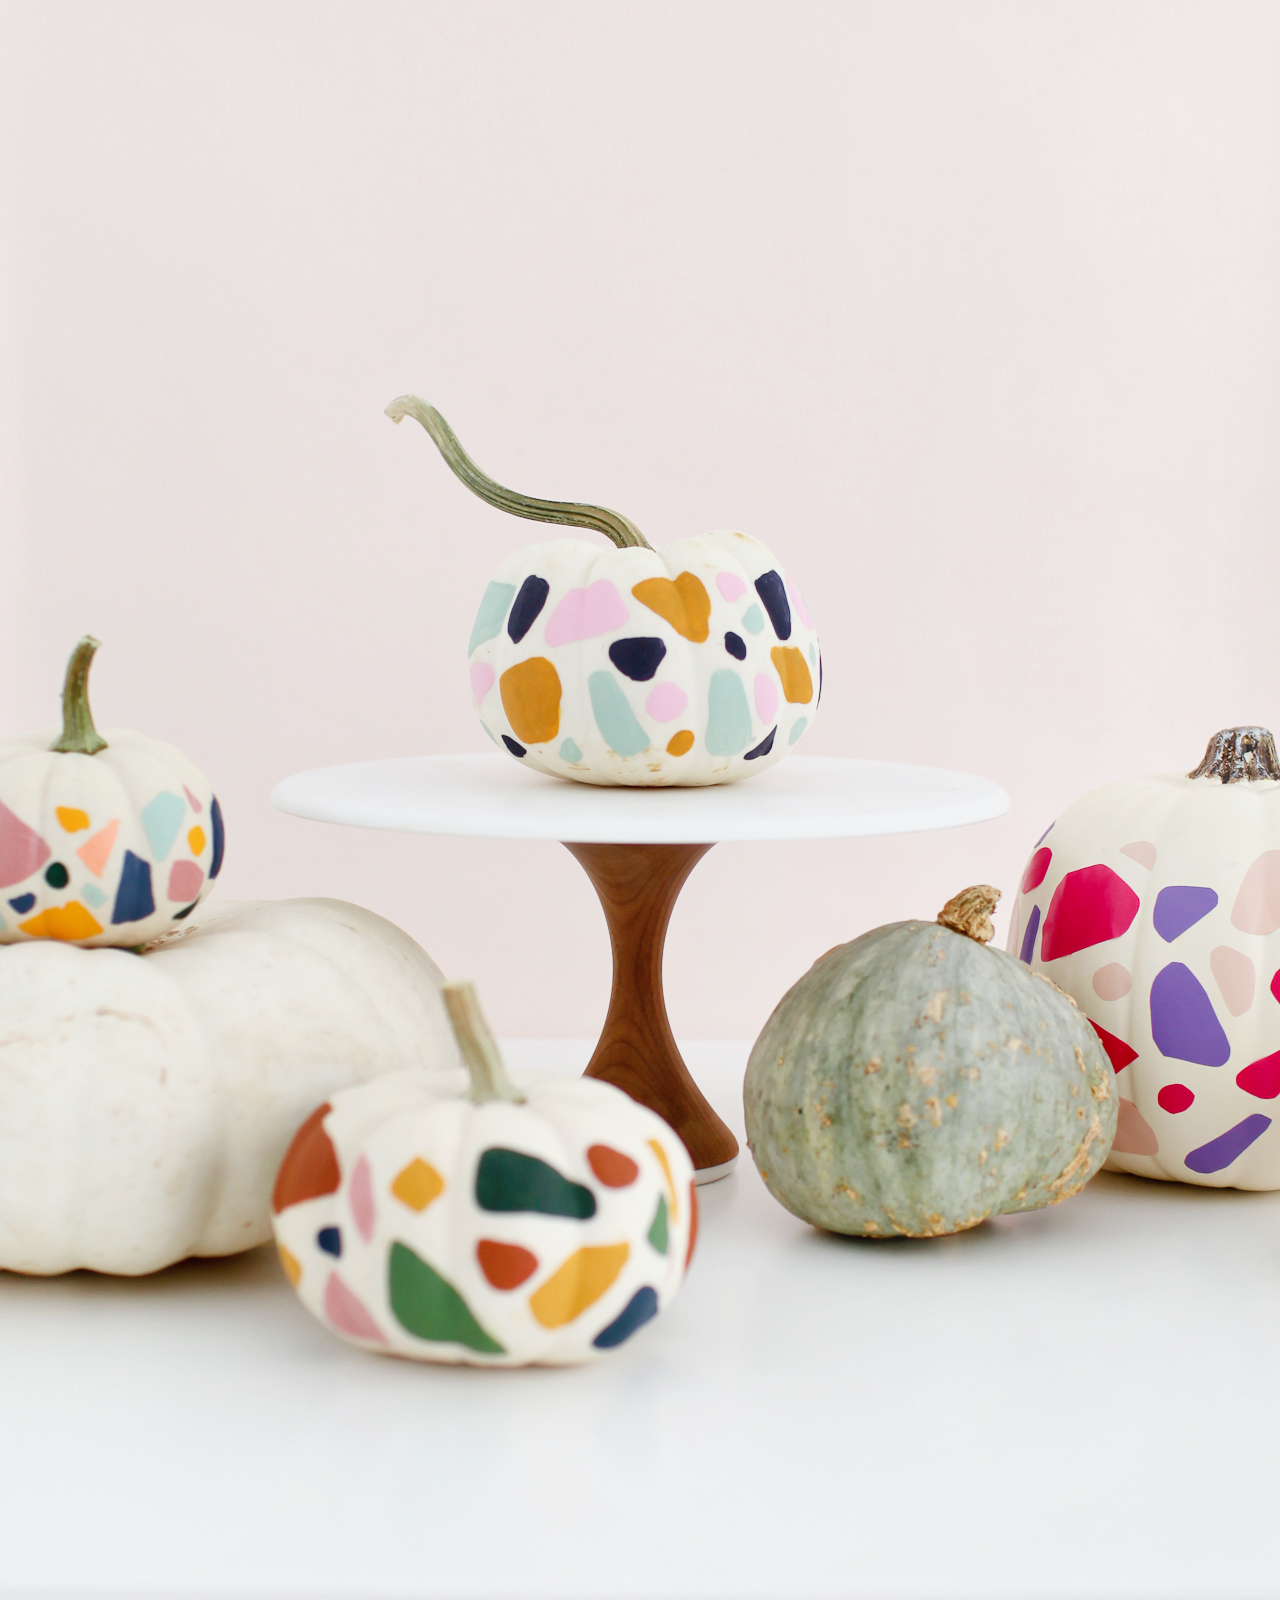
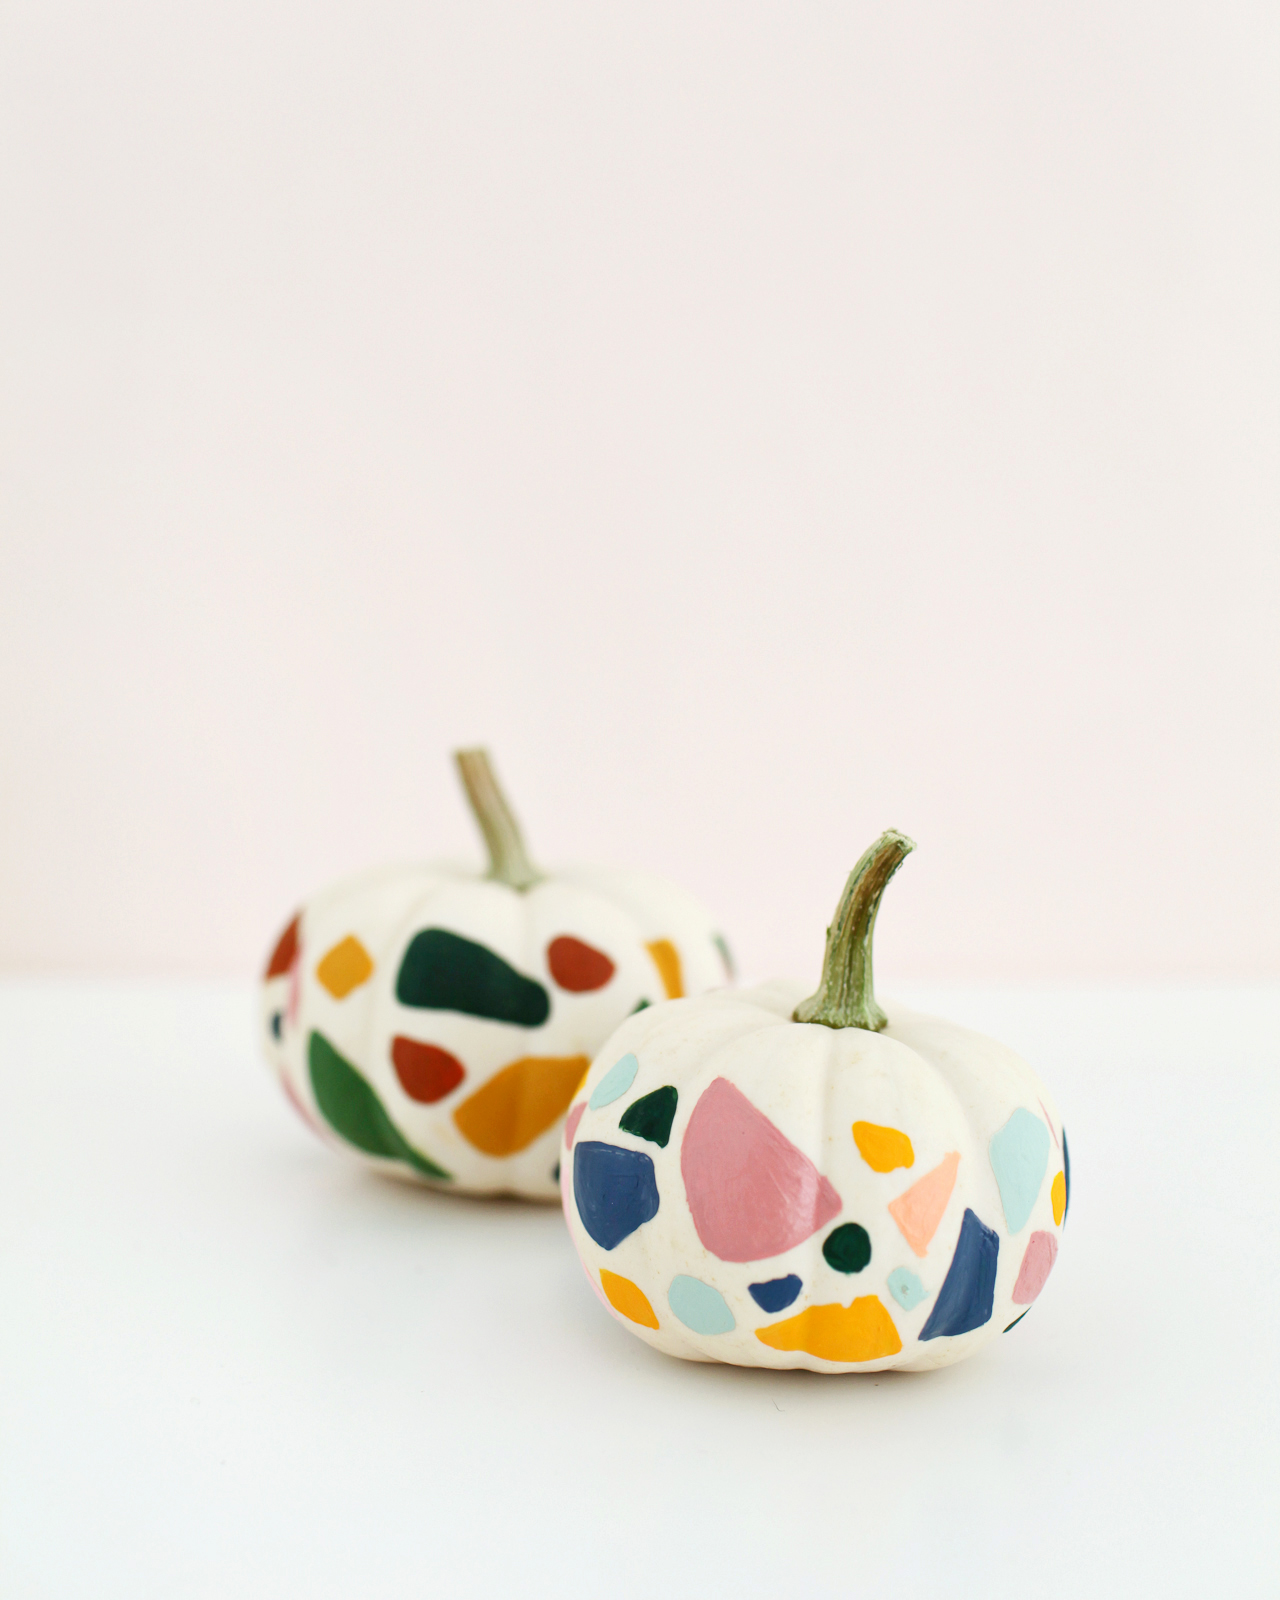
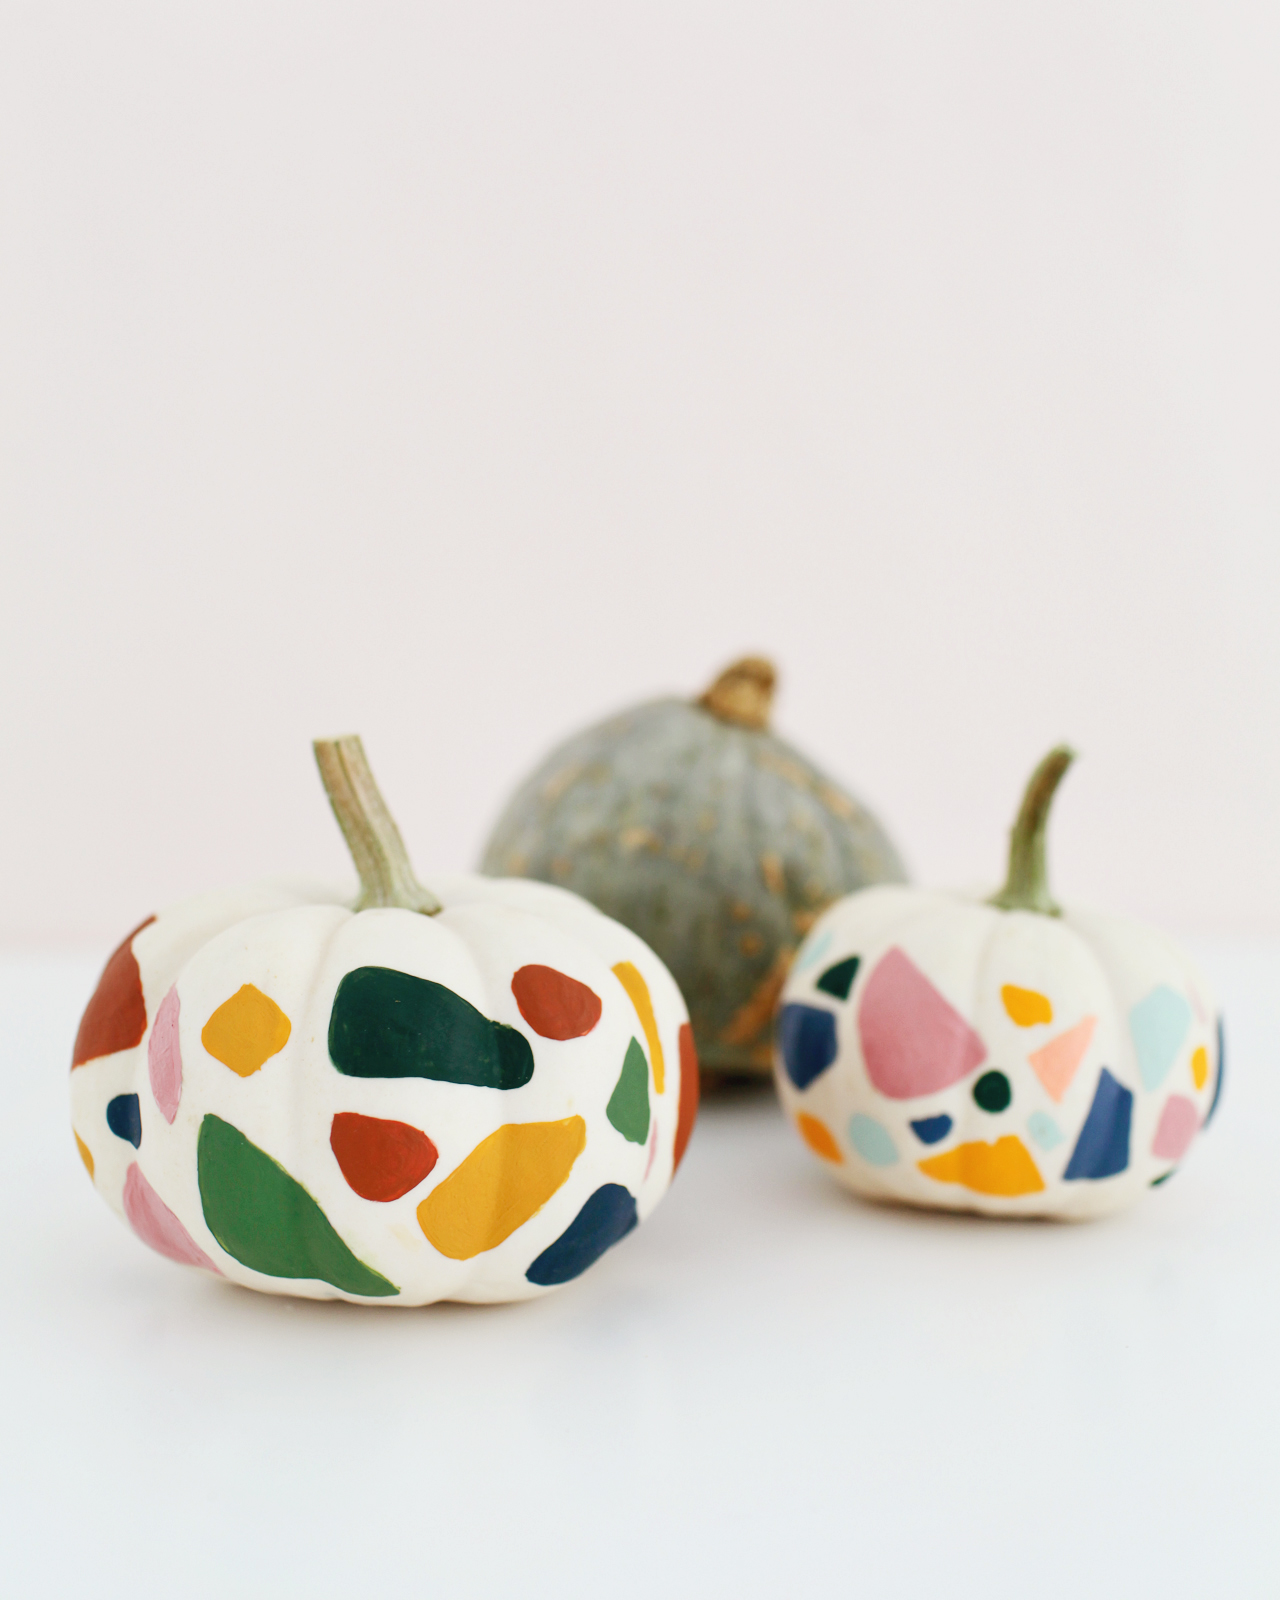
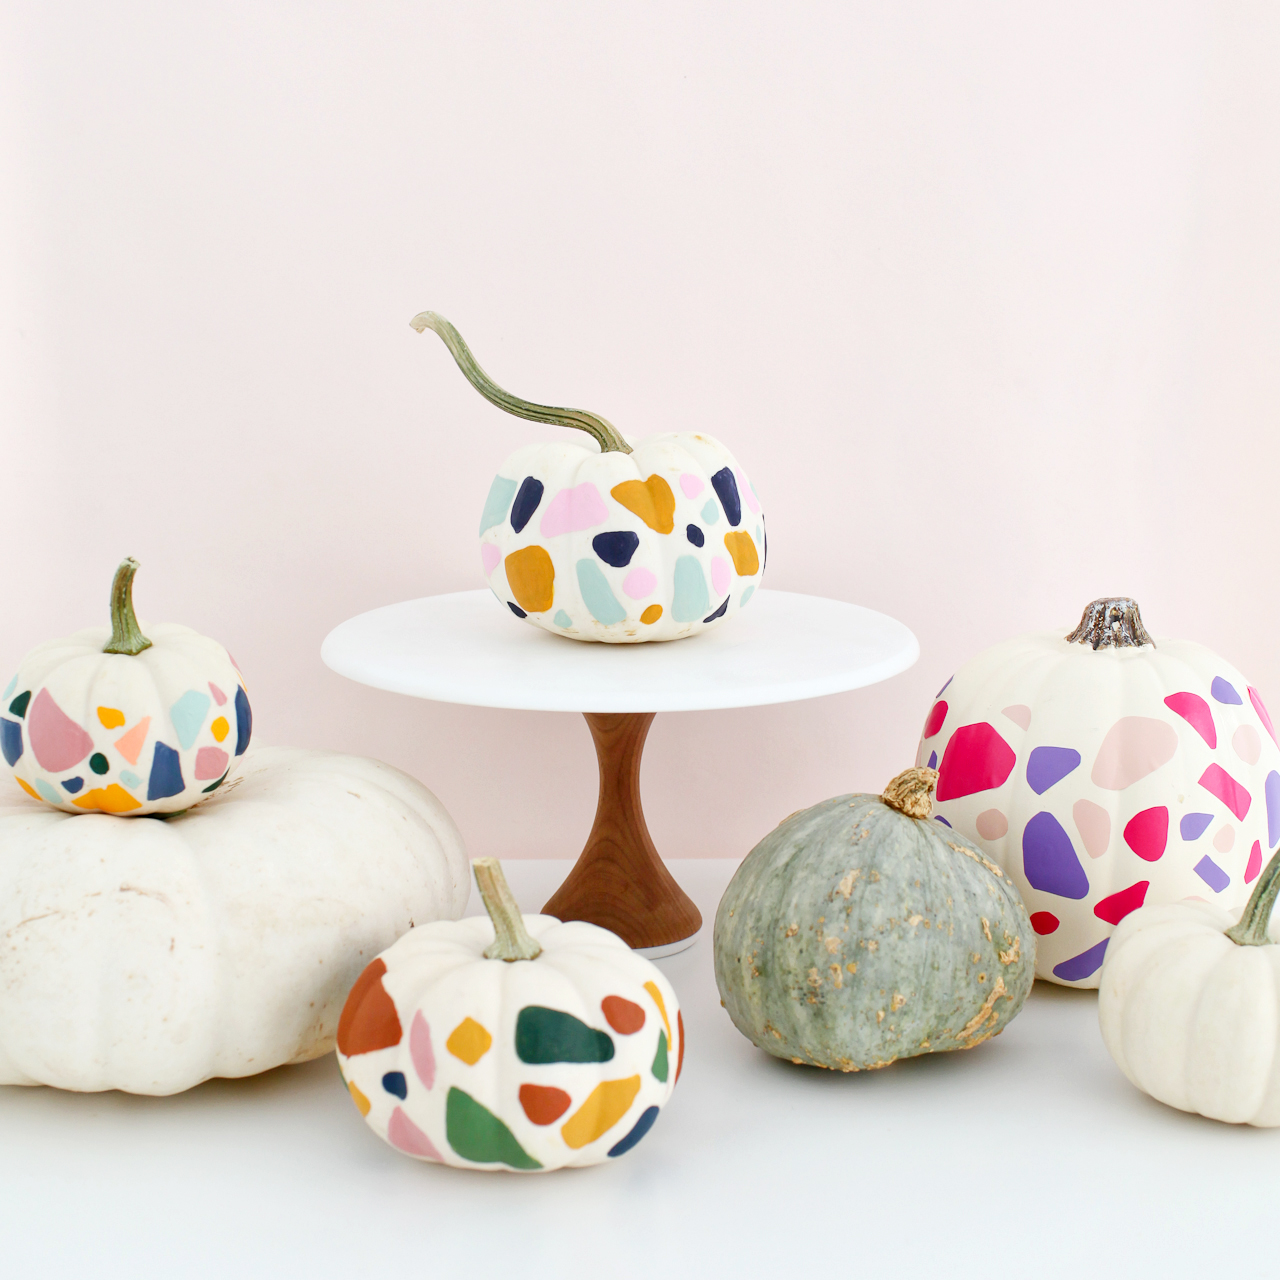
When it comes to pumpkin decorating ideas, I tend to draw my inspiration from design trends. Last year it was Matisse-inspired pumpkins, the year before that it was fun iridescent pumpkins. Terrazzo is my favorite design trend this year, so naturally I decided to do a terrazzo-inspired pumpkin! These DIY no carve terrazzo-inspired pumpkins are super easy to make, only require a couple of easy-to-find materials, and are a great way to bring a pop of color to your holiday décor!

DIY No Carve Terrazzo-Inspired Pumpkins

DIY No Carve Terrazzo-Inspired Pumpkins

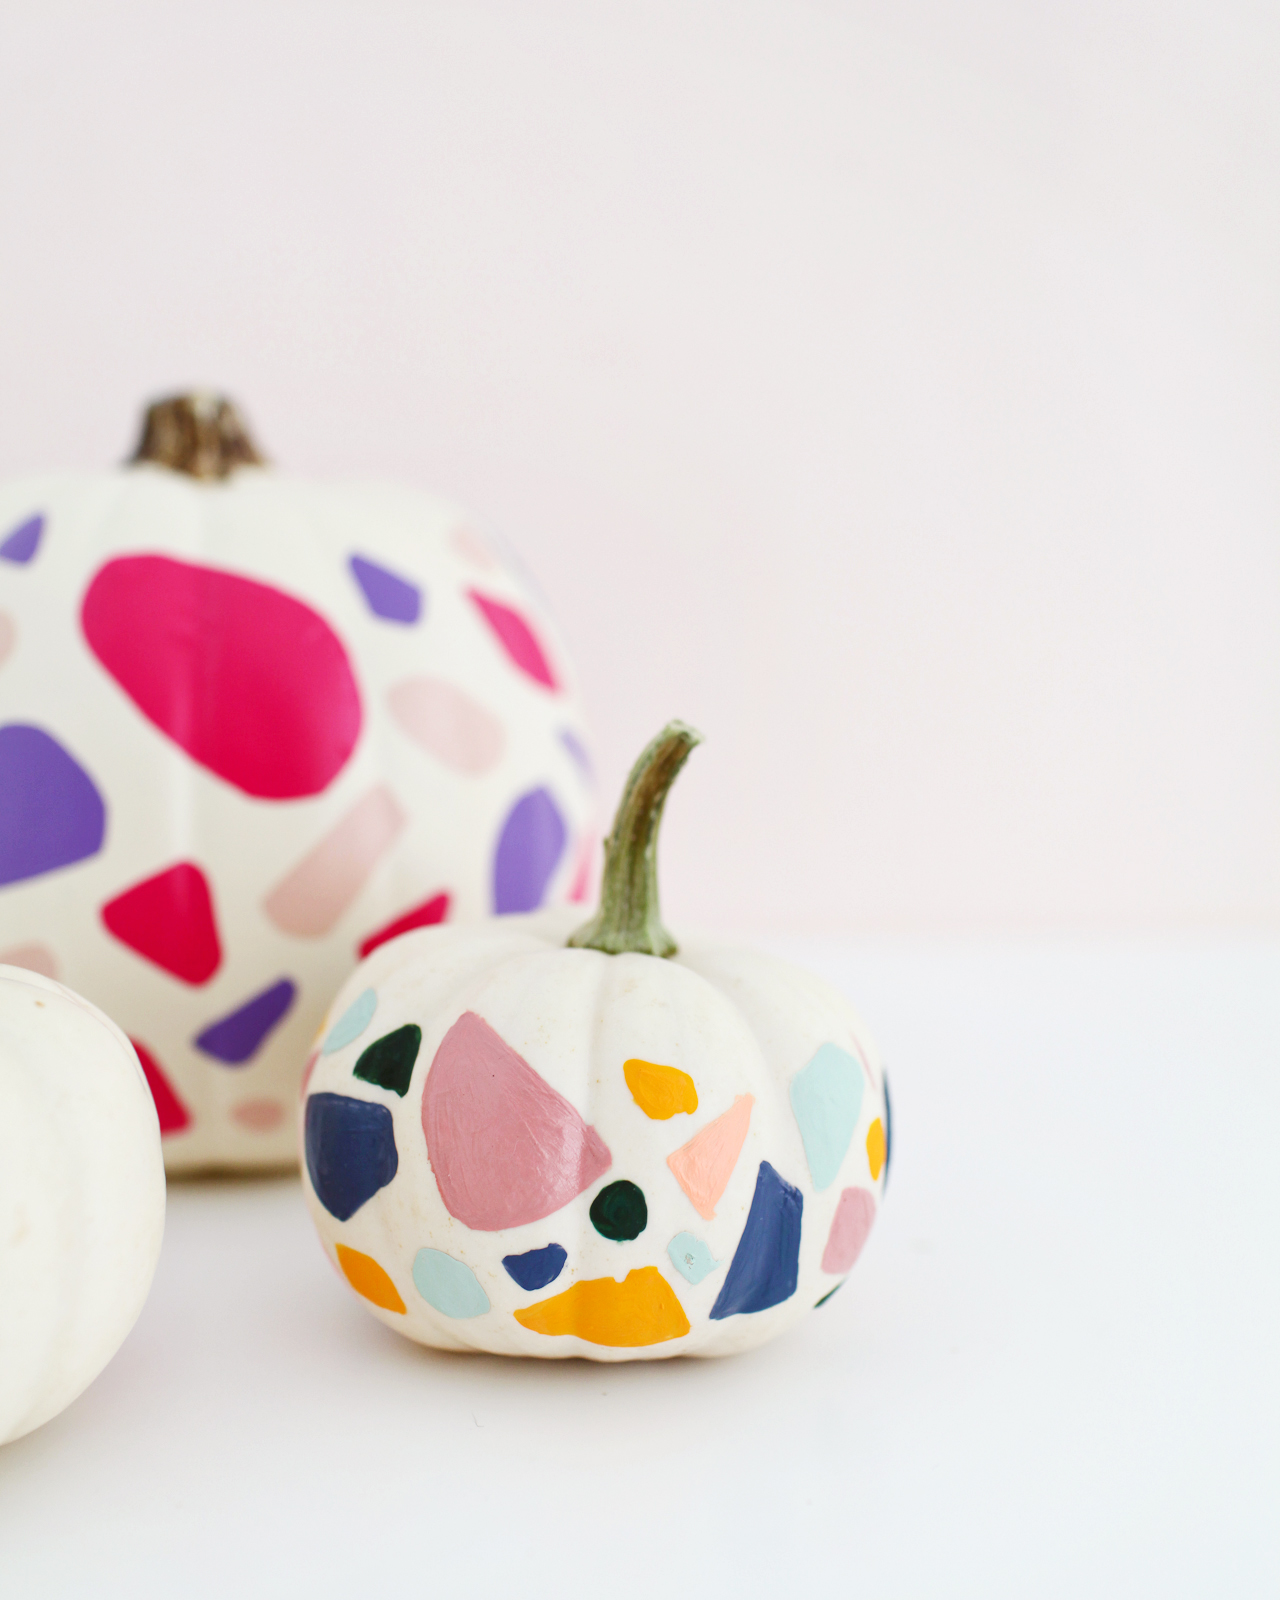
Aren’t they so cute?? I just love the colors! I used white pumpkins since the colors would pop more against a white surface, but you could also paint orange pumpkins and go for ALL the color. Oooh, that would be so fun – someone please do it and send me photos!

DIY No Carve Terrazzo-Inspired Pumpkins

DIY No Carve Terrazzo-Inspired Pumpkins

DIY No Carve Terrazzo-Inspired Pumpkins

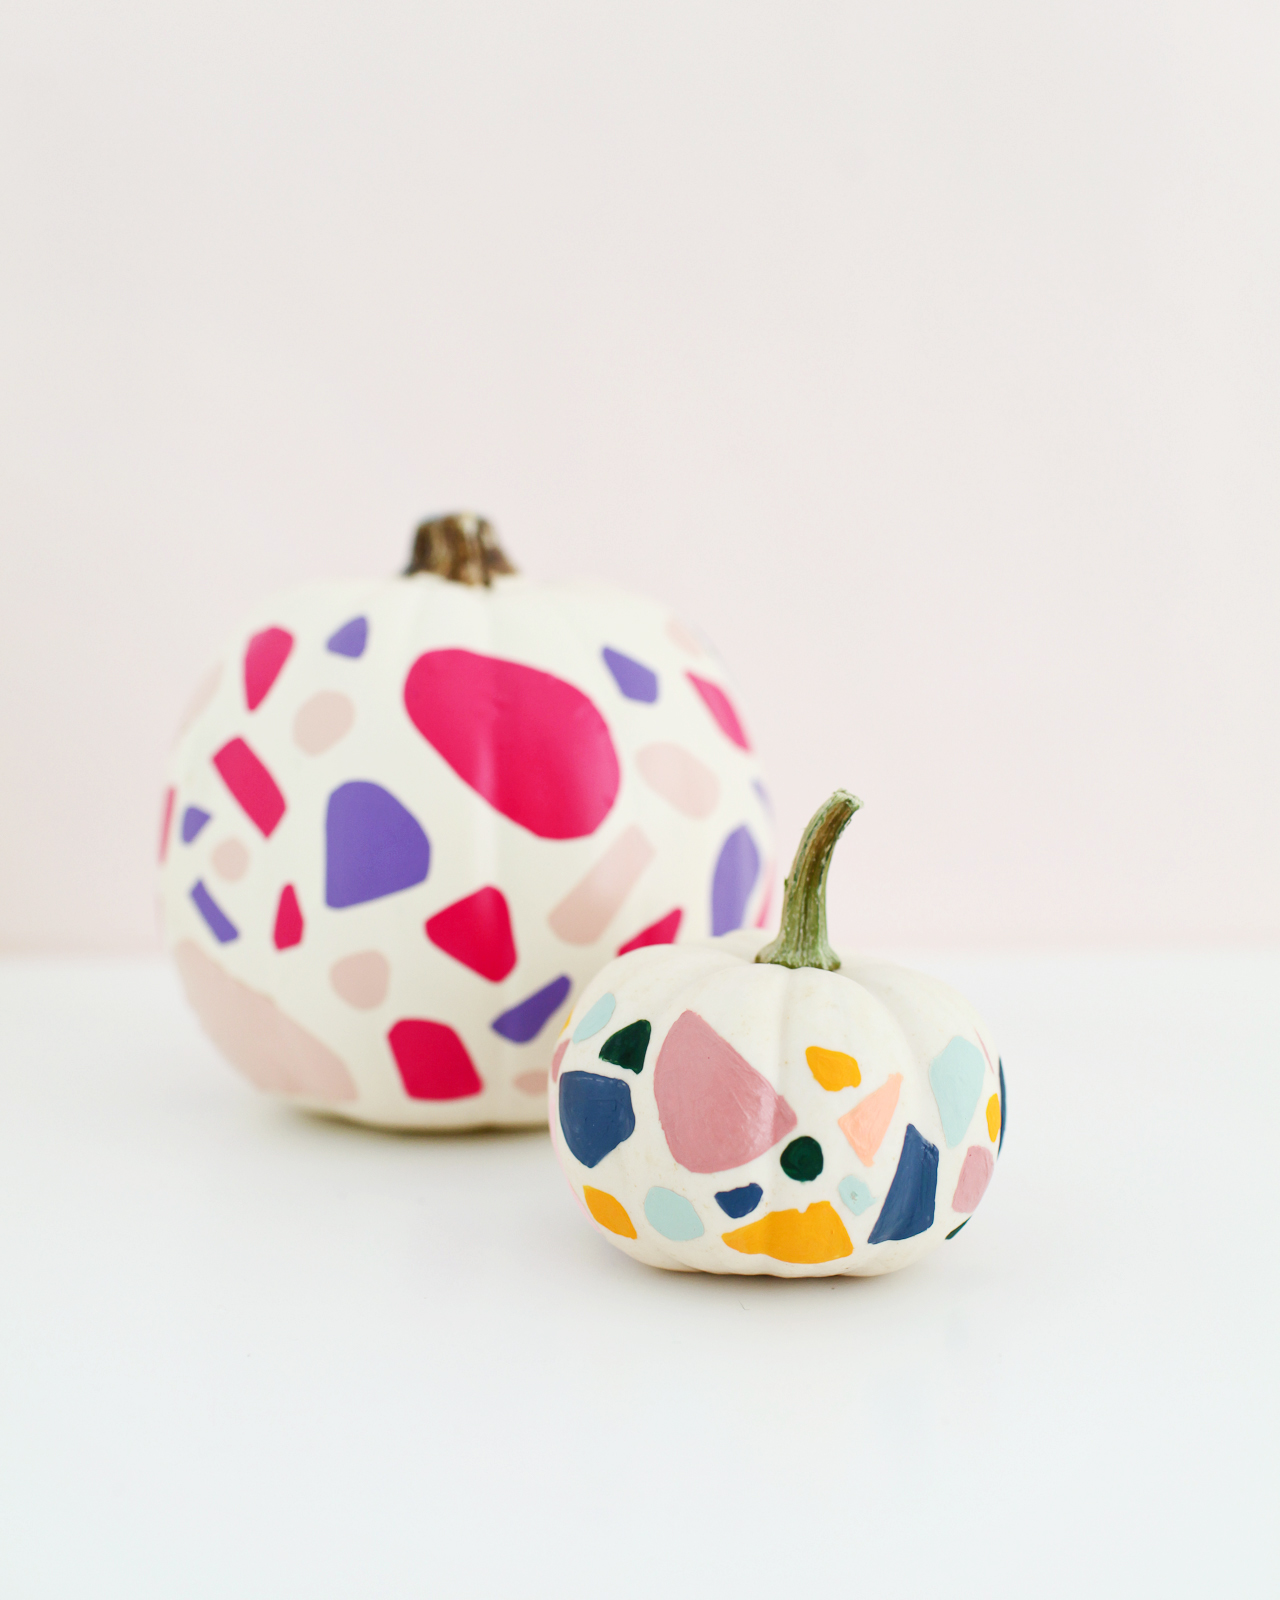
I actually started with the intent of making these pumpkins just with craft vinyl, but I was a bit frustrated by the lack of control over my color palette. I really wanted to use some nature-inspired fall tones along with soft muted pinks and greens. Color is so important for anything terrazzo inspired! You can still make these pumpkins with craft vinyl (especially if you’re decorating faux pumpkins), but you’ll probably want to choose a brighter color palette. The pink and purple pumpkin above was made entirely with craft vinyl on a faux white pumpkin.

DIY No Carve Terrazzo-Inspired Pumpkins

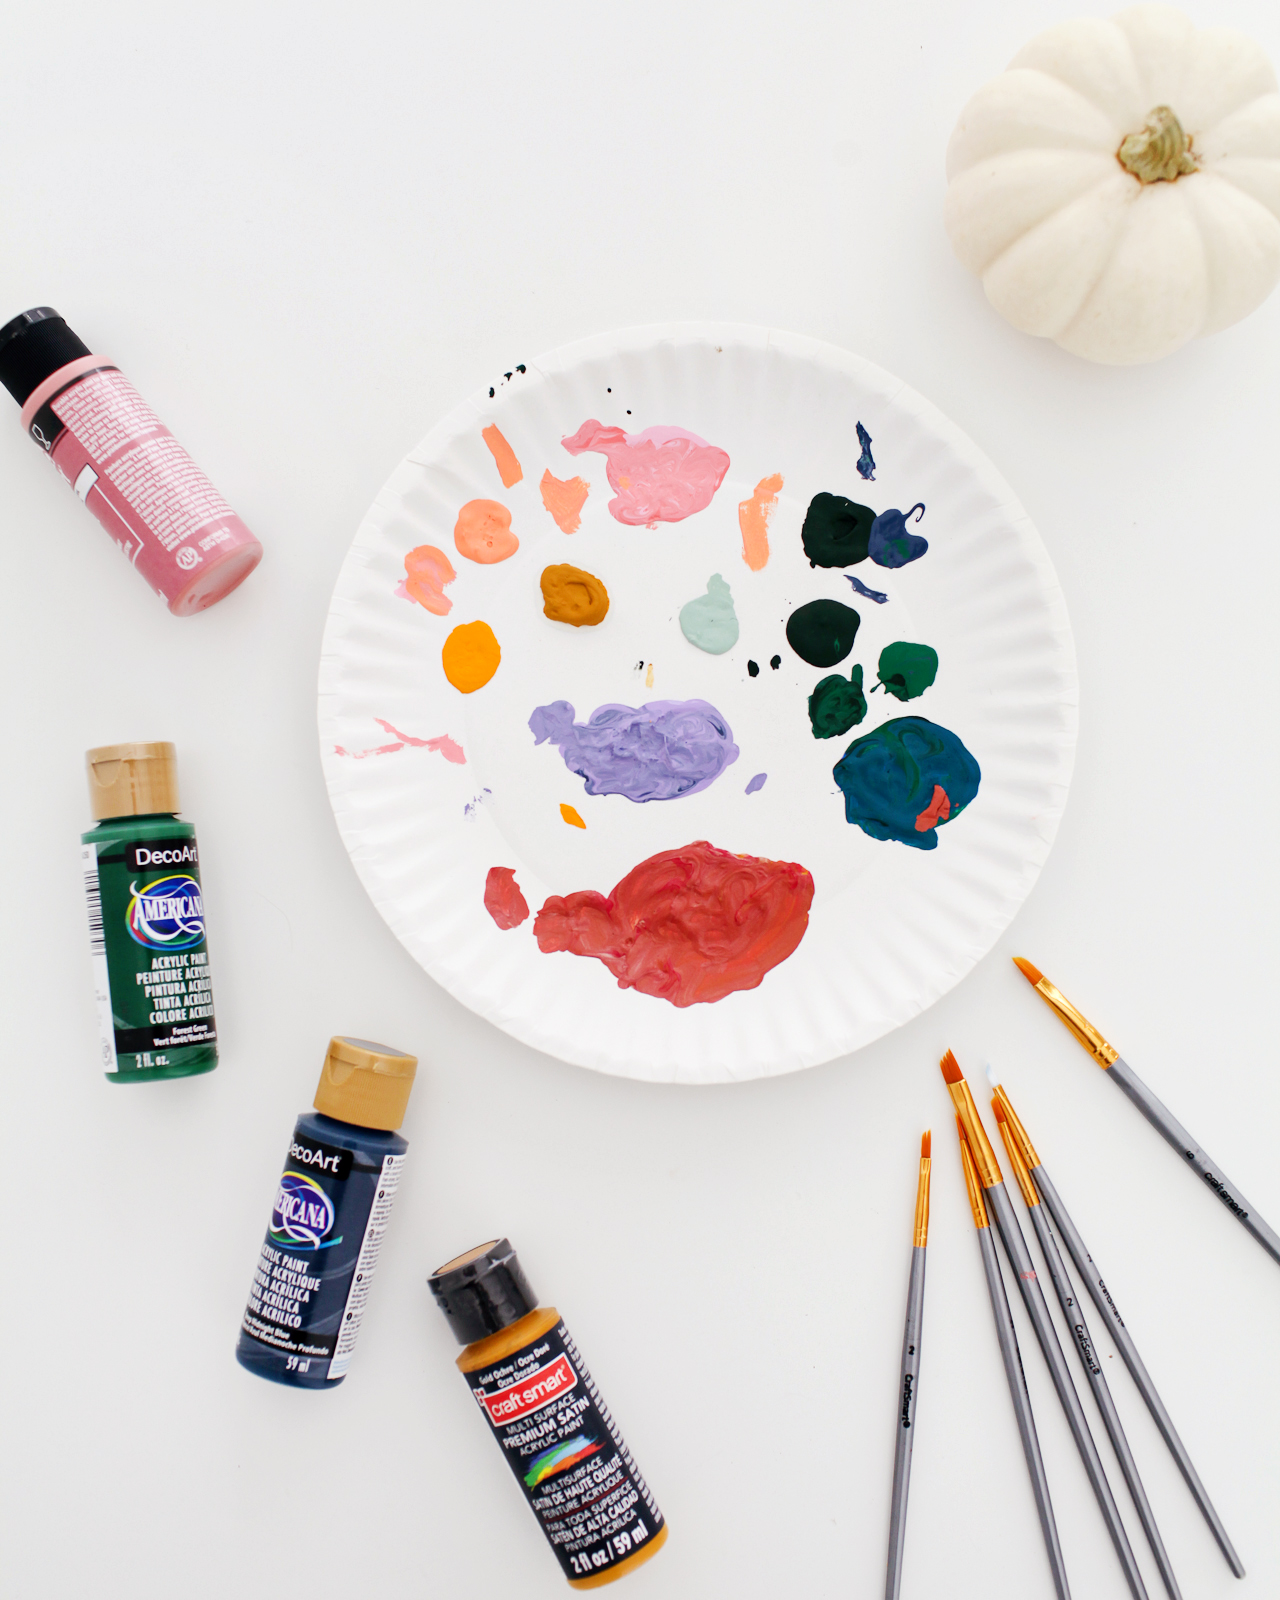
Materials

Craft paint in your chosen color palette

Paint brushes (the smaller the better! Size 0 and 1 for corners and smaller pieces, probably no larger than size 4 or 5 for some of the larger pieces)

Paint palette or paper plate

Craft vinyl and scissors (optional)

Pumpkins in varying shapes and sizes

DIY No Carve Terrazzo-Inspired Pumpkins

To make the DIY No Carve Terrazzo-inspired Pumpkins:

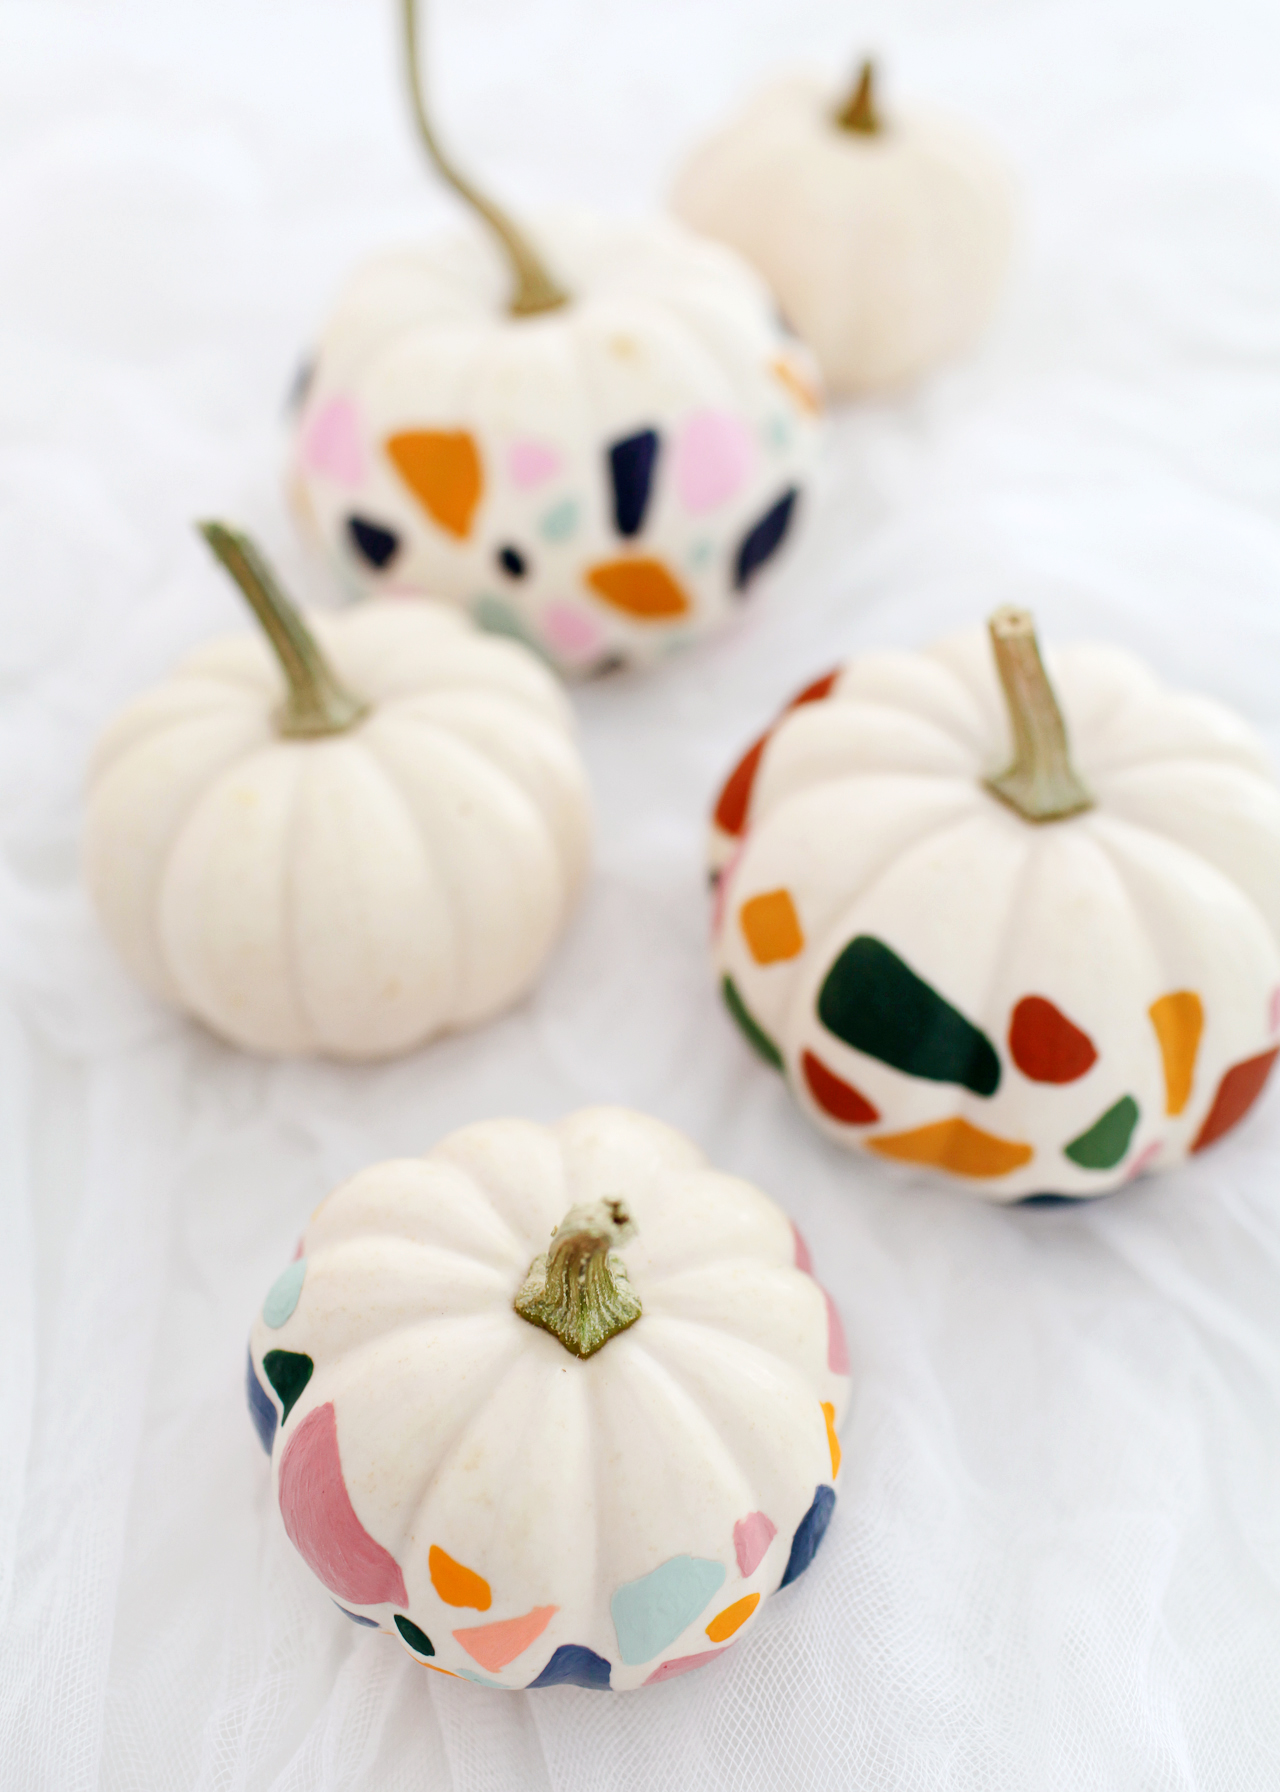
Step 1. Choose your color palette. I recommend selecting 4-6 colors per pumpkin. You can keep the color palette the same for each pumpkin, or mix things up a bit and choose several color combinations with some overlapping colors. I chose a mix of pinks, peach, ochre (deep yellow), navy blue, shades of green, and rust. Each pumpkin had some pink and ochre, but otherwise I mixed things up a bit!

Step 2. Squeeze a small amount of each paint color onto a paint palette or paper plate. If necessary, mix colors to achieve the perfect shade of a particular color. Starting with the first color, paint a few terrazzo-inspired geometric shapes around the pumpkin. You want these shapes to look like stone fragments, so geometric shapes with softer corners are definitely your friend here. Trapezoids, diamonds, irregular circles and rectangles, and triangles. I found it easiest to paint a few larger shapes around the pumpkin to make sure the colors were evenly distributed, then fill in with smaller shapes. 

Note: If you’re using craft vinyl, you’ll basically do the same thing, except instead of painting you’ll use your scissors to cut terrazzo-inspired shapes from your craft vinyl. Once you have a variety of shapes and colors cut, carefully peel the adhesive backing and apply to the pumpkin like a sticker. I found it easiest to start with some of the larger shapes randomly scattered around the pumpkin surface, then fill in with the smaller shapes as I went. I really didn’t have a plan, so you can totally just wing it! If you place a shape and then change your mind, you should be able to move it by very carefully peeling the vinyl from the pumpkin and moving it to a new spot.

Step 3. Continue painting the entire pumpkin, and if necessary apply a second or third coat of paint to ensure full color coverage. Allow the paint to dry completely and enjoy!

DIY No Carve Terrazzo-Inspired Pumpkins

DIY No Carve Terrazzo-Inspired Pumpkins

DIY No Carve Terrazzo-Inspired Pumpkins

I scattered these pumpkins across our mantel and bookshelves, but these would be so cute as a holiday centerpiece. Paint a bunch (like a dozen) and line them all in a row down a table!

DIY No Carve Terrazzo-Inspired Pumpkins

DIY No Carve Terrazzo-Inspired Pumpkins

DIY No Carve Terrazzo-Inspired Pumpkins

Yay! Happy Halloween decorating everyone!

p.s. DIY Iridescent Pumpkins and DIY Rainbow Halloween Treat Bags

Photo Credits: Nole Garey for Oh So Beautiful Paper

Friday Faves

Color Factory New York City / Oh So Beautiful Paper

Happy Friday everyone! Last Friday, I escaped up to New York City with a friend for a quick day trip. I’m up in the city frequently for trade shows and meetings, but I never get the chance to just go out and explore the city. We went to Color Factory, walked the High Line, grabbed lunch in Soho, and met up with a couple other friends before jumping on the train back home to DC. It was great! This weekend, I’m celebrating my daughters’ birthdays (they turn 4 and 6!) and looking forward to a quiet weekend at home.

My friend Gabrielle wrote an amazing thread on men and unwanted pregnancies. You should read it!

How are we feeling about the 2019 Sherwin-Williams Color of the Year? I personally think it’s very trendy, but best used sparingly in accents and details. For example, I love it as a pop of color in this pillow – but probably not on an entire wall. 

Modern political ads: Viral videos are replacing pricey political ads

I think about this every time I’m in New York: the empty storefronts of New York City

You guys, how COOL is this iridescent table lamp??

There are whales alive today who were born before Moby Dick was written (!!)

This shocked me: Deaths from 9/11 diseases will soon outnumber those lost that day

This image sums up my fall color palette

I was in Target earlier this week and fell in love with this sweater knit blanket. A bunch of you messaged me to say that you have one and love it! Well, they’re currently on sale in a bunch of colors. I’m particularly loving the light gray color, but it also comes in pink, charcoal, and navy! Here are a few other things I’m loving this week:

xoxo

Friday Faves

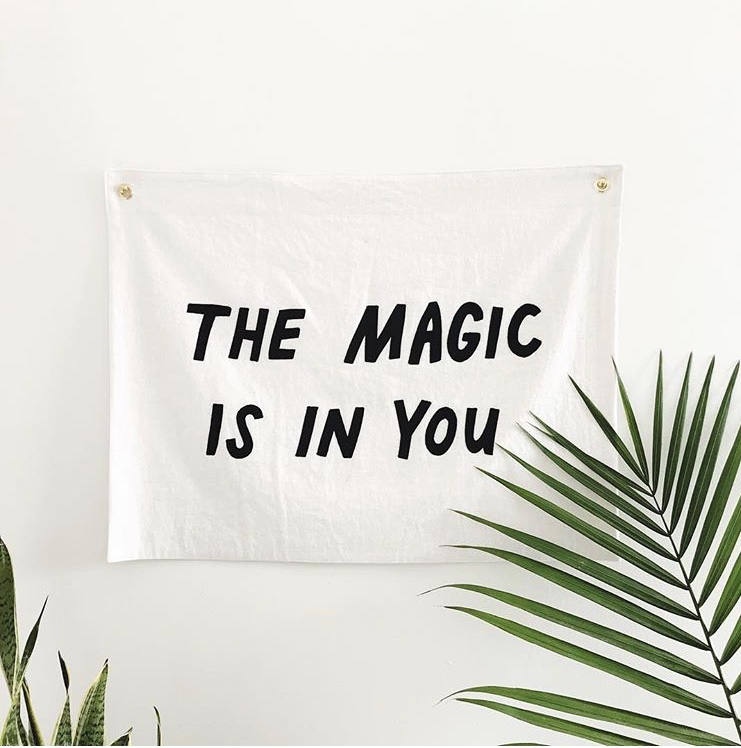
Secret Holiday Co. "The Magic is In You" Banner / Common Room Studio

Banner by Secret Holiday Co. / Photo by me at Common Room Studio

Happy Friday everyone – we made it through the week! I’m on a quick fun day trip up to New York City with my friend Janice today; we’re planning to visit Color Factory and just do a few other touristy things that I never get to do when I’m up for trade shows and meetings. Yay! We’re expecting a rainy weekend in DC, so I’m planning to take advantage of the weather to do some tidying at home, and maybe get a head start on some fall shopping. Madewell has so many gorgeous fall pieces! I picked out a few of my faves below – I particularly want this dress, this sweater, and this long sleeve striped tee for fall.

Speaking of sweaters, I love this long duster cardigan from Old Navy for fall – and it’s currently 25% off!

How cute is this llama sweater for little girls??

The prettiest bundles of paper I ever did see

I’m in the process of redesigning our bedroom, and I’m thinking about adding a faux tree in the corner. It’s between this faux fiddle leaf fig and this faux olive tree – but I need something tall and skinny, so I think the fiddle leaf might be the answer!

LOVING these pale lavender linen shams (also currently on sale!)

Don’t forget to download our printable fall bucket list from Ampersand Design Studio if you haven’t already! And new September wallpapers from Copper Paper Co. and In The Daylight!

Finally – anyone have any quick and easy family dinner recipes that you love and want to share? I’m looking to expand our dinner repertoire and would love your suggestions!!

xoxo