Back in April, I got to play around with some envelope inspiration featuring light ink over dark watercolor washes using Sakura of America‘s opaque Soufflé pens. I loved the light-against-dark look so much, it got me thinking about other ways that I could use opaque ink colors over dark paper or surfaces. With Halloween just around the corner, I thought it would be fun to put a colorful DIY spin on Halloween treat bags using matte black paper treat bags. So today I’m thrilled to partner up with Sakura of America once again to share a couple of really fun ideas for DIY colorful Halloween treat bags using their opaque Soufflé pens and Permapaque dual point paint markers!
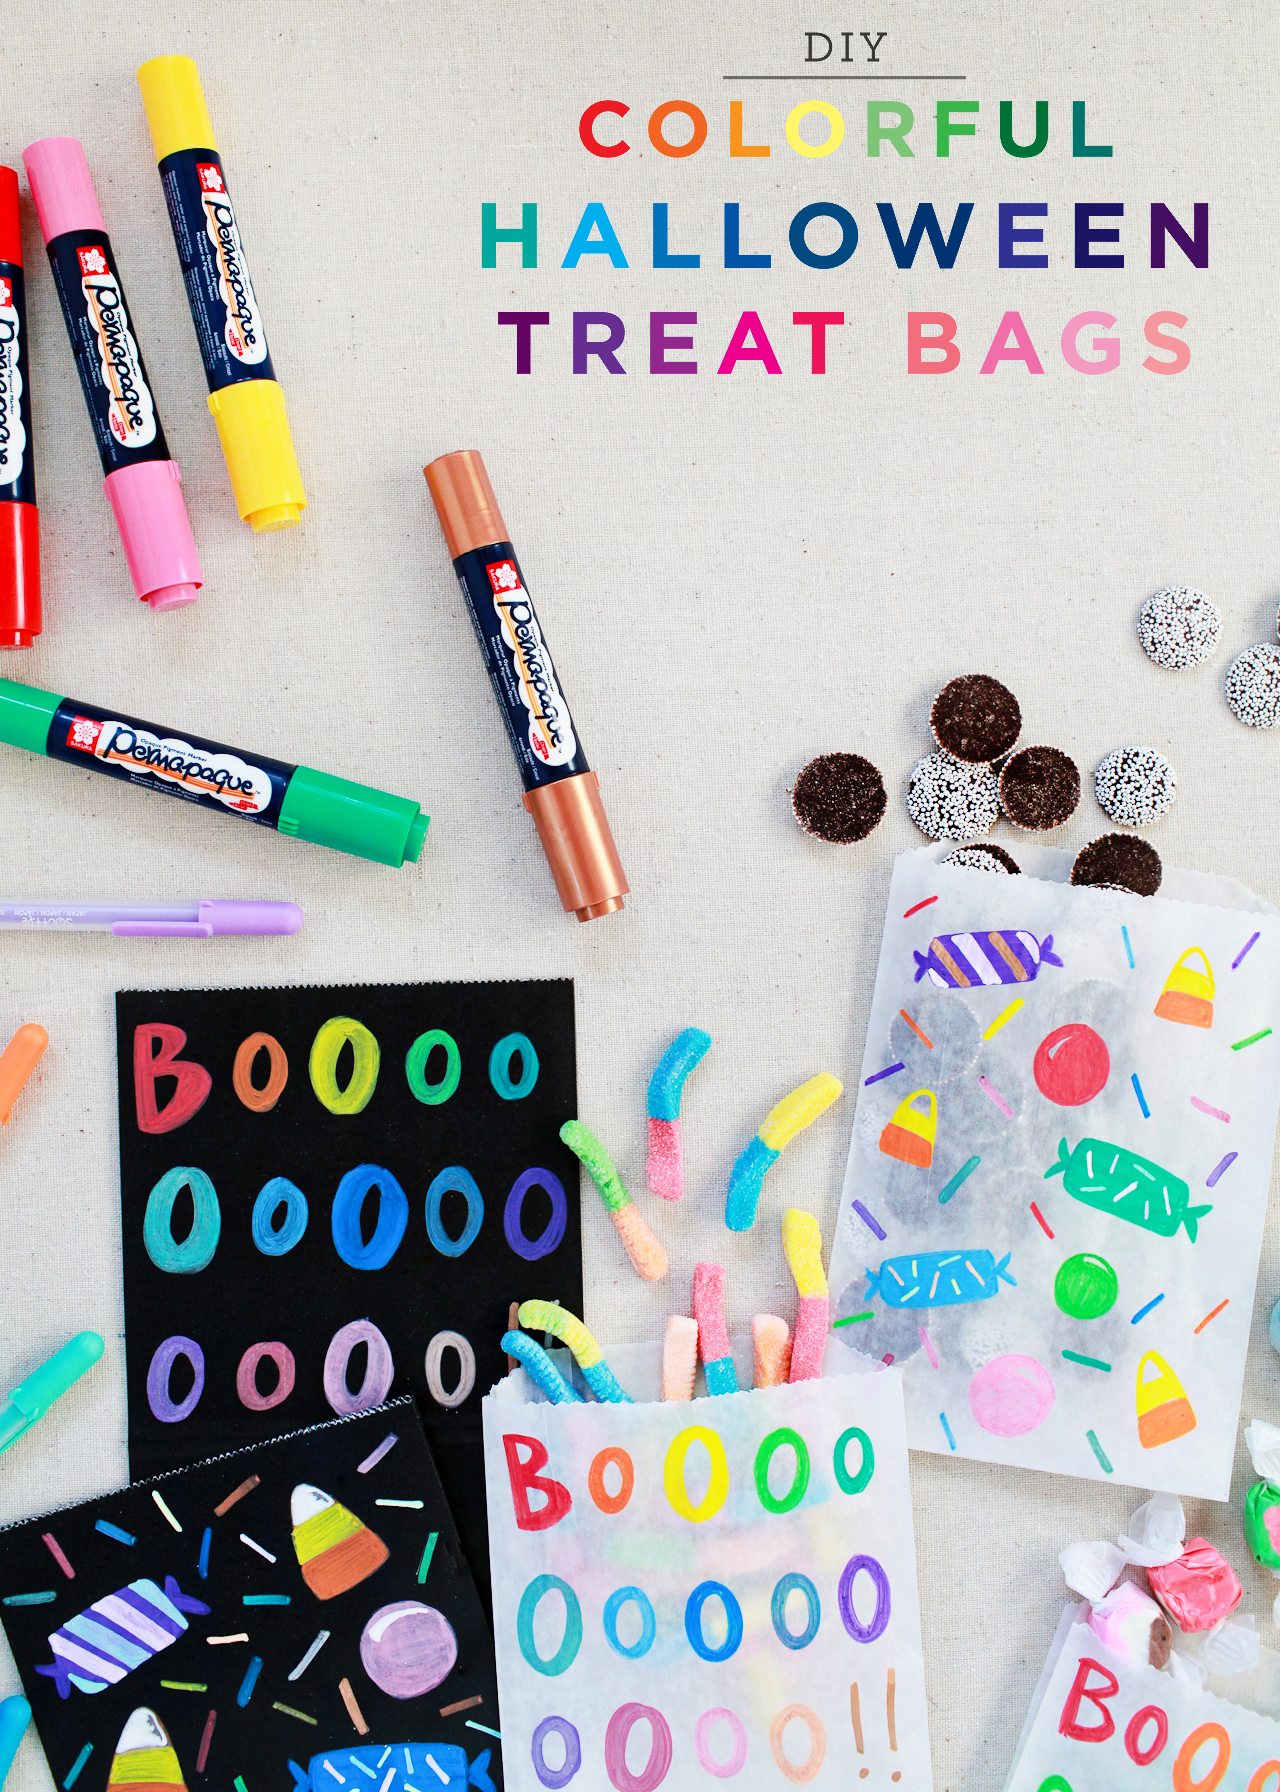
Halloween treat bags are a must for parents of school-aged children, but they’re also a fantastic option for anyone considering non-food trick-or-treating options for kids with food allergies. Halloween feels like the perfect time to break out a black treat bag, but I could also totally see a version of this DIY working for kids birthday parties any time of year. Maybe tiny bugs and creepy-crawlies for an insect-inspired party, or a colorful treasure map for a pirate party??
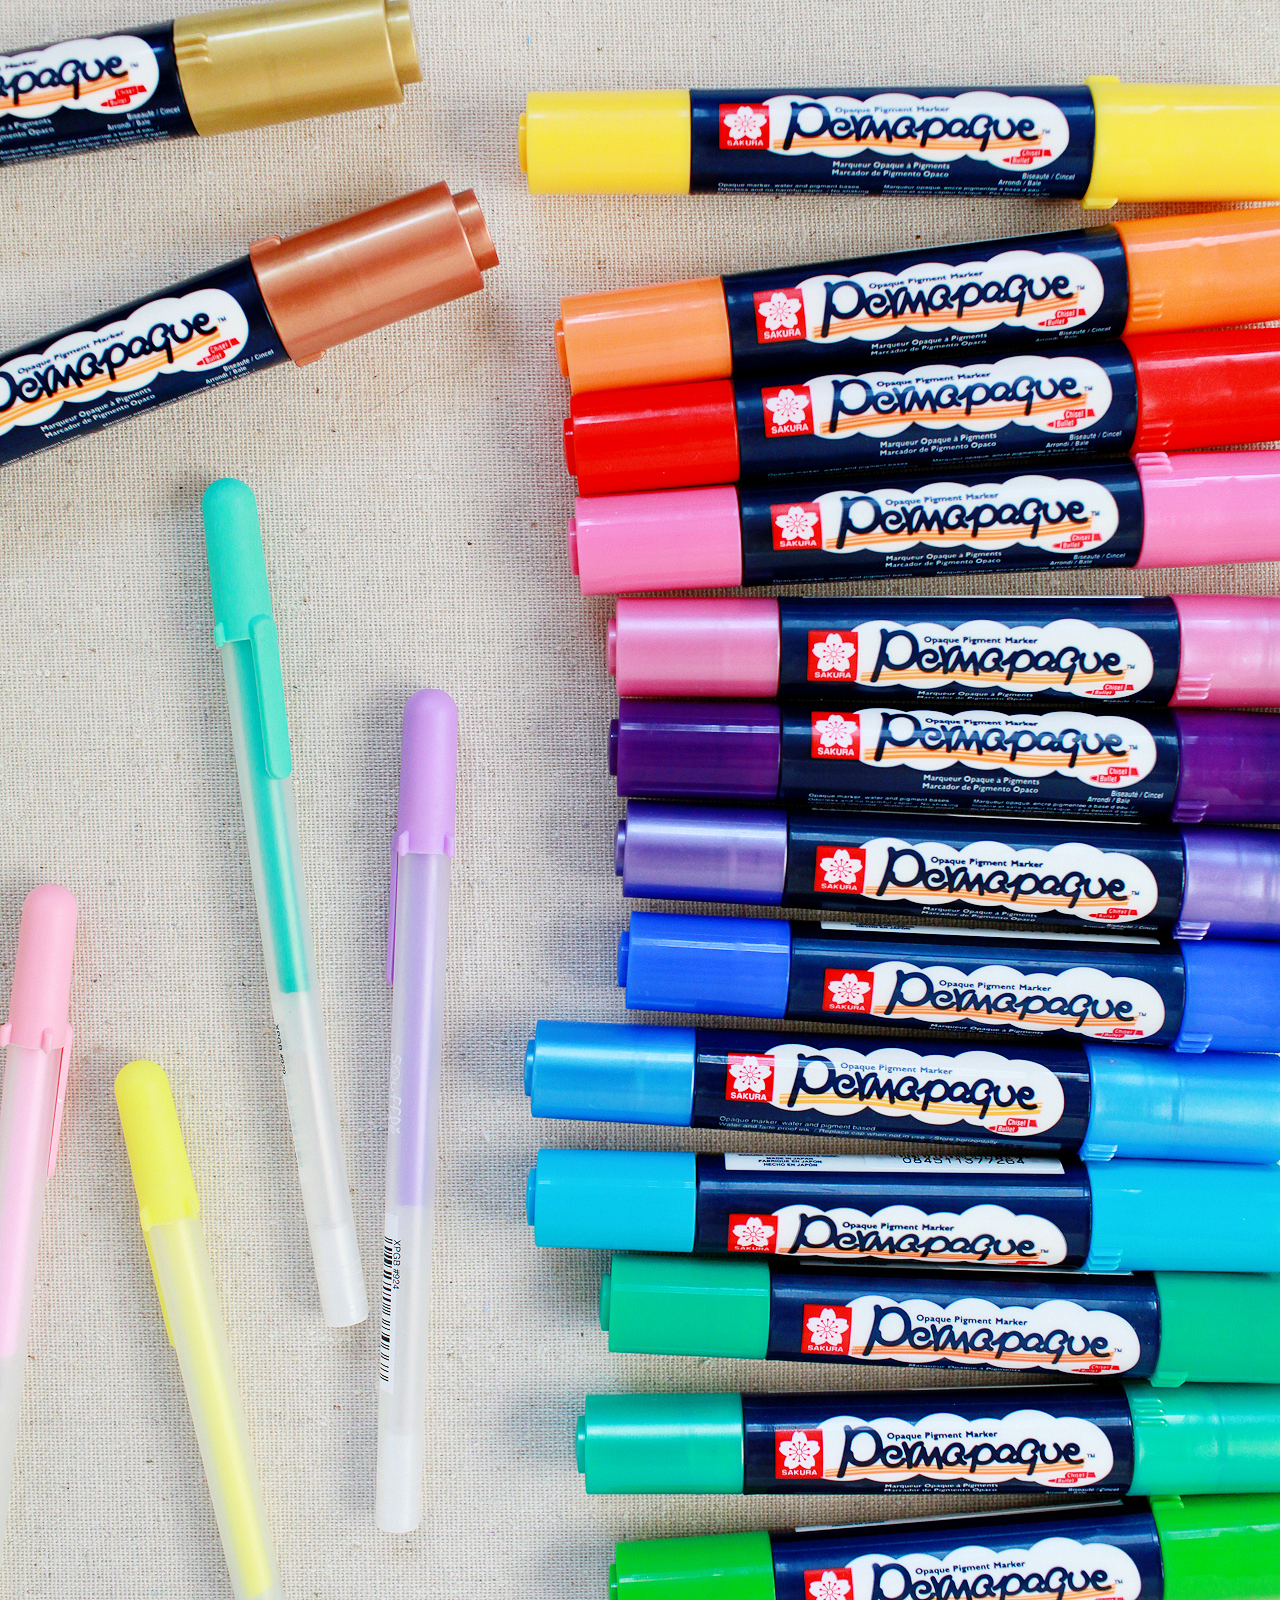
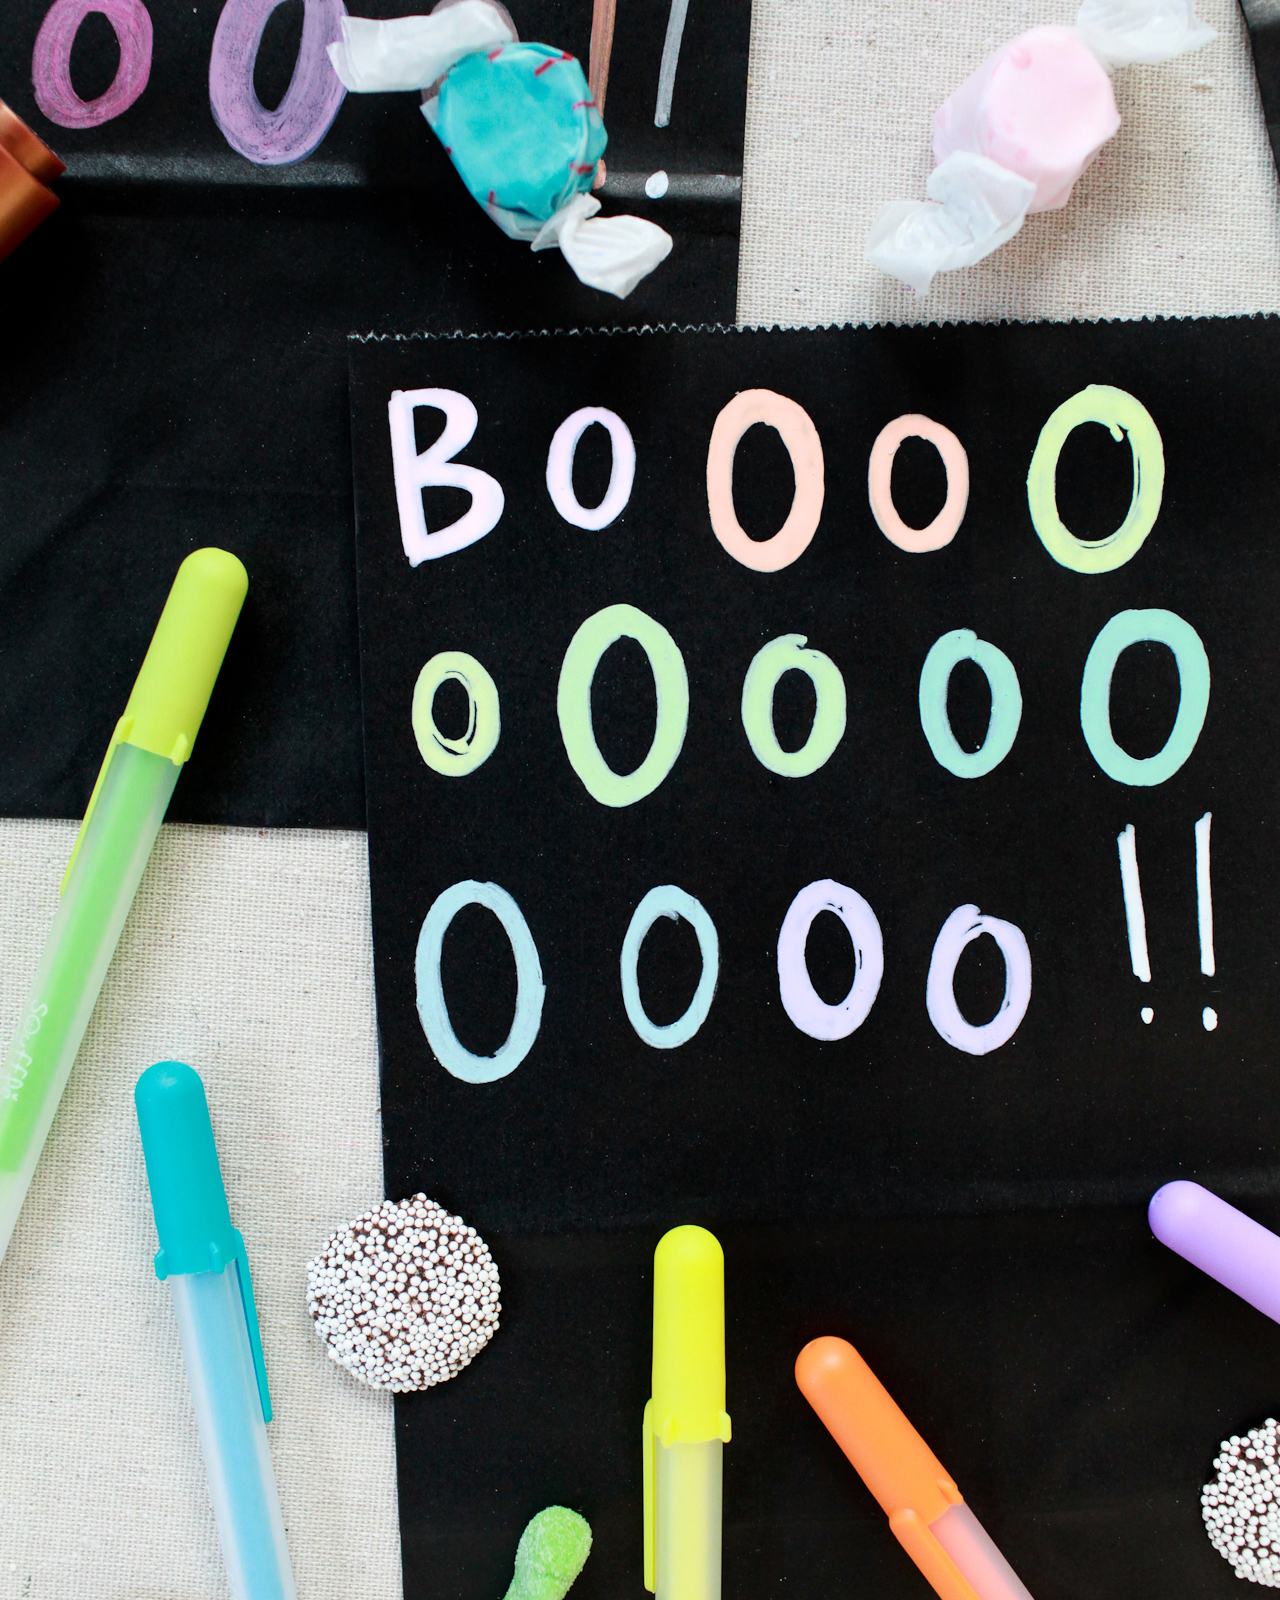
The Permapaque markers come in really bright and vibrant colors, along with gold, silver, and copper, while the Soufflé pens read much more pastel against the black paper. I just love the pops of color against the matte black paper, and the pastel tones of the Soufflé pens give off a vaguely ’70s black light poster vibe, which is pretty cool.
Let’s get to the how-to so you guys can give this a try at home!
Supplies
- Permapaque dual point markers
- Soufflé pens
- Matte black paper treat bags (these or these)
- Blank large glassine treat bags
- White pencil (optional)
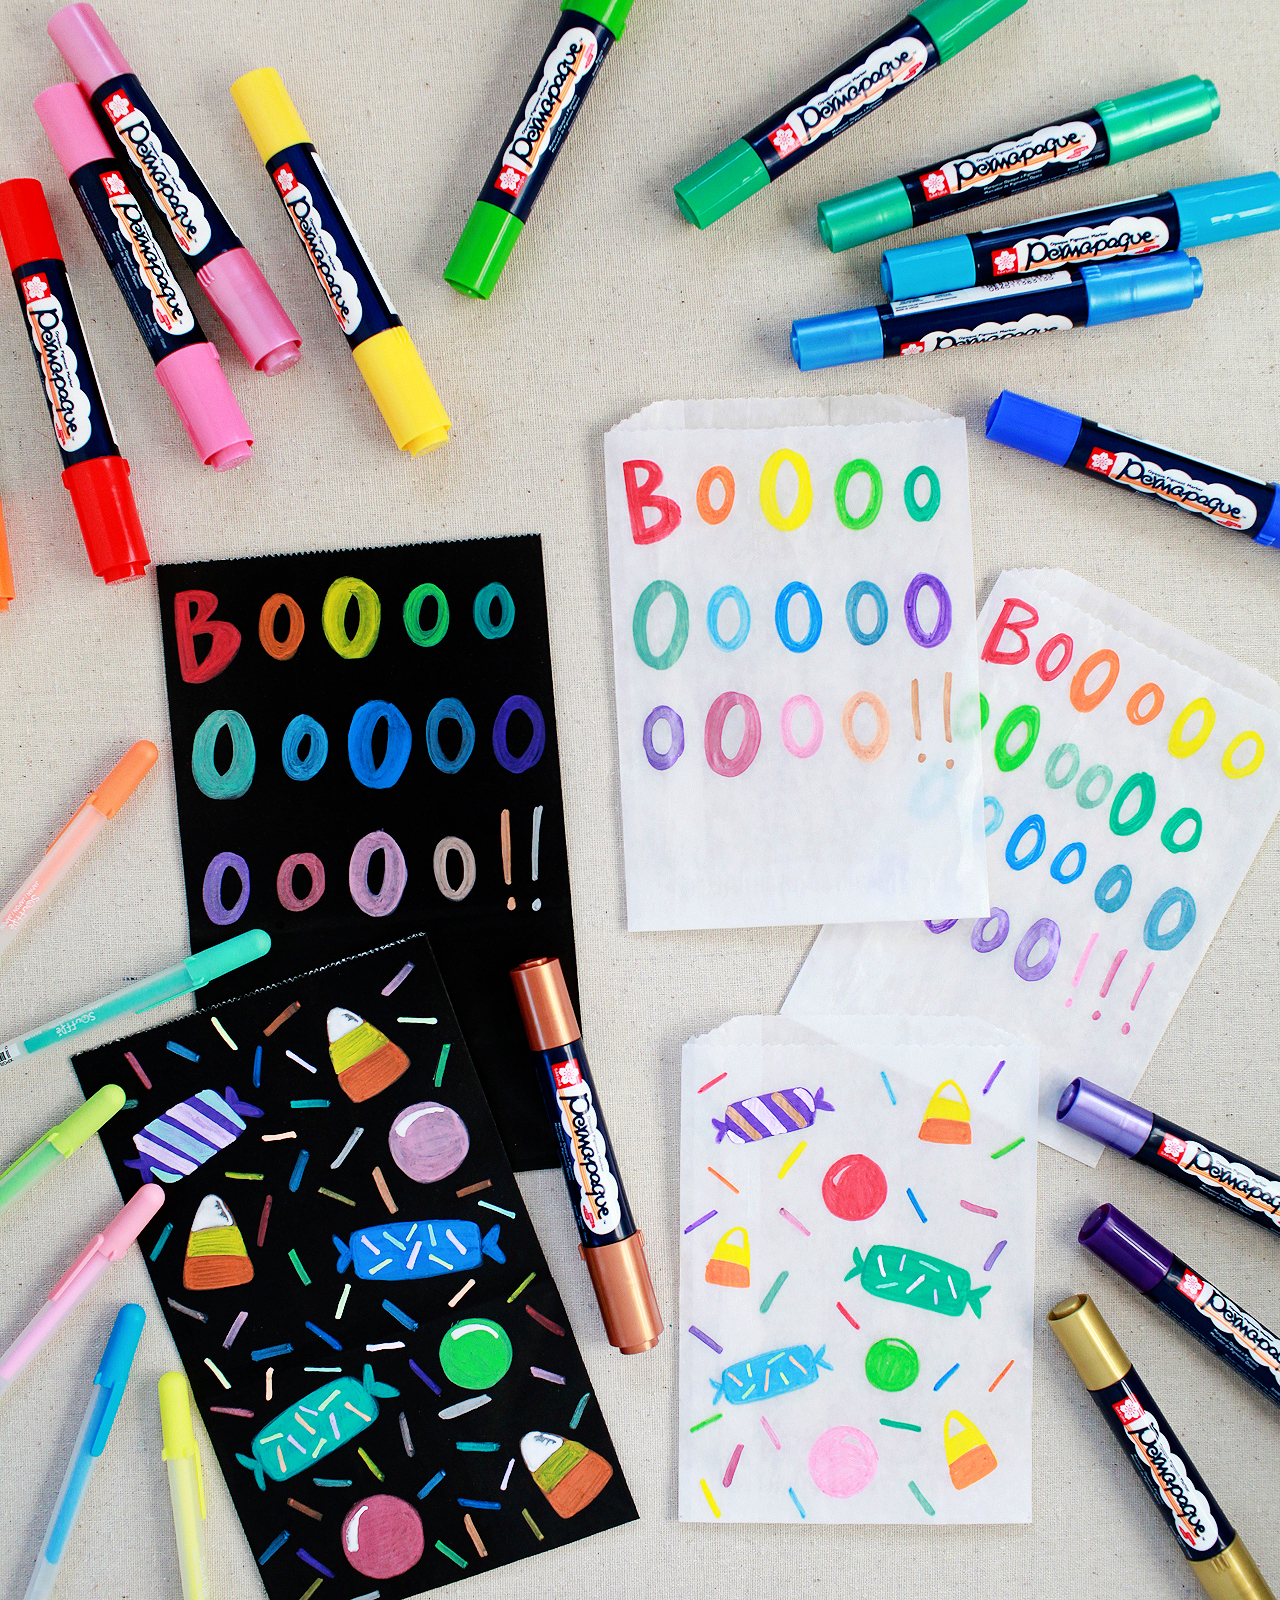
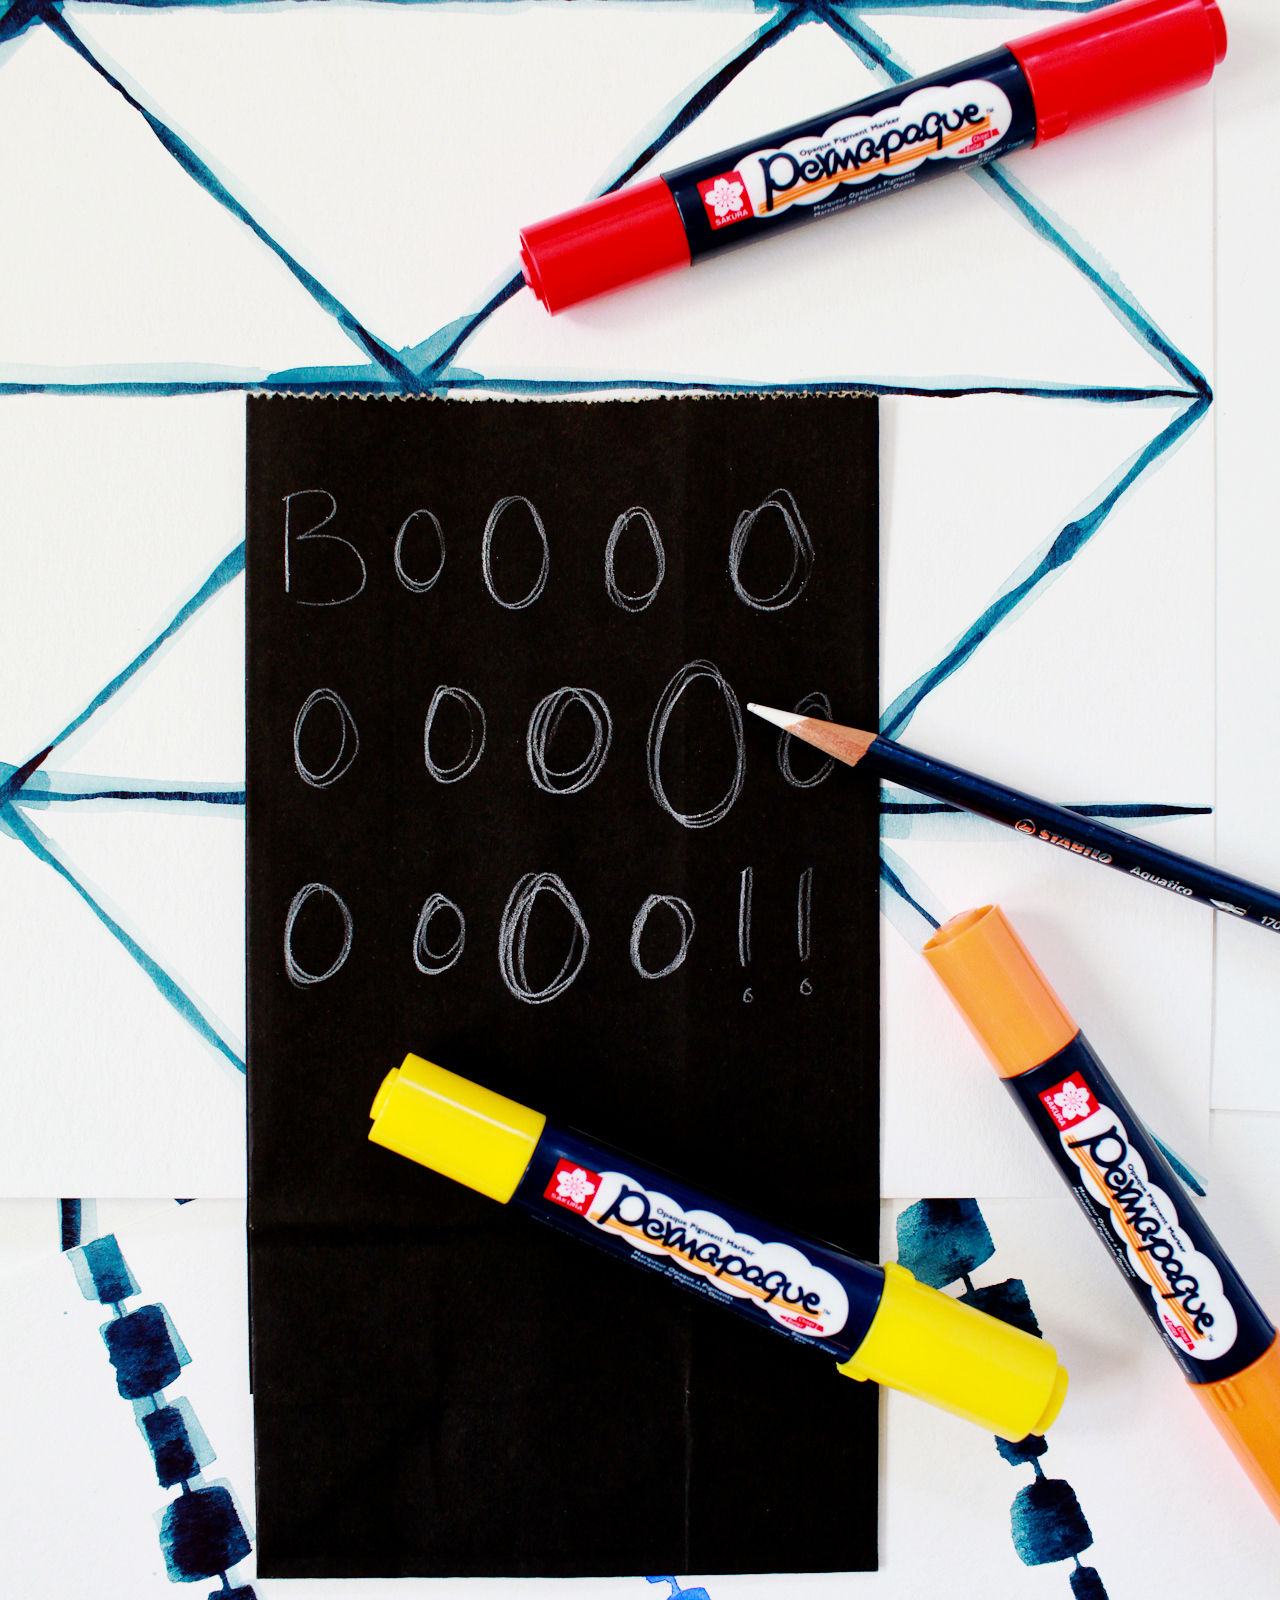
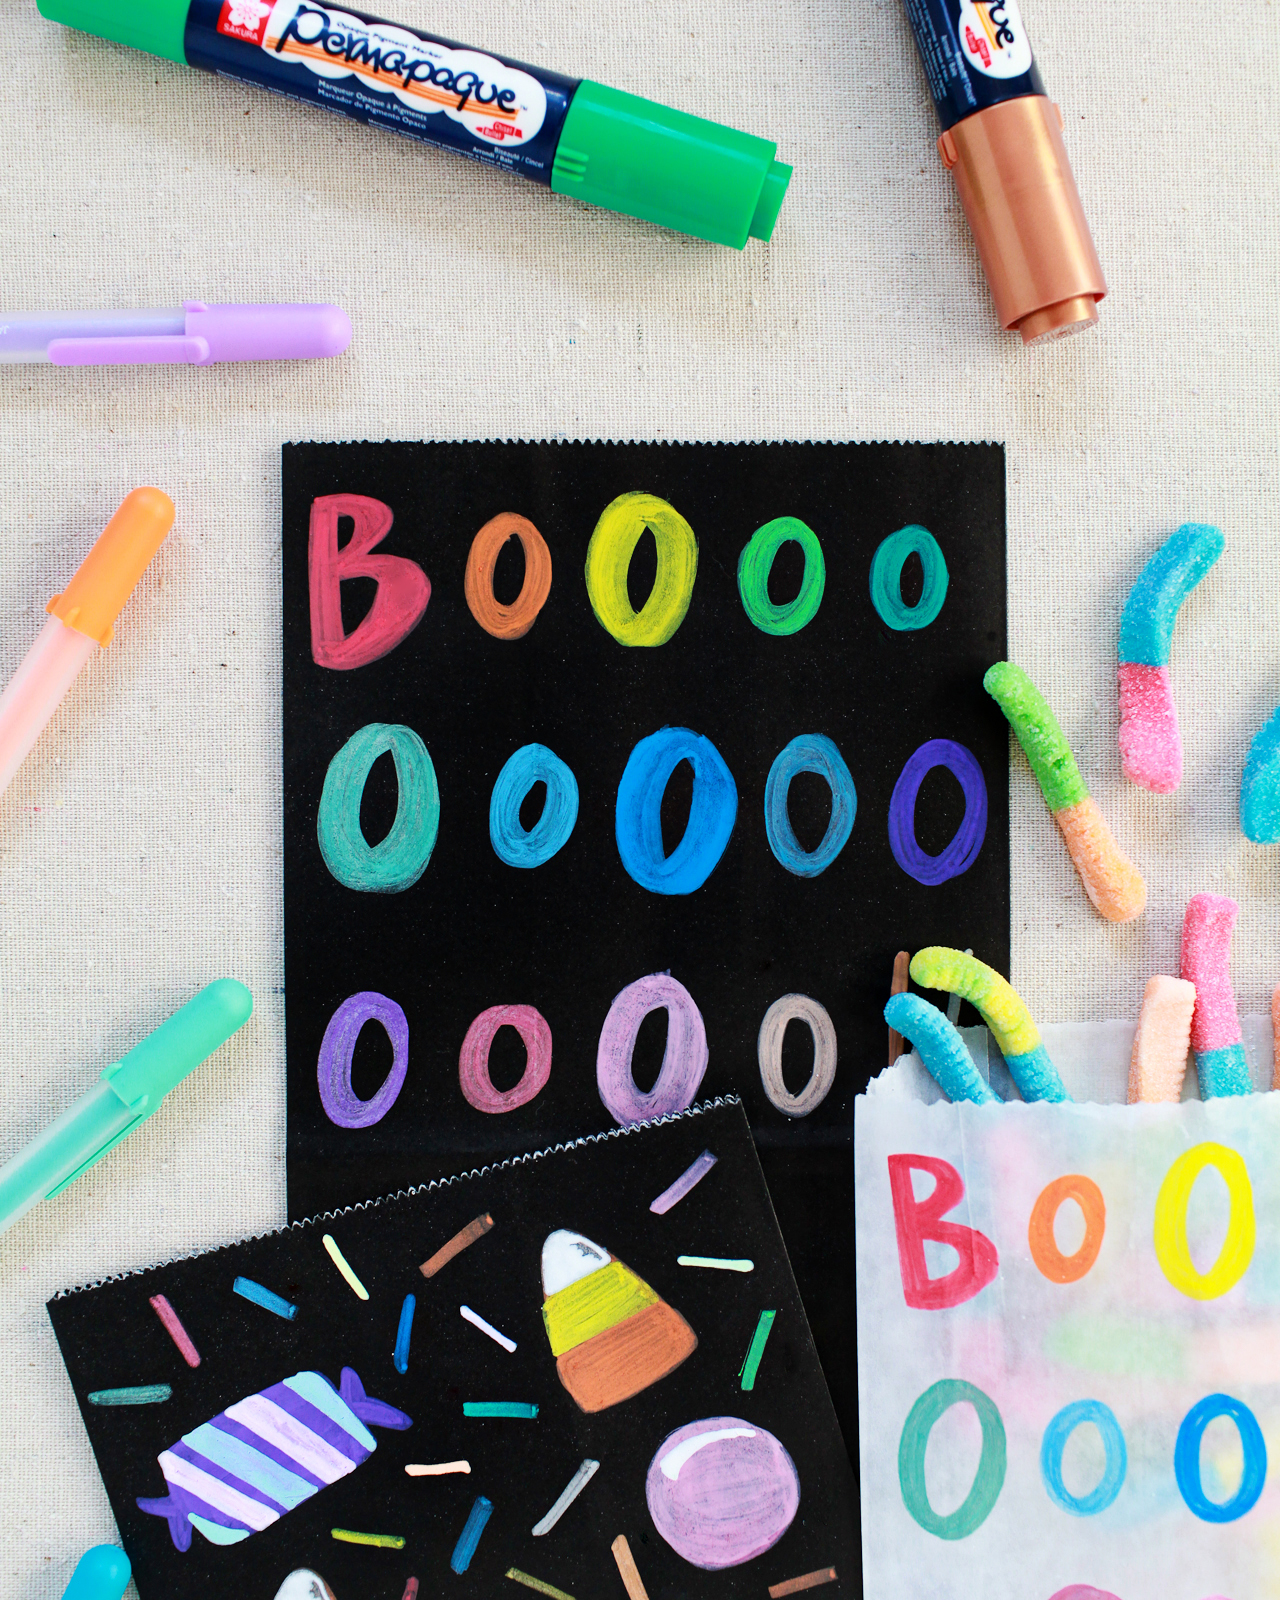
To make the hand lettered treat bags, use a white pencil to lightly write out the word or phrase you want on your treat bags. I had my daughter’s preschool class in mind when creating my treat bags, so I wanted to keep things really simple. A drawn out BOOOOOOOOOOOO!! is perfect for a bunch of 4 year-olds still learning how to read, but for older kids or a grown up Halloween party you could do a series of words or a favorite Halloween phrase. Write the letters in all caps and in varying sizes for a playful, whimsical feel. Then trace over the light pencil letters with Permapaque dual point markers or Soufflé pens. Allow the ink to dry completely, then add a second coat of ink if needed. So easy!
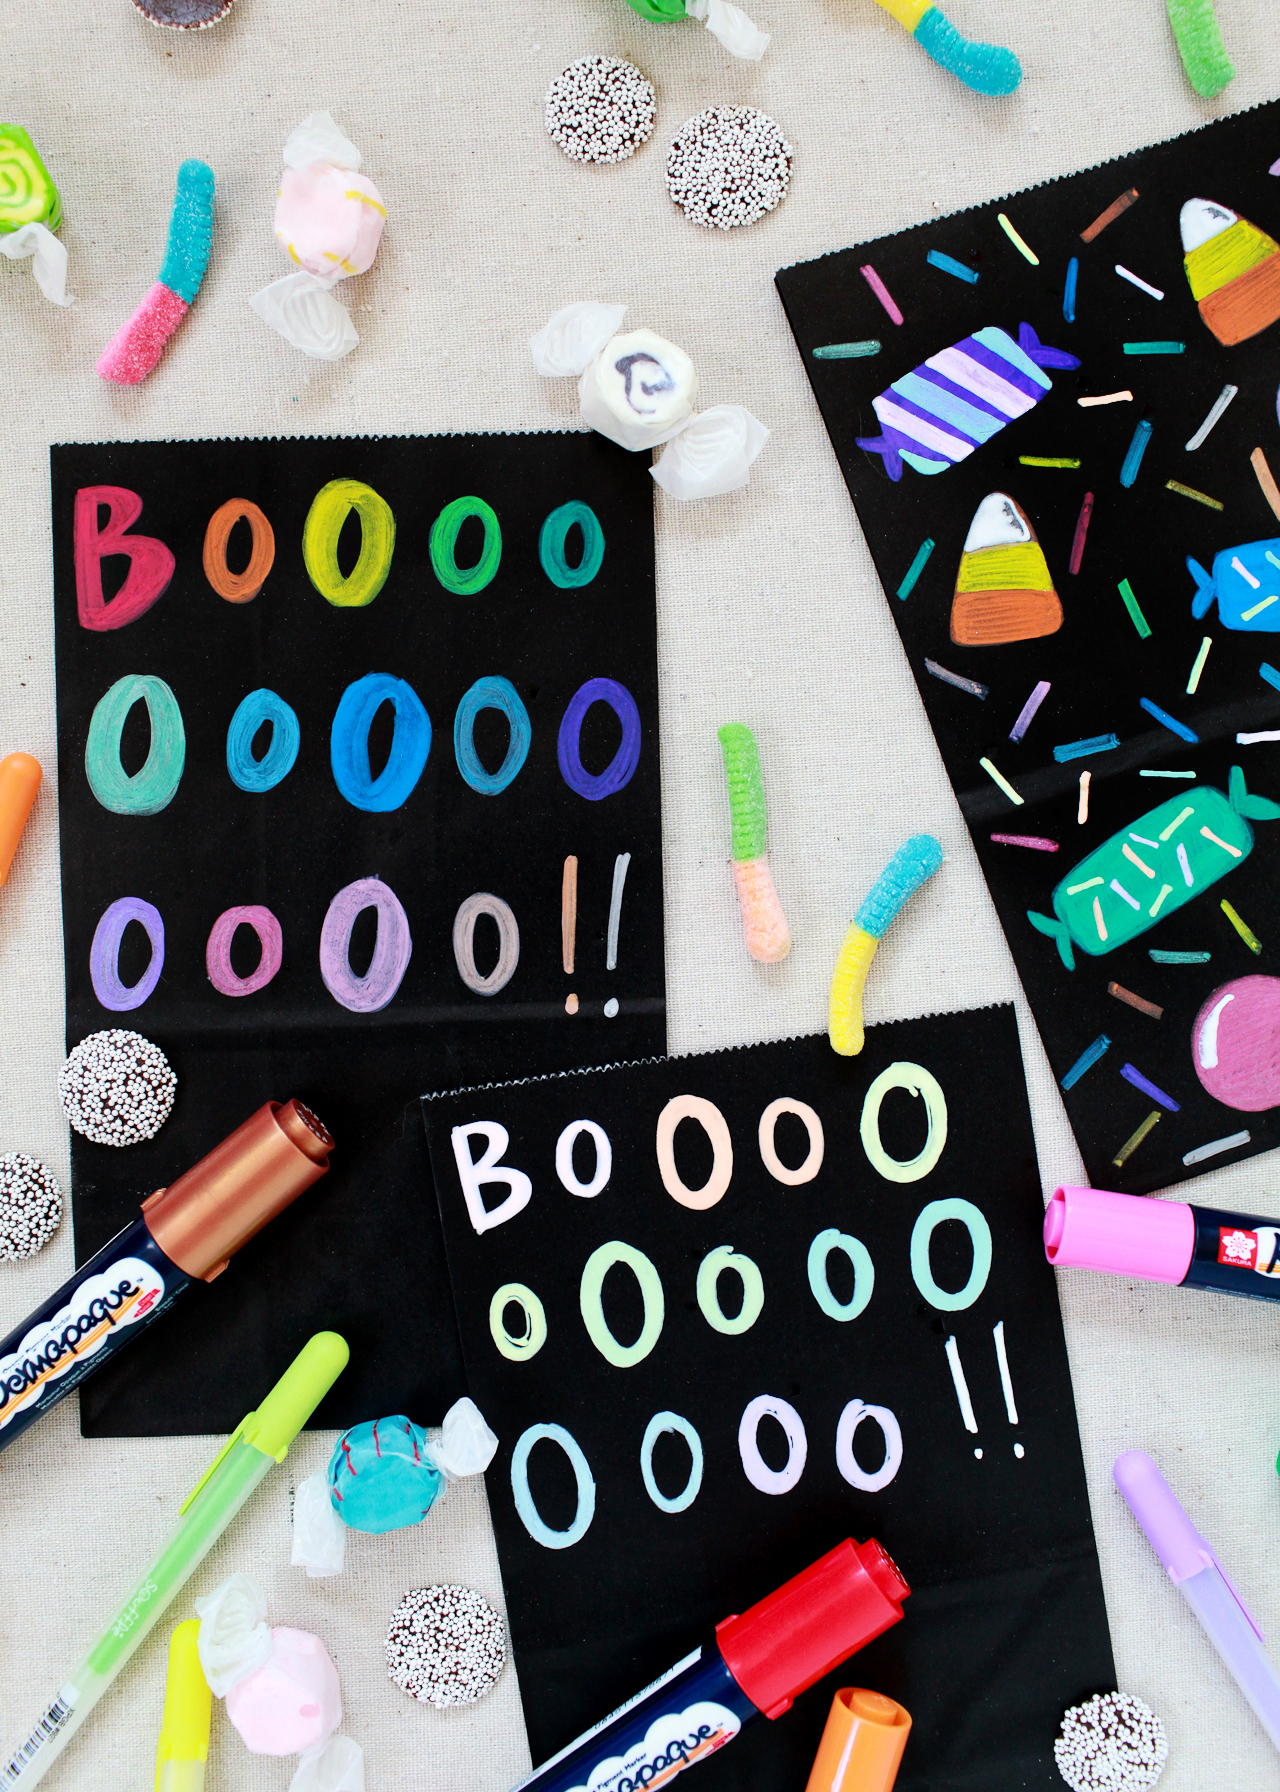
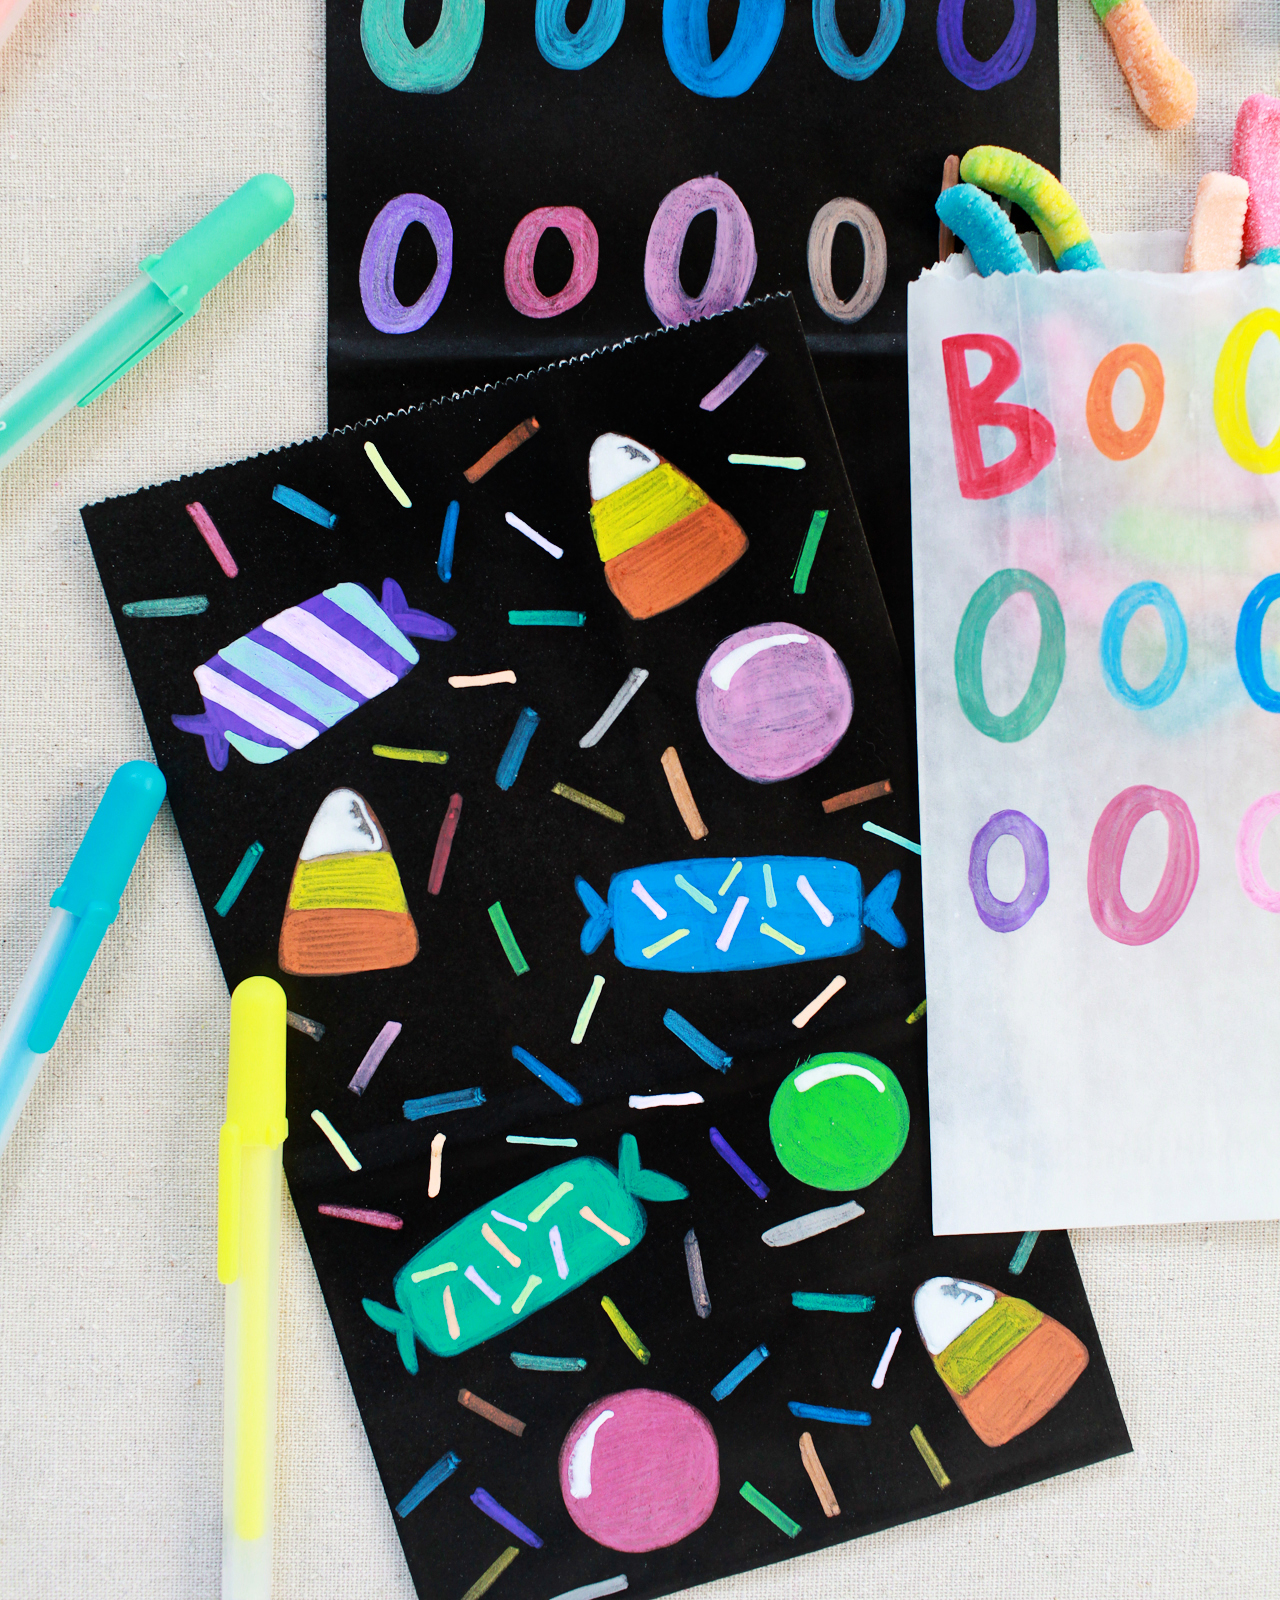
To make the illustrated candy Halloween treat bags, start by drawing solid color candy shapes using Permapaque paint markers and allow the ink to dry completely, usually just 2-3 minutes. I did a mix of triangular candy corn, round gum balls, and little twisty rolls, along with a random sprinkle pattern. Add a second coat of the Permapaque paint for more vibrant and smooth color coverage, then allow the ink to dry a second time. Finally, use the Soufflé pens to add detail over the Permapaque layer and to add more sprinkles.


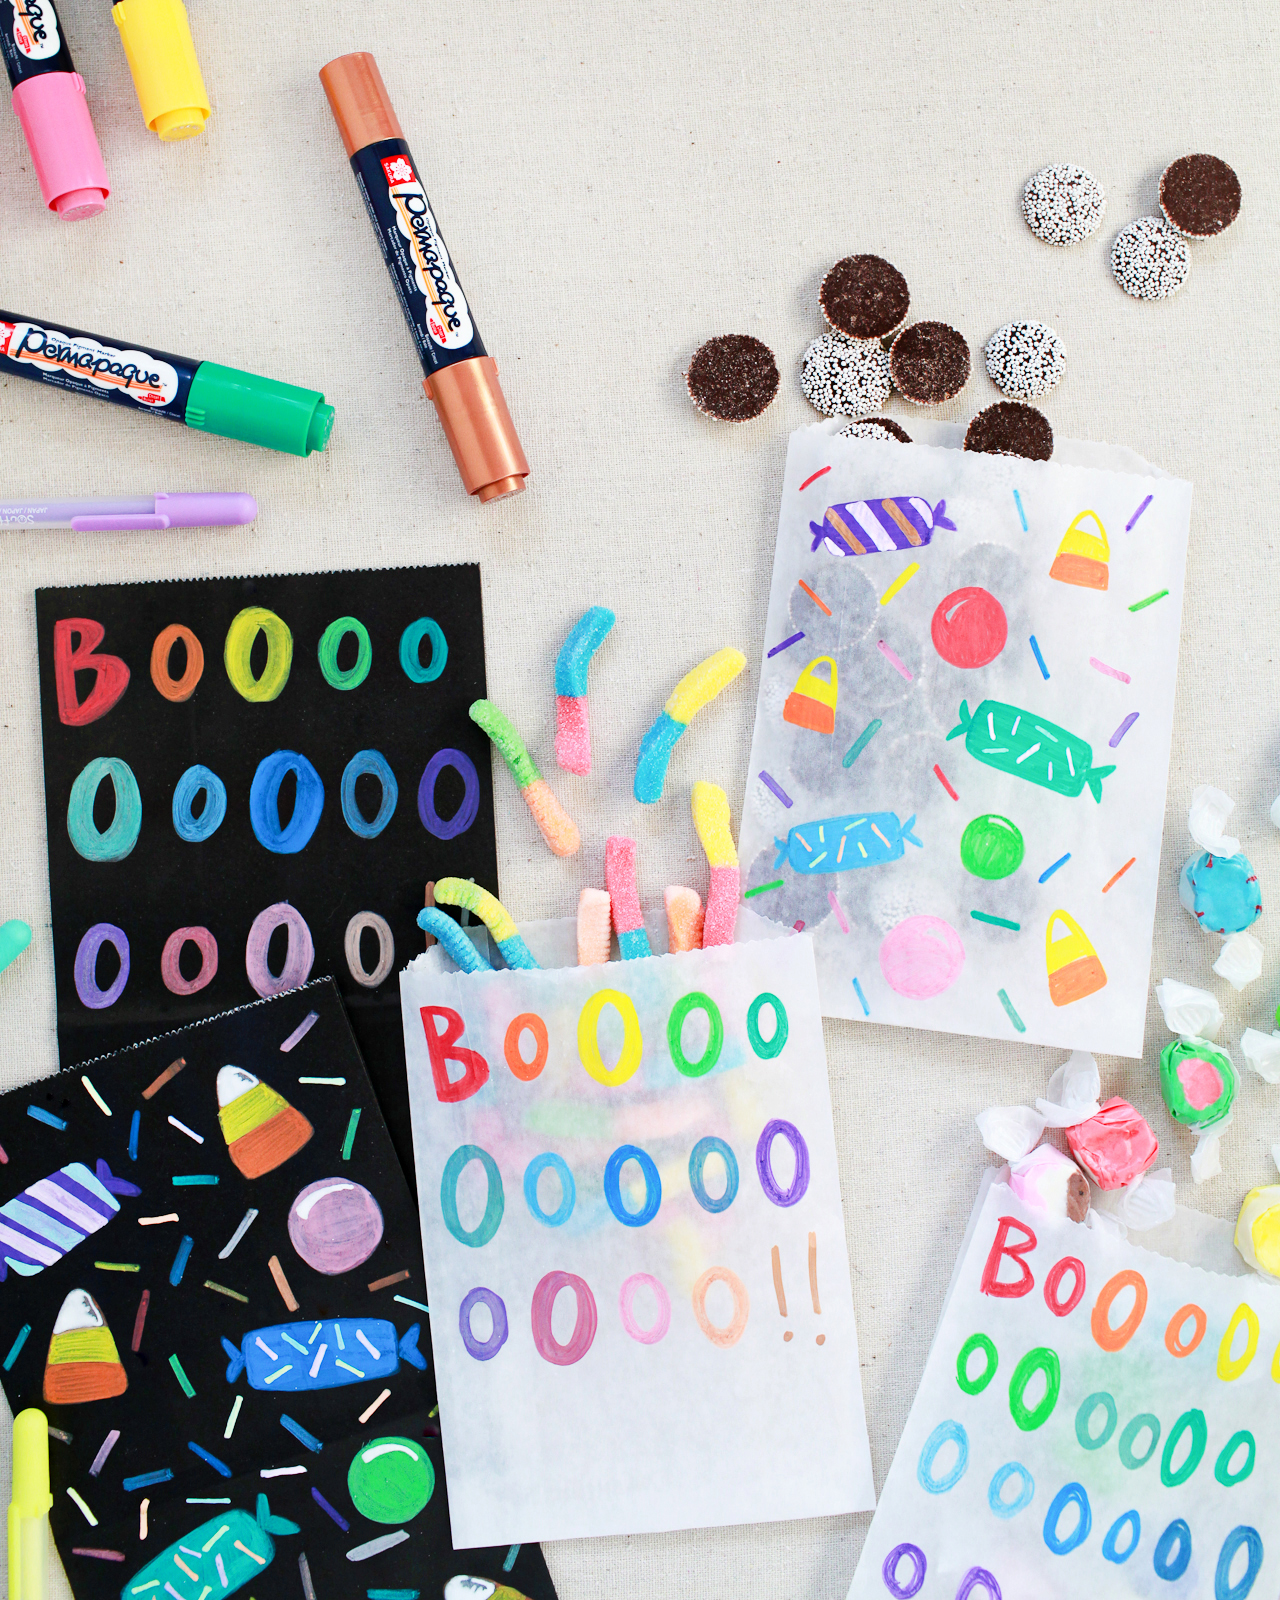
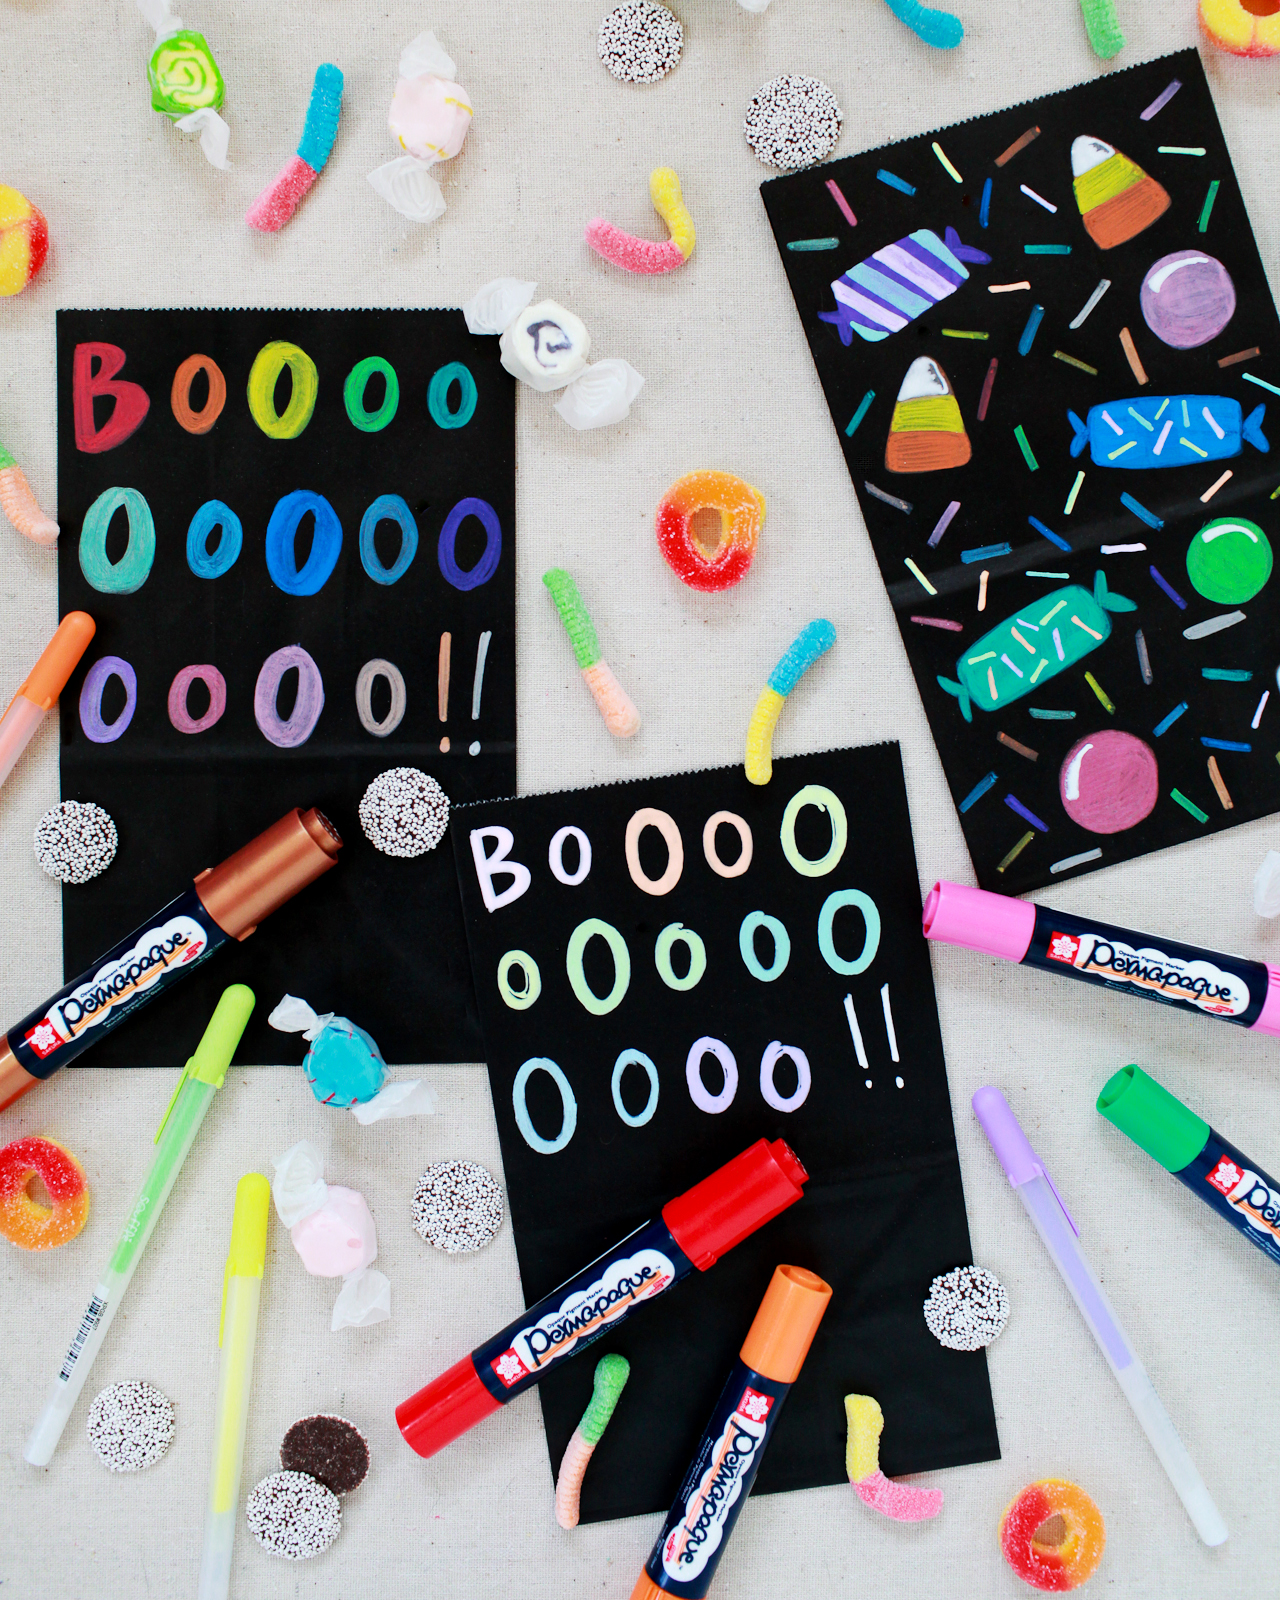
I absolutely LOVE the way the Permapaque markers and Soufflé pens look on the matte black paper treat bags! I was really surprised by how well even the darker color Permapaque markers did against the black paper, and the pastel tones of the Soufflé pens are even more lovely in person. I also did a few versions on regular glassine treat bags so you could see what they would look like. The Soufflé pens had a tough time with the waxy coating on the glassine bags, but worked perfectly when layered over the Permapaque paint!
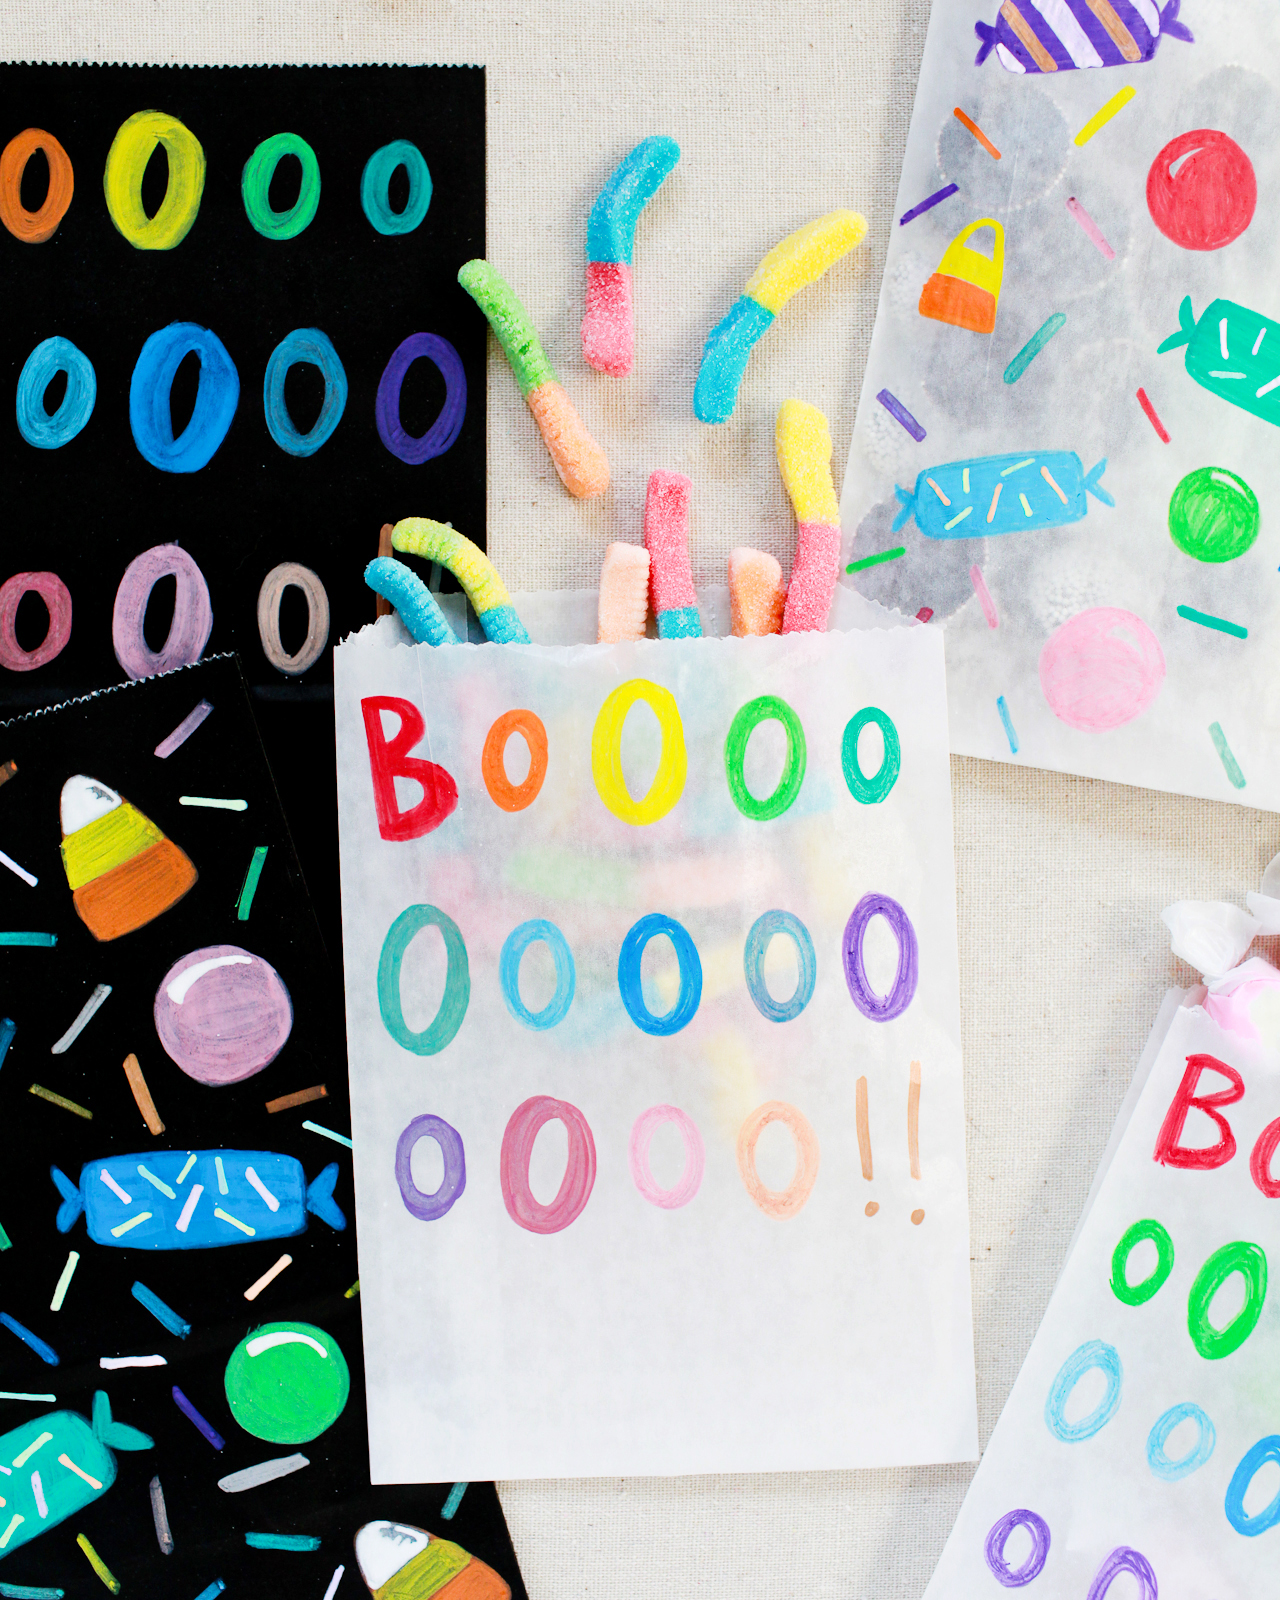
And don’t feel intimidated if illustration isn’t your thing. I went with a candy theme for my illustrations, but even a simple polka dot pattern would look amazing in the colorful ink against dark paper and would take approximately 30 seconds per bag. Or stars in varying sizes! Rainbow stars, or even an all-metallic design with stars in silver, copper, and gold. YES. If you’re feeling adventurous, try a Jack O’ Lantern face. So many great possibilities! I found the Permapaque markers better for a more bold and graphic lettering or illustration style, while the Soufflé pens are great for line illustrations and details, so just keep that in mind when creating your illustrations.

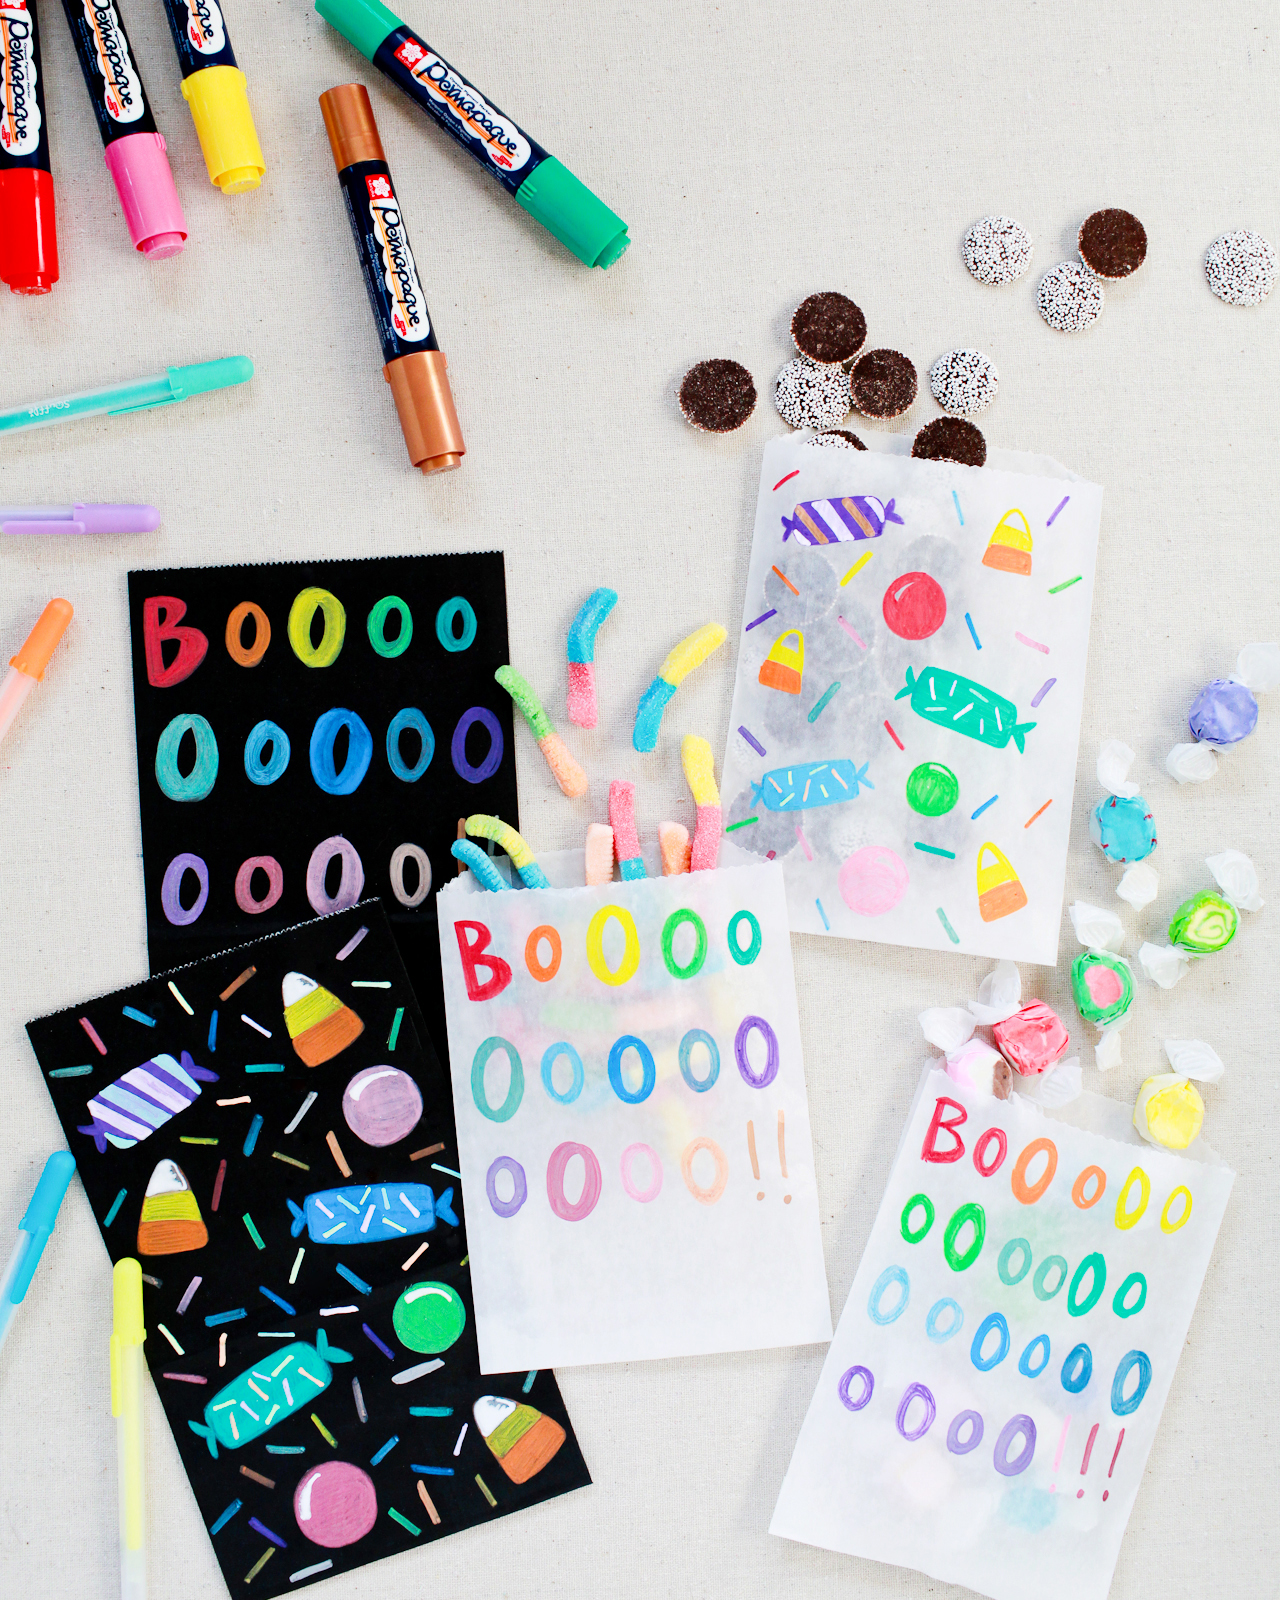
So bright and happy! You can pick up your own set of Soufflé pens here and Permapaque markers here – you’ll have so much fun creating colorful treat bags with them!
Photos by Nole Garey for Oh So Beautiful Paper
This post is sponsored by Sakura of America. All content and opinions are my own. Thank you for supporting the sponsors that make Oh So Beautiful Paper possible!