When it comes to pumpkin decorating ideas, I tend to draw my inspiration from design trends. Last year it was Matisse-inspired pumpkins, the year before that it was fun iridescent pumpkins. Terrazzo is my favorite design trend this year, so naturally I decided to do a terrazzo-inspired pumpkin! These DIY no carve terrazzo-inspired pumpkins are super easy to make, only require a couple of easy-to-find materials, and are a great way to bring a pop of color to your holiday décor!
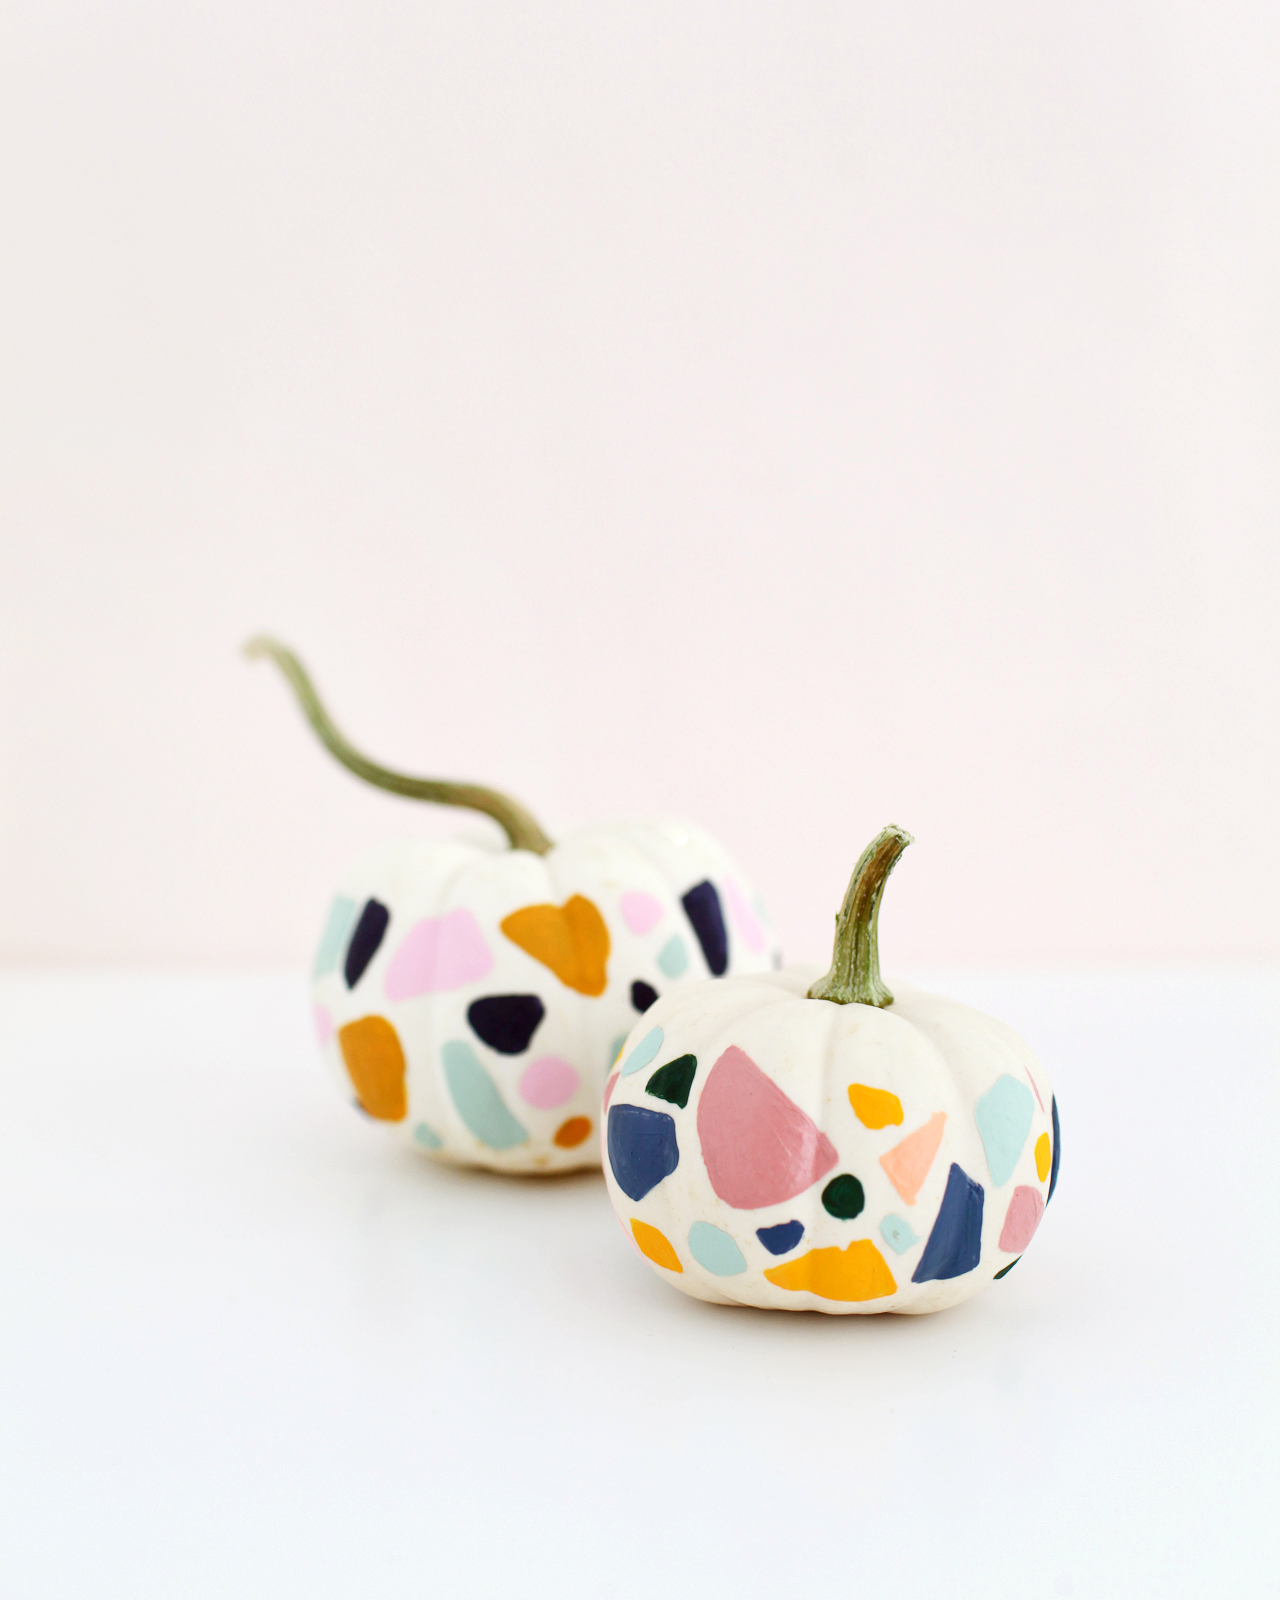
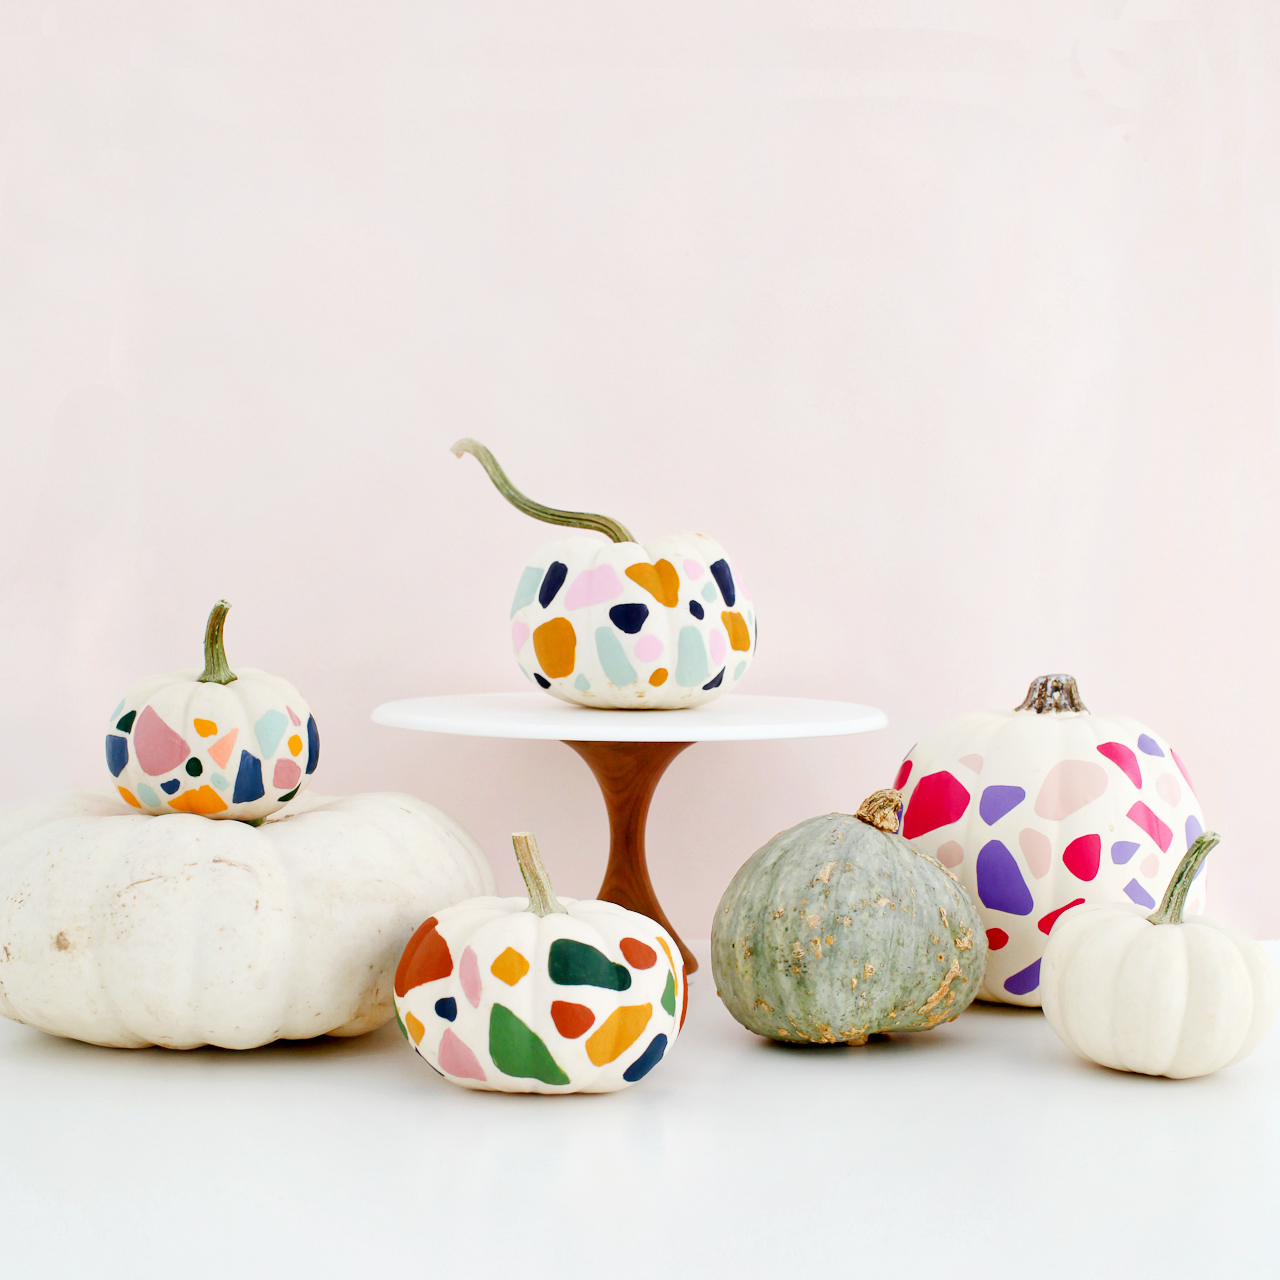
Aren’t they so cute?? I just love the colors! I used white pumpkins since the colors would pop more against a white surface, but you could also paint orange pumpkins and go for ALL the color. Oooh, that would be so fun – someone please do it and send me photos!
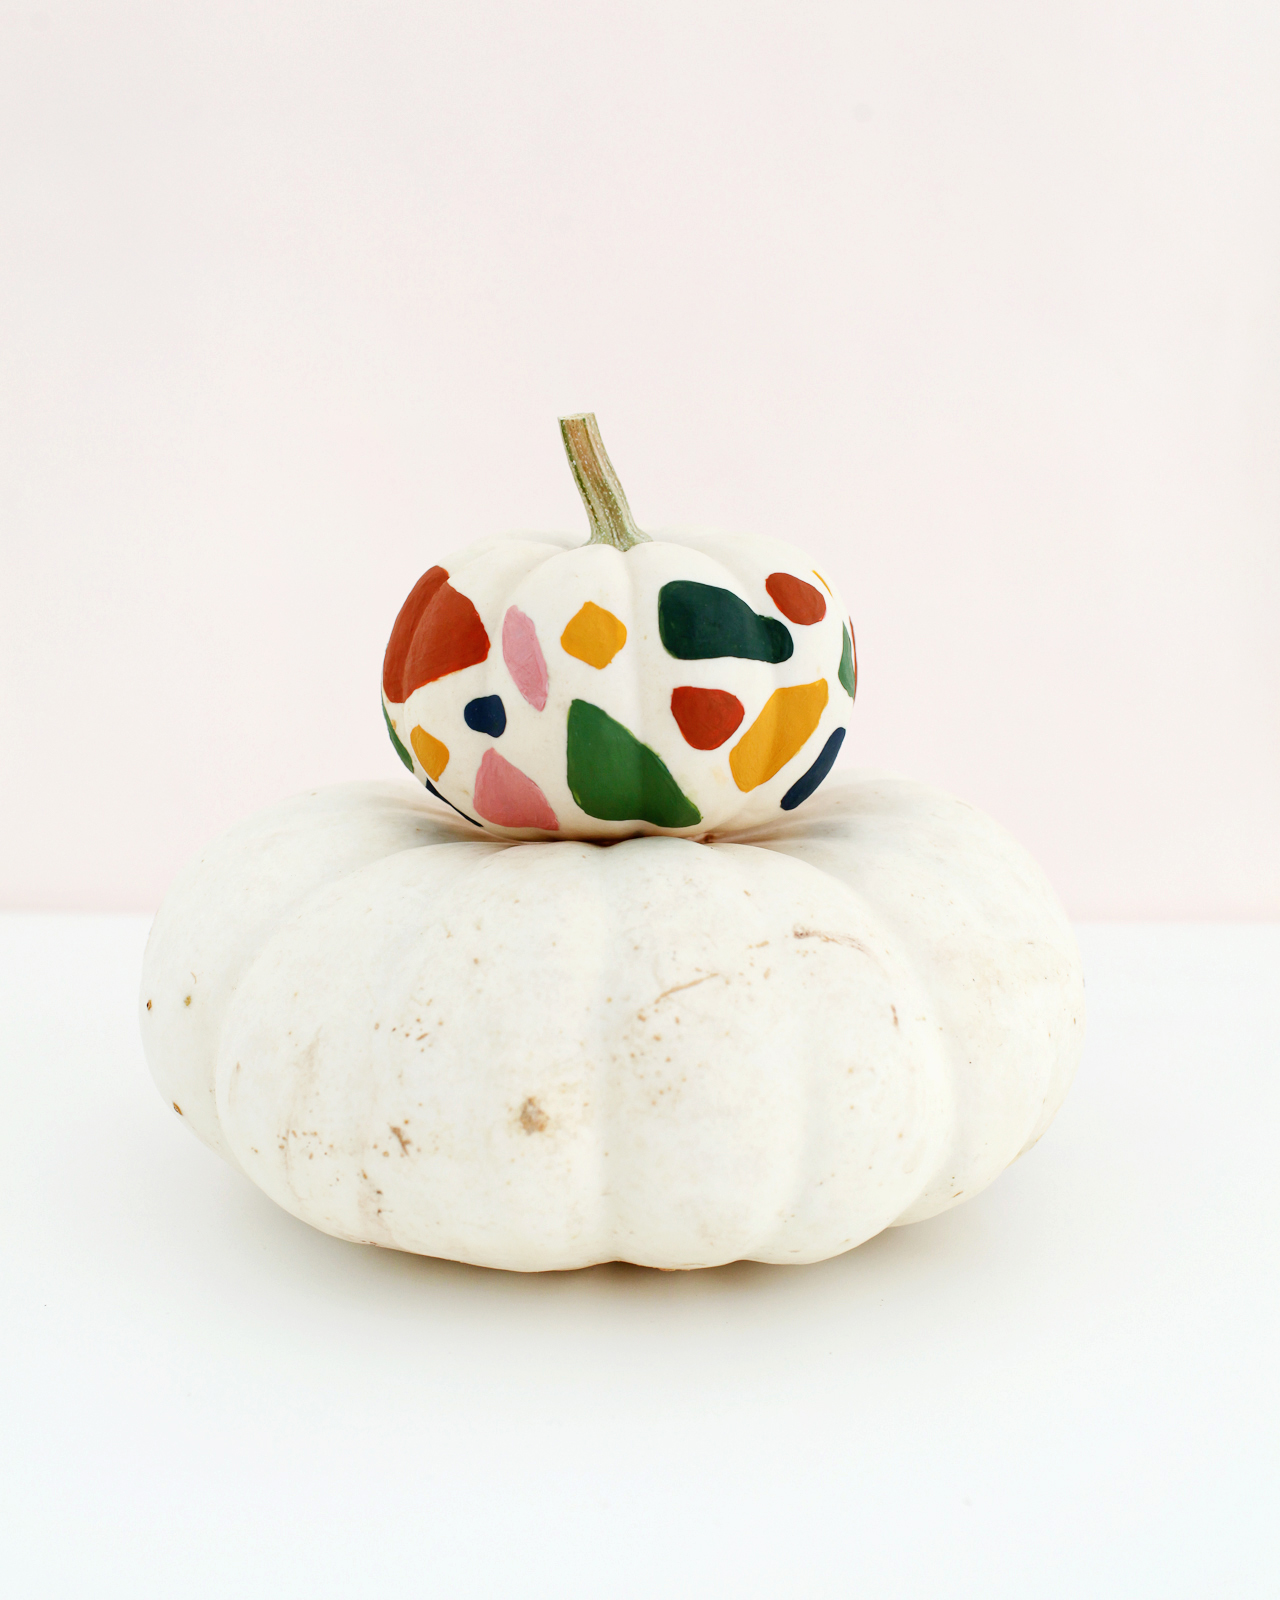
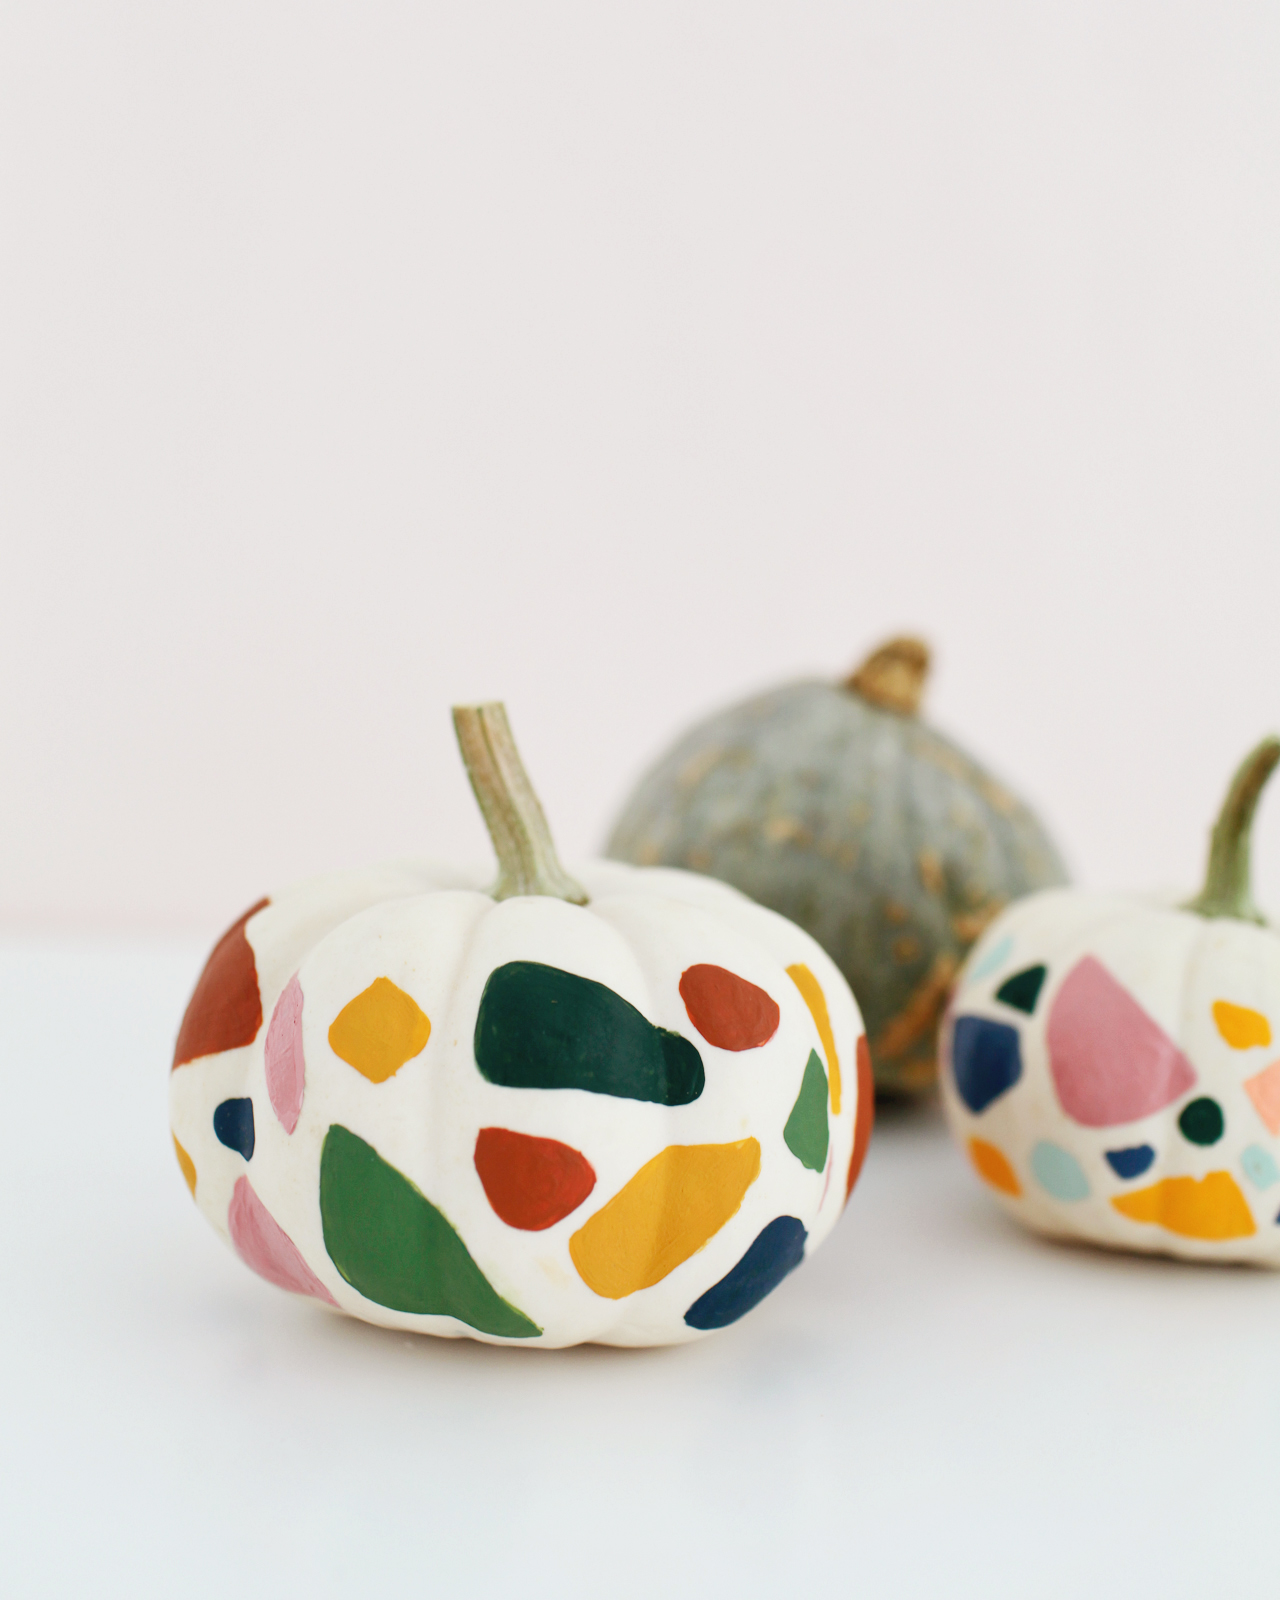
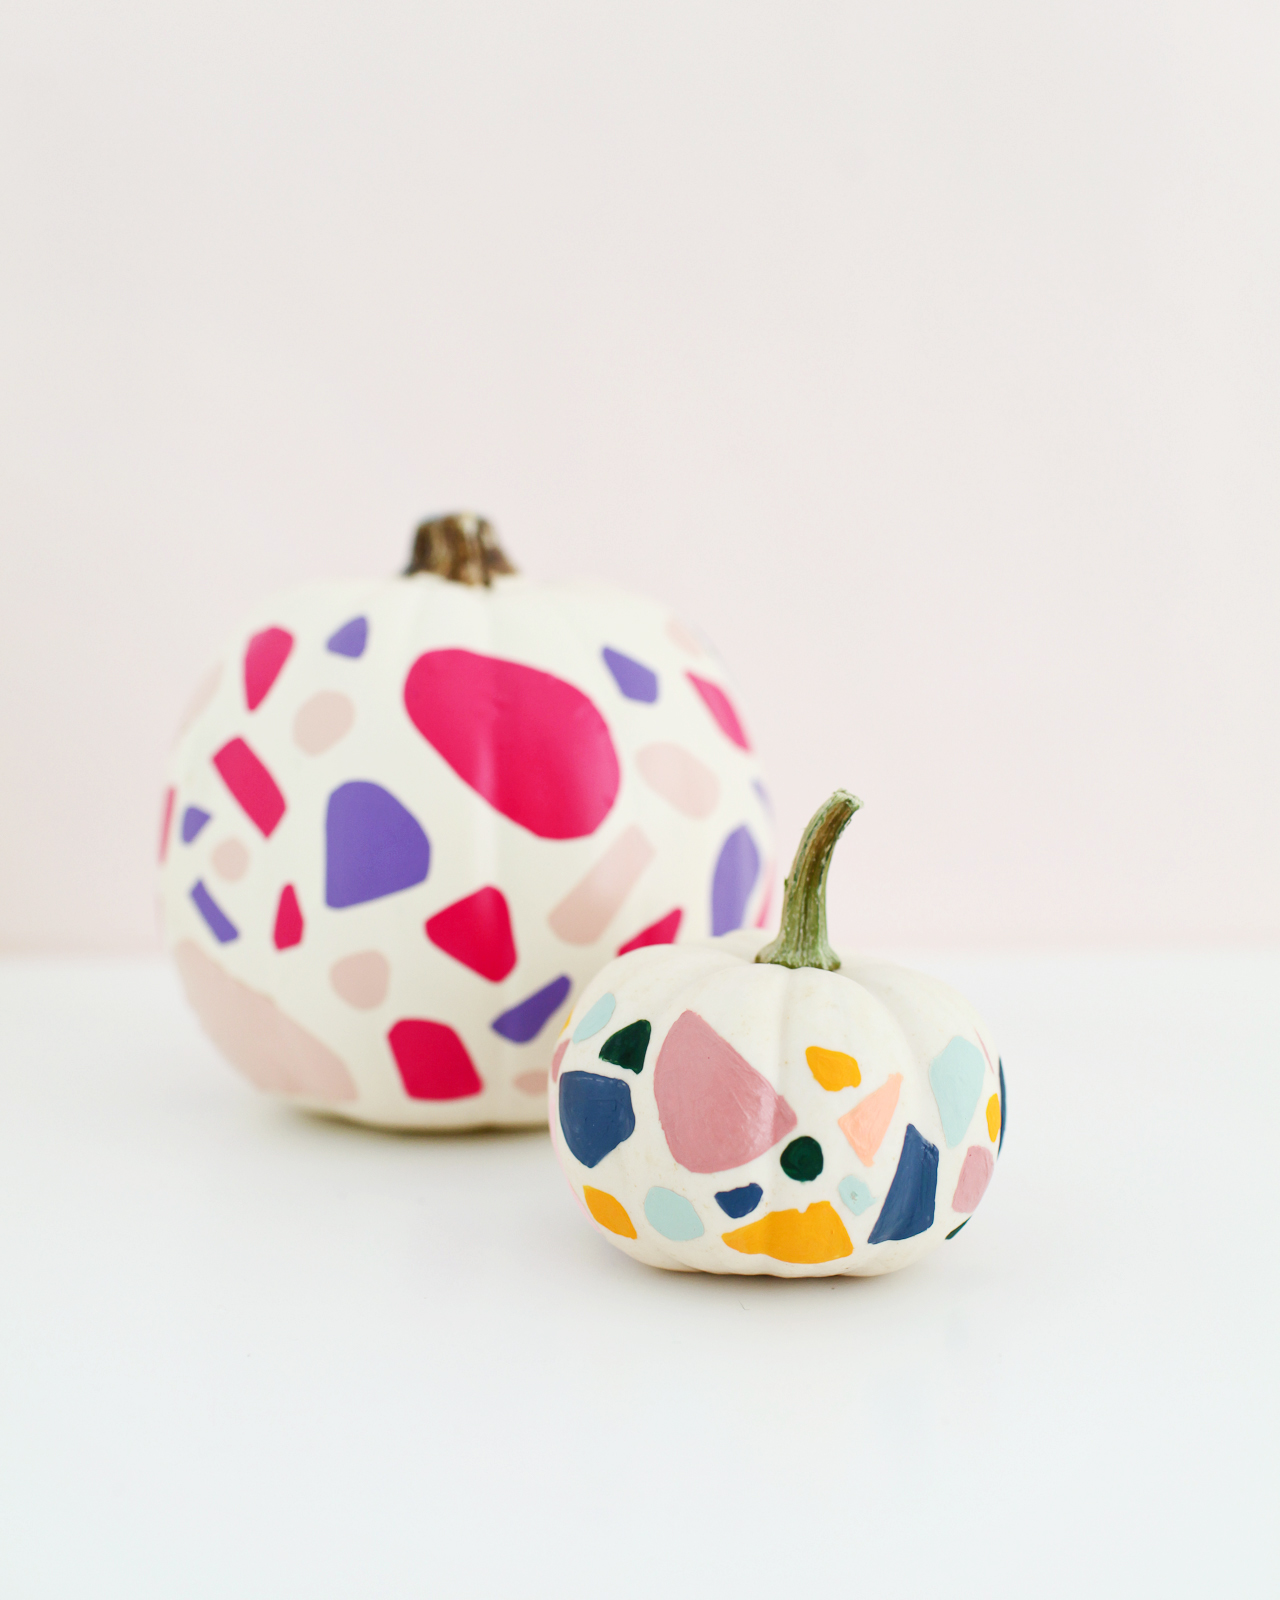
I actually started with the intent of making these pumpkins just with craft vinyl, but I was a bit frustrated by the lack of control over my color palette. I really wanted to use some nature-inspired fall tones along with soft muted pinks and greens. Color is so important for anything terrazzo inspired! You can still make these pumpkins with craft vinyl (especially if you’re decorating faux pumpkins), but you’ll probably want to choose a brighter color palette. The pink and purple pumpkin above was made entirely with craft vinyl on a faux white pumpkin.
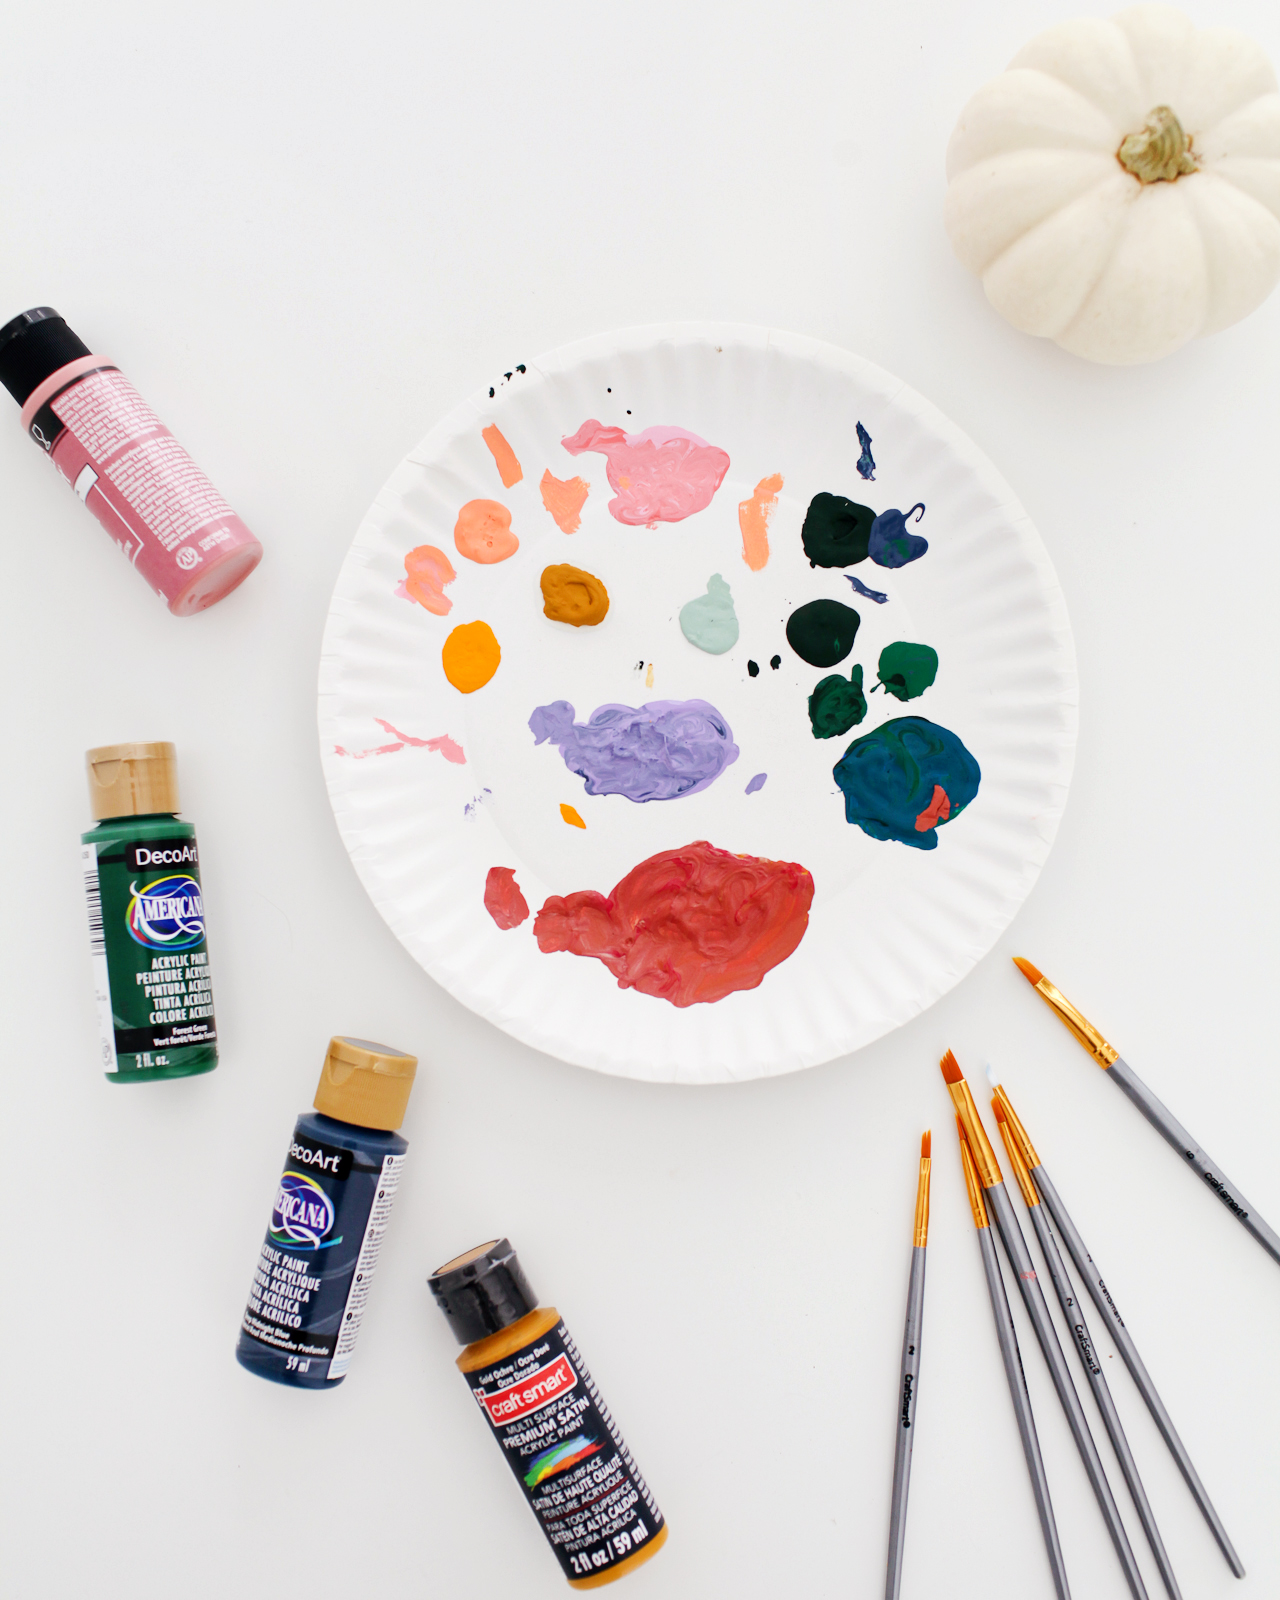
Materials
Craft paint in your chosen color palette
Paint brushes (the smaller the better! Size 0 and 1 for corners and smaller pieces, probably no larger than size 4 or 5 for some of the larger pieces)
Paint palette or paper plate
Craft vinyl and scissors (optional)
Pumpkins in varying shapes and sizes
To make the DIY No Carve Terrazzo-inspired Pumpkins:
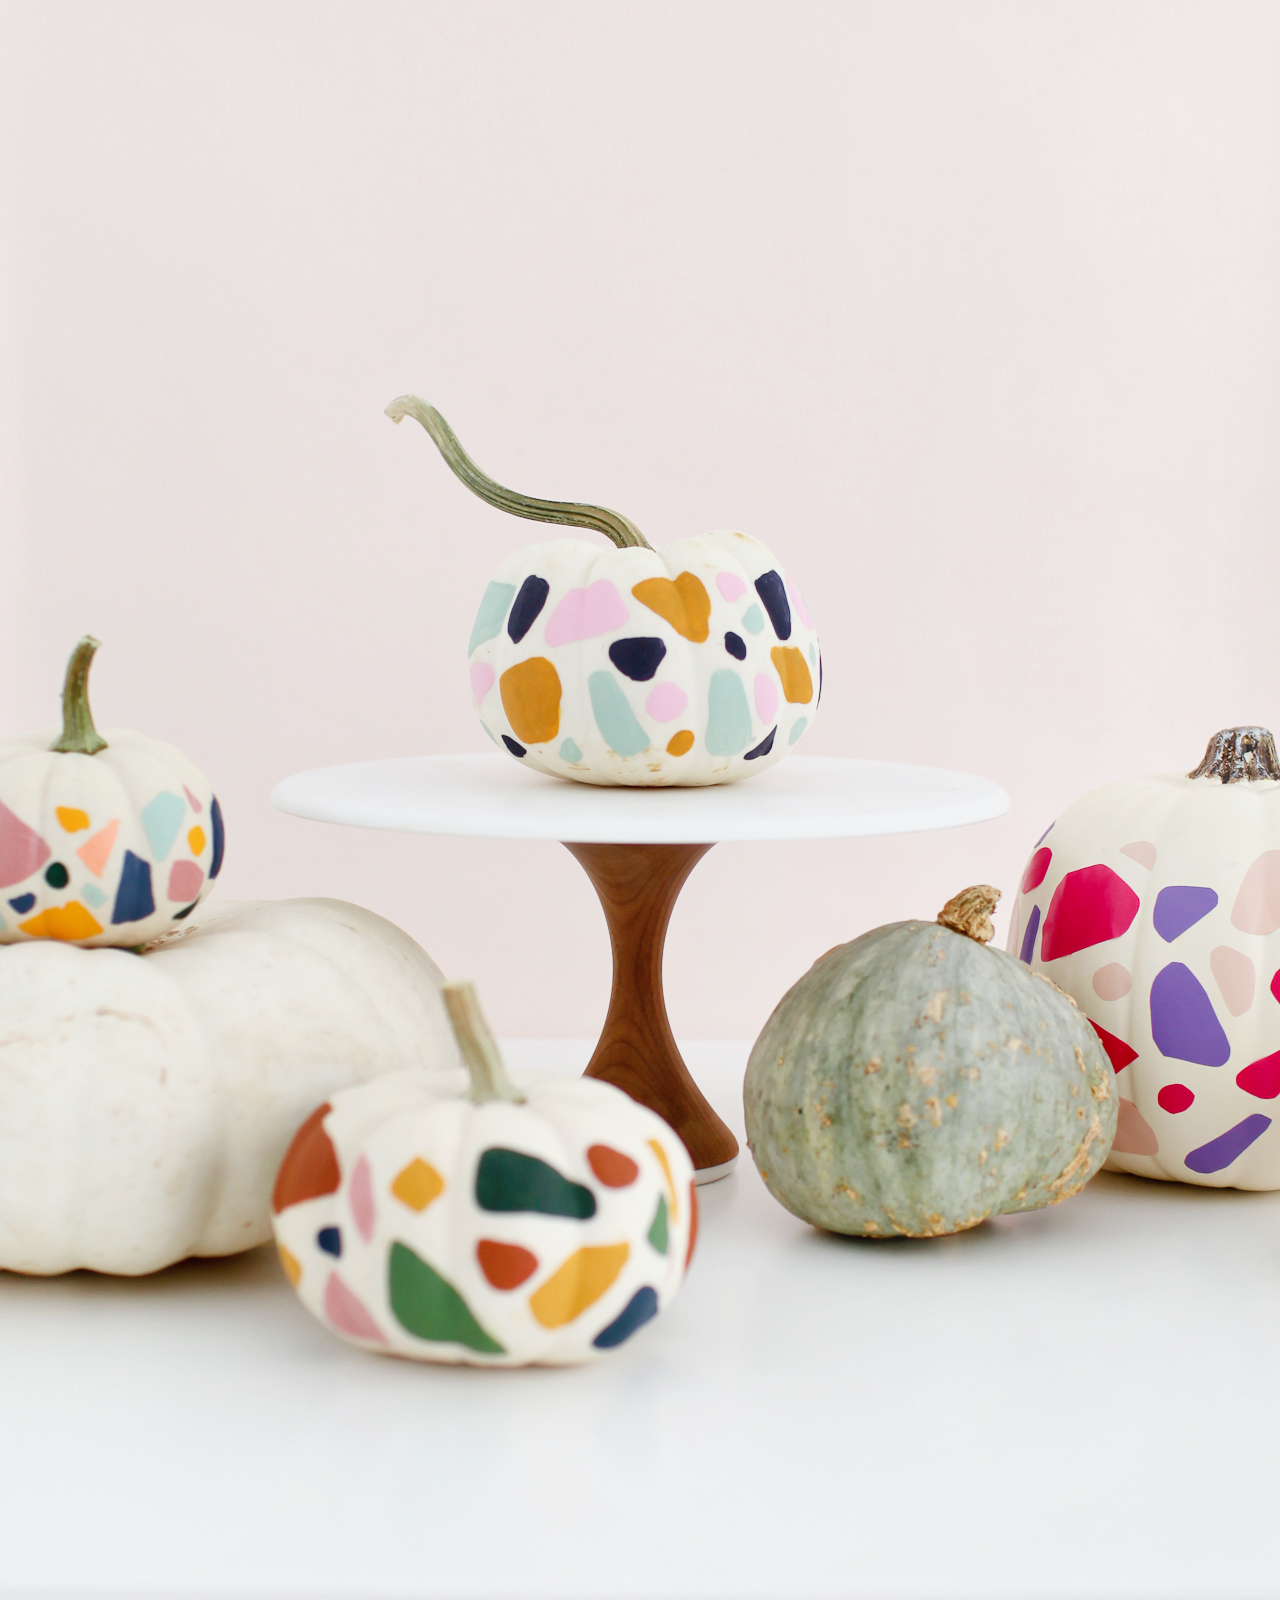
Step 1. Choose your color palette. I recommend selecting 4-6 colors per pumpkin. You can keep the color palette the same for each pumpkin, or mix things up a bit and choose several color combinations with some overlapping colors. I chose a mix of pinks, peach, ochre (deep yellow), navy blue, shades of green, and rust. Each pumpkin had some pink and ochre, but otherwise I mixed things up a bit!
Step 2. Squeeze a small amount of each paint color onto a paint palette or paper plate. If necessary, mix colors to achieve the perfect shade of a particular color. Starting with the first color, paint a few terrazzo-inspired geometric shapes around the pumpkin. You want these shapes to look like stone fragments, so geometric shapes with softer corners are definitely your friend here. Trapezoids, diamonds, irregular circles and rectangles, and triangles. I found it easiest to paint a few larger shapes around the pumpkin to make sure the colors were evenly distributed, then fill in with smaller shapes.
Note: If you’re using craft vinyl, you’ll basically do the same thing, except instead of painting you’ll use your scissors to cut terrazzo-inspired shapes from your craft vinyl. Once you have a variety of shapes and colors cut, carefully peel the adhesive backing and apply to the pumpkin like a sticker. I found it easiest to start with some of the larger shapes randomly scattered around the pumpkin surface, then fill in with the smaller shapes as I went. I really didn’t have a plan, so you can totally just wing it! If you place a shape and then change your mind, you should be able to move it by very carefully peeling the vinyl from the pumpkin and moving it to a new spot.
Step 3. Continue painting the entire pumpkin, and if necessary apply a second or third coat of paint to ensure full color coverage. Allow the paint to dry completely and enjoy!
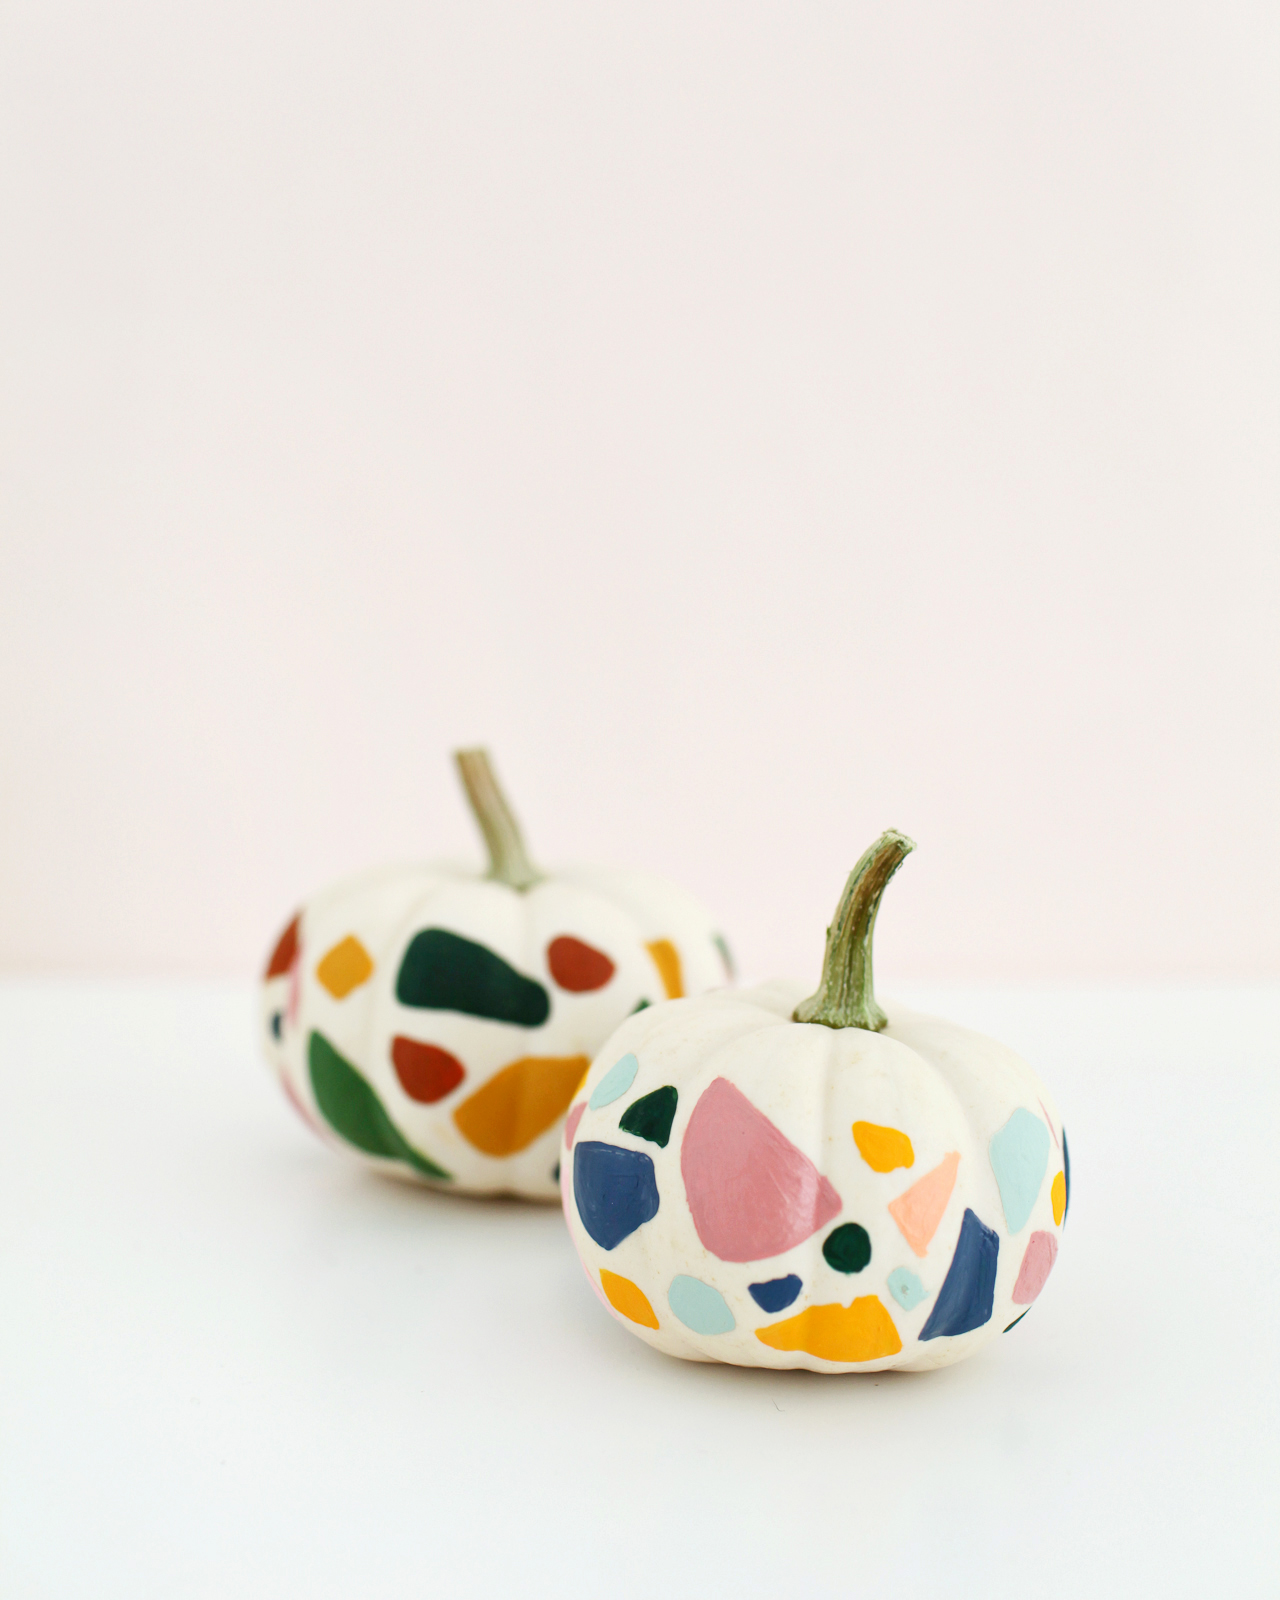
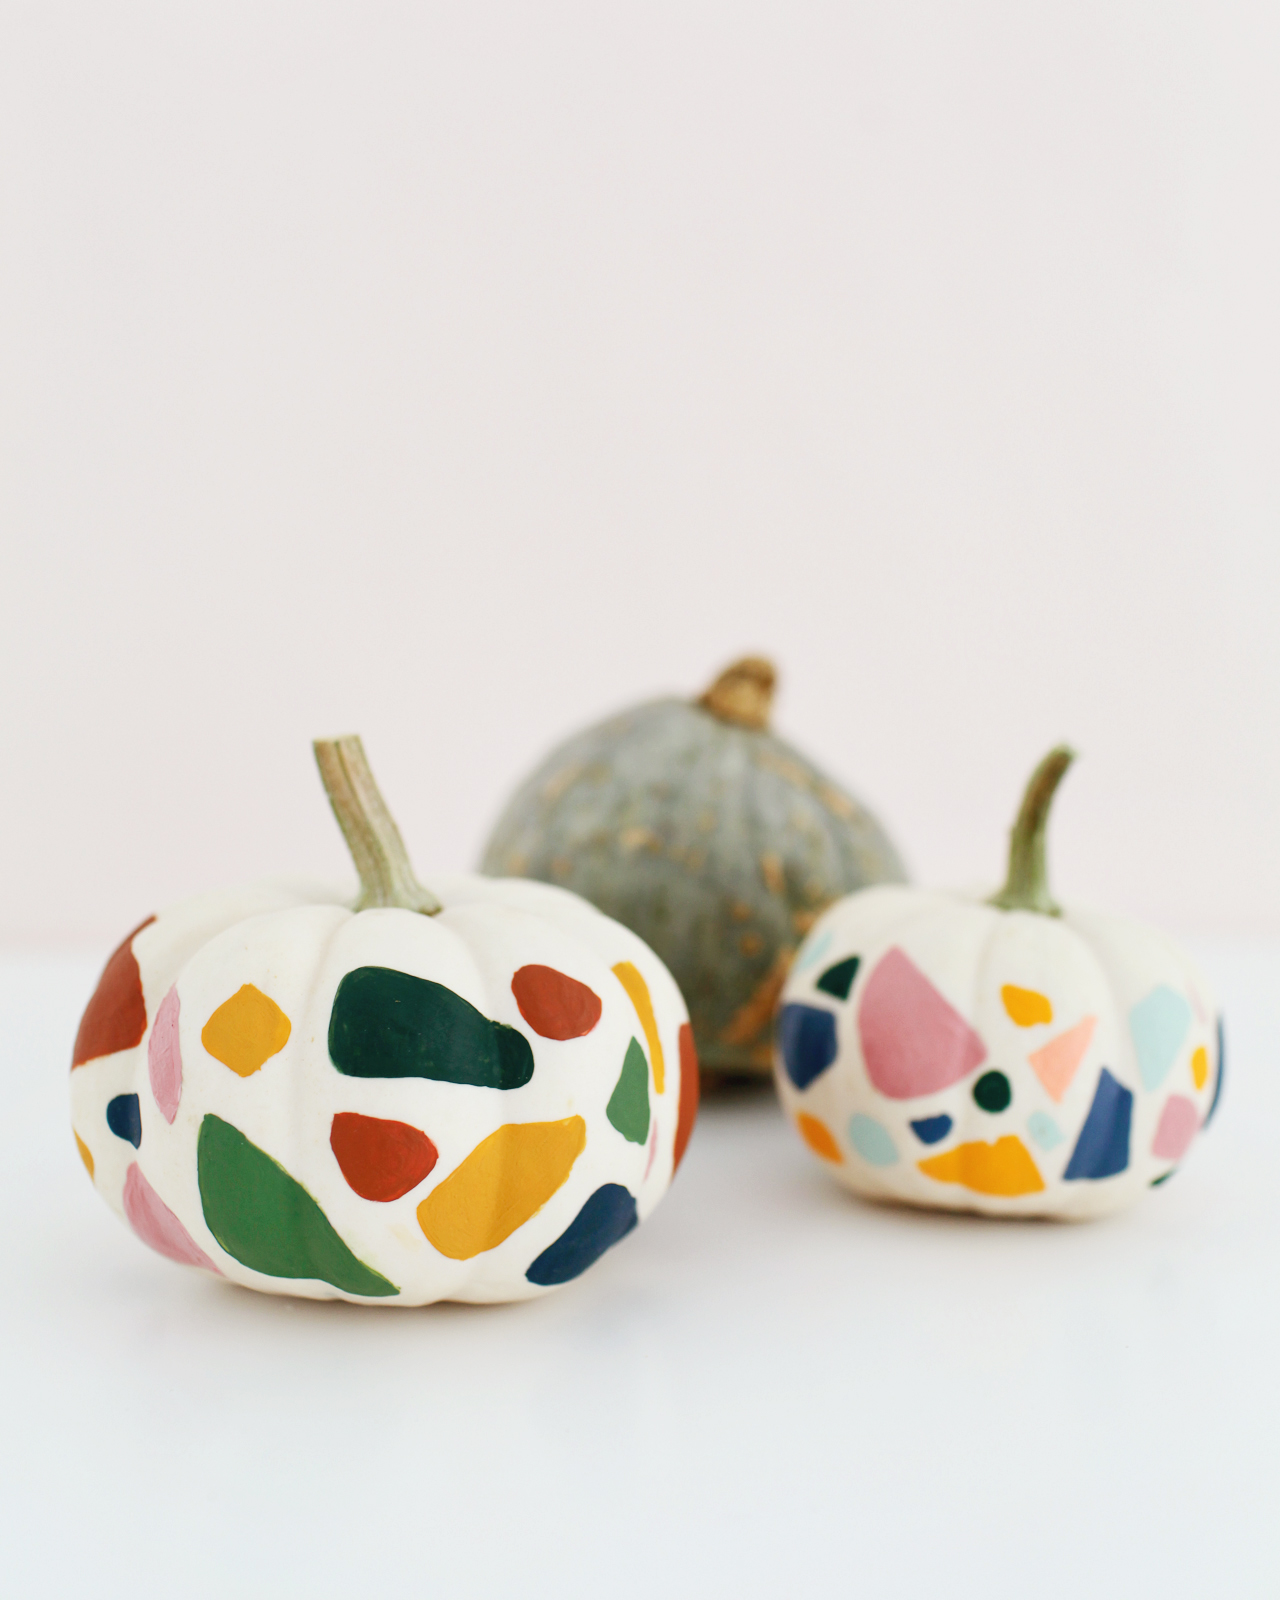
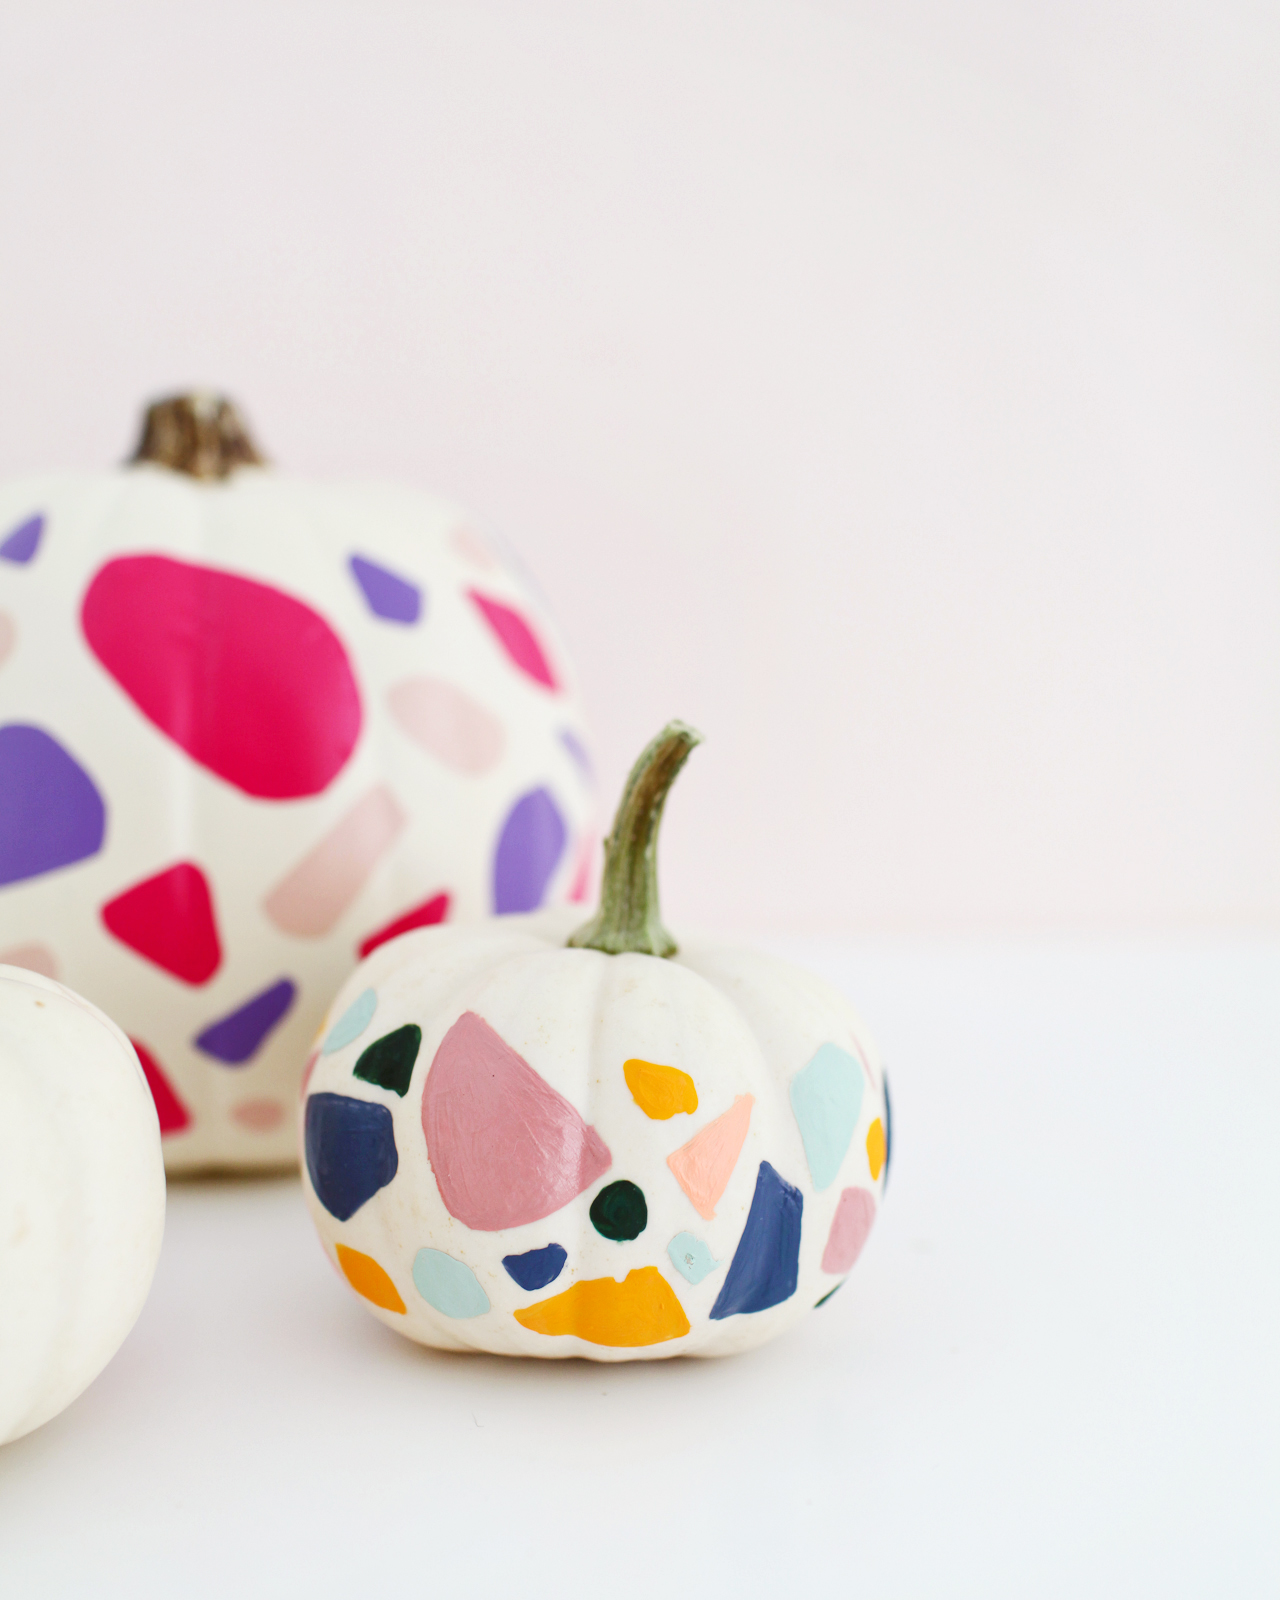
I scattered these pumpkins across our mantel and bookshelves, but these would be so cute as a holiday centerpiece. Paint a bunch (like a dozen) and line them all in a row down a table!
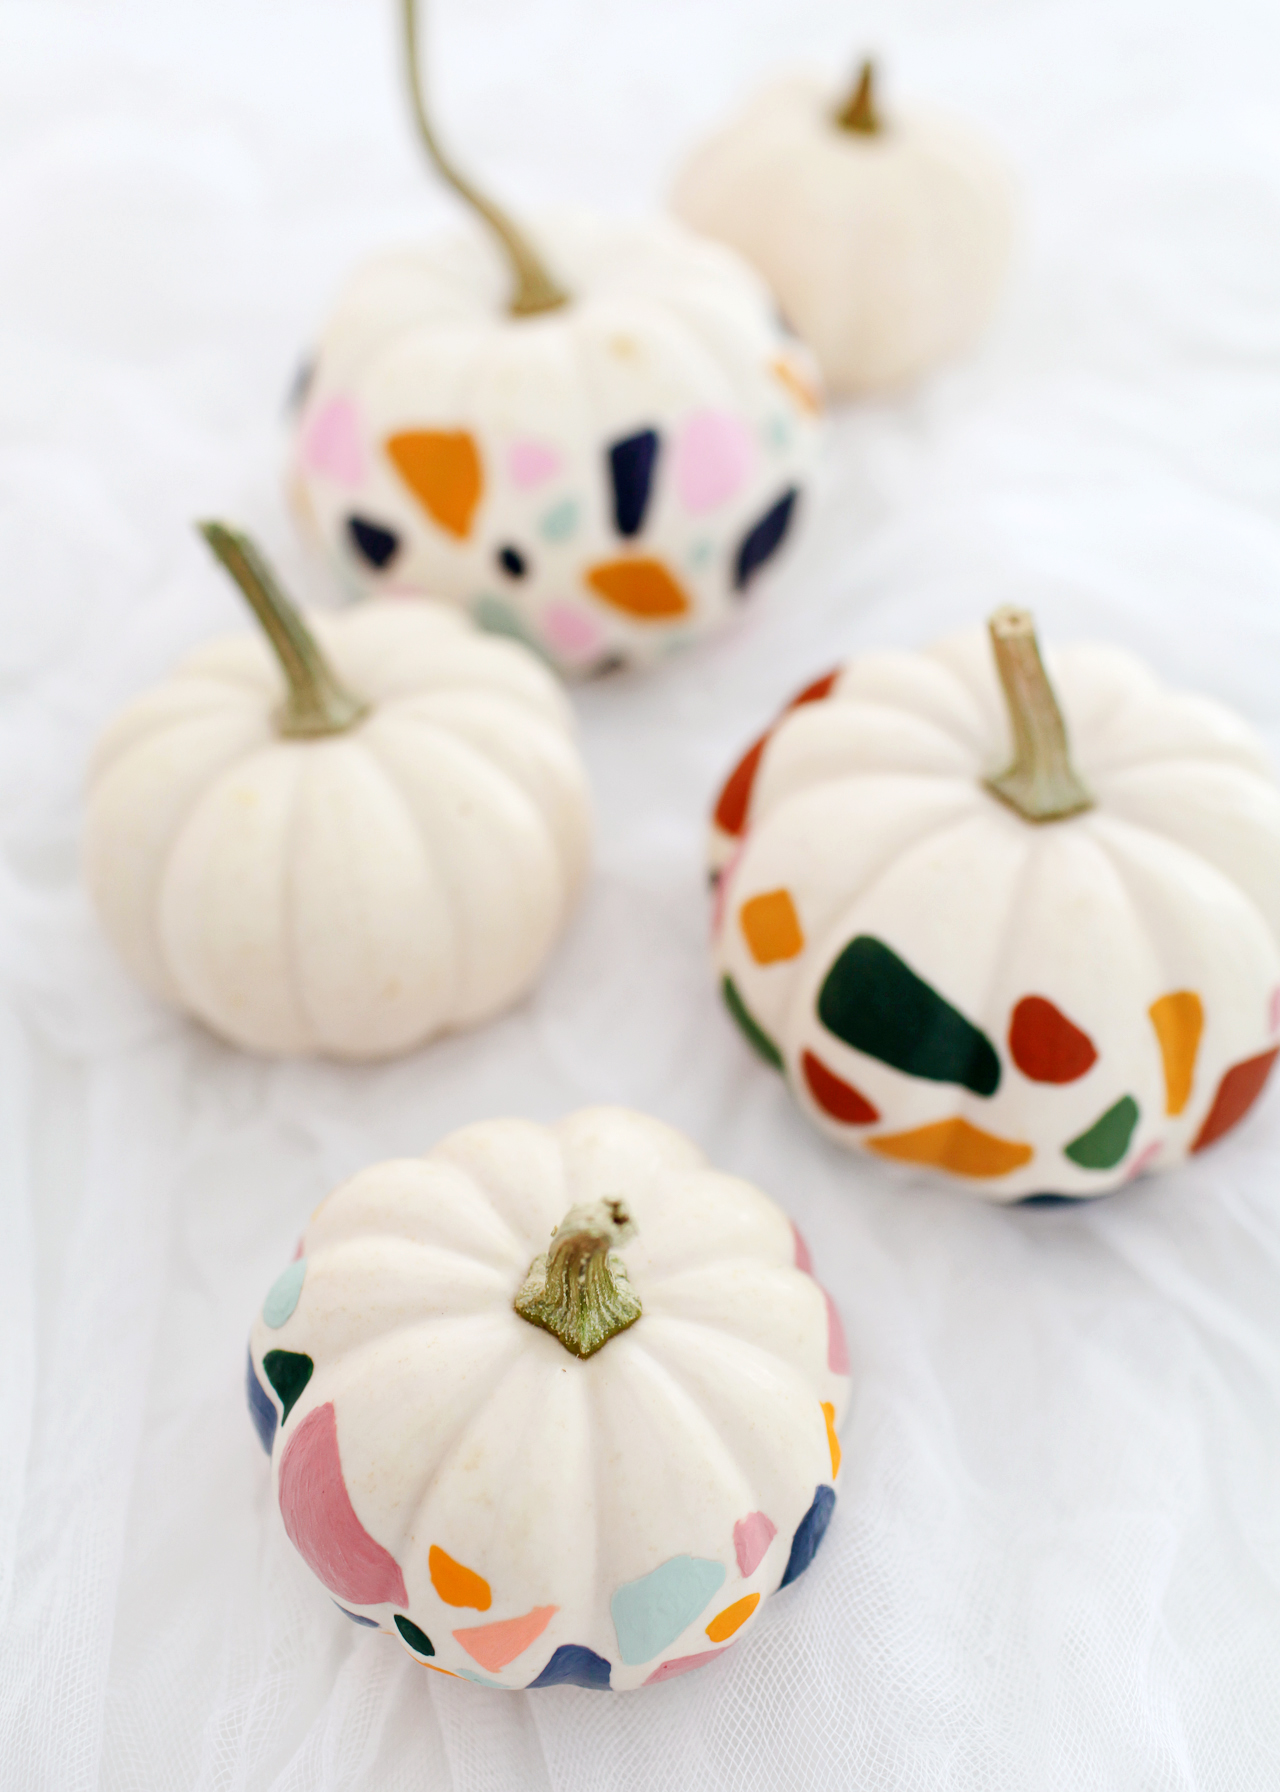

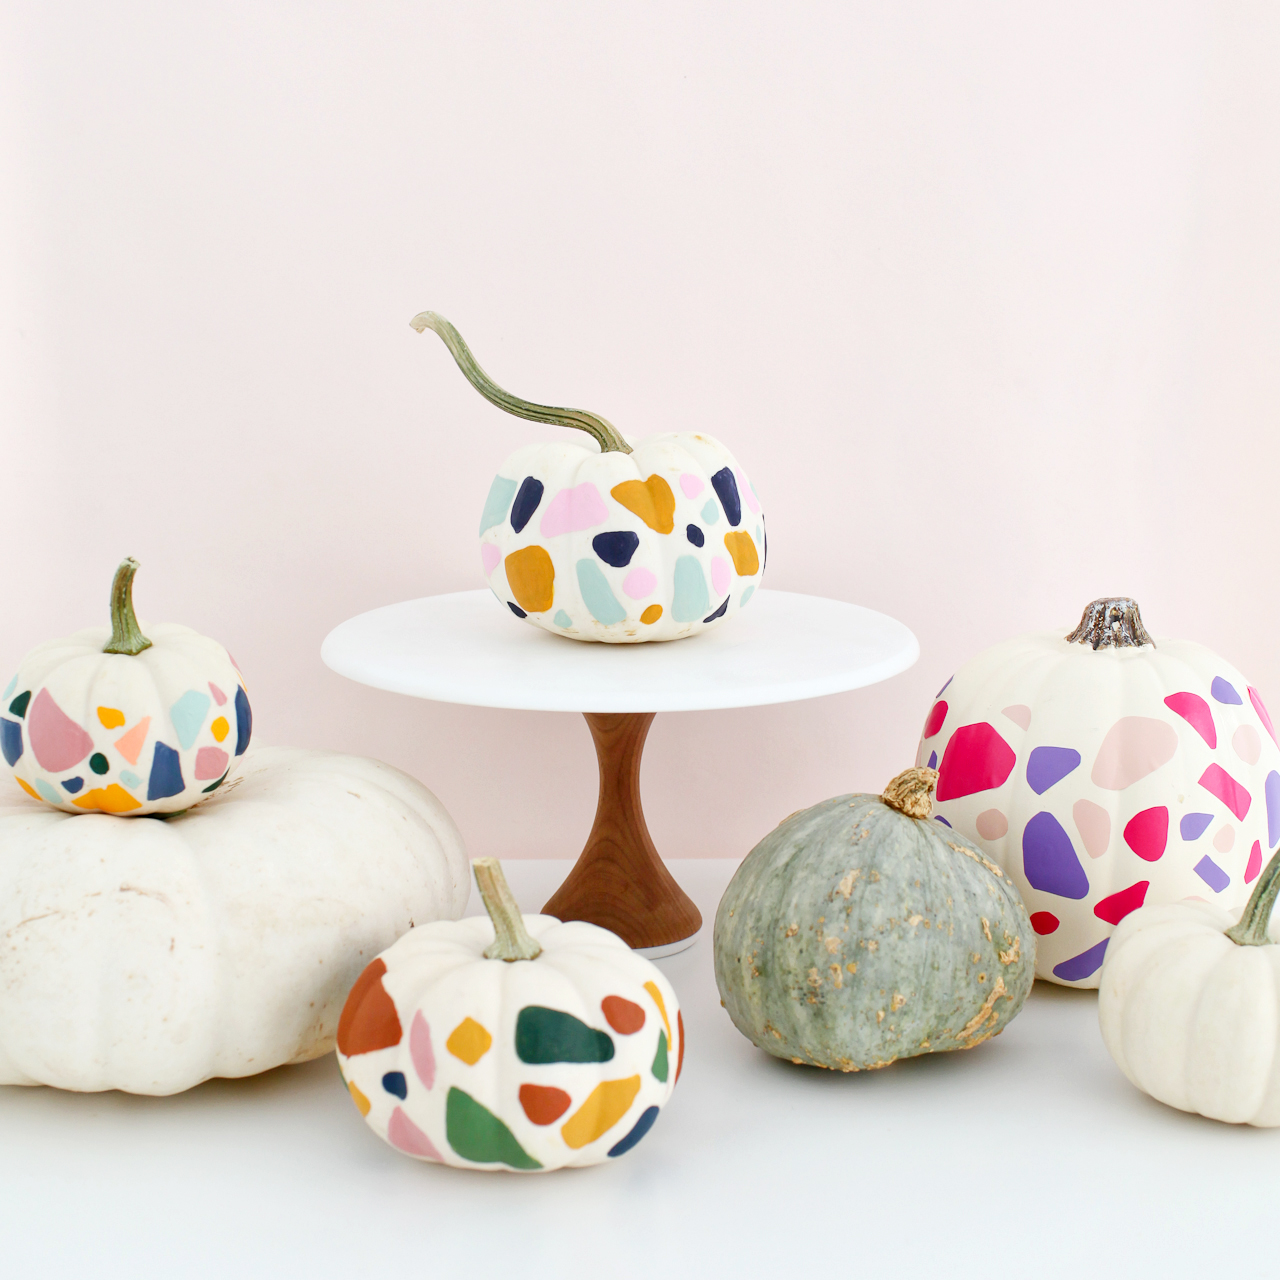
Yay! Happy Halloween decorating everyone!
p.s. DIY Iridescent Pumpkins and DIY Rainbow Halloween Treat Bags
Photo Credits: Nole Garey for Oh So Beautiful Paper
