Copper + Navy Holiday Table Inspiration

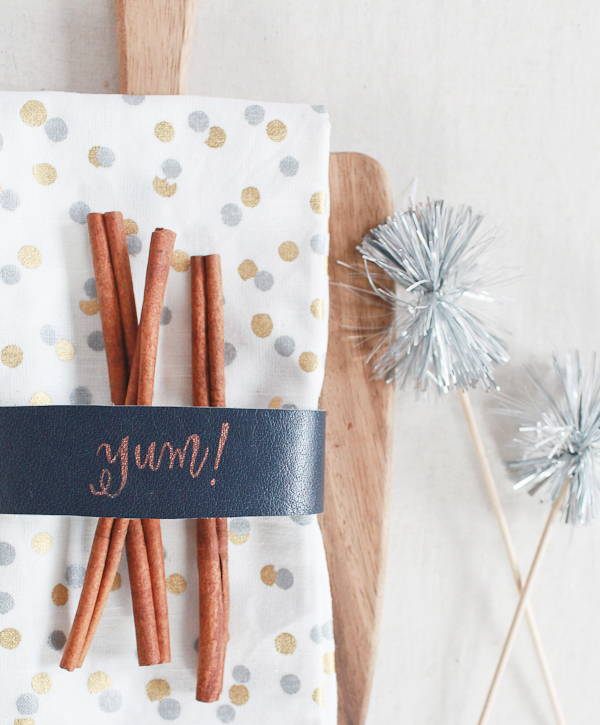
I’ve already professed my love for the combination of navy/indigo and copper. Michele from Meant to Be Calligraphy and I played around with lots of color combinations for the DIY leather napkin ring tutorial with Sakura of America (psssst! Don’t forget to enter the Pen-touch marker giveaway right here!) last week – but the combination of the copper Pen-touch with navy leather was hands down my favorite. So today I thought I’d share some navy and copper (along with a few other metallics) dinner party inspiration and a few more DIY ideas perfect for Christmas or New Year’s Eve!

Copper-Metallic-Navy-Holiday-Table-Inspiration-OSBP-12

Copper-Metallic-Navy-Holiday-Table-Inspiration-OSBP-33

Copper-Metallic-Navy-Holiday-Table-Inspiration-OSBP-41

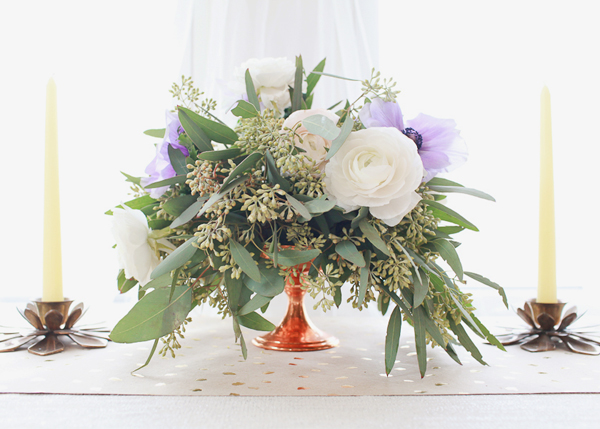
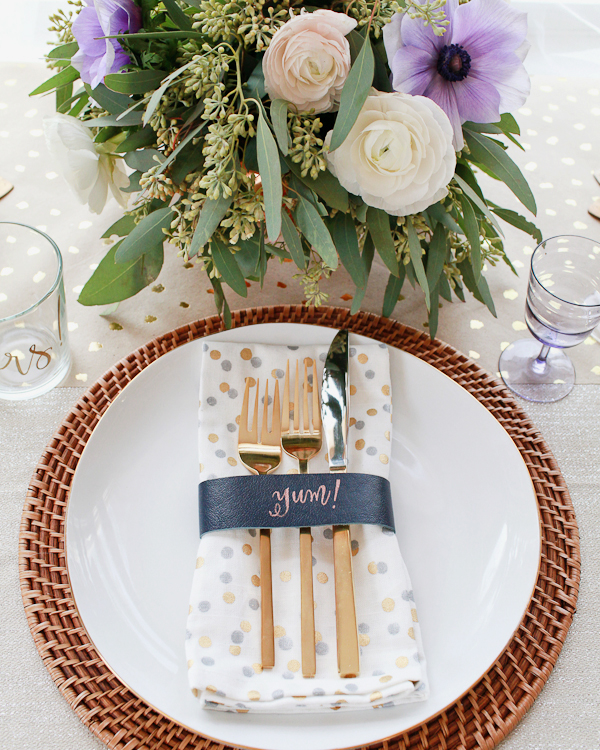
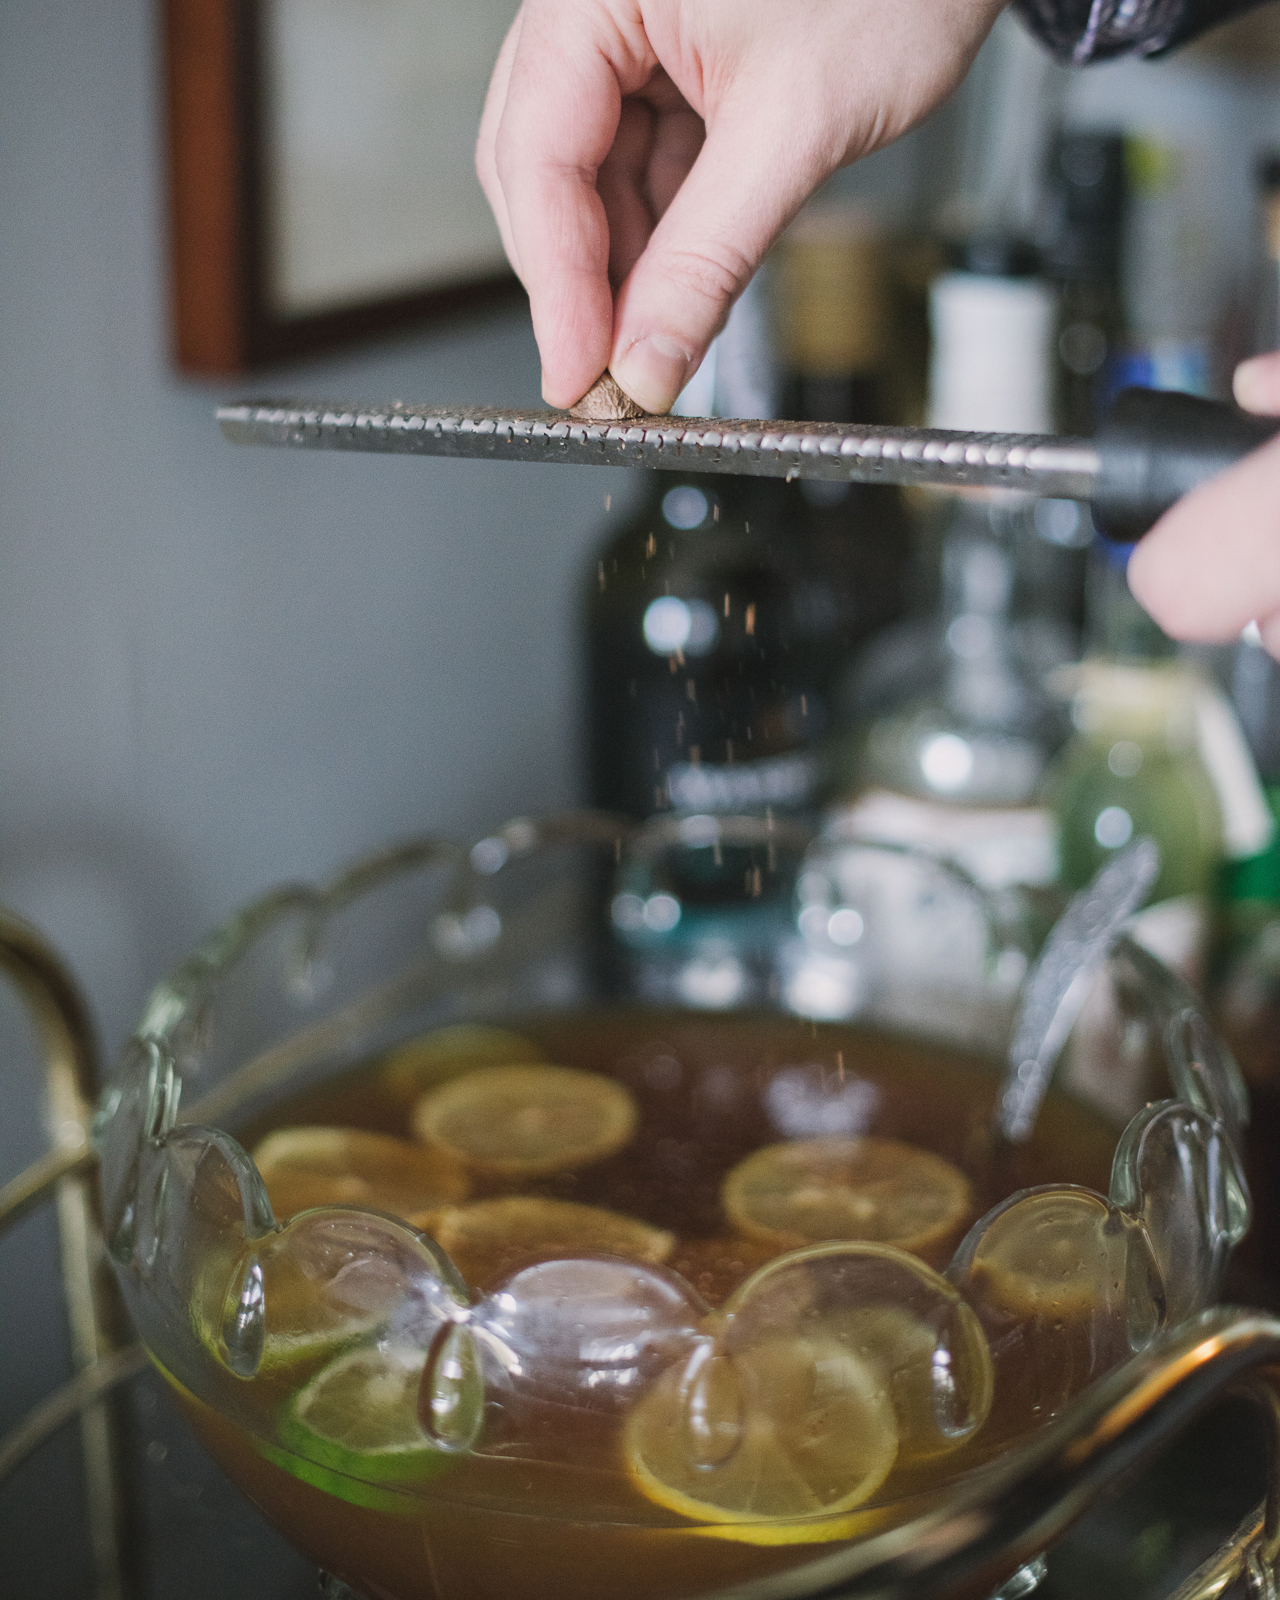
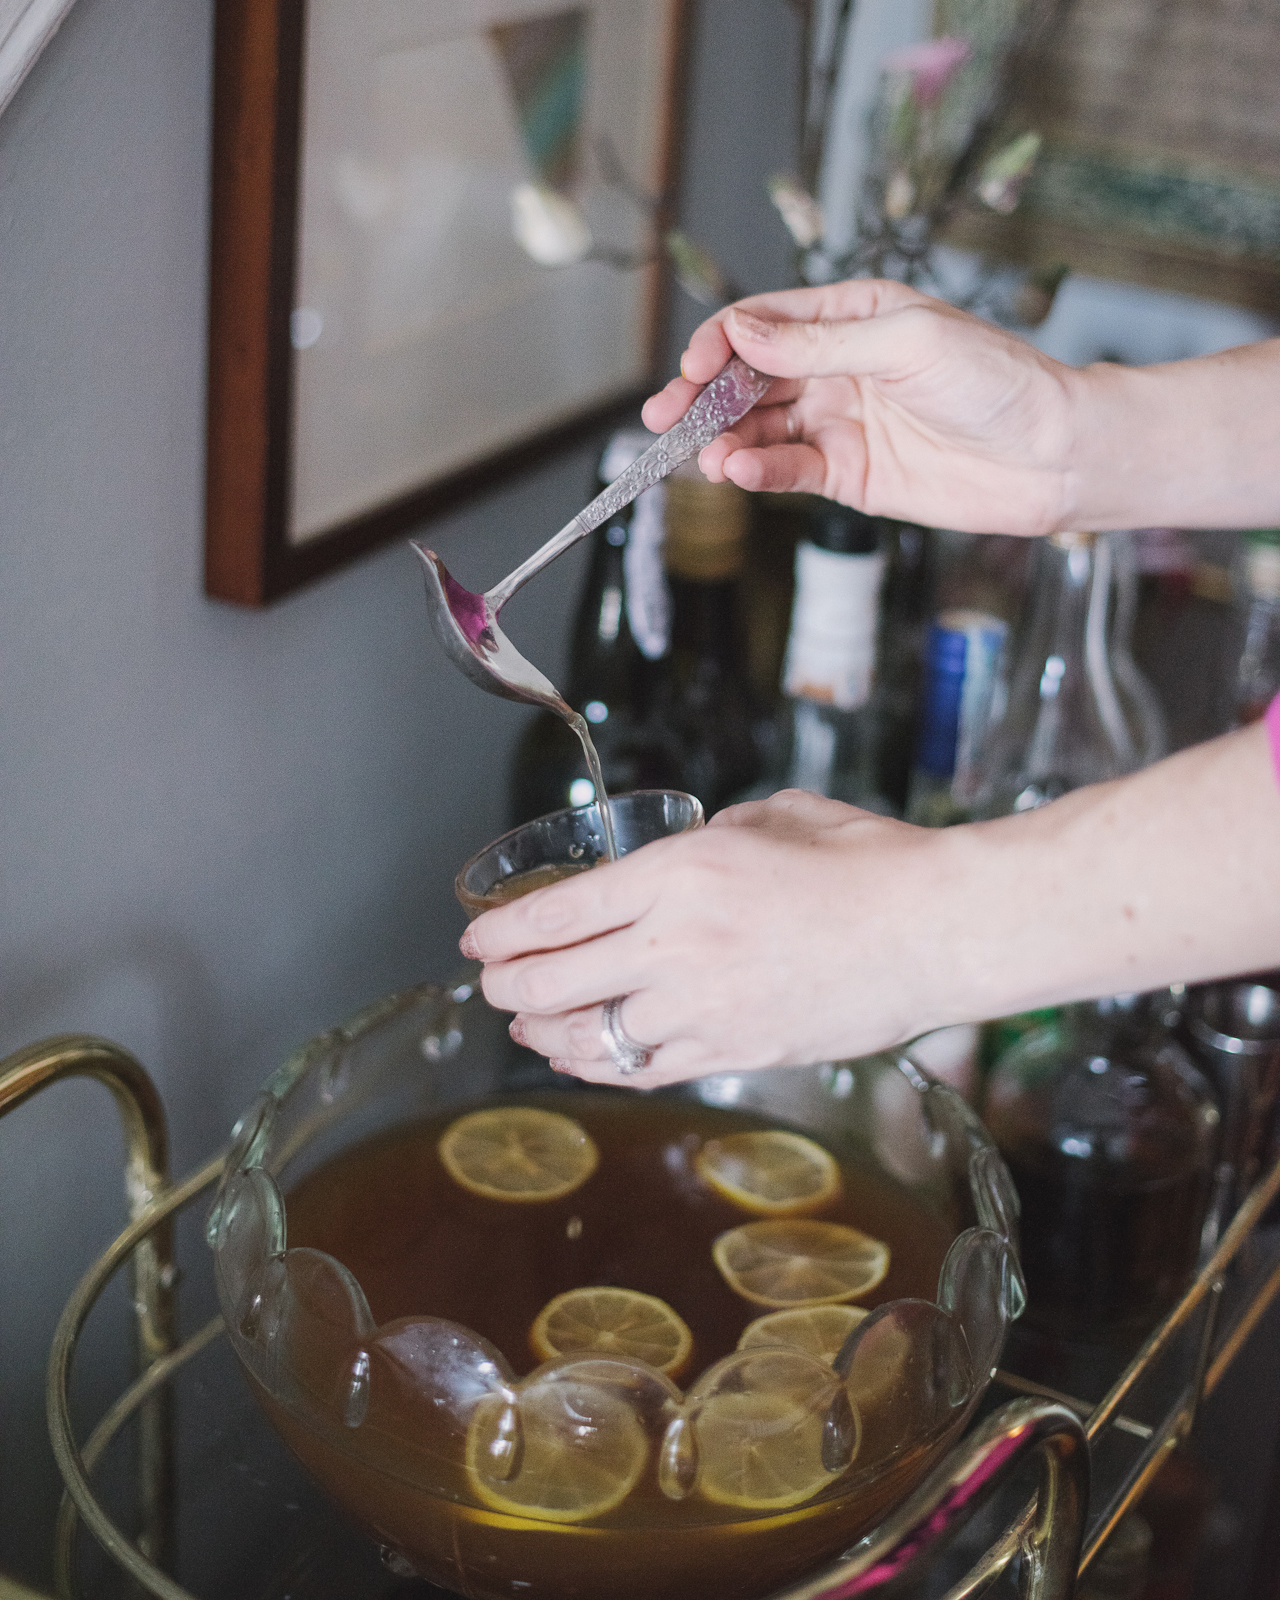
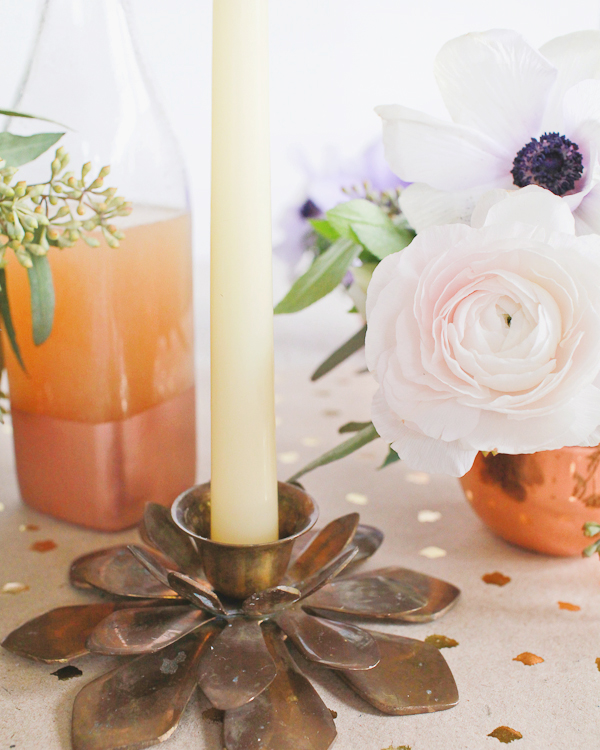
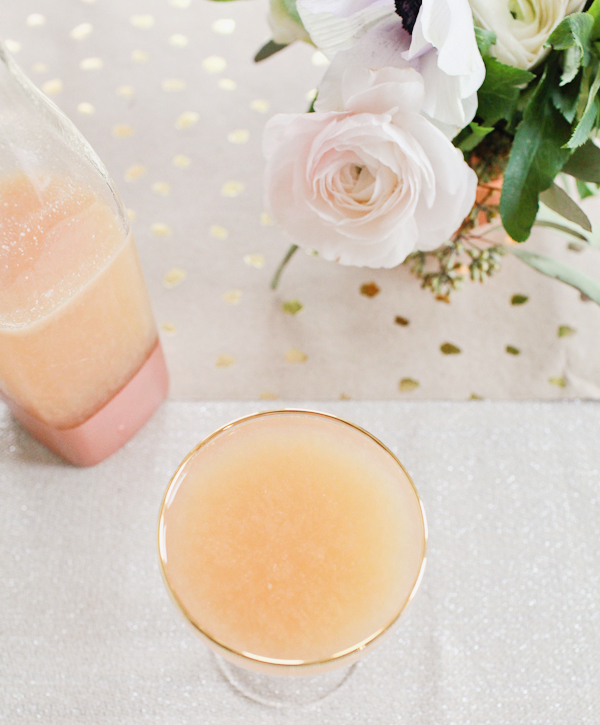
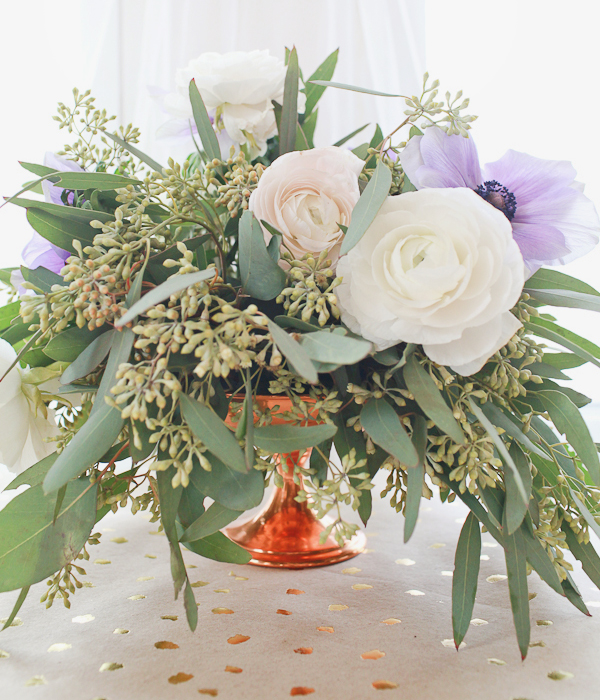
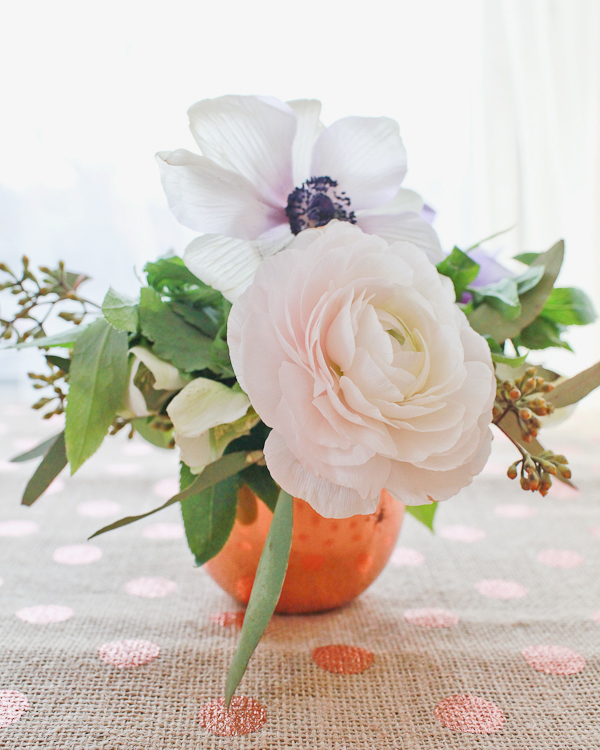
I kept the table itself fairly simple, with one medium size floral centerpiece in a vintage copper compote, a couple of smaller arrangements in copper tumblers, taper candles in vintage brass candlesticks, and this gold foil and kraft paper table runner from Minted. Since we envisioned a fairly intimate table with 6-8 guests, we mixed up a large batch of a signature cocktail – a Persimmon Margarita (recipe coming up in just a bit!) – in our DIY color dipped swing bottles and put them on the table for people to enjoy as they please. For a larger gathering, you could have several drinks available – or mix up a bowl of punch!

Copper-Metallic-Navy-Holiday-Table-Inspiration-OSBP-229

Copper-Metallic-Navy-Holiday-Table-Inspiration-OSBP-127

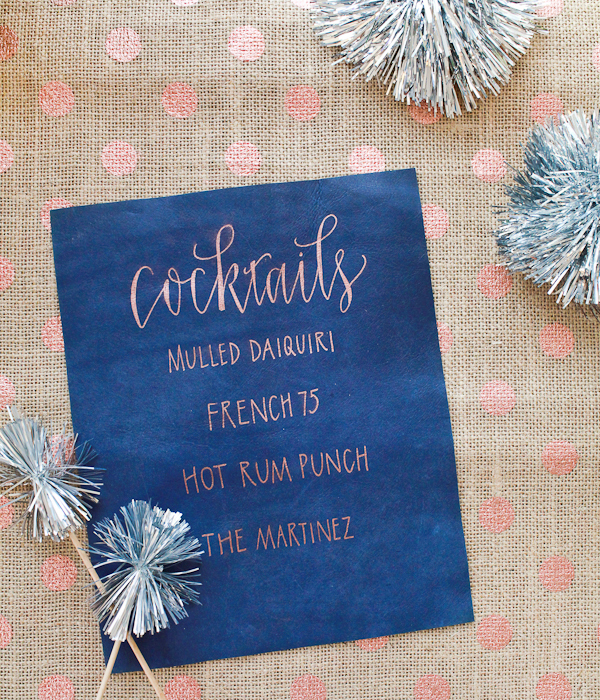
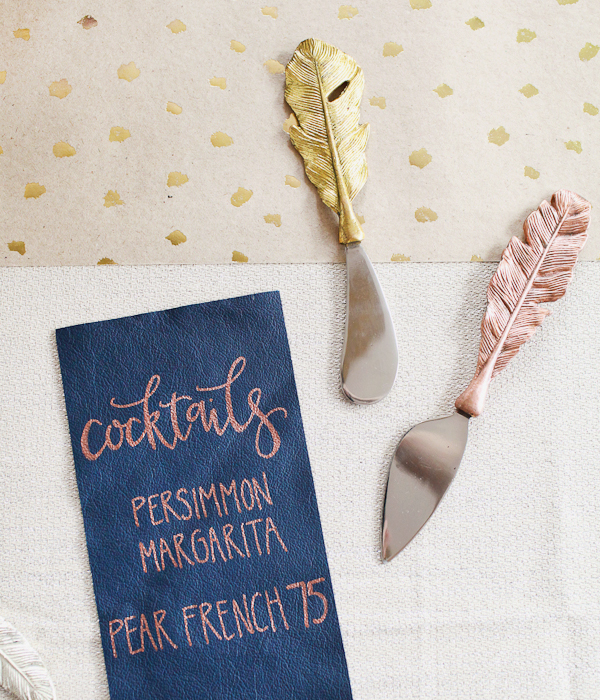
You can find the copper and navy leather napkin ring tutorial right here. Michele and I also created cocktail menus with copper ink on navy leather – Michele did a large version that could be displayed next to a bar for a larger party, while I tried my hand at a smaller menu that could be placed between guests at the table.

Copper-Metallic-Navy-Holiday-Table-Inspiration-OSBP-85

Copper-Metallic-Navy-Holiday-Table-Inspiration-OSBP-137

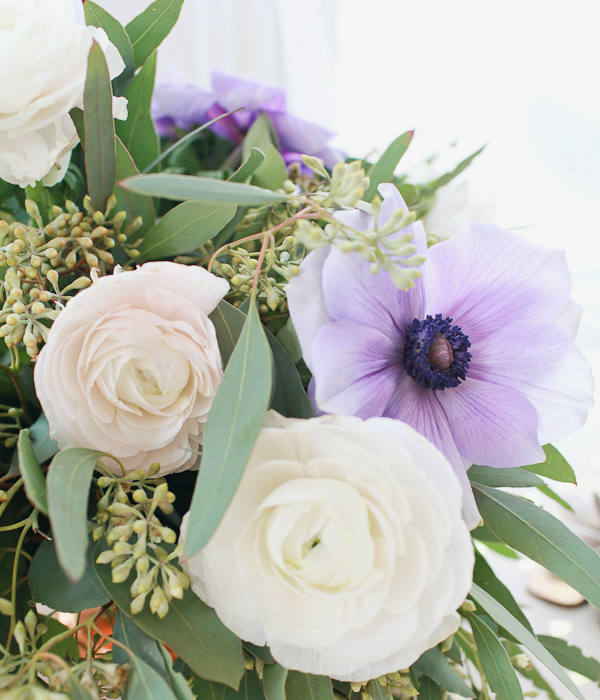
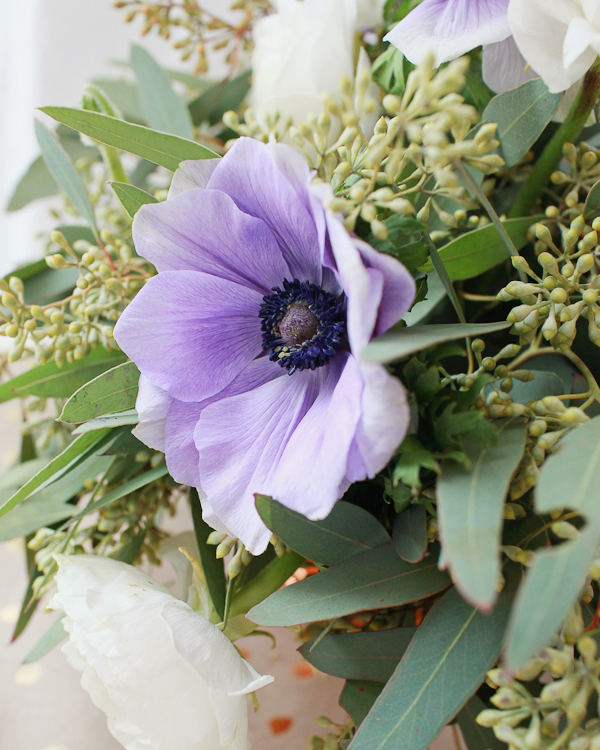
For the flowers, I fell in love with pale lavender anemones at the flower market. I paired the anemones with white and blush ranunculus and seeded eucalyptus. I love the texture of seeded eucalyptus – and you can get a huge bunch without breaking the bank!

Copper-Metallic-Navy-Holiday-Table-Inspiration-OSBP-17

Copper-Metallic-Navy-Holiday-Table-Inspiration-OSBP-22

Copper-Metallic-Navy-Holiday-Table-Inspiration-OSBP-23

Copper-Metallic-Navy-Holiday-Table-Inspiration-OSBP-106

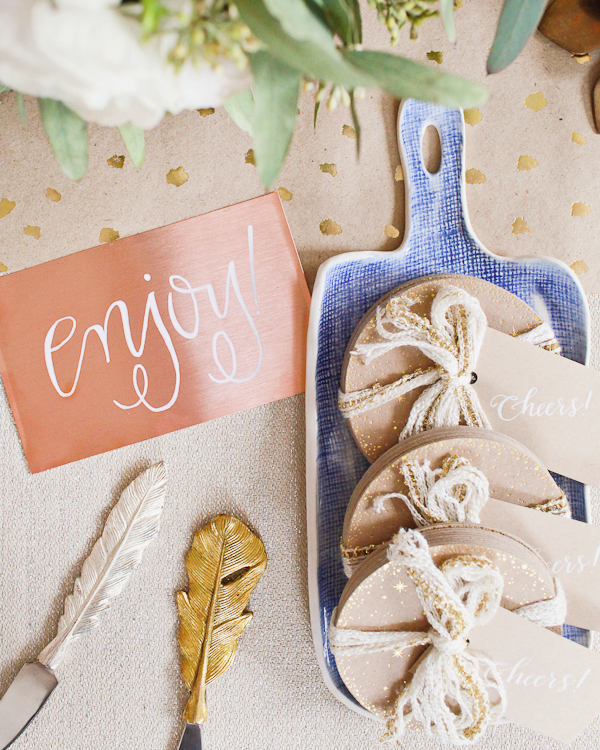
I wanted to see what other surfaces the Pen-touch paint markers could write on. I’m pretty sure I gave Michele her biggest challenge yet when I asked her to write on thin sheets of copper! We used these copper sheets with white Pen-touch markers to create two signs: one inviting guests to take a seat and another to display next to party favors.

Copper-Metallic-Navy-Holiday-Table-Inspiration-OSBP-171

Copper-Metallic-Navy-Holiday-Table-Inspiration-OSBP-238

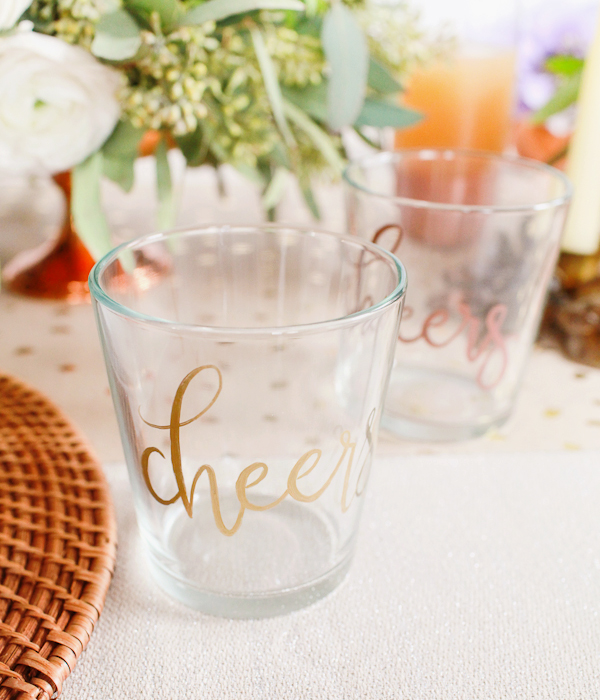
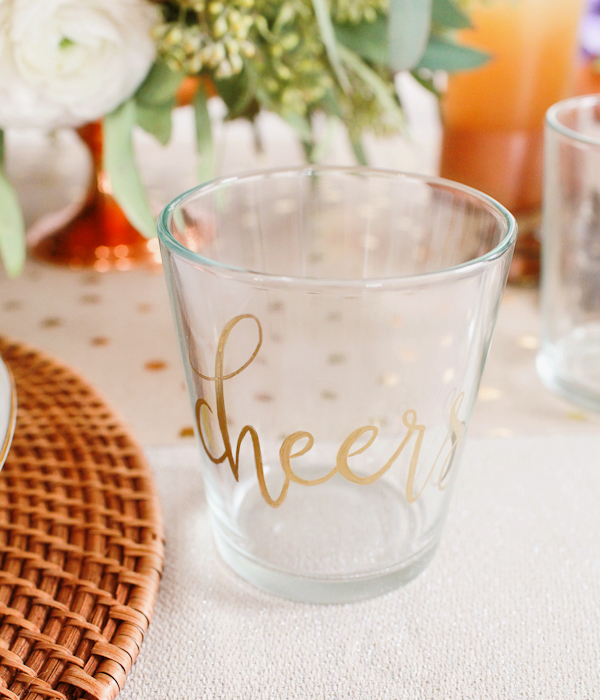
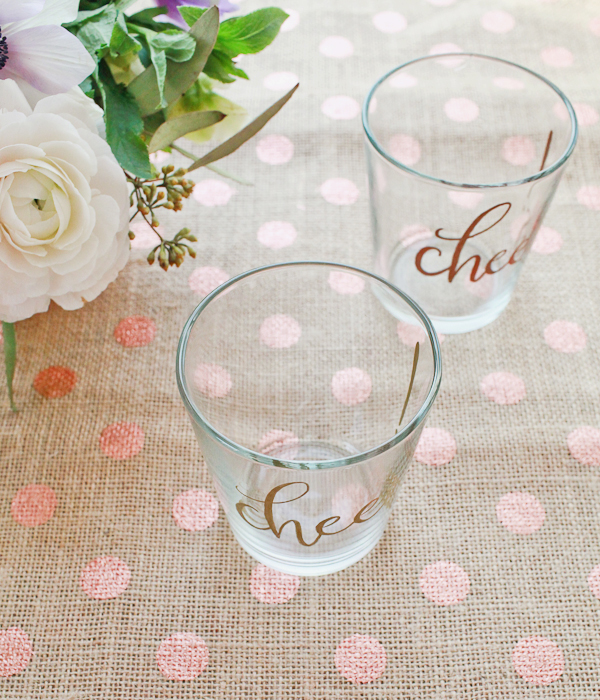
Lauren and I are totally on the same page this week – I used the Pen-touch markers to customize our drinking glasses! I used gold and copper Pen-touch markers in fine weight to write out “cheers!” on some tumblers. It took a couple of coats to get a nice solid line – so if you try this at home just be sure to let each coat dry fully before putting on the second coat. You could use your handwriting (or calligraphy) but Michele was kind enough to offer a template that you can trace onto your glasses! You can download the “cheers!” template here – it comes in a couple of sizes for use on different sized glasses. Just cut out the words, tape to the inside of your glass, and trace over it with your Pen-touch markers!

Copper-Metallic-Navy-Holiday-Table-Inspiration-OSBP-214

Copper-Metallic-Navy-Holiday-Table-Inspiration-OSBP-218

Copper-Metallic-Navy-Holiday-Table-Inspiration-OSBP-117

Check back soon for the Persimmon Margarita recipe!

Calligraphy: Meant to Be Calligraphy

Leather: Matine

Paint Markers: Sakura Pen-touch Paint Markers

Photos by Nole Garey for Oh So Beautiful Paper

Our Minted Booklette Holiday Cards

OSBP-Booklette-Holiday-Cards-Minted-57

This is our second year sending out personalized photo holiday cards, and since most of our family (and some of our friends) live far away, they haven’t seen Sophie for a while – or even met Alice! We have a lot to catch our family and friends up on, and it seemed like it might be too big of a challenge for our annual holiday cards. But when I heard that Minted released a brand new holiday card format called the Booklette, I was dying to give them a try. Today I’m excited to share the cards that we chose!

OSBP-Booklette-Holiday-Cards-Minted-17

Minted currently offers 43 Booklette holiday card designs – ranging from clean and modern to playful hand lettering and everything in between. I’m a big fan of sending out New Year’s cards (gives us procrastinators a bit more time!), and I love that this particular card design uses one of my favorite calligraphy fonts – Asterism. With eight pages of photos and text, we were able to include a few sweet photos of the girls (taken by the fabulous Sweet Root Village) and an updated family photo, along with a brief text update about Sophie and Alice. It was the perfect fit for our growing family!

OSBP-Booklette-Holiday-Cards-Minted-34

OSBP-Booklette-Holiday-Cards-Minted-87

OSBP-Booklette-Holiday-Cards-Minted-62

I also love love love that Minted introduced coordinating envelopes with recipient address printing! Not only are the new envelope designs totally cute, but they’re such a lifesaver for those of us who struggle to find the time to sit down and address dozens of cards all at the same time. It took me weeks to address our cards last year – when we only had one child – and they were ridiculously late as a result. I’m so grateful to be getting them out on time this year!

OSBP-Booklette-Holiday-Cards-Minted-5

If you’re still in need of holiday cards – there’s still time to send them out! (Or just go with New Year’s cards like I do.) You can browse the Minted Booklette holiday card designs right here!

This post is sponsored by Minted. All content and opinions are my own. Thank you for supporting the sponsors that help make Oh So Beautiful Paper possible!

Photos by Nole Garey for Oh So Beautiful Paper

DIY Tutorial: Duck Tape Calligraphy Cocktail Glasses

The holidays are here which means, lots of parties to prepare for! One of my favorite ways to spruce up our bar for get togethers is grabbing a few new cocktail glasses to add to the collection. This year, I thought I would give a few DIYs a try and change up what we already had in our cabinets – starting by creating some custom calligraphy cocktail glasses. I used my calligraphy for this project and you can use your handwriting, or a font you already have on your computer! Here’s how to customize your cocktail glasses this holiday season. –Lauren

DIY Tutorial: Custom Duck Tape Calligraphy Cocktail Glasses by A Fabulous Fete for Oh So Beautiful Paper

DIY Tutorial: Custom Duck Tape Calligraphy Cocktail Glasses by A Fabulous Fete for Oh So Beautiful Paper

Supplies

Duck Tape sheets

Cutting machine like a Cricut or Silhouette

Plain glasses

DIY Tutorial: Custom Duck Tape Calligraphy Cocktail Glasses by A Fabulous Fete for Oh So Beautiful Paper

Step 1. Letter the words that you would like to cut for your glasses. The thicker the letters the easier you will be able to cut them out of the tape. You can also create files with your favorite fonts if you don’t want to use a hand lettered font.

DIY Tutorial: Custom Duck Tape Calligraphy Cocktail Glasses by A Fabulous Fete for Oh So Beautiful Paper

Step 2. Scan and upload your words to your program and cut per the directions on the machine you have.

Step 3. Carefully peel each word up and apply to the glasses. I found it was easiest to peel a few letters at a time and apply rather than trying to take the whole word off of the sheet.

DIY Tutorial: Custom Duck Tape Calligraphy Cocktail Glasses by A Fabulous Fete for Oh So Beautiful Paper

That’s it! Now you have new (or maybe just updated!), custom glasses for your party! You can stick with general exclamations or even cut out your guests’ names so everyone can keep tabs on their cocktails.

DIY Tutorial: Custom Duck Tape Calligraphy Cocktail Glasses by A Fabulous Fete for Oh So Beautiful Paper

Tips

– Buy extra duck tape! It will take a bit to get a hang of applying and removing so buy a practice sheet to get you started.

– White or light colors will look best as the back of the sheet is a white adhesive and it stuck out of bit on the black tape.

– Keep your font THICK if you can.

How do you guys customize your cocktail glasses for the holidays?

Photos by Lauren Saylor of A Fabulous Fete for Oh So Beautiful Paper

Traditional Hot Rum Punch

Not that long ago, we wrote about making a single cup of hot rum punch. This week, since we made a big batch for our little cocktail party, we’re going to explain how to make an entire bowl of the stuff. It’s pretty much the single best thing you can make for a winter party. â€“ Andrew

Traditional Hot Rum Punch Recipe

Traditional Hot Rum Punch Recipe

Traditional Hot Rum Punch Recipe Card

Illustration by Shauna Lynn for Oh So Beautiful Paper

Traditional Hot Rum Punch

1 Bottle Pot-Stilled Rum
12 oz Raw Sugar
4 Lemons
4 Limes
Nutmeg and Cinnamon to Taste

Peel the lemons into thin strips, being careful to avoid the bitter white pith. Muddle the sugar and the lemon peels to extract the lemon oil and let sit for at least an hour. (I left the sugar and peels in a sealed ziplock bag in the refrigerator overnight.) Add 12 oz of boiling water to melt the sugar and remove the lemon peels with a slotted spoon, squeezing to extract as much sugar and oil as possible. The resulting liquid is, in classic punch parlance, your oleo-saccharum (“sugar oil”).

Juice the lemons and limes, then add the juice – about 12-14 oz – to the oleo-saccharum. This, again in classic punch parlance, is your sherbet. Pour the sherbet into your punch bowl and then add a full 750ml bottle of rum. (We used Pusser’s Navy Rum, a pot-distilled rum that replicates the rum served as rations in the British Navy until the 1970s. It’s funky and delicious but it is not at all subtle.) This is your punch, with just one last step: adding some hot water to heat things up and dilute the very strong punch a bit.

Traditional Hot Rum Punch Recipe

Traditional Hot Rum Punch Recipe

Right before you’re ready to serve, start adding boiling water to the bowl, a cup at a time, until you reach your preferred temperature and dilution. I added about six cups, but you can add as much or as little as you want. Garnish with some sliced lemons and limes, a few cinnamon sticks, and freshly grated nutmeg.

Traditional Hot Rum Punch Recipe

Traditional Hot Rum Punch Recipe

It’s hot – this will surprise a lot of people who have never had a hot drink before – which I love in a drink this time of year. It’s sweet and sour and rich and funky, thanks to that navy rum. And it’s big; although there’s a bit of work involved, you can do all of that before your party and have a single big drink you can serve to all your guests, leaving you free to enjoy your own party. A single bowl of punch also creates a single focal point at which people have to congregate (especially if you serve them in tiny punch cups, which you should, necessitating lots of return trips to the bowl and hence mingling).

Traditional Hot Rum Punch Recipe

Traditional Hot Rum Punch Recipe

I’ve never tried to figure out how many servings this make, but: it’s a lot. I’ve never run out of punch at a party, and typically have a bunch left over, enough to stick in a bottle and refrigerate to enjoy later.

Photos by Sweet Root Village for Oh So Beautiful Paper

Happy Weekend!

Happy Friday everyone! And whew – what a busy week! This weekend I’ll be working on a little New Year’s Eve inspiration to share with all of you next week. Oh! And don’t forget to enter the 12 Days of Christmas giveaway with Belle & Union right here – today is the last day to enter! But in the meantime…

DIY-Leather-Napkin-Rings-Sakura-Pentouch-Paint-Pens-OSBP-67

Photo from our leather + paint pen DIY tutorial

…a few links for your weekend!

This week on Oh So Beautiful Paper:

Check back soon for this week’s cocktail! I hope you all have a wonderful weekend, and I’ll see you back here next week! xoxo