DIY Tissue Paper Flower Piñata

I do love a good party, and there’s nothing quite like a piñata to get it going! They remind me so much of birthdays as a kid, and how, when the piñata comes out, everyone wants to join in and have fun. I wanted to make a grown-up version for bridal showers and grown-up birthdays — not just because I’m secretly jealous of the kids having all the fun. It’s a way to get nostalgic, throw around some confetti, and get on a sugar high with your girlfriends. The fact that they double as a pretty party decoration is a real plus too. Here we go! –Erin from BerinMade Paper GoodsDIY Tissue Paper Flower Piñata / BerinMade for Oh So Beautiful Paper

DIY Tissue Paper Flower Piñata / BerinMade for Oh So Beautiful Paper

Supplies

Standard Paper Lantern (buy to the size of your piñata)

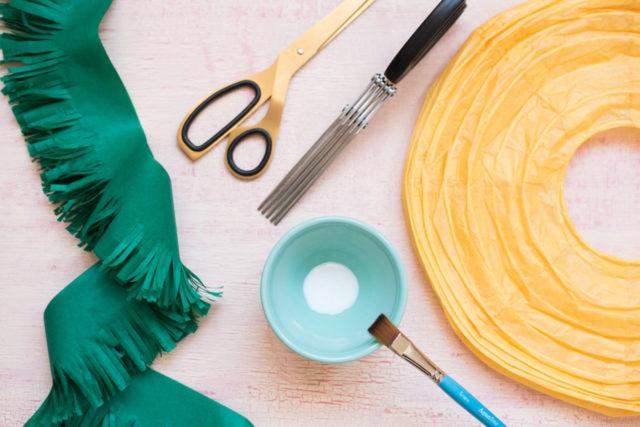
PVA glue

Scissors (and fringing scissors optional)

Coloured tissue paper (3″ high, in long strips)

Floral tape

Floral Wire

DIY Tissue Paper Flower Piñata / BerinMade for Oh So Beautiful Paper

To Make the Piñata

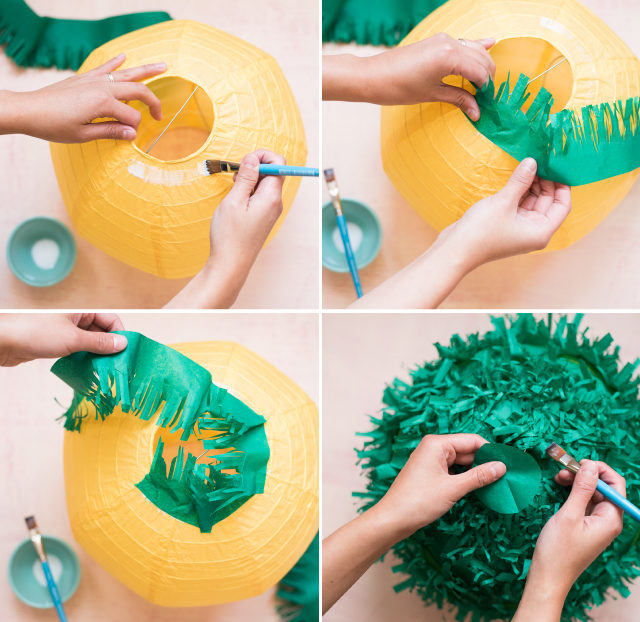
Step 1. Start from one opening of the lantern and apply glue around the rim. Place the fringed tissue strips around, with the fringes facing inward. Gather the tissue around so that the strips curve to the shape of the lantern. Continue in layers until the entire lantern is covered.

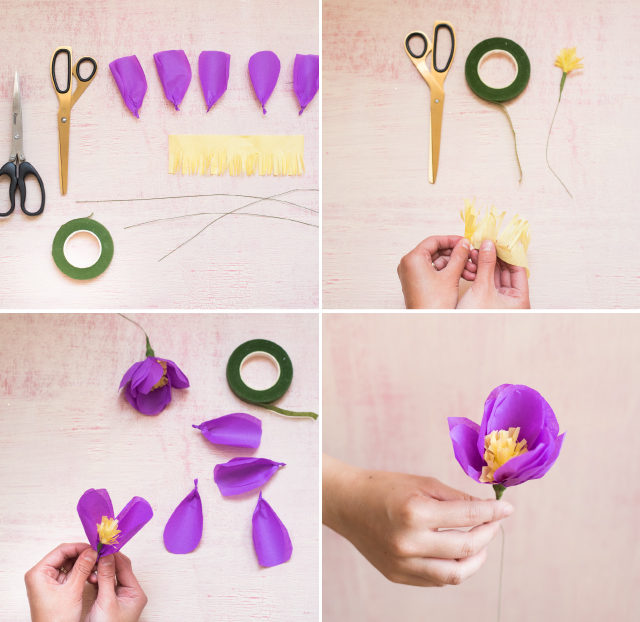
Step 2. To create the piñata flowers, start by cutting petal shapes out of tissue paper and twisting the bottom to create a curved shape. Create the center of the flower by using a contrasting strip of tissue paper, and fringing the edge with scissors. Wrap the fringed strips around the floral wire and secure with floral tape. Apply petals around the center and continue until satisfied. Secure all the parts with floral tape.

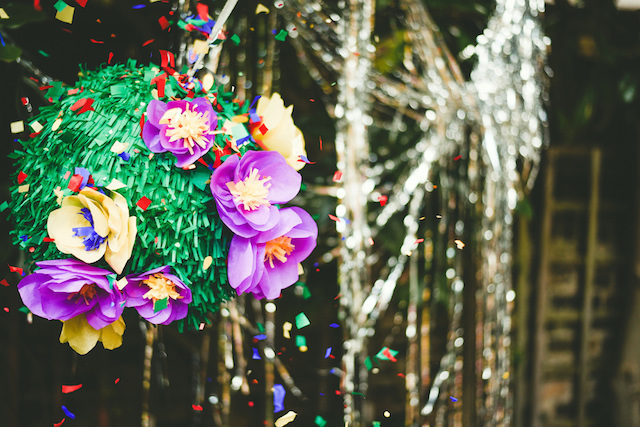
Step 3. Create flowers of different sizes and shapes. Arrange on the piñata by puncturing the lantern with a pair of scissors and inserting the flower through with the wire end. Secure with tape on the inside.

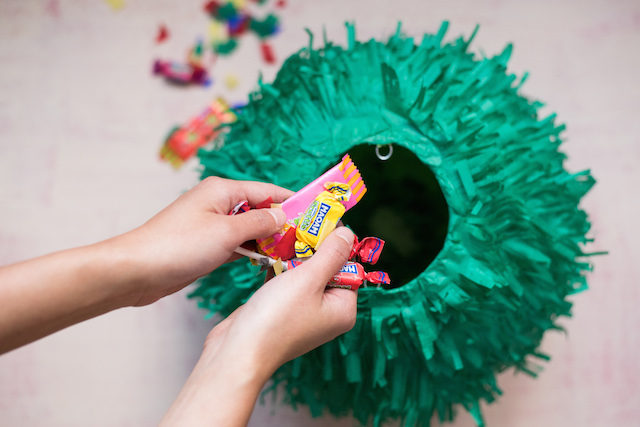
Step 4. Cut a tissue paper circle to seal the bottom opening of the lantern. This is the weak spot where the candy and confetti will fall out! If you find that the tissue is too weak, you may need to apply another tissue paper circle from the inside. Fill the lantern with candy and confetti!

DIY Tissue Paper Flower Piñata / BerinMade for Oh So Beautiful Paper

DIY Tissue Paper Flower Piñata / BerinMade for Oh So Beautiful Paper

DIY Tissue Paper Flower Piñata / BerinMade for Oh So Beautiful Paper

Have fun with beautiful, bright colors or even a metallic fringing!

And don’t forget to tag us @berinmade when sharing the results on Instagram!

Photo Credits: Jeremy Tan

Inspired By: Pom Poms!

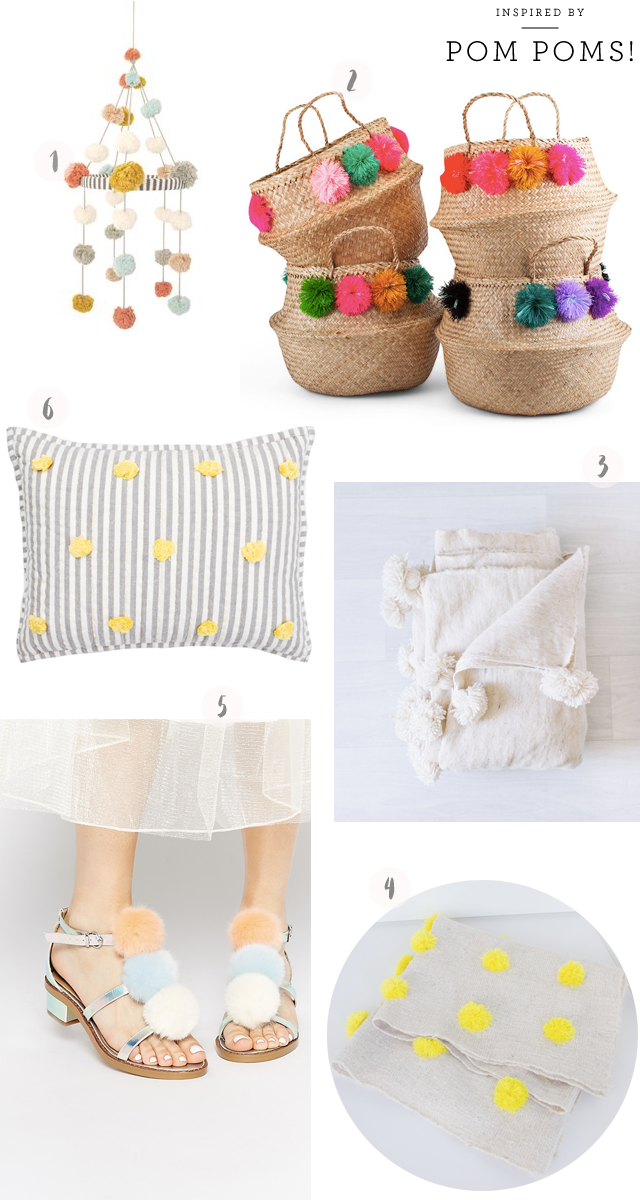
I’m having a MAJOR pom pom moment these days. It’s not like pom poms ever go out of style – especially when it comes to curtains and blankets – but I really just want to put pom poms on all. the. things. Baskets? Yes! Shoes? Yes! Here are a few current pom pom favorites!

Inspired by: Pom Poms! / Oh So Beautiful Paper

1. Blabla mobile

2. Eliza Gran Studio baskets

3. Moroccan pom pom blanket

4. Proud Mary pom pom throw (and pillow!)

5. ASOS sandals

6. LEIF Striped Pom Pom Pillow

Behind the Stationery: The Paper Cub Co.

Known for playful hand lettering and vibrant colors, it’s hard to believe that The Paper Cub Co. is only a couple years old! Owner and designer Shannon Kennedy started out in apparel design before transitioning to work freelance and, ultimately, starting The Paper Cub Co. in 2013. Following her desire to be her own boss, Shannon has found ways to make her business scalable, primarily by outsourcing printing and focusing on designing – working smarter, not harder. Read the rest of her business story below! –Megan
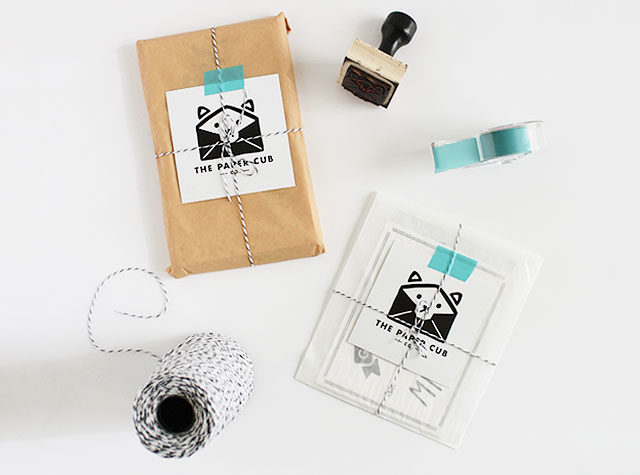
Behind the Stationery: The Paper Cub Co. / Oh So Beautiful Paper

Prior to starting The Paper Cub Co., I had a collection of art prints and accessories for kids called sass&peril. Before that, I was an in-house Graphic Designer for a juniors apparel brand out in California. After working in the corporate design world for 4.5 years and experiencing the highs and lows associated with that, I began to feel the tides start to shift. I felt I wasn’t fully able to satisfy my creativity at the workplace, so I began pulling my own art prints at night and on the weekends. I realized I could actually create my own products to sell online and essentially become my own boss, which is what I had always wanted all along. Plus, paper was an exciting new medium for me after all those years in fashion!
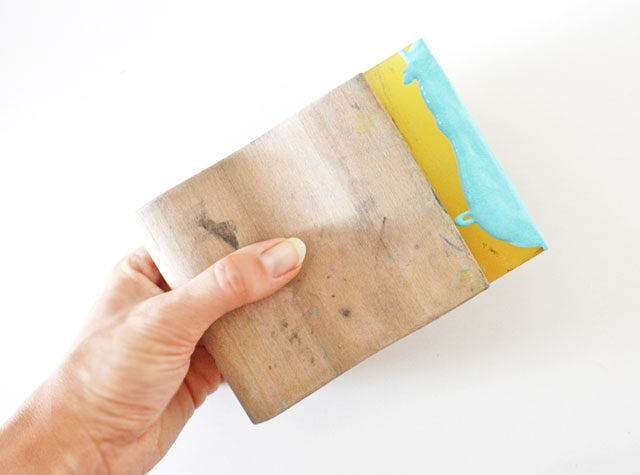
Behind the Stationery: The Paper Cub Co. / Oh So Beautiful Paper

I went freelance for a number of years, which allowed me to pour more into my own creative endeavors but still have some steady work to rely on as I built things up. In the Spring of 2013, I showed a small collection of greeting cards along with my kid’s stuff at the National Stationery Show and the stationery side of the business really took off from there. A few months later I decided to consolidate the two brands into one and focus more on paper goods under The Paper Cub Co.
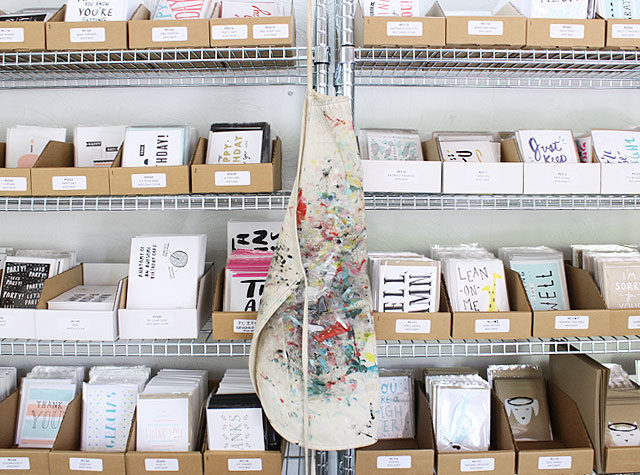
Behind the Stationery: The Paper Cub Co. / Oh So Beautiful Paper

Each design originates in my sketchbook. If I am feeling the idea, I will work out the design elements using brush and ink and/or various pens on paper. Sometimes ideas are taken straight to the computer if it is a simple type-driven composition, but the majority of the designs in our collection have a hand-drawn element to them. My sketched elements get scanned into Photoshop where they are cleaned up and made into .tiff files to be used for mocking up designs in Illustrator. I finalize all designs using Illustrator as it is perfect for screen printing because it produces vector-based elements and nice solid shapes.
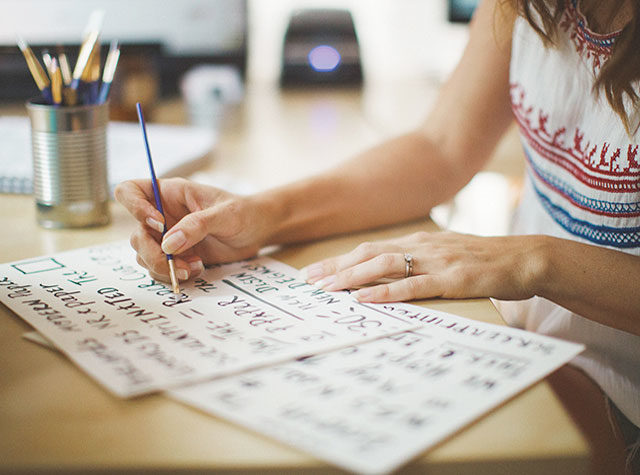
Behind the Stationery: The Paper Cub Co. / By the Robinsons / Oh So Beautiful PaperPhoto by By The Robinsons

Once designs are dialed in and colors are determined, I will pair them up with other designs of similar colors so that they can be “ganged up” on a sheet for printing. What this means is that I can print up to eight different designs as long as they share the same colors on a single sheet of paper. (No more printing one card at a time, how’s that for efficiency?)
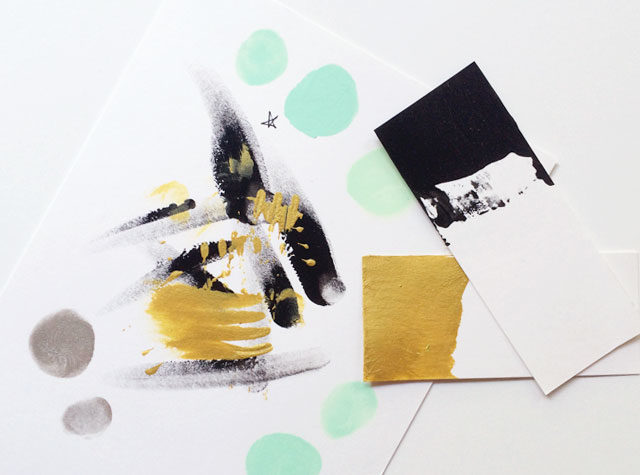
Behind the Stationery: The Paper Cub Co. / Oh So Beautiful Paper

If I am doing the job myself, I have films printed for each color layer (called separations) and then I coat and burn screens using the films and photosensitive emulsion. This creates a “stencil” of the design in the screen for which ink is pulled through with a squeegee to create a print. It is quite a process, but so fun and rewarding!
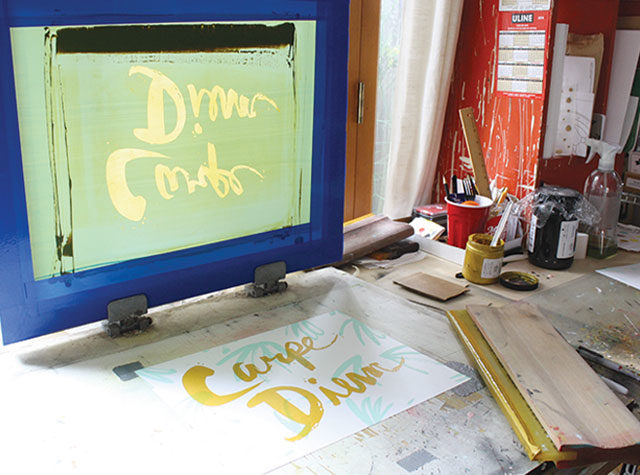
Behind the Stationery: The Paper Cub Co. / Oh So Beautiful Paper

I used to screen print each one of our greeting cards, one at a time, by hand. It was a great way to utilize my skills while building the brand and creating initial inventory. I could kind of see how designs performed and create products on demand. When I entered the wholesale market and volume became an issue, I decided to get some help.
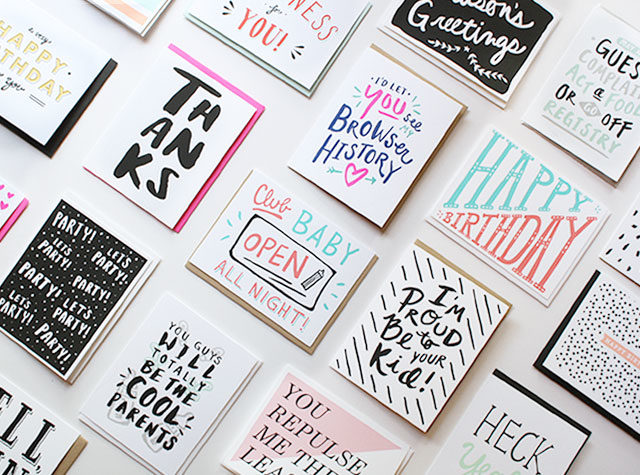
Behind the Stationery: The Paper Cub Co. / Oh So Beautiful Paper

Our friends over at Mama’s Sauce are amazing printers so it was a no-brainer to employ their screen printing services for our cards as they can fit many more designs per sheet. Since all they do is printing, they have access to bigger and better equipment and offer more professional-looking finishing services. Not to mention they are local and we can pop in for press checks or just to say hi! It’s a win-win. I still screen print our art prints and special projects, but the best decision I made was partnering with them for card printing as it leaves me with more time to design and market our brand.
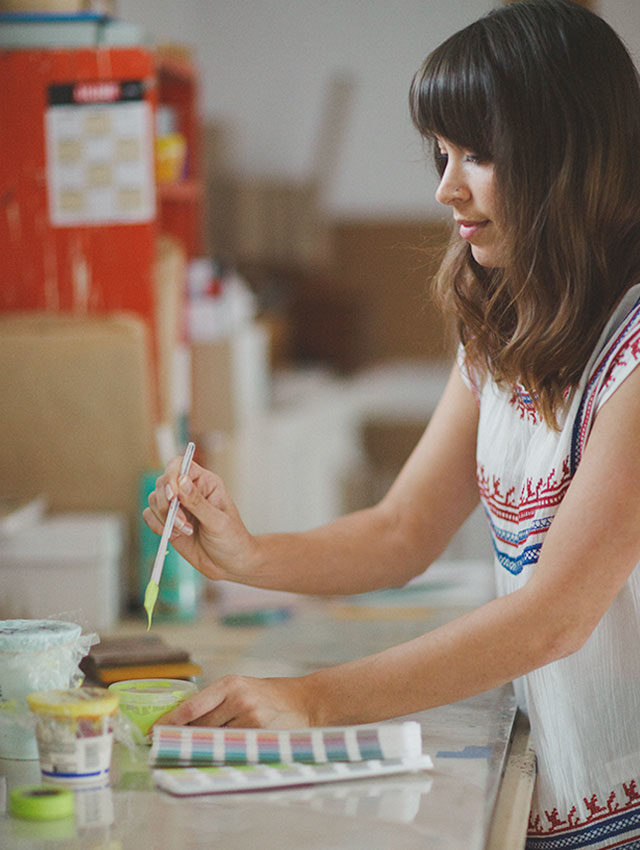
Behind the Stationery: The Paper Cub Co. / By the Robinsons / Oh So Beautiful PaperPhoto by By The Robinsons

Switching to outsourcing has taught me how to work smarter and to really get the most bang for my buck out of every business decision I make. You know, pay attention to margins and all that fun stuff. I was spending so much of my own time and valuable billable design hours being the manufacturer when it was more efficient for me to be the designer.

I now have the ability to take on more freelance and commissioned work, which pays more per hour than me printing my own stuff, and it has allowed me to grow more creatively. I’m truly glad that I did it all in the beginning because investing in inventory can be a calculated risk, but partnering with the right people to help you grow your business is equally as important. Just because you can do something doesn’t mean you always should!

Behind the Stationery: The Paper Cub Co. / By the Robinsons / Oh So Beautiful Paper

Photo by By The Robinsons

All photos by The Paper Cub Co. except where noted.

Interested in participating in the Behind the Stationery column? Reach out to Megan at megan[at]ohsobeautifulpaper.com for more details.

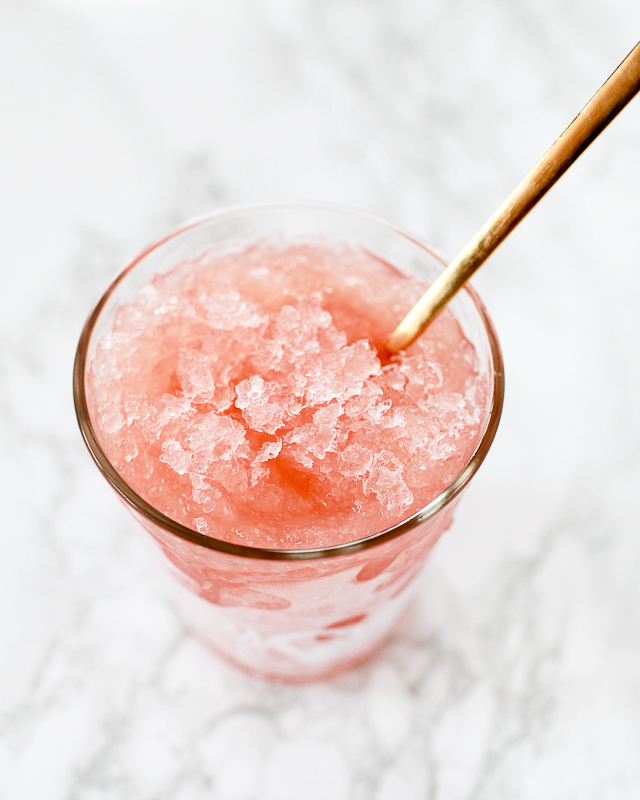
Frozen Cocktail Recipe: A Zombie Snow Cone

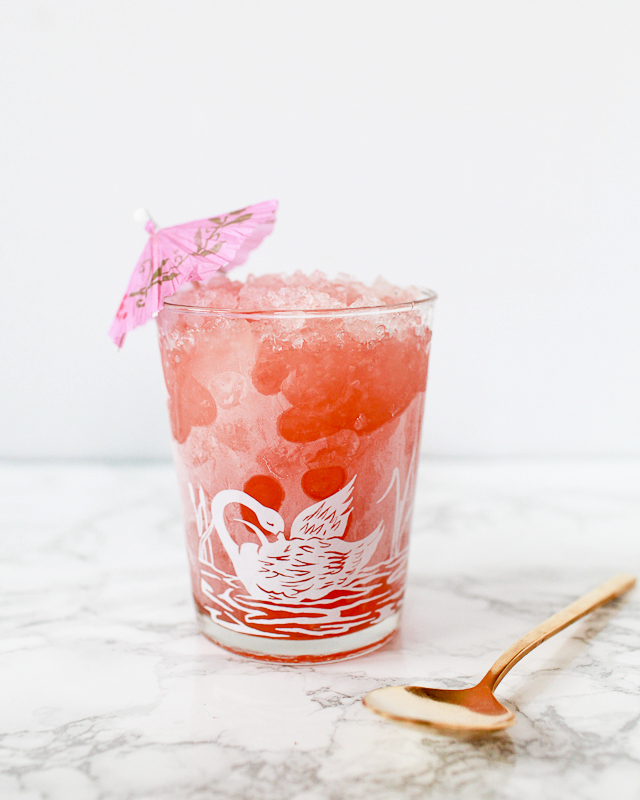
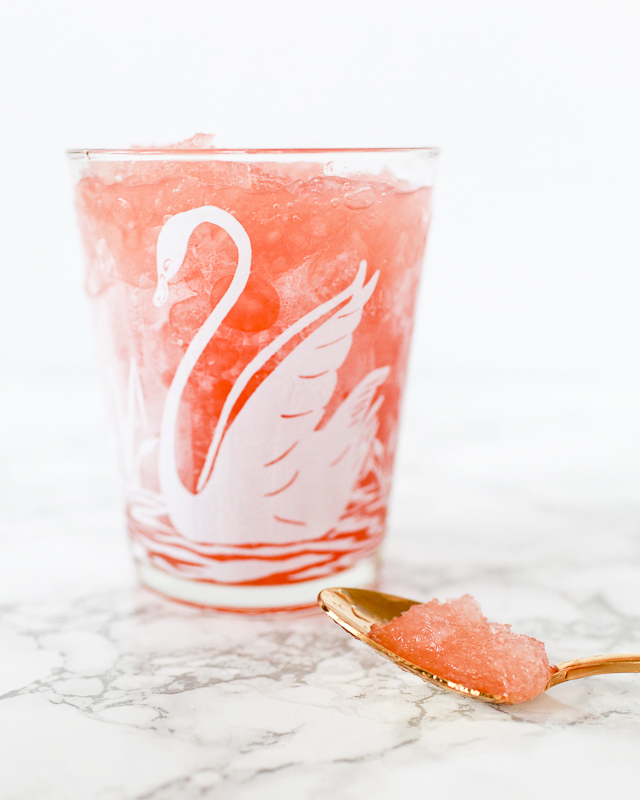
Do you own a snow cone machine? No? You might want to reconsider that. I’m generally not a fan of single-use gadgets, but this one might be worth an exception, especially if you’ve got kids because, come on. There’s really no other way to get the fluffy crushed ice you need for a real snow cone. But they don’t just have to be for the kids – they’re pretty fun for grown-ups, too. So pick one up and rock out an adult snow cone featuring the Zombie, a classic Tiki drink, before summer vanishes. – Andrew

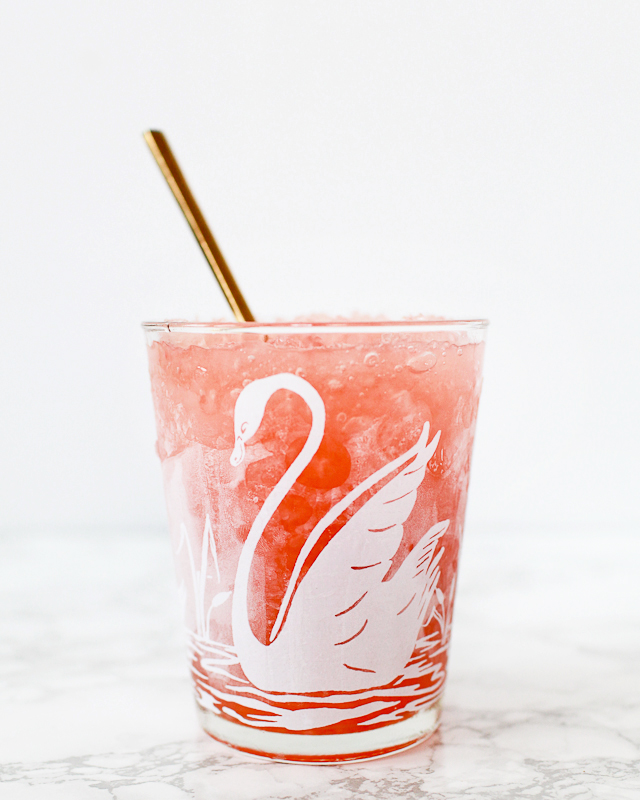
Zombie Cocktail Snow Cone Recipe / Liquorary for Oh So Beautiful Paper

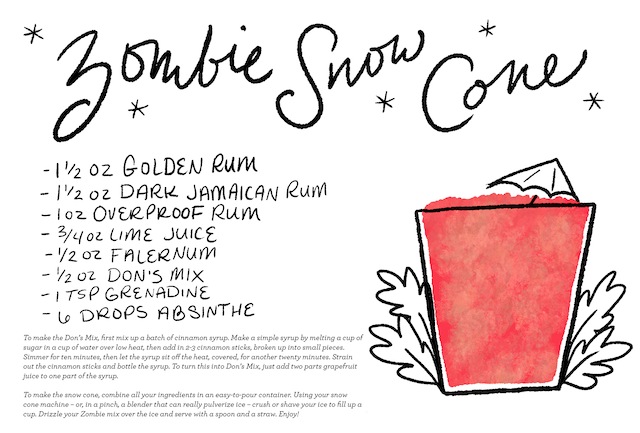
Zombie Snow Cone Cocktail Recipe Card / Illustration by Shauna Lynn for Oh So Beautiful Paper

Illustration by Shauna Lynn for Oh So Beautiful Paper

Zombie Snow Cone

1 1/2 oz Golden Rum
1 1/2 oz Dark Jamaican Rum
1 oz Overproof Rum
3/4 oz Lime Juice
1/2 oz Falernum
1/2 oz Don’s Mix
1 tsp Grenadine
6 drops Absinthe

To make the Don’s Mix, first mix up a batch of cinnamon syrup. Make a simple syrup by melting a cup of sugar in a cup of water over low heat, then add in 2-3 cinnamon sticks, broken up into small pieces. Simmer for ten minutes, then let the syrup sit off the heat, covered, for another twenty minutes. Strain out the cinnamon sticks and bottle the syrup. To turn this into Don’s Mix, just add two parts grapefruit juice to one part of the syrup.

To make the snow cone, combine all your ingredients in an easy-to-pour container. Using your snow cone machine – or, in a pinch, a blender that can really pulverize ice – crush or shave your ice to fill up a cup. Drizzle your Zombie mix over the ice and serve with a spoon and a straw. Enjoy!

Zombie Cocktail Snow Cone Recipe / Liquorary for Oh So Beautiful Paper

The Zombie is one of the very first classic Tiki drinks, dating back to 1934 when it was invented by Don the Beachcomber. It’s an intensely flavorful drink with lots of components bouncing off each other in really interesting ways. But it also packs a wallop. Just look at all that rum! Don himself had a rule of serving no more than two of these to any guest at his restaurant.

Zombie Cocktail Snow Cone Recipe / Liquorary for Oh So Beautiful Paper

Here’s something fun about the Zombie: Don kept his recipes close-hold, so that competing restaurants wouldn’t steal his drinks. This mean that his recipes were often written in code and that even his bartenders didn’t really know everything that went into a Zombie. The recipe was lost for years, but Jeff “Beachbum” Berry, a Tiki aficionado, managed to piece together the original in 2005 after years of searching. The last piece was, of course, the Don’s Mix, a cryptic reference that only now makes sense again.

Zombie Cocktail Snow Cone Recipe / Liquorary for Oh So Beautiful Paper

(Don’t forget to follow us on Instagram, where we’ve been posting our experiments before they make their way onto this column!)

Glassware by Liquorary

Photo Credits: Nole Garey for Oh So Beautiful Paper

Happy Weekend!

Happy Friday everyone! Today marks a big milestone – Sophie’s first day at preschool! Sophie has been in daycare since just after her first birthday, which after a rough transition period turned out to be an amazing experience for our entire family. She had some fantastic teachers and made her first real friends there, so we’re all feeling pretty emotional with this transition. But I keep telling myself that we’re not really saying goodbye since Alice will hopefully start at the same daycare soon. And we’re feeling good about Sophie’s preschool – we like her teachers and have already met some of the other kids in her class. My big girl is growing up so fast! Can we just ask the world to stop turning for a bit please? Well, in the meantime…

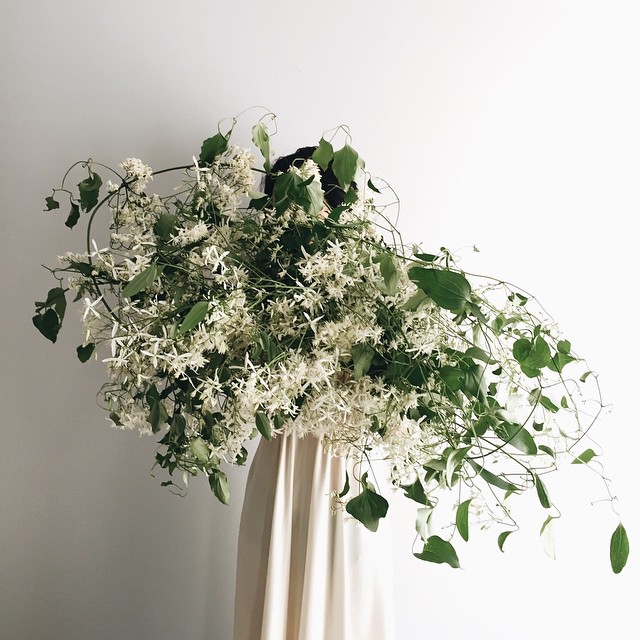
Autumn Clematis / Gossamer Vintage via Instagram

Photo by Gossamer Vintage via Instagram

…a few links for your weekend!

This week on Oh So Beautiful Paper: