Happy Friday everyone! With less than two months before the National Stationery Show, things are definitely kicking into high gear around here. I’m busy preparing for my annual Paper Party in May while also prepping a few fun projects that I’m hoping to share here soon! I’m looking forward to a couple of calm days this weekend before things truly transition to non-stop mode! But in the meantime…
Photo by Parrott Design Studio via Instagram
…a few links for your weekend!
- Share Trade
- Bostonians! Experience letterpress printing at Angela’s beautiful studio this weekend!
- This makes me so very happy (it’s only a few minutes from my house!)
- Maybe we just need a little more time (via Emily)
- Write On 2015!
- A peek behind the scenes of Gus & Ruby’s latest store window
- DIY Easter egg place cards
- This is my new favorite Spring shirt
This week on Oh So Beautiful Paper:
- A few favorite Spring cocktail recipes
- Illustrated wedding invitations inspired by The Giving Tree
- Behind the Stationery: Belle & Union
- Eclectic watercolor wedding invitations with feathers and gold foil
- Affordable illustrated wreath wedding invitations
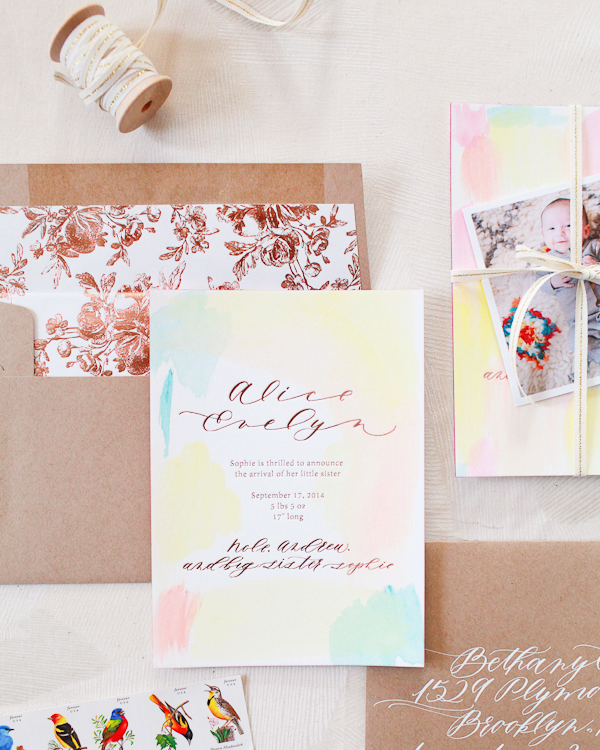
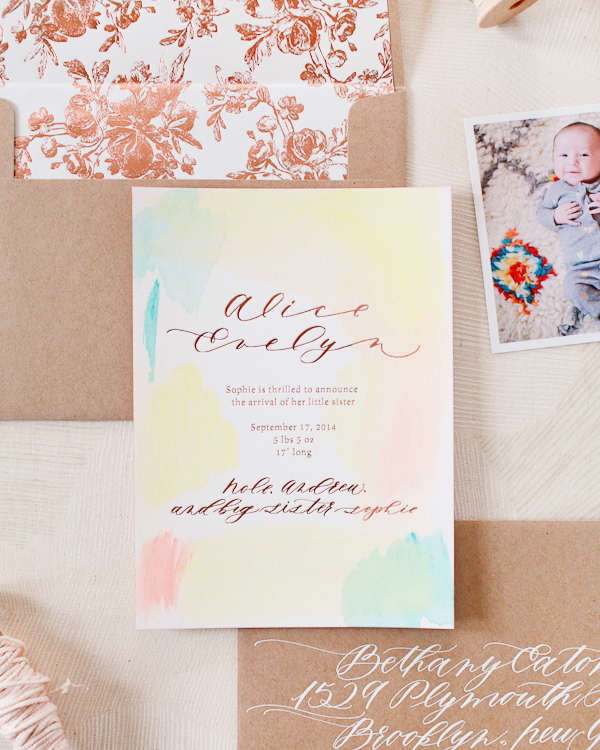
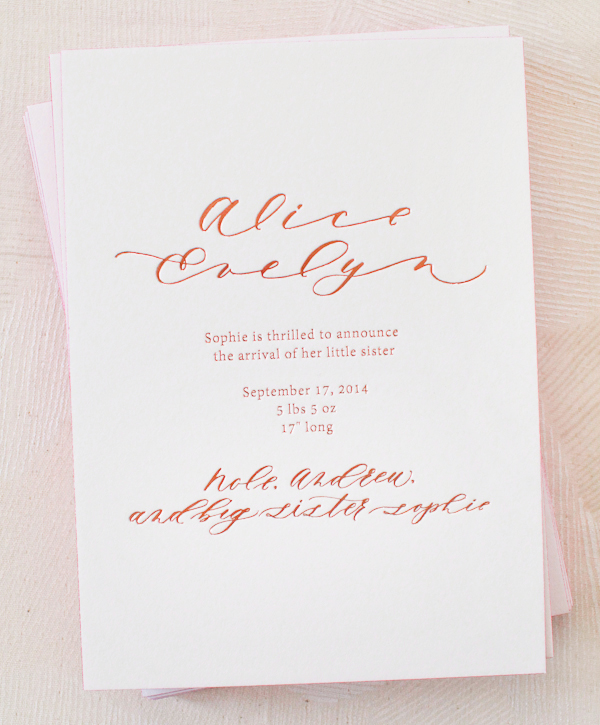
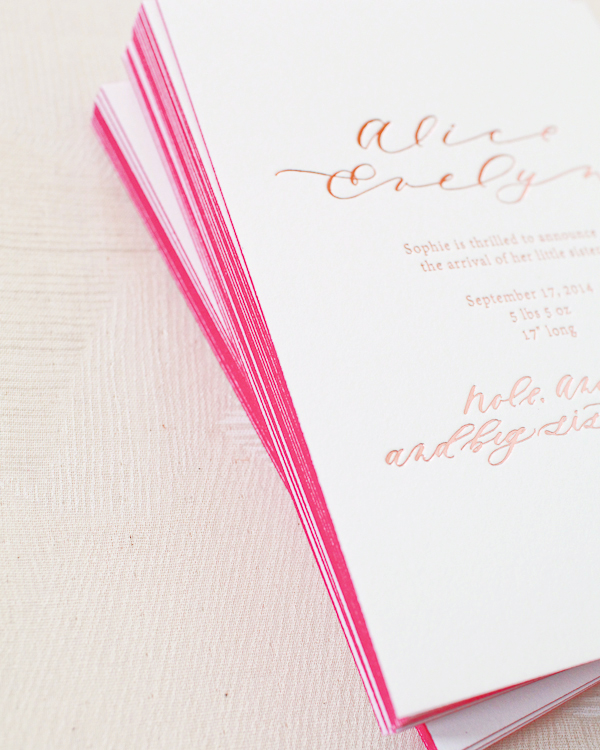
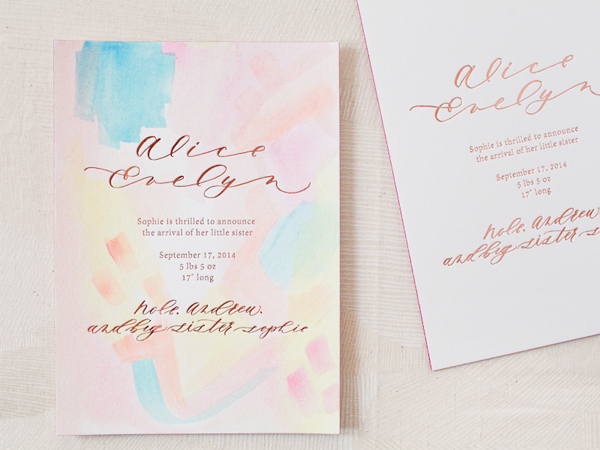
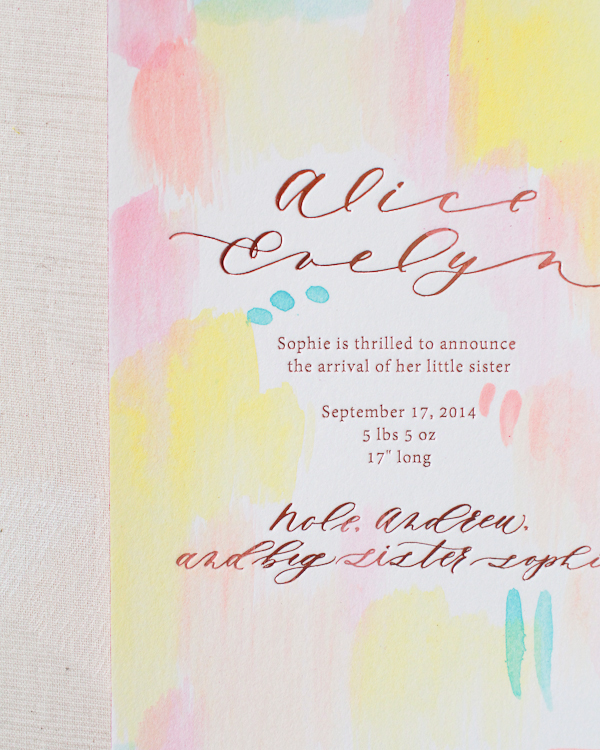
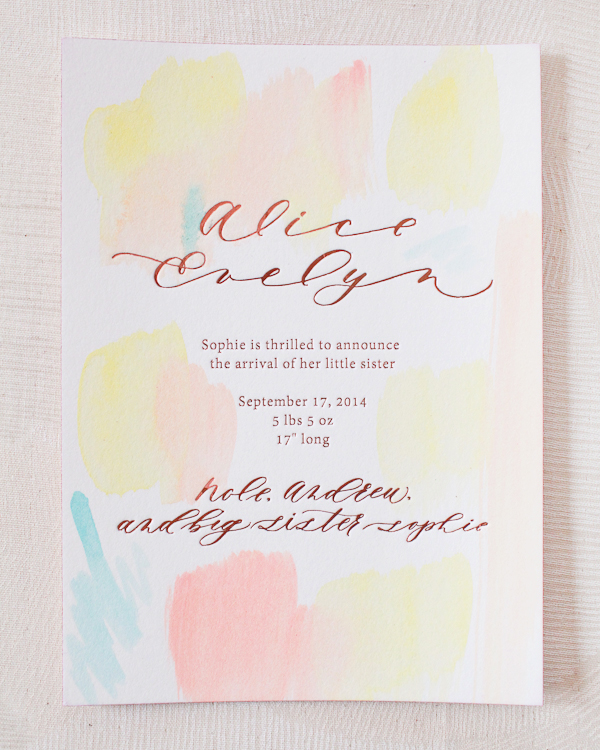
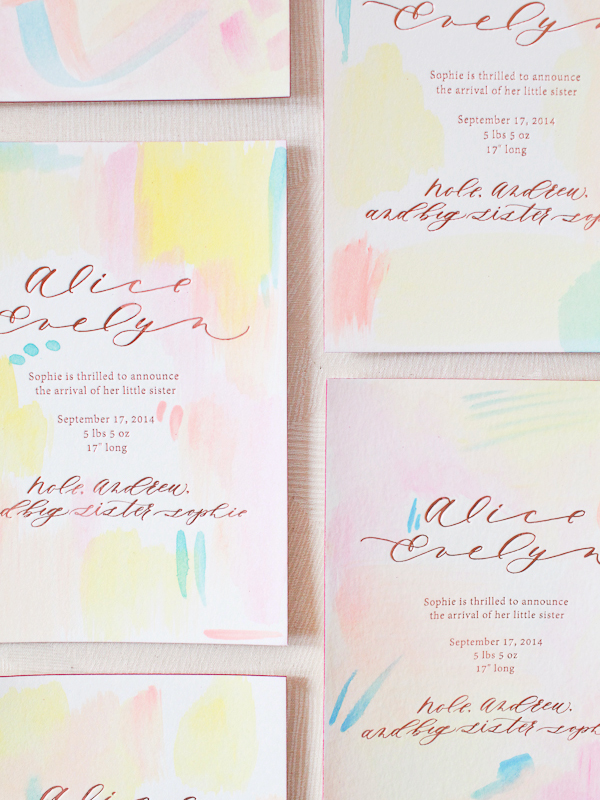
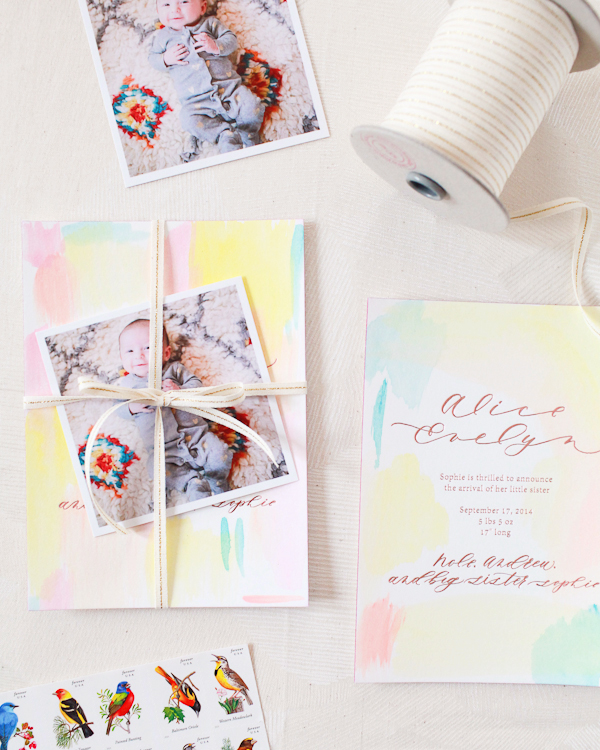
- Blush pink and gold baby announcements
- Hand lettered + illustrated plaid baby shower invitations
- Well Said Type: Rivea Twist
- Seasonal Stationery: Easter cards
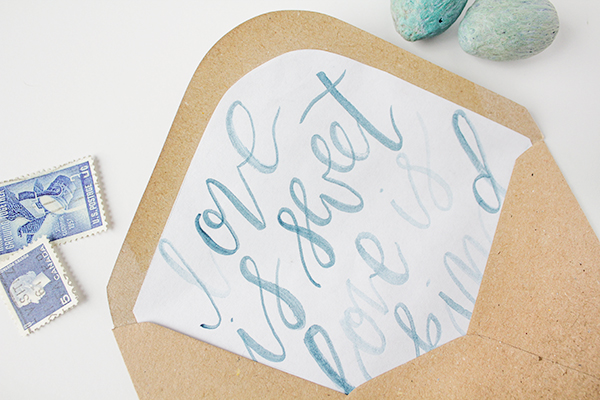
- Printable watercolor paper for envelope liners and place cards!
- Pretty (and vertical!) organization for your office: wall organizers
Check back this afternoon for this week’s cocktail recipe! Have a wonderful weekend, and I’ll see you back here on Monday! xoxo


