Happy Friday everyone! Â I got a wee bit of a head start on the weekend last night, when I went with this awesome lady to go see Mumford & Sons. Â It was my third time seeing them live and they put on an awesome show, so definitely worth being a bit more on the tired side today. Â Now I’m really anxious to get a move on the weekend, but in the meantime…
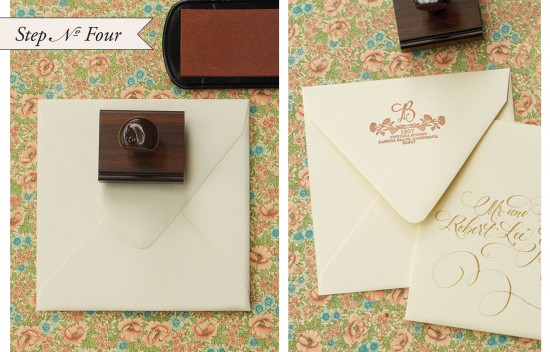
Letterpress from Naomie Ross on Vimeo, found via Pia Jane Bijkerk
…a few links for your weekend!
- Lovely sea-inspired watercolor save the dates
- Did you hear about this amazing giveaway on Oh Happy Day? Â (Go enter now!)
- Just in case you’re planning a party – check out these pretty napkins, and I also love these DC mapkins
- She takes the most stunning photos (and no retouching!)
- Beautiful DIY painted votive candles
- Congrats to Regas on the pretty new site!
- Thanks Vogue Australia!
- I just added a bunch of new items to my tag sale – check it out here
This week on Oh So Beautiful Paper:
- Take a look at our moving announcements
- Chevron stripe + kraft paper save the dates
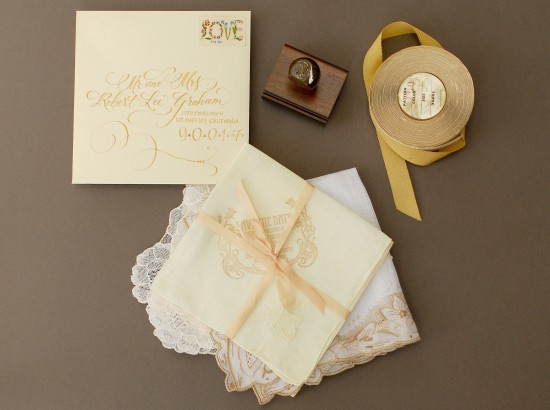
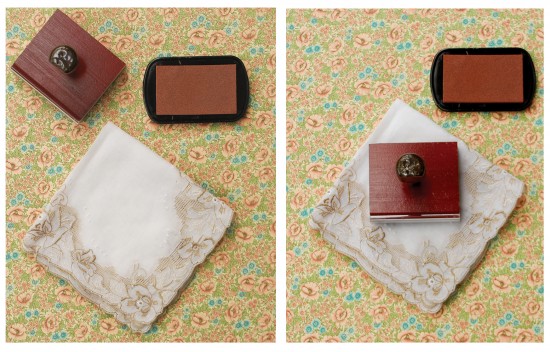
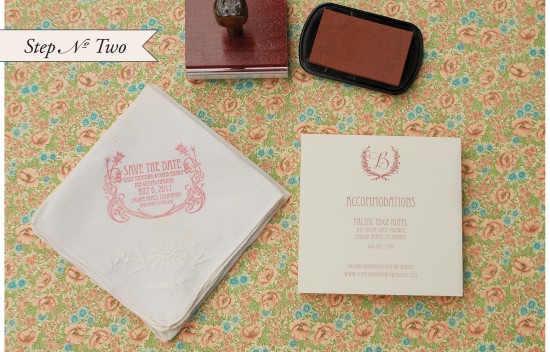
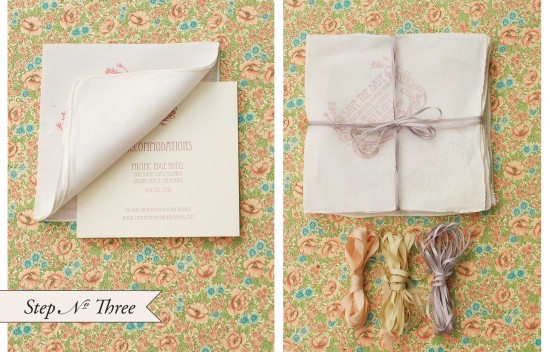
- DIY your own handkerchief invitations!
- A few more Father’s Day cards to consider
- Sweet + simple save the dates
- Southern magnolia bridal luncheon invitations
- Beautiful limited edition art prints just in time for summer
- I’d love to write letters on this custom stationery
That’s it for me this week! Â I hope you all have a wonderful weekend, and I’ll see you back here on Monday! xoxo


