DIY Matisse-Inspired Ornaments

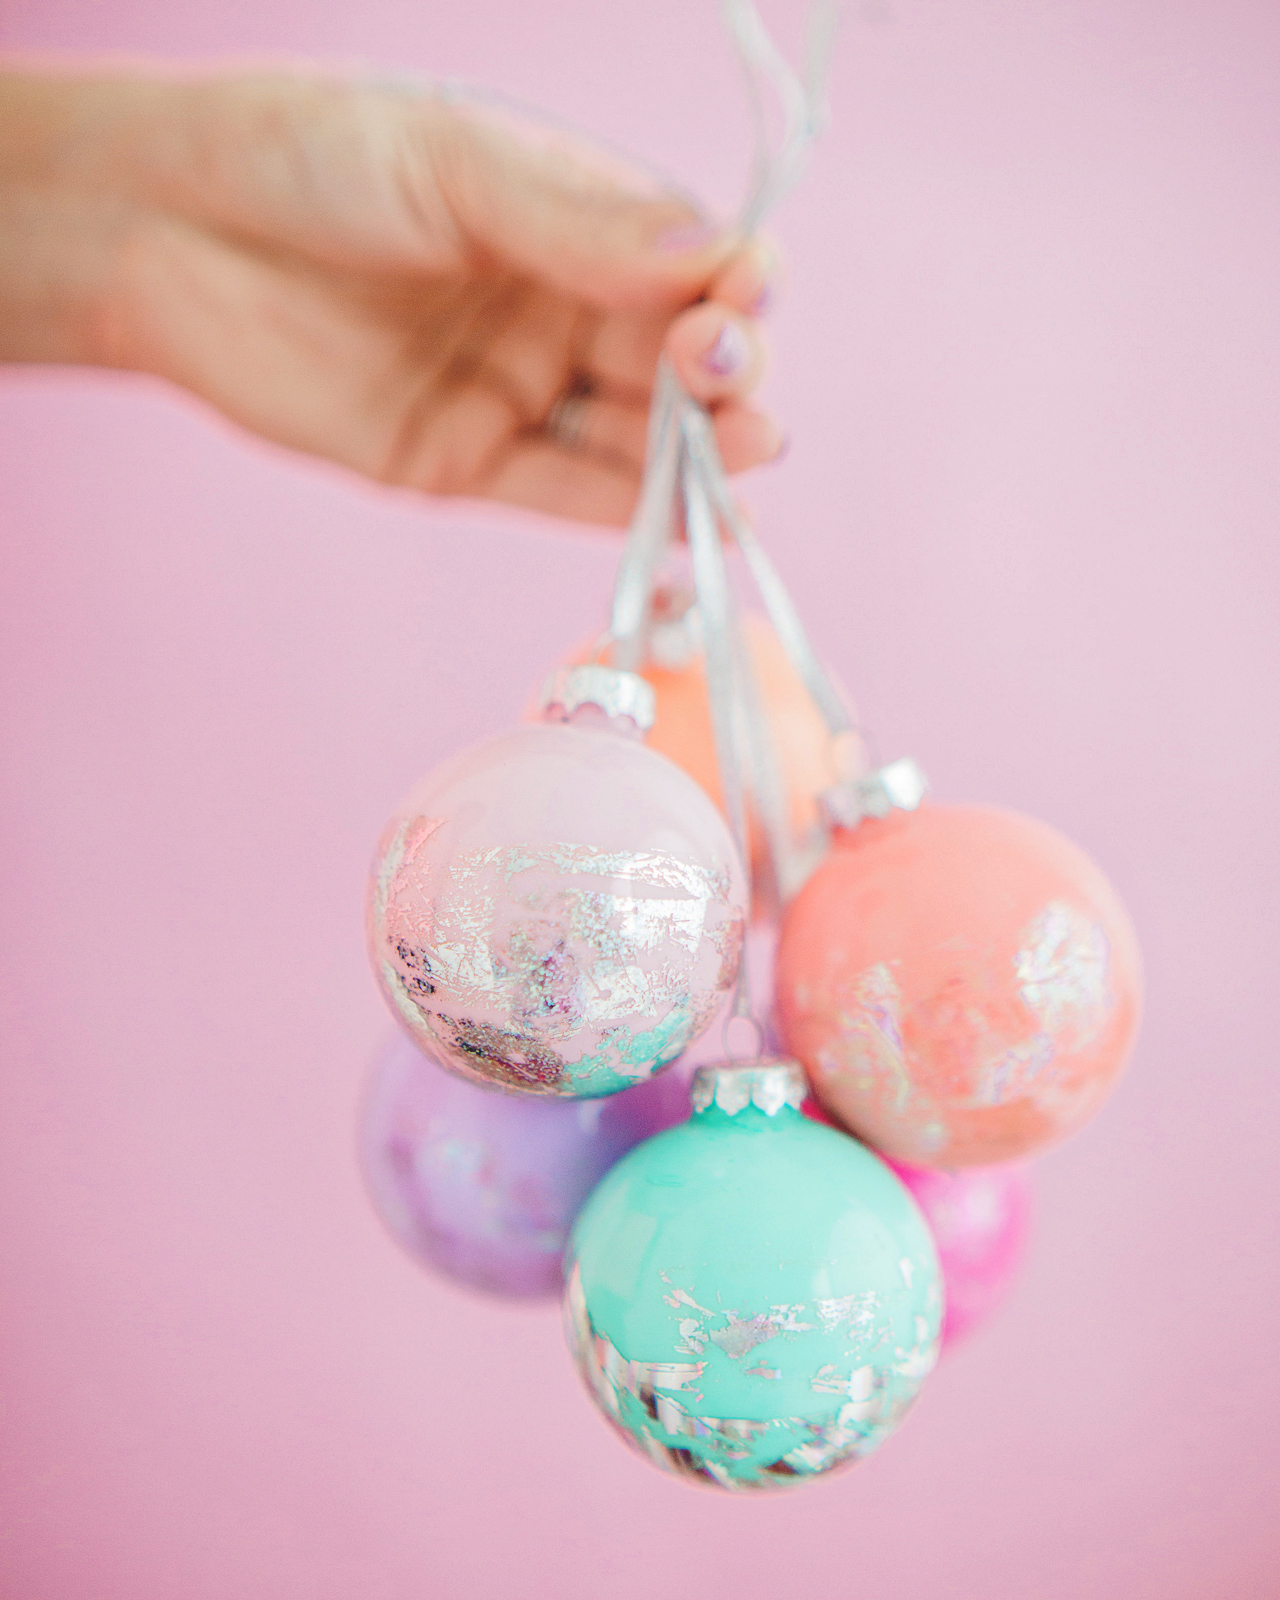
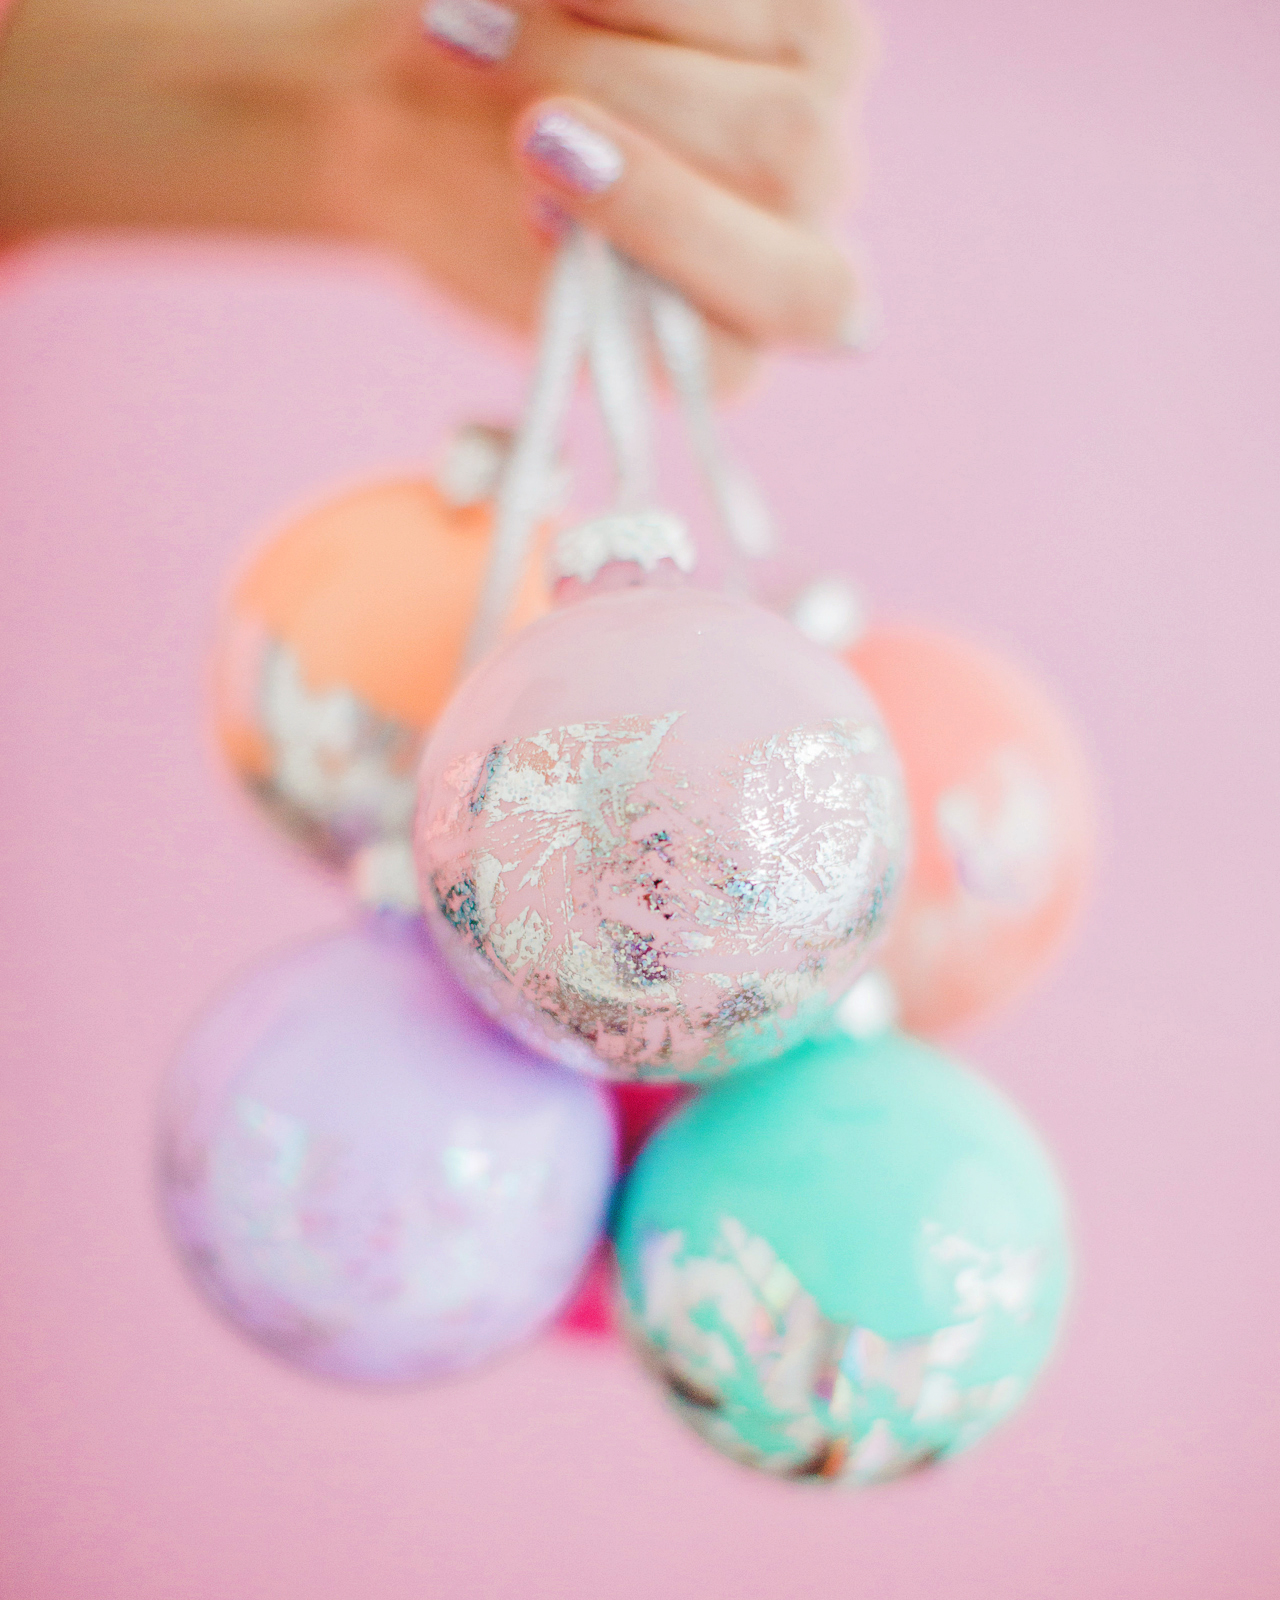
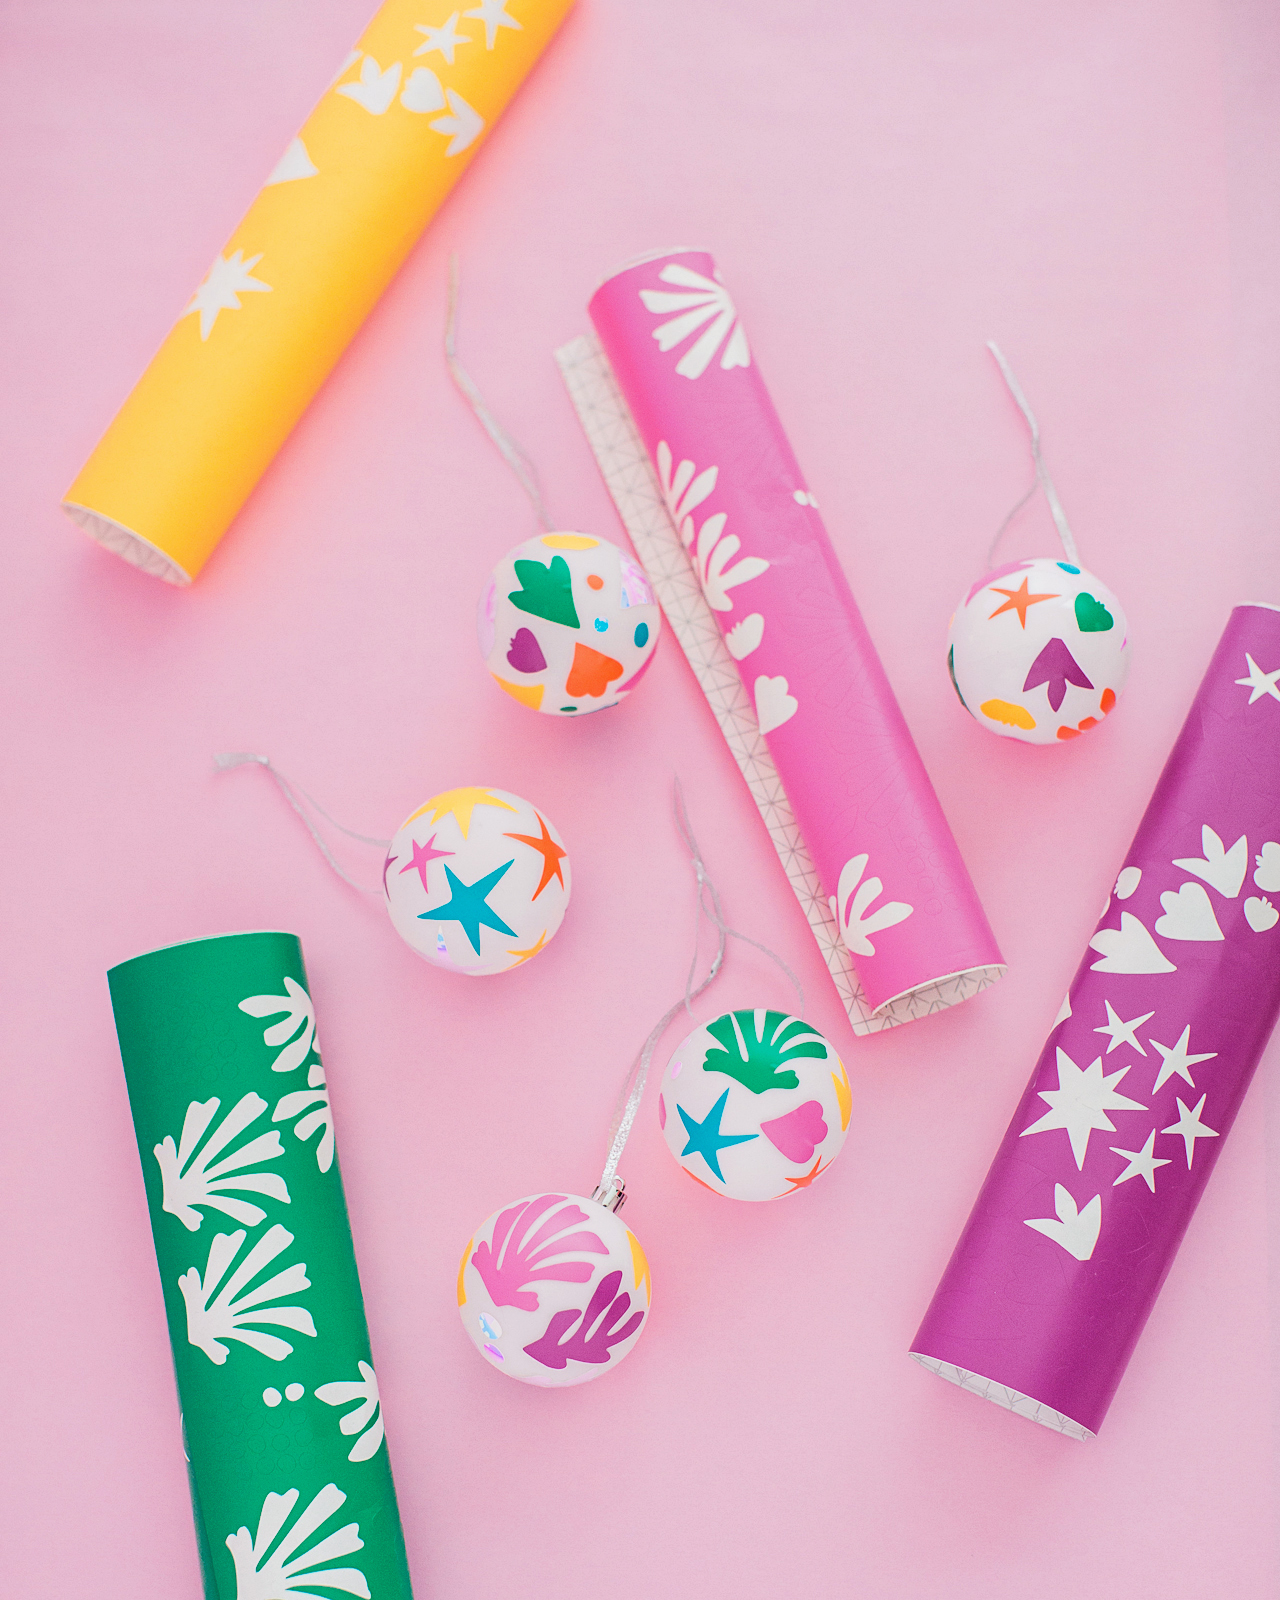
Remember the Matisse-inspired pumpkins that I made back in October? Well, I’m back at it with DIY Matisse-inspired ornaments! I had some solid white ornaments from Target that needed a bit of dressing up and I happened to have a few leftover Matisse-inspired shapes from when I made the pumpkins back in October, so I decided to stick a few shapes onto the white ornaments – and ta da! I’m loving the pops of color against the matte white ornaments, but you could definitely make these with any color ornaments. These DIY Matisse-inspired ornaments are super easy to make, are a really fun way to add some color to your Christmas tree, and they’re also a fun project for little helpers. I’m sharing my template below so you can make your own!

DIY Matisse-Inspired Ornaments

DIY Matisse-Inspired Ornaments

DIY Matisse-Inspired Ornaments

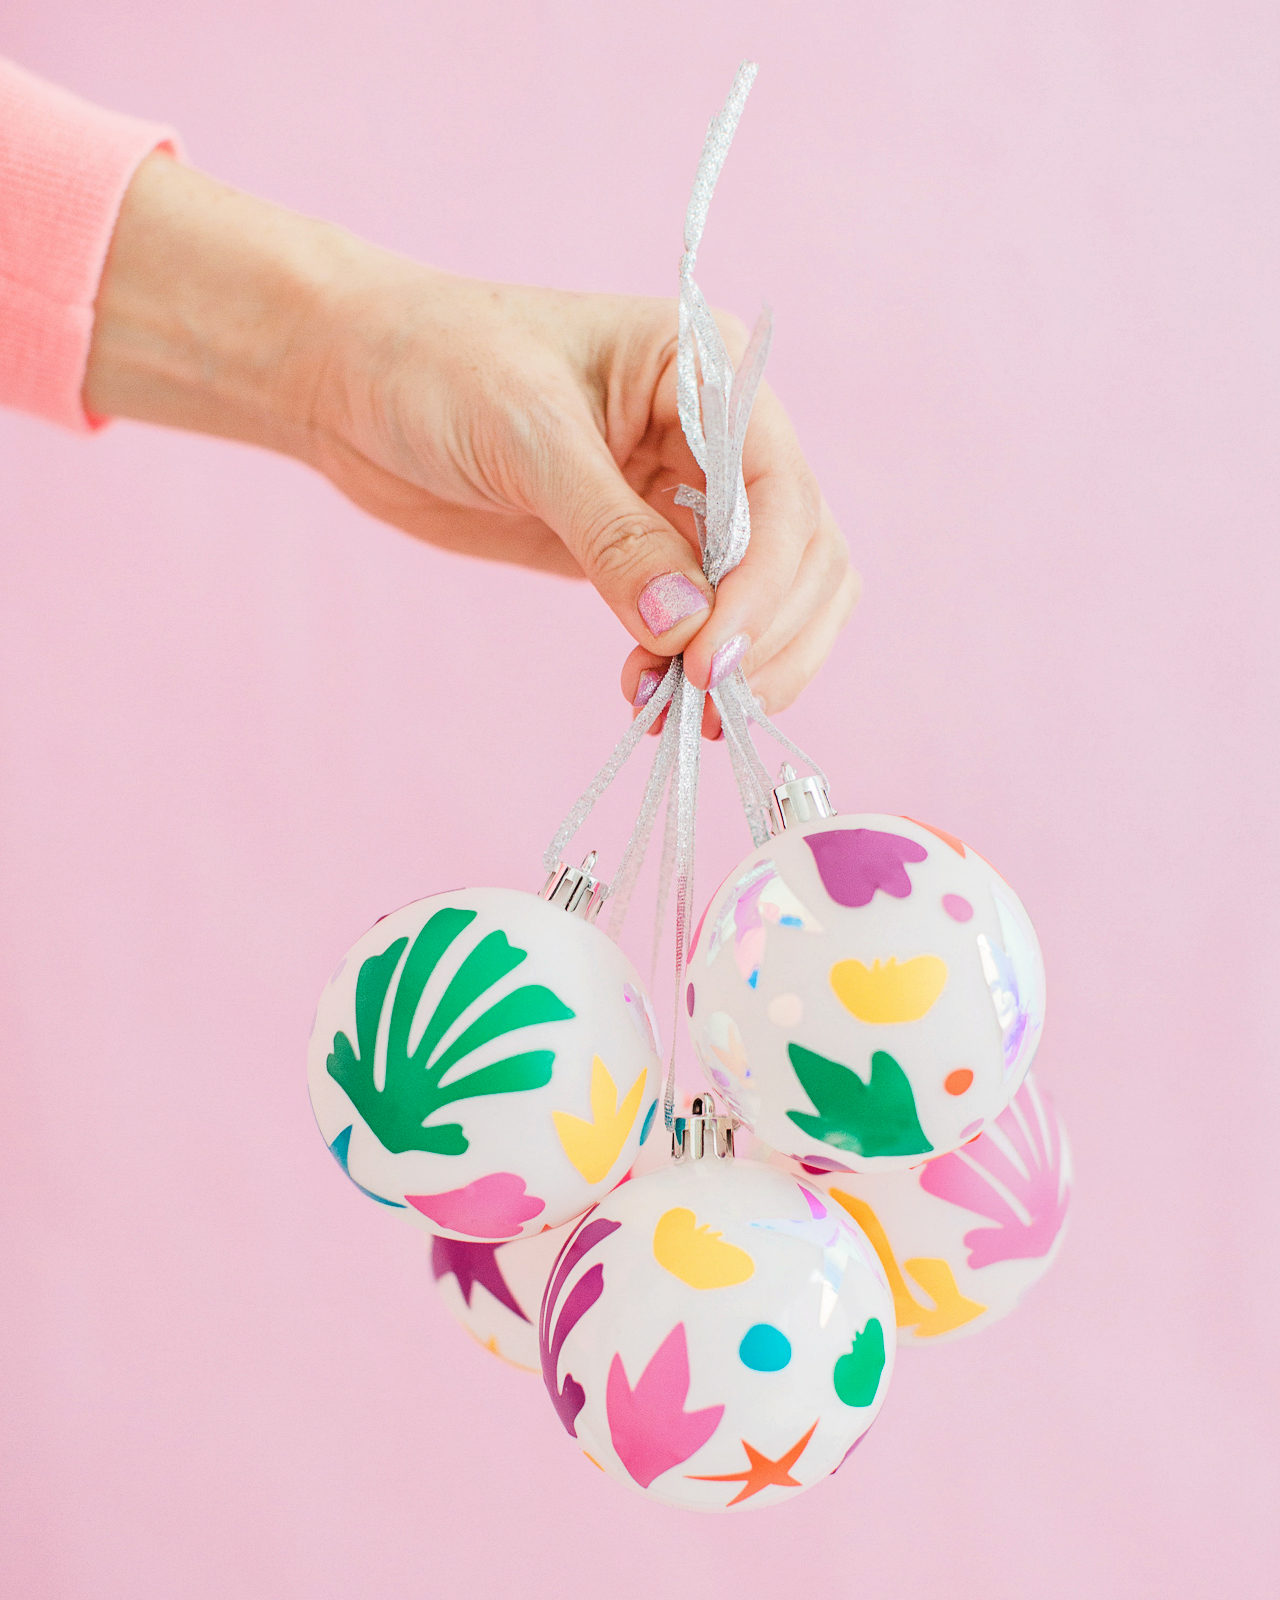
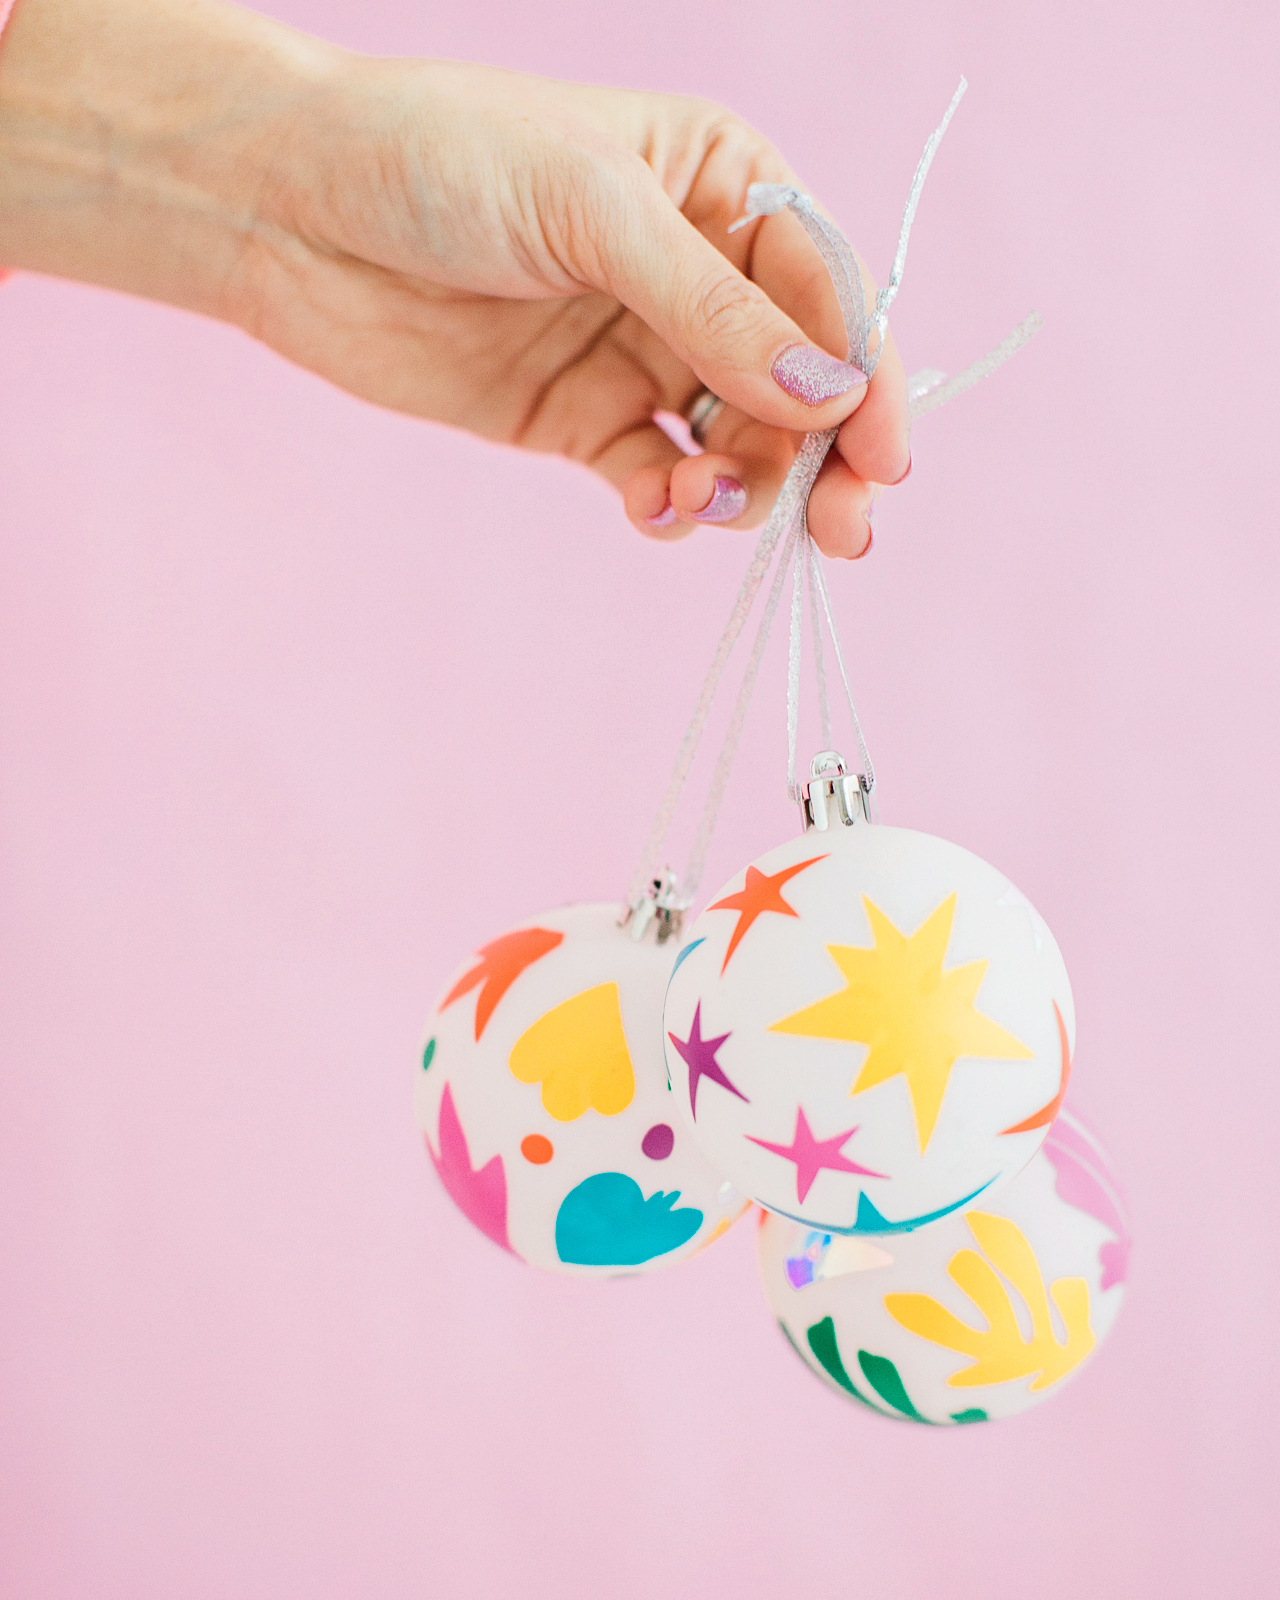
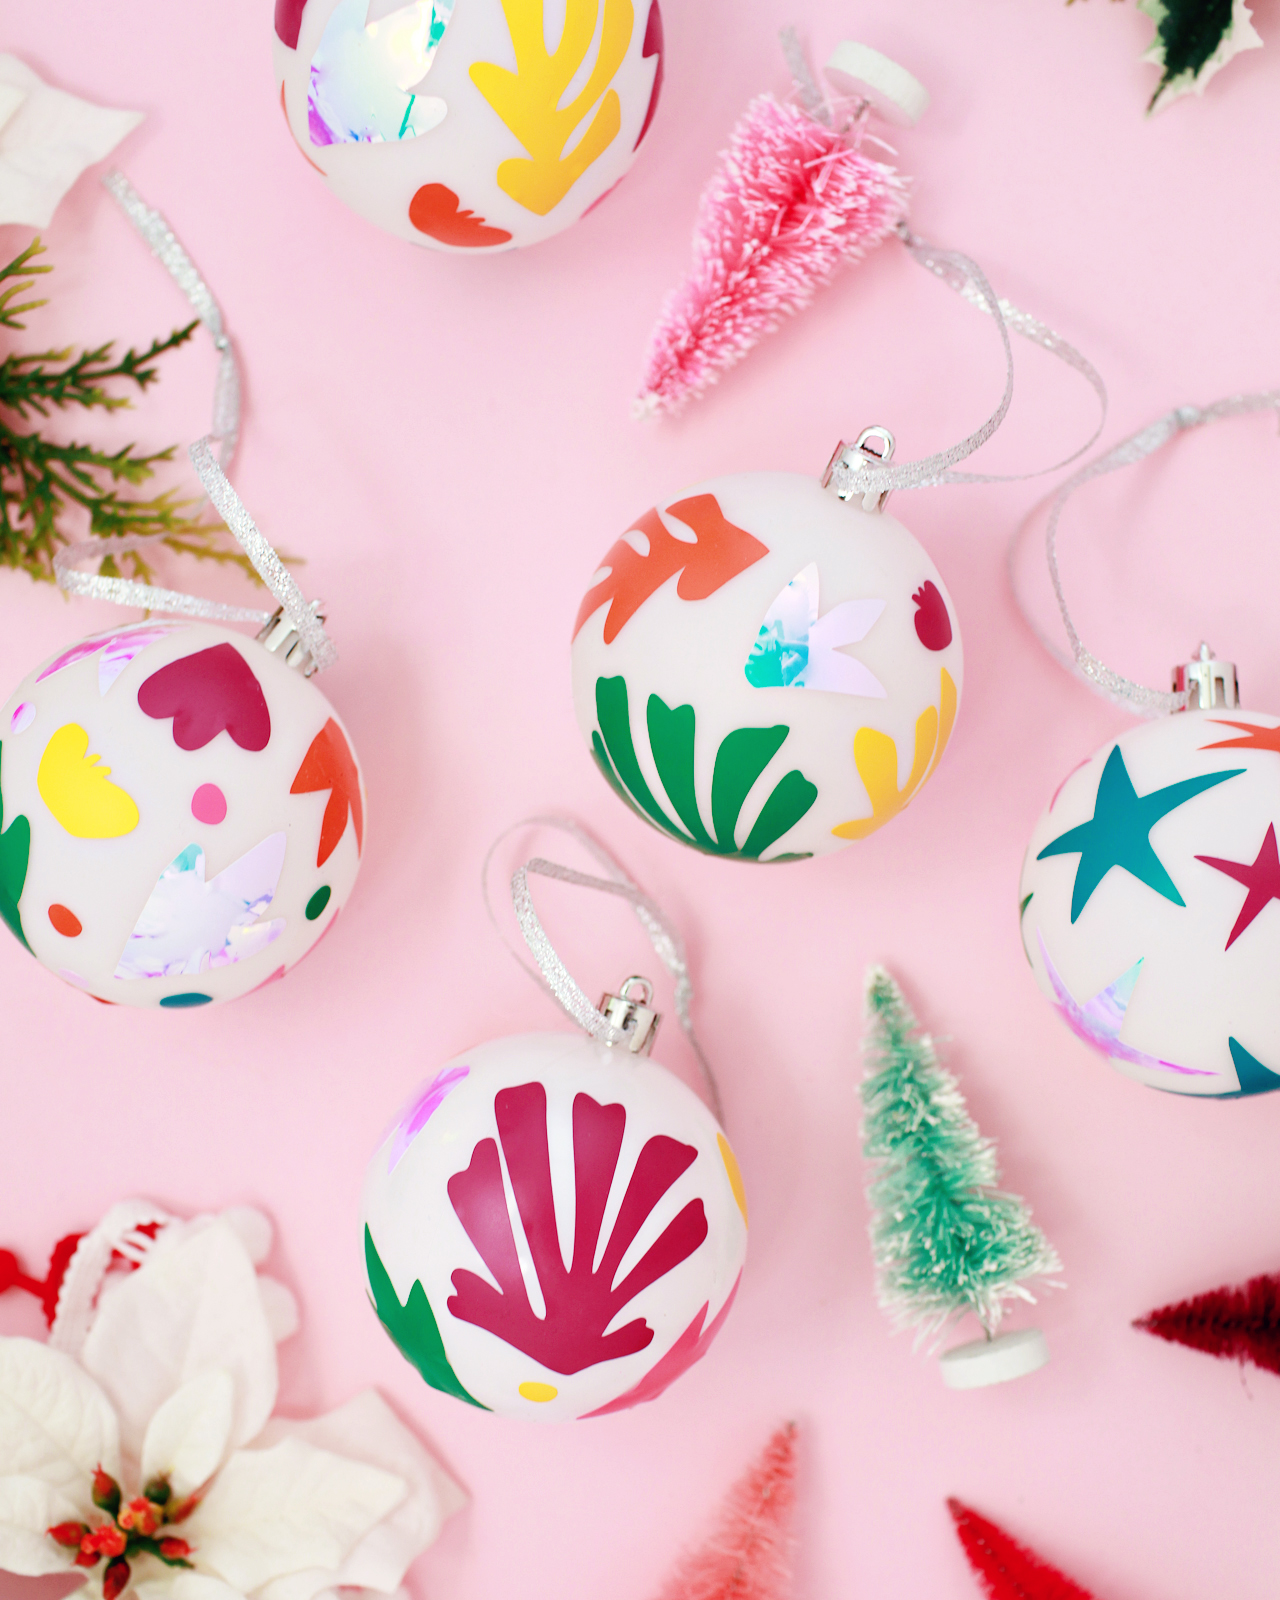
When I did the pumpkins back in October, I used a mix of large and small Matisse-inspired shapes. Since ornaments are even smaller than the tiny pumpkins, we’ll just use the small shapes for this project. I also experimented with a couple ornaments that were all just one shape, like stars, but I really prefer the ornaments that combine all the shapes in a random pattern. These Matisse-inspired shapes are just so lovely when all mixed together!

DIY Matisse-Inspired Ornaments

DIY Matisse-Inspired Ornaments

Supplies

Solid color ornaments, either plastic or glass

Matte craft vinyl in a variety of colors – I used pink, orange, yellow, green, teal, purple

Opalescent vinyl (optional – but I love the way it looks!)

Silhouette Cameo or Cricut Explore cutting machine

Note: If you don’t have one of those machines, you can still use our template to trace the shapes onto the vinyl and cut the shapes out by hand – but it will go a LOT faster with a cutting machine. You can download our templates at the bottom of the post!

DIY Matisse-Inspired Ornaments

DIY Matisse-Inspired Ornaments

To make the DIY Matisse-inspired ornaments:

Step 1. Download our templates at the bottom of the post and use your Silhouette Cameo or Cricut to cut the shapes from each color of vinyl. You can do a colorful rainbow like I did – or keep things simple with just one or two colors!

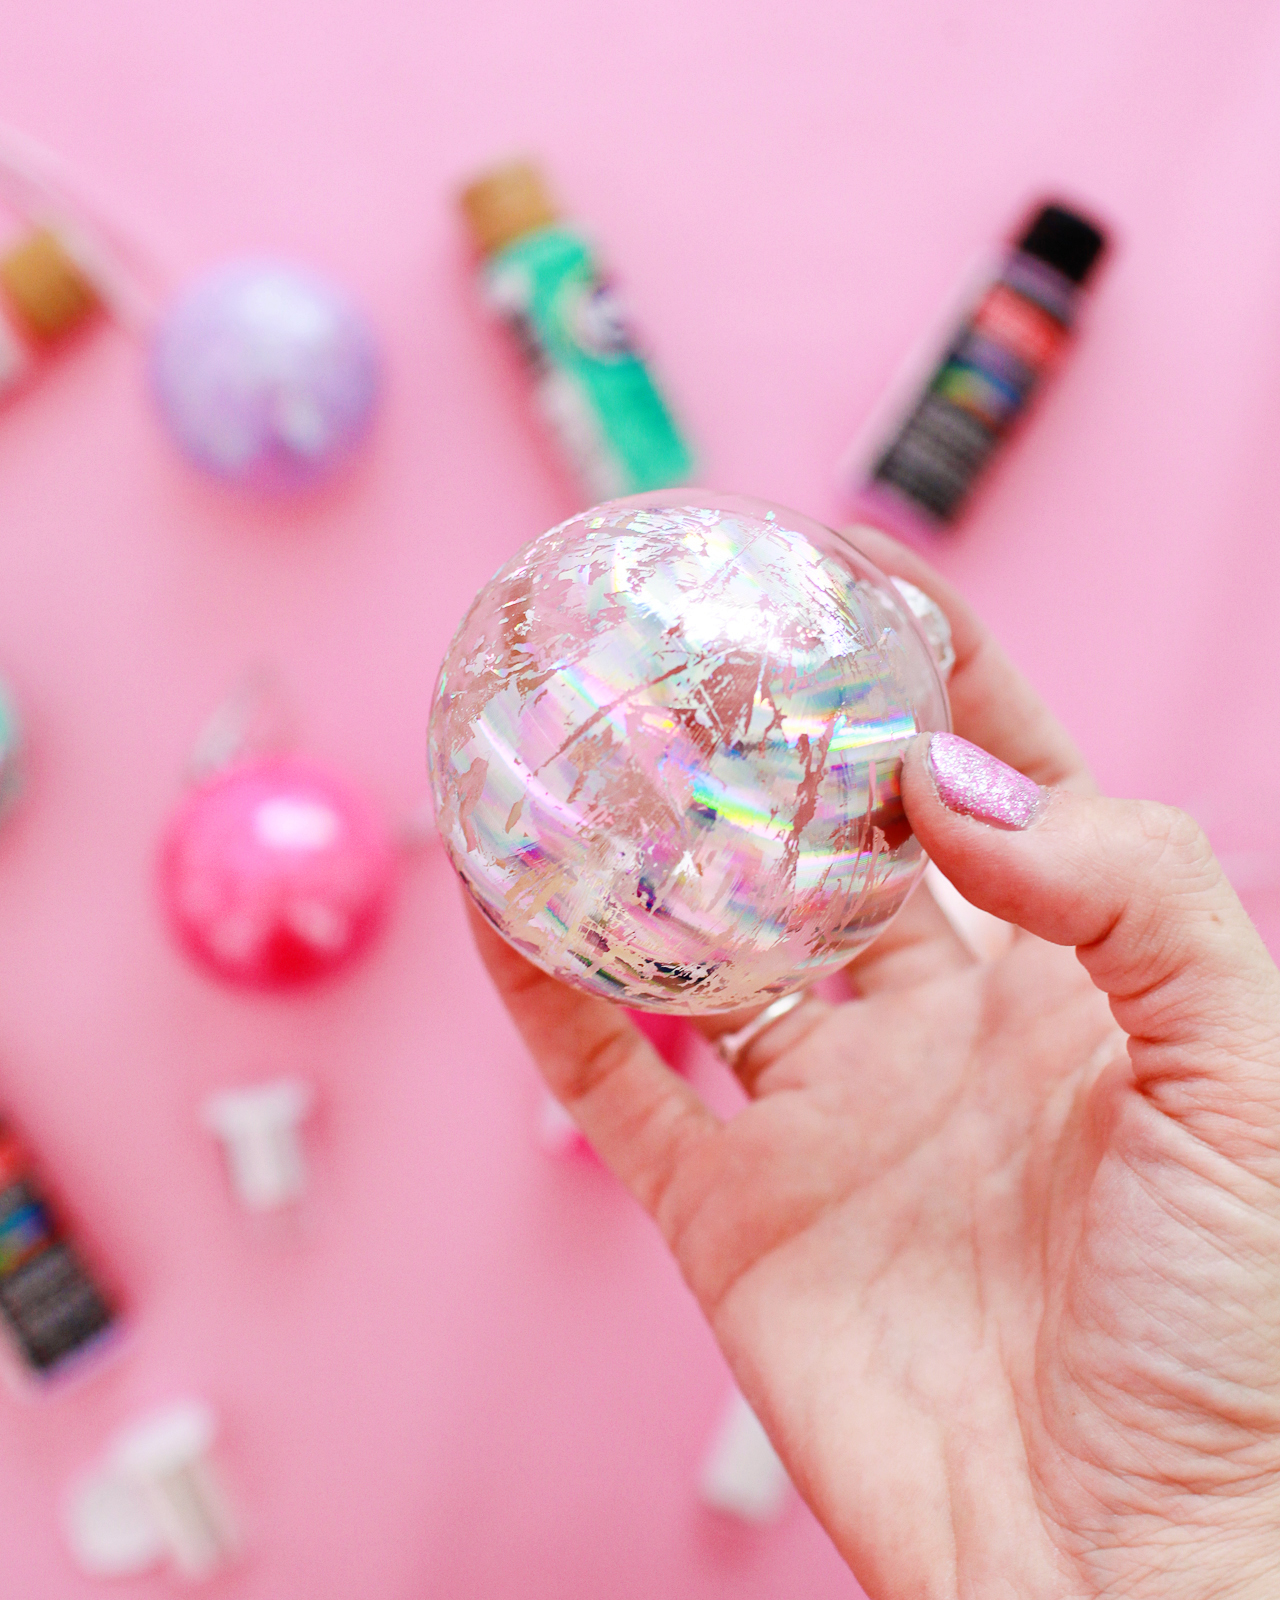
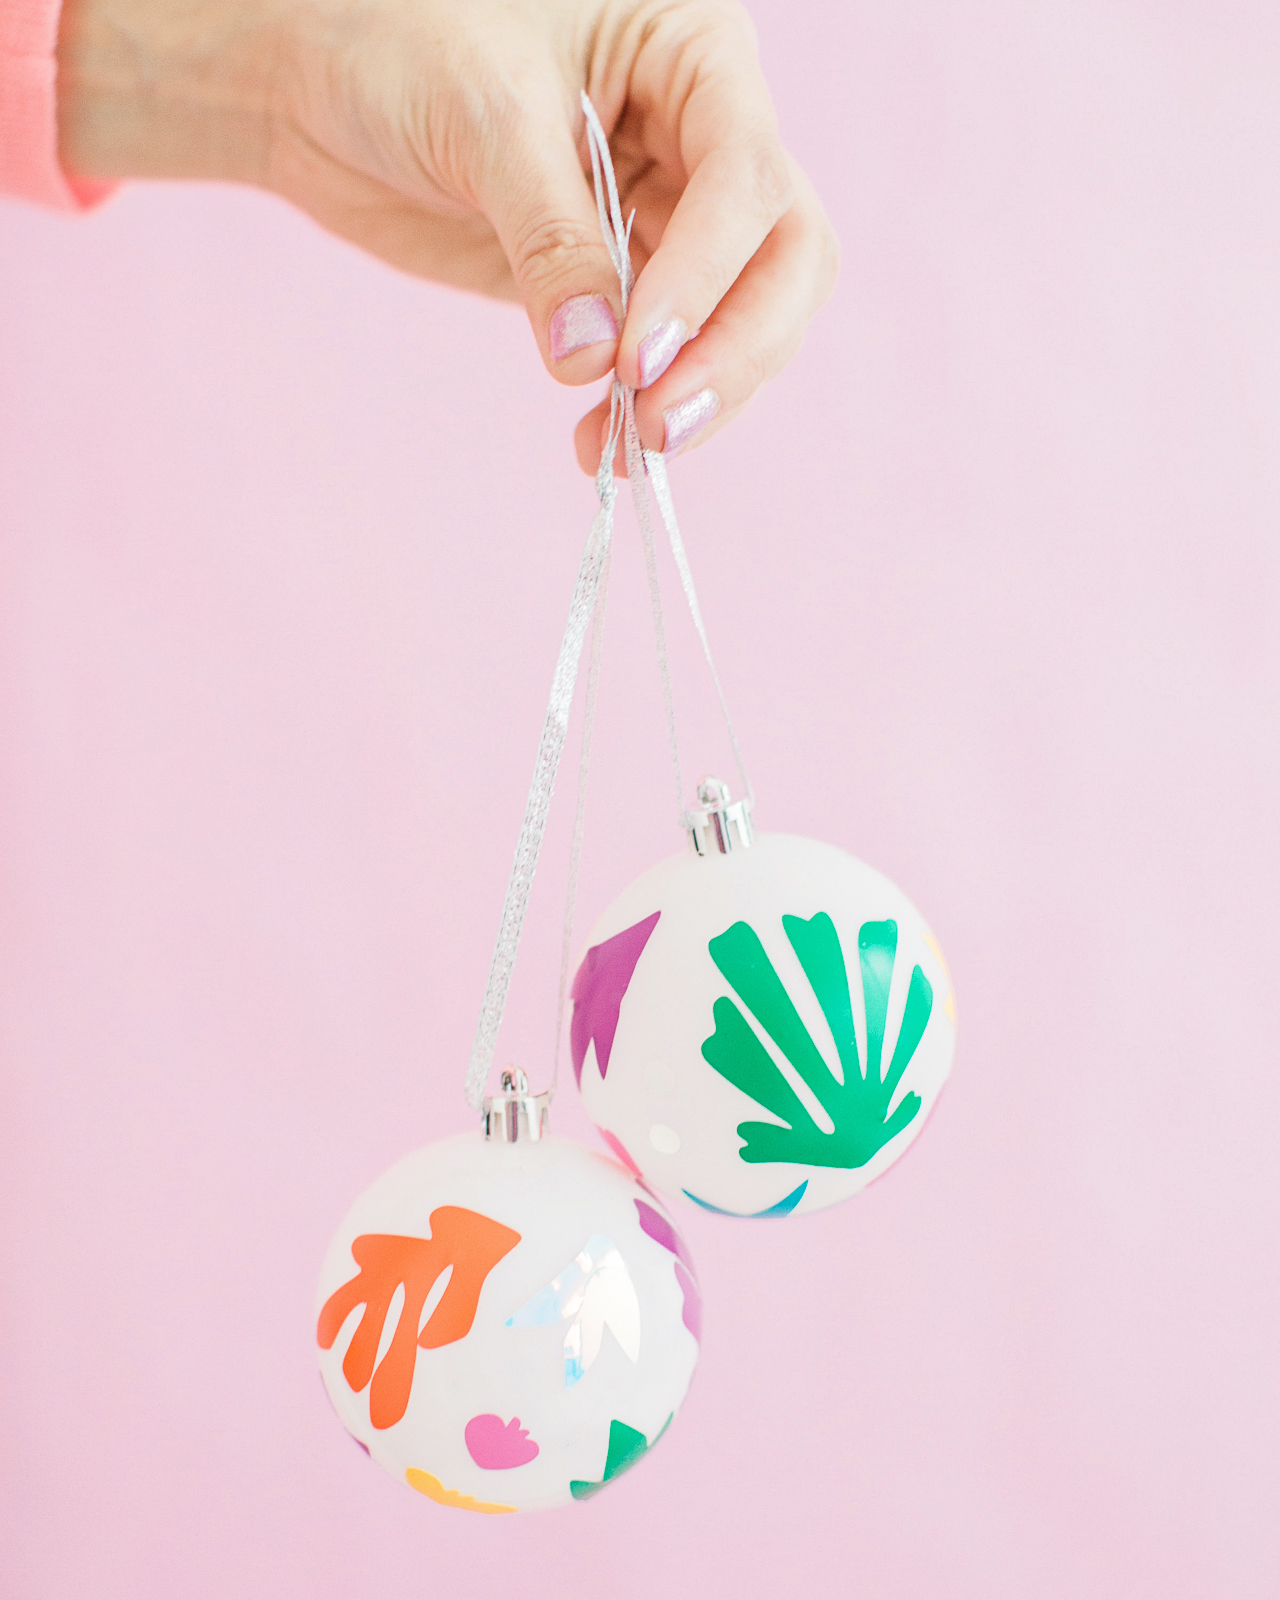
Step 2. Carefully peel individual shapes from the adhesive backing and apply to the ornaments like a sticker. I found it easiest to start with two of the larger shapes on either side of the ornament, then fill in with the smaller shapes in between. If you place a shape and then change your mind, you should be able to move it by very carefully peeling the vinyl from the ornament and moving it to a new spot (I did this a few times!).

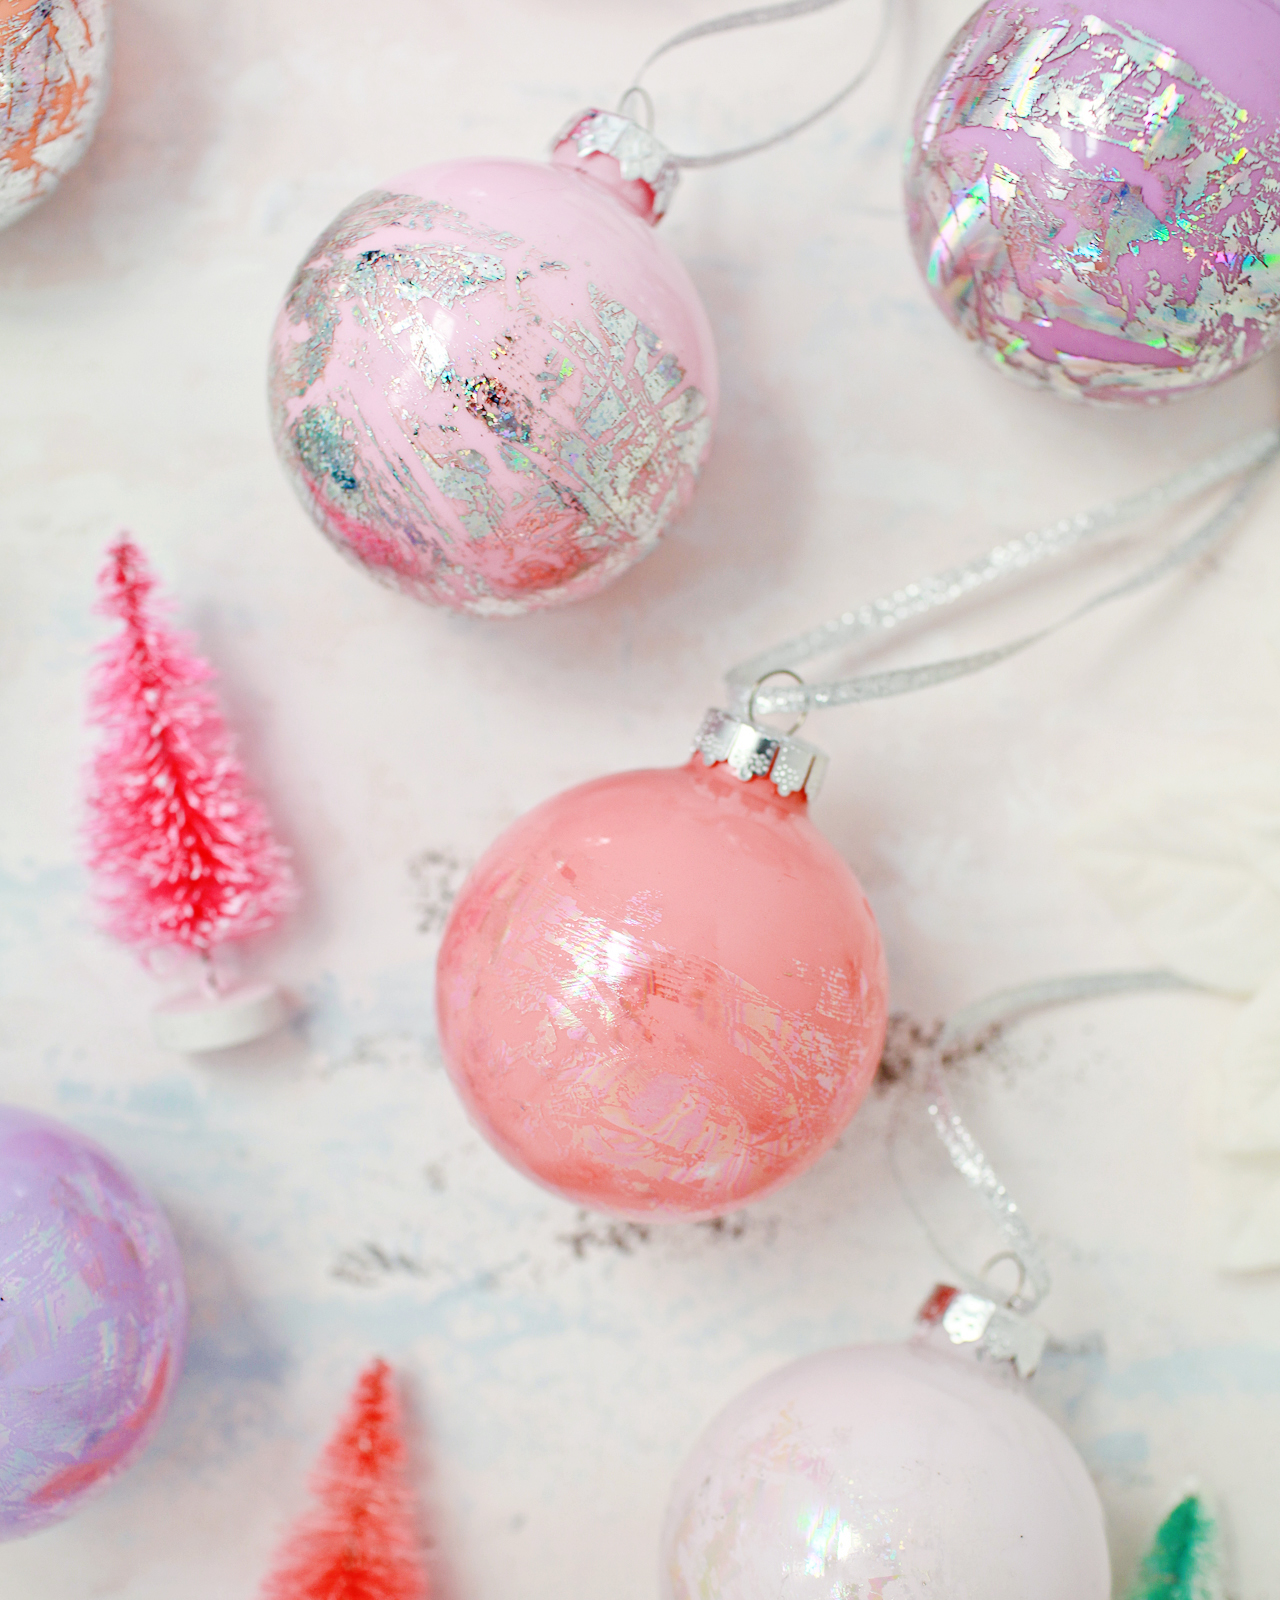
Step 3. Continue placing vinyl shapes until you’ve covered all of your ornaments, and enjoy!

DIY Matisse-Inspired Ornaments

DIY Matisse-Inspired Ornaments

DIY Matisse-Inspired Ornaments


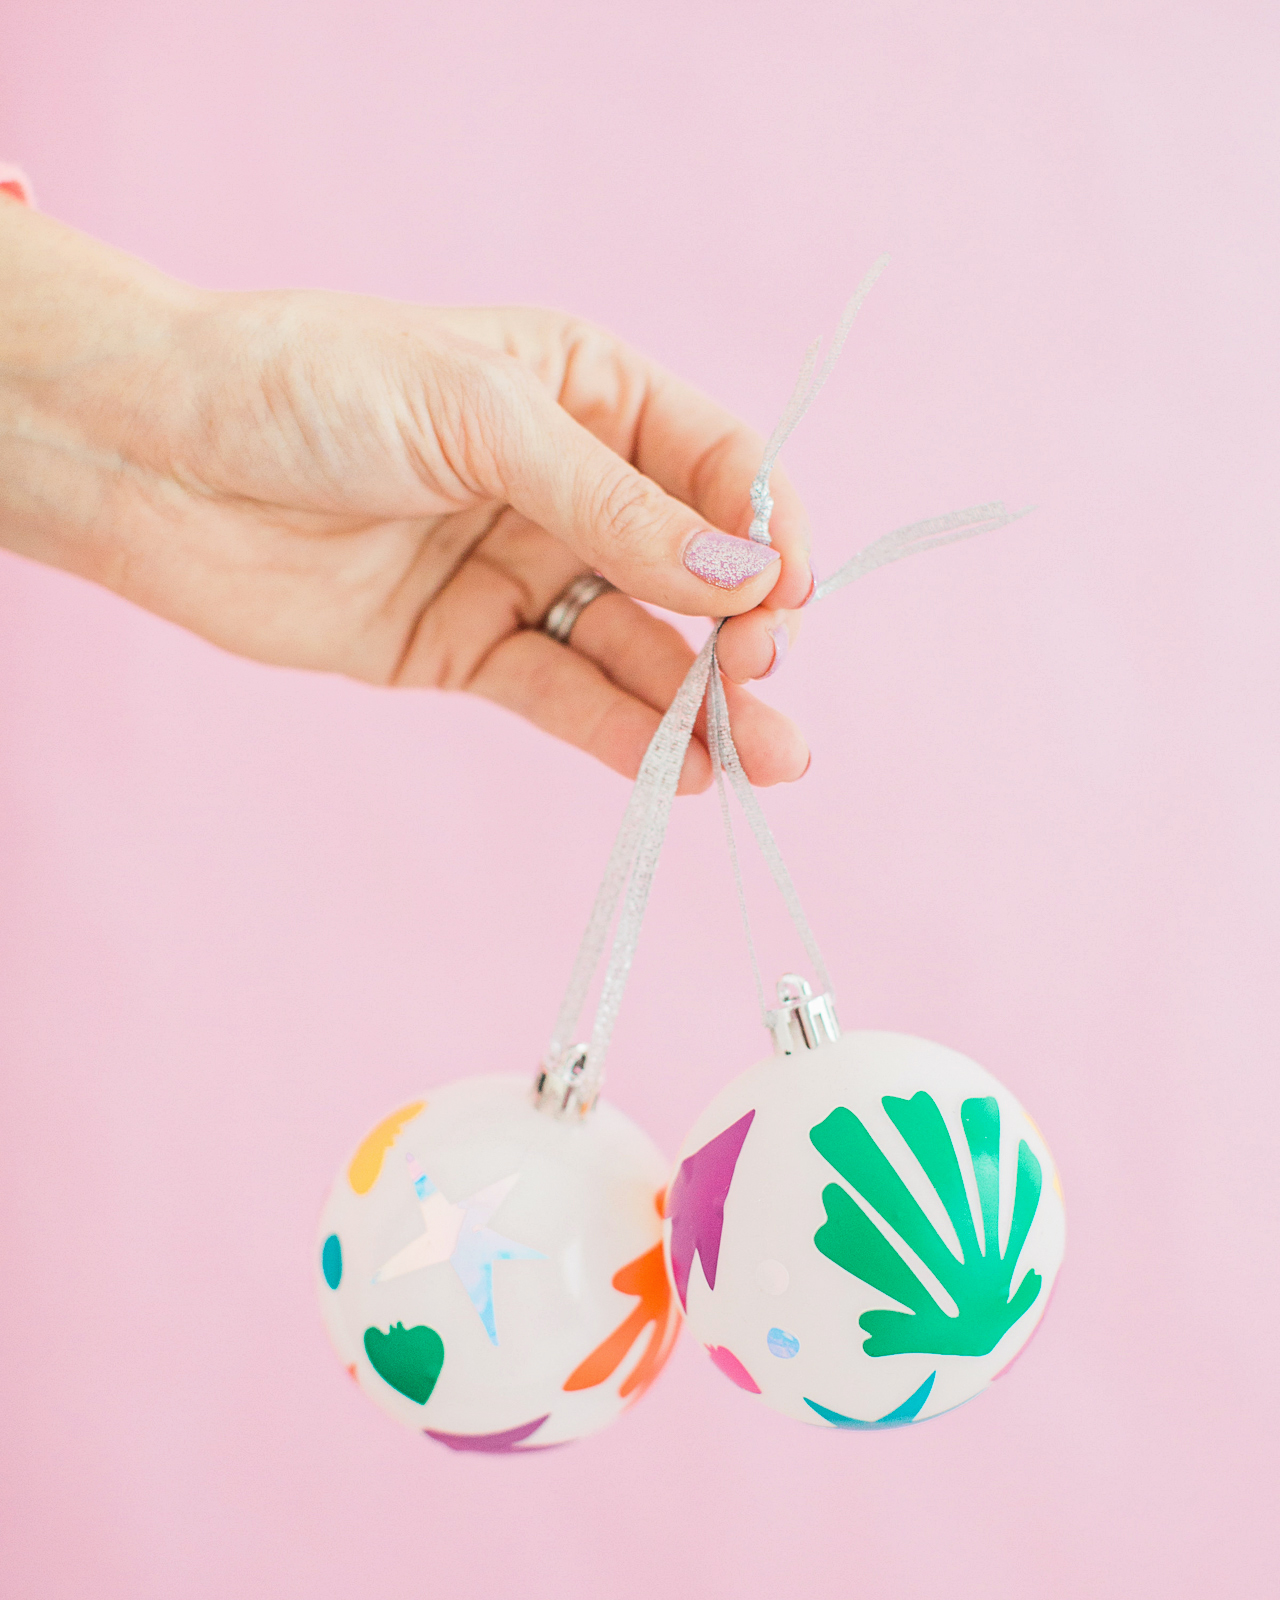
So easy, right? And such a great way to add some color to your Christmas tree!

Download the templates below!

MATISSE-INSPIRED ORNAMENT TEMPLATE (Silhouette Studio file)

MATISSE-INSPIRED ORNAMENT TEMPLATE (SVG file)

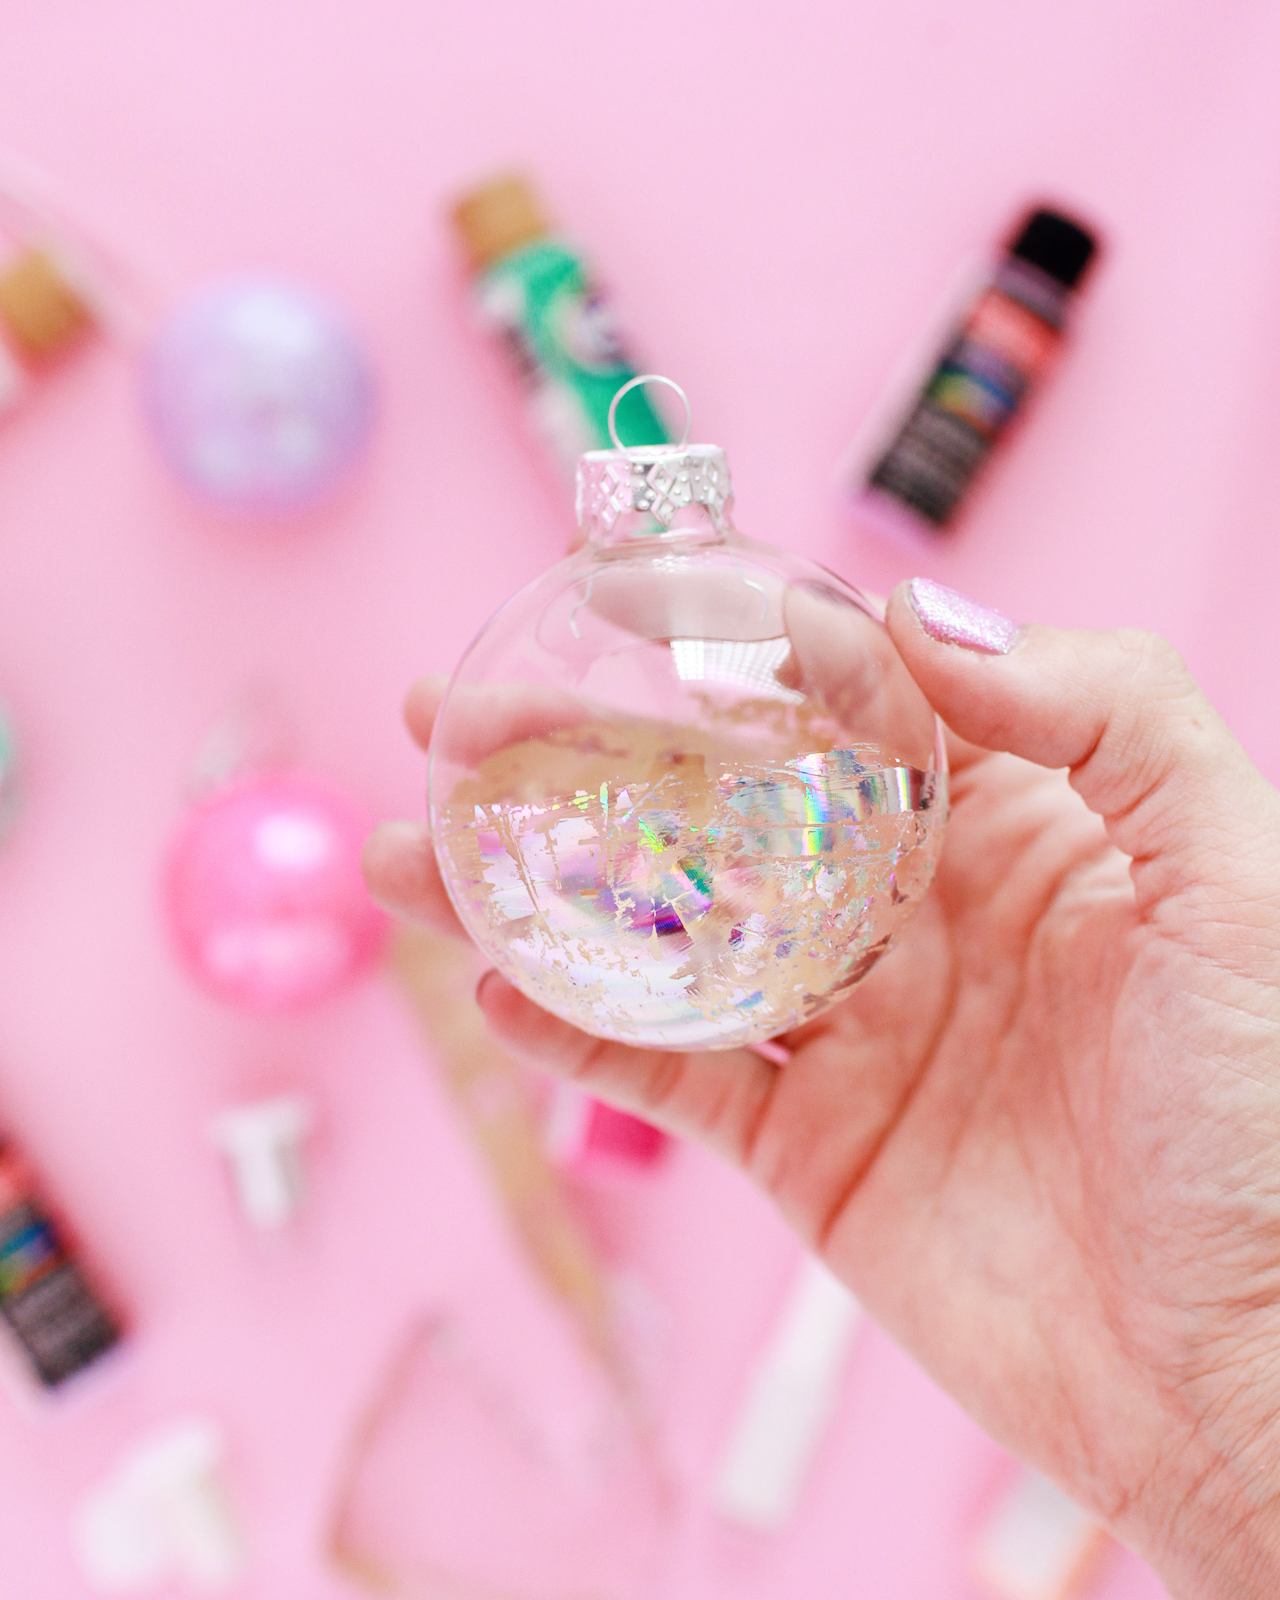
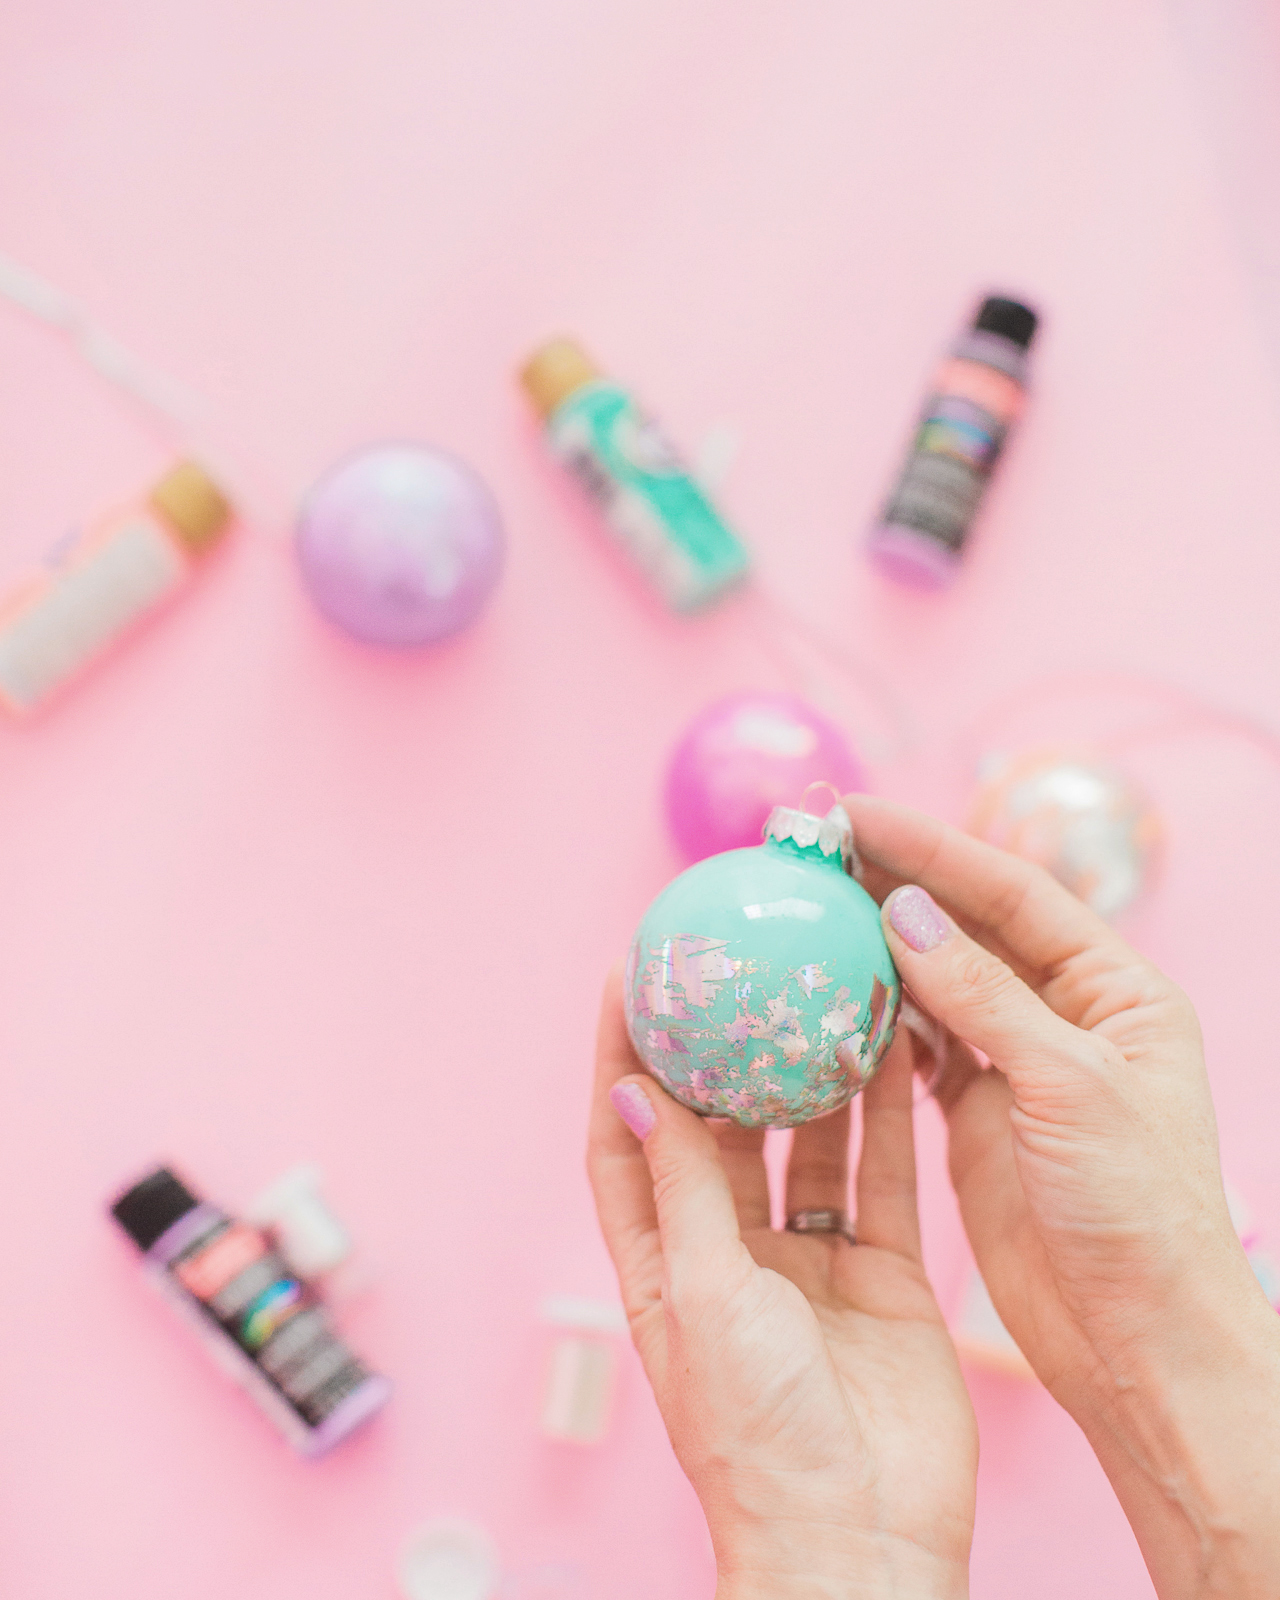
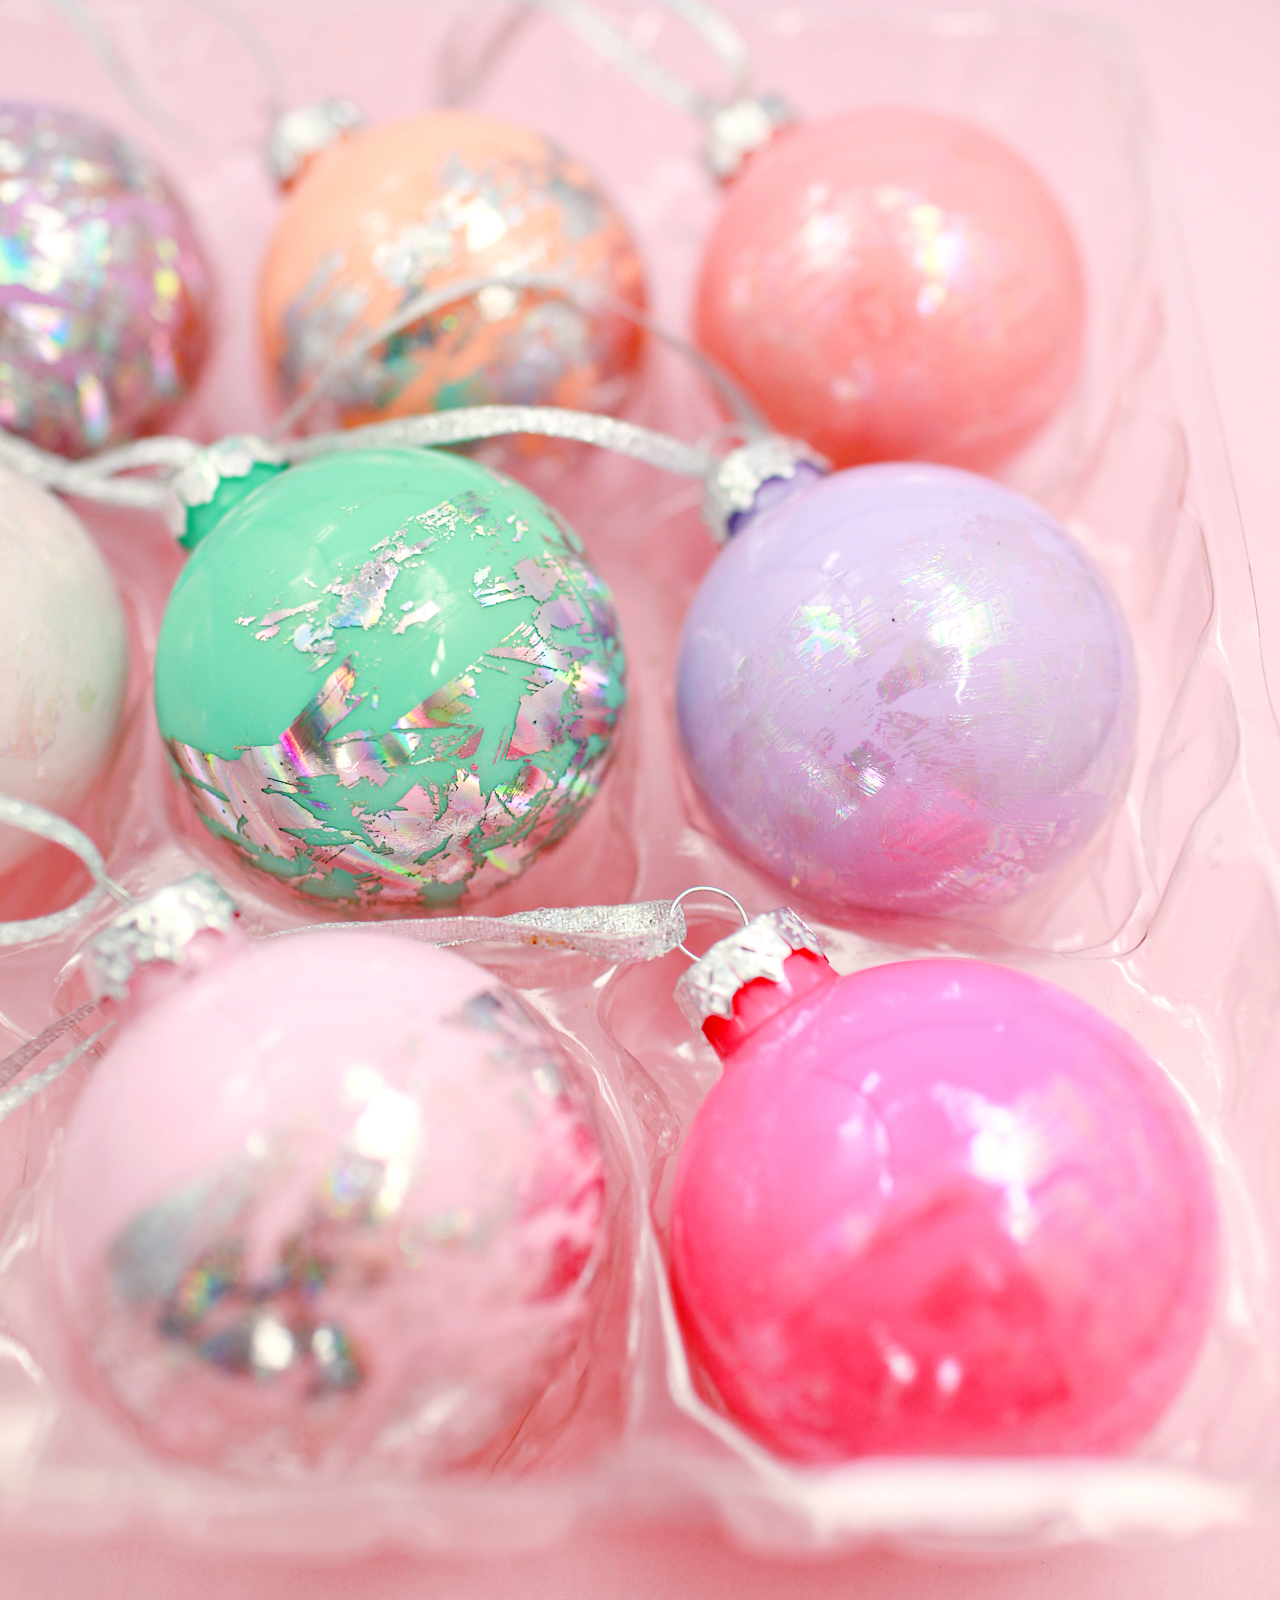
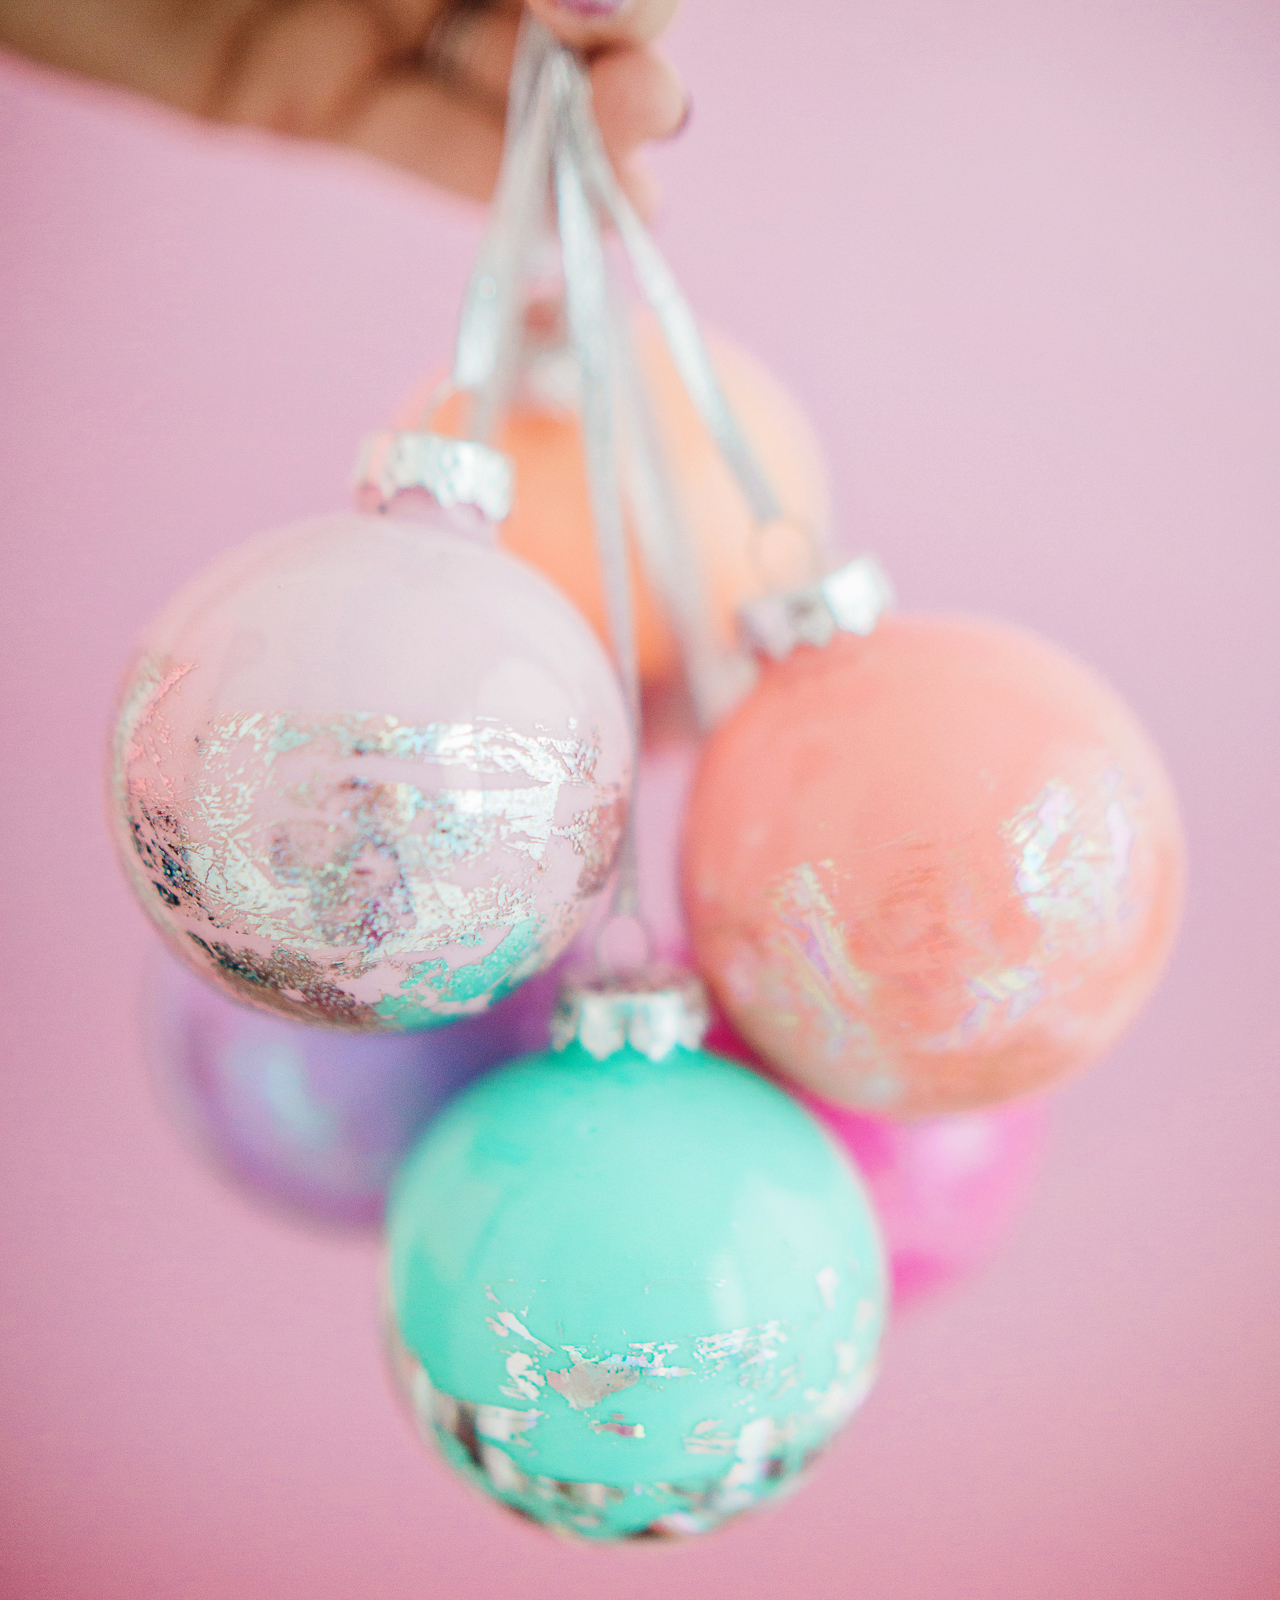
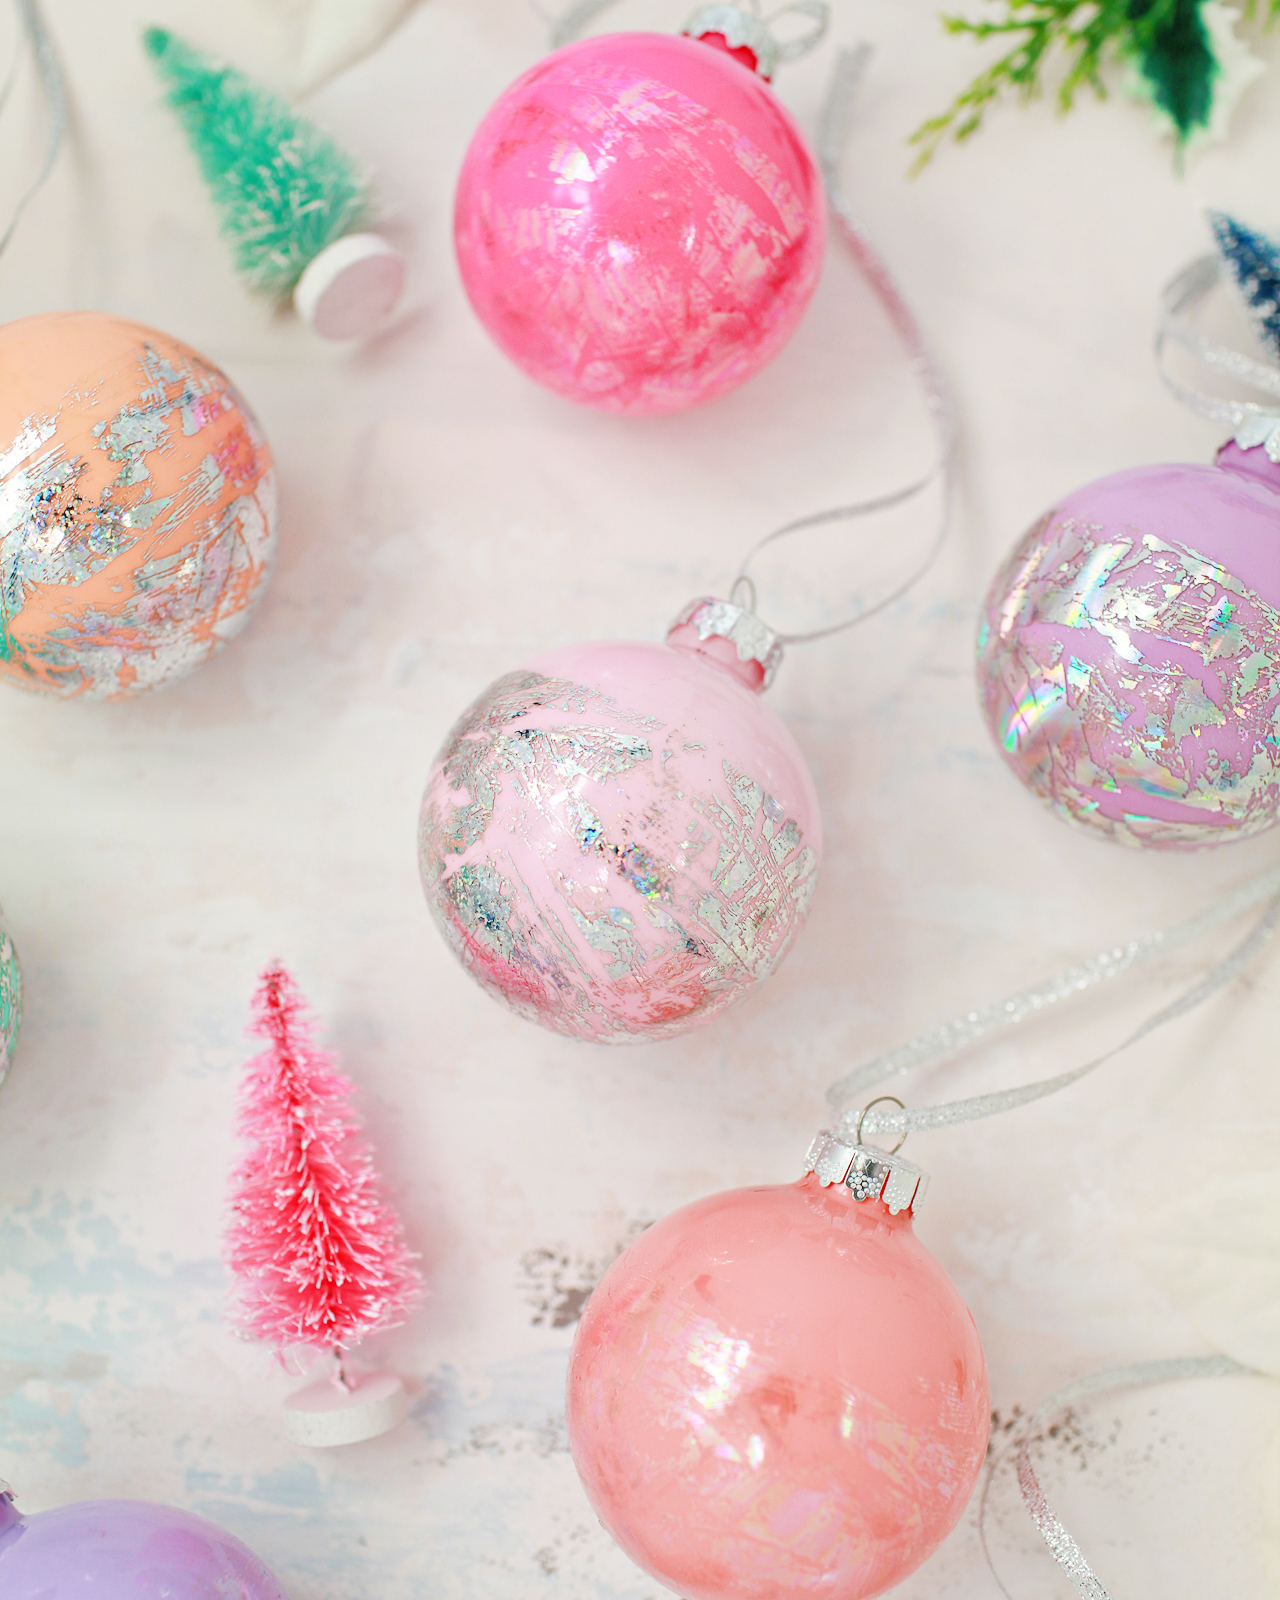
p.s. DIY hologram foil ornaments and DIY Matisse-inspired pumpkins

Photo Credits: Meghan Marie Photography and Nole Garey for Oh So Beautiful Paper

DIY Hologram Foil Ornaments

So apparently my brain works best on a really tight deadline. Here’s my brain: a week to go until Christmas? Great! Here are five DIY christmas ornament ideas! So for those of you looking for some fun non-traditional DIY ornament ideas, I’ve got a couple of ideas to share with you this week! First up, DIY hologram foil ornaments! You might remember these DIY hologram Easter eggs that I made last Spring, and I couldn’t resist making a set of Christmas ornaments from these amazing iridescent and hologram nail foils!

DIY Hologram Foil Ornaments

I know pastels are on the non-traditional side for Christmas, but I just couldn’t resist! I used clear glass ornaments and filled them in with a few colors of craft paint that I had on hand, but you could definitely pick more traditional colors. Or use existing solid color ornaments – either glass or plastic. The hologram nail foils stick to pretty much anything!

DIY Hologram Foil Ornaments

DIY Hologram Foil Ornaments

The silver hologram foil really stands out, while the clear iridescent foil makes for a more subtle shimmer – but both are just totally gorgeous in person. That lavender and iridescent opal swirl is such a dreamy combination!

DIY Hologram Foil Ornaments

DIY Hologram Foil Ornaments

DIY Hologram Foil Ornaments

Supplies

Plastic or glass ornaments

Nail foil in your choice of color – I used Silver Spectrum, Silver Dots, Opal Glitter, and Opal Swirl. I bought all my nail foils here, but you can also find some fun colors and patterns on Amazon.

Nail foil transfer adhesive

Thin ribbon

Craft paint in assorted colors (optional)

DIY Hologram Foil Ornaments

To make the DIY hologram foil ornaments:

Step 1. Start by cutting several lengths of nail foil in your chosen colors. I usually needed one 5-inch piece to wrap around the middle of the ornament, then a few 3-inch pieces to fill in the rest of the ornament. The foiling process moves pretty quickly, so it’s helpful to have a bunch of pre-cut pieces ready to apply ahead of time. 

Step 2. Apply the nail foil transfer adhesive to the bottom half of your ornament. Allow the adhesive to dry until it becomes clear and tacky (usually 2-3 minutes).

Step 3. Once the adhesive is clear, apply the hologram foil to the ornament, pressing the foil down over the adhesive and smoothing it down with your fingers. Smooth the foil down for 10-20 seconds, then remove the foil. Continue applying the nail foils over all parts of the ornament where you applied the adhesive until you’re satisfied with the amount of coverage.

Step 4. If using clear glass ornaments, remove the top of each ornament, then fill the ornaments with craft paint in your chosen colors. With your finger (and maybe a paper towel) over the open end, shake the ornament until the paint covers the entire inside of the ornament. Allow the paint to dry completely (ideally overnight), then replace the ornament top. If using solid color ornaments, you can skip this step entirely!

Step 5. Cut a length of thin ribbon and string it through the ornament – and it’s ready to hang!

DIY Hologram Foil Ornaments

DIY Hologram Foil Ornaments

DIY Hologram Foil Ornaments

DIY Hologram Foil Ornaments

DIY Hologram Foil Ornaments

DIY Hologram Foil Ornaments

DIY Hologram Foil Ornaments


DIY Hologram Foil Ornaments

So much hologram and iridescent sparkle! Gah, I just love these ornaments SO much – and my girls are absolutely crazy about them! I think it also helped that I used their favorite colors to fill the inside of the glass ornaments. I’m loving all the pastel prettiness of these ornaments, but I also want to give this a try on some darker tones like navy blue and green!

DIY Hologram Foil Ornaments

DIY Hologram Foil Ornaments

DIY Hologram Foil Ornaments

DIY Hologram Foil Ornaments

What do YOU think?? Will you be making DIY hologram foil ornaments this year? If you do, I hope you’ll share a photo on Instagram with the hashtag #madewithosbp â€“ I want to see your craftiness in action!

p.s. DIY hologram foil Easter eggs and my favorite holiday gift wrap pairings

Photo Credits: Meghan Marie Photography and Nole Garey for Oh So Beautiful Paper

Beautiful Hanukkah Cards

You’re getting a double dose of holiday from me today – because Hanukkah starts tonight! I grew up celebrating both Christmas and Hanukkah in observance of both sides of my heritage, and I’m excited to continue that tradition with my own children. We’ll be lighting candles, making latkes with sour cream and applesauce, eating chocolate Hanukkah gelt, and indulging in sufganiyot (we get ours locally from District Doughnuts). For those of you looking for the perfect card to celebrate the festival of lights (or even buying ahead for next year), here are twelve beautiful Hanukkah cards!

Beautiful Hanukkah Cards

From top right:

1. Such a beautiful illustrated Hanukkah card by Wild Hart Paper

2. Even I have trouble keeping it straight! Send some laughs with this Near Modern Disaster card, which also makes the perfect slightly belated Hanukkah card. 

3. Shout-out to all the folks in a joint Hanukkah-Christmas household by Dahlia Press

4. Send holiday wishes in classic, elegant style with this card from Sugar Paper

5. The perfect Hanukkah card for your millennial cousins/nieces/nephews from Party Sally

6. This card from Mr. Boddington’s Studio just cracks me up. I’m totally sending this card to my dad this year.

7. This Hanukkah card from Hello!Lucky was one of my favorites at the National Stationery Show back in May – and it has shiny copper foil details!

8. Latkes of love! This card from Meeschmosh is totally speaking my language.

9. I never really mastered the art of spinning a dreidel, but that doesn’t stop me from appreciating this card by Egg Press

10. I always appreciate cards that incorporate music lyrics from the 1980s (from ilootpaperie – the masters of puns!) 

11. Cats celebrate Hanukkah, too! Illustrated card by The Dancing Cat, naturally.

12. You can’t go wrong with a gold foil menorah from Red Cap Cards


p.s. Twelve beautiful Christmas cards for those of you celebrating both holidays!

Twelve Beautiful Christmas Cards

Only two weeks to go before Christmas! So, I’m curious: how do you handle holiday cards? Do you send out custom family photo cards, or do you buy box sets of non-custom holiday cards and personalize them with a hand written message? Do you include a hand written card when you exchange gifts? Before I had children, I went with non-custom box sets for our holiday cards and hand wrote a message to each recipient inside. Once I became a parent, I switched over to custom photo cards, but we typically wait until New Year’s or even Valentine’s Day to send them out. I like to think of it as kind of a fun post-holiday surprise! But I miss the fun of picking out the most beautiful holiday cards each year, so this year I thought I’d switch things up a bit! Here are twelve beautiful Christmas cards that I’m totally in love with this year:

Beautiful Christmas Cards

From top right:

1. The prettiest hand painted holiday cards from Moglea. Each one is individually hand painted, so they’re all unique!

2. Fun graphic lettering and bright pops of color from Egg Press

3. I’m such a fan of this color dot series from Mr. Boddington’s Studio – the color names are always so creative!

4. Classic holiday beauty from Sugar Paper

5. Vibrant red and neon pink in this illustrated card from And Here We Are!

6. This chipmunk holiday card from Dear Hancock just cracks me up. Those cheeks!

7. This embroidered dove design from Hello!Lucky has a wonderful folk art vibe about it that I’m really loving this year! If you’re embracing hygge and Scandinavian vibes this holiday season, this card would be a perfect fit! 

8. Loving this full color letterpress printed design from Lucky Horse Press

9. This delicate design from Ramona & Ruth is just seriously stunning (and how pretty are those gold foil accents on blush pink paper?)

10. I mean, I couldn’t resist a cat holiday card! From The Good Twin, who totally gets my crazy cat lady vibes. 

11. Colorful shapes and a non-traditional modern design by Kate Pugsley for Red Cap Cards

12. Wishing all of you peace and joy this holiday season and in 2018, from One Canoe Two

Eucalyptus and Vellum Birthday Party Invitations

With the winter months upon us, these fresh and whimsical invitations are a fun deviation from the usual deeper hues of this season. Juliann Ford of Mint for Hue designed these eucalyptus and vellum birthday party invitations to celebrate her daughter’s first birthday. Don’t you simply love all the small details, especially the stamp and address formatting on the envelopes? The embossed details and gold leaf accents are perfect finishing touches!

Eucalyptus and Vellum Birthday Party Invitations by Mint for Hue

From Juliann: For my daughter’s first birthday, I wanted to create an elegant yet chic invitation collection that was simple, youthful, and whimsical. Since her birthday lands on November 3rd, it’s the final days of fall leaves in Wisconsin, but not quite winter. Knowing I wanted to stay away from everything Fall, I chose to use bright whites, deep greens, and a pop of peachy-pink and dark purple to welcome the colder days ahead of us.

Eucalyptus and Vellum Birthday Party Invitations by Mint for Hue

For the birthday invitations, I knew immediately that I wanted to include embossing to some degree and showcase my love of calligraphy and hand-lettering. Therefore, I kept the rest of the invite simple, only utilizing fonts and lettering on the actual invitation. I added a simple embossed border to the top and bottom of the invite to frame the content. To add interest to the whole piece, I wrapped the invitation in a vellum overlay with a soft hand-drawn eucalyptus wreath.

Eucalyptus and Vellum Birthday Party Invitations by Mint for Hue

Eucalyptus and Vellum Birthday Party Invitations by Mint for Hue

Since the invitation itself did not have any fancy wording, and I wanted to specifically include that it was her first birthday, I embossed a “1” on a tag and accented the corners with gold leaf foil detailing. I secured the tag to the invitation with a metallic gold thread to hold the entire invitation set together. I chose a soft peachy-pink envelope and designed floral blooms for the custom postage. To keep the entire piece clean & elegant, guest addresses were printed on each envelope, adjacent to the custom stamp. Lastly, I included a simple design on the back flap of the envelope, highlighting my daughter’s first birthday.

Eucalyptus and Vellum Birthday Party Invitations by Mint for Hue

I love the simplicity of this invitation set, but there is also a lot of texture and depth that creates so much interest to this piece. These invitations are an exact representation of who my daughter is, and I couldn’t be happier with how they turned out.

Eucalyptus and Vellum Birthday Party Invitations by Mint for Hue

Eucalyptus and Vellum Birthday Party Invitations by Mint for Hue

Thanks, Juliann!

Design, calligraphy, & printing: Mint for Hue 
Paper: Paper and Moore
Envelopes: Cards and Pockets  
Custom Stamps: Zazzle

Photo Credits: Juliann Ford