A Sparkling Strawberry Daiquiri

This is a month for sparkling cocktails, which we usually make the old-fashioned way: adding something already bubbly, like soda water or beer or ginger beer or sparkling wine or…you get the idea. But we decided this week to skip that step and go straight to the source, using science! We made our own Sparkling Strawberry Daiquiri cocktail recipe, and it’s easier than it sounds. –Andrew
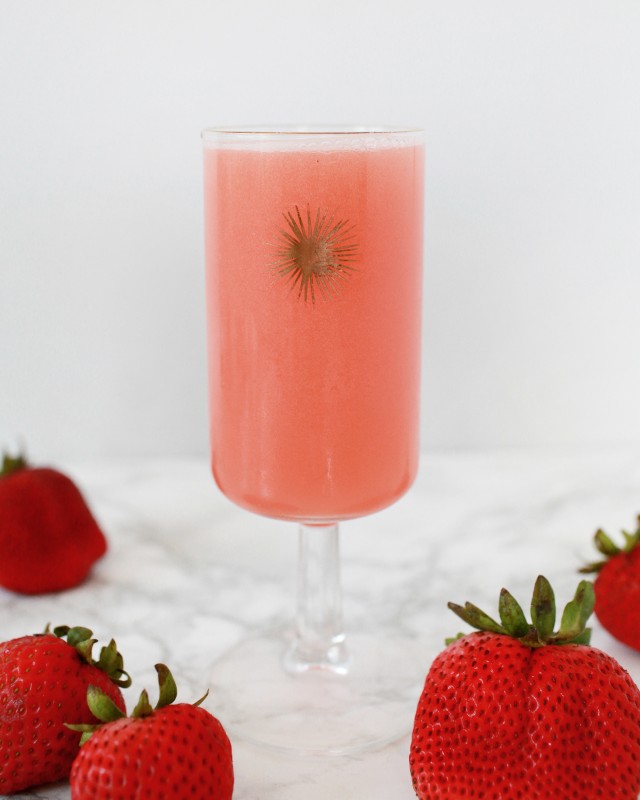
Sparkling Strawberry Daiquiri Cocktail Recipe / Liquorary for Oh So Beautiful Paper

Sparkling Strawberry Daiquri

2 oz Silver Rum
1 oz Strawberry Syrup
3/4 oz Lime Juice

To make the strawberry syrup: combine a cup each of demerara or raw sugar, water, and strawberries, hulled and quartered, in a sauce pan. Heat gently, stirring frequently, until the strawberries have softened into a pulp. Strain through a fine-mesh sieve or cheesecloth to remove all the solids, then bottle and refrigerate.

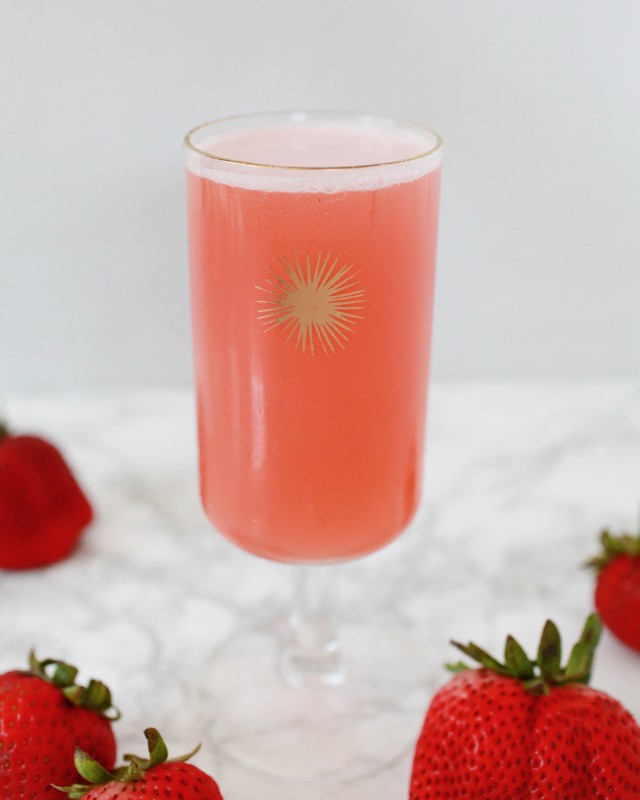
To make the Daiquiri: combine the rum, syrup, and lime in a cocktail shaker filled two-thirds with ice and shake well. Strain into a hand-held carbonator – we used this one by Hamilton Beach – and, following the carbonator’s instructions, pump some CO2 into that Daiquiri until it’s sparkling. Strain into a chilled flute glass and enjoy!
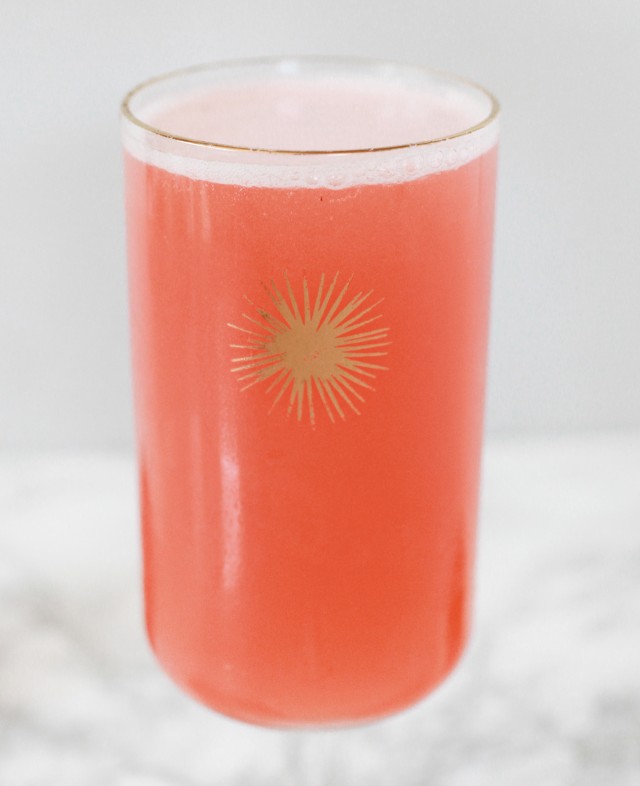
Sparkling Strawberry Daiquiri Cocktail Recipe / Liquorary for Oh So Beautiful Paper

When we decided to try carbonating our own cocktails, we did a bit of research. Turns out that you can build your own rig to finely control the carbonation process, if you’re willing to shell out a couple hundred bucks and set up CO2 tanks, regulators, the whole works. We figured out pretty quickly that this was not for us. But there are plenty of relatively inexpensive, hand-held carbonators designed to make small batches of soda water. Since these are designed for water, and not for cocktails – with all their sticky sugars – there’s a risk of gumming up these carbonators and, you know, explosions. What with using gas under pressure and all. But we decided to go for it and give it at least one shot. It was even easier than I expected it to be. (Ed Note: I shared a little behind the scenes peek at the process over on Snapchat if you’re interested – I’m @beautifulpaper over there! –Nole)
Sparkling Strawberry Daiquiri Cocktail Recipe / Liquorary for Oh So Beautiful Paper

The result is a wonderfully peppy version of a Daiquri, bright and effervescent. Carbonating a drink this way gives you all that fun fizziness without any of the dilution that you’d normally get by adding in a carbonated ingredient, like soda water. Just remember: carbon dioxide interacts with water to produce carbonic acid, so carbonating a drink makes a drink a bit more acidic. We used just a bit less lime juice than normal to balance out the effect.

(Don’t forget to follow us on Instagram!)

Glassware by Liquorary

Photo Credits: Nole Garey for Oh So Beautiful Paper

Brush Lettered Baby Shower Invitations

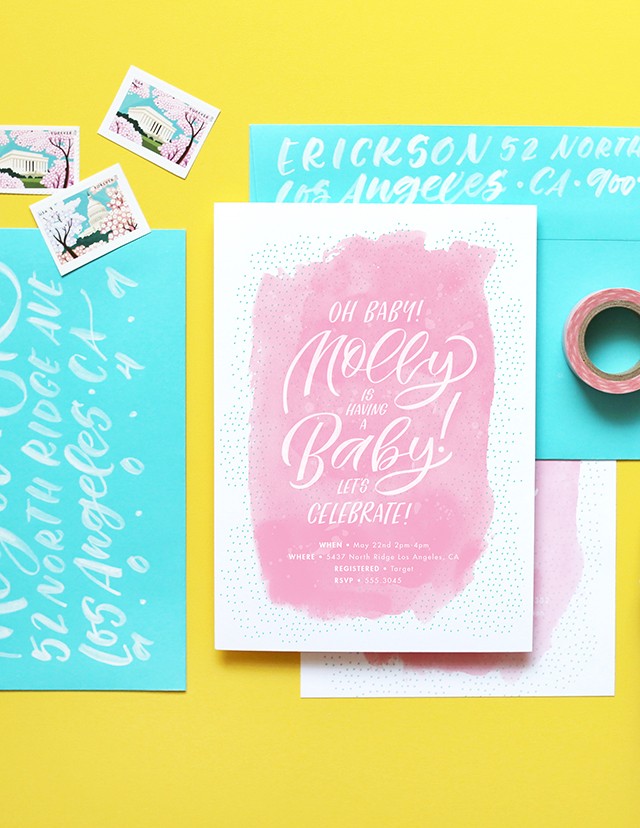
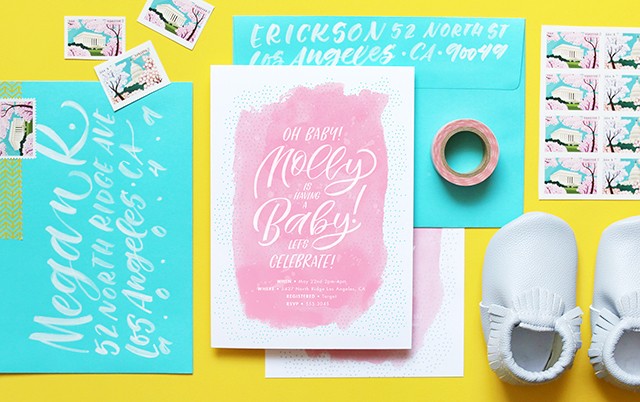
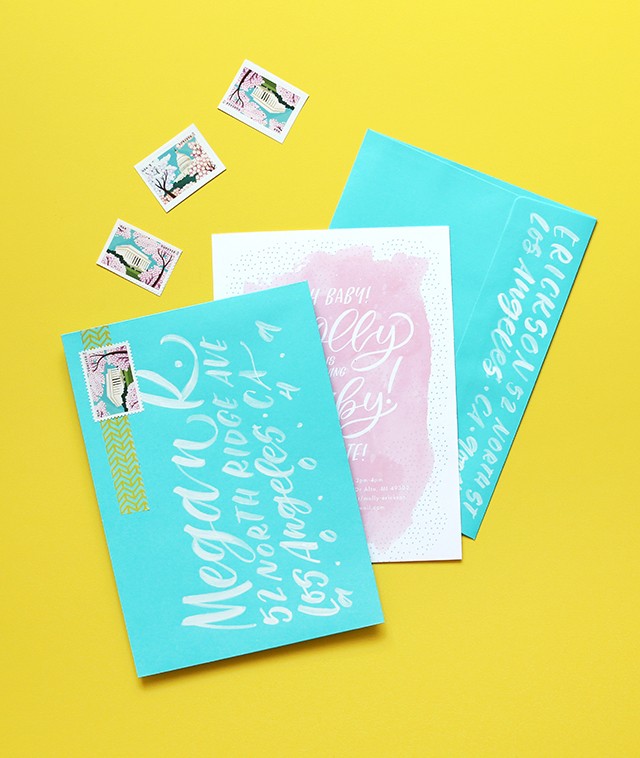
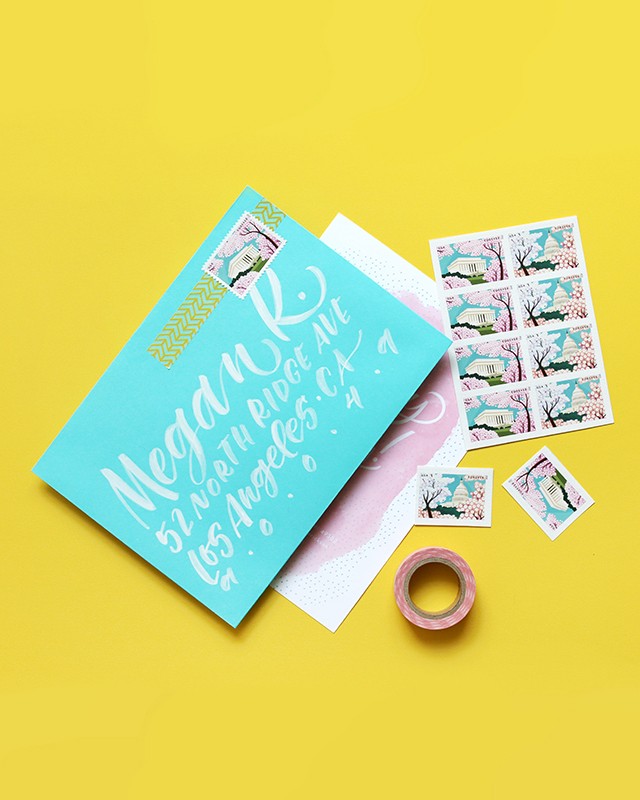
I’ve been a huge fan of Molly Jacques for years – including all of her gorgeous fonts! – and it’s always a pleasure when I get to feature some of Molly’s beautiful illustrations or calligraphy (or both!) here on OSBP. I was absolutely thrilled when Molly sent over the brush lettered baby shower invitations that she designed for her very own shower! Inspired by traditional sign painting techniques, Molly incorporated her own signature brush lettering into the invitation design, along with a whole lot of color. The result is so fresh and vibrant!

Brush Lettering Baby Shower Invitations by Molly Jacques for Juni / Oh So Beautiful Paper
From Molly: I’ve been creating custom calligraphy and lettering for others for years, so when I found out that I was pregnant with our first baby, I was so excited to be able to design my very own baby shower invitations!

Brush Lettering Baby Shower Invitations by Molly Jacques for Juni / Oh So Beautiful Paper
Brush Lettering Baby Shower Invitations by Molly Jacques for Juni / Oh So Beautiful Paper
Between my own work schedule and getting ready for baby, I knew I wanted to create an invitation that wouldn’t create too much fuss around my schedule yet remain FUN and eye-catching. I wanted a design that that I could put together on my own time, in-between client projects, and print right at home on my own printer.

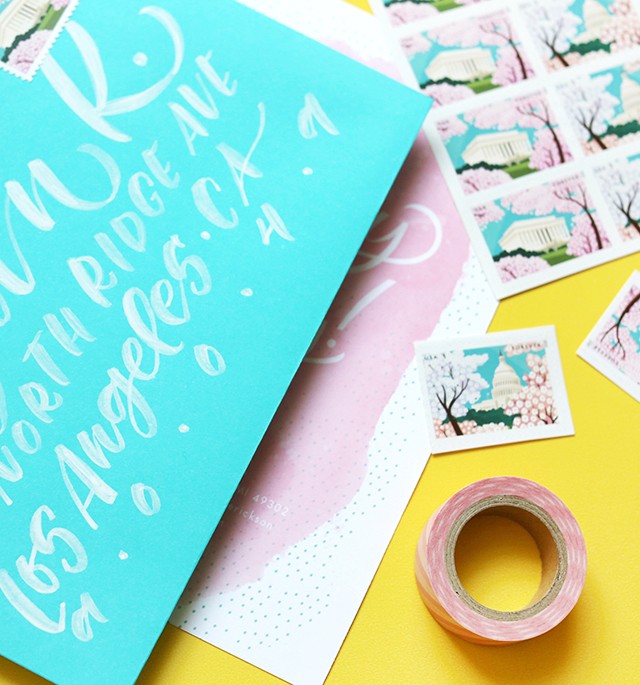
Brush Lettering Baby Shower Invitations by Molly Jacques for Juni / Oh So Beautiful Paper
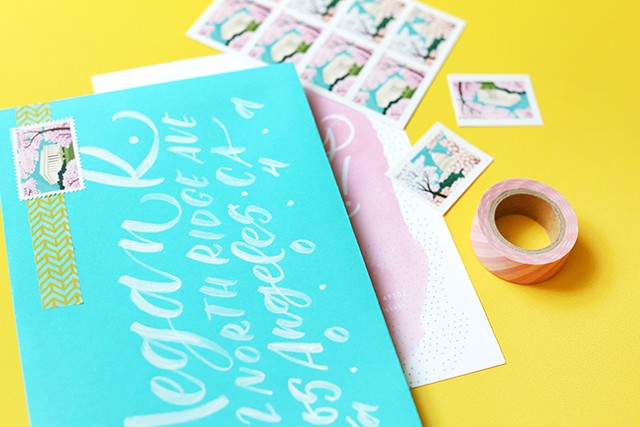
For the invitation, I knew I wanted to somehow incorporate a little bit of traditional sign painting technique mixed with modern brush style lettering. I was greatly inspired by the use of fun, bright colors to reflect the joyous occasion – an aspect I also have been interjecting into baby’s nursery design. Likewise, I wanted to use texture and value as a major design element to contribute to the over-all playfulness of the invitation, you can see this technique showcased with white calligraphy on a mid-toned envelope as well as the dot gradient used on the actual invitation to indicate a middle tone value. Moreover, I also decided to add on a little bit of washi tape to the outer envelopes to add some additional texture.

Brush Lettering Baby Shower Invitations by Molly Jacques for Juni / Oh So Beautiful Paper
Lastly, I thought long and hard on what lettering style I wanted and how it would effect the feel of the invitation. I wanted each recipient to feel excited and playful when they received their invitations, which brought me to the style mentioned before: a combination of traditional sign painting and modern, energetic brush lettering. I wanted to steer clear of tradition heavy calligraphy or lettering for this particular project.

Brush Lettering Baby Shower Invitations by Molly Jacques for Juni / Oh So Beautiful Paper
Thanks Molly!

Design & Lettering: Molly Jacques for Juni

Printing: Printed from home on white 5×7 card stock

Envelopes: Paper Source in Pool

Photo Credits: Molly Jacques for Juni

Happy Weekend!

Happy Friday everyone! It’s a gorgeous Spring day here in DC and my three year-old has a day off from pre-school, since Emancipation Day is a holiday in DC. So I’m off to spend some time with my little and enjoy this gorgeous weather! But in the meantime…

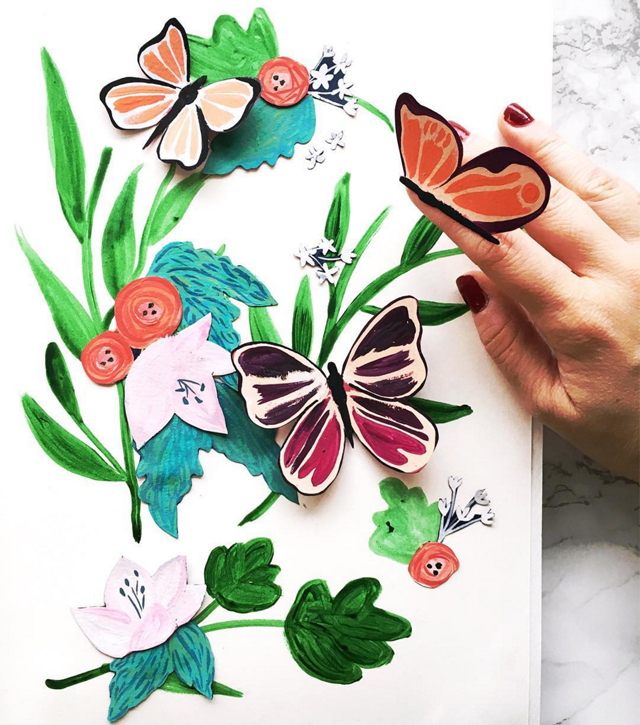
BerinMade via Instagram / Oh So Beautiful Paper
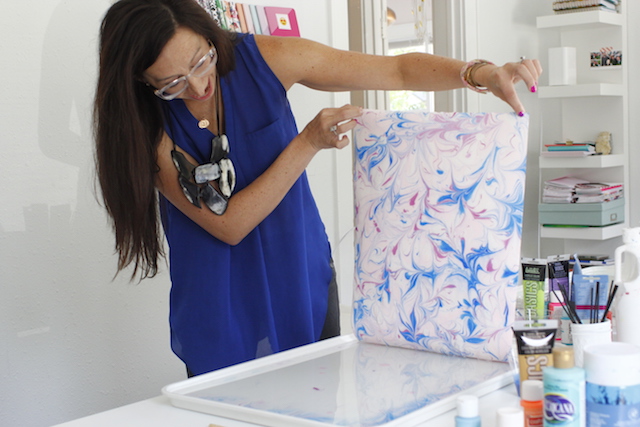
Image by BerinMade via Instagram (from the #dailydoseofpaper feed)

…a few links for your weekend!

The last two weeks on Oh So Beautiful Paper:

That’s it for me this week! Check back in just a bit for this week’s cocktail recipe! I hope you have a wonderful weekend, and I’ll see you back here on Monday! xoxo

Happy Weekend!

Happy Friday everyone – and Happy April Fool’s Day! It’s also my husband’s birthday today! We’ve actually been in the Catskills in Upstate New York this week for some family R&R, since it’s our daughter’s Spring Break back in DC. We didn’t really have an agenda for this week, but we’re having fun exploring the area and relaxing at our temporary home in the mountains. We’ll miss these mountain views when we head back to DC this weekend! But in the meantime…

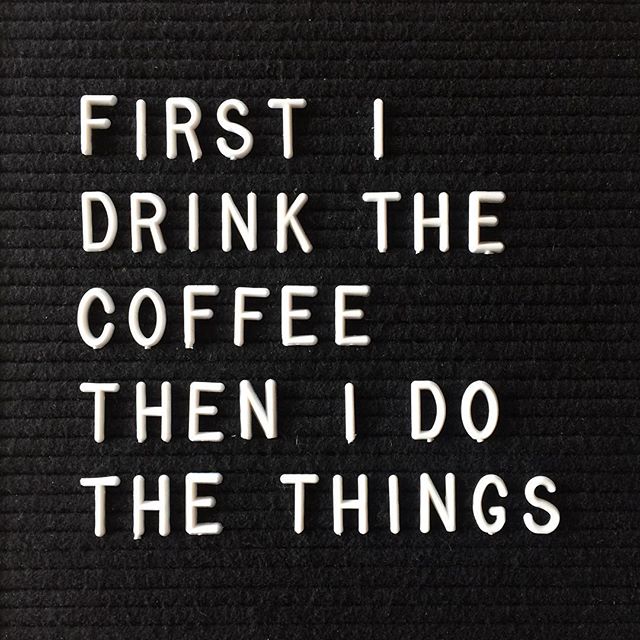
Three Potato Four Letter Board / Oh So Beautiful Paper
Three Potato Four Letter Board (via Instagram)

…a few links for your weekend!

This week on Oh So Beautiful Paper:

That’s it for me this week! Check back in just a bit for this week’s cocktail recipe! I hope you have a wonderful weekend, and I’ll see you back here on Monday! xoxo

How to Make Marbled Paper – plus new Marbled Notebooks and Calendars from May Designs!

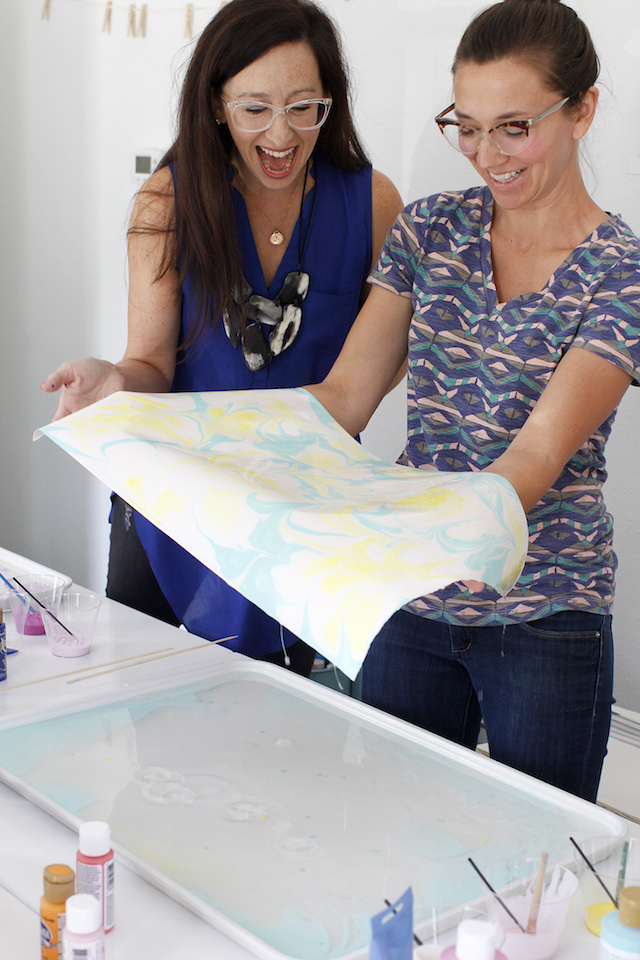
Making marbled paper is something that I’ve always wanted to try, but, thanks to the extensive supply list and unfamiliar ingredients, I’ve been too scared to even attempt. But today we’re in luck! Heather, Creative Director at May Designs, is here to demystify paper marbling and walk us through the entire process. The team at May Designs basically spent an entire day playing around with marbled paper patterns, with some seriously stunning results. We’ll start with Heather’s detailed tutorial (thanks Heather!!) for how to make marbled paper, followed by some photos of the GORGEOUS new May Designs collection inspired by their marbling experiments!

May Designs Marbled Notebooks / Oh So Beautiful Paper
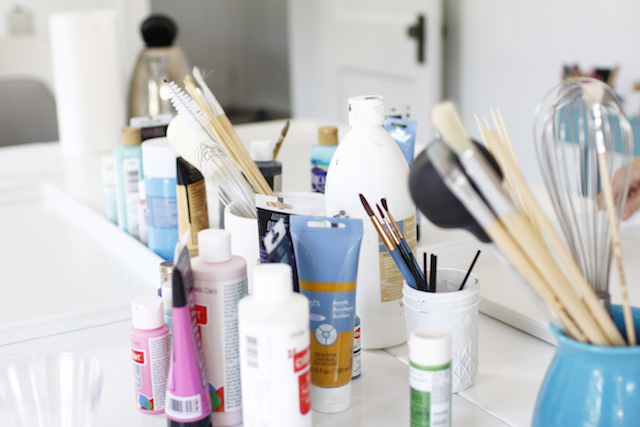
Supplies

100% cotton paper

Alum

Methocel

Spray bottle

Measuring spoons

Whisk

Dish soap

Large shallow tray

Bucket or large bowl (must have a capacity greater than one gallon)

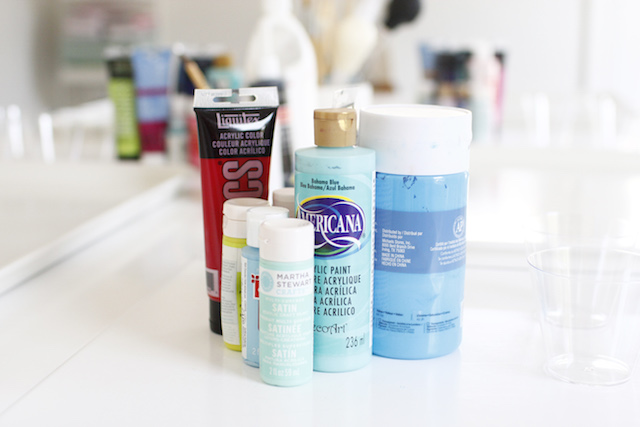
Acrylic paint

Small cups

Coffee straws

Clothesline + clothespins

How to Make Marbled Paper / May Designs via Oh So Beautiful Paper
How to make marbled paper:

Step 1. First, prep your paper. Fill a spray bottle with warm water. Add 2 tablespoons of alum and mix well. Let the mixture cool and spray a thin layer onto your cotton paper. Lay flat to dry! Make sure to mark the side that you sprayed because it can be hard to tell once it’s dried.

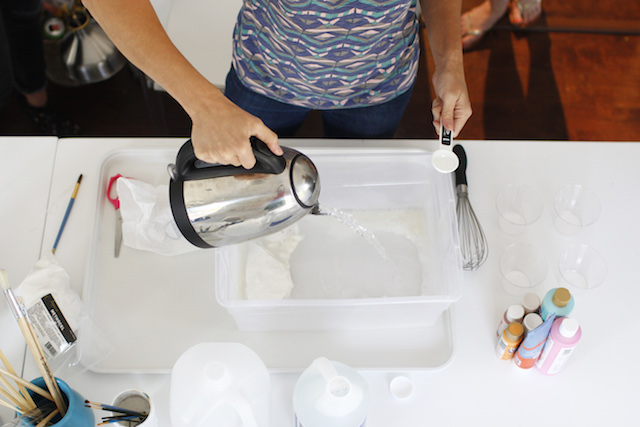
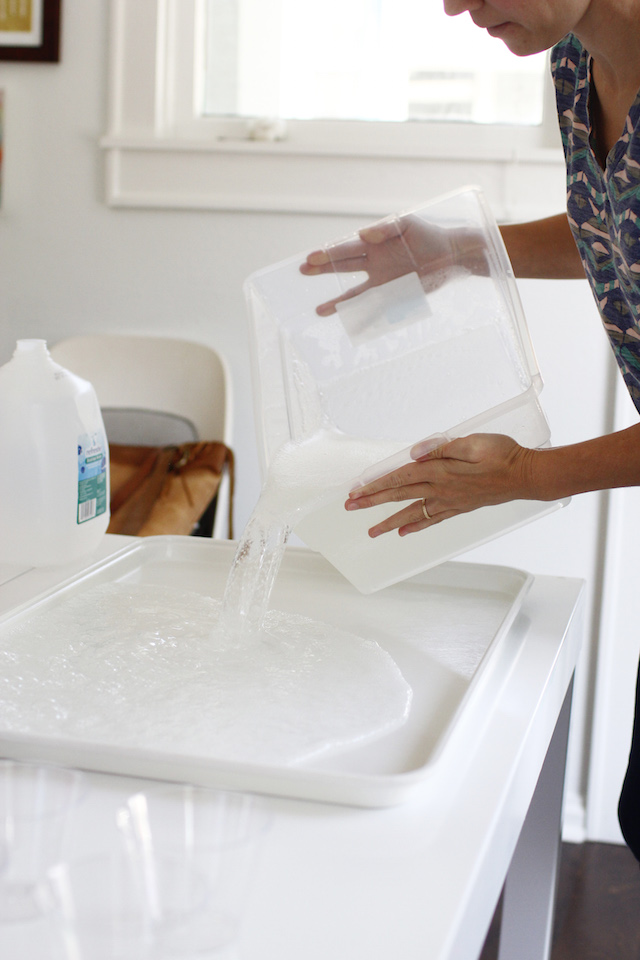
Step 2. Next, prepare the water bath. In a bucket, mix 4 tablespoons of Methocel with 1 gallon warm, distilled water, and one tablespoon of ammonia. Mix with a whisk. Find a shallow tray that is just a little larger than your paper. We found the perfect shallow tray to use for our water bath at a restaurant supply store (these trays from Amazon will also work!). Pour water mixture into shallow dish and let sit until all bubbles are gone! This can take a while, sometimes an hour or so.

Step 3. You’ll also need to add a dispersant to your water bath. To mix a dispersant, fill a cup with ½ cup water and a few drops of dish soap and mix.

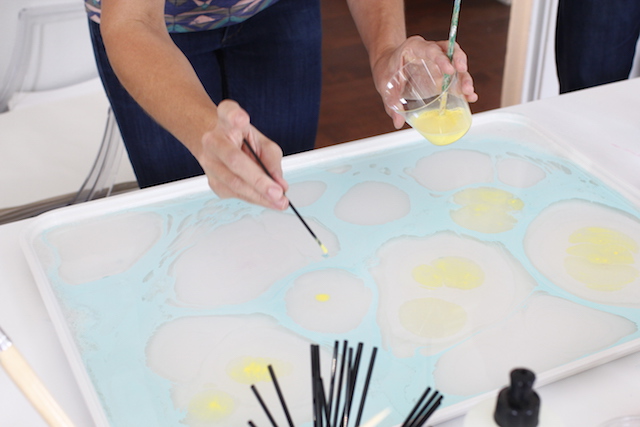
Step 4. Gather up your favorite colors of acrylic paints and squeeze them into cups. Add water to each color until you have the consistency of whole milk. Add one drop of dispersant/dish soap mixture to each color of paint. (A coffee straw works well for this!)

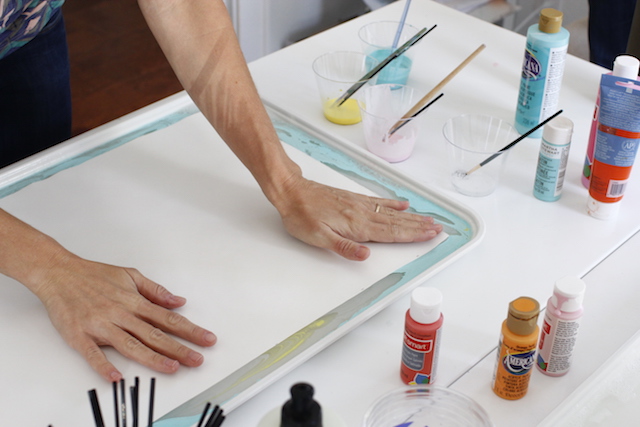
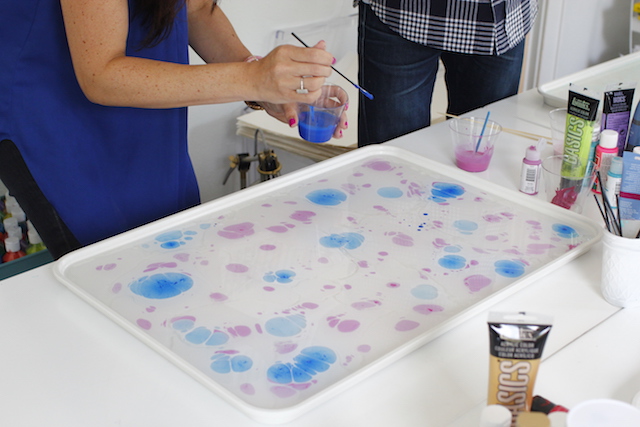
Step 5. Next, add diluted paint to the water bath. This is the fun part! Using coffee straws begin to drop paint onto the surface of the water bath. Keep dropping paint onto the water bath until it is pretty well covered with color.

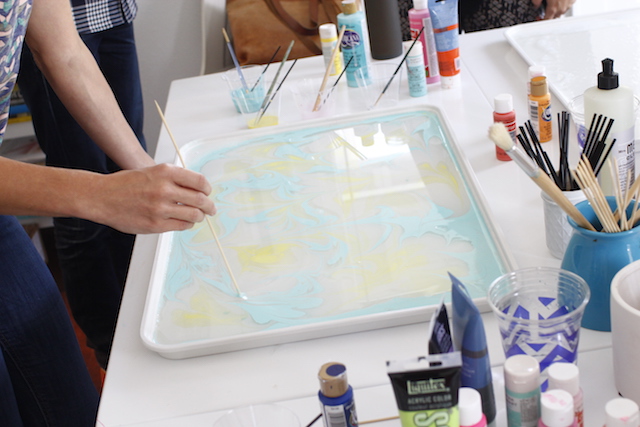
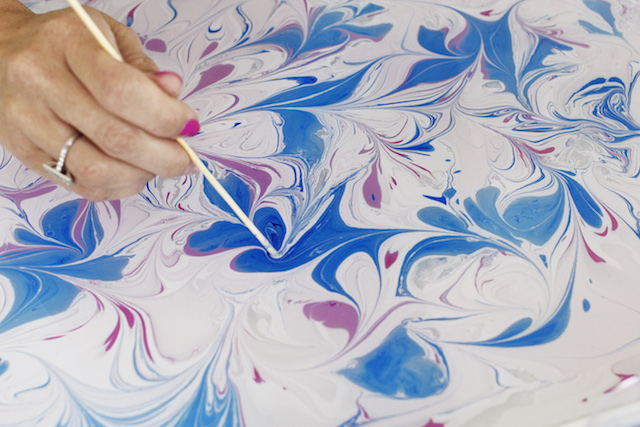
Step 6. Time to Marble! Take a clean straw and begin to drag it across the top of the water bath to create designs. You can also use the dispersant mixture you made to move the paint around, but only use a small drop to start. A little goes a LONG way.

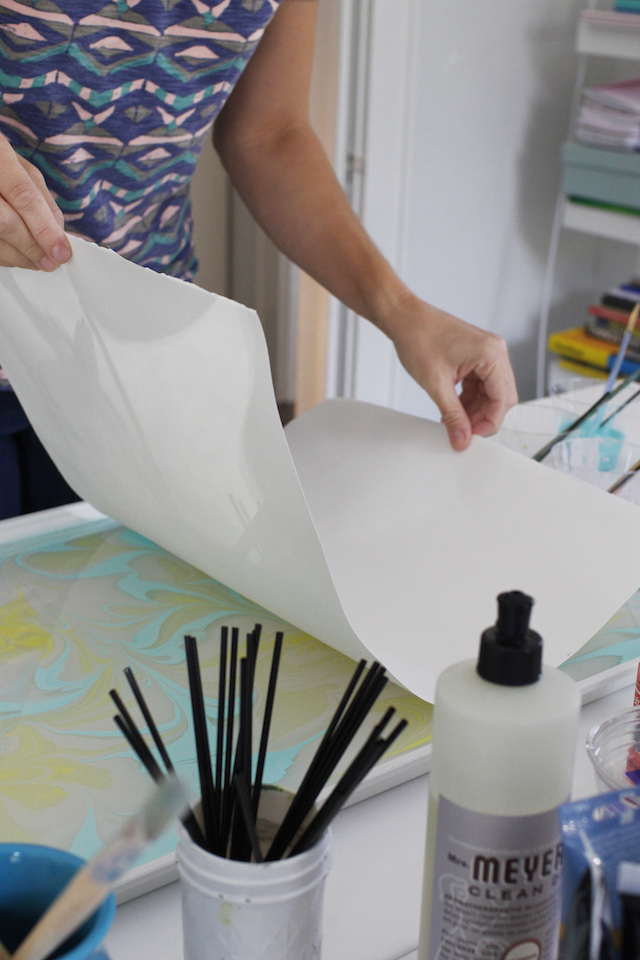
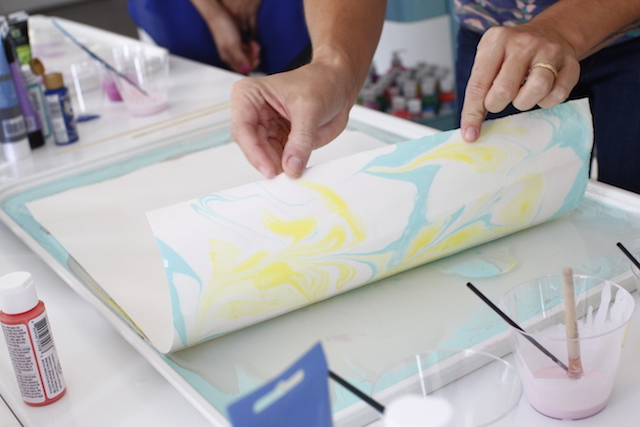
Step 7. Once you have a design that you like, take your prepped paper and gently lay it face down on the top of the bath. (Make sure you are placing the paper, prepped side down). Pat it down to make sure there are no air bubbles and then pull the paper up out of the bath starting with one corner and peeling it all the way up.

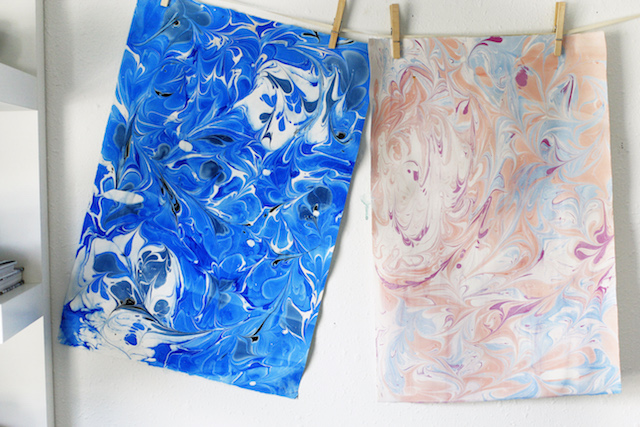
Step 8. Rinse paper with water. Don’t be afraid to get in there and clean the paper off with your hands. The paint is there to stay. Hang paper to dry!

How to Make Marbled Paper / May Designs via Oh So Beautiful Paper
How to Make Marbled Paper / May Designs via Oh So Beautiful Paper

How to Make Marbled Paper / May Designs via Oh So Beautiful Paper

How to Make Marbled Paper / May Designs via Oh So Beautiful Paper

How to Make Marbled Paper / May Designs via Oh So Beautiful Paper

How to Make Marbled Paper / May Designs via Oh So Beautiful Paper

How to Make Marbled Paper / May Designs via Oh So Beautiful Paper

How to Make Marbled Paper / May Designs via Oh So Beautiful Paper

How to Make Marbled Paper / May Designs via Oh So Beautiful Paper

How to Make Marbled Paper / May Designs via Oh So Beautiful Paper

How to Make Marbled Paper / May Designs via Oh So Beautiful Paper

How to Make Marbled Paper / May Designs via Oh So Beautiful Paper

How to Make Marbled Paper / May Designs via Oh So Beautiful Paper

How to Make Marbled Paper / May Designs via Oh So Beautiful Paper

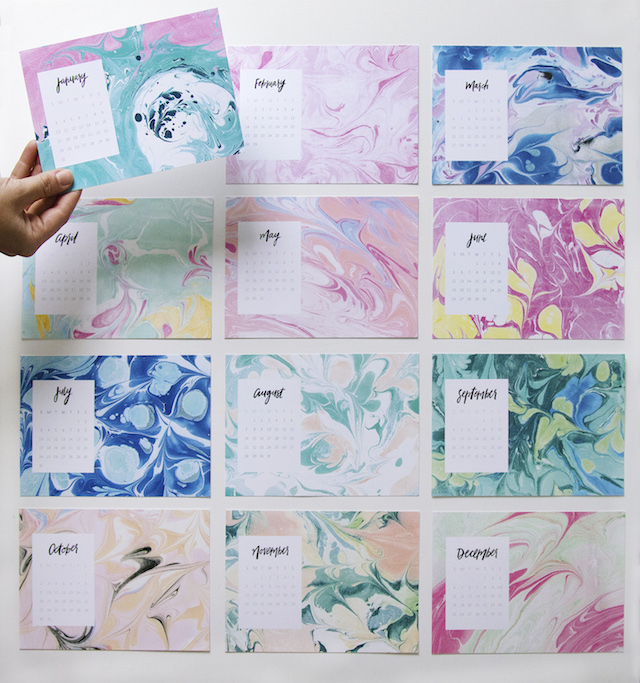
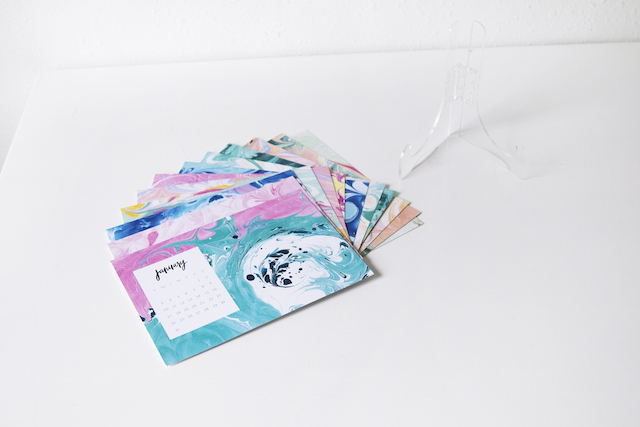
From Heather: We’ve been excited to introduce this fun trend as a pattern collection since spotting it at the National Stationery Show. We first envisioned it as a collaboration. We thought we might need an expert, to guide us through the process, so that we could get the results we desired for the collection. BUT, when Mica had the idea to incorporate the marbling process into our brand new Desk Calendars, it changed our timeline quite a bit and we decided to roll up our sleeves and get our hands dirty!

We set aside a day that same week to set up our very own marble workshop in the studio. We’ve hosted a few different workshops in the studio; calligraphy, painting, cocktail classes, etc., but this was my personal favorite. The process is so free and each piece almost creates itself! We collected tips and tricks from several different videos and blogs to create the process outlined in the tutorial above. Here’s a list of little things that we feel made this a success:

  • Cotton paper is a must! The other papers we tried broke down in the water bath
  • Don’t go on a crazy search for fancy “dispersant” – dish soap works the same way! Oh and remember, a little goes a LONG way!
  • Turns out, restaurant supply stores have the perfect large, shallow dishes for water bath. And they’re white!

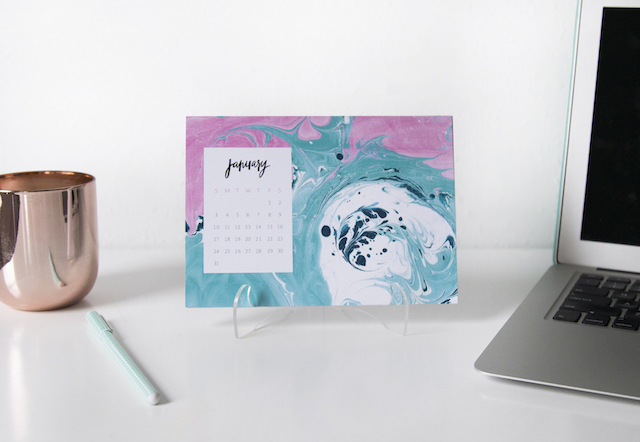
We hoped that by the end of the day, we would have 12 gorgeous pieces to work with, but the pressure was off. It was SUCH a fun day. Doors open, messy desks, lunch ordered in (of course) and selfies galore. A perfect exercise for our team to let loose and bond, and BONUS… we ended the day with walls covered in gorgeous marbled paper. We are so happy with the end result! The new calendars are are beautiful and the pattern collection for notebooks is a new favorite!

May Designs Marbled Calendar / Oh So Beautiful Paper

May Designs Marbled Calendar / Oh So Beautiful Paper

May Designs Marbled Calendar / Oh So Beautiful Paper

Photo Credits: May Designs