The Printing Process: Letterpress Printing

Every morning this week, I’m running a series of guests posts about different printing methods â€“ so if you’ve ever wondered why certain printing methods are best for certain kinds of designs (or cost more than others), this is for you!  You can read the previous installments covering digital printingengravingscreen printingletterpress printing with antique type, and foil stamping all right here.  Today Kim and Kyle from Baltimore Print Studios are here to walk us through modern letterpress printing!

Hello OSBP!  We’re Kim and Kyle from Baltimore Print Studios, a public-access letterpress and screen printing studio where we also print commercially and for ourselves.  We’re thrilled to share the process of letterpress printing with you and how things work in our shop.

What is Letterpress? 

Letterpress printing has become the go-to printing technique for wedding invitations, greeting cards, and business cards for anyone hoping to make an impression (pun intended) on the recipient.  Today’s cottage industry of letterpress printers has been built on the shoulders of 100 years of printing industry, starting around the late 1800s.  It’s easy to forget that what we treasure today as an artisan product, made by a well-trained craftsperson, was once known simply as printing.

What began with hand-set wood and metal type (read more about this from Jen of Starshaped Press here) has become an industry centered around the photo polymer plate.  Designing for letterpress today begins on a computer, and as such, new fonts, embellished ornaments, graphics, patterns, and complicated multi-color designs can be produced with relative ease.  The printing part is still by hand, one at a time.

The Printing Process

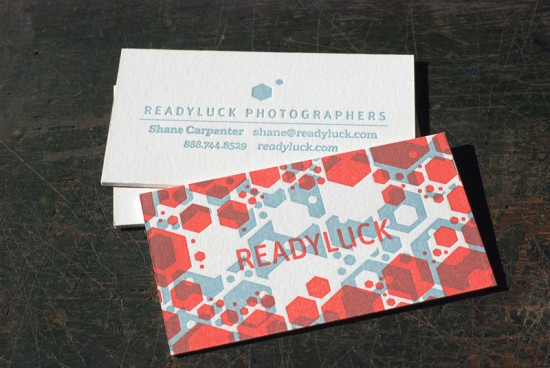
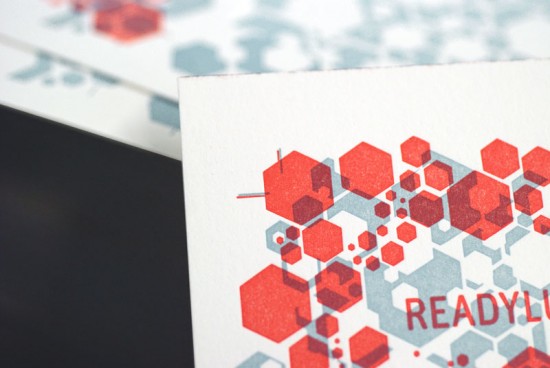
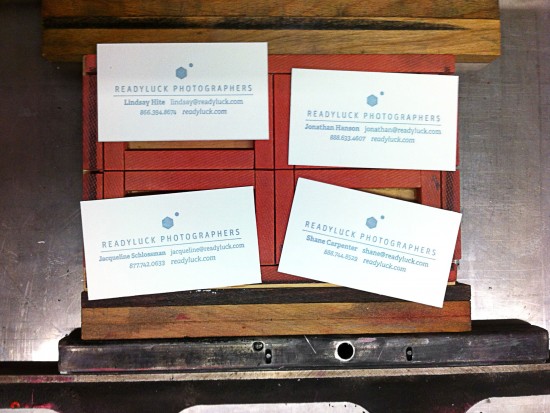
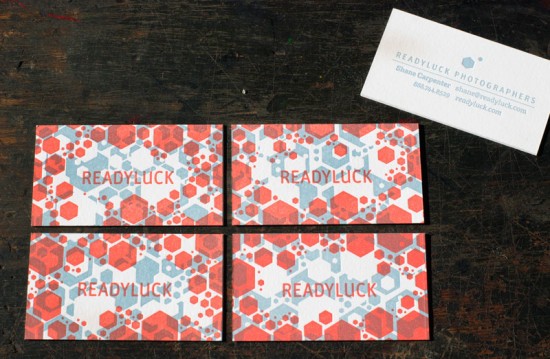
The images below walk you through the process of printing 2-color, double-sided business cards on a Vandercook SP-20 printing press.  They were designed for a wedding photography company called Readyluck, by Baltimore designer Christopher Clark.  These cards were printed on Crane Lettra 220 lb Pearl White cotton paper.

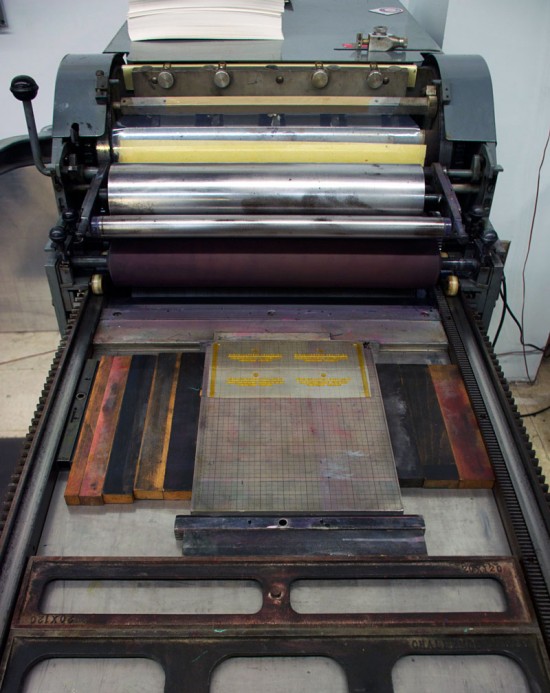
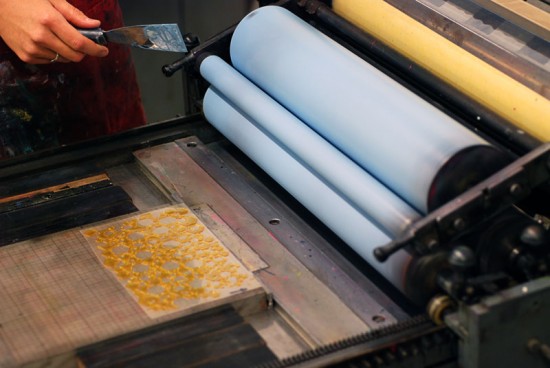
This is the Vandercook SP-20.  In this press’s first life it probably pulled proofs of pages for a daily newspaper.  Today, these presses are sought after for their quality and large printing size.

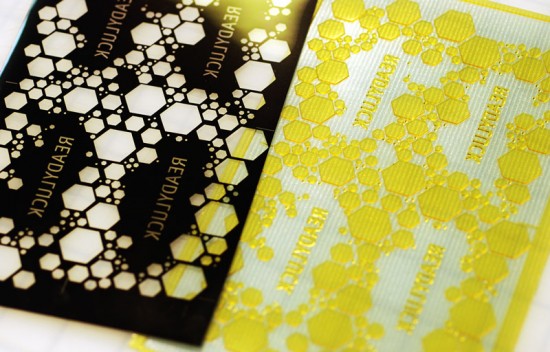
Polymer plates are produced using a photographic process.  The digital design is output to a film as a negative (left), and then exposed to a polymer plate using UV light (right).  The polymer plate is made of a light-sensitive, water-soluble plastic with a clear backing.  The portions of the plate that are exposed through the clear parts of the film hardens, and what is not washes away.  What remains is a raised surface in the shape of the design.  A separate plate is produced for every color being printed, and the paper is run through the press at least once for each color in the design.  We send our designs to Boxcar Press, where they transfer your digital design onto a polymer plate.  These plates match a gridded Boxcar Base, a machined aluminum plate that raises the plate to type high.

The plate is affixed to a machined metal base which is in turn locked into the press.

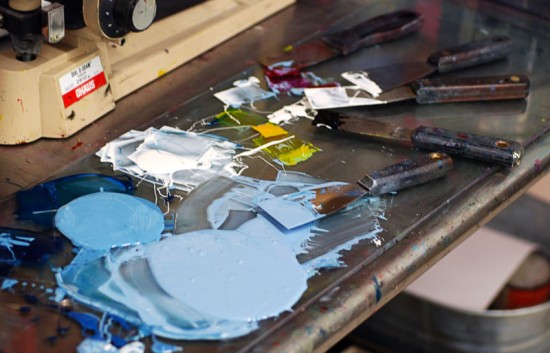
Ink is mixed by hand.  When possible, ink can be weighed out to match a specific color recipe, but in our shop we mix everything by eye, often matching to a specific Pantone color.  We use oil-based, lithography inks.

The press is inked.  Even the inking process has to be done carefully.  Too much ink will produce a sloppy print.  Too little, and the color will not be solid.

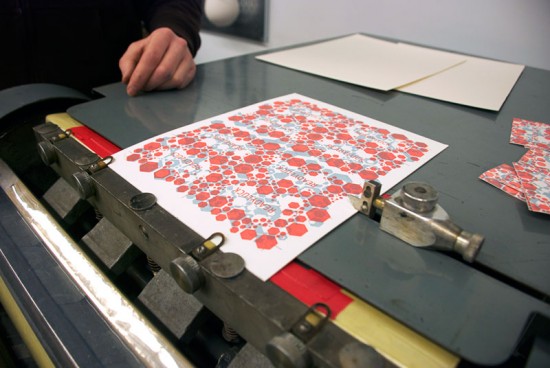
Printing begins.  This plate prints an area half the size of the sheet.  The sheet of paper is hand-fed through the press twice, once from each end of the paper.  This produces 8 cards per sheet in a process called a work-and-turn.  The 220 lb Crane Lettra paper, double than the standard 110 lb weight (and more than twice the cost), allows for a deeper impression on both sides, which was desired by the client.

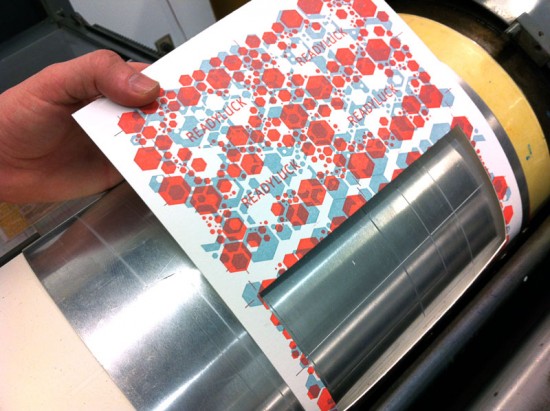
The ink is allowed to dry and the next day the press is inked up in red.  Differences in pressure and the amount of ink can dramatically affect the printed color.  Adjustments are made to produce the desired color, and the print run is checked periodically to be sure the color is consistent.  For this particular run, the red ink ran out relatively quickly and frequent re-inkings were required.

All presses have a system of registration.  Consistent placement of every print on every sheet is a must for quality printing.  This design, like most we produce, has cross-hair trim marks made into the plate that serve not only as cutting guides, but printing guides as well.  After this print run dried, a third printing run was made on the reverse of the pages.

Cutting!  Printing is finished and the job is ready to cut.  We usually die cut our business card jobs, even when the job doesn’t call for an unusual shape.  Our business card die cuts four cards in a single pass.  The press is outfitted with a metal die-jacket for protection, and the die itself is made up of metal cutting blades surrounded by protective foam pads. (Ed. Note: We’ll be covering die cutting in greater detail tomorrow!)

Each pass on the press cuts four cards.  While this is an extremely inefficient press for die cutting, its accuracy far out-weighs speed for us.

The design for these cards utilized a random, non-repeating pattern and intentionally transparent colors.  The four cards together create one overall design, but each business card is unique.

Tips and Advice

Letterpress printing takes some time.  In our shop, each page is fed by hand, and each color of a print job can be several hours on press from start to clean-up.  Add to that designs that need to be sent out to be made into plates.  A two-week turn-around is common.

Letterpress excels at printing fine type and line work.  Letterpress printing is not ideal for solid fields of color.  Most large solid shapes result in the color printing ‘salty’, a term used to describe the texture and color of the paper showing through the ink.  Your printer can tell you what is possible on their equipment.

While letterpress was never intended to be printed with a dramatic impression, or deboss, into the paper, it is often the most desired feature today.  Printing like this will quickly damage wood and metal type, but polymer plates are more durable (and more easily replaced).  Certain papers show off this impression better than others.

Thanks Kim and Kyle!  You can learn more about Baltimore Print Studios right here.

Photo Credits: Baltimore Print Studios

The Printing Process: Block Printing

Happy Monday everyone!  Every morning this week, I’ll be running a series of guests posts about different printing methods – so if you’ve ever wondered why certain printing methods are best for certain kinds of designs (or cost more than others), this is for you!  You can read the previous installments covering digital printing, engraving, screen printing, letterpress printing with antique type, and foil stamping all right here.  Today we have the talented Katharine Watson stopping by to tell us about one of the oldest printing methods – a technique known as block printing.

What is Block Printing?

Block Printing is one of the oldest types of printmaking, and has been around for thousands of years.  There is evidence that it existed as early as the fifth century BC, with actual fragments found from as early as the fifteenth century.  It has been done around the world, with roots in India, China and Japan.

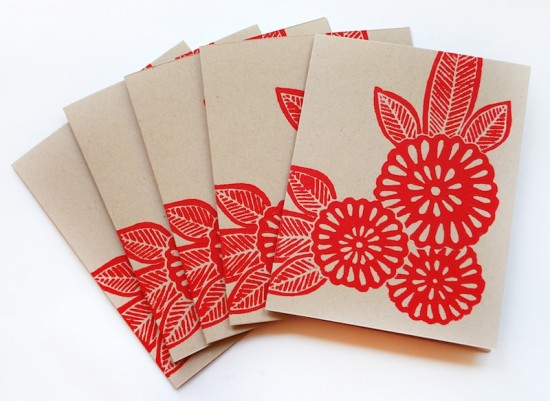
Since there is such a long history of block printing, there are many different techniques, but it is essentially using a carved material covered in ink to transfer an image on to paper or fabric.  Block printing can be done with wood, linoleum, rubber, or many other materials, but I use linoleum for my work.

Images that are printed with this technique are typically much bolder than other types of printmaking: since the blocks are carved by hand, there is often less detail and more texture to the prints.  It is possible however, when using a very small knife, to carve blocks with a huge amount of detail.

Block printing is also known as “relief printing” because the ink leaves a raised texture on the paper.  This is different than letterpress where the image is applied with enough pressure to leave an indent on the paper; typically block printing is done by hand, so the ink sits on the surface adding a raised texture to the paper.

The Printing Process

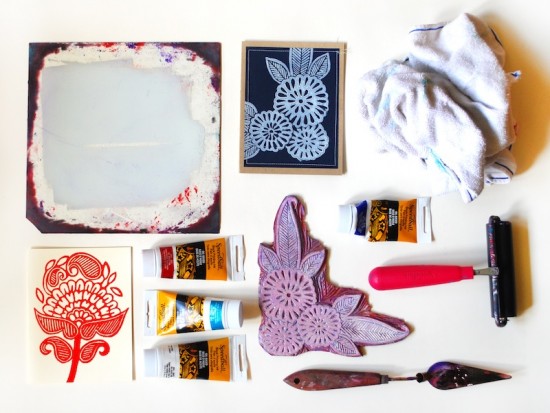
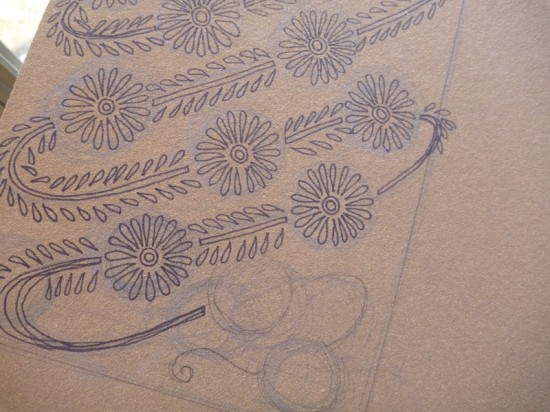
The first step is to sketch the design.  It is important to reverse the image if you are using text, as the printed image will be the reverse of what is on the block.  Once I have the image ready, I then transfer the design on to the linoleum to give me an outline of where to carve.

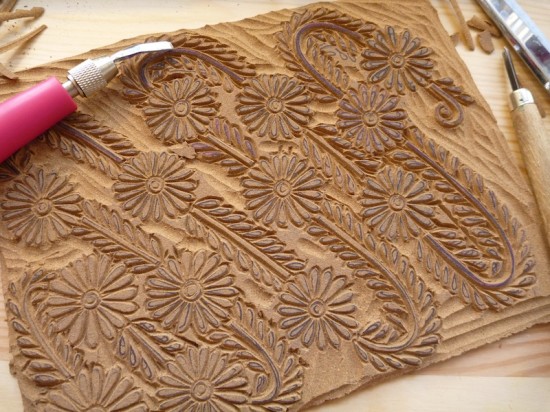
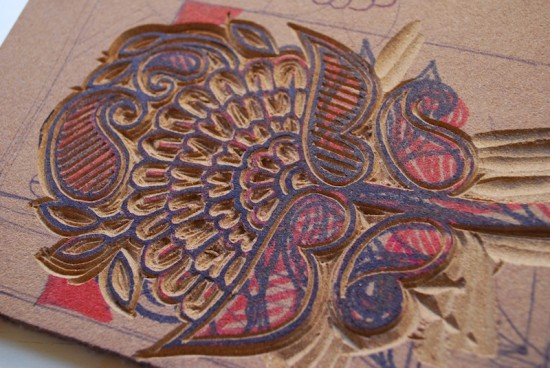
The next step is to carve the design.  I carve away the parts that I don’t want to print, as the ink will be applied to the raised surfaces to print the design.  Whatever surface is untouched will be what prints onto the paper.  Carving a block can take anywhere from an hour for a small piece, to several weeks or even months depending on the size and detail of the image.

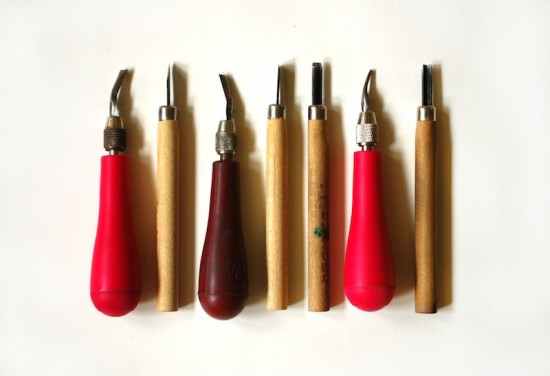
I use a range of knives, with very small-tipped knives for carving outlines and details, and much larger ones for cutting away the background.  Carving the blocks takes a lot of patience, because if your hand slips it can ruin the whole piece.  With practice, you can learn the amount of pressure it takes to carve the material, and the best techniques to use for certain designs.

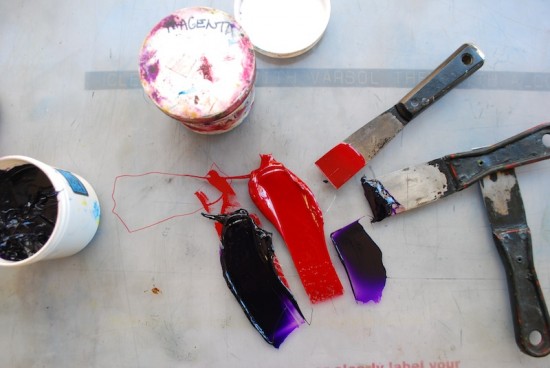
Once the block is carved, I trim the excess off with scissors to give it a straight edge, and then it is ready for printing.  There are many different types of ink on the market, and it’s important to test them out to find the best one.  I use oil-based inks because they give the best even coverage and print well on both fabric and paper, but there are lots of options out there.

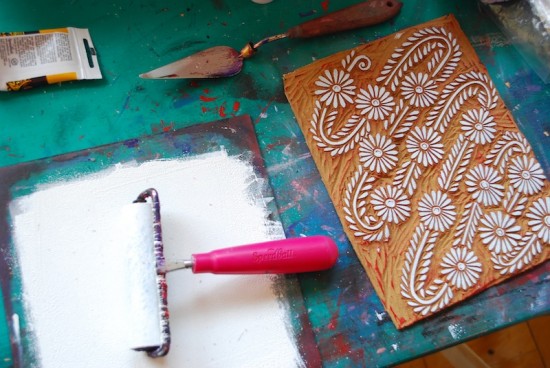
To print, I squeeze a small amount of ink onto a piece of glass or plexiglass, and roll it out with a roller (also called a brayer).  I do this to get a thin, even layer, because it’s important to apply the ink evenly to the block.

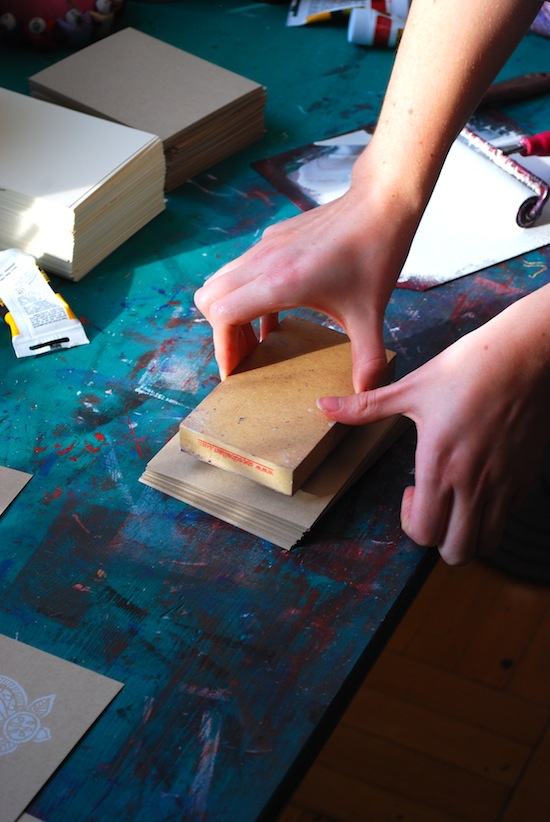
I then roll the ink on to the block, making sure there is a thin but even layer on the whole design. Then I take the block and press it down onto the paper or fabric. You can do this with your hands, a printing barren (a specific tool to apply pressure to a block), a rolling pin, by walking on it, or with a printing press – whatever it takes to apply even pressure.

The most important part is applying the pressure evenly, since the color will be stronger in some areas of the print than others if uneven pressure is applied.  This is also a step that takes some practice and perfecting.

The ink then takes several days to dry, so unlike other printing processes, there is a long wait time before the prints are ready to use.  The oil based inks can take from two days to a week to fully dry, whereas water-based inks will dry slightly faster.  The inks are made to dry slowly so that you are able to print without having the ink dry on the block; if you print with a fast-drying ink or paint, it will sometimes start to dry before you have even finished the print, giving a very uneven coverage.

Tips and Advice

I love block printing because of the bold and simple designs that can be created, but that simplicity takes a lot of steps to achieve.  The technique is excellent for images with just a few colors and fewer details, but can be difficult to use for images with lots of small text, or very fine details that tend to break off the block with too many uses.

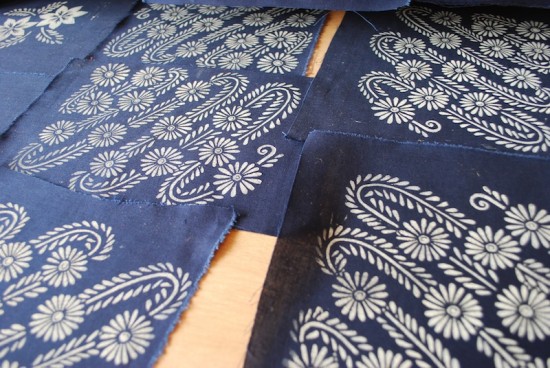
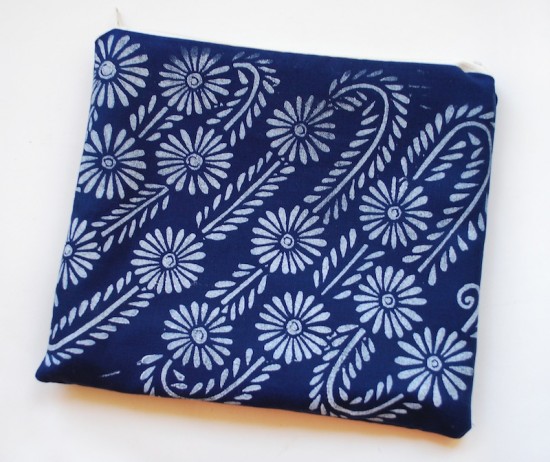
One of the advantages of block printing is that it can be done on a surface of almost any size and texture.  I print on fabric, paper, canvas, wood and other materials, and you don’t have to worry about fitting it through a printer or a press.

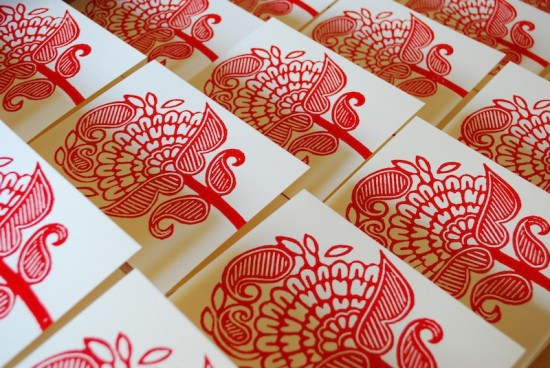
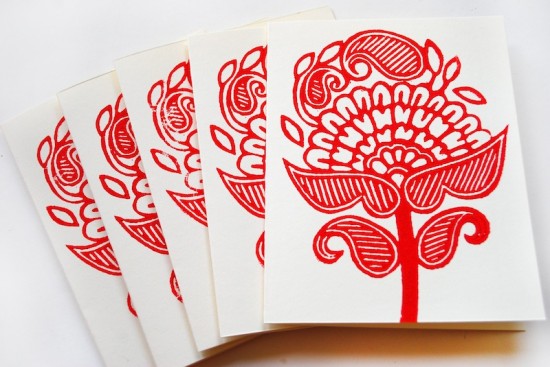
Block printing is also an excellent way to produce a something that is truly handmade, but can be very easily replicated.  Carving the block is time consuming and requires a lot of patience, but once you have the block you can use it hundreds or thousands of times.

Block printing is also one of the easiest printing methods to get started with, since the materials needed to start are relatively inexpensive, and you don’t need a lot of equipment for printing.  It’s a great way to get into printmaking!

Thanks Katharine!  Check out more of Katharine’s beautiful work right here!

Photo Credits: Katharine Watson


Friday Happy Hour: Puritan’s Punch

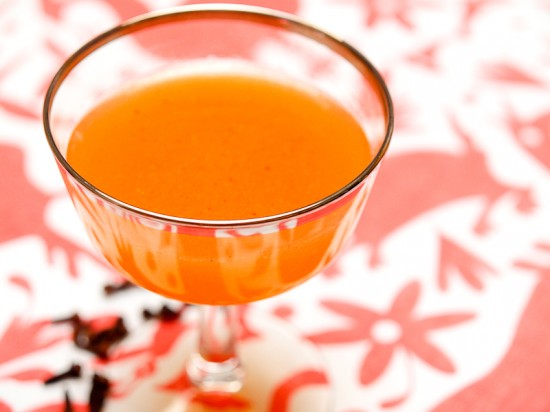
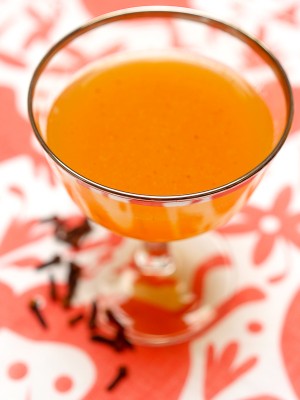
Here’s a drink that branches out from our recent run of classic, mostly pre-Prohibition cocktails: the Puritan’s Punch.  This rum-based cocktail is a great cold weather drink, sweet and tart, earthy and spicy: delicious!

Read below for the full recipe!

Puritan’s Punch

2 oz Dark Rum
1/2 oz Lime Juice
1/2 oz Honey Syrup
2 Dashes Clove Bitters

Combine all of the ingredients, shake with ice, strain into a chilled cocktail glass, and enjoy.


For a thicker Punch, increase the honey syrup to 3/4 oz, but you should probably also push the lime juice up to 3/4 oz to balance the sweetness of the honey syrup.  You can make honey syrup the same way you make simple syrup: mix equal parts honey and water, then heat gently while stirring until combined.

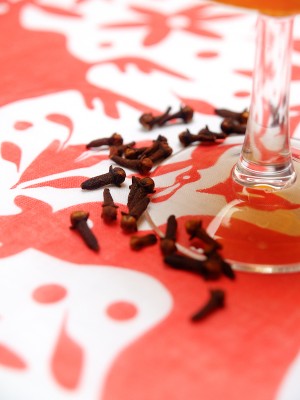
Clove bitters aren’t the easiest to come by, so try using a dash or two of Angostura bitters and mix in some real cloves (whole or ground) when shaking to get the deep spiciness that makes this drink so great. Or, you can try heating the cloves–and some cardamom pods, cinnamon sticks, ginger, and whatever other spices you feel like–with the honey to make a nicely spiced honey syrup. Some fresh-grated nutmeg on top is also a nice touch.


We first had this drink at one of our new favorite restaurants in DC, Fiola.  The food is great, but we’re also big fans of their bar and, more specifically, their bartenders – who experiment all the time with interesting cocktails.  This Puritan’s Punch is their take on a creation that honors the early Puritan settlers of America, based on the theory that the they probably would have made punch with rum.  Rum was first distilled in New England from molasses imported from the Caribbean as far back as the late 1600s and was the biggest industry in New England for a long time.  It’s a good theory, but an even better drink.

Photo Credits: Nole Garey for Oh So Beautiful Paper

{happy weekend!}

Happy Friday everyone!  This week started off with our first real snowfall here in DC!  Sadly, the snow didn’t stick around and we’re back to rain (boo!).  At least the rain has given me an excuse to spend more time indoors, particularly with our rescue foster cat, Major Tom.  After spending weeks living under the bed, he now finally comes to hang out with us and our other cats in the living room.  Progress!  Next week I’m heading to Salt Lake City for Alt Summit – I’m looking forward to seeing old blog friends and meeting new ones!  But in the meantime…

…a few links for your weekend!

This week on Oh So Beautiful Paper:

As usual, we have a fun cocktail coming up for you this afternoon, so check back a bit later for the recipe!  I hope you all have a wonderful weekend, and I’ll see you back here on Monday! xoxo

Photo Credits: v frolov

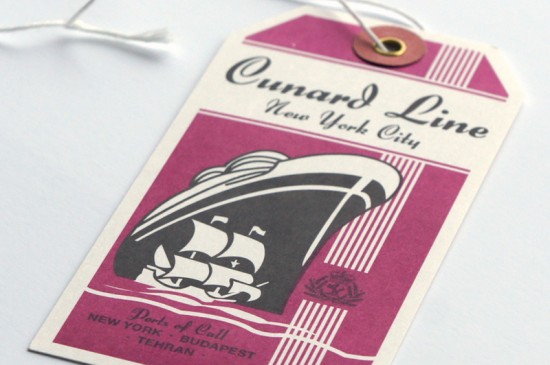
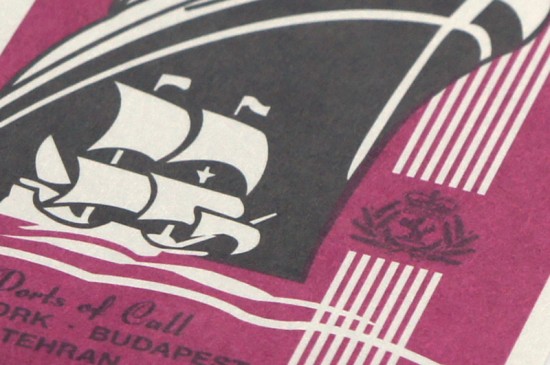
Dora + Arta’s Ocean Liner Luggage Tag Save the Dates

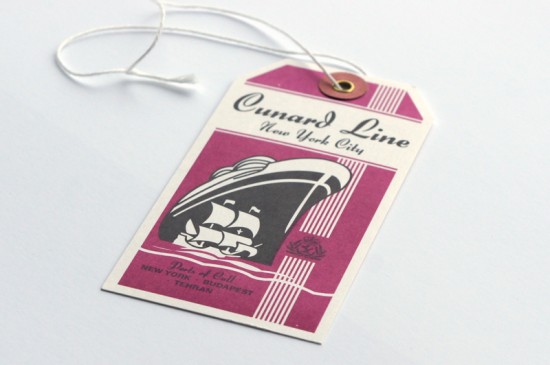
Designer Thea Kennedy sent over these fun save the dates that she designed for a wedding this past summer.  The wedding took place at the famous Cunard Building in New York City; Thea was inspired by the building’s maritime murals and Beaux Arts style, creating a luggage tag format inspired by the historic Cunard cruise line.  The result is a save the date that is simultaneously fun and glamorous!

From Thea: Since the couple planned to get married in the famous Cunard Building located on Broadway in New York City, we developed the theme of a vintage “luggage tag” for their save the date.


The grand building is ornately and beautiful decorated in all things marine: starfish, seahorses, shells, sirens, an albatross, and the vessels of Columbus and others.  All are celebrated in paintings, murals, and medallions – speaking to a bygone era when travel evoked a feeling of sophistication and excitement – and the perfect setting to celebrate the beginning of the couple’s own voyage into wedded bliss.

Thanks Thea!

Check out the Designer Rolodex for more tal­ented wed­ding invi­ta­tion design­ers and the save the date gallery for more beau­ti­ful cus­tom save the dates!

Photo Credits: Thea Kennedy