Color Inspiration: Vintage Red, White, + Blue

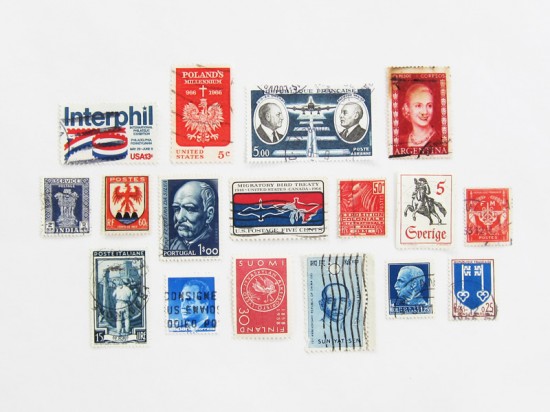
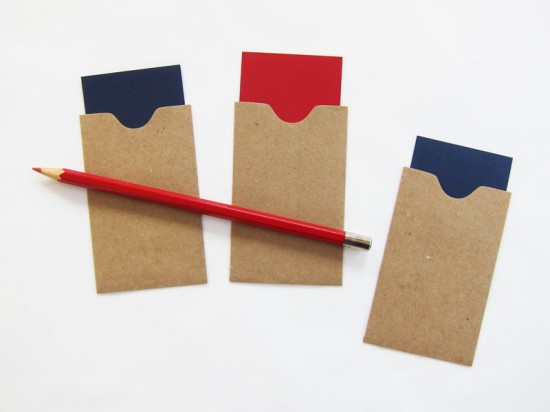
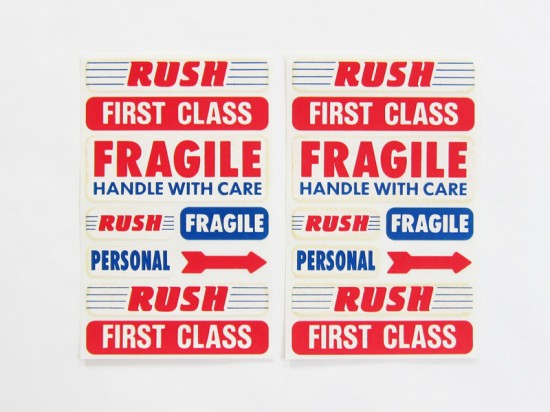
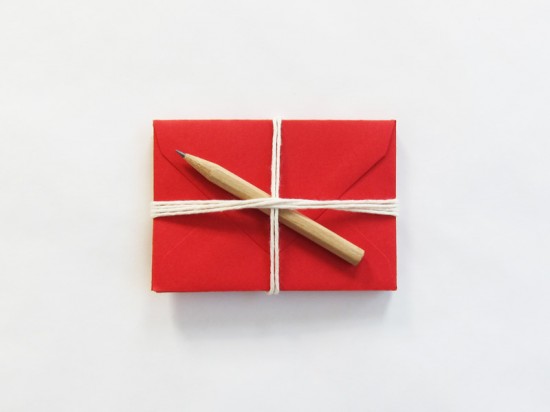
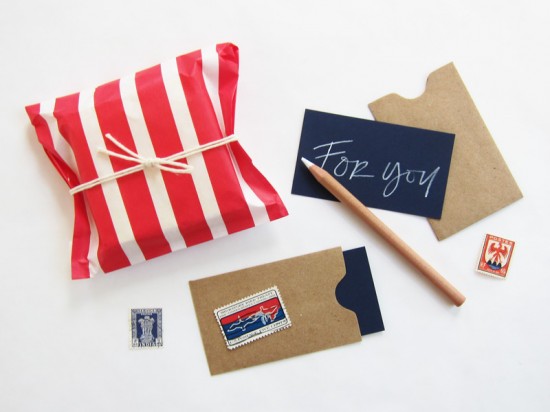
Hi everyone! Annemarie here from Scout’s Honor Co. I am thrilled to be guest blogging this week while Nole is on maternity leave (congrats, Nole!). Let’s start off with some color inspiration. I recently picked up the vintage stamps and mail stickers below… I love how the deep red + navy tones pop against the aged paper. Add some kraft to the mix and you’ll warm up the palette even more (and ensure it does not skew too 4th of July!). Below are a few of my favorite supplies from around the studio, along with a full list of shopping resources.

Vintage Stamps: Angela Liguori / Studio Carta
Kraft Card Sleeves: Envelope Mall
Business Cards: Paper Source
Vintage Mail Stickers: Paper Pastries
Mini Red Envelopes: Paper Presentation
Red Striped Bags: Whisker Graphics.

Photo Credits: Scout’s Honor Co.

Anneke & Austin’s Nautical-Inspired Wedding Invitations

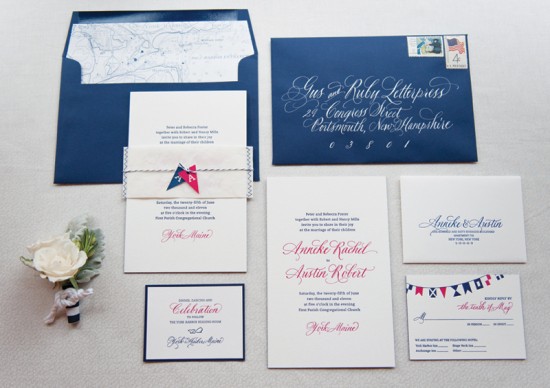
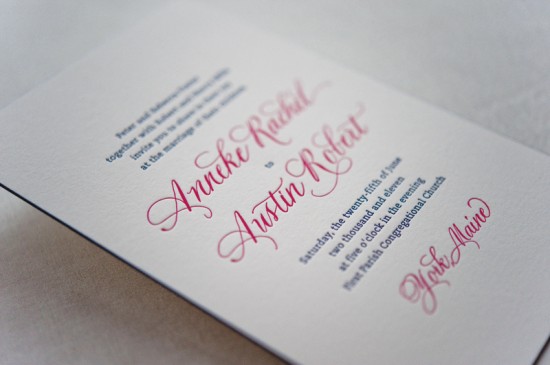
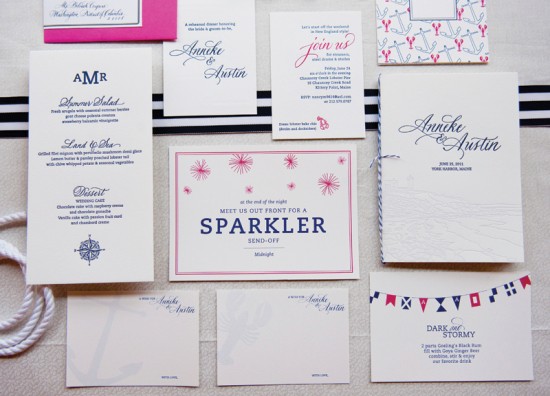
Good morning, paper lovers!  Samantha & Whitney here from Gus & Ruby Letterpress. We have the immense privilege of guest blogging on the Oh So Beautiful Paper blog this week and we are just delighted to be here. To start things off, today we’re thrilled to bring to you a chic, nautical invitation suite that we’ve been squirreling away for a few months. This custom suite was crafted for an absolutely too-cute-for-words couple, Anneke & Austin, in need of wedding stationery for their Maine-coast nuptials.

Knowing that A&A wanted to feature the seaside location of their wedding venue, we set about crafting a suite that was both nautical, personal and playful but still classic, elegant and timeless.

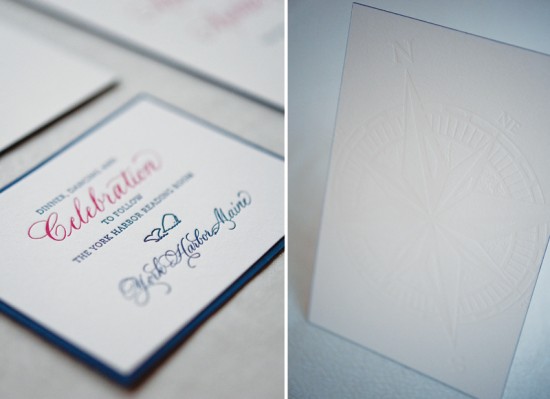
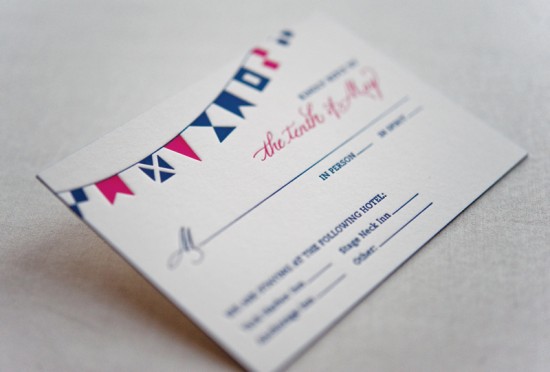
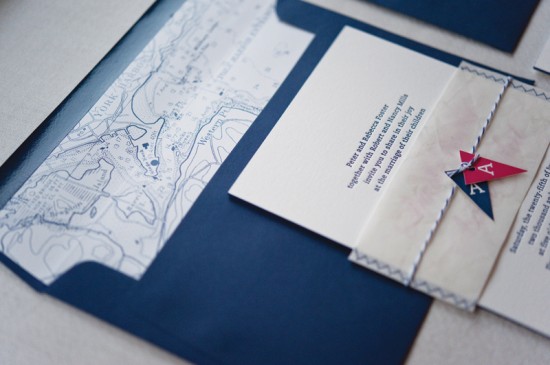
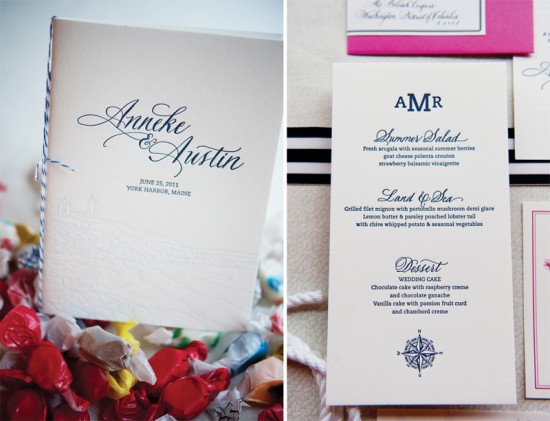
To set the tone on all pieces, we paired classic typesetting, stunning hand calligraphy by Elizabeth Porcher Jones and a preppy palette of navy and pink and letterpress printed everything on thick, textural cotton. Navy edge painting and a blind-printed compass on the back of the extra-thick invitation added subtle pops to the clean design. Nautical pennants (burgees), hand-illustration and color backing papers pulled even more nautical elements into the reply and reception cards.

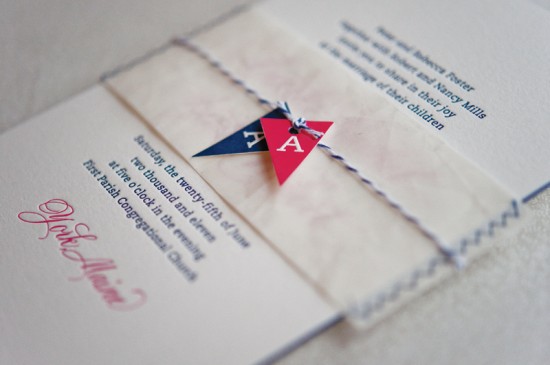
And, what really put the suite over the edge was the custom hand-sewn belly band made of recycled sail cloth that held all the pieces together. Each band was cut out of a piece of sail (previously used on a boat!) and sewn all by hand, and hand-cut monogram burgees were tied to striped twine around the band as a finishing touch.  The deep navy envelopes popped with stunning white calligraphy and featured custom nautical chart envelope liners as an added surprise for guests as they opened the suite.

The end result was an invitation suite (and then accompanying day-of pieces) that perfectly reflected the classic Maine wedding of this beautiful and lovely couple. See more photos of the Anneke & Austin suite (including the super fun poster-style save the date) HERE.

Design and Letterpress Printing: Gus & Ruby Letterpress

Calligraphy: Elizabeth Porcher Jones

Gus & Ruby Letterpress is a member of the Designer Rolodex – check out more of their beautiful work right here or visit the real invi­ta­tions gallery for more wedding invitation ideas!

Photo Credits: Brea McDonald Photography for Gus & Ruby Letterpress

DIY Tutorial: Rubber Stamp Airmail Save the Dates

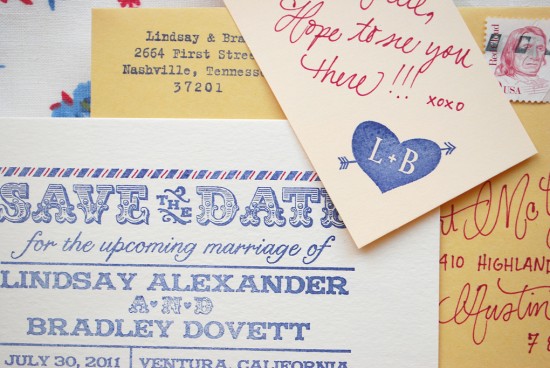
While digging though Emma’s stash of vintage stamps a while back, we stumbled across old airmail that she had received from a long lost pen pal.  It made us nostalgic for the days of hand written correspondence – which in turn made us think it would be the perfect thing to inspire this save the date design and tutorial!  Best of all….it’s super simple to put together.  – Bailey and Emma of Antiquaria
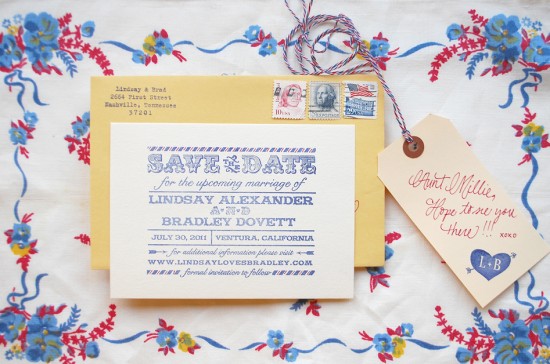
DIY Tutorial: Rubber Stamp Airmail Save the Date by Antiquaria via Oh So Beautiful Paper

DIY Tutorial: Rubber Stamp Airmail Save the Date by Antiquaria via Oh So Beautiful Paper

DIY Tutorial: Rubber Stamp Airmail Save the Date by Antiquaria via Oh So Beautiful Paper

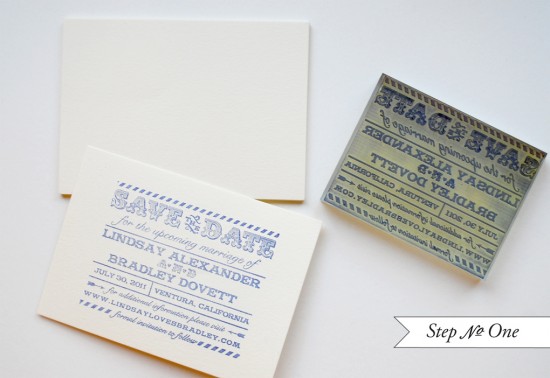
Step One: Lay out an A6 piece of cream heavyweight card stock on a smooth, hard surface.  Ink your save the date stamp (we used our Airmail Save the Date Stamp) with navy ink.  Center your stamp over the card and press firmly down to make the print.  Since there are no longer handles on our stamps (see note at the bottom of the post), you will want to make sure that you apply even pressure to all of the stamp, especially the center.  Lift stamp off and let the card dry.

DIY Tutorial: Rubber Stamp Airmail Save the Date by Antiquaria via Oh So Beautiful Paper

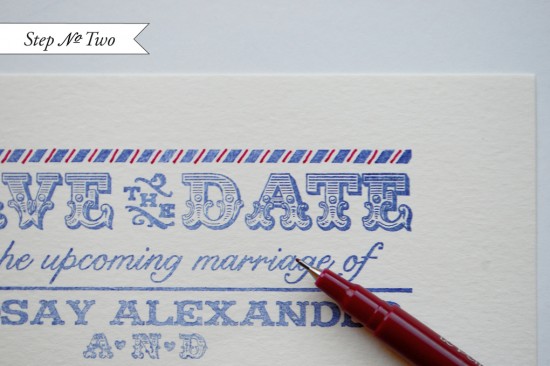
Step Two: To add an authentic airmail feel, draw lines with a red felt tipped marker or pen in between the blue stamped lines.
DIY Tutorial: Rubber Stamp Airmail Save the Date by Antiquaria via Oh So Beautiful Paper

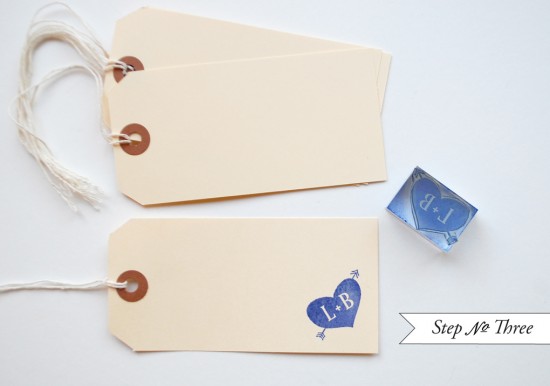
Step Three: Personalizing your wedding stationery makes your guests feel special and really sets the tone for your upcoming event.  Let them know how you want much them there by adding a note to each guest on a monogrammed manila shipping tag.  We used our (Cross my Heart Initials Monogram Stamp) in navy ink on the corner of the tag to coordinate the tag & the save the date.  We then used the same red pen to write a note to each guest!
DIY Tutorial: Rubber Stamp Airmail Save the Date by Antiquaria via Oh So Beautiful Paper

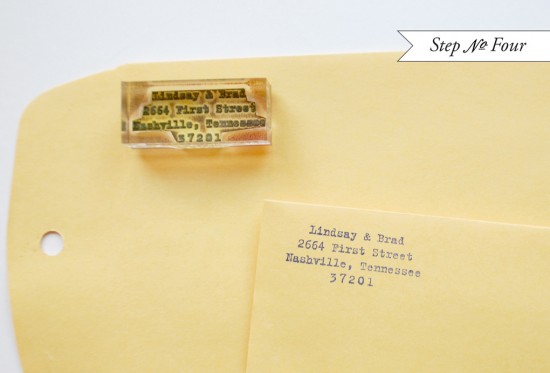
Step Four: Sometimes simple is best.  On the left hand corner of our envelope, we stamped our return address using our Old Typewriter Return Address Stamp.
DIY Tutorial: Rubber Stamp Airmail Save the Date by Antiquaria via Oh So Beautiful Paper

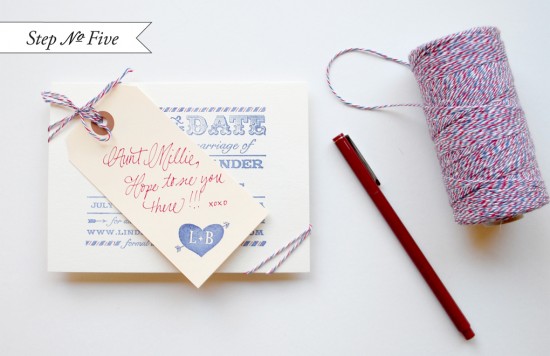
Step Five: We finished off the save the date design by tying the pieces together using this awesome airmail twine!  It couldn’t be more perfect.  We addressed the envelopes in red and sent them on their way!

Note: We at Antiquaria are thrilled to announce that we’ve made the switch to acrylic mounts for all of our stamp designs.  Not only do the mounts make the product look clean, sleek and beautiful, they vastly improve their functionality & make printing the stamps easier!

Materials:

Airmail Save the Date Stamp

Cross my Heart Initials Monogram Stamp

Old Typewriter Return Address Stamp

Stamp Pad in Midnight

A6 Cards in Luxe Cream

Manila Shipping Tags 4 3/4″ x 2 3/8″

Manilla Envelopes – ours were vintage but this is a similar product

Airmail Twine

Red Pen

Anti­quaria is a mem­ber of the Designer Rolodex – you can see more of their beau­ti­ful work right here or visit the real wedding invitations gallery for more wedding invitation ideas!

Photo Credits: Antiquaria

Naomi’s Kraft Paper and Calligraphy Save the Dates

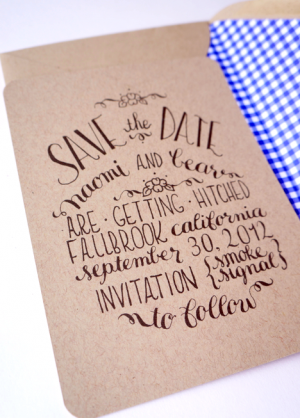
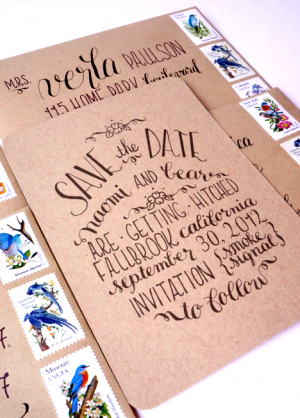
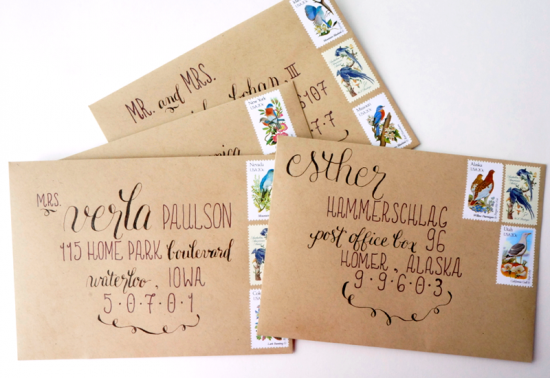
I have a confession: it’s enormously difficult for me to resist anything that combines kraft paper and calligraphy.  Calligrapher Tara of Tine and Thread sent over these save the dates that she created for an upcoming wedding, and the addition of gingham envelope liners just put me over the edge.  Too cute!

Calligraphy Save the Dates via Oh So Beautiful Paper (3)

From Tara: I worked with the bride to create a save the date that complemented the overall vision of her wedding.  Her colors are very rustic, mostly earth tones with a touch of navy.  I chose to use kraft paper with navy blue gingham envelope liners and vintage stamps with blue accents.

Calligraphy Save the Dates via Oh So Beautiful Paper (6) Calligraphy Save the Dates via Oh So Beautiful Paper (4)

I then took her wedding information and went to work.  After two rounds of design, I came up with something that she loved.  My specialty is calligraphy in a circular design and I incorporate that into most of my work.

Calligraphy Save the Dates via Oh So Beautiful Paper (1)

Thanks Tara!

Check out the Designer Rolodex for more tal­ented wed­ding invi­ta­tion design­ers and the real save the dates gallery for more beau­ti­ful cus­tom save the dates!

Photo Credits: Tine and Thread

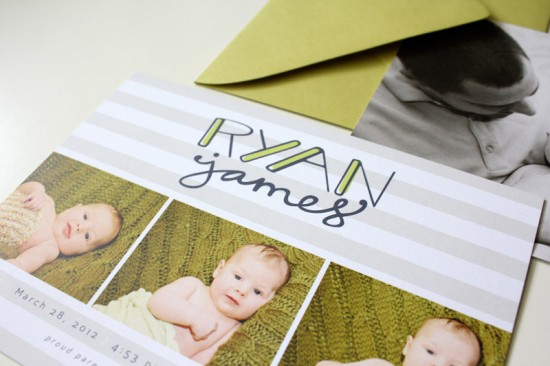
Modern Hand Lettered Birth Announcements for Baby Ryan

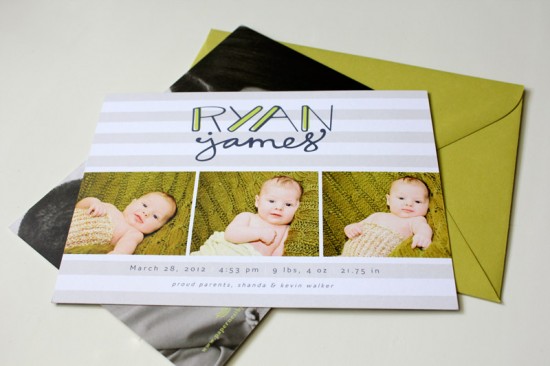
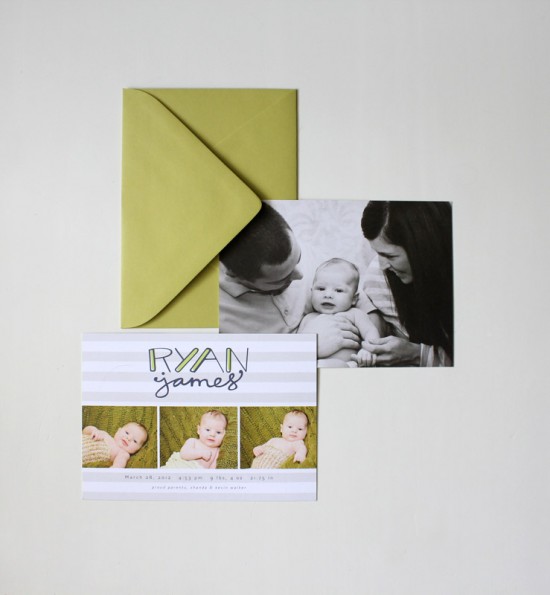
Hi again!  I hope all my U.S. readers had a wonderful 4th of July holiday!  Today we’re jumping back in with these adorable modern baby announcements from Paper Nest by Lesa.  The simple stripes and sweet hand lettering are a wonderful complement to the newborn photos – and I love that Lesa also incorporated a photo of the happy new parents!

Baby Announcements by Paper Nest via Oh So Beautiful Paper (1)

From Lesa: I went with a simple, warm gray stripe background; the stripes have a painted edge look as well.  The baby’s name is hand lettered in navy with bright green shading.  I just can’t get enough of stripes or a good warm gray, but the navy and bright green help bring in some fresh color.

Baby Announcements by Paper Nest via Oh So Beautiful Paper (3)

Baby Announcements by Paper Nest via Oh So Beautiful Paper (2)

Thanks Lesa!

Photo Credits: Announcements photos by Paper Nest by Lesa; Newborn photos by Alison Elyse Photography