DIY Tutorial: Scalloped Wood Frame Save the Date

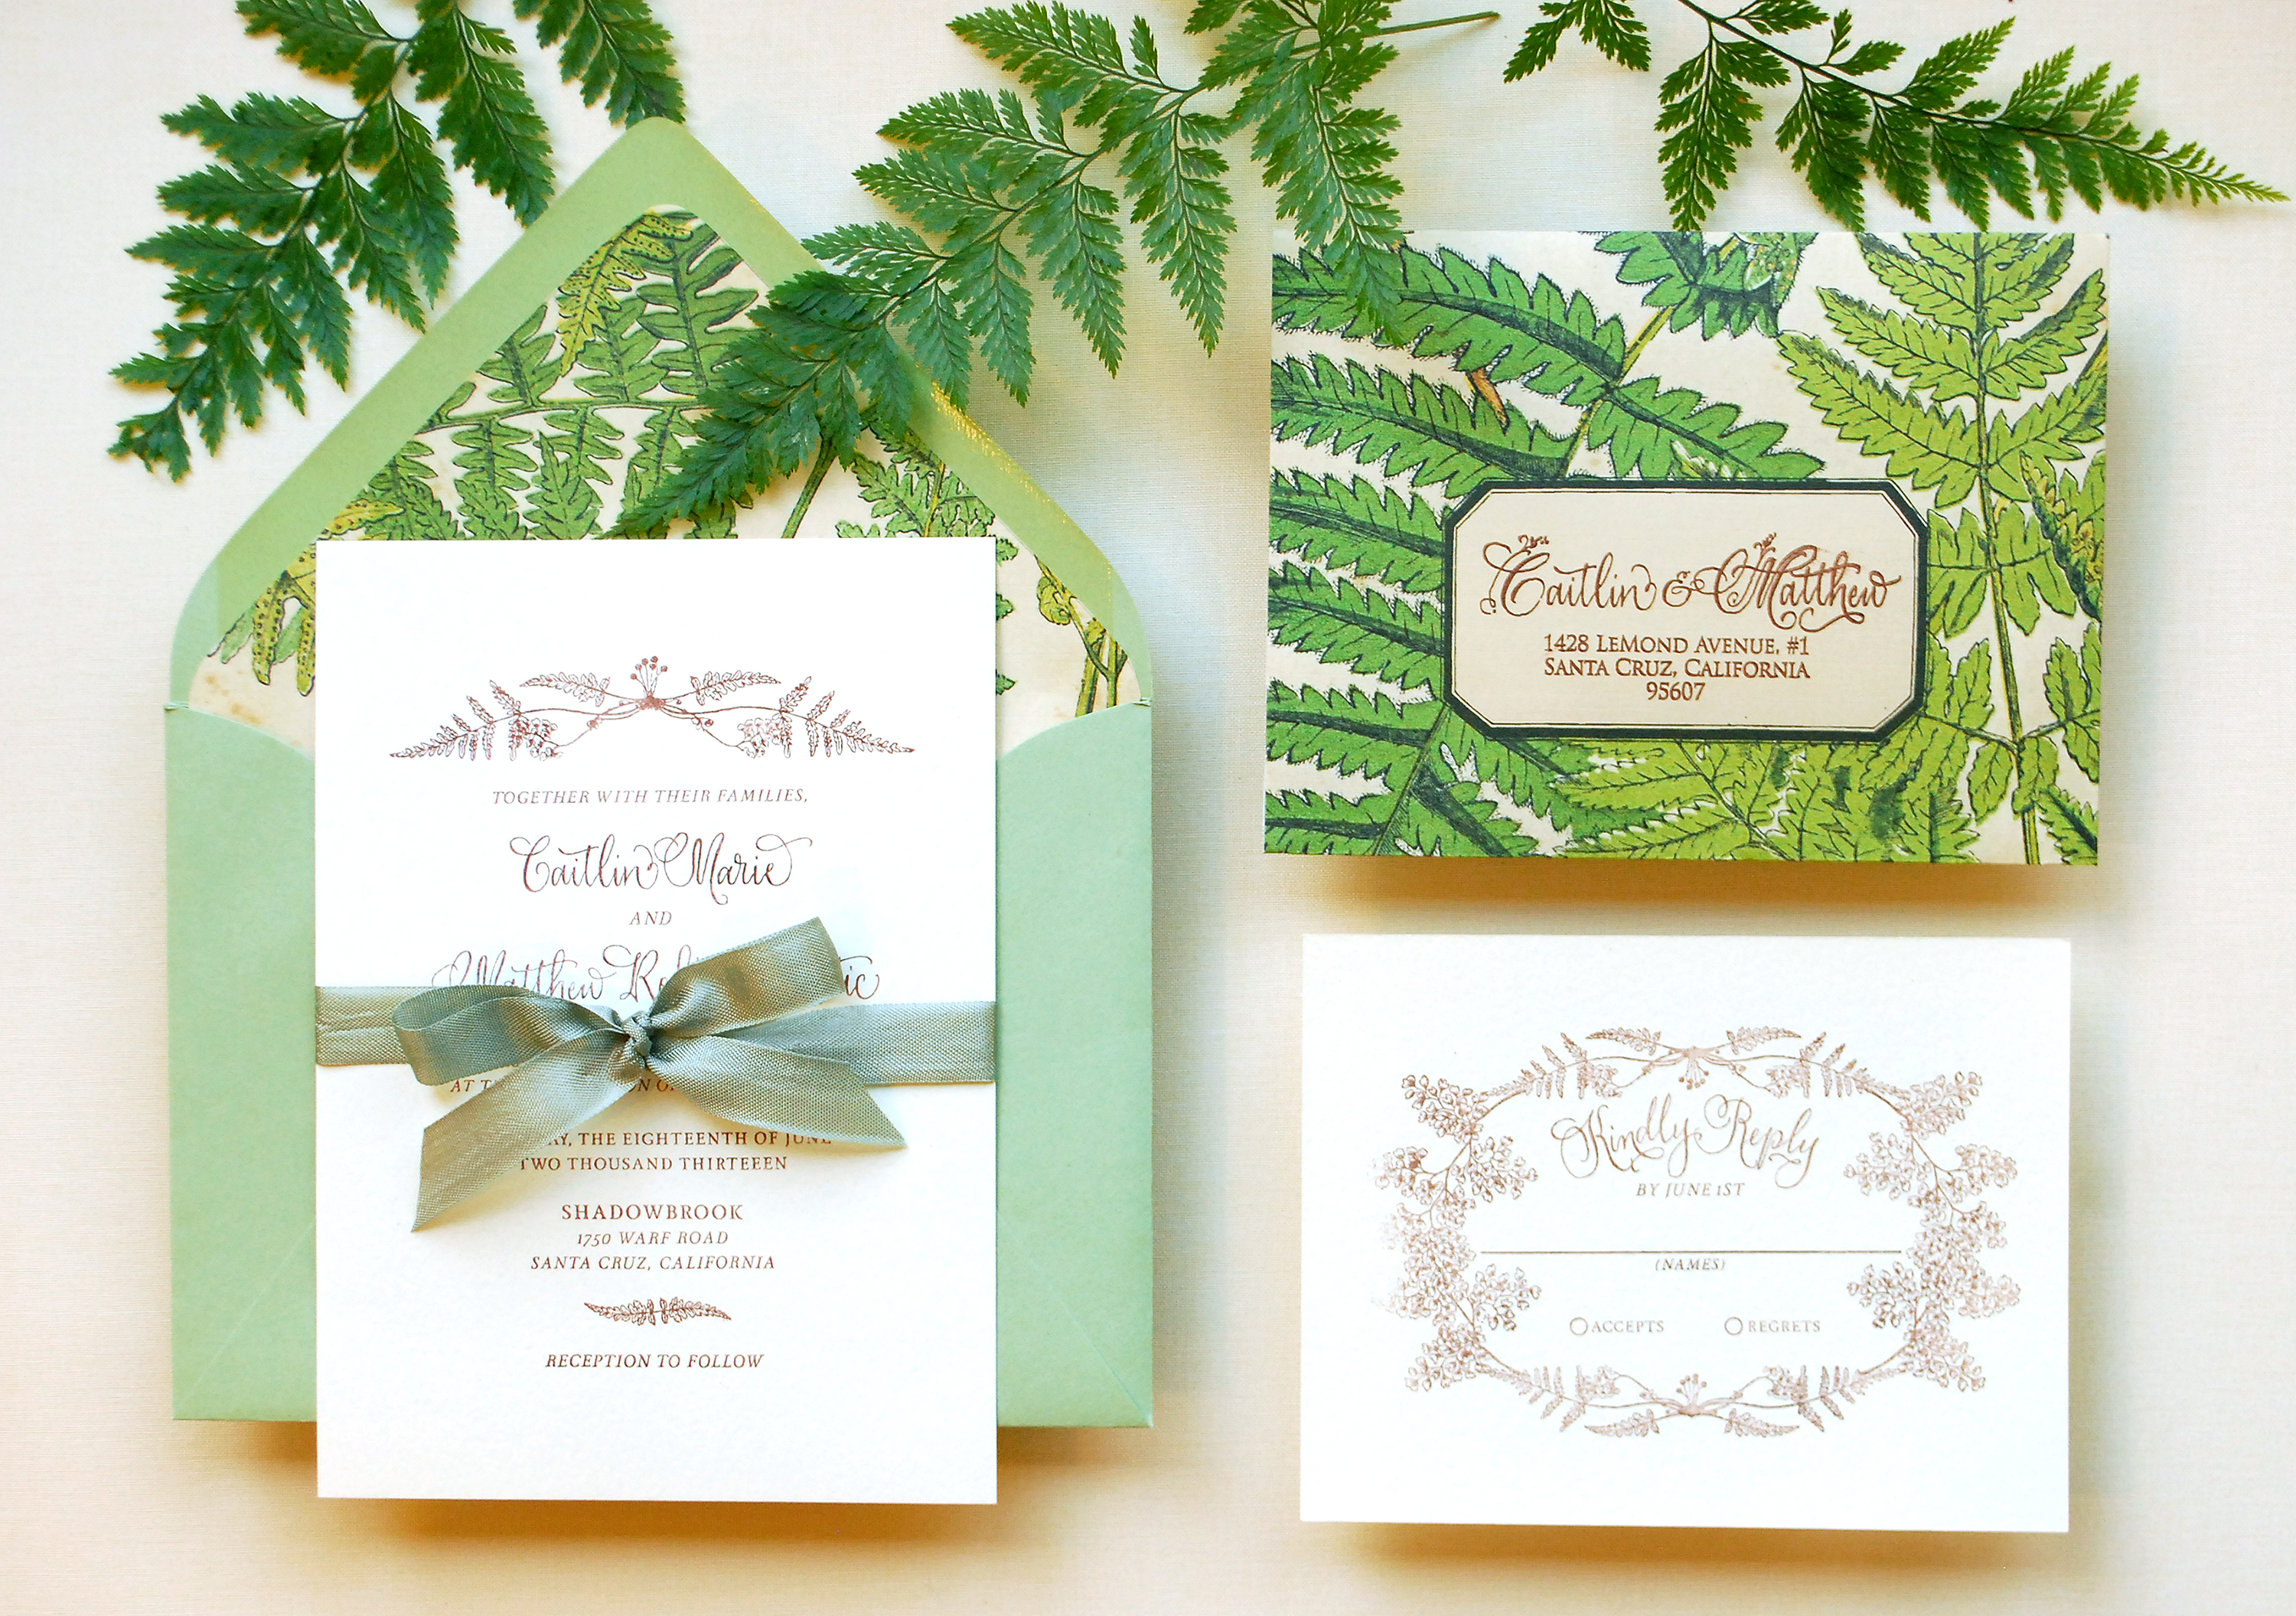
This save the date project has been brewing in our brains for a while now. After we found out how wonderful it was to stamp on wood in this tutorial, we’ve been biting at the bit to use it again. For this save the date, we used spray paint to create the “frame” effect on the wood piece before stamping the text. We couldn’t be happier with the finished project! –Bailey and Emma of Antiquaria

DIY Tutorial: Rubber Stamps on Wood Save the Date by Antiquaria via Oh So Beautiful Paper

DIY Tutorial: Rubber Stamps on Wood Save the Date by Antiquaria via Oh So Beautiful Paper

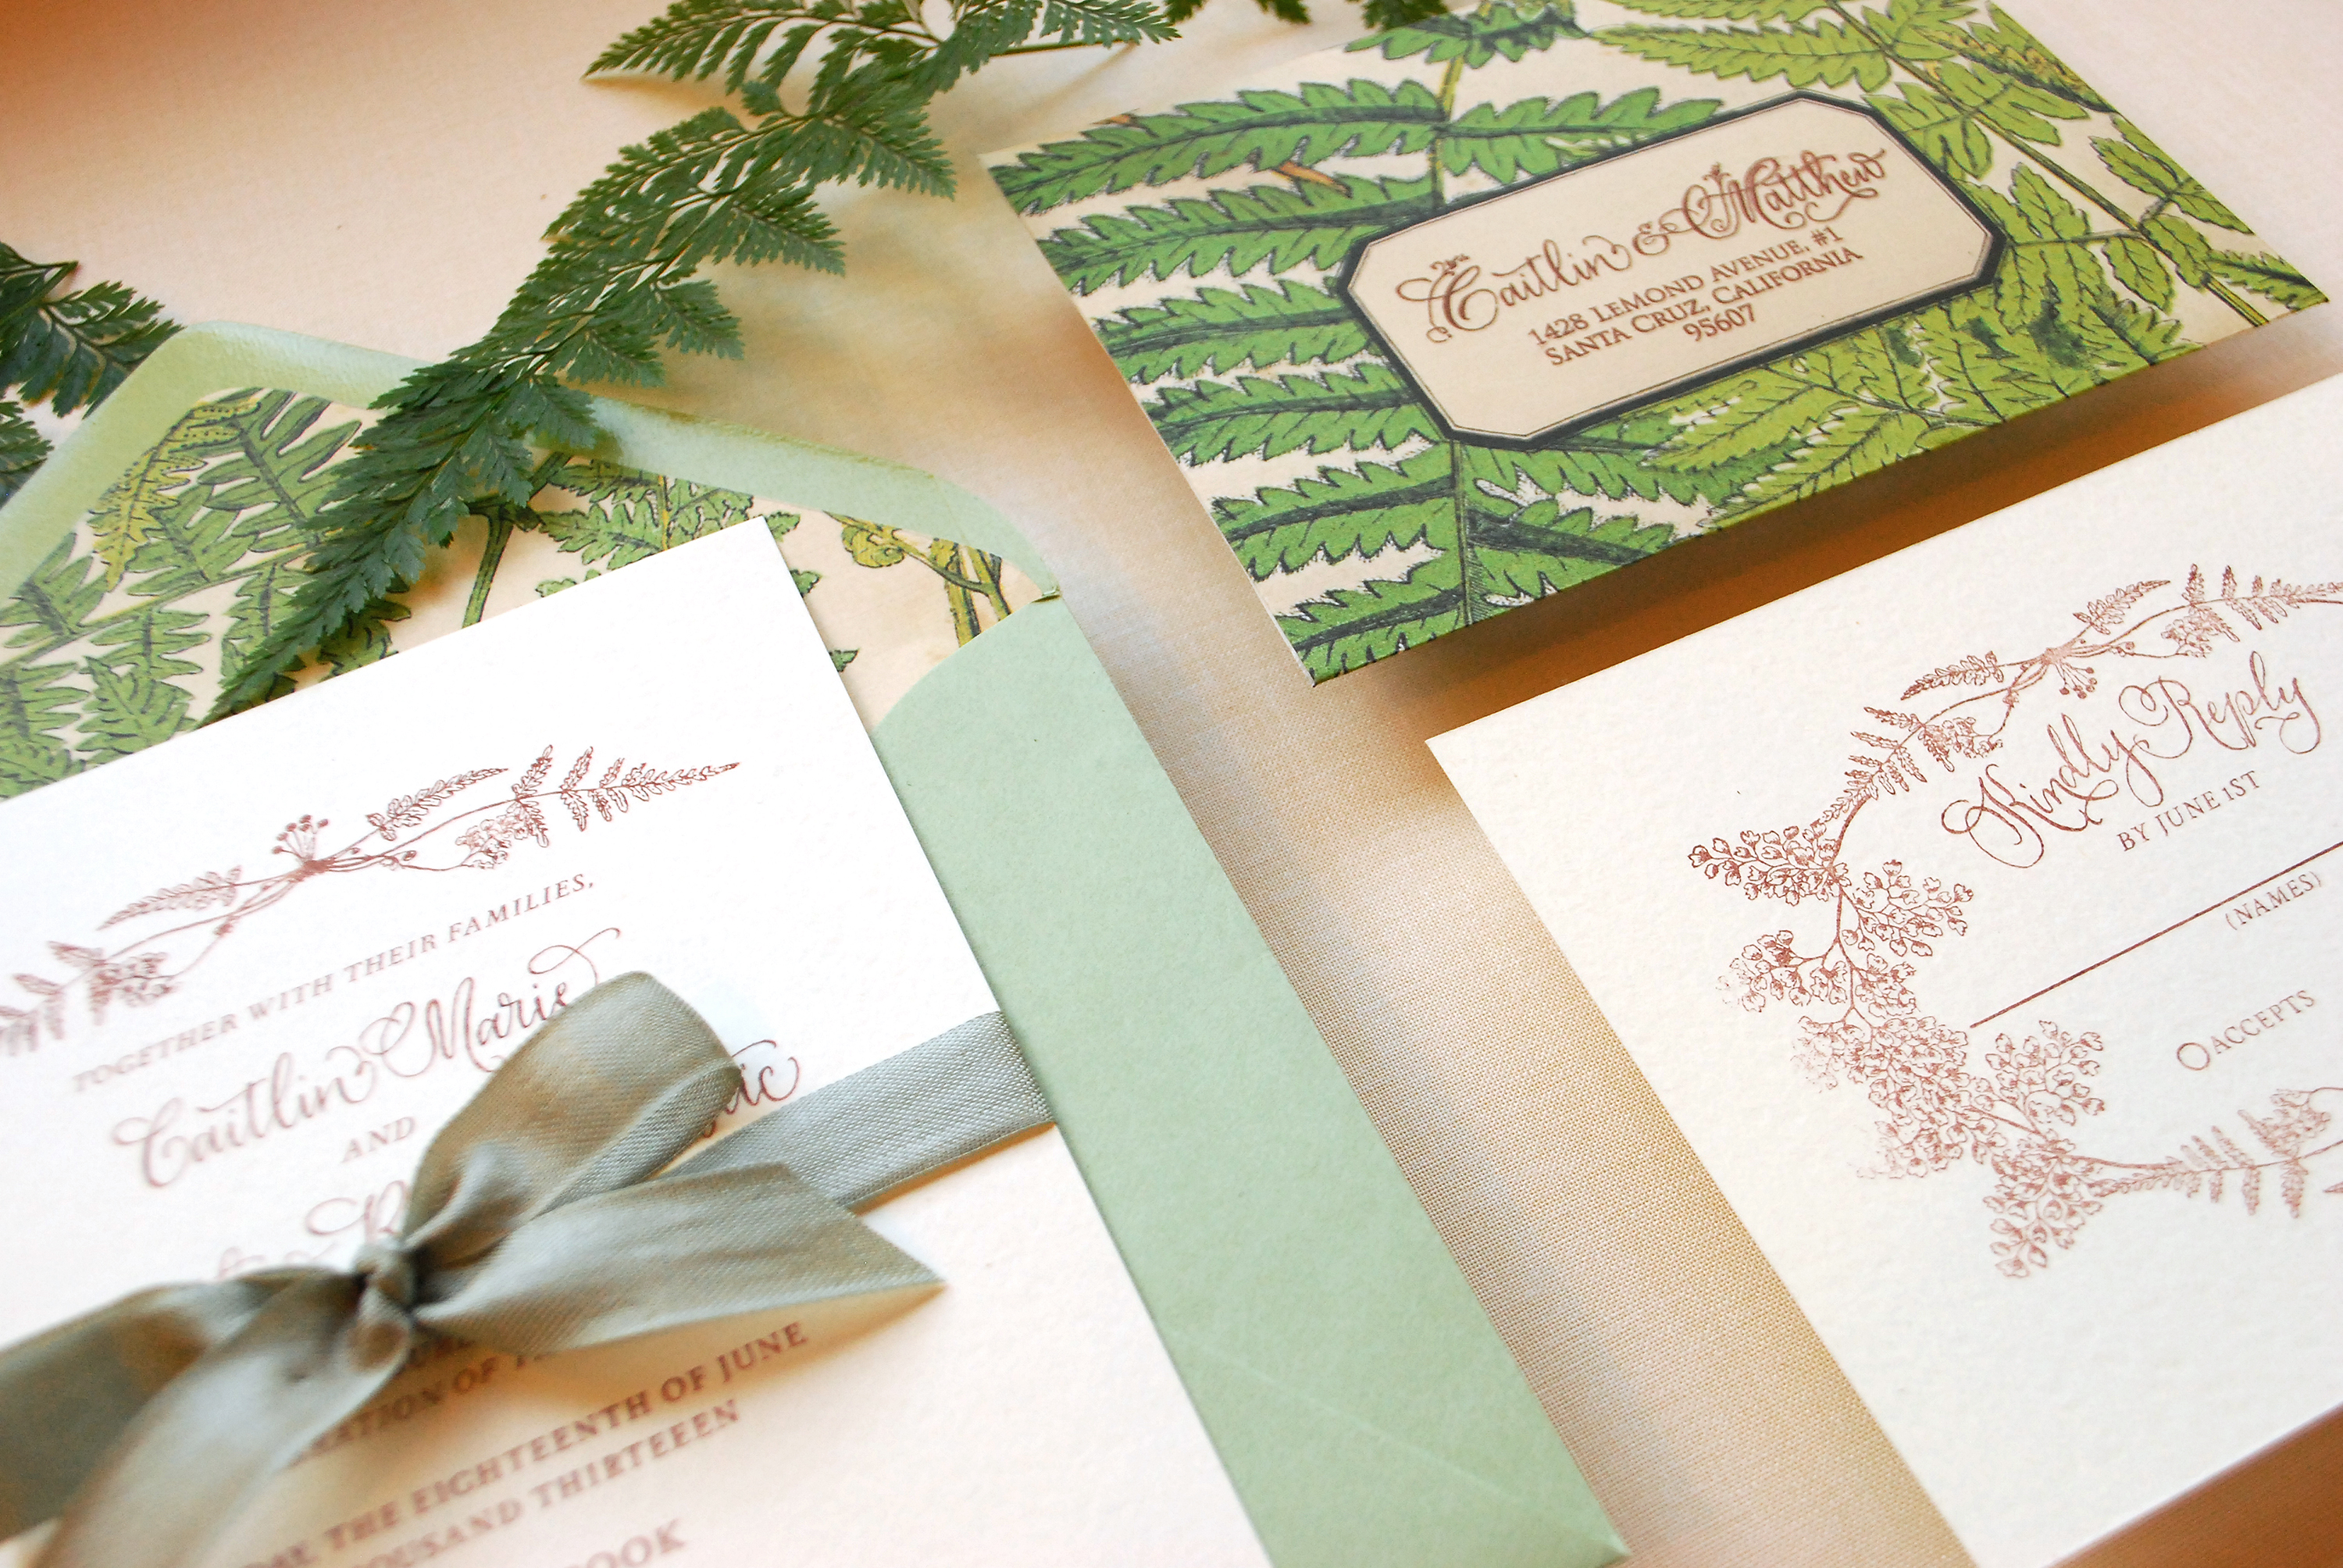
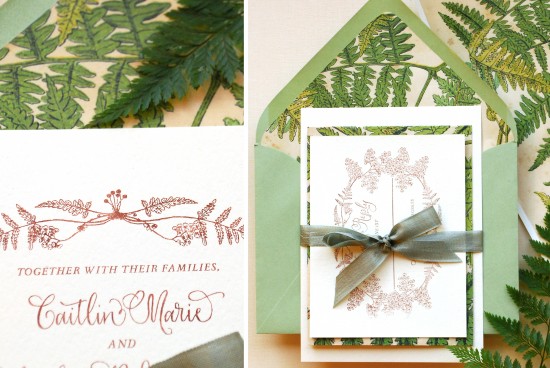
The subtle wood grain adds such a nice texture to the design.

DIY Tutorial: Rubber Stamps on Wood Save the Date by Antiquaria via Oh So Beautiful Paper

Step One: Since the wood veneer that we used in the project comes in large square sheets, we first had to cut out our A2 (5.5″ x 4.25″) cards from the sheet.

DIY Tutorial: Rubber Stamps on Wood Save the Date by Antiquaria via Oh So Beautiful Paper

Step Two: Once you have all of your cards cut to size, you’ll now need to prep them for painting. To mask the center and make the frame shape in the wood, we double stick taped an oval scallop flat card to the center of each wood card. We then used acrylic spray paint over the entire card to complete the frame image. **You really only need one pack of oval scallop cards to complete the project. You can reuse them after the paint is completely dry.** Once everything is dry, peel off the oval scallop card and set aside. Repeat the process until all of your cards are complete.

DIY Tutorial: Rubber Stamps on Wood Save the Date by Antiquaria via Oh So Beautiful Paper

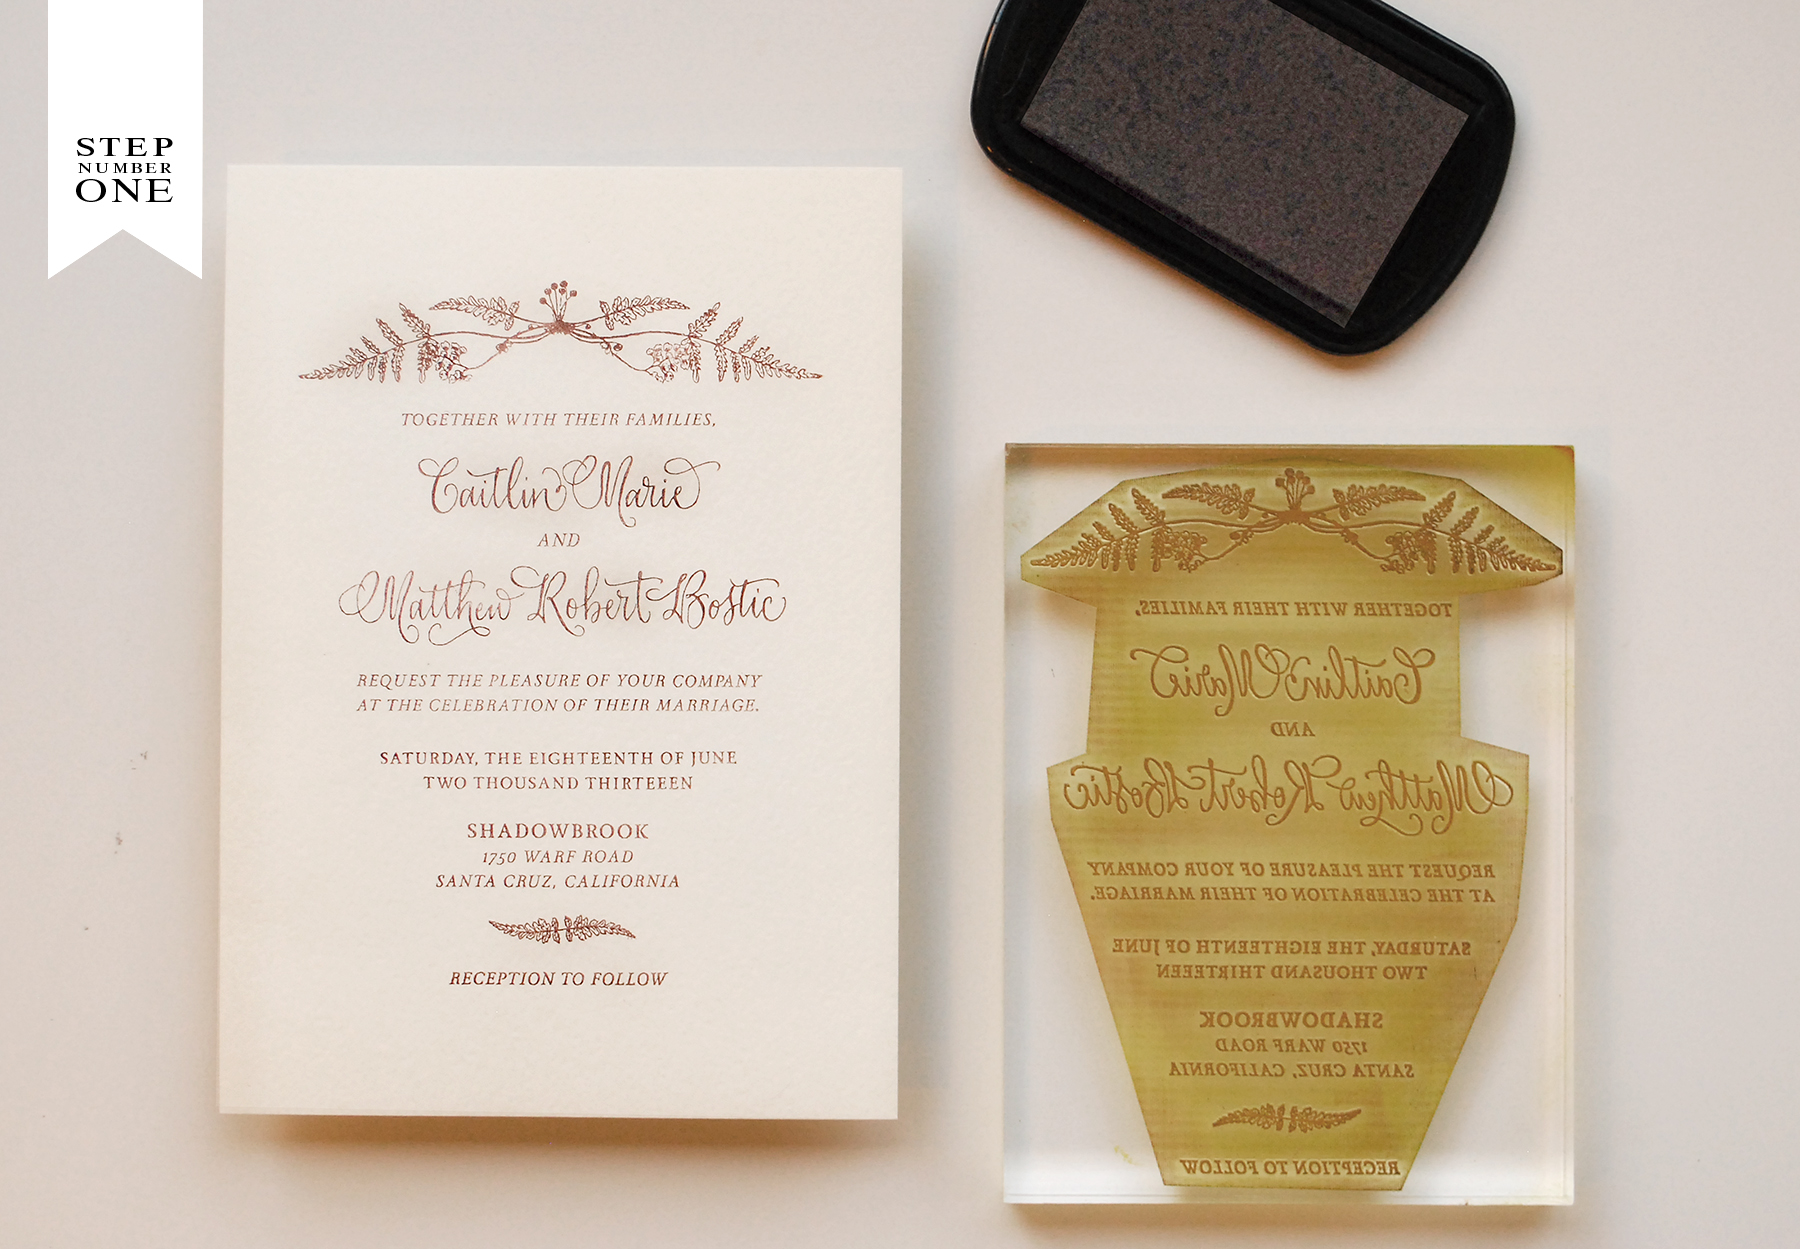
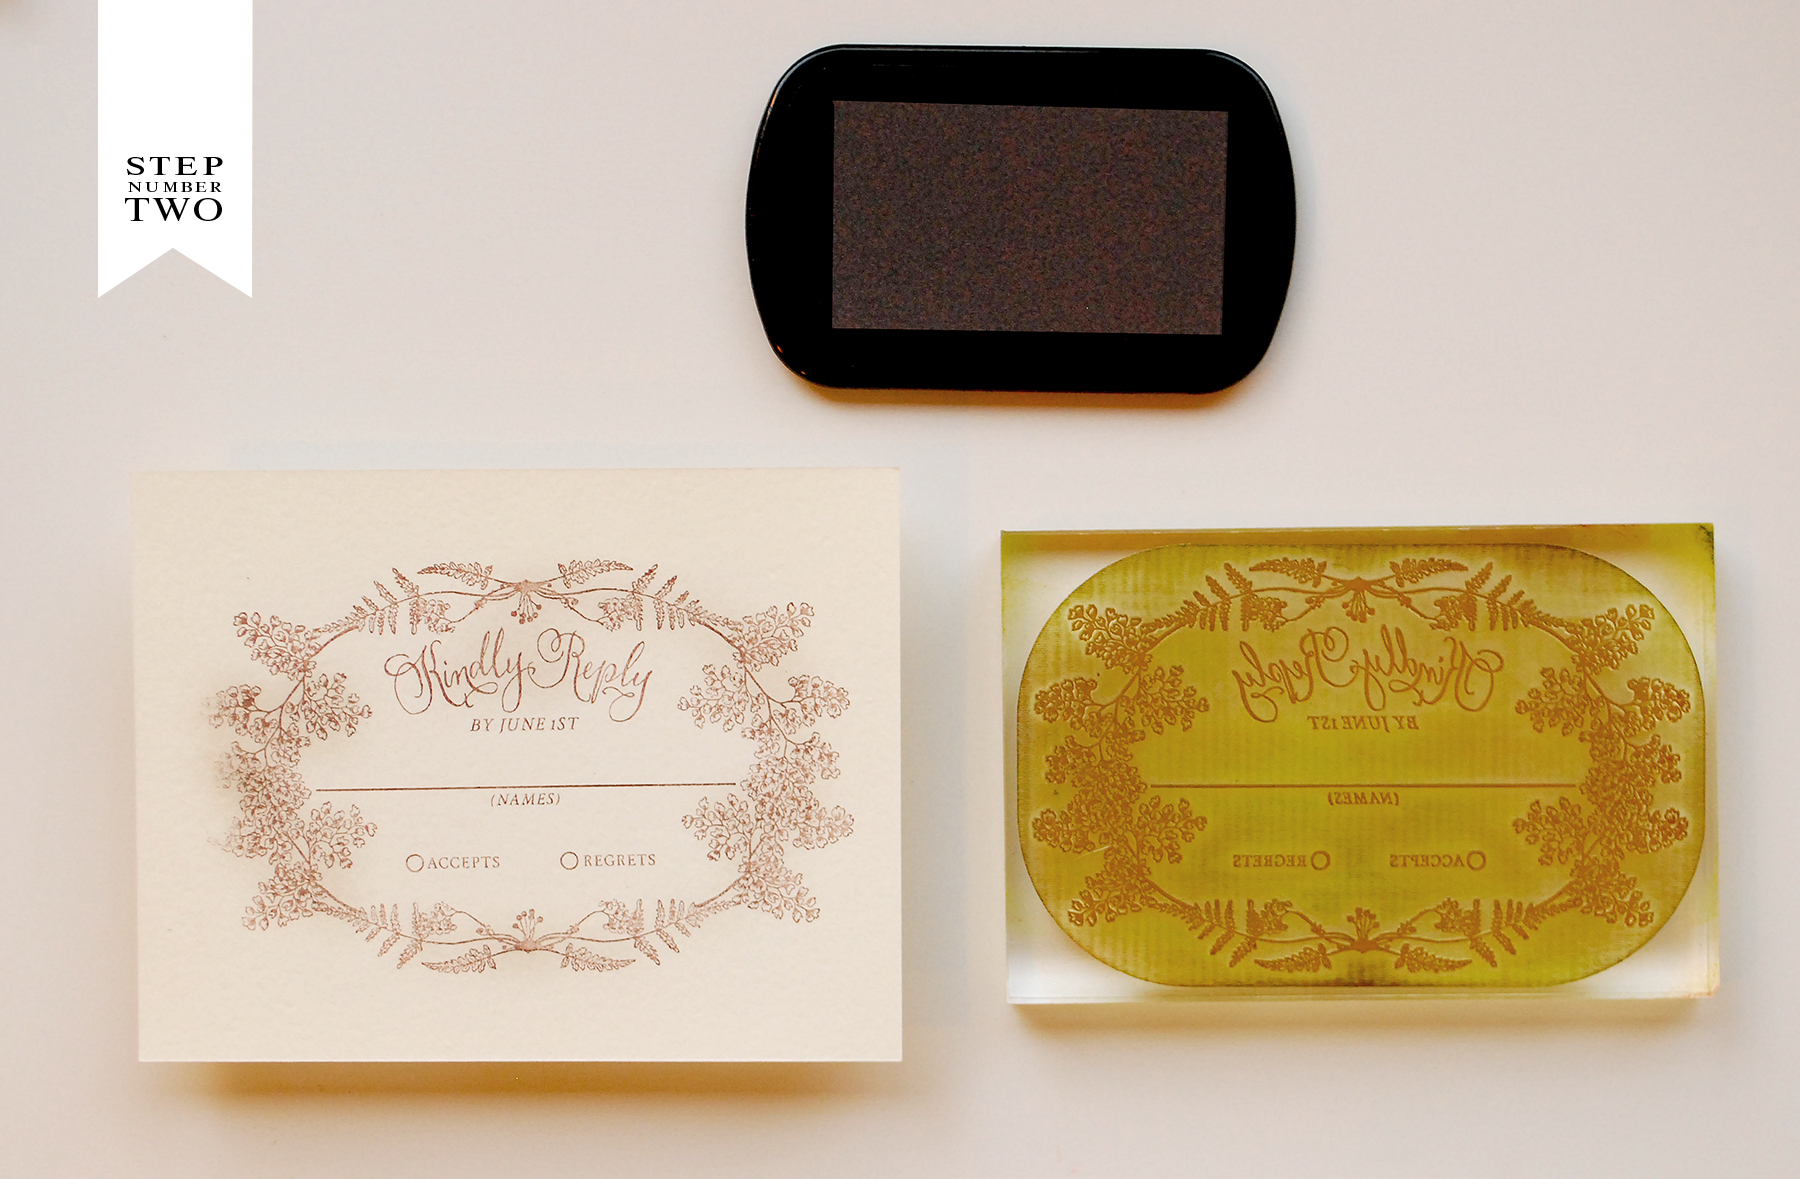
Step Three: You’ll now want to print your save the date. Place one of the cards on a hard surface. Ink your stamp (we used our Floral Calligraphy Save the Date stamp) and center it over the oval portion of the card. Once centered, press down firmly, using both hand to make the print. Please watch this video for more information on inking and stamping an oversized stamp.

DIY Tutorial: Rubber Stamps on Wood Save the Date by Antiquaria via Oh So Beautiful Paper

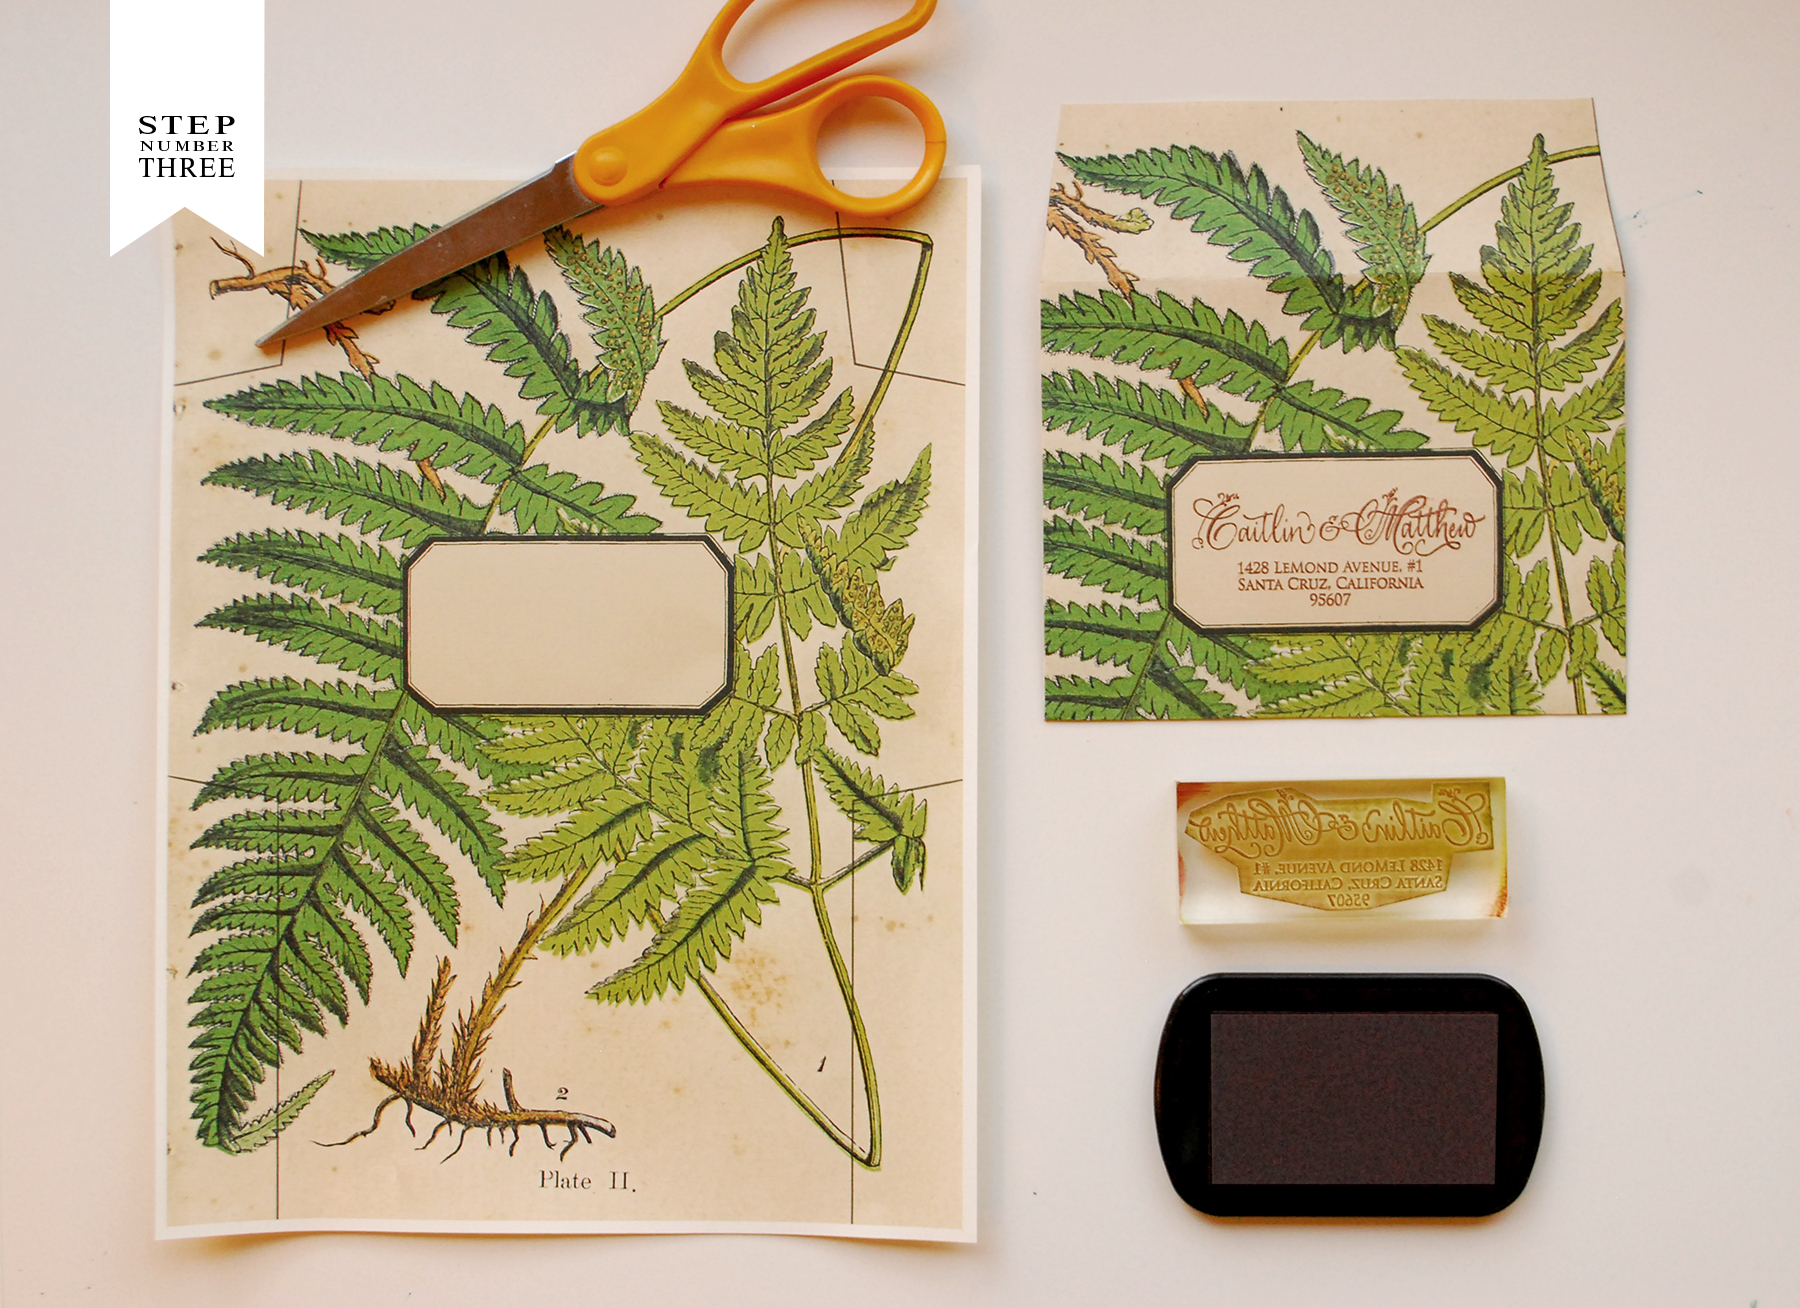
Step Four: Since many out of town guests need to make travel and accommodation arrangements prior to receiving your wedding invitation, it is wise to include an accommodations card or website card with your save the date. This way, they have all of the information they’ll need to make it to your wedding! Print this standard business sized card (2″ x 3.5″) using the stamp printing technique described in step three. To coordinate with our save the date, we used our (Floral Calligraphy Accommodations stamp).

DIY Tutorial: Rubber Stamps on Wood Save the Date by Antiquaria via Oh So Beautiful Paper

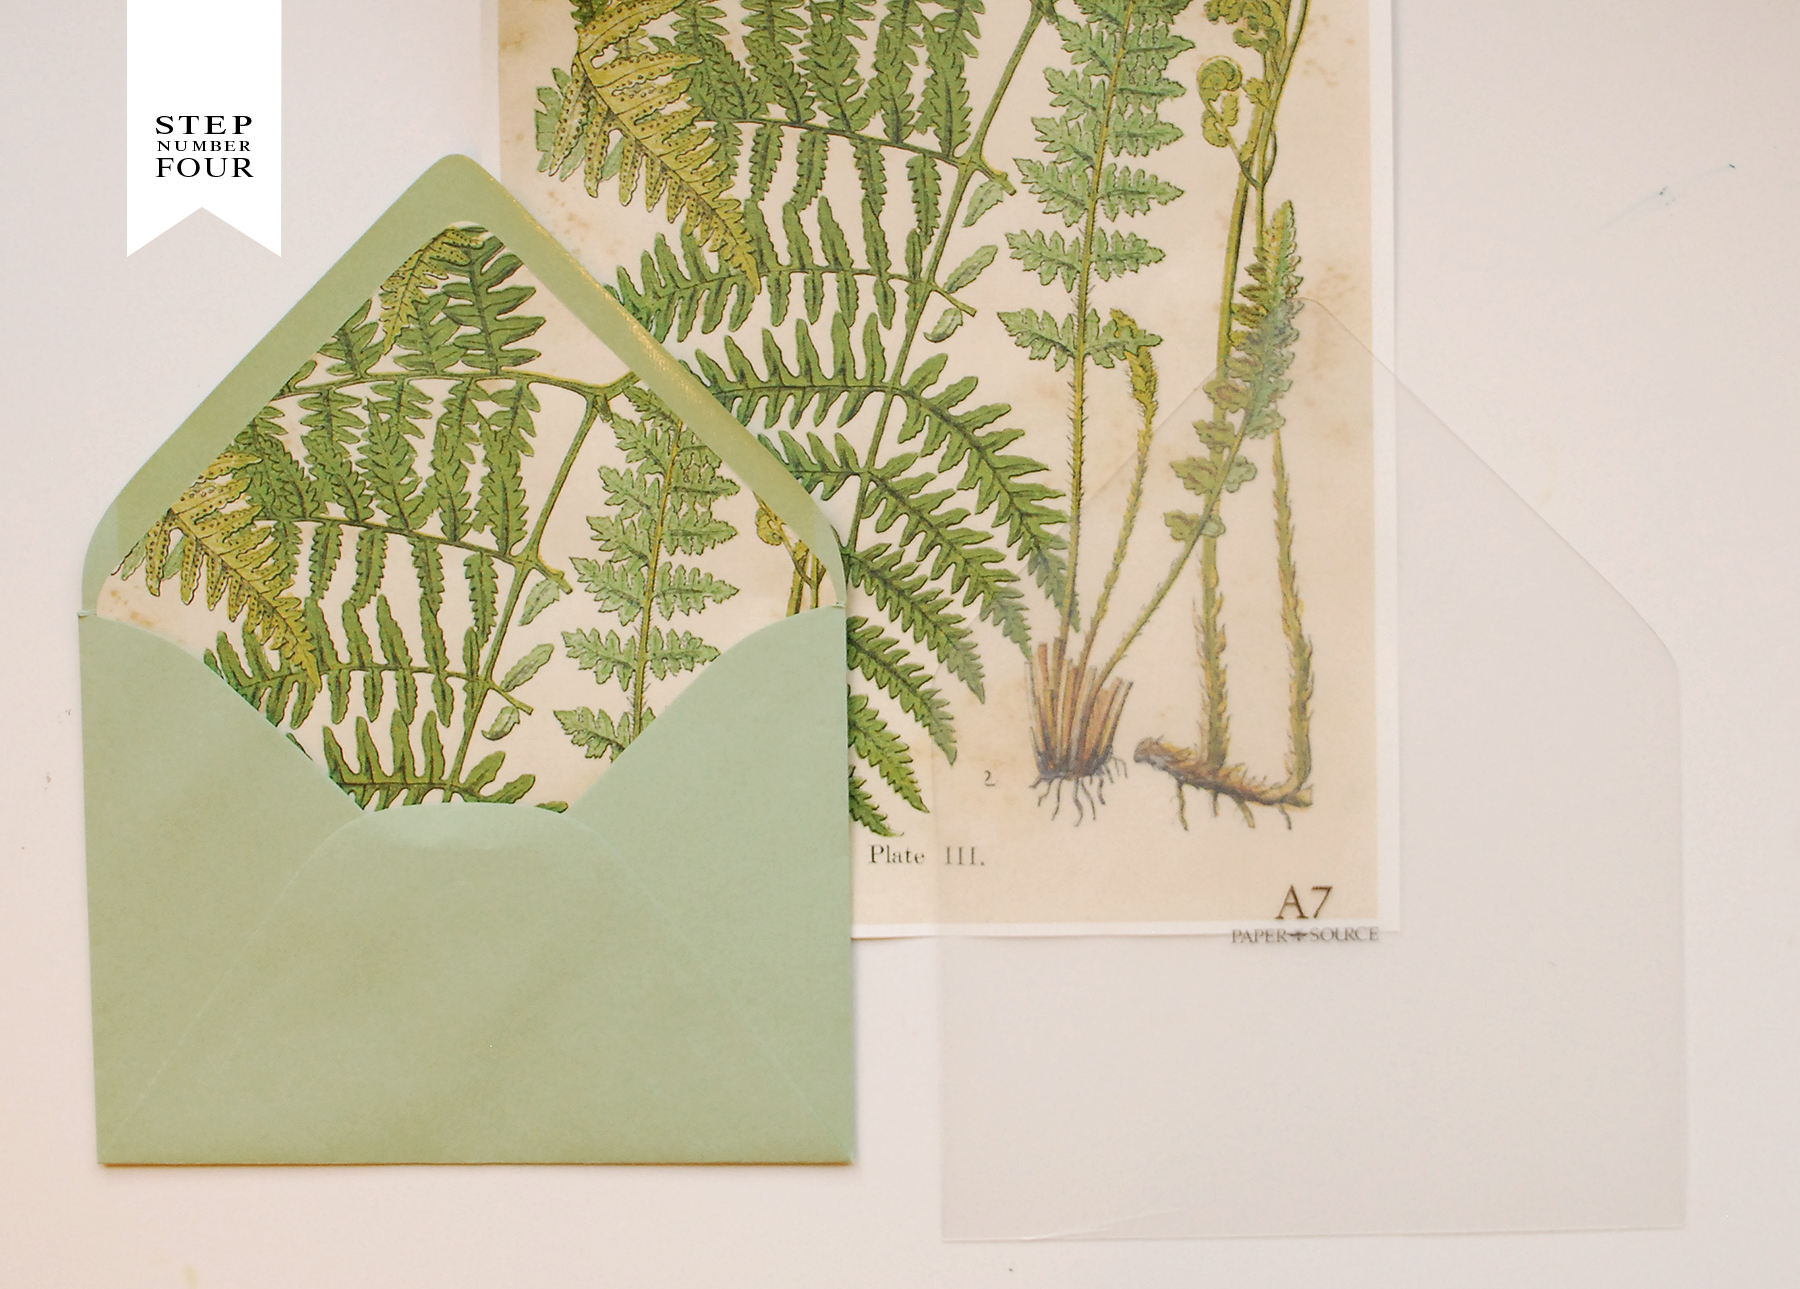
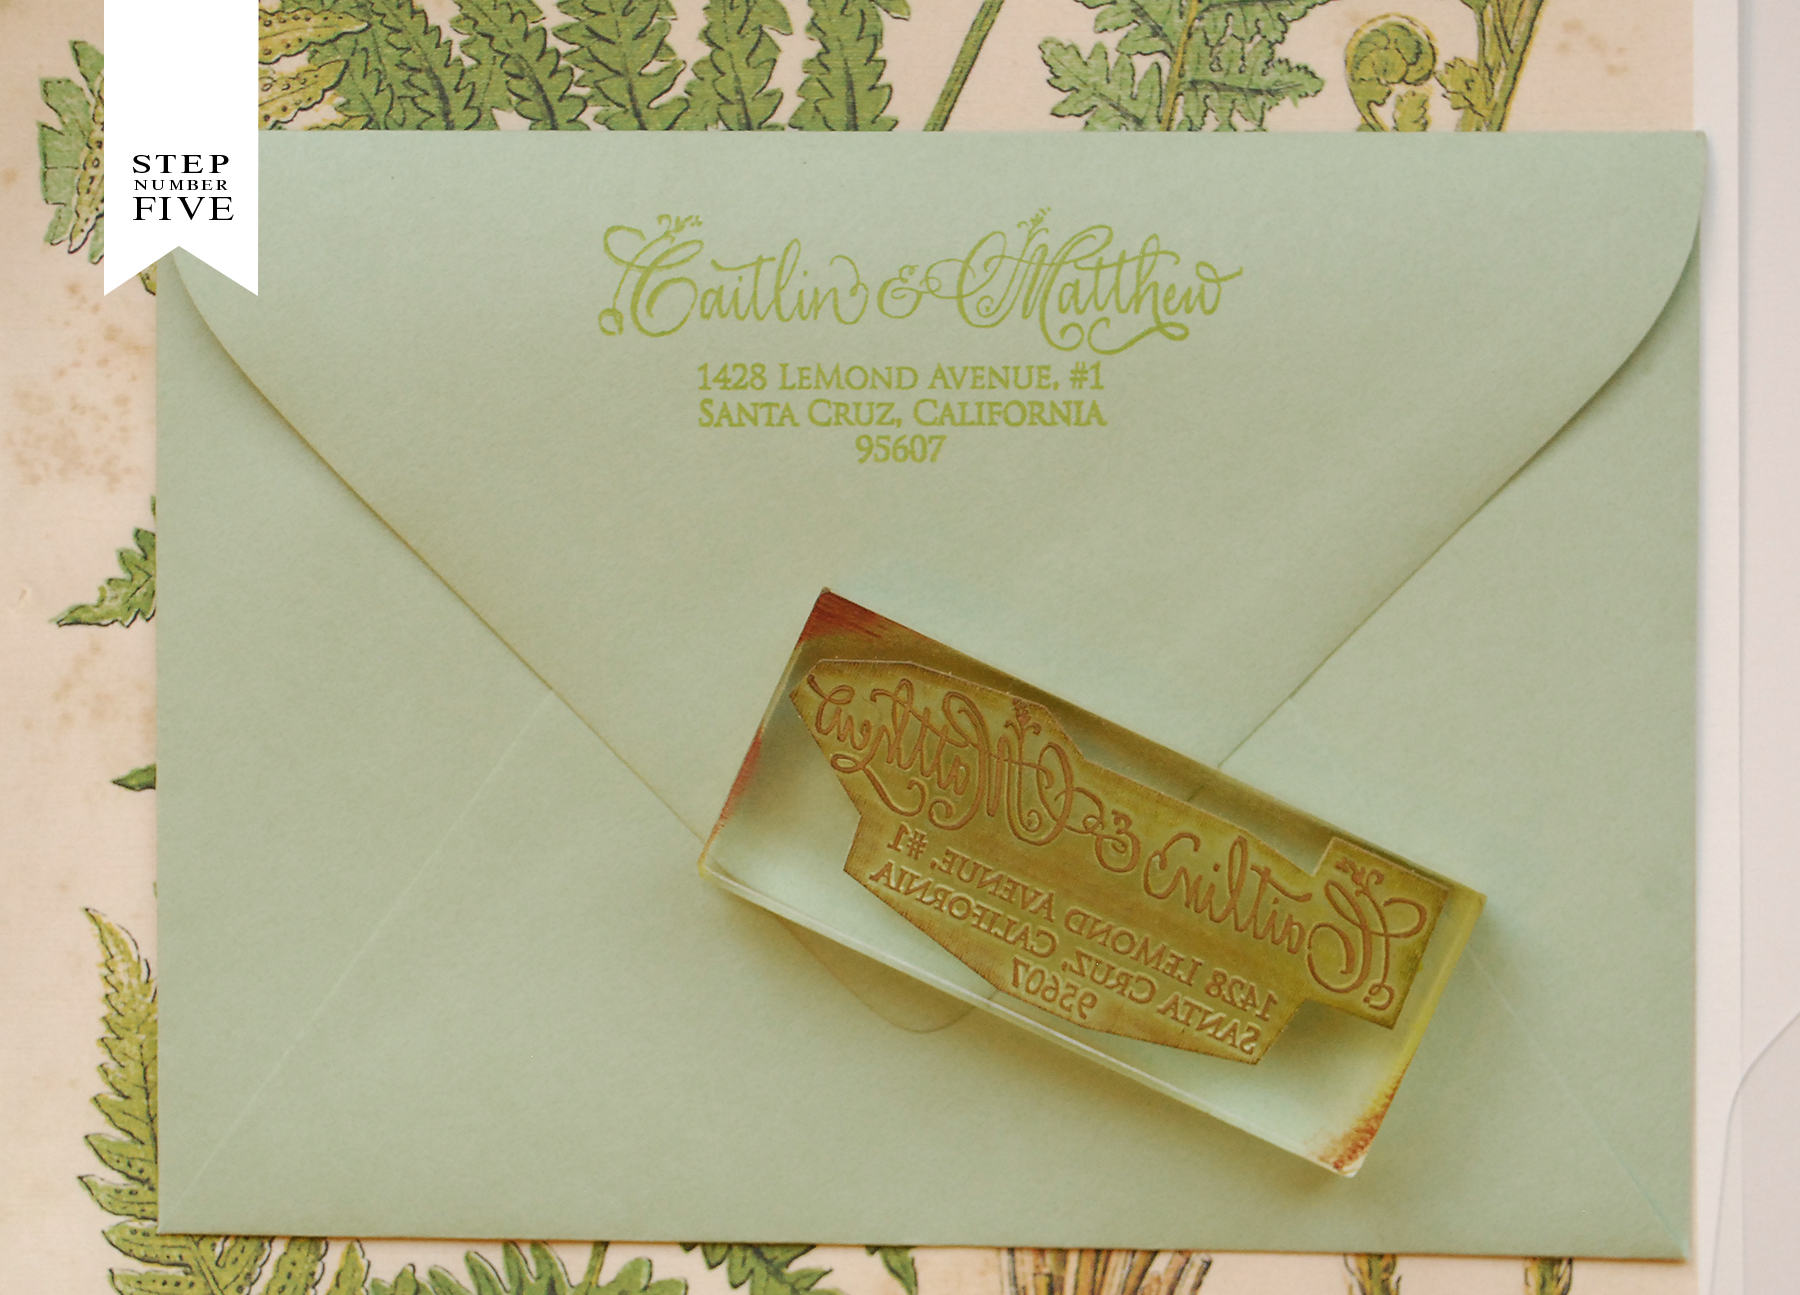
Step Five: Now all that’s left is to stamp your return address (we used our Floral Calligraphy Return Address stamp), address them, add postage and send them to all of your guests!

Materials

Floral Calligraphy Save the Date Stamp

Floral Calligraphy Accommodations Stamp-custom sized to fit tag

Floral Calligraphy Return Address Stamp

Stamp Pad in Chestnut

Wood Veneer cut down to A2 (5.5″ x 4.25″) cards, we bought ours locally at an art store

Oval Scallop Cards

A2 Envelopes

Double sided tape

Spray Paint in Liberty

Suminagashi Tags


Photo Credits: Antiquaria

DIY Tutorial: Fig & Gold Calligraphy Save the Date

A few years ago, we participated in a gorgeous vintage plum & gold inspiration shoot. Besides contributing our Gold Leaf Collection place settings to the shoot, we were also asked to provide a calligraphy menu and all of the place cards for the table. To this day, we still inquiries for save the dates or invitations that reference the menu from that shoot because the combination of the fig paper with gold calligraphy is so incredibly striking. – Bailey and Emma of Antiquaria

DIY Tutorial: Fig + Gold Calligraphy Save the Dates by Antiquaria via Oh So Beautiful Paper

By embossing these stamps with gold powder it really creates a high end, custom looking save the date!

DIY Tutorial: Fig + Gold Calligraphy Save the Dates by Antiquaria via Oh So Beautiful Paper

Step One: Place your A2 card on a stable and firm surface. Ink your save the date stamp (we used our Calligraphy Save the Date, No.2 stamp) and center the stamp over your card. When ready, press the stamp down with moderate pressure to make the print. Lift the stamp off and quickly move on to step number two. For more information about inking your stamp or making prints, please watch this video that shows the process in more detail.

DIY Tutorial: Fig + Gold Calligraphy Save the Dates by Antiquaria via Oh So Beautiful Paper

Step Two: Once you’ve made your print, immediately cover it with embossing powder by sprinkling it across the paper. Shift the powder around until you have covered the entire image. Now, you will pour the excess powder off of the card onto a scrap piece of paper so that you can reuse it for future prints. Heat set the print, using an Embossing Heat Tool. You will be able to see the powder melt into a smooth and shiny gold when it’s done.

Note: One key thing about embossing is that it is wise to try to closely match your ink color with your powder color. By doing this, you will get much more crisp and opaque results. Since we are wanting a lovely and shiny gold print, we used both a gold stamp pad and gold embossing powder.

DIY Tutorial: Fig + Gold Calligraphy Save the Dates by Antiquaria via Oh So Beautiful Paper

Step Three: You will now just repeat this inking and embossing process for your remaining pieces (we used our Floral Calligraphy Return Address stamp and our Floral Calligraphy Accommodations stamp) that will coordinate with your save the date. For the accommodations card, you will use a standard business sized card.

DIY Tutorial: Fig + Gold Calligraphy Save the Dates by Antiquaria via Oh So Beautiful Paper

Step Four: To add a little extra personality to the suite, we added an envelope liner made from some awesome kraft and gold polka dot gift wrapping paper. It really helps tie the whole thing together! Trace the template onto your paper and cut it out with scissors. To install, simply use stick glue or double sided tape to adhere them into your envelope.

DIY Tutorial: Fig + Gold Calligraphy Save the Dates by Antiquaria via Oh So Beautiful Paper

DIY Tutorial: Fig + Gold Calligraphy Save the Dates by Antiquaria via Oh So Beautiful Paper

Finally, address the invitations, add postage, and send them off to delight your guests! You can also accent the suite with sparkly gold washi tape if you like!

Materials:

Calligraphy Save the Date Stamp, No.2

Floral Calligraphy Return Address Stamp

Floral Calligraphy Accommodations Card

Stamp Pad

Embossing Powder

Heat Gun

A2 Cards in Fig

A2 Envelopes in Antique Gold

Business Cards for the Accommodations piece, in Antique Gold

Gift Wrap to be used as an envelope liner, ours was purchased locally from Urbanic

Envelope liner templates

Pencil

Scissors

Glitter Washi Tape

Photo Credits: Antiquaria

DIY Tutorial: Vintage Fern Wedding Invitations

Vintage botanical artwork is one of those things that truly never goes out of style. The lifelike renderings of plants and flowers take a very skilled hand to create and happily bring the outdoors into an indoor space (without the upkeep of real plants!). With the outdoor wedding season approaching, we were inspired to create this lush and lovely suite that is like sending a beautiful garden through the mail! – Bailey and Emma of Antiquaria

DIY Tutorial: Fern Inspired Wedding Invitations by Antiquaria via Oh So Beautiful Paper

This fern invitation suite is a wonderful compliment to our Botanical + Watercolor Save the Date Tutorial!

DIY Tutorial: Fern Inspired Wedding Invitations by Antiquaria via Oh So Beautiful Paper

DIY Tutorial: Fern Inspired Wedding Invitations by Antiquaria via Oh So Beautiful Paper

Step One: Lay an A7 (5″ x 7″) card down on a firm surface. Ink your stamp (we used our Fern Forrest Invitation Stamp) thoroughly and center it over your card. Once it is positioned correctly, press down to make a print. use both hands to ensure even pressure. Lift off and let the print dry. For more information on this process go here.

DIY Tutorial: Fern Inspired Wedding Invitations by Antiquaria via Oh So Beautiful Paper

Step Two: Repeat the same process from step 1 for your reply card (we used our Fern Forrest Reply Card stamp) on an A2 (4 1/4″ x 5 1/2″) card.

DIY Tutorial: Fern Inspired Wedding Invitations by Antiquaria via Oh So Beautiful Paper

Step Three: To incorporate more botanical elements to the suite, we used our fern A2 envelope template as our reply envelope. Simply cut the pattern on the lines, fold in the sides and glue the bottom to the side flaps to create your own envelopes! Stamp your address (we used our Floral Calligraphy Return Address Stamp) on the front so that guests can easily return the reply card to you.

DIY Tutorial: Fern Inspired Wedding Invitations by Antiquaria via Oh So Beautiful Paper

Step Four: Adding an envelope liner adds a bit of luxury to your invitation suite. It’s also really easy to do yourself! Simply trace the shape (using a liner template) onto your paper and cut along the line. Use stick glue or double sided tape to affix the paper into your envelope.

DIY Tutorial: Fern Inspired Wedding Invitations by Antiquaria via Oh So Beautiful Paper

Step Five: Lastly, you’ll want to stamp your return address onto your A7 outer envelope. We used the same stamp as the reply address (our Floral Calligraphy Return Address stamp) but used a different color ink for this piece. In order to change ink colors, you’ll want to clean your stamp. To do so only requires making a paper towel damp and wiping off the acetate stamp image. Never use anything other than water to clean the stamp as it can damage your print image. You also never want to submerge your stamp in water as it could dislodge from the mount.

Address those bad boys, add postage, and send them off to delight your guests! You can also tie the suite together with a nice ribbon if you like!

Materials:

Fern Forrest Invitation Stamp

Fern Forrest Reply Card Stamp

Floral Calligraphy Return Address Stamp

Stamp Pad in Chestnut and Moss

A7 cards in Luxe White

A7 envelopes in Sage

A2 cards in Luxe White

A2 DIY fern envelopes: available soon from Antiquaria

Liner paper – available soon from Antiquaria

Envelope liner template:

Ribbon

Anti­quaria is a mem­ber of the Designer Rolodex – you can see more of their beau­ti­ful work right here or visit the real wedding invitations gallery for more wedding invitation ideas!

Photo Credits: Antiquaria

DIY Tutorial: Pink Polka Dot Watercolor Save the Date

With Valentine’s Day speedily approaching, we’ve got definitely got  love on the brain. Today’s save the date DIY tutorial is a great example of pattern mixing in stationery – and of course includes a ton of pink! This look is super easy to achieve, and the colorful design will help set the tone for a fun nuptial bash!  – Bailey and Emma of Antiquaria

DIY Tutorial: Pink Polka Dot Watercolor Save the Dates by Antiquaria via Oh So Beautiful Paper

DIY Tutorial: Pink Polka Dot Watercolor Save the Dates by Antiquaria via Oh So Beautiful Paper

Step One: Lay a 5 1/2″ square notecard down on a firm, clean work surface. Ink your stamp (we used our Vintage Calligraphy Save the Date stamp) and center it over the square card. When ready, press the stamp down on the card, using moderate pressure (too much can give a muddy image). Lift stamp off and set aside to let the print dry. For more details on how to ink and print the stamp please visit here (see step 1).

DIY Tutorial: Pink Polka Dot Watercolor Save the Dates by Antiquaria via Oh So Beautiful Paper

Step Two: Once you’ve made all of your prints and they are dry, you will move on to the watercoloring. With a pastel pink watercolor, paint dots in vertical rows from left to right (if right handed or right to left if left handed). Be cautious not to use too much water as it may run or warp the paper.

DIY Tutorial: Pink Polka Dot Watercolor Save the Dates by Antiquaria via Oh So Beautiful Paper

Step Three: Using envelope liner templates, cut liners out of a fun pattern. Simply use stick glue or double sided tape to install the liners into the envelopes (adhere around the top triangle).

DIY Tutorial: Pink Polka Dot Watercolor Save the Dates by Antiquaria via Oh So Beautiful Paper

Step Four: Lastly, you’ll want to stamp your return address (we used our Calligraphy Ampersand Return Address stamp) on the back flap of the envelope. We’ve been loving the tonal look lately (gold on gold, pink on pink…etc.) so that what we’ve chosen here with this design. Now all you have to do is address them, add postage, and send them on their merry way!

Materials:

Vintage Calligraphy Save the Date Stamp

Calligraphy Ampersand Return Address Stamp

Stamp Pad

5 1/2″ square cards

Watercolors, paintbrush, and water jar

5 3/4″ square envelopes

Liner Paper – custom watercolor floral pattern from Antiquaria Design Studio

Liner Templates

Anti­quaria is a mem­ber of the Designer Rolodex – you can see more of their beau­ti­ful work right here or visit the real wedding invitations gallery for more wedding invitation ideas!

Photo Credits: Antiquaria

DIY Tutorial: Festive Wrapping with Holiday Gift Tags

The holiday season is probably our favorite season of the year. We love all of the parties, good food, and decorating! Wrapping gifts doesn’t have to be a chore. If you use beautiful materials, it can be just as much fun as picking out the gift itself. We couldn’t pass up this stunning wrapping paper when we spotted it at Urbanic Paper Boutique in Venice a few weeks ago! We used beautiful rubber stamped gift tags and vintage ribbon to accent each gift. – Bailey and Emma of Antiquaria

DIY Holiday Gift Wrap Tutorial by Antiquaria via Oh So Beautiful Paper

DIY Holiday Gift Wrap Tutorial by Antiquaria via Oh So Beautiful Paper

By picking a couple of cohesive papers and ribbons, our gifts look even more beautiful sitting together than on their own. How great would they look all stacked under a tree?

DIY Holiday Gift Wrap Tutorial by Antiquaria via Oh So Beautiful Paper

Embossed Holiday Gift Tags: For this gift tag, we used the embossing technique. If you go here you will find detailed step-by-step instructions for the process. For this tag, you will want a hunter green card cut to 2.25″ x 4″ and our “Happy Holidays” Calligraphy Gift Tag Stamp. Using a standard 1/4″ hole punch, punch a hole in the top center of the card. Simply thread twine or ribbon through the hole and attach to your gift.

DIY Holiday Gift Wrap Tutorial by Antiquaria via Oh So Beautiful Paper

Holly Berry Gift Tags: Cut white card stock to 2.25″ x 4,” and punch a hole using a 1/4″ hole punch in the top center. Ink your stamp (we used our “Holly Berry” Gift Tag Stamp) with hunter green ink. Center the stamp over your tag and press firmly to make a print. After it dries, simply thread twine or ribbon through the hole and attach to your gift.

Materials

Wrapping paper

For the Embossed Holiday Tag:

“Happy Holidays” Gift Tag Rubber Stamp

Green Card Stock

Hole punch

Stamp Pad in Gold

Embossing Heat Tool

Embossing Powder

Twine

For the Holly Berry Tag:

“Holly Berry” Gift Tag Rubber Stamp

White Card Stock

Hole Punch

Stamp Pad in Hunter Green

Twine

Photo Credits: Antiquaria