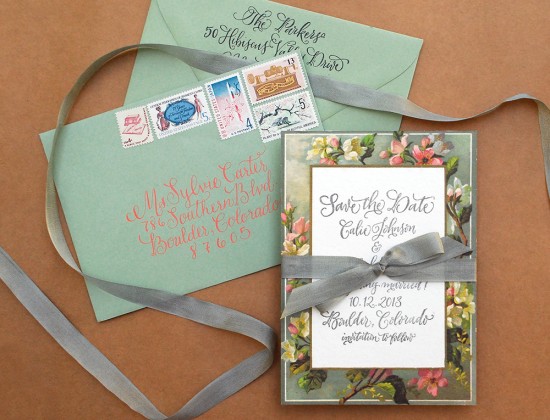
DIY Tutorial: Vintage Floral Border Save the Date

Spring has arrived and we couldn’t be happier! It’s always a refreshing and inspiring sight to see all of the little buds form on branches, knowing that soon they will burst into a gorgeous show of flowers. With this save the date design, we wanted to capture this brief moment in time and create something fresh and beautiful. – Bailey and Emma of Antiquaria

DIY Tutorial: Floral Calligraphy Wedding Save the Date by Antiquaria via Oh So Beautiful Paper

DIY Tutorial: Floral Calligraphy Wedding Save the Date by Antiquaria via Oh So Beautiful Paper

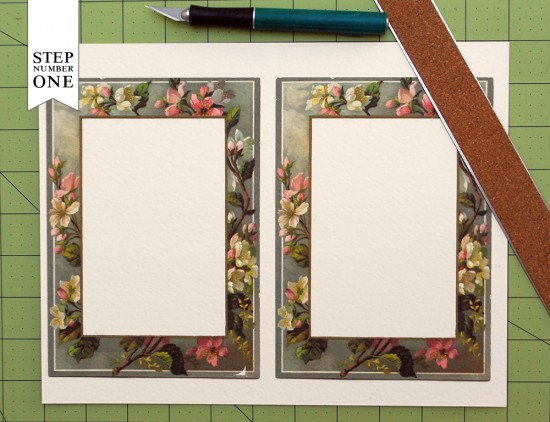
Step One: One of the key elements to this save the date is the border card on which you will print your stamp. To start, print out the border card file onto heavy card stock (as heavy as your printer will allow) and trim to size. If you would like to use this spring blossom border design, email us for the free printable download! Other borders can be found on Graphics Fairy.

DIY Tutorial: Floral Calligraphy Wedding Save the Date by Antiquaria via Oh So Beautiful Paper

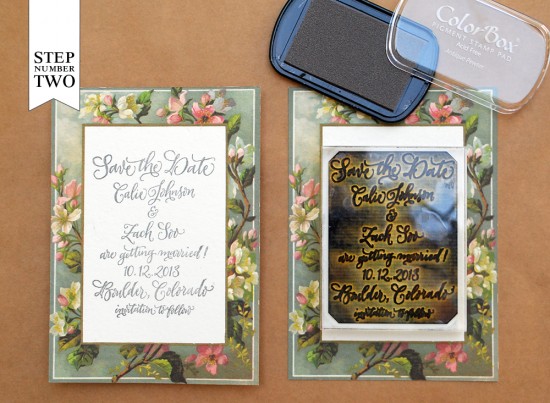
Step Two: Now that you have your cards printed and cut, you will want to print your stamp (we used our Calligraphy Save the Date Stamp, No.2). Set your card on a firm, hard surface. Ink your stamp well and center it over the card. Press down firmly, making certain that you apply even pressure to all areas of the stamp. Lift the stamp off and set the card aside to dry. For more information about this process, please watch this video.

DIY Tutorial: Floral Calligraphy Wedding Save the Date by Antiquaria via Oh So Beautiful Paper

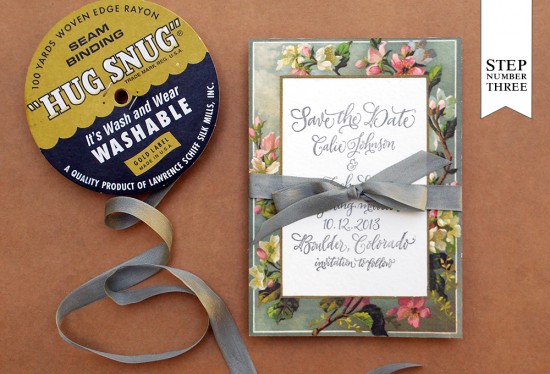
Step Three: We’ve dressed up the save the date card with a gorgeous sage gray ribbon. Simply cut a length of ribbon and tie it into a bow. Trim the ends with sharp scissors so that they are even and do not hang off of the edges.

DIY Tutorial: Floral Calligraphy Wedding Save the Date by Antiquaria via Oh So Beautiful Paper

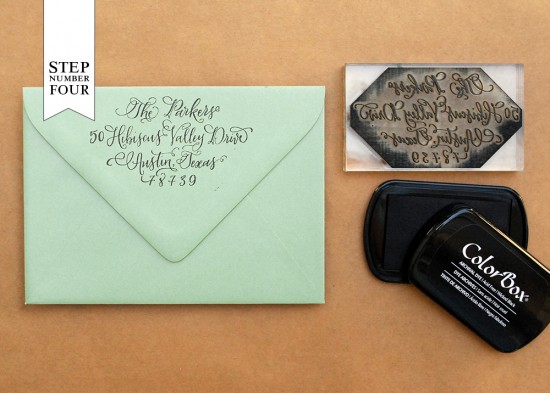
Step Four: Next, you will want to stamp your return address (we used our Calligraphy Return Address Stamp) on the back flap of your envelope. Follow the same printing instructions from step two.

DIY Tutorial: Floral Calligraphy Wedding Save the Date by Antiquaria via Oh So Beautiful Paper

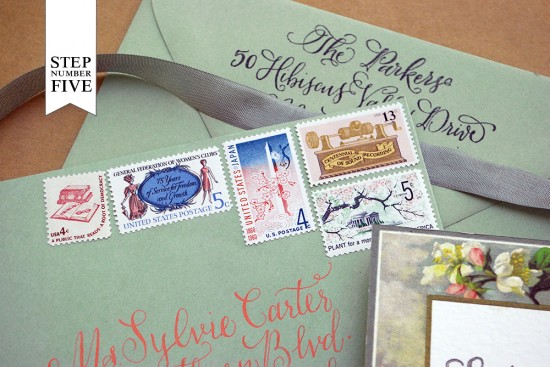
Step Five: Now all that’s left to do is to address the envelopes, add postage (we used vintage postage from Verde Studio) and send them on their way! This design is sure to bring a fresh dose of spring to every single guests mail box.

Materials:

Calligraphy Save the Date Stamp, No.2

Calligraphy Return Address Stamp

Stamp Pads (in Wicked Black & Seattle Grey)

8.5×11 Cover Stock (needs to be able to run through your home printer) in Eco White

Free Border Card Download (Please email us for the file)

Scissors (or an X-acto Knife & Self Sealing Mat)

A7 Envelopes-in Sage

Hug Snug Rayon Seam Binding in Khaki #503  (it’s actually a sage-grey color)

Verde Studio Vintage Postage

Anti­quaria is a mem­ber of the Designer Rolodex – you can see more of their beau­ti­ful work right here or visit the real wedding invitations gallery for more wedding invitation ideas!

Photo Credits: Antiquaria

{happy weekend!}

This week was a flurry of activity, both at home with our never-ending to do list (we’re still unpacking a month after moving in), a very active getting-ready-to-crawl baby, and a ton of prep work in advance of the National Stationery Show in just a few short weeks! I’m so excited to head back to one of my favorite cities and see some of my favorite people, and yes, of course Sophie will be coming along! Thankfully my dad is coming down this weekend to help us get a few things done around the house. But in the meantime…

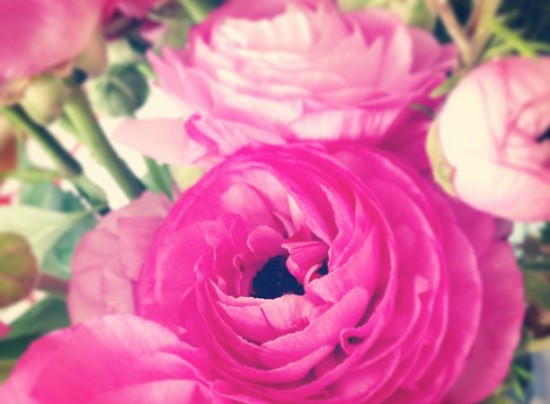
Ranunculus by Oh So Beautiful Paper via Instagram

Photo by me via Instagram

…a few links for your weekend!

This week on Oh So Beautiful Paper:

Check back soon for this week’s cocktail!  I hope you all have a wonderful weekend, and I’ll see you back here on Monday! xoxo

DIY Tutorial: Indigo Floral Print Wedding Invitations

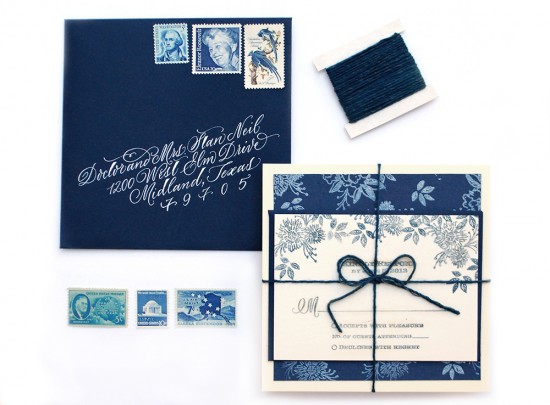
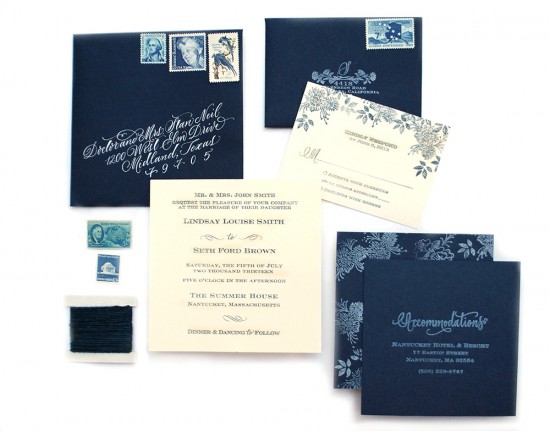
We’ve always had a love affair with indigo – in fact, the wedding quilt that Emma’s mother created for her is made from scraps of vintage Japanese indigo fabrics. With its recent rise in popularity we decided that indigo would make the perfect inspiration for an invitation suite. The deep blue and white color scheme, mixed with floral elements and classic typography, makes it a design suitable for any season! – Bailey and Emma of Antiquaria

DIY Tutorial: Floral Indigo Wedding Invitations by Antiquaria via Oh So Beautiful Paper

Tie the square invitation and enclosure pieces together with indigo dyed twine and your guests will feel like they’re opening a gift!

DIY Tutorial: Floral Indigo Wedding Invitations by Antiquaria via Oh So Beautiful Paper

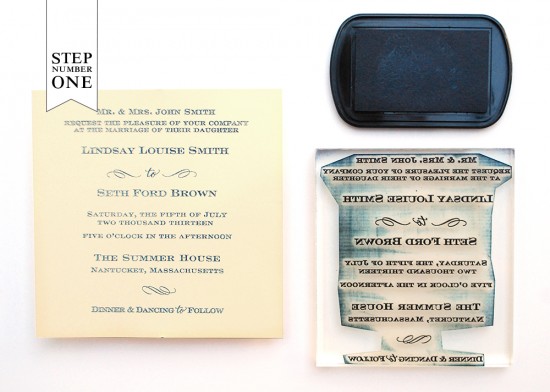
Step One: Lay a  5.5″ square card down on a firm surface. Ink your stamp (we used our Sophisticate Invitation Stamp) thoroughly and center it over your card. Once it is positioned correctly, press down to make a print. Use both hands to ensure even pressure. Lift off and let the print dry. For more information on this process go here.

DIY Tutorial: Floral Indigo Wedding Invitations by Antiquaria via Oh So Beautiful Paper

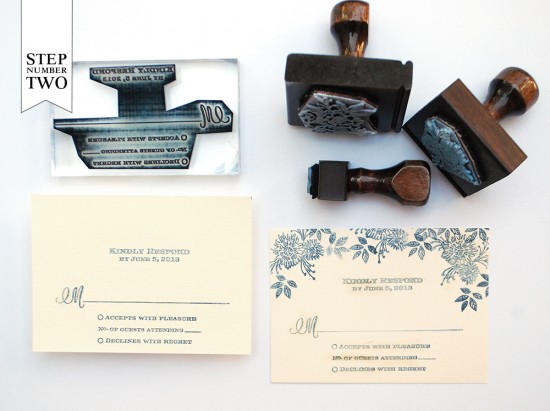
Step Two: You will repeat the printing technique from Step 1 for your reply card (we used our Sophisticate Reply Card Stamp) on a 4bar (3.5″x4.75″) card.  This time, instead of centering the stamp, you will print it toward the bottom of the card. This leaves space to print the floral pattern (we used our Daisy Pattern & Small Leaves Pattern Stamps) at the top. It’s best to start with the larger pattern stamp and then fill in with the smaller leaf stamp.

DIY Tutorial: Floral Indigo Wedding Invitations by Antiquaria via Oh So Beautiful Paper

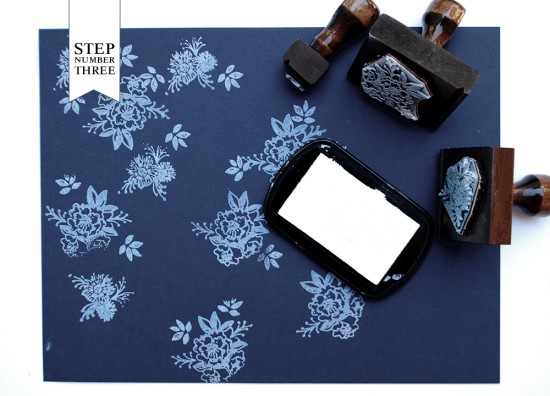
Step three: We love to incorporate patterns in to our invitation suites, whether it’s an envelope liner, backer or belly band…it adds so much style and personality to the design. We created this indigo pattern by randomly stamping pattern stamps (we used our Camellia Pattern, Daisy Pattern and Small Leaves Pattern Stamps) in frost white ink on 8.5″ x 11″ card stock. The effect that it creates is so lovely!

DIY Tutorial: Floral Indigo Wedding Invitations by Antiquaria via Oh So Beautiful Paper

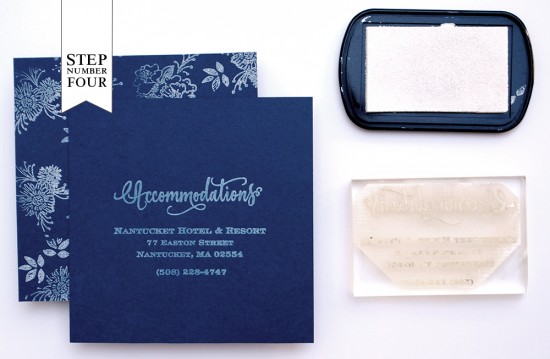
Step Four: To make the accommodations card, you will need to cut the 8.5″ x 11″ patterned paper into 5″ squares (you will get 2 per sheet). Next, ink and stamp your accommodations information (we used our Calligraphy Accent Accommodations Stamp) on the front of the navy blue card.

DIY Tutorial: Floral Indigo Wedding Invitations by Antiquaria via Oh So Beautiful Paper

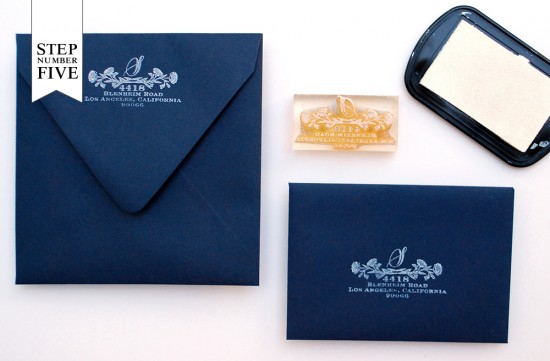
Step Five: Using the same printing technique as above, you will print your return address and reply address (we used our Wildflowers Return Address Stamp) on the outer and reply envelopes. Now all that’s left is to tie everything together, address your envelopes, add postage (we used awesome blue vintage postage from Verde Studio) and send them on their way!

DIY Tutorial: Floral Indigo Wedding Invitations by Antiquaria via Oh So Beautiful Paper

Materials:

Sophisticate Invitation Stamp

Sophisticate Reply Card Stamp

Calligraphy Accent Accommodations Stamp

Pattern Stamps – Camellia, Daisy, Small Leaves

Wildflowers Return Address Stamp

Stamp Pad – Frost White, Midnight

5.5″ Cards in Luxe Cream

5.75″ Envelope in Night

4bar Flat Card in Luxe Cream

4bar Envelope in Night

8.5″x11″ Cardstock in Night

Vintage Postage Verde Studio

String or twine

Anti­quaria is a mem­ber of the Designer Rolodex – you can see more of their beau­ti­ful work right here or visit the real wedding invitations gallery for more wedding invitation ideas!

Photo Credits: Antiquaria
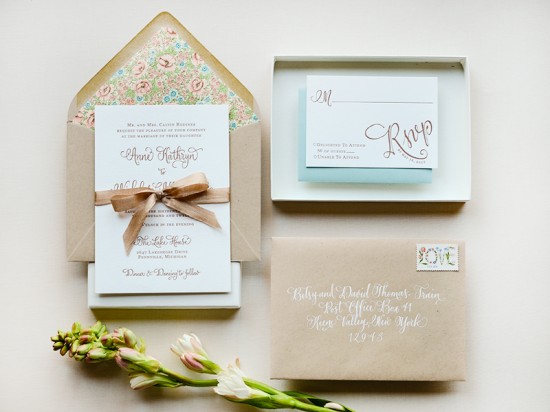
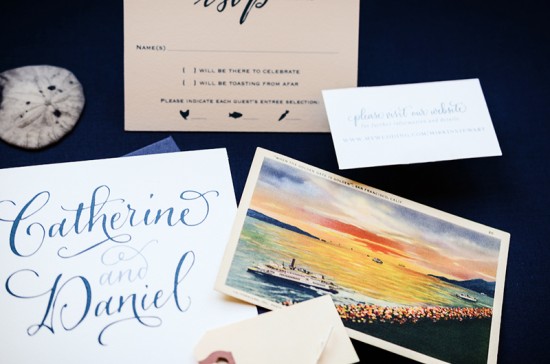
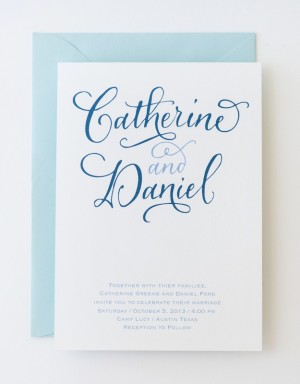
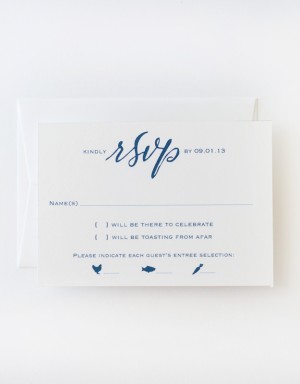
Antiquaria Letterpress Wedding Invitation Collection

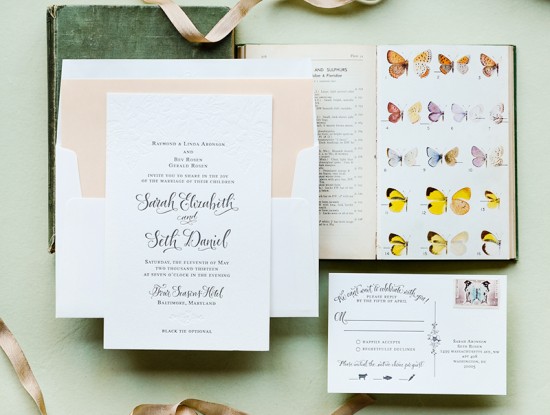
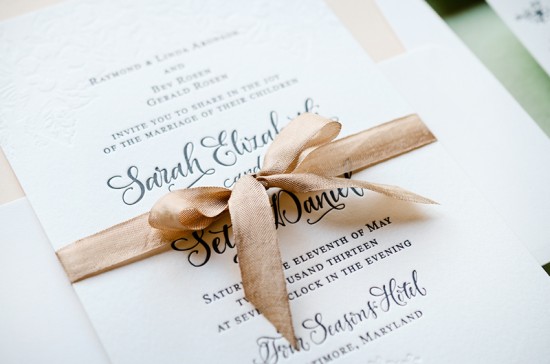
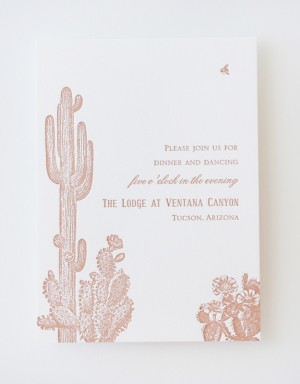
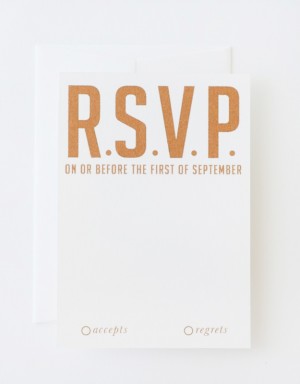
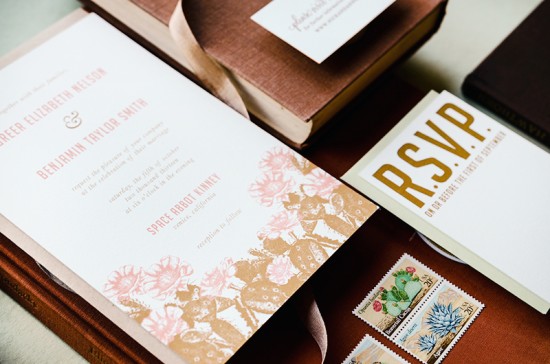
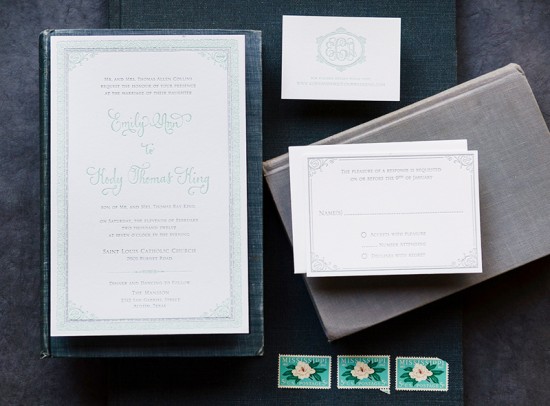
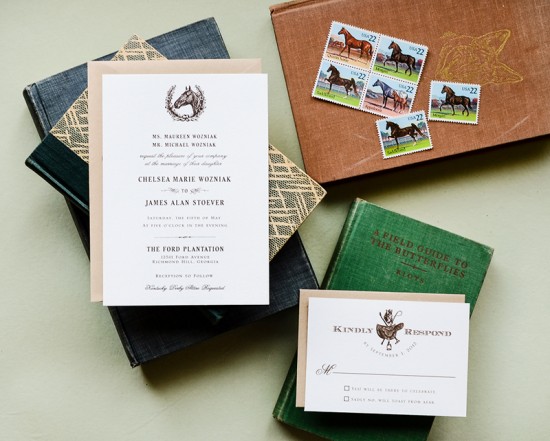
The ladies of Antiquaria (one of our DIY contributors here on Oh So Beautiful Paper!) just released a brand new (and a la carte) letterpress wedding invitation collection, and I’m thrilled to help share the beautiful designs today! The letterpress collection features some of Antiquaria’s most popular designs, from calligraphy invitation suites to equestrian and western-inspired designs.

Antiquaria Letterpress Wedding Invitation Collection via Oh So Beautiful Paper (10)

Each letterpress design is also compatible with Antiquaria’s custom rubber stamp collection. The letterpress collection is available a la carte, so you can mix and match design styles within an invitation suite – or even mix letterpress with rubber stamps. So fun!

Antiquaria Letterpress Wedding Invitation Collection via Oh So Beautiful Paper (9)

Antiquaria Letterpress Wedding Invitation Collection via Oh So Beautiful Paper (2) Antiquaria Letterpress Wedding Invitation Collection via Oh So Beautiful Paper (1)

Antiquaria Letterpress Wedding Invitation Collection via Oh So Beautiful Paper (13)

Antiquaria Letterpress Wedding Invitation Collection via Oh So Beautiful Paper (12)

Antiquaria Letterpress Wedding Invitation Collection via Oh So Beautiful Paper (4) Antiquaria Letterpress Wedding Invitation Collection via Oh So Beautiful Paper (7)

Antiquaria Letterpress Wedding Invitation Collection via Oh So Beautiful Paper (11)

Antiquaria Letterpress Wedding Invitation Collection via Oh So Beautiful Paper (16)

Antiquaria Letterpress Wedding Invitation Collection via Oh So Beautiful Paper (3) Antiquaria Letterpress Wedding Invitation Collection via Oh So Beautiful Paper (8)

Antiquaria Letterpress Wedding Invitation Collection via Oh So Beautiful Paper (17)

You can check out the full collection right here! Congrats ladies!

Anti­quaria is a mem­ber of the Designer Rolodex – you can see more of their beau­ti­ful work right here or visit the real wedding invitations gallery for more wedding invitation ideas!

Photo Credits: Antiquaria
DIY Tutorial: Neon and Kraft Paper Save the Dates

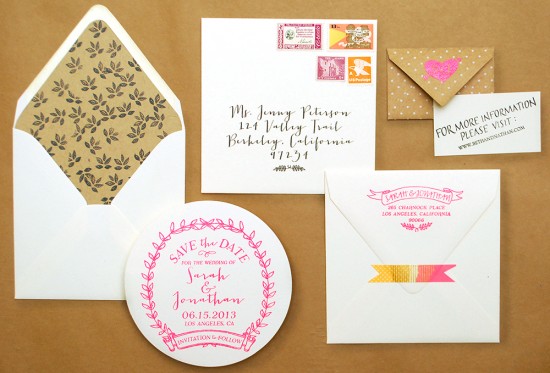
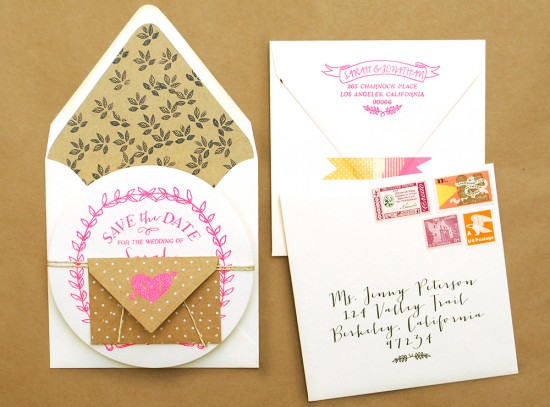
Neon has been the “in” thing for a while…but using it as inspiration for your wedding is definitely not for the faint of heart. We put together a fun and punchy neon save the date design that is perfect for spring. By mixing in kraft paper and black, we were able to tame the neon and make it quite modern. – Bailey and Emma of Antiquaria
DIY Tutorial: Neon and Kraft Paper Save the Date by Antiquaria via Oh So Beautiful Paper
DIY Tutorial: Neon and Kraft Paper Save the Date by Antiquaria via Oh So Beautiful Paper
DIY Tutorial: Neon and Kraft Paper Save the Date by Antiquaria via Oh So Beautiful Paper
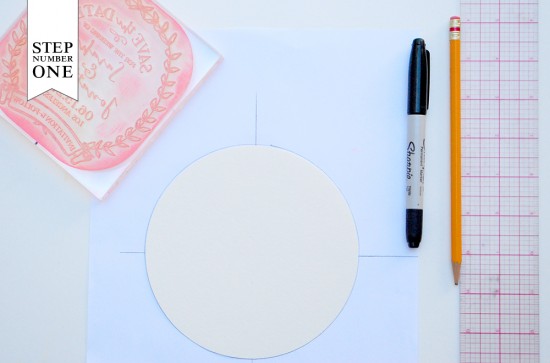
Step One: For this save the date, we are using a circular card. It may be a bit trickier to eyeball the placement of the stamp, so measuring out center is a good idea. First you’ll want to trace the circle card on a piece of scrap paper and then mark the center. Mark perpendicular lines through the center. Next you will measure and mark center of stamp and line it up on the circle template guide.

DIY Tutorial: Neon and Kraft Paper Save the Date by Antiquaria via Oh So Beautiful Paper
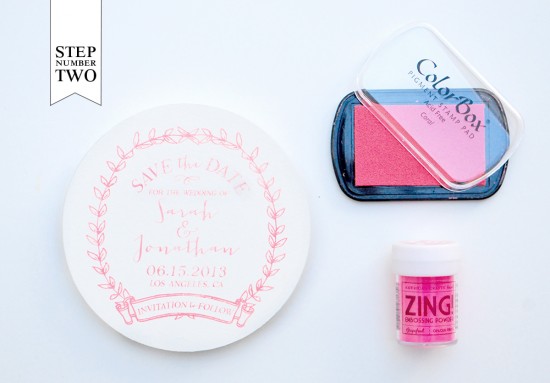
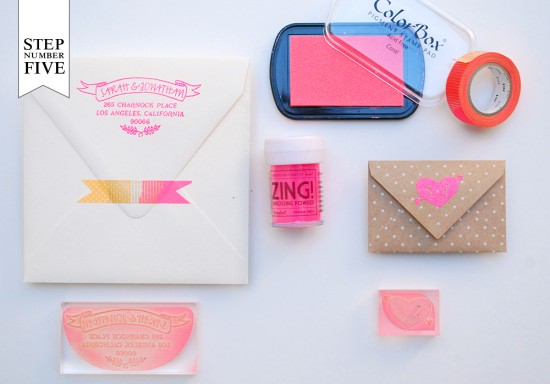
Step Two: We were so excited to find this awesome neon pink embossing powder! Place your circular card on a stable and firm surface. Ink your save the date stamp (we used our Mod Wreath Save the Date stamp) and center the stamp over your card. When ready, press the stamp down with moderate pressure to make the print. Lift the stamp off and quickly move on to adding your embossing powder. For more information about inking your stamp or making prints, please watch this video that shows the process in more detail.

Once you’ve made your print, immediately cover it with embossing powder by sprinkling it across the paper. Shift the powder around until you have covered the entire image. Now, you will pour the excess powder off of the card onto a scrap piece of paper so that you can reuse it for future prints. Heat set the print, using an Embossing Heat Tool. You will be able to see the powder melt into an opaque and solid color when it’s done.

Note: One key thing about embossing is that it is wise to try to closely match your ink color with your powder color. By doing this, you will get much more crisp and opaque results.

DIY Tutorial: Neon and Kraft Paper Save the Date by Antiquaria via Oh So Beautiful Paper
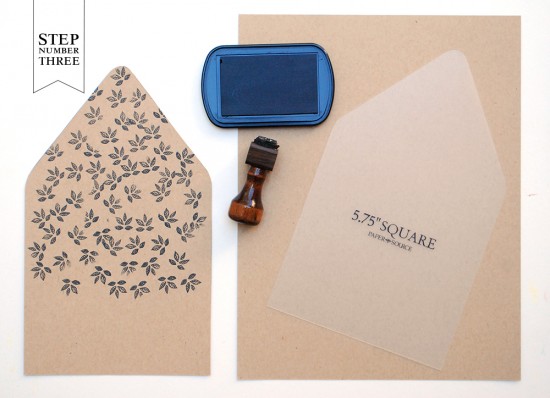
Step Three: Adding a liner is one fun way that you can add some pattern to your save the date. For this liner, we just stamped our Small Leaves pattern stamp in black on a kraft paper liner. To make the liner, trace the template onto your kraft paper and cut it out with scissors. To install, simply use stick glue or double sided tape to adhere them into your envelope.

DIY Tutorial: Neon and Kraft Paper Save the Date by Antiquaria via Oh So Beautiful Paper
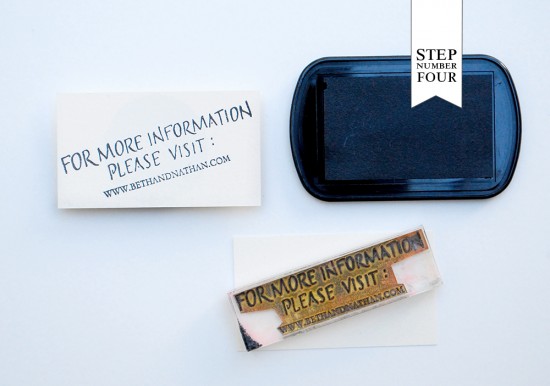
Step Four: It’s wise to include a website card with your save the dates so that guests can access all of the travel information and wedding details that they will need in order to make plans to attend your nuptials. For this card, we simply stamped our (Art Deco Website Card stamp) on a cream business card in black, diagonally.

DIY Tutorial: Neon and Kraft Paper Save the Date by Antiquaria via Oh So Beautiful Paper
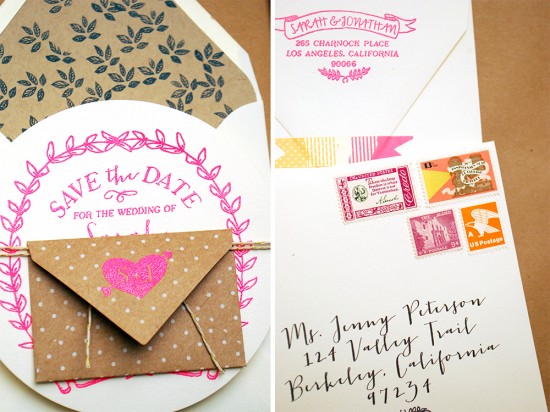
Step Five: Putting it all together: First, we embossed a return address stamp (we used our Mod Banner Return Address stamp) on the back flap of our outer envelope to coordinate with the save the date design. We also embossed our Cross My Heart Initials monogram stamp on the back flap of an adorable polka dot craft envelope that will hold the website card.

DIY Tutorial: Neon and Kraft Paper Save the Date by Antiquaria via Oh So Beautiful Paper

Now all that’s left is to address the save the dates, adhere postage (we used Verde Studio’s vintage stamps), add some fun neon washi tape and send them on their way!

Materials

Mod Wreath Save the Date stamp (circular option)

Art Deco Website Card stamp

Small Leaves Pattern stamp

Mod Banner Return Address stamp

Cross my Heart Initials Monogram stamp

5 1/2 Circular Card in Luxe Cream

5 3/4 Square Envelope in Luxe Cream

Business Card in Luxe Cream

Small Polka Dot Kraft Envelope from Martha Stewart

Stamp Pad in black and peony

Embossing Powder

Embossing Heat Tool

Envelope Liner Template

Kraft Paper (text weight)

Double sided tape

Scissors

Pencil

Postage Stamps from Verde Studio

Photo Credits: Antiquaria