Events at Urbanic

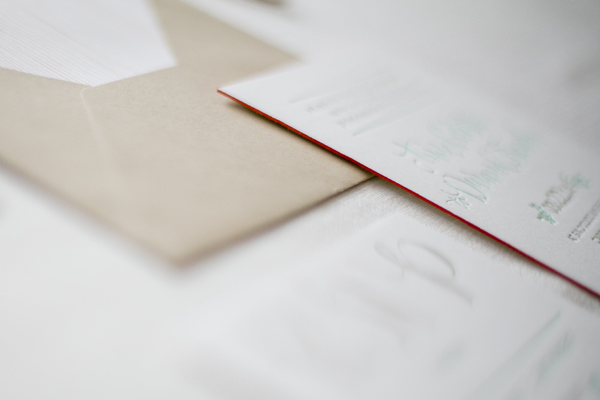
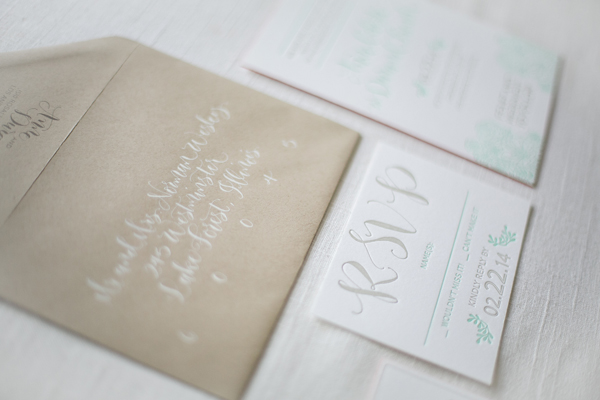
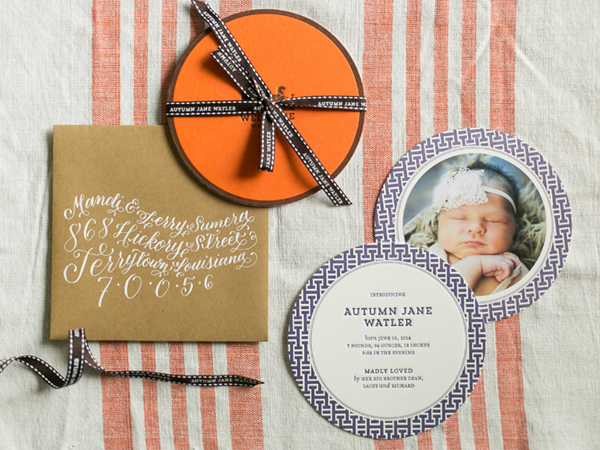
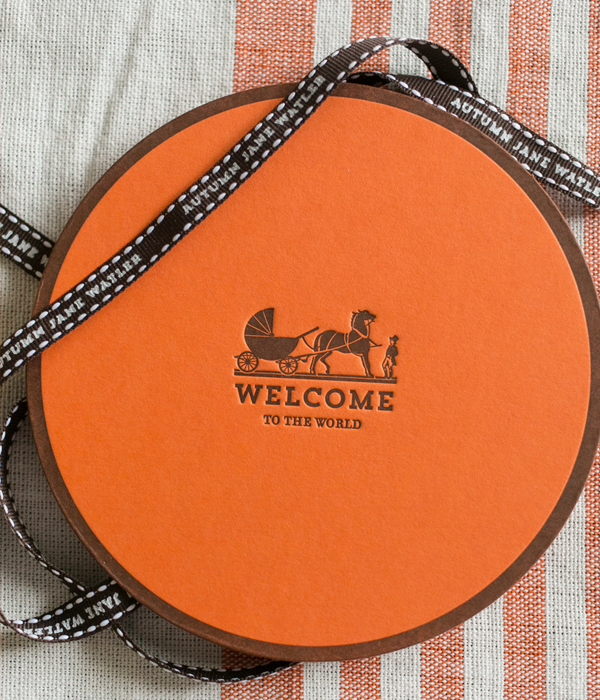
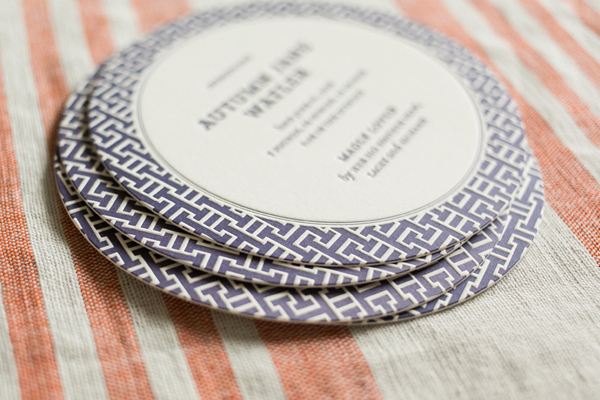
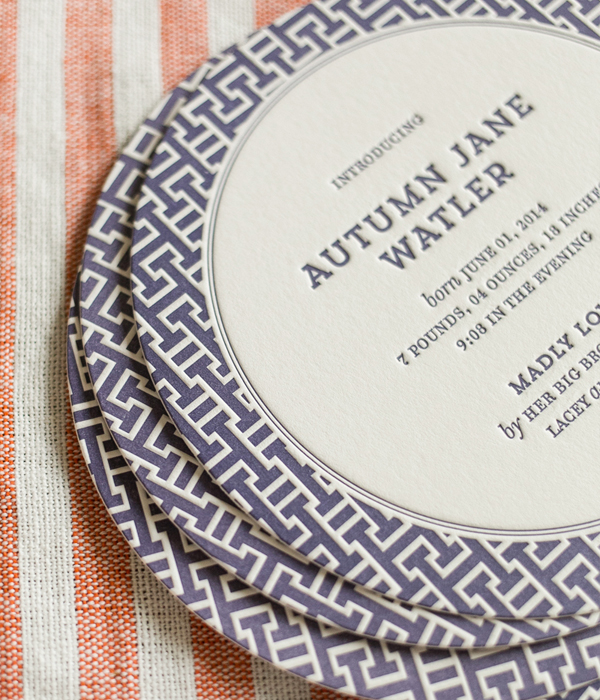
Hi everyone! In yesterday’s ‘Day in the Life at Urbanic’ post, I mentioned that some of our back-end creative work that we do is for the events that we host at Urbanic. When Joshua and I first opened the shop, we knew going into it that we wanted events to be a foundational offering of what we were about as a brand. We both love hosting, but even more so, we love watching people come together to get creative and social, forming new relationships in a fun environment. There are so many of us that sit behind a computer all day long, and we wanted to make sure we were creating special opportunities for people to connect and celebrate. Over the past 8 years, we’ve hosted Summer Socials, Winter Socials, blogger meet-ups, book release parties, and have recently added workshops to the mix! Click below for a peek into some of our calligraphy classes!

[youtube http://www.youtube.com/watch?&autoplay=1&controls=0&showinfo=0&rel=0&v=4Vz4X4cGJ3Q&w=640&h=360]

When we first got these events going they were a TON of work. It was work that we wanted to put in, but extremely hard on our schedules to juggle everything and do it at the creative level that we envisioned. Over the years we discovered that bringing in like-minded sponsors and partners made the whole process so much better on every level! Our collaborations have allowed us to work with the most amazing planners, photographers, florists, caterers, videographers and media sponsors. I’m not going to lie, the events are still a huge undertaking, but the work of all of these talents together makes for the best events! You can click here to see photos from some of our past Urbanic events and if you’d like, and click here to see videos. I’ve attached one of my faves into this post below from a Summer Social.

[youtube http://www.youtube.com/watch?&autoplay=1&controls=0&showinfo=0&rel=0&v=FMbiOisK-F8&w=640&h=360]


More coming up tomorrow with 10 tips on opening up a retail shop!

– Audrey


DIY Tutorial: Floral Save the Date Tags

For couples getting married in the first half of 2015, it’s time to send out save the dates! For this tutorial we wanted to create a design that’s easy to make (for those of you in a time crunch) but also highly customizable. Using a simple tag form and patterned card stock we elevated this simple stamped design into something really special: floral save the date tags. The best part is, you can simply change the pattern and completely transform the look of it! – Bailey and Emma of Antiquaria

DIY Floral Wedding Save the Date Tags by Antiquaria for Oh So Beautiful Paper

DIY Floral Wedding Save the Date Tags by Antiquaria for Oh So Beautiful Paper

Materials

Floral Calligraphy Save the Date Stamp
Antique Monogram Stamp
Annabelle Floral Patterned Paper
Watercolor Stripe Patterned Paper
A2 Kraft Envelopes
Self healing mat, craft knife and metal ruler
Stamp Pad in Eggplant
Washi Tape
Ribbon
Envelope Liner Templates
Scissors
Hole Punch

DIY Floral Wedding Save the Date Tags by Antiquaria for Oh So Beautiful Paper

Step One: First, we’ll need to cut the cards that we’ll be using to make our tags. You could make these any size you’d like but for this tutorial we’ll be cutting them to fit inside an A2 envelope. Select 8.5″ x 11″ patterned card stock (we used our Annabelle Floral patterned paper) and cut it into cards measuring 4″ x 5.25.” You should get four cards per 8.5″ x 11″ sheet.

DIY Floral Wedding Save the Date Tags by Antiquaria for Oh So Beautiful Paper

Step Two: To notch the corners of your tag, find the 45 degree mark on a self healing mat. Line your card corner into the square (as shown above) and your ruler along the angle line. With a craft knife, cut the paper cleanly across the corner.

DIY Floral Wedding Save the Date Tags by Antiquaria for Oh So Beautiful Paper

Step Three: Next, you’ll just want to flip the card over and repeat Step 2 on the other side of the card. Now your tag shape is complete!

DIY Floral Wedding Save the Date Tags by Antiquaria for Oh So Beautiful Paper

Step Four: We decided to use gold patterned washi tape to add an extra layer of interest. Tear a piece of washi tape to ~1.5 inches and center it in the top center of your tag (above left). Then, bend the tape over the top and adhere it to the back of your tag as well (above center). Lastly, you want to punch a hole through the card and the washi tape in the center about a quarter of an inch down (above right).

DIY Floral Wedding Save the Date Tags by Antiquaria for Oh So Beautiful Paper

Step Five: Now that the tags are completed, we’ll get to stamping! Stamp your save the date design (we used our Floral Calligraphy Save the Date stamp) on the back of the tag in eggplant ink. To add further customization, we added a monogram (our Antique Monogram stamp) also in eggplant on the front of the tag, over our pattern. If you decided to use a darker patterned paper for the tag, you might want to consider embossing your monogram in a light or metallic color so that it will be sure to show up! If you choose to, you’ll also want to stamp (or print) your return address on your A2 Kraft envelope as well before moving on to Step 6.

DIY Floral Wedding Save the Date Tags by Antiquaria for Oh So Beautiful Paper

Step Six: Next, we added a striped envelope liner (our Watercolor Stripe Coral patterned text weight paper) to coordinate with (but not match) our floral tag. Lining envelopes is really, really easy. Simply trace the liner template (A2 size for this design) and cut it out. To install the liner, you use stick glue or double sided tape along the pointed part to adhere to the envelope.

DIY Floral Wedding Save the Date Tags by Antiquaria for Oh So Beautiful Paper

Step Seven: The only thing left now are the finishing touches! Thread your ribbon through the hole on the tag and loop the ends through. Cut the edges so that the ribbons are even. Then just address the envelopes and add postage!

DIY Floral Wedding Save the Date Tags by Antiquaria for Oh So Beautiful Paper

Anti­quaria is a mem­ber of the Designer Rolodex – you can see more of their beau­ti­ful work right here!

Photography: Antiquaria for Oh So Beautiful Paper

Happy Weekend!

Happy Friday everyone! We’re looking forward to a low-key celebration of Sophie’s 2nd birthday this weekend. We decided not to do a party this year, since little brother or sister could arrive at any moment (which makes party planning a bit difficult!) – and even though Sophie is still pretty clueless when it comes to the concept of a birthday party, we plan to do something small at home. There will definitely be cake involved! But in the meantime…

Rainbow-Cake-Nicole-Hill-Gerulat

Rainbow cake // Photo by Nicole Hill Gerulat for One Charming Party via Bump Smitten

…a few links for your weekend!

This week on Oh So Beautiful Paper:

Check back soon for this week’s cocktail! I hope you all have a wonderful weekend, and I’ll see you back here next week! xoxo

Anne + Durand’s Modern Boho Wedding Invitations

These beautiful wedding invitations from Megan at Ruby the Fox are just perfect for the quintessential modern boho bride. Succulent-inspired details? Check! Beautiful calligraphy? Check! A bright pop of colorful edge painting? Check! Totally gorgeous result? Check and check!

Succulent-Calligraphy-Wedding-Invitations-Ruby-the-Fox-OSBP2

From Megan: This suite was created for a fabulous Los Angeles-based bride for her modern meets boho wedding. She worked with Bash, Please to design her perfect day, and I had the honor of designing her wedding invitations! We started with a fresh palette of mint, coral, kraft, and taupe – and the rest took off from there.

Succulent-Calligraphy-Wedding-Invitations-Ruby-the-Fox-OSBP5

Succulent-Calligraphy-Wedding-Invitations-Ruby-the-Fox-OSBP3

Playing off her love for calligraphy, clean lines and succulents, we came up with a stunning design that was totally representative of her big day. The suite was letterpress printed on luxe cotton stock, with edges painted in a pop of coral. To top it all off, Angelique, Ink graced us with her calligraphy talents for the couple’s names and the gorgeous envelope calligraphy.

Succulent-Calligraphy-Wedding-Invitations-Ruby-the-Fox-OSBP

Succulent-Calligraphy-Wedding-Invitations-Ruby-the-Fox-OSBP6

Thanks Megan!

Design: Ruby the Fox

Calligraphy: Angelique Ink

Ruby the Fox is a member of the Designer Rolodex – you can see more of their beautiful work right here or visit the real invi­ta­tions gallery for more wedding invitation ideas!

Photo Credits: Mary Kate McKenna Photography

Autumn’s Hermès-Inspired Baby Announcements

When Melissa from Atheneum Creative was asked to create a birth announcement inspired by the luxury brand Hermès, she was up for the challenge! Melissa drew her inspiration from the brand’s iconic boxes, creating a layered baby announcement tied together with custom ribbon and mailed in kraft paper envelopes to evoke shipping boxes. So cute!

Hermes-Inspired-Baby-Announcement-Atheneum-Creative

From Melissa: When Autumn’s parents called and asked for Hermès-inspired baby announcements for their daughter we were super excited… I love a new challenge! We based the whole announcement design around the signature Hermès boxes.

Hermes-Inspired-Baby-Announcement-Atheneum-Creative7

The announcement features three separate pieces. First things first, the logo. We re-imagined the classic Hermès logo to be a baby carriage. This first card in the set represents the top of the signature Hermès box. The second card contains Autumn’s birth details and represents the inside bottom of the signature boxes. Of course we had to squeeze a photo “in the box” (between the two cards) as this little angel is a gift her her parents.

Hermes-Inspired-Baby-Announcement-Atheneum-Creative4

Hermes-Inspired-Baby-Announcement-Atheneum-Creative9

The wrap it all up we created a custom ribbon with the baby’s name. The entire suite was mailed in a kraft paper envelope addressed with a whimsical calligraphy style by Jenna Blazevich.

Hermes-Inspired-Baby-Announcement-Atheneum-Creative5

Hermes-Inspired-Baby-Announcement-Atheneum-Creative8

Thanks Melissa!

Design: Atheneum Creative

Calligraphy: Jenna Blazevich

Atheneum Creative is a member of the Designer Rolodex – you can see more of their beautiful work right here!

Photo Credits: Chelsea Davis Photography