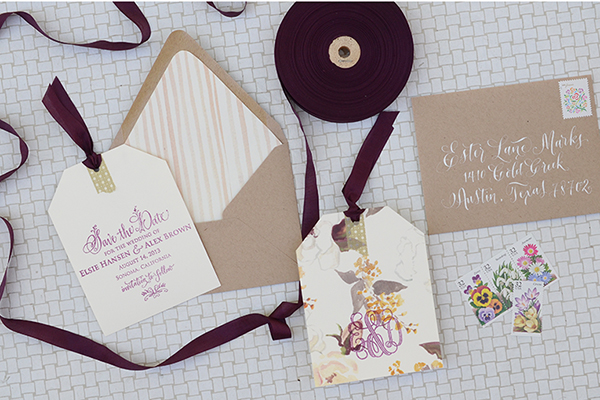
For couples getting married in the first half of 2015, it’s time to send out save the dates! For this tutorial we wanted to create a design that’s easy to make (for those of you in a time crunch) but also highly customizable. Using a simple tag form and patterned card stock we elevated this simple stamped design into something really special: floral save the date tags. The best part is, you can simply change the pattern and completely transform the look of it! – Bailey and Emma of Antiquaria
Materials
Floral Calligraphy Save the Date Stamp
Antique Monogram Stamp
Annabelle Floral Patterned Paper
Watercolor Stripe Patterned Paper
A2 Kraft Envelopes
Self healing mat, craft knife and metal ruler
Stamp Pad in Eggplant
Washi Tape
Ribbon
Envelope Liner Templates
Scissors
Hole Punch
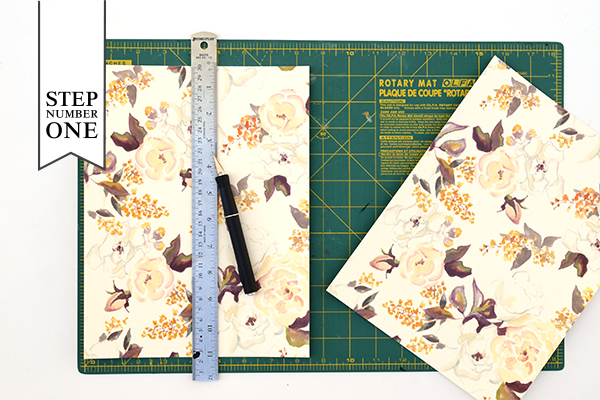
Step One:Â First, we’ll need to cut the cards that we’ll be using to make our tags. You could make these any size you’d like but for this tutorial we’ll be cutting them to fit inside an A2 envelope. Select 8.5″ x 11″ patterned card stock (we used our Annabelle Floral patterned paper) and cut it into cards measuring 4″ x 5.25.” You should get four cards per 8.5″ x 11″ sheet.
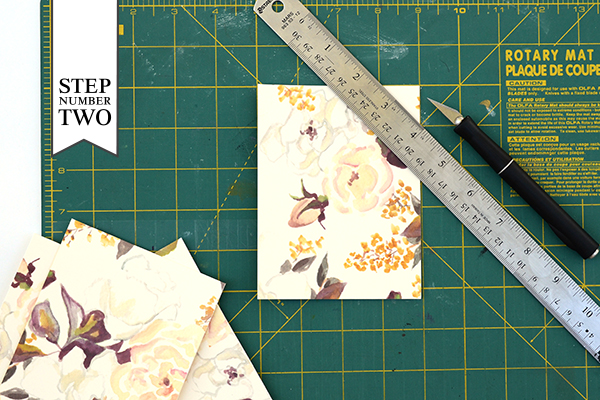
Step Two: To notch the corners of your tag, find the 45 degree mark on a self healing mat. Line your card corner into the square (as shown above) and your ruler along the angle line. With a craft knife, cut the paper cleanly across the corner.
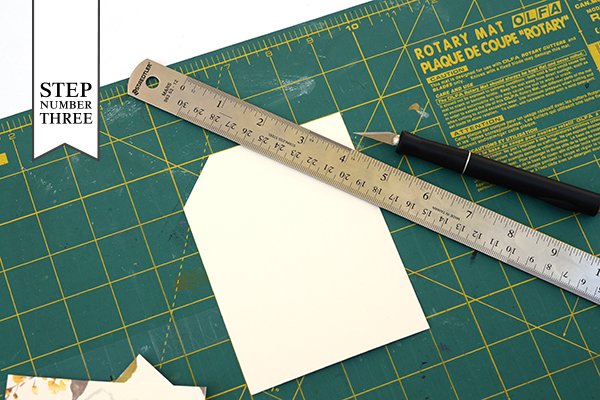
Step Three: Next, you’ll just want to flip the card over and repeat Step 2 on the other side of the card. Now your tag shape is complete!
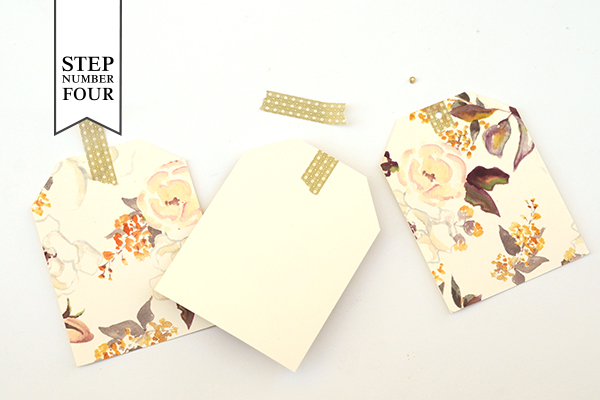
Step Four: We decided to use gold patterned washi tape to add an extra layer of interest. Tear a piece of washi tape to ~1.5 inches and center it in the top center of your tag (above left). Then, bend the tape over the top and adhere it to the back of your tag as well (above center). Lastly, you want to punch a hole through the card and the washi tape in the center about a quarter of an inch down (above right).
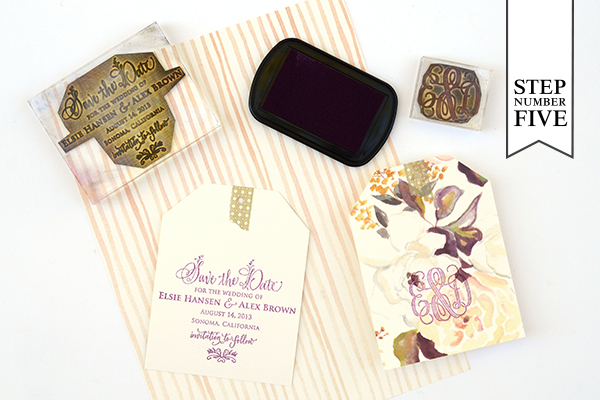
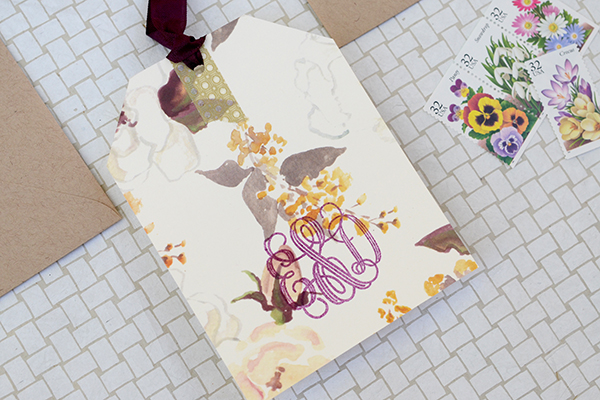
Step Five: Now that the tags are completed, we’ll get to stamping! Stamp your save the date design (we used our Floral Calligraphy Save the Date stamp) on the back of the tag in eggplant ink. To add further customization, we added a monogram (our Antique Monogram stamp) also in eggplant on the front of the tag, over our pattern. If you decided to use a darker patterned paper for the tag, you might want to consider embossing your monogram in a light or metallic color so that it will be sure to show up! If you choose to, you’ll also want to stamp (or print) your return address on your A2 Kraft envelope as well before moving on to Step 6.
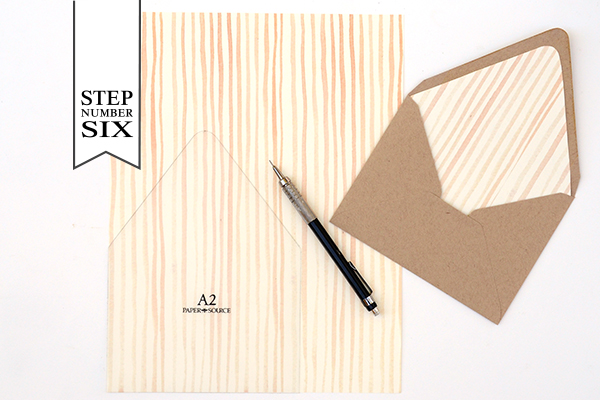
Step Six: Next, we added a striped envelope liner (our Watercolor Stripe Coral patterned text weight paper) to coordinate with (but not match) our floral tag. Lining envelopes is really, really easy. Simply trace the liner template (A2 size for this design) and cut it out. To install the liner, you use stick glue or double sided tape along the pointed part to adhere to the envelope.
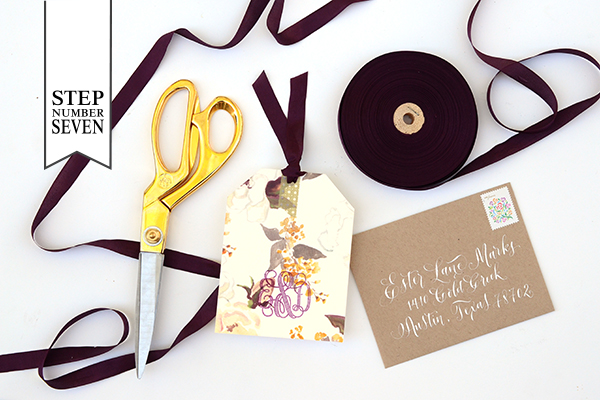
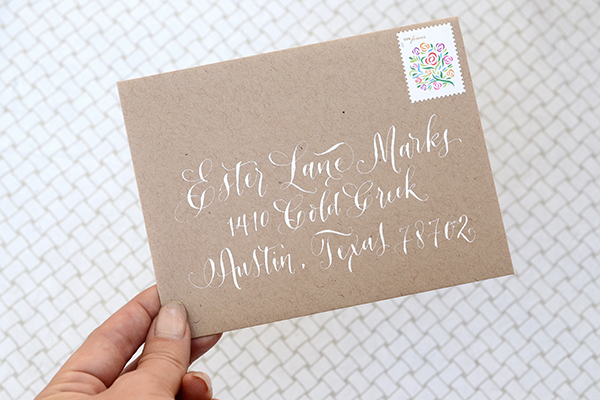
Step Seven: The only thing left now are the finishing touches! Thread your ribbon through the hole on the tag and loop the ends through. Cut the edges so that the ribbons are even. Then just address the envelopes and add postage!
AntiÂquaria is a memÂber of the Designer Rolodex – you can see more of their beauÂtiÂful work right here!
Photography: Antiquaria for Oh So Beautiful Paper
