DIY Tutorial: Western Reception Wedding Details, Part II

Hi Everyone! Before we jump back into Stationery Show sneak peeks, the ladies from Antiquaria are sharing some fun Western-inspired DIY wedding projects!

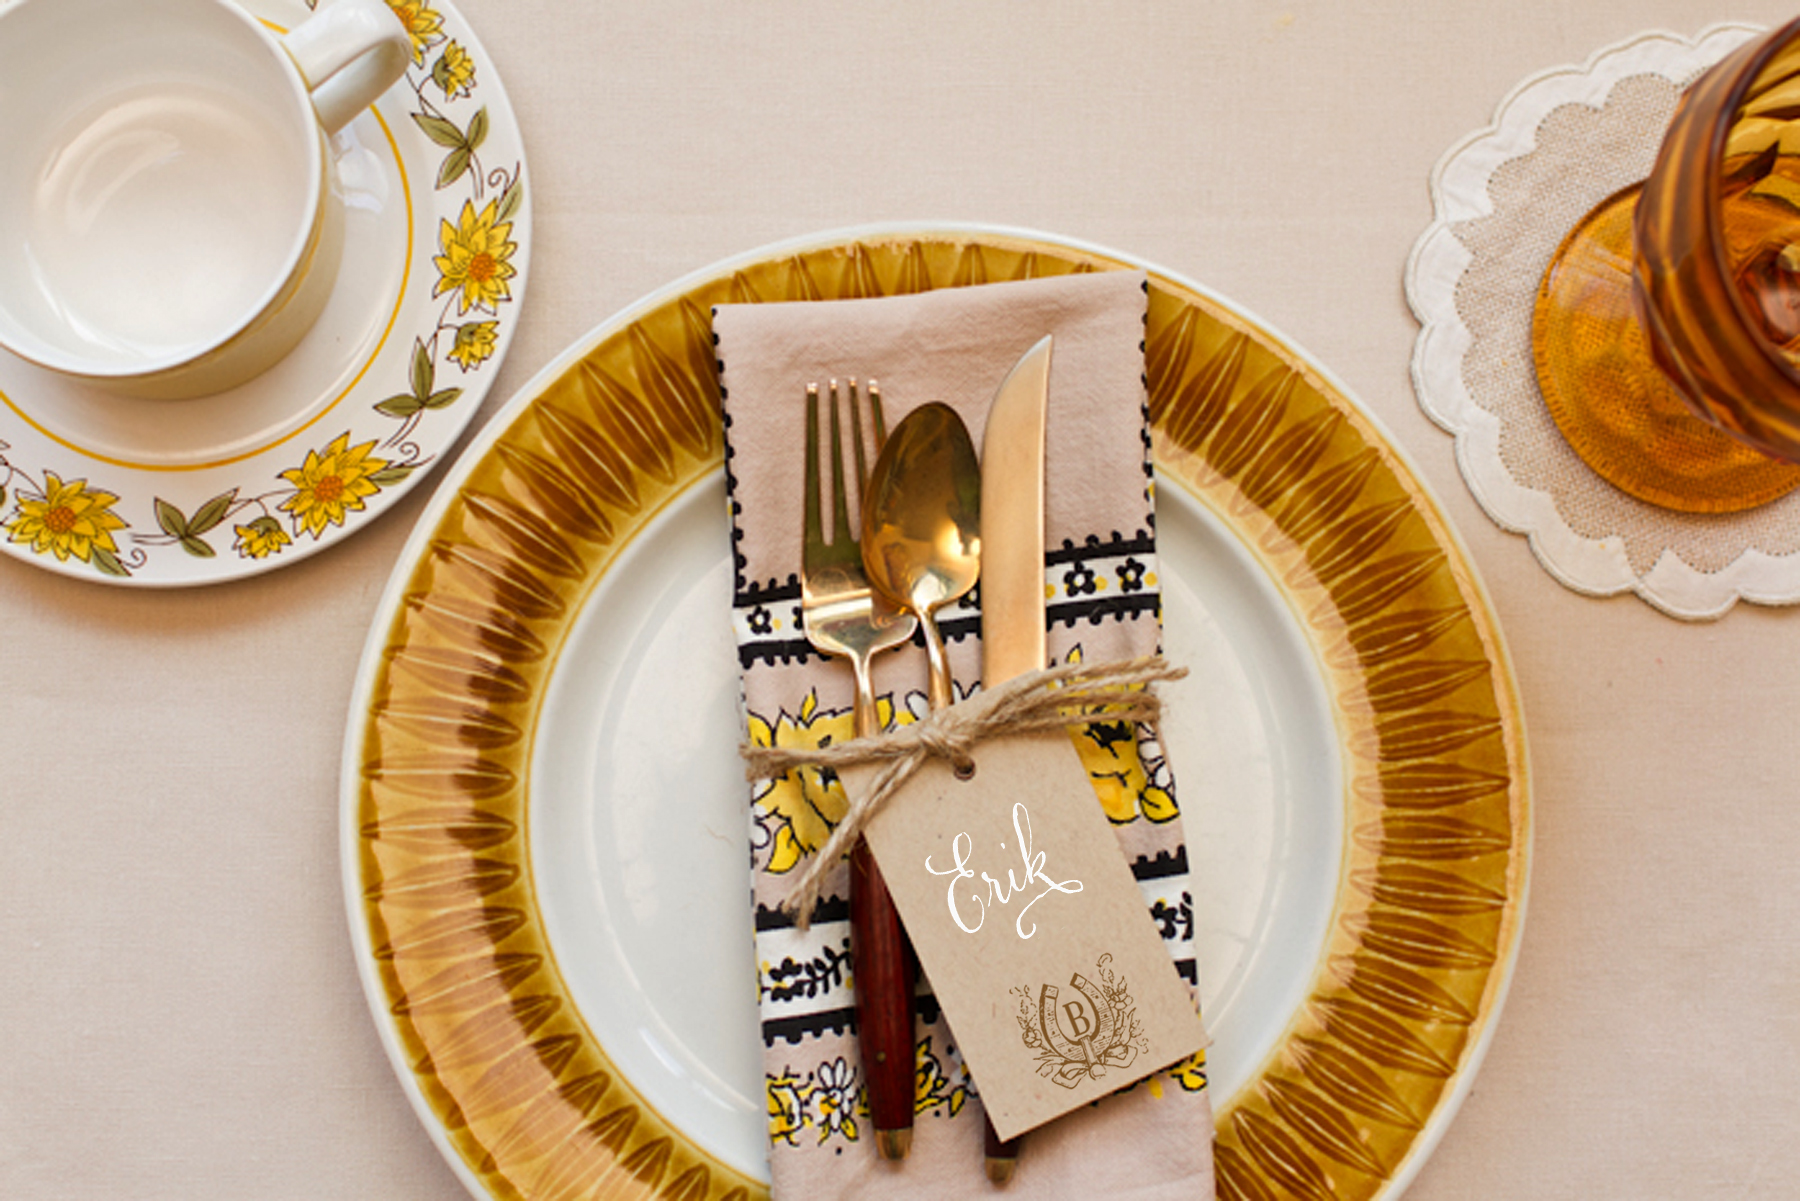
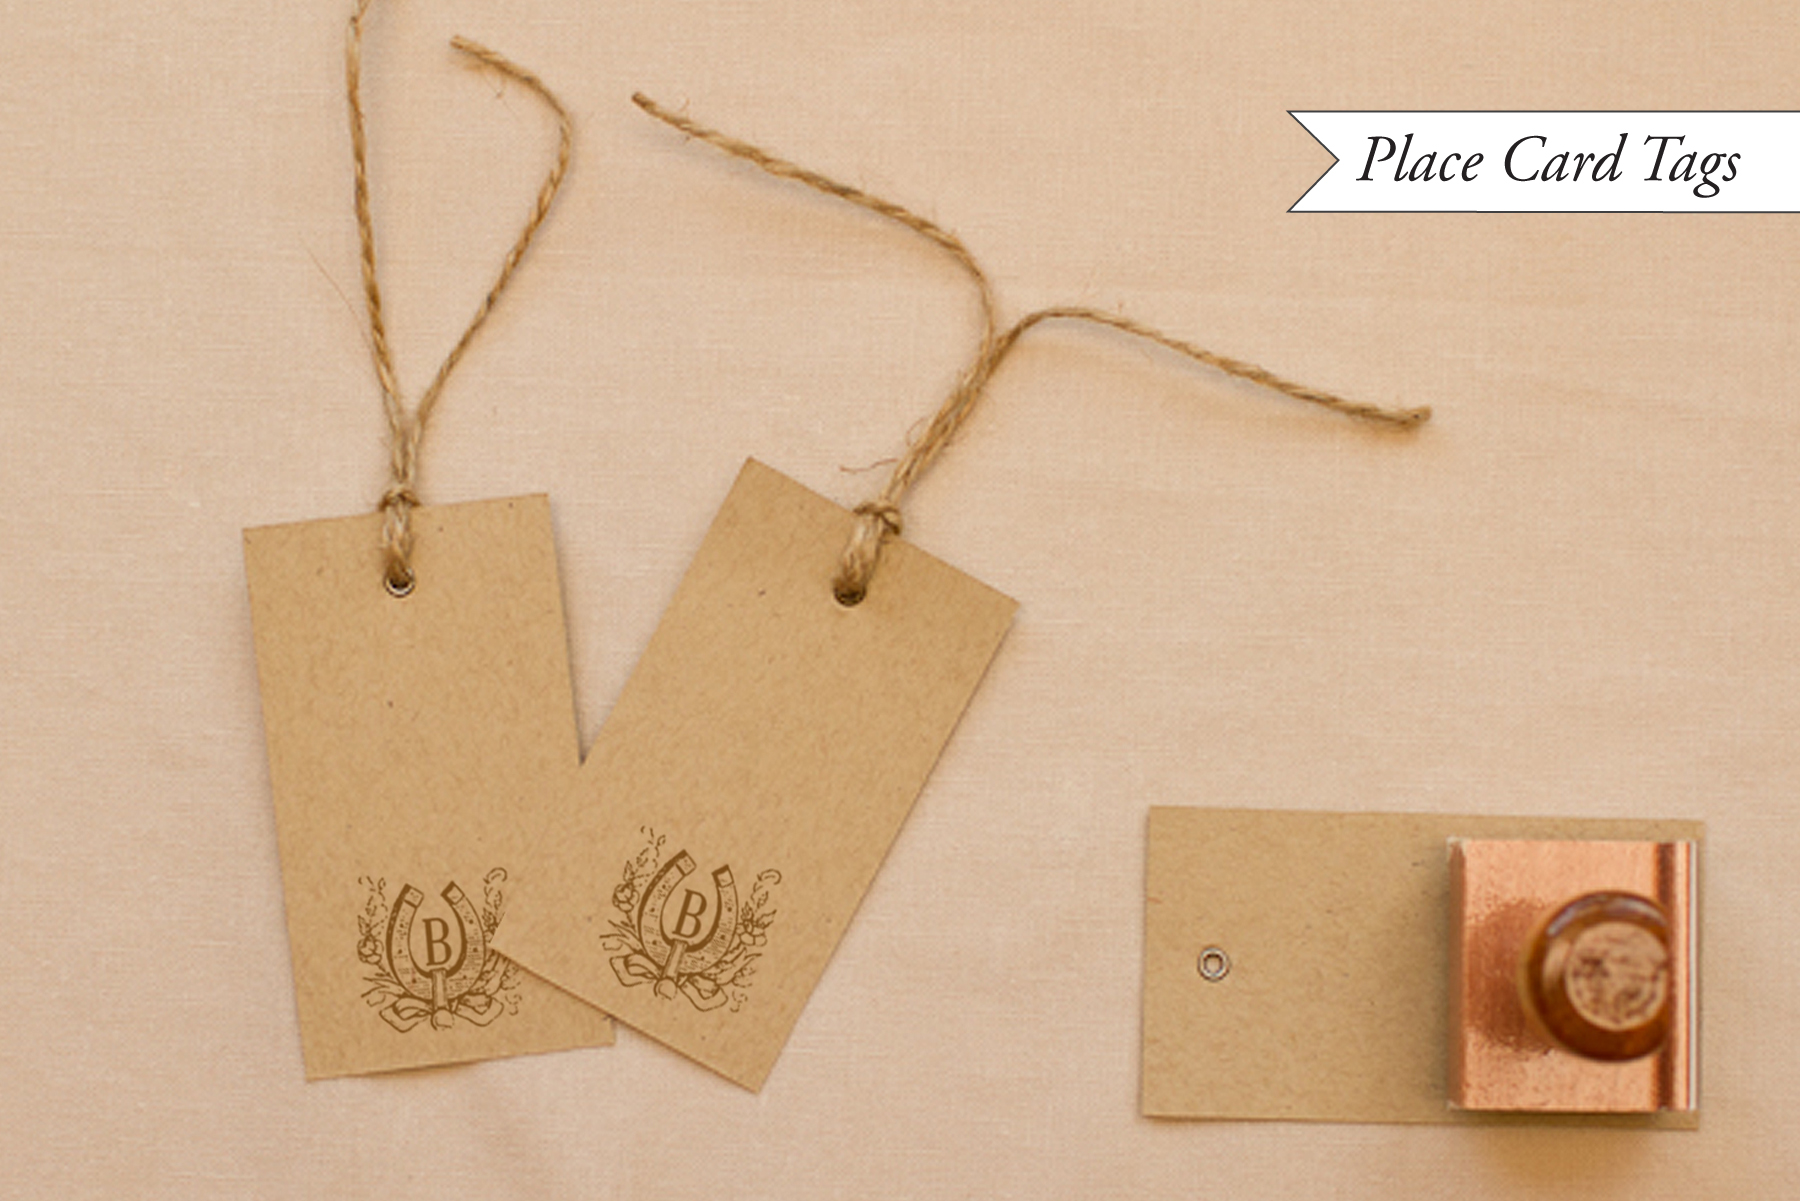
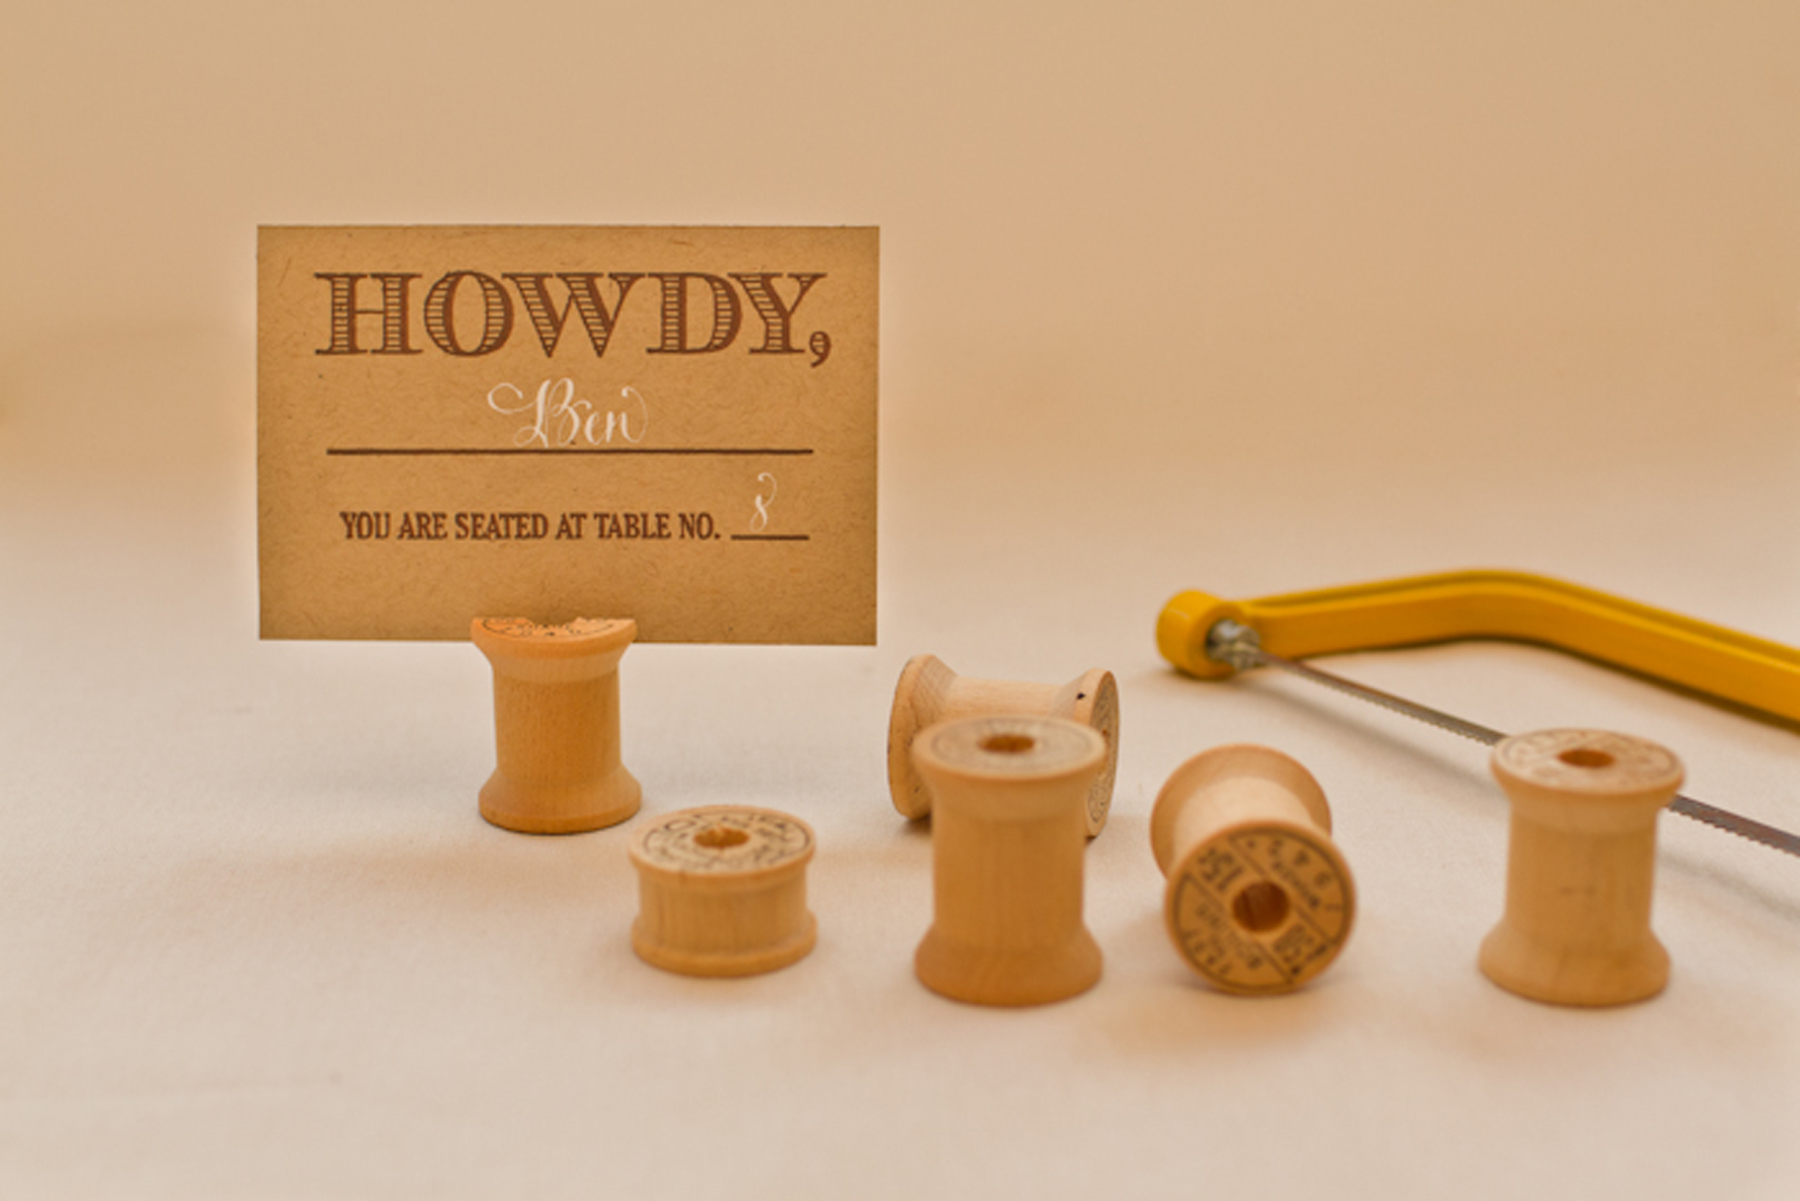
Two weeks ago, we shared a few DIY projects inspired by our Western Save the Date & Invitation DIY, including fun DIY escort cards and place setting ideas.  As promised, today we’re back with a couple of extra details to infuse some Western style into your wedding reception!  –Bailey and Emma of Antiquaria

Western Wedding Reception Detail Ideas

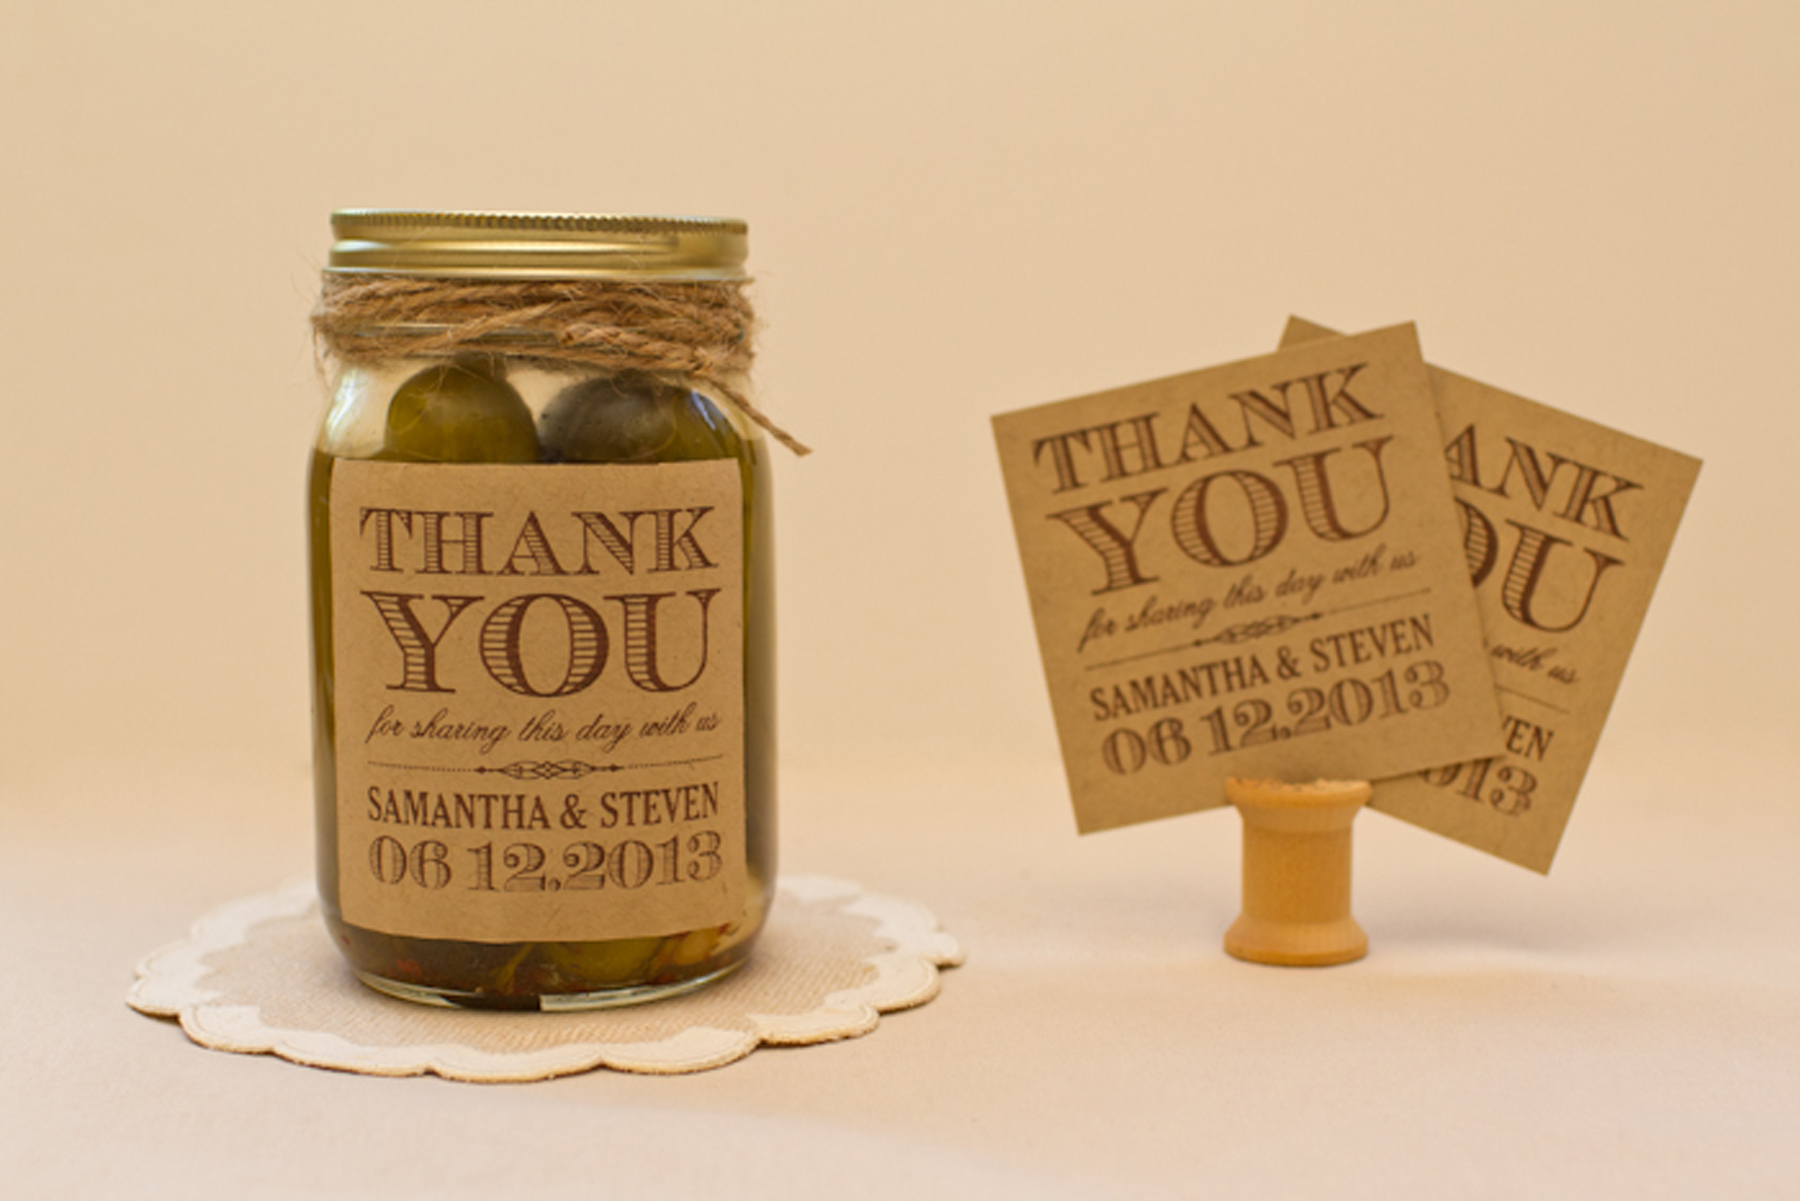
What better to give as a favor than a festive jar of  pickles?!  This project couldn’t be simpler to make…and depending on how much time you have to devote to it, you could even make the pickles yourself!

Western Wedding Reception Detail Ideas

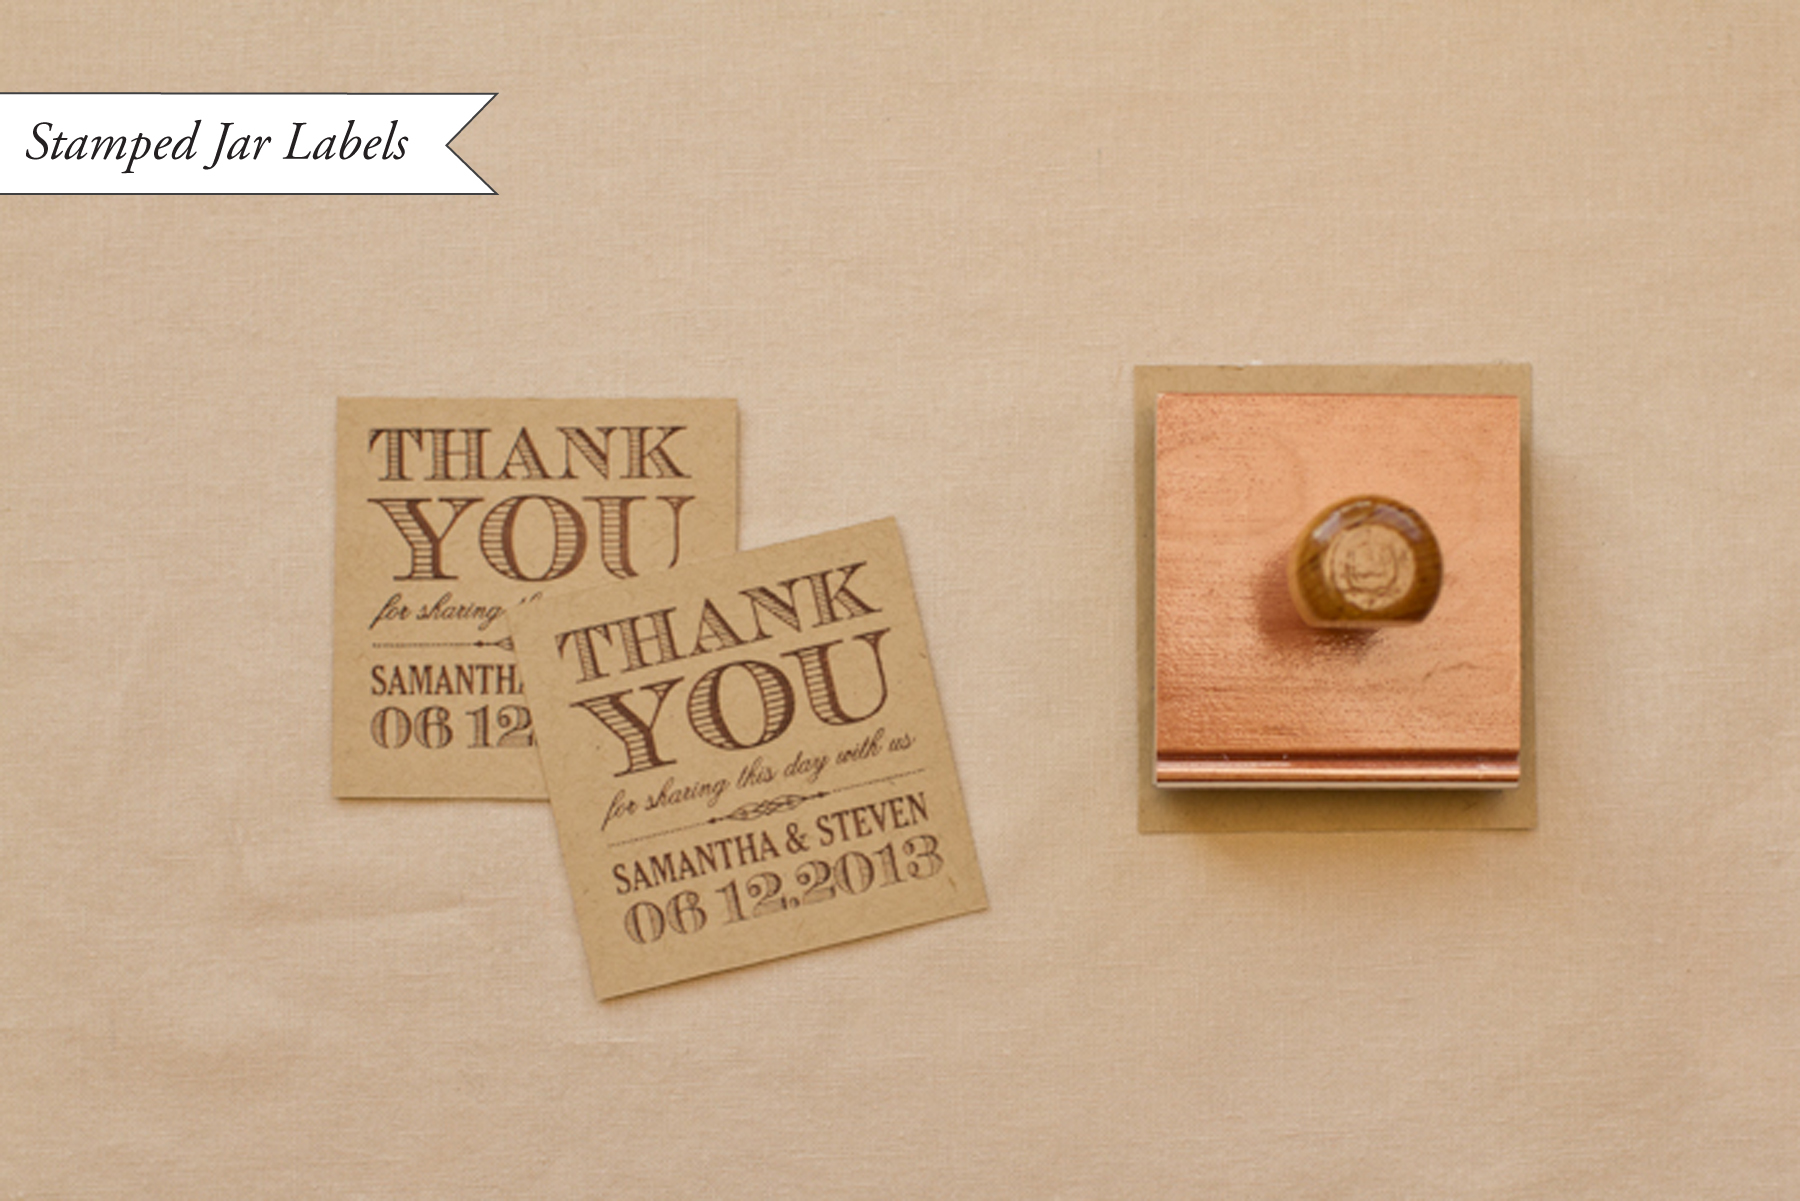
Stamped Jar Labels: Cut a sheet of 8.5 x 11″ label paper into pieces that measure 3 x 3.”  Ink your stamp (we used our Vintage West Favor Tag/Thank You Stamp) thoroughly and center over the label.  Press down with moderate pressure using the handle.  Set aside to let dry.  We used this on jars of pickles, but this idea could be great for  jam, lemon curd… really anything in a jar.

Western Wedding Reception Detail Ideas

Western Wedding Reception Detail Ideas

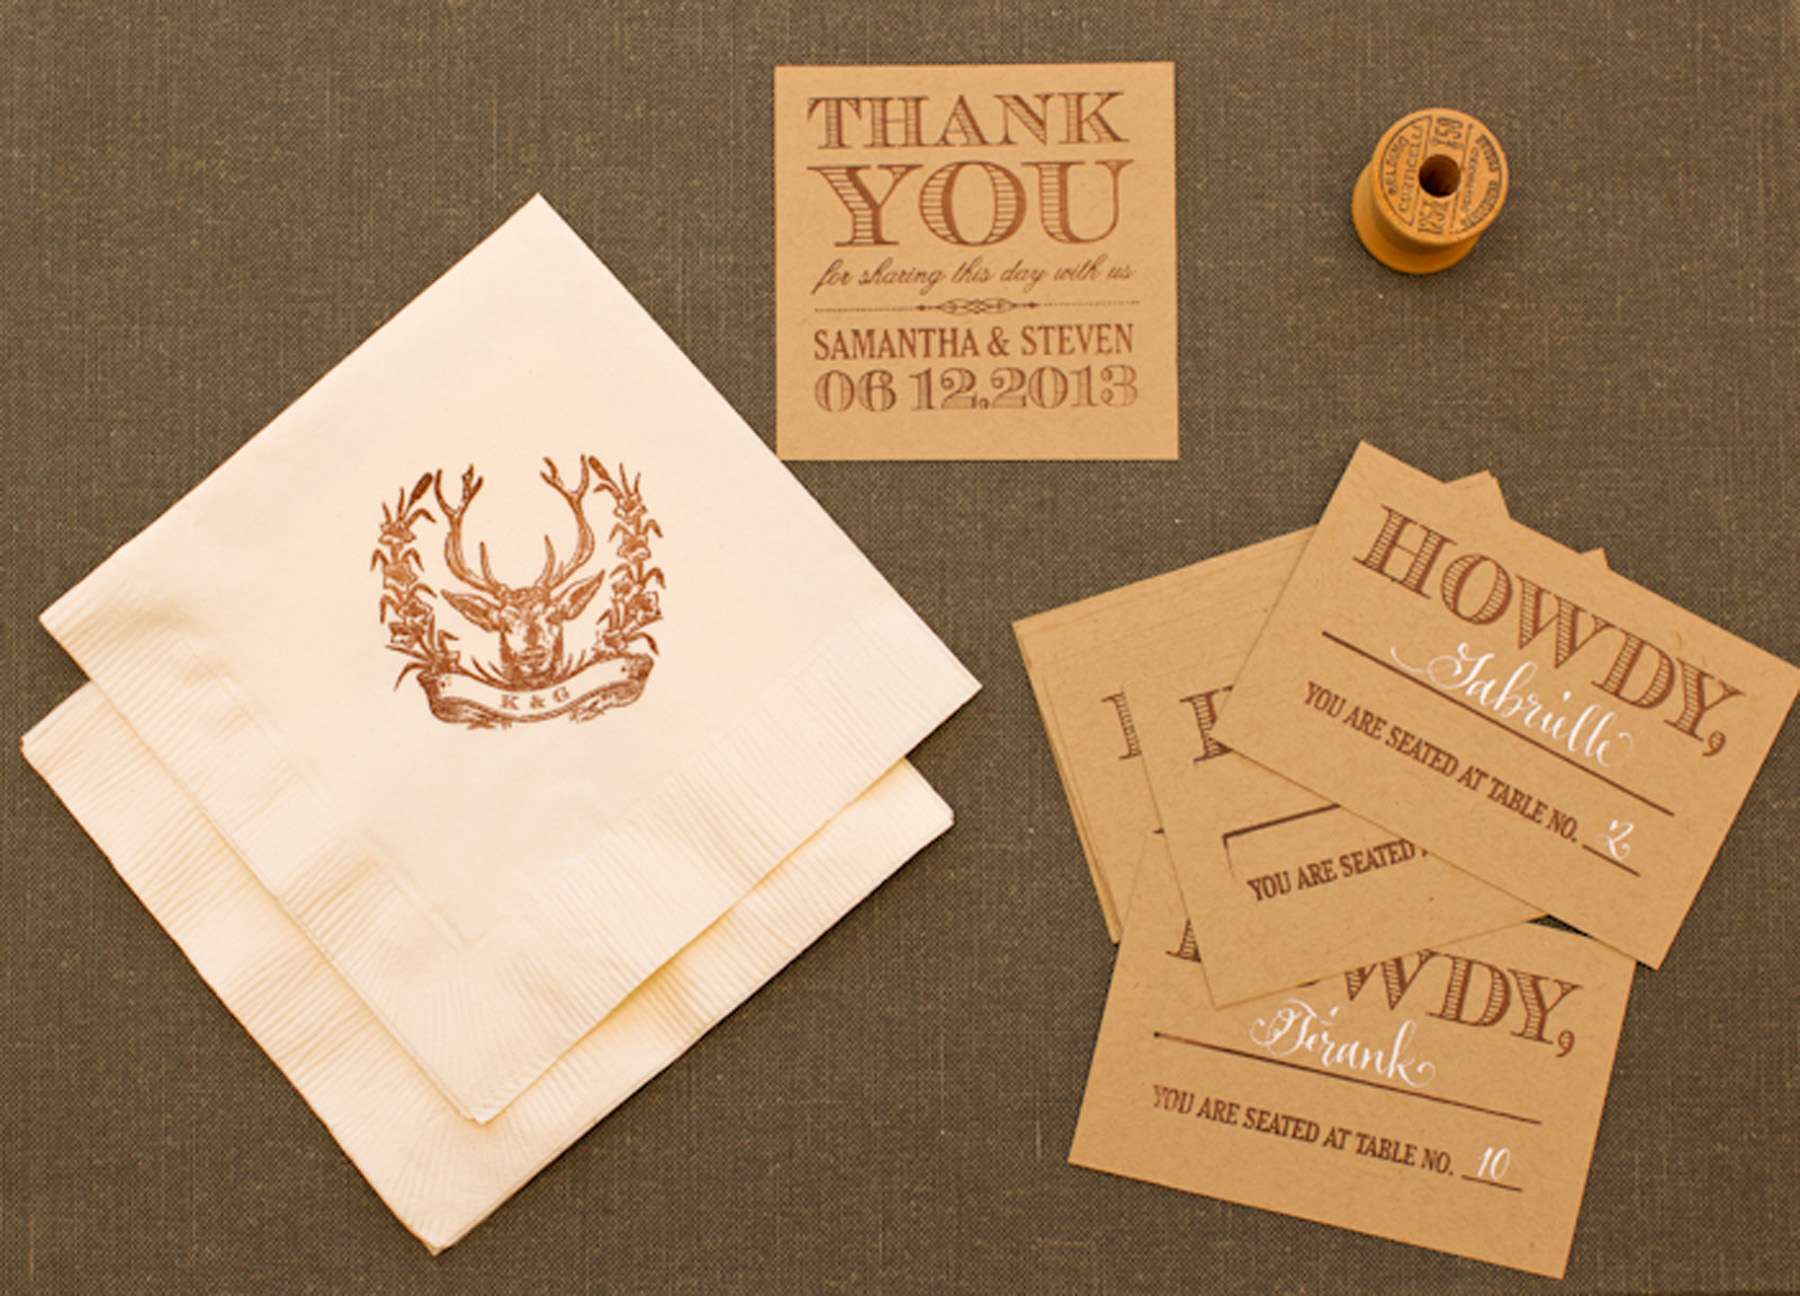
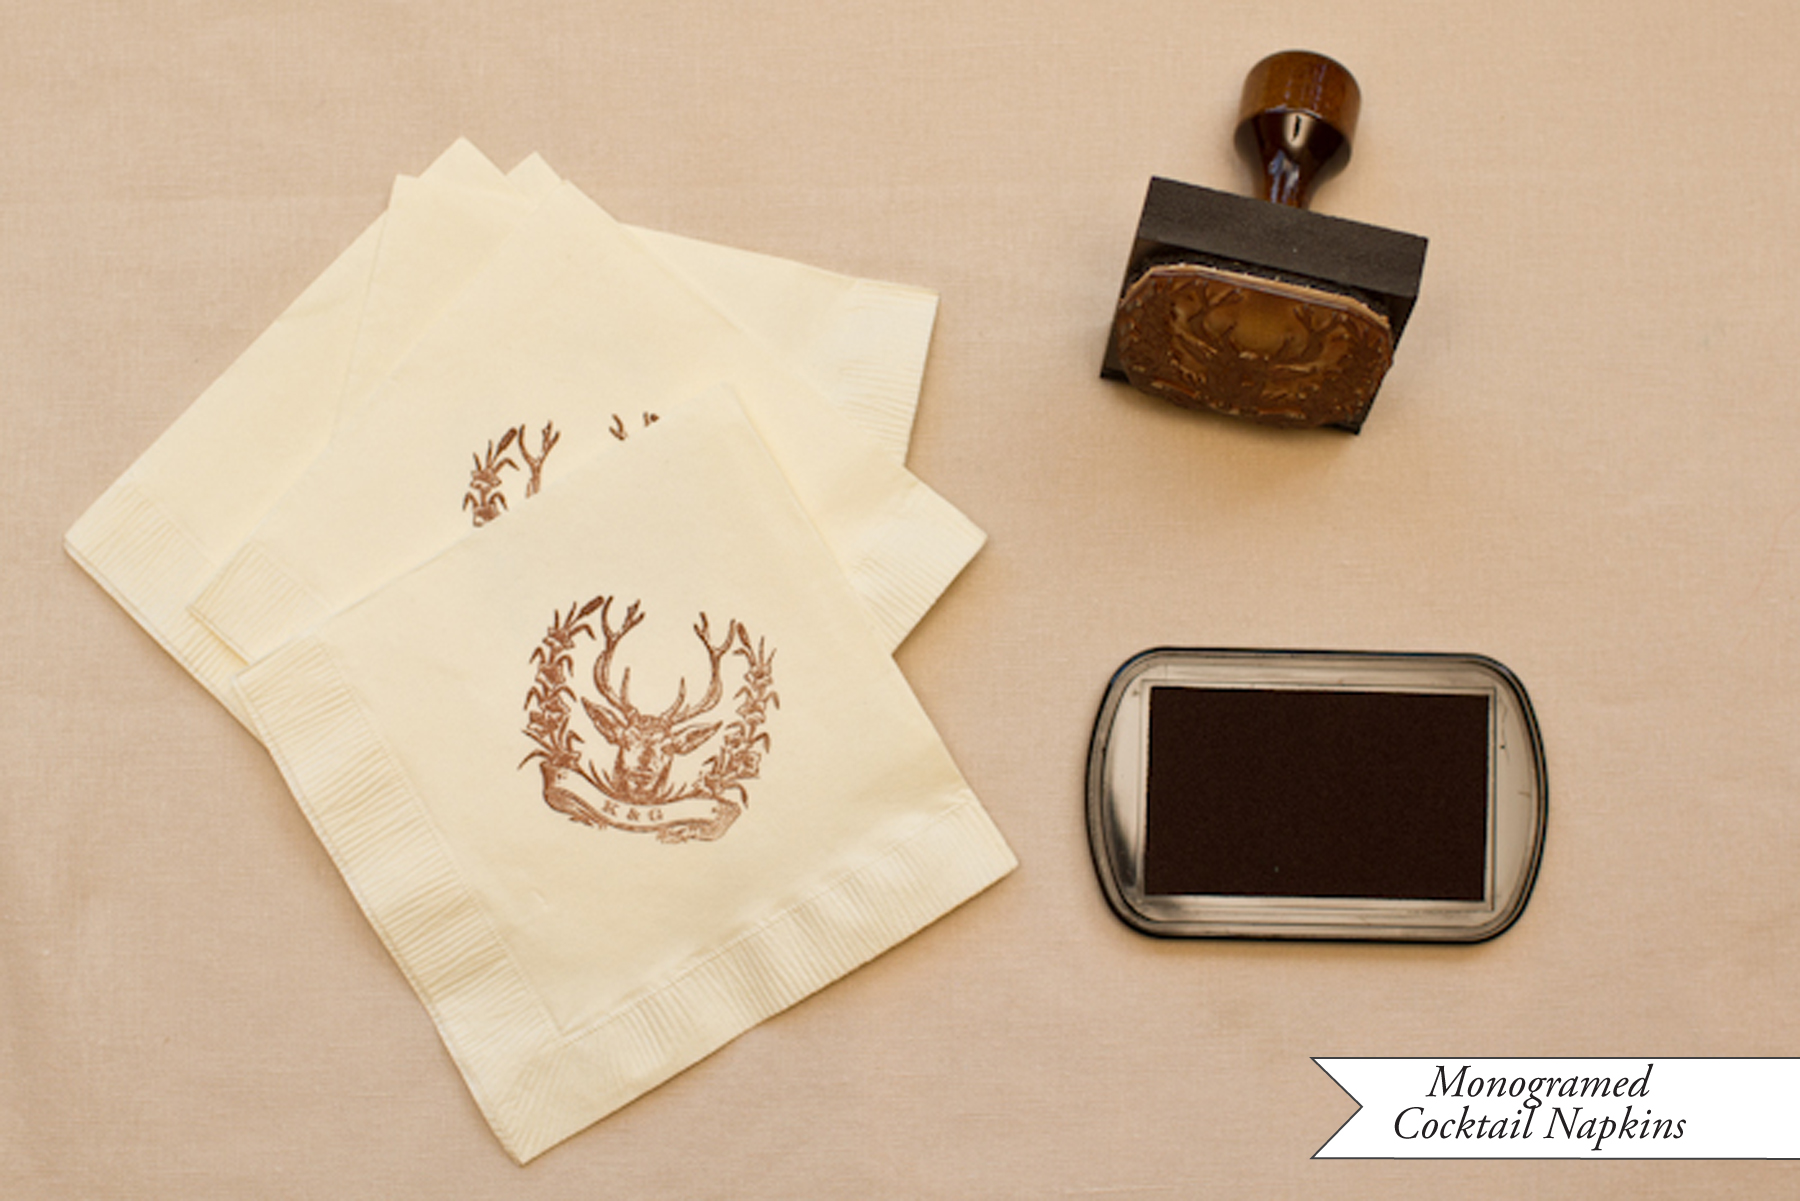
Monogramed Cocktail Napkins: Cocktail hour is one place where it’s fun to incorporate some personal touches into your decor.  One way to do this is to stamp blank cocktail napkins.  To do this, we inked up one of our Monogram Stamps and stamped it in the center of the napkin.  Since paper napkins are absorbent, the ink dried in a snap!

Now that everything is decorated…enjoy the party!

Materials:

Vintage West Favor Tag/Thank You Stamp

Custom Monogram Stamp (Email us for inquires about custom design!)

8.5″x11″ Label Paper (we used paper bag)

Ruler and Craft Blade to cut the labels

Stamp Pad (ours was chestnut)

Cocktail Napkins

Anti­quaria is a mem­ber of the Designer Rolodex – you can see more of their beau­ti­ful work right here or visit the real wedding invitations gallery for more wedding invitation ideas!

Photo Credits: Antiquaria

Stationery Show Sneak Peek: Fig. 2 Design Studio

I can’t help but feel an enormous sense of DC area pride when it comes to this next sneak peek designer – Claudia from Fig. 2 Design Studio!  Claudia made a big splash during her NSS debut last year with neon greeting cards, whimsical gift tags, and gorgeous wedding invitations, and I’m sure she’s going to knock it out of the park again this year.  Claudia is adding three new designs to her two wedding albums, Fresh and Felicity, and today she’s sharing a peek into the new Fresh album designs!  Each reflect Claudia’s fun and festive aesthetic, from bright neon typography to fun stripes and copper foil-stamped confetti.

Thanks Claudia!

Fig. 2 Design Studio is a member of the Designer Rolodex – you can see more of Claudia’s fabulous work right here!

Photo Credits: 1, 3, and 4 by Erica McCartney, 2 by Mary Kate McKenna, both for Fig. 2 Design Studio

DIY Western Reception Wedding Details, Part I

The details are part of the fun of creating an event – be it a wedding, dinner party or bridal shower.  Those details make the event special, unique, and totally you!  Remember the Western Save the Date & Invitation DIY we did a few months ago?  It was one of our favorite tutorials… so we decided to expand on the theme and offer up some ideas for how to embellish a Western reception. – Bailey and Emma of Antiquaria

Western Wedding Detail Ideas and Inspiration

A simply set, color appropriate place setting is ready for your guest as they approach the table.  Kraft tags tied around the napkin, are embellished with a monogram and serve as place cards for this casual, fun fete.

Western Wedding Detail Ideas and Inspiration - Place Cards

To make the place card yags: Ink your monogram stamp (we used our Vintage Horseshoe Initial Monogram) and center it on the bottom of a kraft paper gift tag (or manilla shipping tag).  Press stamp down moderately and remove from surface.  Set aside to dry.  Once dry, write your guests’ names on the tag.  We love the way that the opaque white calligraphy ink looks on kraft paper.  Next, cut about 2 feet of rustic twine and wrap it around a pressed napkin.  Tie in a knot, thread the tag on to one loose in, and then tie the twine in a bow.

Western Wedding Detail Ideas and Inspiration

A collection of goodies for the reception.  They all look so cute together!

Western Wedding Detail Ideas and Inspiration

How to make the stamped escort cards: Our escort card stamps are some of our new faves in the shop.  For this western themed card, cut kraft paper into 3.75″ x 2.5″ inch rectangles.  Ink your stamp (we used our Howdy Escort Card Stamp) and center over the card.  Press down moderately, using the handle as the main point of pressure.  Remove stamp and let dry.  Once you have your final seating arrangement, fill in the cards accordingly.  We repeated the white ink for the names to have continuity throughout the event.

p.s.  Ed Note: Confused by the difference between escort cards and place cards?  Escort cards are typically displayed together at a central location near the reception entrance and include the guest’s name and table number, guiding your guest to the appropriate table where they can then find their seat.  A place card with the guest name then sits at the individual table place setting, indicating an assigned seat where a guest should sit at their table.

Western Wedding Detail Ideas and Inspiration

We racked our brains to figure out a cute and unique way to display all those howdy escort cards to no avail… until we stumbled across Emma’s mother’s vintage wooden spool and bobbin collection.  Perfect!

Western Wedding Detail Ideas and Inspiration - Wood Spool Escort Card Display

Bobbin Card Stands: Troll the internet or thrift stores for vintage wooden spools or bobbins (bobbins will be smaller).  Once you acquire the number that you need, you’re ready to start converting them into escort card holders.  Lightly draw a pencil line across the diameter of the top of the spool. With a small hand saw, saw down about an eighth to a quarter inch (so that the card can slide in).  Now your ready to set them all up and put them to work directing your guests to their tables!

We’ll be back with more Western wedding detail ideas in our next post!

Materials:

Vintage Horseshoe Initial Monogram Stamp

Howdy Escort Card Stamp

Stamp Pad (in Chestnut)

Metal Eyelet Gift Tags in Kraft

Rustic Twine

White Calligraphy Ink

Kraft Card Stock

Ruler and x-acto blade

Wooden Spools and Bobbins

Hand Saw

Photo Credits: Intertwyned for Antiquaria

{happy weekend!}

So now that our big news is out, it’s time to wish you all a wonderful weekend!  Next week, the husband and I are jetting off to St. Lucia for a few days of rest and relaxation – I can’t wait!  While we’re away I’ll be sharing a little mini guide to DC, from restaurants to shops to museums.  I hope you enjoy the guide!  But in the meantime…

St. Lucia Map Illustration by Laura Bird

…a few links for your weekend!

This week on Oh So Beautiful Paper:

That’s it for me this week!  We’re taking a quick break from Cocktail Fridays until after we get back from our trip, but if you’re looking or a fun recipe to try this weekend – try two of my favorite recipes so far: the Aviation or Vieux Mot.  Have a wonderful weekend!  xoxo

{happy weekend!}

Happy Friday everyone!  We’ve had another gorgeous week here in DC – last weekend we finally made it down to Mount Vernon, where I couldn’t tear my eyes (or nose) away from the gorgeous dogwoods and lilacs blooming all around the estate.  Yay spring!  I’m looking forward to an even more beautiful weekend and a bit of relaxation.  But in the meantime…

…a few links for your weekend!

This week on Oh So Beautiful Paper:

As usual, we have a fun cocktail coming up for you this afternoon, so check back a bit later for the recipe!  I hope you all have a wonderful weekend, and I’ll see you back here on Monday!  xoxo

Photo by me, from a trip to Mount Vernon last weekend