Michelle + Bernie’s Black and Gold Brooklyn Wedding Invitations

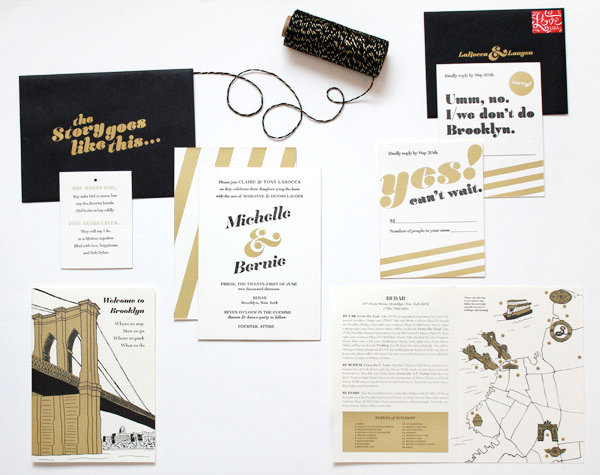
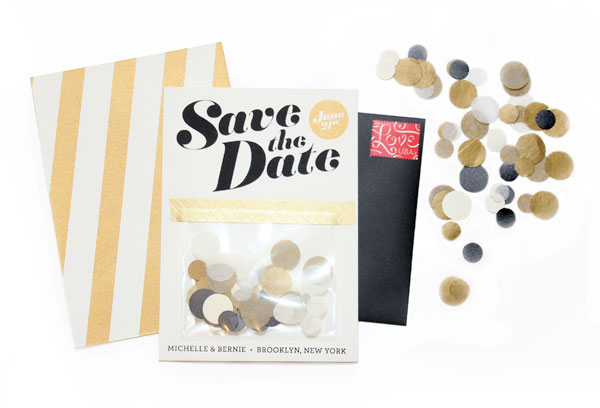
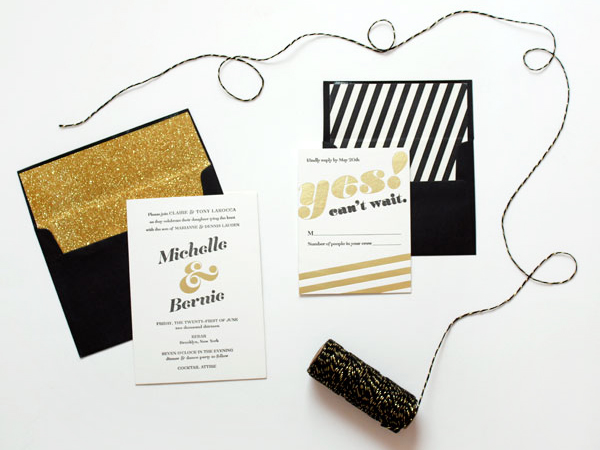
Michelle and Bernie wanted their wedding in Brooklyn’s DUMBO neighborhood to be a giant party celebrating their marriage. For their invitations and save the dates, Michelle (the designer behind Meesch) started with a black and gold color palette. Michelle also incorporated lots of fun celebratory details throughout the suite, like tissue paper confetti with the save the dates and a glittery gold envelope with the invitations. So fun!
Black-Gold-Brooklyn-Wedding-invitations-Meesch

From Michelle: Bernie and I got married at Rebar in DUMBO. It was the perfect venue for us. We wanted a party to celebrate our marriage and that’s exactly what we had. When deciding on the design, black and gold kept twirling around in my thoughts. The tone was set with the save the dates. I hole punched tissue paper, and put handfuls in cello bags and taped them to the announcement that I screen printed, with awesome washi tape.
Black-Gold-Brooklyn-Wedding-invitations-Meesch4

Black-Gold-Brooklyn-Wedding-invitations-Meesch3

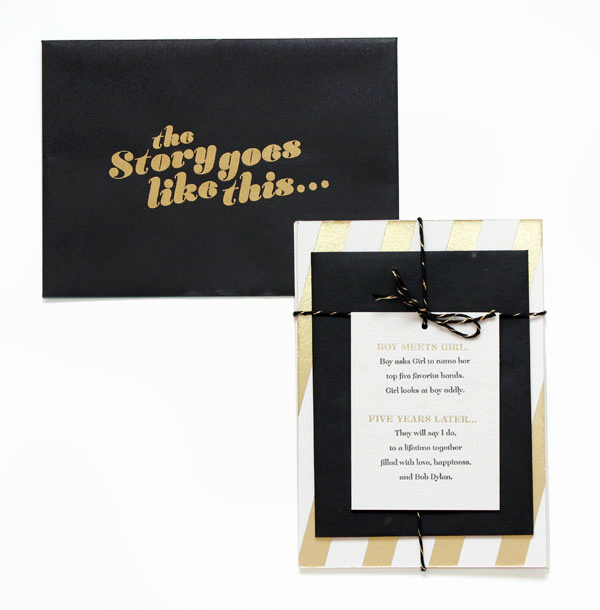
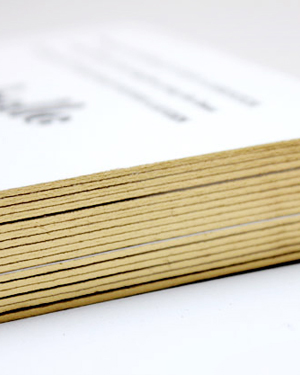
When creating the invitation suite, I wanted to to keep it fun. In the end, it was a little recap of or relationship. The invitations I letterpress printed on Crane’s Lettra and then had them foiled stamped and the edges painted in gold. For the black envelopes, I screen printed “The story goes like this…” and the return address. Once that was done, I took rolls of gold glitter wrapping paper and cut down smaller squares for the envelope liners, adding some extra flare.
Black-Gold-Brooklyn-Wedding-invitations-Meesch2

Black-Gold-Brooklyn-Wedding-invitations-Meesch10

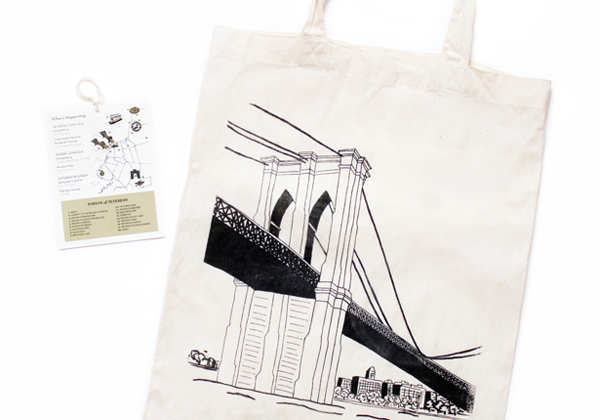
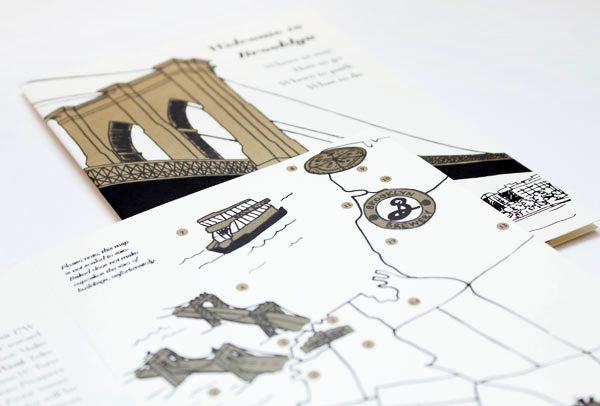
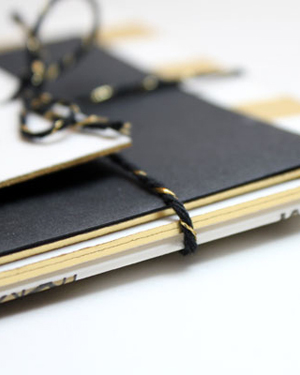
Instead of doing inserts for the directions and accommodations info, I decided to make a little info booklet. Inside was everything everyone needed to know; how to get there, where to stay, and then we highlighted some of our favorite spots. Since we would be taking pictures by the Brooklyn Bridge, I drew the illustration for the cover. Everything was tied up nicely with black and gold twine from Knot + Bow.
Black-Gold-Brooklyn-Wedding-invitations-Meesch6Black-Gold-Brooklyn-Wedding-invitations-Meesch5

Black-Gold-Brooklyn-Wedding-invitations-Meesch9

I screen printed the image of the Brooklyn Bridge onto welcome tote bags for the guests that were staying at the hotel. We tied a smaller version of the map around the handles, which also listed events going on that weekend in Brooklyn.
Black-Gold-Brooklyn-Wedding-invitations-Meesch11Black-Gold-Brooklyn-Wedding-invitations-Meesch8

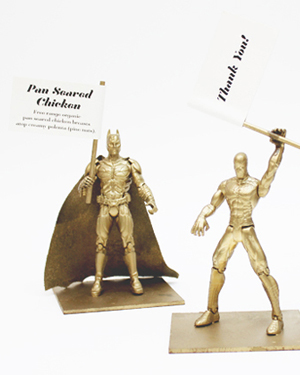
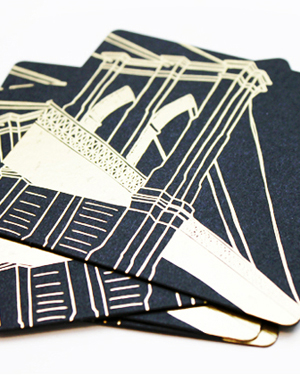
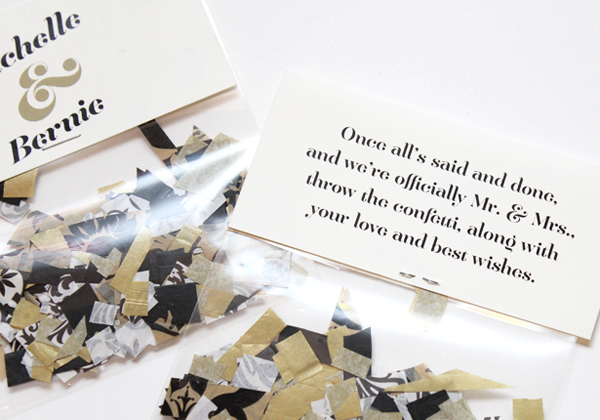
For our favors, we decided on coasters. Mama’s Sauce foil stamped the image of the Brooklyn Bridge, and we wrapped them up in some awesome bags from For Your Party, along with an insert that thanked everyone, and had a link to songs from our wedding playlist. I spray painted little action figures for the food cards, and made bags of confetti to be thrown for when we walked down the aisle.
Black-Gold-Brooklyn-Wedding-invitations-Meesch7

Thanks Michelle!

Design: Meesch

Foil Stamping: Mama’s Sauce

Twine: Knot + Bow

Check out the Designer Rolodex for more tal­ented wed­ding invi­ta­tion design­ers and the real invi­ta­tions gallery for more wedding invitation ideas!

Photo Credits: Meesch

Vivi Mae’s Peach + Gold Birth Announcements

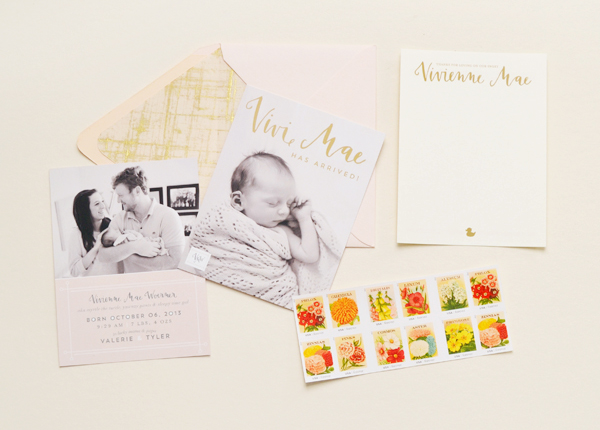
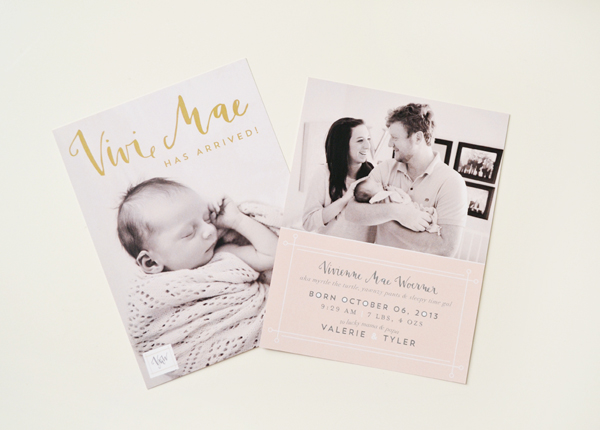
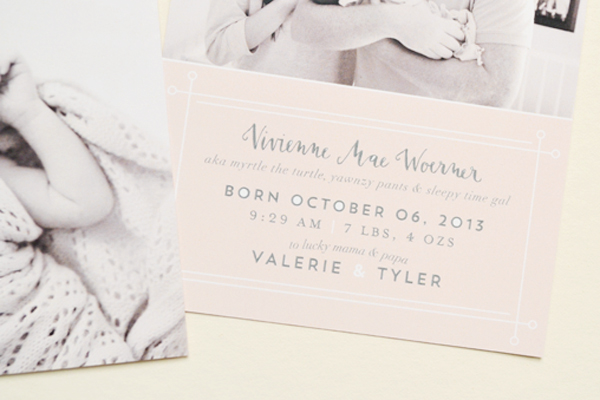
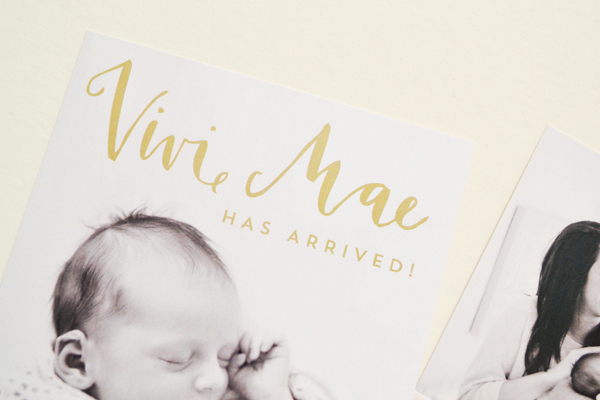
Happy Monday everyone! For those of you not enjoying a long weekend, I thought I’d start the week with these beautiful peach and gold baby announcements from Val Marie Paper! After welcoming her first child – an adorable daughter named Vivienne Mae – Valerie drew inspiration from gold envelope liners for the birth announcements. Valerie made sure to include Vivi’s stats and a photo of the happy new family of three while also conveying Vivi’s nickname to friends and family. So sweet!

Peach-Gold-Girl-Baby-Announcements-Val-Marie-Paper

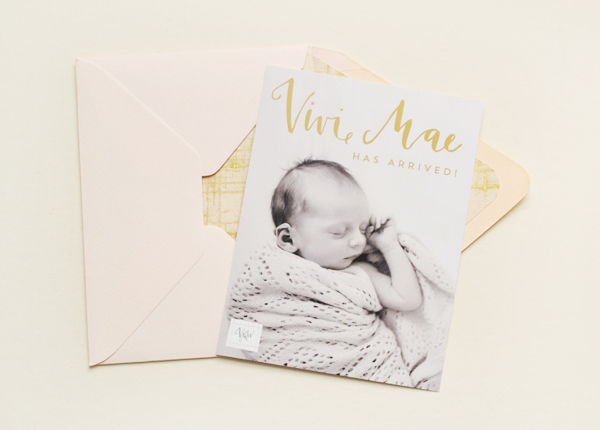
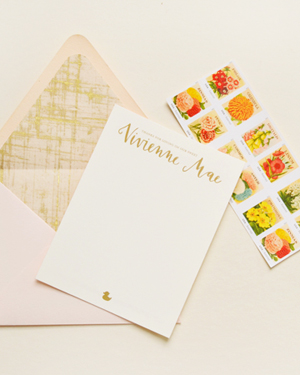
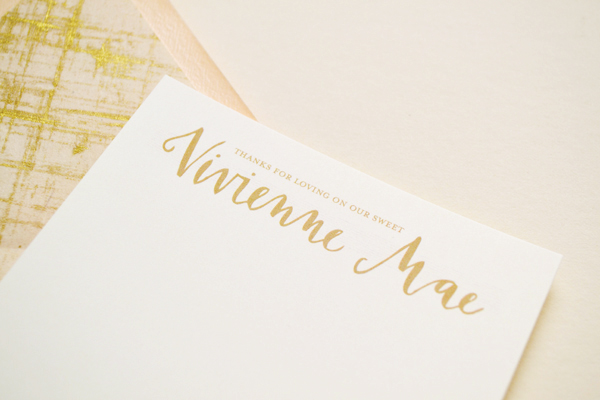
From Valerie: As a designer, I had been eyeing some beautiful envelope liners from Paper Source and knew they would be perfect for Vivi’s peach and gold color palette. From there, I teamed up with Katherine Holly to calligraph Vivi’s name. We wanted to incorporate a few fun aspects knowing many of our friends and family had met Vivi before they received the announcements. We included some of Vivi’s nicknames during the first few weeks. She has even more now!

Peach-Gold-Girl-Baby-Announcements-Val-Marie-Paper6

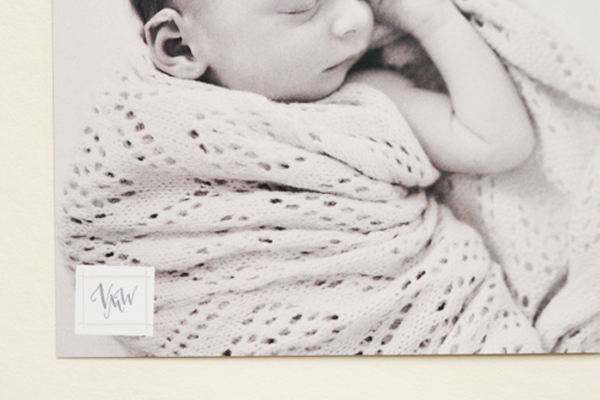
We also wanted to include a photo our new little family. I know when I see friends with new little ones, I always love to see photos of the parents too in their new element. And this being the year of Prince Edward, I thought it would be fun to add a little seal of Vivi’s initials that we can use on future designs. Not quite as fancy as the future king of England’s but fun nonetheless!

Peach-Gold-Girl-Baby-Announcements-Val-Marie-Paper2

Peach-Gold-Girl-Baby-Announcements-Val-Marie-Paper4

Peach-Gold-Girl-Baby-Announcements-Val-Marie-Paper3

Peach-Gold-Girl-Baby-Announcements-Val-Marie-Paper5

Part of our challenge was including her full name but letting people know what we would be calling her. Creating a two-sided card with her full name and info on the back seemed like the best solution for us!

Peach-Gold-Girl-Baby-Announcements-Val-Marie-Paper7Peach-Gold-Girl-Baby-Announcements-Val-Marie-Paper9

Peach-Gold-Girl-Baby-Announcements-Val-Marie-Paper8

Thanks Valerie!

Design: Val Marie Paper

Newborn Photo: Ell Photography

Calligraphy: Katherine Holly

Photo Credits: Val Marie Paper

Friday Happy Hour: Hot Mint Julep Toddy

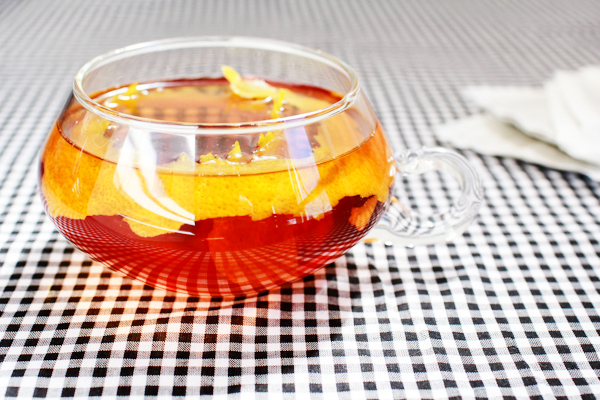
I like mint. I like bourbon. Unsurprisingly, I like mint and bourbon together in Mint Juleps. But Mint Juleps are icy summer drinks! And it’s cold outside.* Mint Juleps won’t do. But I also like Hot Toddies! But Hot Toddies usually don’t match mint and bourbon. So, being the genius that I am, I recently wondered: what if I made a Mint Julep, just hot? So I gave it a try. And it worked! A Hot Toddy that’s also a Mint Julep, or maybe a Mint Julep that’s also a Hot Toddy. Or, maybe names don’t matter as long as a drink tastes good and helps you feel good. Which this does: the Hot Mint Julep Toddy. – Andrew

OSBP-Signature-Cocktail-Recipe-Hot-Mint-Julep-Toddy-49

OSBP-Signature-Cocktail-Recipe-Card-Hot-Mint-Julep-Toddy-Shauna-Lynn-Illustration

Illustration by Shauna Lynn for Oh So Beautiful Paper

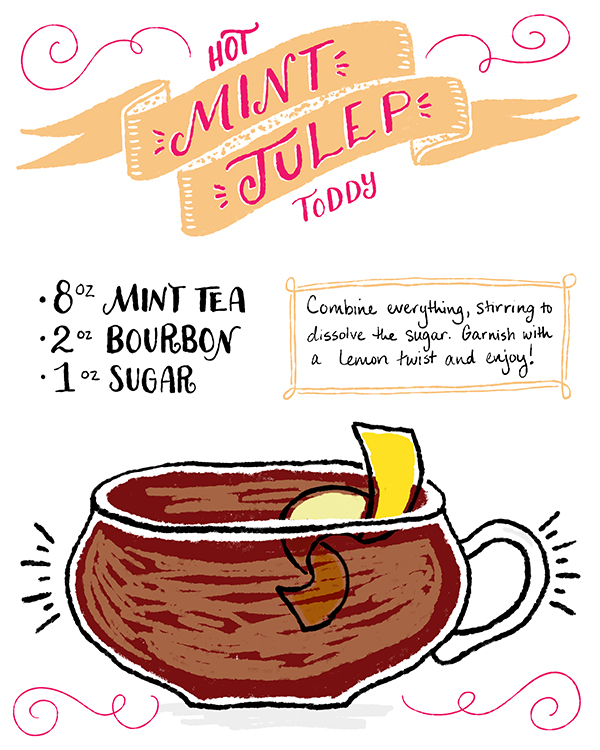
The Hot Mint Julep Toddy

8 oz Mint Tea
2 oz Bourbon
1 oz Sugar

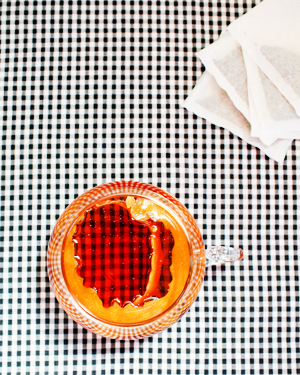
Combine everything, stirring to dissolve the sugar. Garnish with a lemon twist and enjoy!

OSBP-Signature-Cocktail-Recipe-Hot-Mint-Julep-Toddy-12

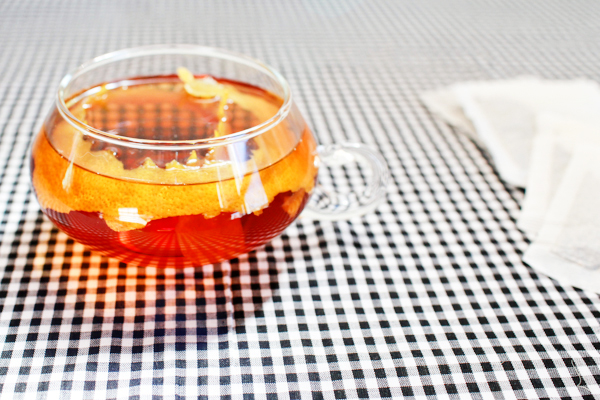
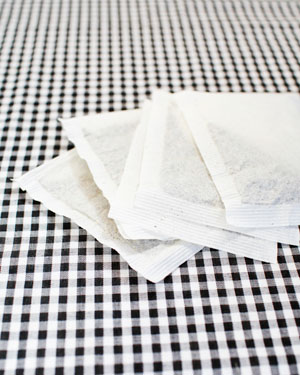
Cool, vegetal mint and rich, oaky bourbon are perfect together, hot or cold, as this Toddy demonstrates. It has all of the delicious smoothness of the Mint Julep but with the soothing warmth of a Toddy, perfect for this gloomy winter we’ve been having. Just make sure to use a 100% mint tea, like a Moroccan mint. A black tea with mint will have an entirely different flavor and pack a caffeine punch. Neither of which would be totally undesirable! But it would make for a different drink, probably worth an experiment or two, that we’d have to write about in a different post. Maybe next fall…

OSBP-Signature-Cocktail-Recipe-Hot-Mint-Julep-Toddy-20OSBP-Signature-Cocktail-Recipe-Hot-Mint-Julep-Toddy-31

And yeah, there’s no lemon garnish in a Mint Julep, so I confess to taking a slight liberty in translating the sacred Mint Julep into Hot Toddy form. I mean, it’s not a Hot Toddy without some lemon, right? I find that the lemon oils from the zest really help bind all the flavors together. Feel free to omit if that’s not your cup of tea you’re not a fan.

Photo Credits: Nole Garey for Oh So Beautiful Paper

* More accurately, it’s chilly outside. DC has been seeing weather in the 40s and 50s since that polar vortex went away. It’s basically a gloomy March outside right now. Make up your mind, nature!

Happy Weekend!

Happy Friday everyone! I’m heading out a bit early this week – I have a big week ahead of me coming up: I’m returning to Alt Summit in Salt Lake City, and as a speaker for the first time! Are any of you going? If so, I hope you’ll come say hello! I’ll be hosting a roundtable discussion on Thursday afternoon and again on Friday morning. I’m so excited! But there’s also plenty of things to do before I hop on a plane Wednesday morning, so in the meantime…

Alt-SLC-2014

Photo by me via Instagram

…a few links for your weekend!

This week on Oh So Beautiful Paper:

Check back soon for this week’s cocktail! I hope you all have a wonderful weekend, and I’ll see you back here next week! xoxo

DIY Tutorial: Tropical Invitation Suite + Fabric Envelope

This week we’re fighting off winter blues with a fun and colorful tropical inspired invitation suite! The best part of this design? The awesome fabric inner envelope. As soon as we stumbled on this adorable tutorial on over on Martha Stewart, we were hooked and knew that we need to incorporate the technique into a DIY invitation suite! – Bailey and Emma of Antiquaria

DIY Tutorial: Tropical Invitation Suite + Fabric Envelope by Antiquaria for Oh So Beautiful Paper

DIY Tutorial: Tropical Invitation Suite + Fabric Envelope by Antiquaria for Oh So Beautiful Paper

DIY Tutorial: Tropical Invitation Suite + Fabric Envelope by Antiquaria for Oh So Beautiful Paper

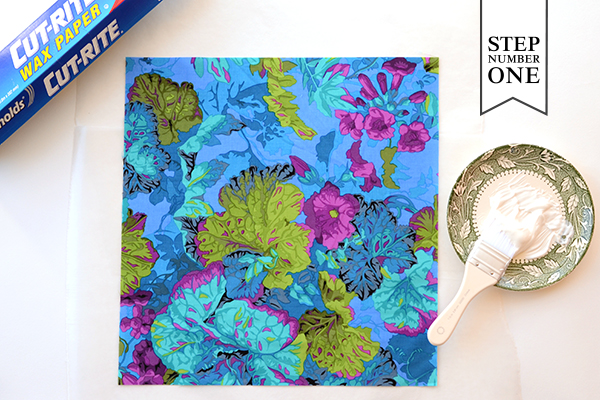
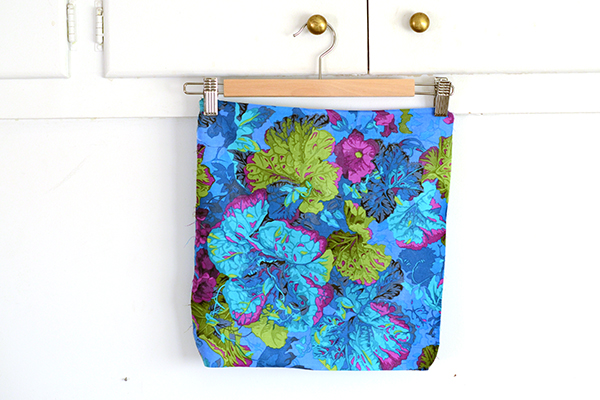
Step One: Over a piece of wax paper, thinly coat a piece of fabric measuring 13.5″ x 14″ with fabric decoupage on front and back. Once both sides are covered, hang the fabric from a pant hanger until dry (see below).

DIY Tutorial: Tropical Invitation Suite + Fabric Envelope by Antiquaria for Oh So Beautiful Paper

DIY Tutorial: Tropical Invitation Suite + Fabric Envelope by Antiquaria for Oh So Beautiful Paper

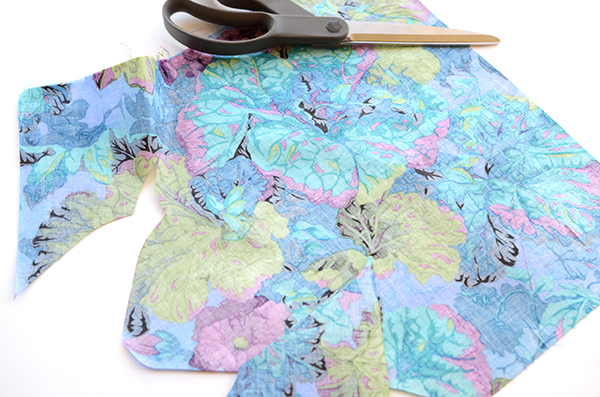
Step Two: Once the fabric is dry, trace an A7 envelope template on the “wrong” side of the fabric with a marker. Using a pair of very sharp fabric scissors, carefully cut out the envelope along the line.

DIY Tutorial: Tropical Invitation Suite + Fabric Envelope by Antiquaria for Oh So Beautiful Paper

DIY Tutorial: Tropical Invitation Suite + Fabric Envelope by Antiquaria for Oh So Beautiful Paper

Step Three: Now you’ll assemble the envelope. Place a sheet of wax paper approximately 7″ wide in the middle and fold the side flaps over it. Apply decoupage to the lower portion of the side flaps as shown above. Fold up the bottom flap to adhere it to the sides. Paint a thin coat of decoupage along the seams to seal the envelope closed (shown below).

DIY Tutorial: Tropical Invitation Suite + Fabric Envelope by Antiquaria for Oh So Beautiful Paper

DIY Tutorial: Tropical Invitation Suite + Fabric Envelope by Antiquaria for Oh So Beautiful Paper

Step Four: Next, you’ll emboss the invitation piece. Place your fig A7 card on a stable and firm surface. Ink your invitation stamp (we used our Vintage Calligraphy Invitation stamp) and center it over the card. When ready, press the stamp down with moderate pressure to make the print. Lift the stamp off and quickly move on to adding your embossing powder.

Once you’ve made your print, immediately cover it with embossing powder by sprinkling it across the card. Shift the powder around until you have covered the entire image. Now, you will pour the excess powder off of the card onto a scrap piece of paper so that you can reuse it for future prints. Heat set the print, using an embossing heat tool. You will be able to see the powder melt into an opaque and solid color when it’s done. For more information about how to emboss using stamps, please watch this instructional video.

Note: One key thing about embossing is that it is wise to try to closely match your ink color with your powder color. By doing this, you will get much more crisp and opaque results. For example, we used a white pad with white embossing powder on this invitation.

DIY Tutorial: Tropical Invitation Suite + Fabric Envelope by Antiquaria for Oh So Beautiful Paper

Step Five: Next, you’ll stamp your reply postcard on a 4″ x 6″ cream card. We used our Calligraphy Accent Reply Postcard stamp with eggplant ink.

DIY Tutorial: Tropical Invitation Suite + Fabric Envelope by Antiquaria for Oh So Beautiful Paper

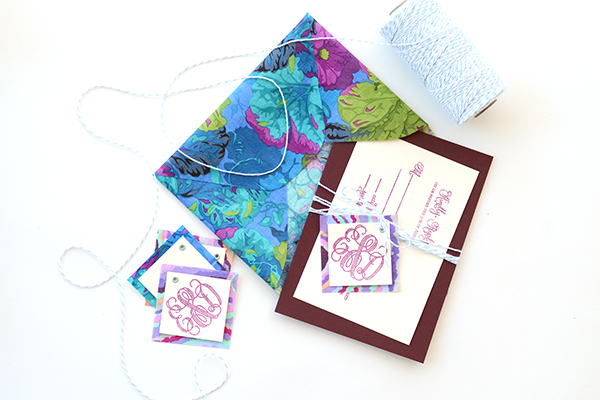
Step Six: There’s no reason to waste the scraps from cutting out the envelopes! We cut them into little 2.5″ squares to use with our monogram tags! The paper tag (in front) is a 2″ square. Once you have both squares cut, layer them on top of one another and punch a hole in the top center of the diamond. Insert a 1/8″ grommet into the hole so that the two pieces hold together.

Stamp your monogram stamp (we used our Antique Monogram stamp) on the tag with the same eggplant stamp pad as we used on the reply postcard.

DIY Tutorial: Tropical Invitation Suite + Fabric Envelope by Antiquaria for Oh So Beautiful Paper

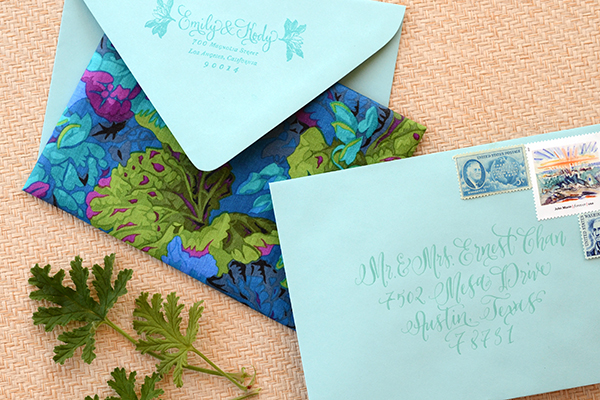
Step Seven: Now all that’s left it to put it all together! We stamped the return address and addressed the outer envelope with turquoise ink for a tonal look. We also wrapped all of the pieces together with teal bakers twine to tie it all together!

DIY Tutorial: Tropical Invitation Suite + Fabric Envelope by Antiquaria for Oh So Beautiful Paper

DIY Tutorial: Tropical Invitation Suite + Fabric Envelope by Antiquaria for Oh So Beautiful Paper

Materials

Vintage Calligraphy Invitation Stamp

Calligraphy Accent Reply Postcard Stamp

Antique Monogram Stamp

Fabric cut into 13.5″ x 14″ pieces

Rotary cutter, scissors, and self healing mat

Wax Paper

Decoupage, Paint Brushes, and Pant Hanger

Envelope Templates

A7 Cards in fig

A7.5 Envelopes in Pool

Cream Cardstock-cut into 4″ x 6″ and 2″ x 2″ pieces

Stamp pads in white, eggplant and turquoise

Embossing Powder, Embossing Heat Tool

1/8″ grommets

Crop-o-dile Tool for hole punching and grommet installation

Bakers Twine in Teal

Photography: Antiquaria for Oh So Beautiful Paper