Illustrated Printable Thanksgiving Dinner Menu

It’s Thanksgiving week! Thanksgiving is one of my favorite holidays (I’m generally a fan of any holiday that involves gathering around a table full of food), and this year I wanted to offer a little something to help make this year’s Thanksgiving dinner even more enjoyable. So before we all go running off to spend the long weekend with family and friends, I’m teaming up with Courtney of Swiss Cottage Designs to create this printable Thanksgiving dinner menu full of Courtney’s beautiful illustrations!

Printable Thanksgiving Dinner Menu

Printable Thanksgiving Dinner Menu

The menus feature illustrations of some of our favorite fall foods and ingredients, including potatoes, carrots, and butternut squash – all essential ingredients of any Thanksgiving feast. Oh, and pie – because Thanksgiving dinner just isn’t complete without at least one pie! Just grab the printable template right here, print on letter size card stock, and use a paper cutter to trim each menu down to size along the provided crop marks. The black and white menu can be printed on card stock of any color to match any Thanksgiving table, but I’m really loving the black and white vibe!

Printable Thanksgiving Dinner Menu

We left a bit of space at the top of each 5″ x 7″ menu so that you could write the names of each dinner guest at the top – making the menus double as place cards! I used my favorite extra fine gold Pen-touch marker to hand letter each name at the top. Or just leave that space blank for more informal seating!

Printable Thanksgiving Dinner Menu

Printable Thanksgiving Dinner Menu

You can write out your menu by hand or use an editing program (I used Adobe Illustrator) to add in your own text. These menus definitely aren’t meant to be fussy, so use whatever method works for you!

Printable Thanksgiving Dinner Menu

Printable Thanksgiving Dinner Menu

Download the printable Thanksgiving dinner menu template right here!

Safe travels everyone – and have a wonderful Thanksgiving!

All printable artwork © 2016 Swiss Cottage Designs created exclusively for Oh So Beautiful Paper. All artwork is made available for personal use only and may not be altered, reproduced, or sold in any way. By downloading the artwork you agree to the terms of use.

Photos by Nole Garey for Oh So Beautiful Paper

Happy Weekend!

Well, I meant to write my usual weekly round up last Friday, but we decided to take advantage of the Veterans Day weekend and escape DC for a few days at my dad’s house in New Jersey (boy, did we need it!). But honestly, despite my intentions I’m not sure I actually could have written my usual post last week. I try to keep a positive tone here, and I think I needed more time to wrap my head around everything that has happened in our country in the last couple of weeks. I rarely discuss political issues here, but I couldn’t move forward without acknowledging that this has been a very difficult time for many of us, myself included. I posted this on Instagram the day after the election, when I felt the need to be quiet, to listen and process. Two weeks later, I’m still feeling pretty unsettled, and I want to send a giant virtual hug to everyone out there who might be feeling the same way. But life moves forward and this too shall pass, and in the meantime I’ll do my best to bring a smile to your face by sharing beautiful stationery that helps celebrate life’s special occasions and encourages us to connect with each other in a meaningful way.

Anne Robin Calligraphy / Throw Kindness Around Like Confetti

Image (and print) by Anne Robin Calligraphy via Instagram

A few links for your weekend:

Recently on Oh So Beautiful Paper:

That’s it for us this week! I’ll see you back here next week! xoxo

Behind the Stationery: Idlewild Co.

For this installment of Behind the Stationery, I’m thrilled to bring you a former fellow Brooklynite, Katie Gastley of Idlewild Co. on the blog sharing about her first wholesale order, what prompted a transition to a Florida office, and how she hand paints every design (!) that Idlewild produces. Cheers and take it away, Katie! –Megan

katie_painting

Ever since I can remember, I have always loved making things. Anything. Be it paintings, jewelry, ceramics, recipes, I’m in my prime when I’m creating. I moved from Pennsylvania to Brooklyn in 2002 to attend Pratt Institute, an Art and Architecture school focused on building a core fine art foundation; quite literally the perfect school for me! While refining all of my technical design skills that I use today to manufacture Idlewild Co.’s various products, I was also able to keep painting; something I found as more of a necessity to how I function rather than a hobby.

Behind the Stationery: Idlewild Co.

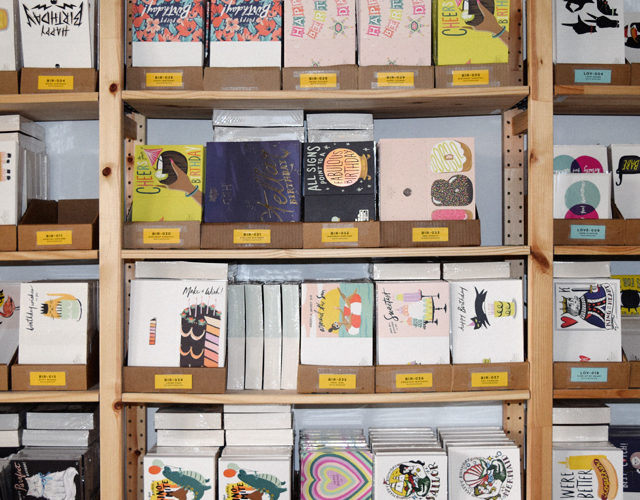
Upon graduation, I worked in various print and web design fields and built a small Etsy business on the side selling prints of my original paintings. I exhibited in my free time, selling my art prints in cafes and at various NYC craft festivals. One of my friends from college invited me to see her booth at the National Stationery Show; when I walked into the Javits Center and saw rows and rows of mega-creative-talent, and they were predominantly women-owned business… I was hyped! I knew I had found something special, and all of a sudden the direction of my side-business became a very focused goal. I was going to form a small collection of greeting cards, and apply for next year’s show.

Behind the Stationery: Idlewild Co.

At the time, I was working as a designer at Martha Stewart, another business run by smart and creative women (there’s a theme here…) and my nights were spent painting, printing, and packaging a small range of greeting cards and hand-bound notebooks to debut at the show. I knew a bit about selling through my experience at the local shows in New York, but figuring out my pricing and policies took quite a lot of work at the beginning.

Behind the Stationery: Idlewild Co.

I started the first batch of production with the only savings I had, and away I went to my first National Stationery Show booth built with the help of family and friends. My literal first sale was almost a disaster as I unknowingly applied NY State sales tax to a wholesale order. (Disclaimer: That is NOT how it works, but I was so thoroughly traumatized by the process of applying for a State Tax ID and wrapping my brain around its rules and guidelines, I was more than willing to hand over more than my fair share of taxes. Well, times have changed on that matter, my friend!) My buyer looked at me like I was an idiot and shared words that will probably forever echo in my mind: “Um, wholesale orders DO NOT pay tax.” Yeah, ok. Very shaky, but I had made my first sale, and it was quite a large one. Thankfully she looked past my rookie mistake – and they are still a current reseller of ours!

Behind the Stationery: Idlewild Co.

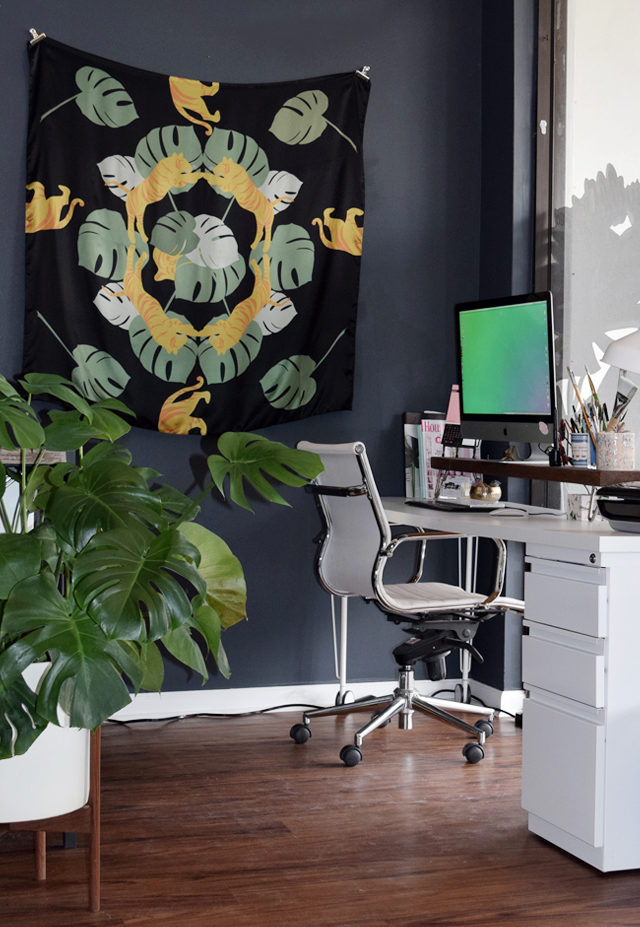
Running my business during the weekends out of my Brooklyn apartment became more and more difficult to manage during my already 50-hour long work week. I knew a change was in sight. It wasn’t possible to manage quitting my full-time job and running a hardly-profitable small business in the most expensive/greatest city in America, so my fiancé and I moved to the next-best place: the beach. He grew up in a small town on the Atlantic coast in Florida, and I was able to focus entirely on building my business.

Behind the Stationery: Idlewild Co.

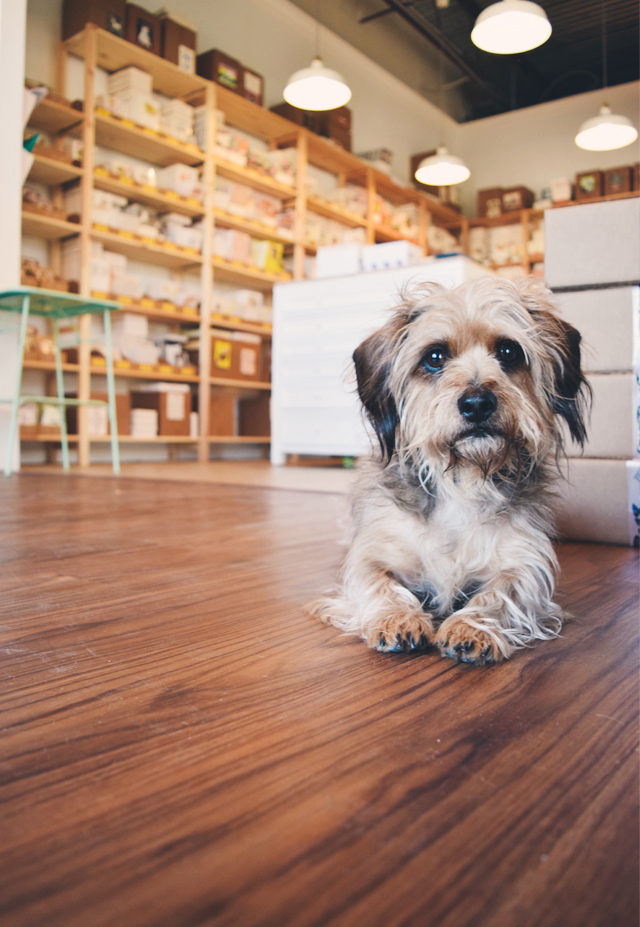
Progress was slow but steady and I was eventually able to afford a separate studio, then part time employees, and finally a full-time manager to oversee our wholesale partnerships, and studio manager to oversee our order fulfillment and inventory. With each step of growth I was able to allocate a little bit of the day-to-day “business” responsibilities to my employees, and devote more of my own time to creating new designs and prototyping new product categories.

Behind the Stationery: Idlewild Co.

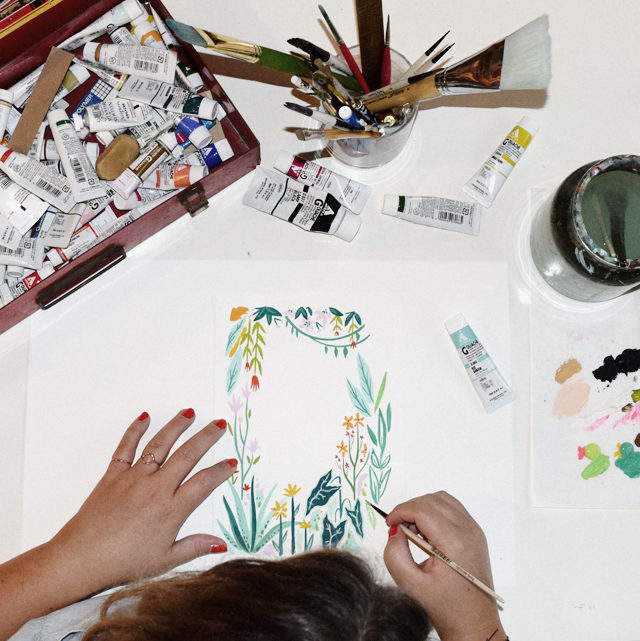
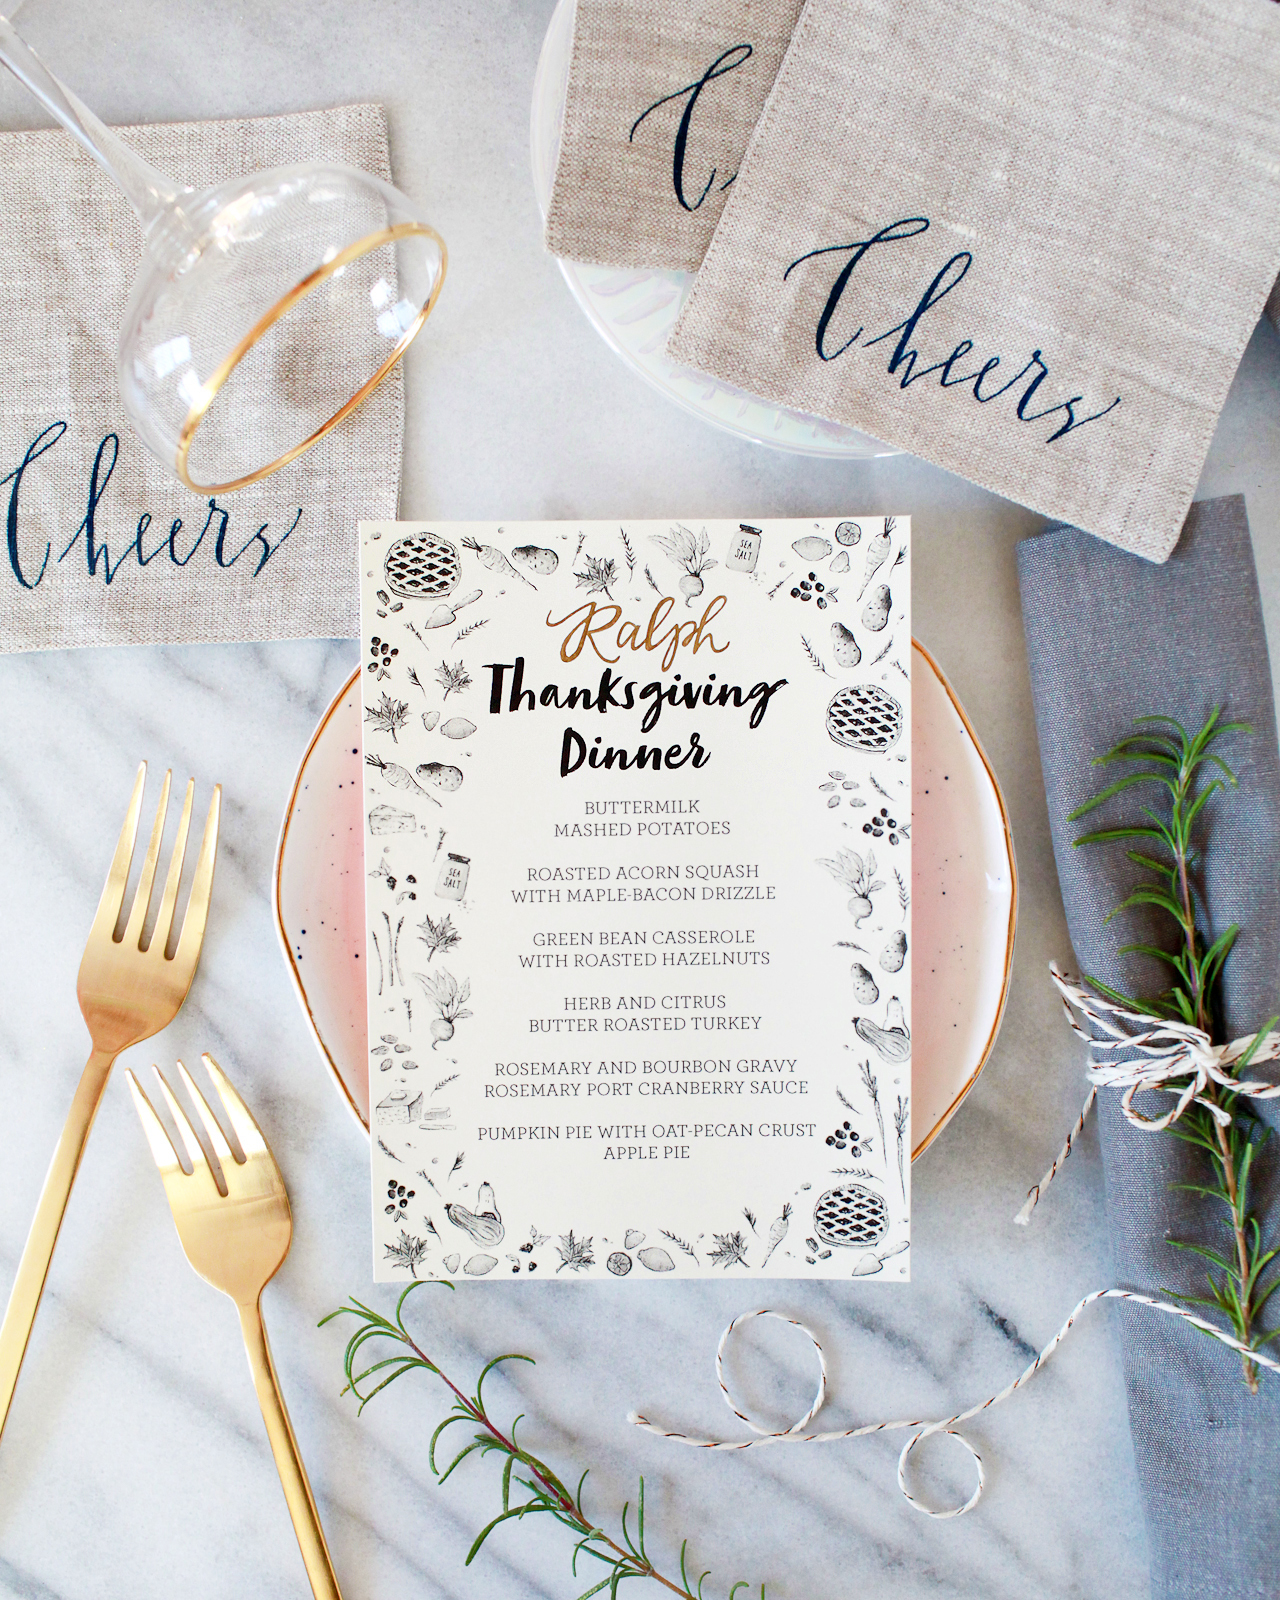
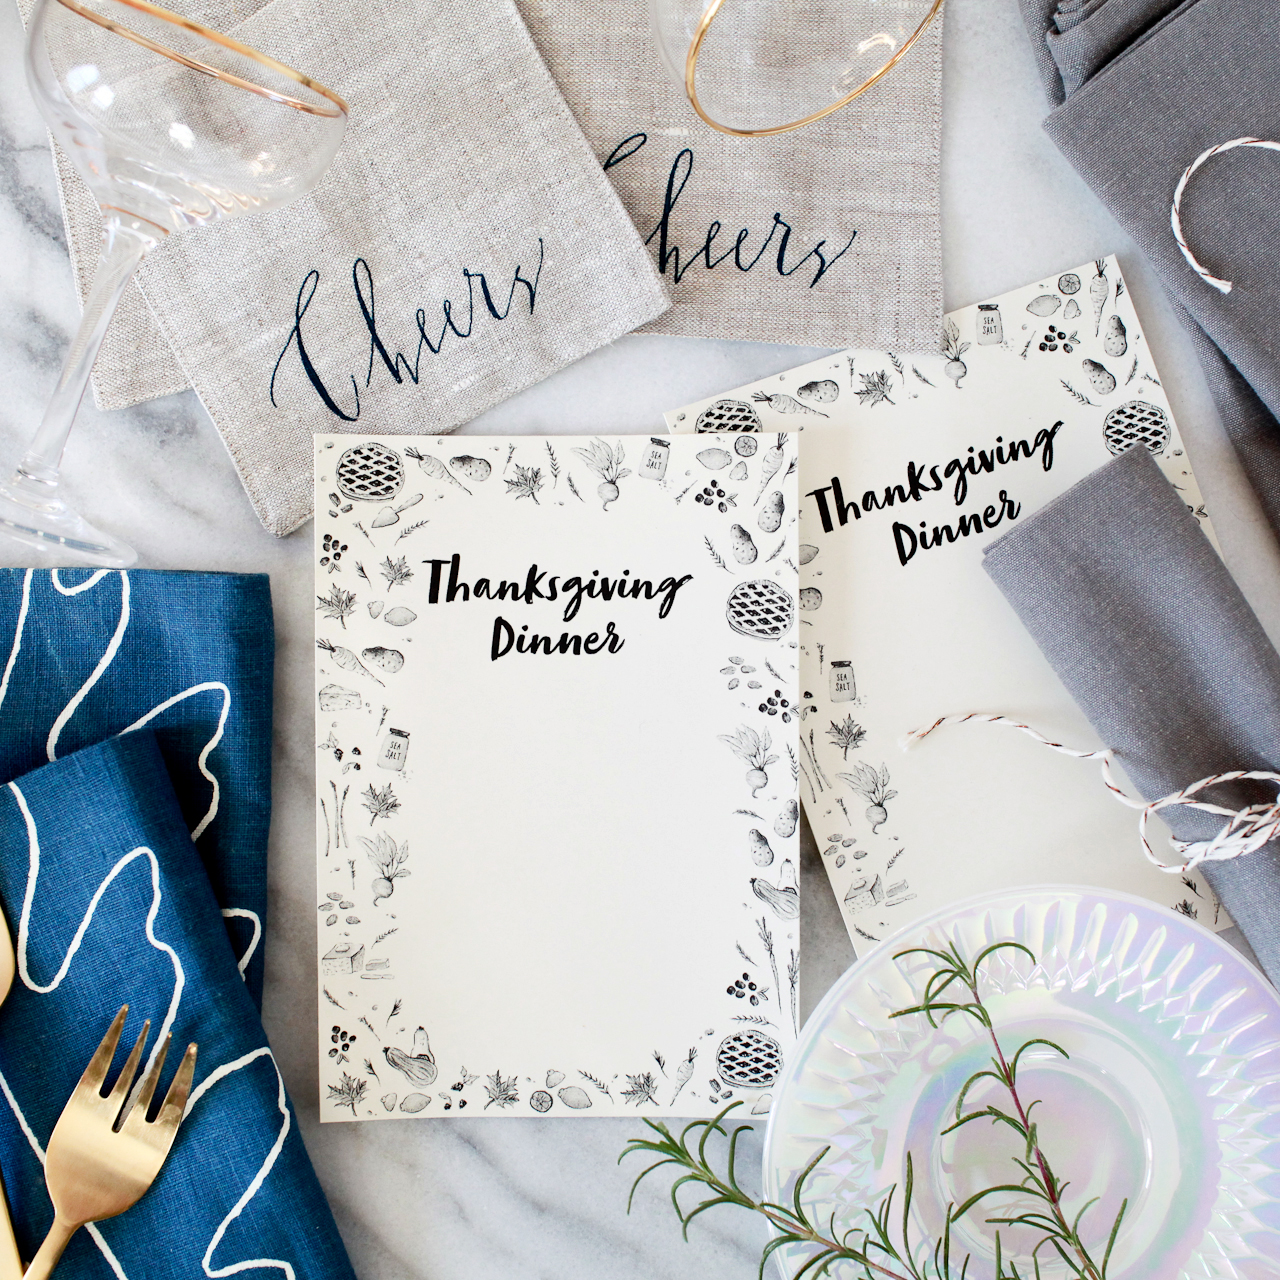
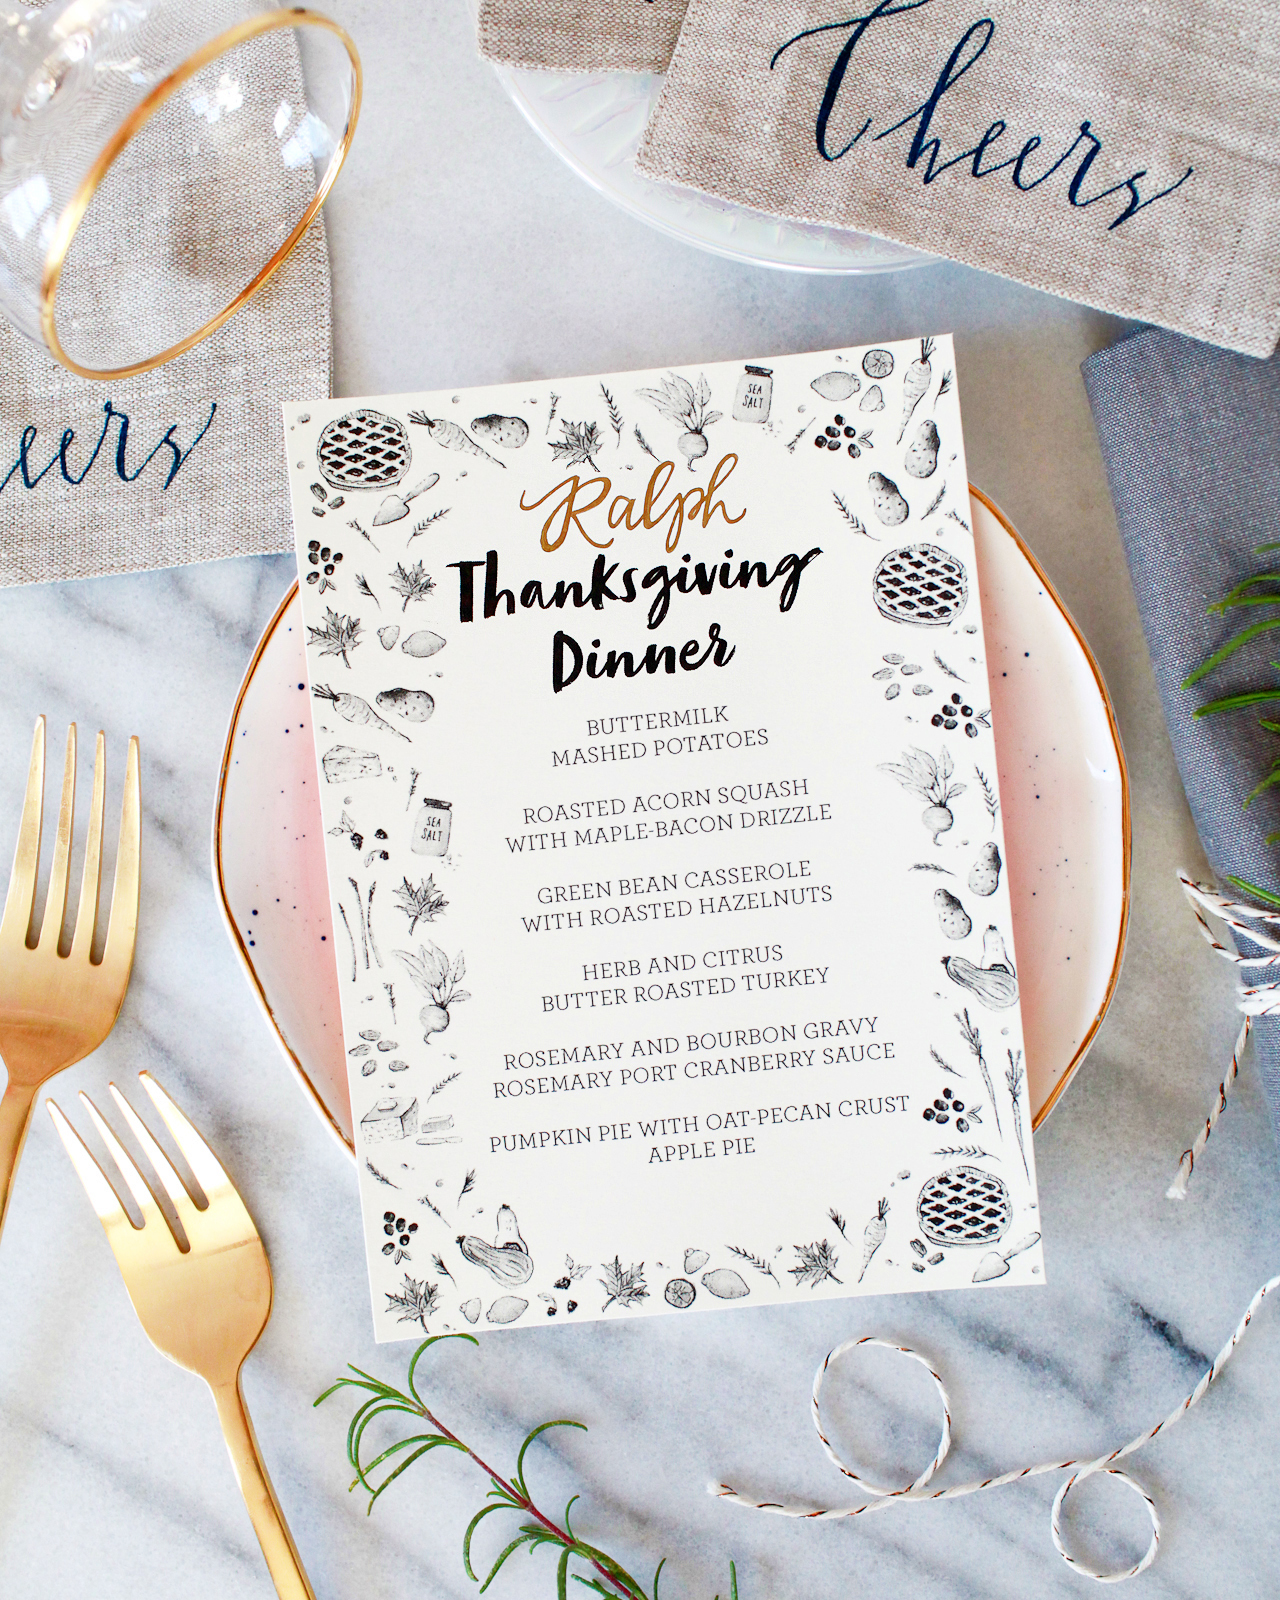
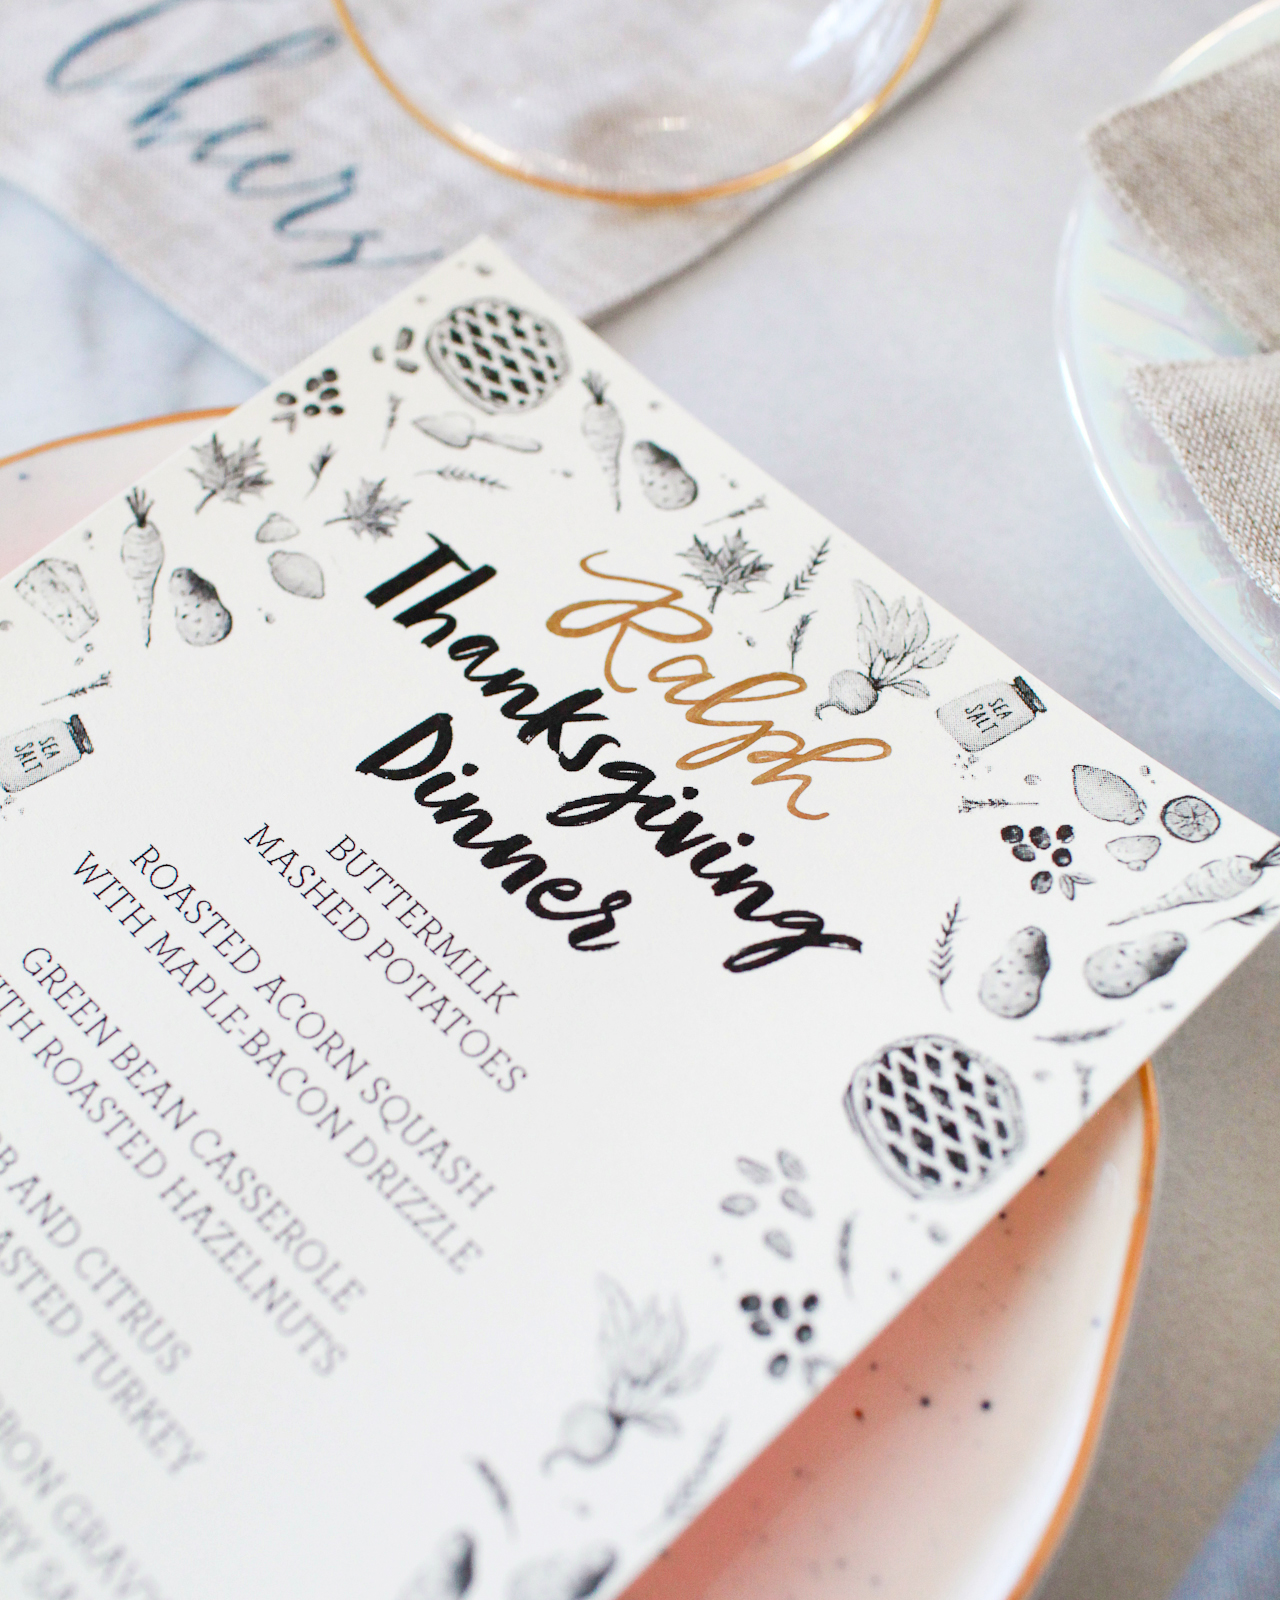
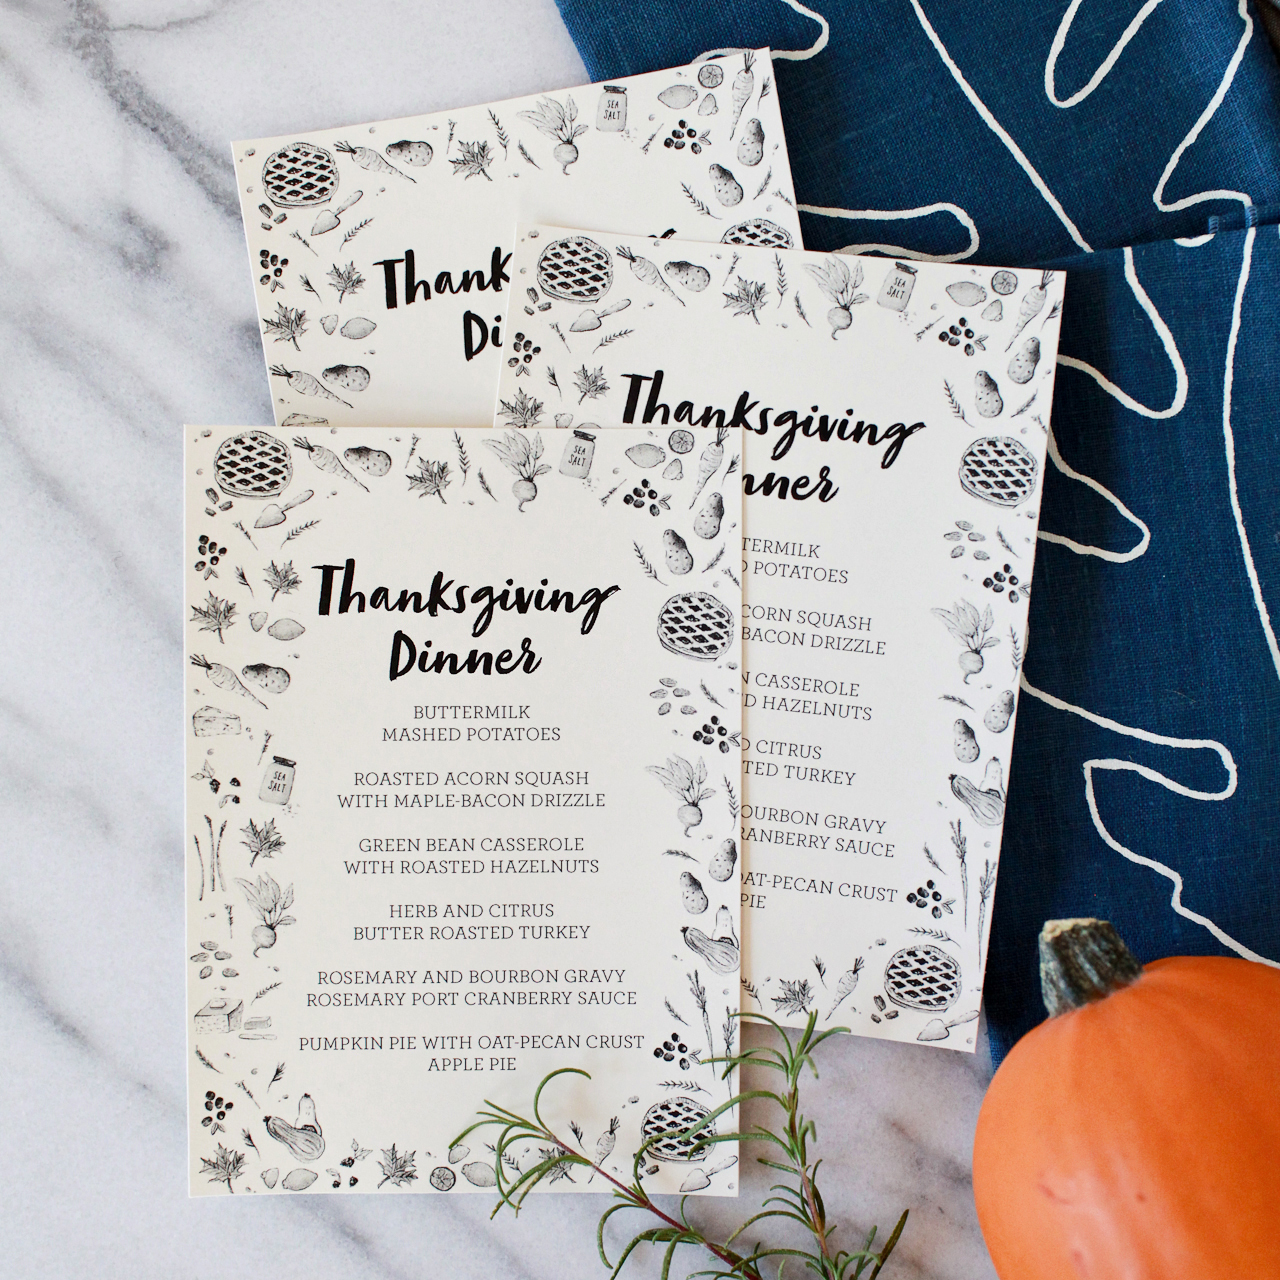
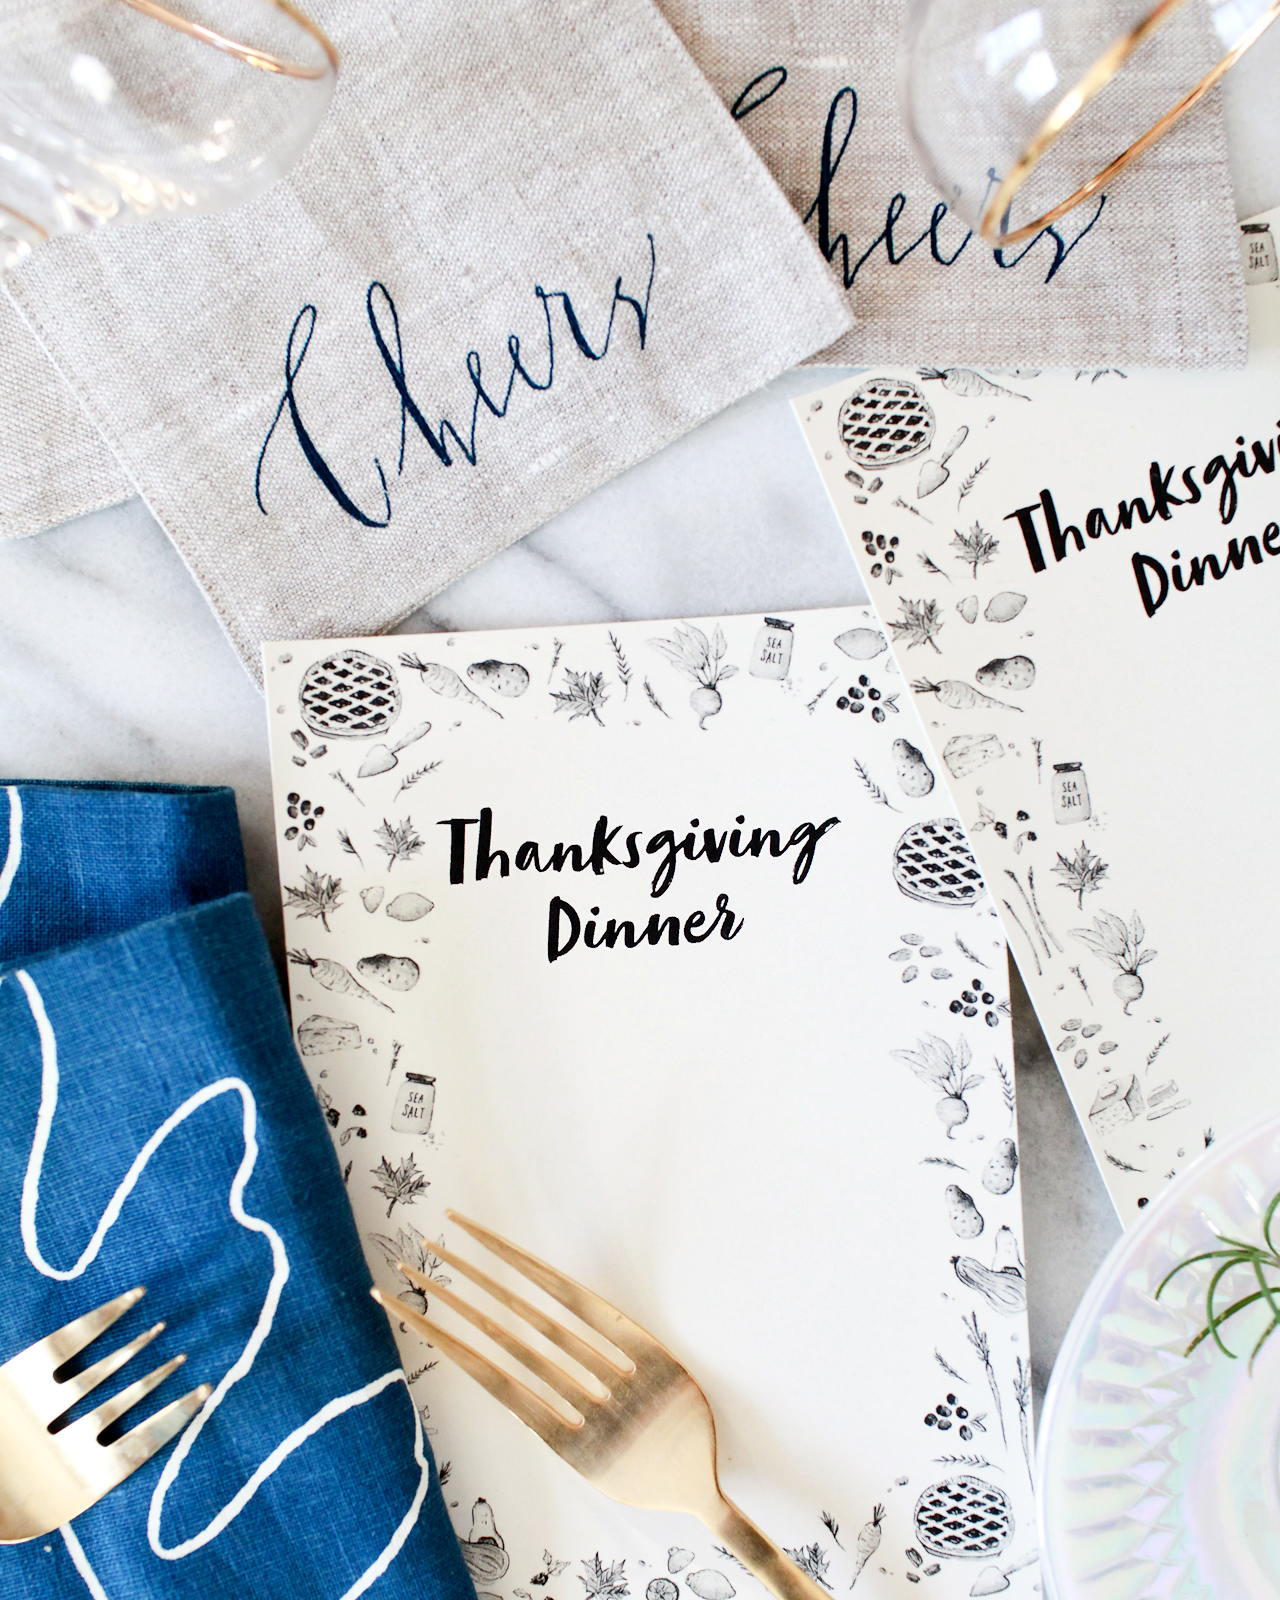
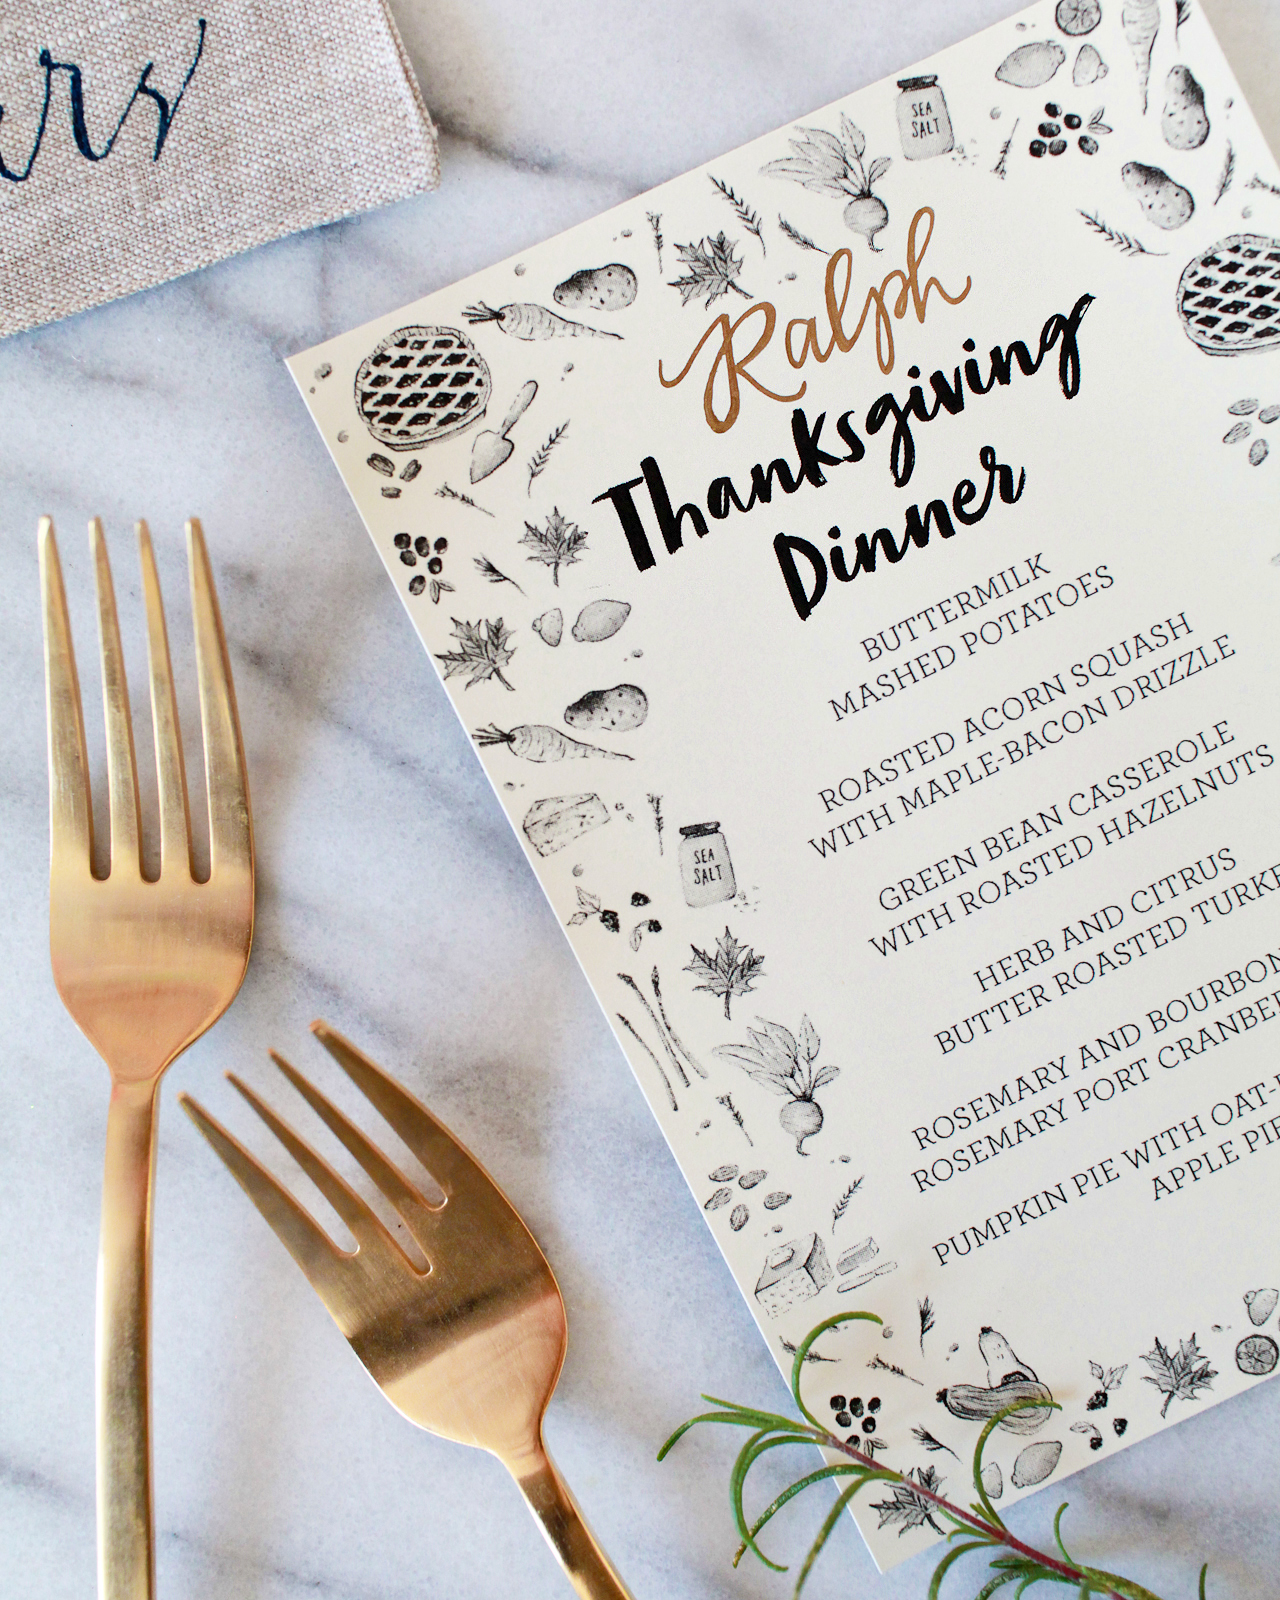
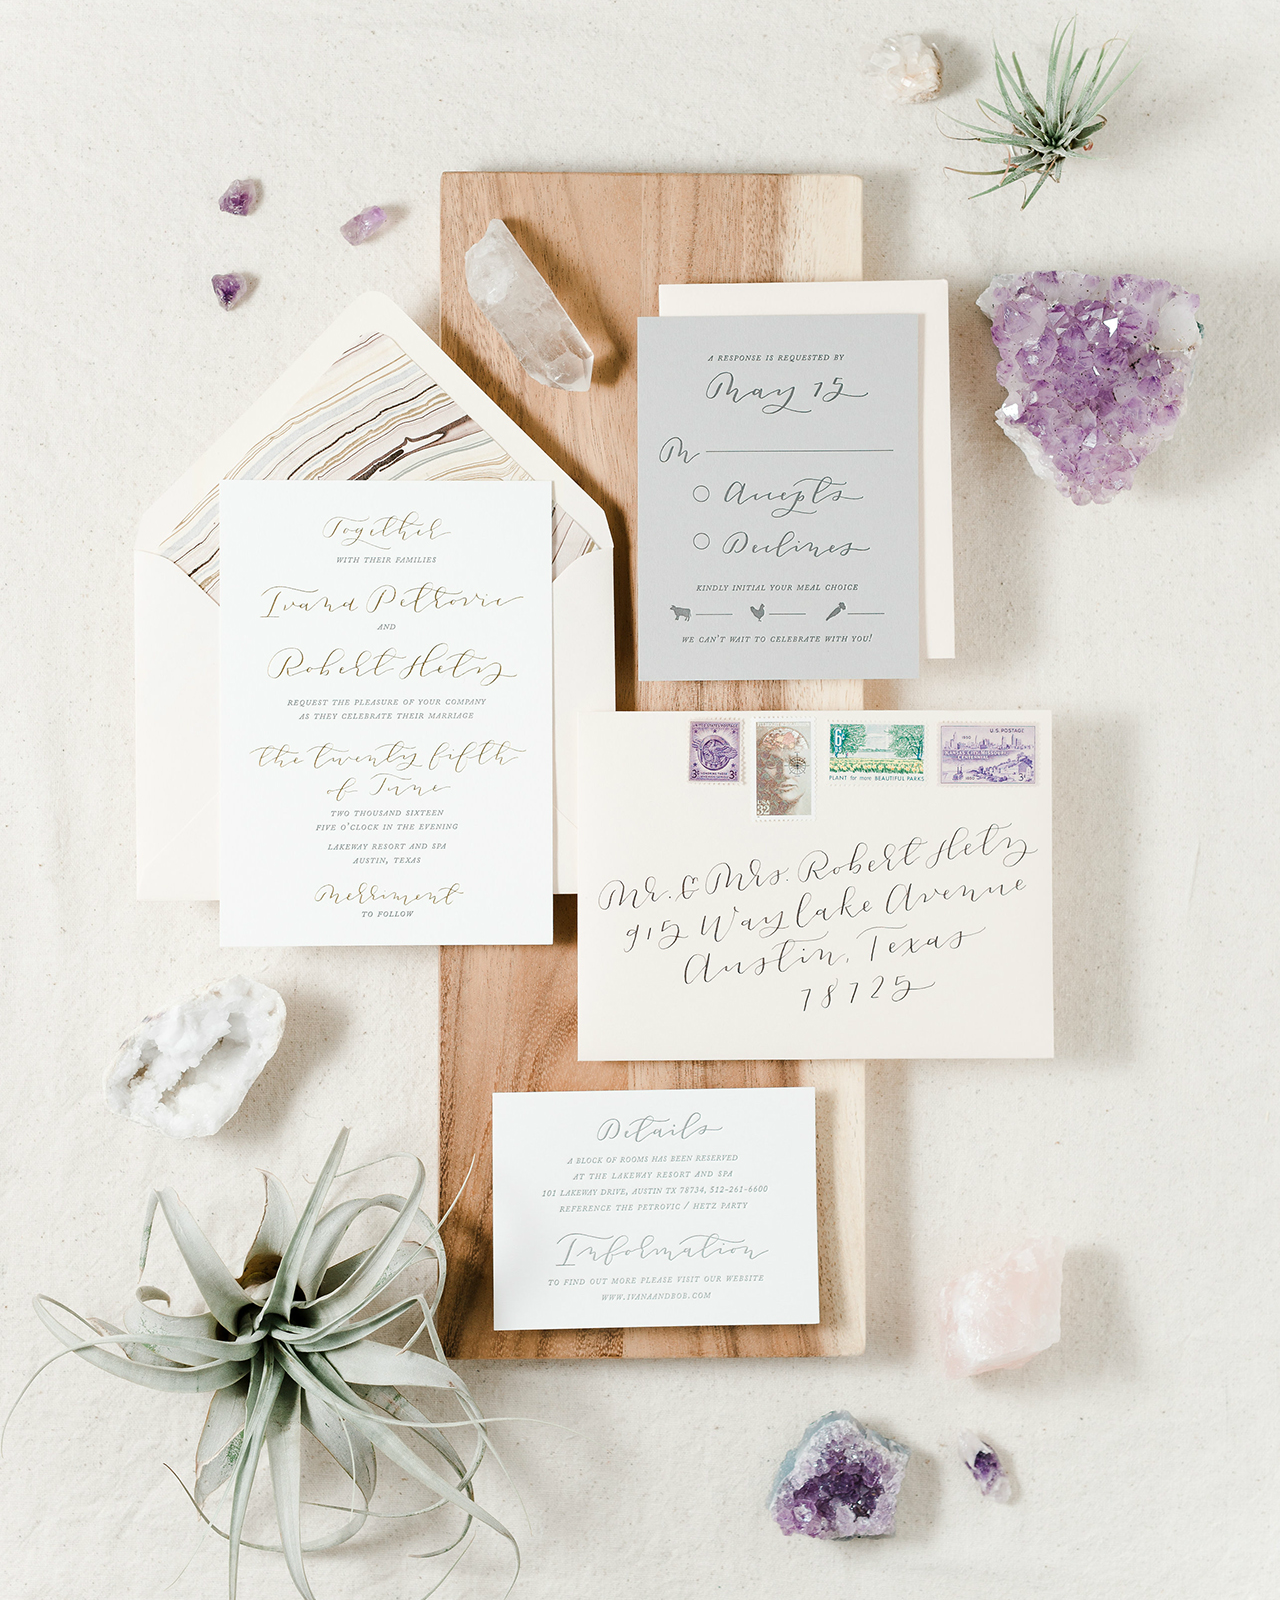
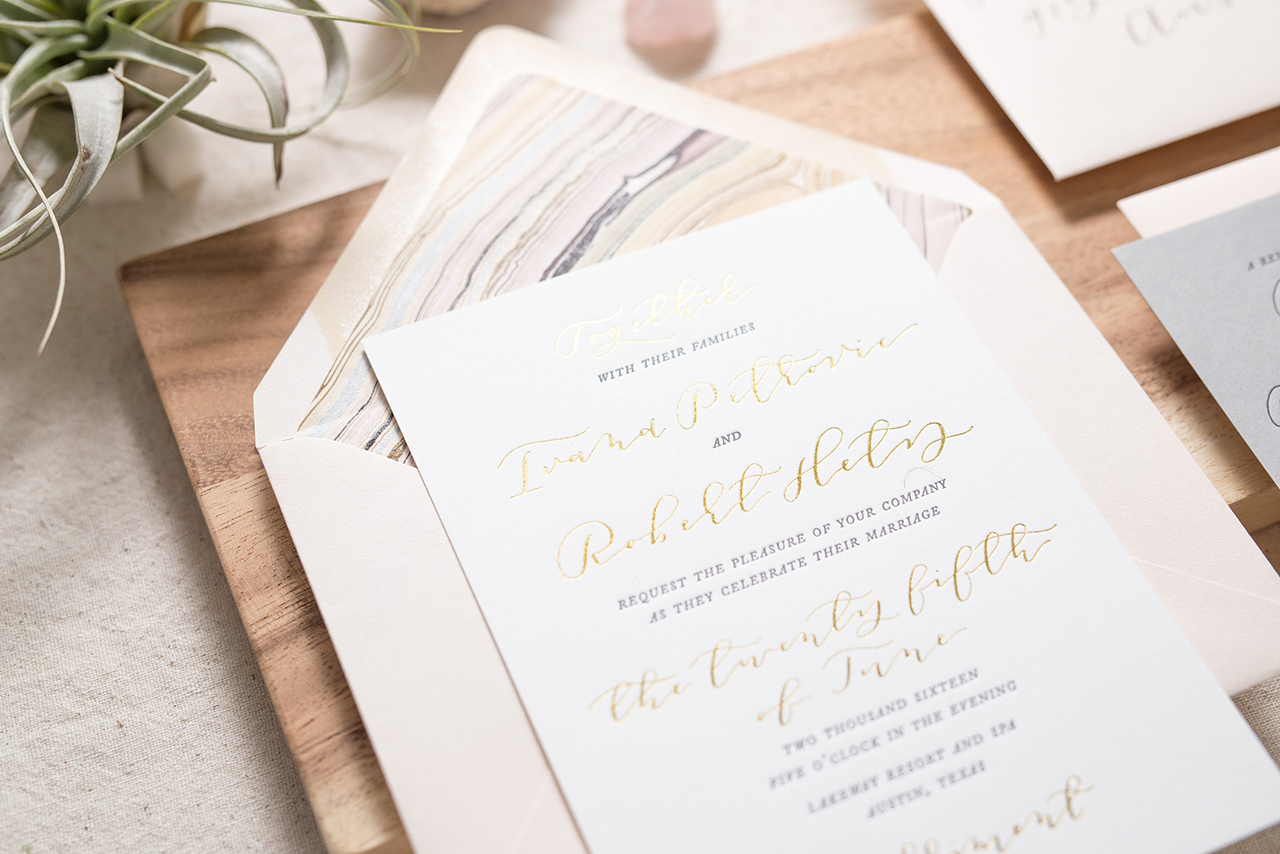
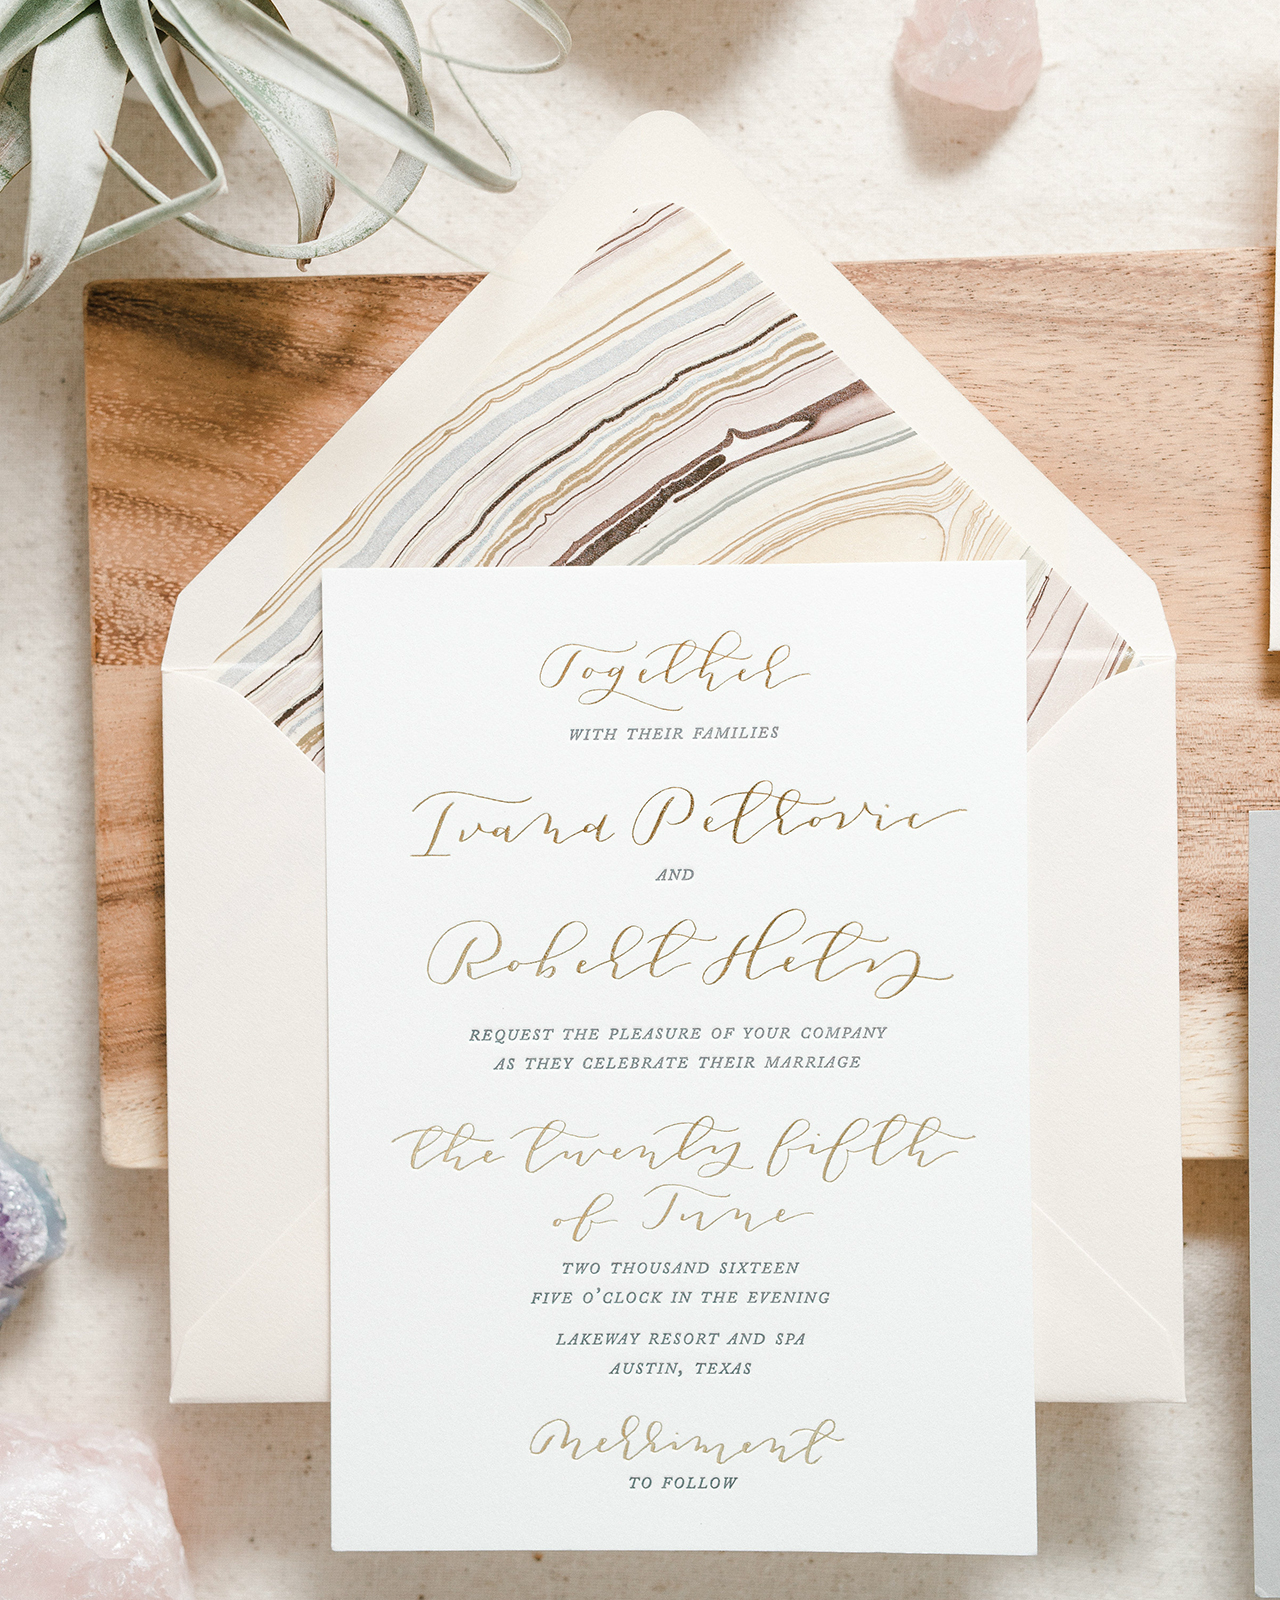
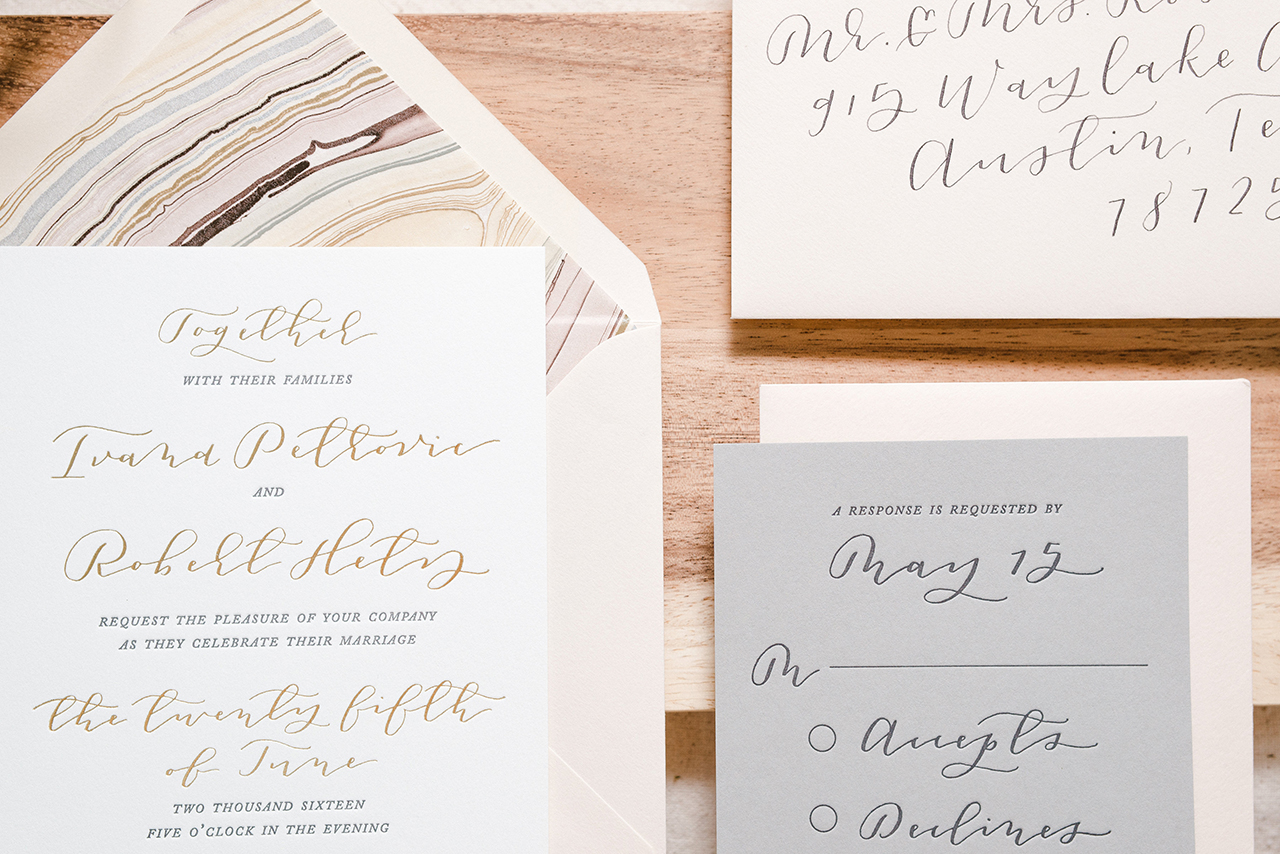
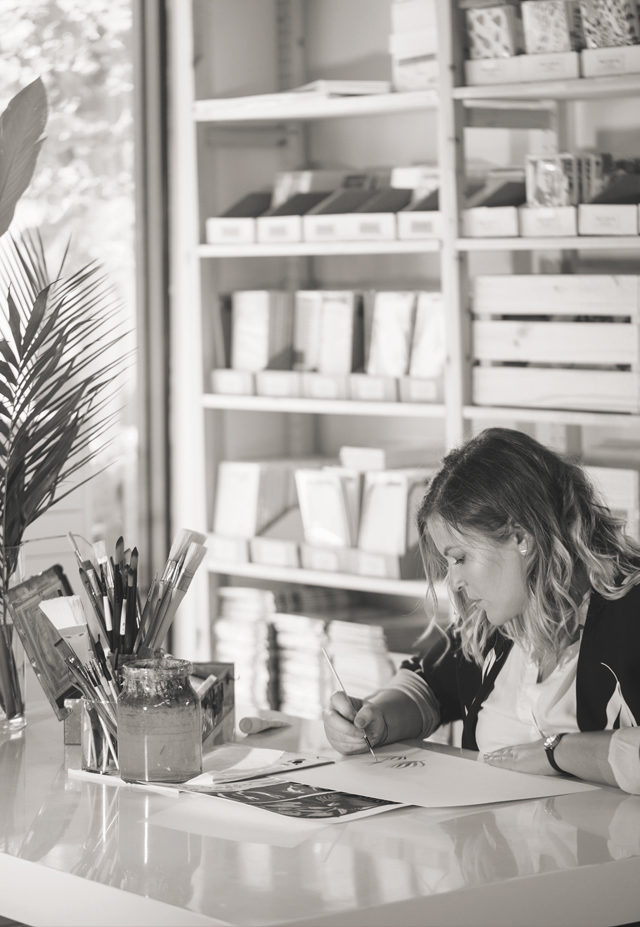
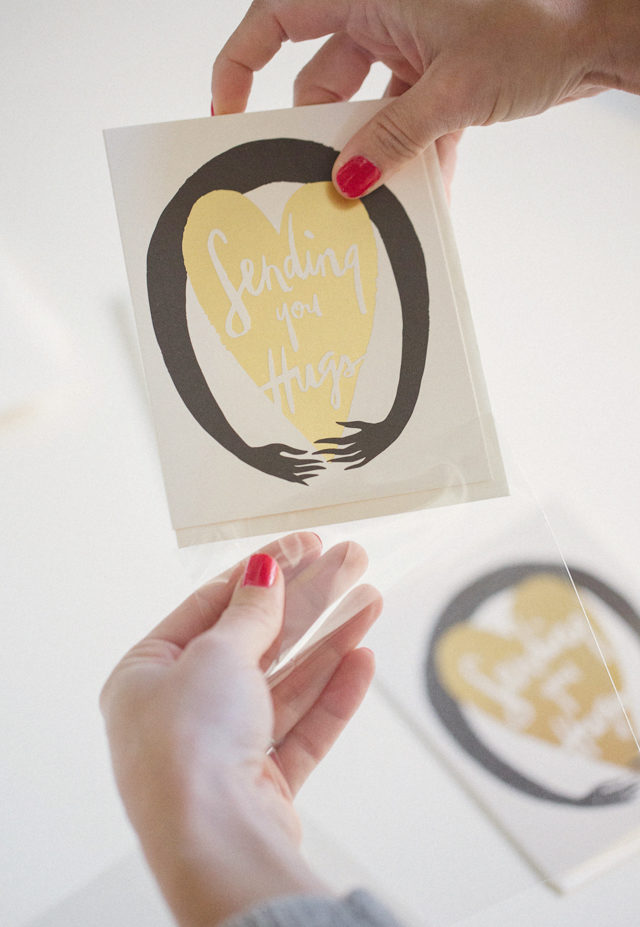
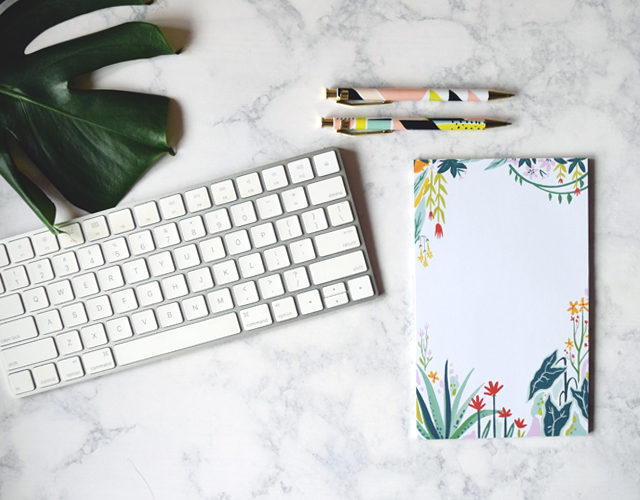
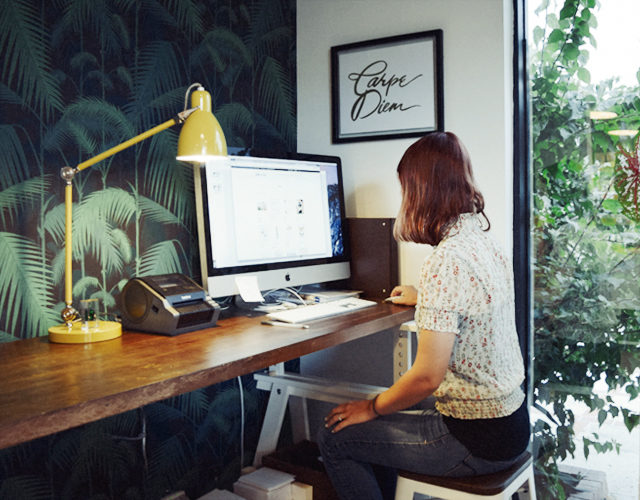
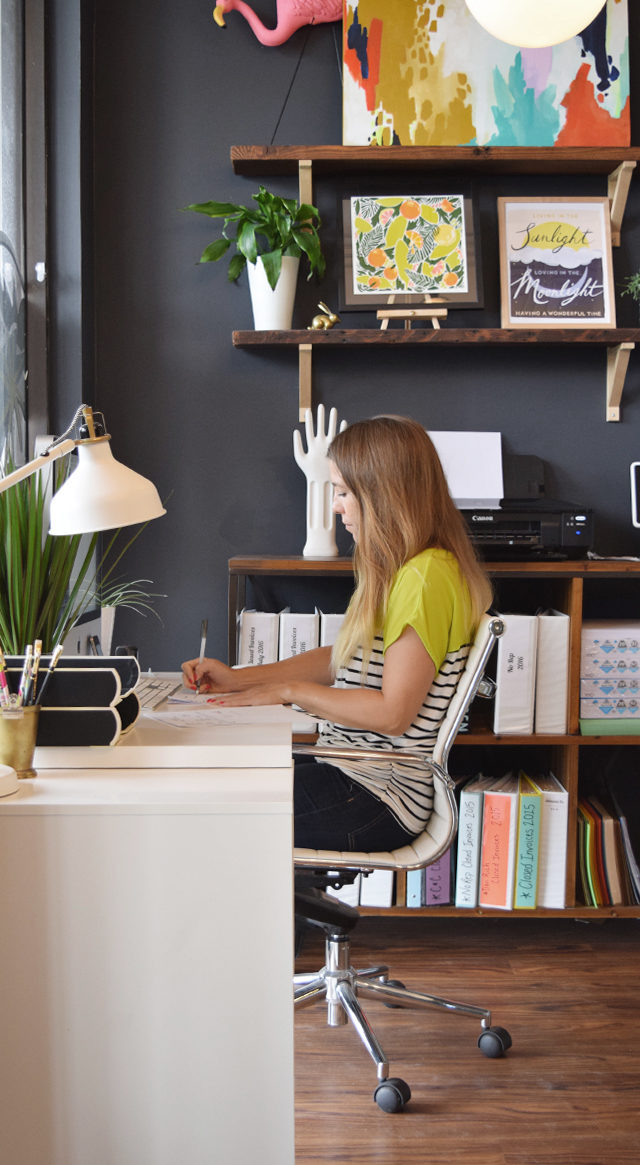
All of the designs at Idlewild Co. are created using my hand-painted artwork. Beginning with a sketch idea, I paint the final artwork and hand-lettering before scanning everything into the computer where any necessary tweaks are made, from color correcting to layout revising. After dropping the final artwork into specified mechanical files, they’re passed onto our local print partners for production. Most of our products contain a lot of color, so we use offset printing methods for the majority of our line. This gives us unlimited color options on press, which is important when replicating paintings.

Behind the Stationery: Idlewild Co.

We don’t have the bandwidth or physical space to print our products in-house, so it’s absolutely necessary (and invaluable) for us to have a local printer we can work hand-in-hand with on our particular method of production. After the items have been printed and trimmed to their respective specifications, the final pieces are returned to our studio for packaging and finishing – and eventually fulfillment via our retail website or wholesale distributions.

Behind the Stationery: Idlewild Co.

Currently, we’ve been expanding our line to include gift and accessory items; still based on our hand painted art. We’ve recently debuted our pen collections and enamel keychains, and are enjoying the challenge of working out the tricky details of manufacturing once you move to a 3-dimensional model. We’re currently in the process of planning a suite of notebooks that will debut at NYNOW in January.

Behind the Stationery: Idlewild Co.

It has now been 3 years since I moved from Brooklyn, and I’m thrilled at the company Idlewild has become. A never-ending creative outlet for my maker-focused mind, haven, and collaborative hub for local artists, and perhaps what I’m most proud of: a woman-owned and women-operated small business. The team of “Idle-Ladies” I have the pleasure of working with keep our engines running smoothly, wholesale orders processed efficiently, products packaged beautifully, and orders shipped timely. We’ll keep making cards for as long as people enjoy sending them!

Behind the Stationery: Idlewild Co.

All photos by Idlewild Co.

Romantic Blush and Gray Letterpress Calligraphy Wedding Invitations

These romantic blush and gray letterpress calligraphy wedding invitations from Laura of Paper & Honey were inspired by the natural elegance of Austin, Texas and the quintessential charm and simplicity of the wedding’s resort venue. The subtle blush and gray color palette is complemented by the gorgeous gold foil and gray letterpress printed text, vintage postage stamps, and timeless calligraphy details! We always love a fun envelope liner and these marbled envelope liners made from handmade paper have us swooning!

Romantic Blush and Gray Letterpress Calligraphy Wedding Invitations by Paper & Honey

From Laura: Working on Ivana and Bob’s invitation suite was a total dream! These two lived on opposite coasts for three years of their relationship to pursue their professional dreams — his of being a surgeon, hers of working for Google — and over the course of their long distance they learned to “love each other to the moon and back.” What an honor it was to help them craft an invitation suite worthy of helping them celebrate finally starting their lives together!

Romantic Blush and Gray Letterpress Calligraphy Wedding Invitations by Paper & Honey

Ivana and Bob married at the Lakeway Resort and Spa. With a wedding held in the rolling hills of Austin, Texas, just overlooking Lake Travis, we knew the paper had to convey the beauty and simplicity of the area. Elongated, sweeping calligraphy paired with a simple serif kept the design timeless and classic with a hint of whimsy. Everything was letterpress printed on delicious cotton paper, and metallic gold foil stamping elevates the invitation and provides a hint of sparkle. Gold foil always says romance to me! The RSVP card is one of my favorite parts — I love the contrast of the light gray paper, and the tiny food icons are too cute.

Romantic Blush and Gray Letterpress Calligraphy Wedding Invitations by Paper & Honey

Romantic Blush and Gray Letterpress Calligraphy Wedding Invitations by Paper & Honey

To wrap everything up, we added a pop of blush (one of Ivana’s wedding colors) through the euro flap envelopes, and an envelope liner made from handmade marbled paper. Handmade paper is the best; each piece is so unique and prettier than the last. Outer envelopes were addressed to guests with romantic calligraphy cohesive with the rest of the suite, and how else could we get them to friends and loved ones but with perfect vintage stamps.

Romantic Blush and Gray Letterpress Calligraphy Wedding Invitations by Paper & Honey

Romantic Blush and Gray Letterpress Calligraphy Wedding Invitations by Paper & Honey

Romantic Blush and Gray Letterpress Calligraphy Wedding Invitations by Paper & Honey

This wedding suite, perfectly simple, romantic, and organic with a hint of playful movement, was such a joy to create! With Ivana’s ideas and the location in mind, it came together easily. I hope it did Lake Travis a bit of justice!

Romantic Blush and Gray Letterpress Calligraphy Wedding Invitations by Paper & Honey

Thanks Laura!

Design: Paper & Honey

Printing: Czar Press

Vintage Postage Stamps: Verde Studio

Check out the Designer Rolodex for more tal­ented wed­ding invi­ta­tion design­ers and the real invi­ta­tions gallery for more wedding invitation ideas!

Photo Credits: Andrea Pesce Photography

Fish House Punch

We’re going to spend some time over the next month or so exploring the big flowing bowl: punches! We’ve featured a few punches before, but we’re going to try to tackle what really makes a punch a success and some of the ways to tweak punches to suit your needs. We’re starting with a spin on a rum punch recipe with the ridiculously named Fish House Punch. –Andrew

Rum Punch Recipe: Fish House Punch by Liquorary for Oh So Beautiful Paper

Fish House Punch

8 oz Jamaican Rum
4 oz Brandy
4 oz Lime Juice
4 oz Preserved Lemon Syrup
1 oz Apricot Brandy

8 oz Chamomile Tea

Combine everything in a swing bottle and refrigerate overnight. To serve, pour over ice into tiny cups and enjoy! Makes about fourteen two-ounce servings.

This is a heady, rich, boozy punch. (Feel free to dilute it with water or more tea if it’s a little too, ahem, punchy.) There’s a lot going on in this punch, sweet and sours and fruity and funky and spicy, and it’s a great showcase for punch’s ability to incorporate lots of flavors – when you’re working with a big batch, you can start to incorporate small amounts of ingredients, like the apricot, to add subtle notes to each glass.

Rum Punch Recipe: Fish House Punch by Liquorary for Oh So Beautiful Paper

We made this punch a little smaller than usual for a couple of reasons. First, I was testing out the recipe and didn’t want to mix up a giant bowl, with the risk that a bad recipe would result in a giant bowl of undrinkable punch and several wasted bottles of perfectly good liquor. Second, not every punch needs to be huge. Sometimes, you just want to share a few drinks between friends, or maybe you’re having a party where you want punch but still want some variety. Making it like this gives you flexibility – and it’s a lot easier to transport a bit of punch in a large swing bottle than a whole huge bowl.

Rum Punch Recipe: Fish House Punch by Liquorary for Oh So Beautiful Paper

Rum Punch Recipe: Fish House Punch by Liquorary for Oh So Beautiful Paper

Fish House Punch dates all the way back to the 1730s, when a Philadelphia club, known as the State in Schuylkill Fishing Corporation, set up shop and came up with a signature punch. America, or at least its men, used to be much more fond of these clubs and, with them, drinking huge amounts of punch. Progress does not always make things better. This isn’t the original recipe – we’ve added the chamomile, for example, for an added element of spicy complexity, and replaced the now-unavailable peach brandy with some apricot eau-de-vie – but I don’t think anyone from the State in Schuylkill Fishing Corporation would mind the innovation.

(Don’t forget to follow us on Instagram!)

Glassware by Liquorary

Photo Credits: Nole Garey for Oh So Beautiful Paper