Behind the Stationery: Ramona & Ruth

Taking us to Nebraska, our next feature on Behind the Stationery is Ramona & Ruth!  Kim, the brand’s founder and designer, shares about her self-taught journey with letterpress and why this classic print method is a key element of Ramona & Ruth. As an illustrator, Kim gives us an inside look to how she sets up her ideal sketching environment, what inspires her designs, and what she’s been sketching lately. –Megan Soh

Ramona & Ruth

From Kim: It was around 9 years ago that my first little antique tabletop press was delivered to my doorstep in Omaha, Nebraska. It was better than Christmas morning. I had begun my nationwide search for a letterpress after a few years of working as a graphic designer in a corporate job and not feeling very fulfilled. I initially set out to use this letterpress to print wedding invitations for clients, but the more I learned, the more I wanted to explore, so I began printing my own hand-drawn illustrations. I spent countless hours researching the craft and fumbling around on the press trying to figure out how it worked. I still remember the very first illustration I printed of a little coffee cup and the joy it brought me to see my design come to life in print. It was then that I knew this was meant to be.

Ramona & Ruth

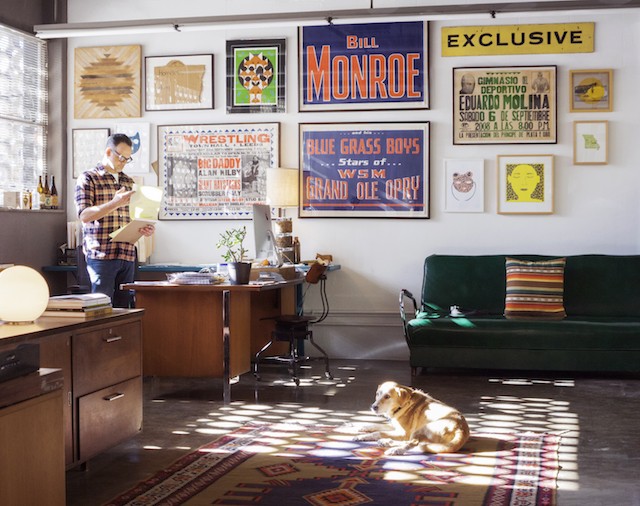
Over the years, my Omaha-based studio has grown to include two antique printing presses as well as a paper cutter from the late 1800’s. It was a few years ago that I knew time was right to purchase a Heidelberg Windmill letterpress to help me with printing larger wholesale orders. With this press upgrade also came a studio upgrade. Weighing in at 3,000 pounds, the Windmill was a much larger machine than my current press and therefore needed the space to accommodate it. Instead of finding a separate off-site studio space, my husband and I decided to have a letterpress studio built onto the back of our home. With no overhead and no commute I could better balance staying at home with my two little boys with my work in the studio.

Ramona & Ruth

After a few months, the studio was finished and the presses were moved in safe and sound. It was so important to me to have a generous amount of windows so the studio would be filled with an abundance of natural light. My studio is my outlet. I just love the light and airy feeling of my space and how it provides me with an inspirational and uplifting place to design and print. It is in this studio that I strive each day to build a brand of letterpress goods that create delicate, thoughtful designs that leave lasting impressions.

Ramona & Ruth

Ramona & Ruth is named for my grandmothers who inspired me to find beauty in simplicity. Ramona, an entrepreneur who handcrafted beautiful floral designs in her very own floral shop; and Ruth, who spent her days tending to dairy cows and wrangling chickens out on the farm. These hardworking, dedicated women helped instill my passion for developing my own business.

Ramona & Ruth - Ink

Ramona & Ruth

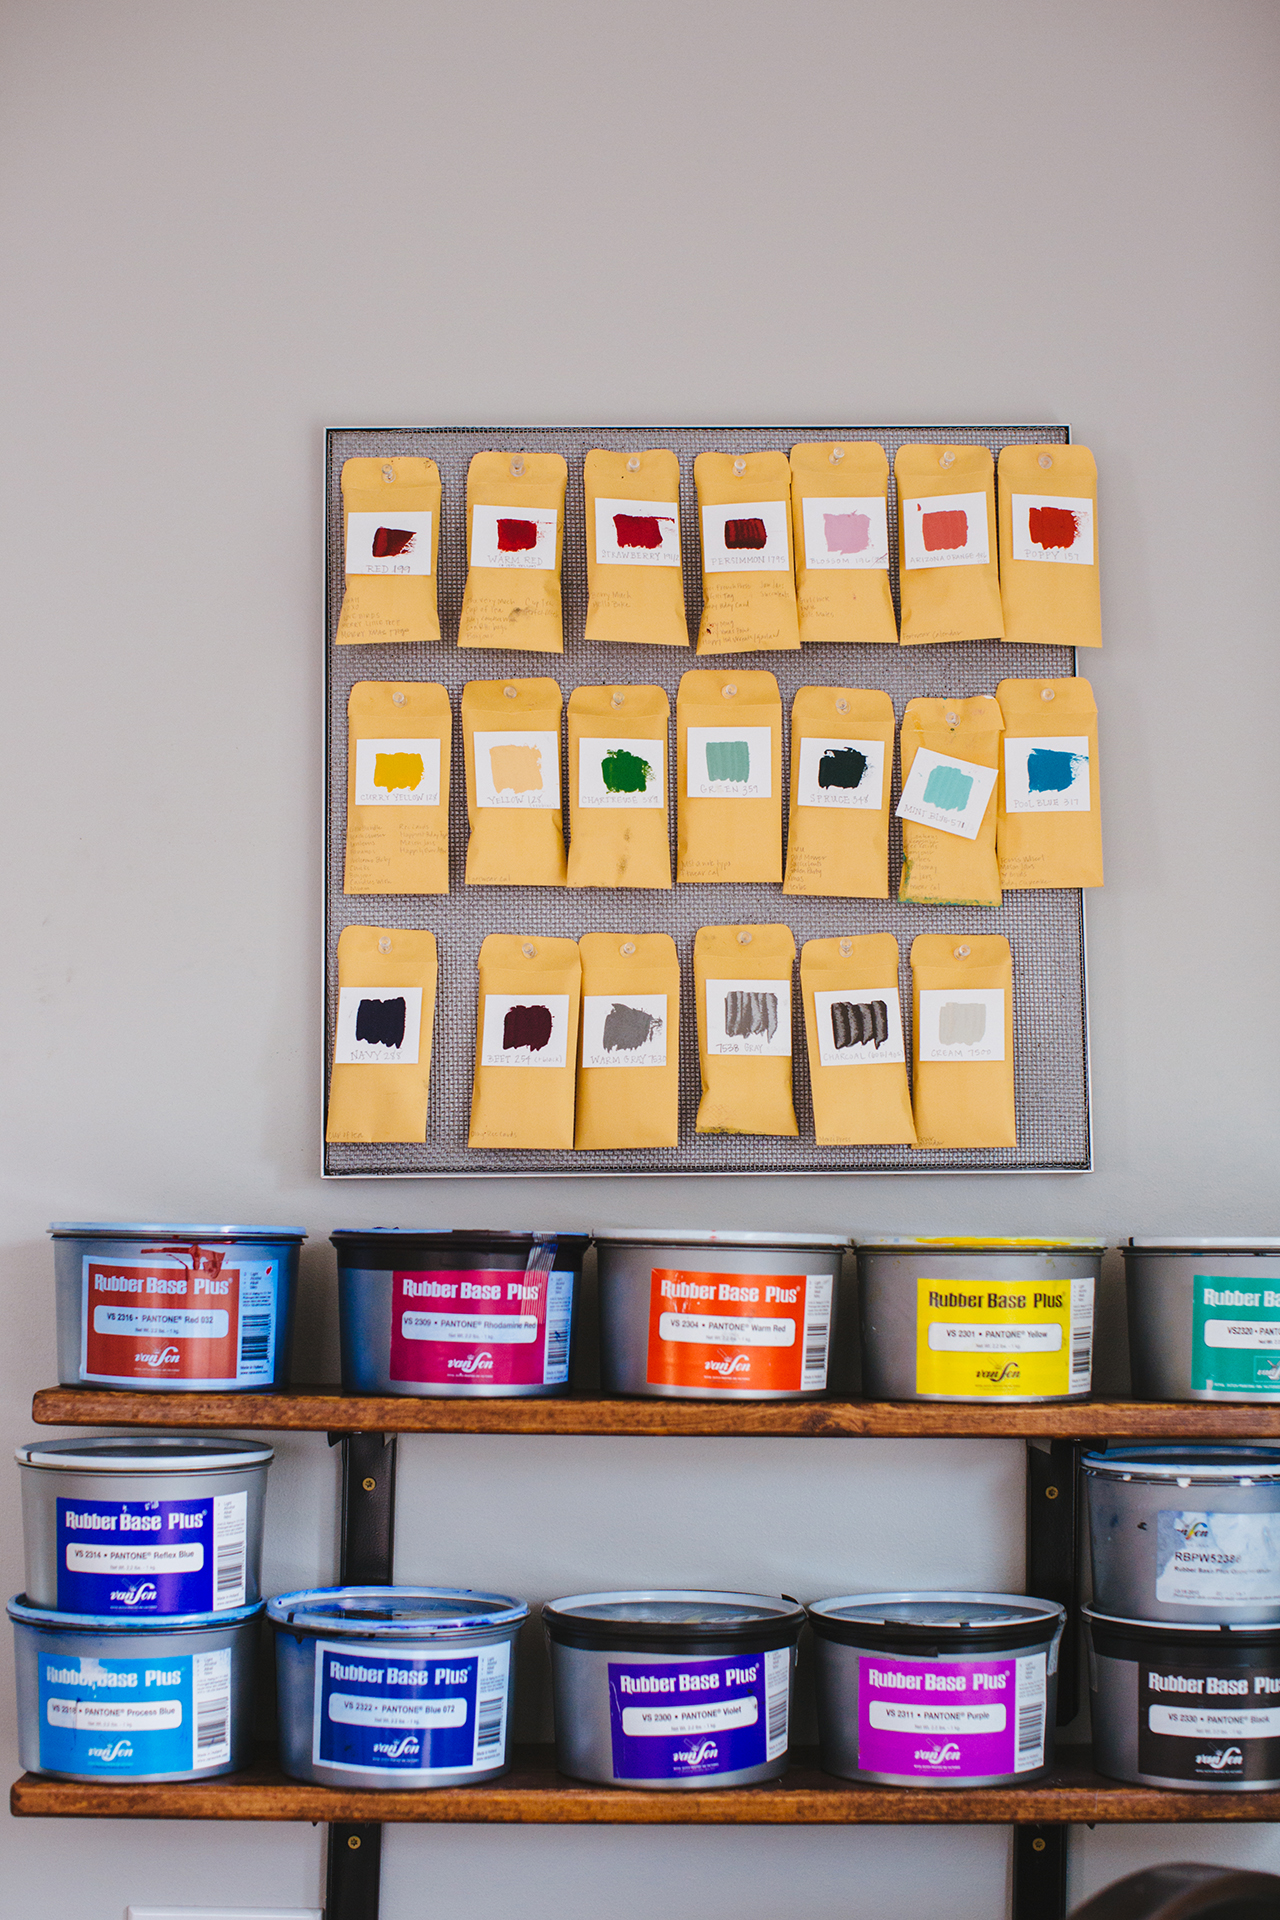
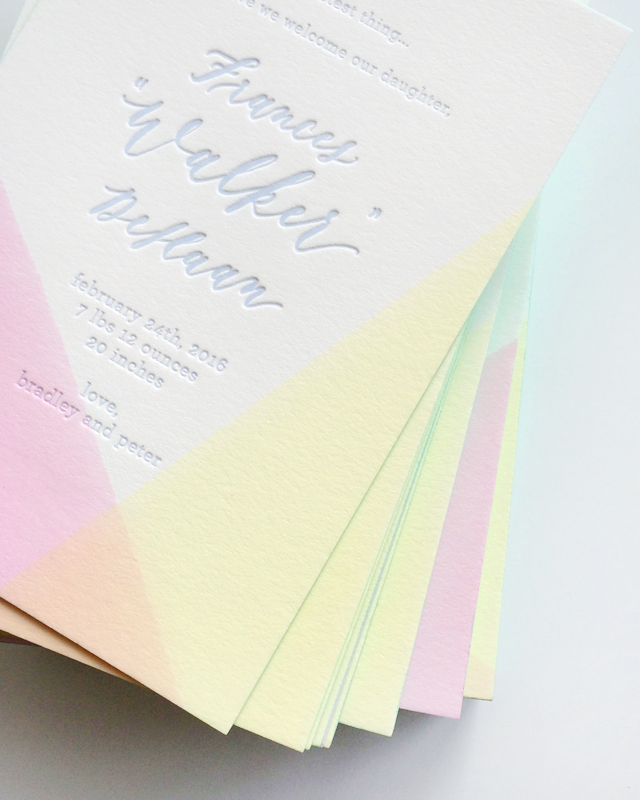
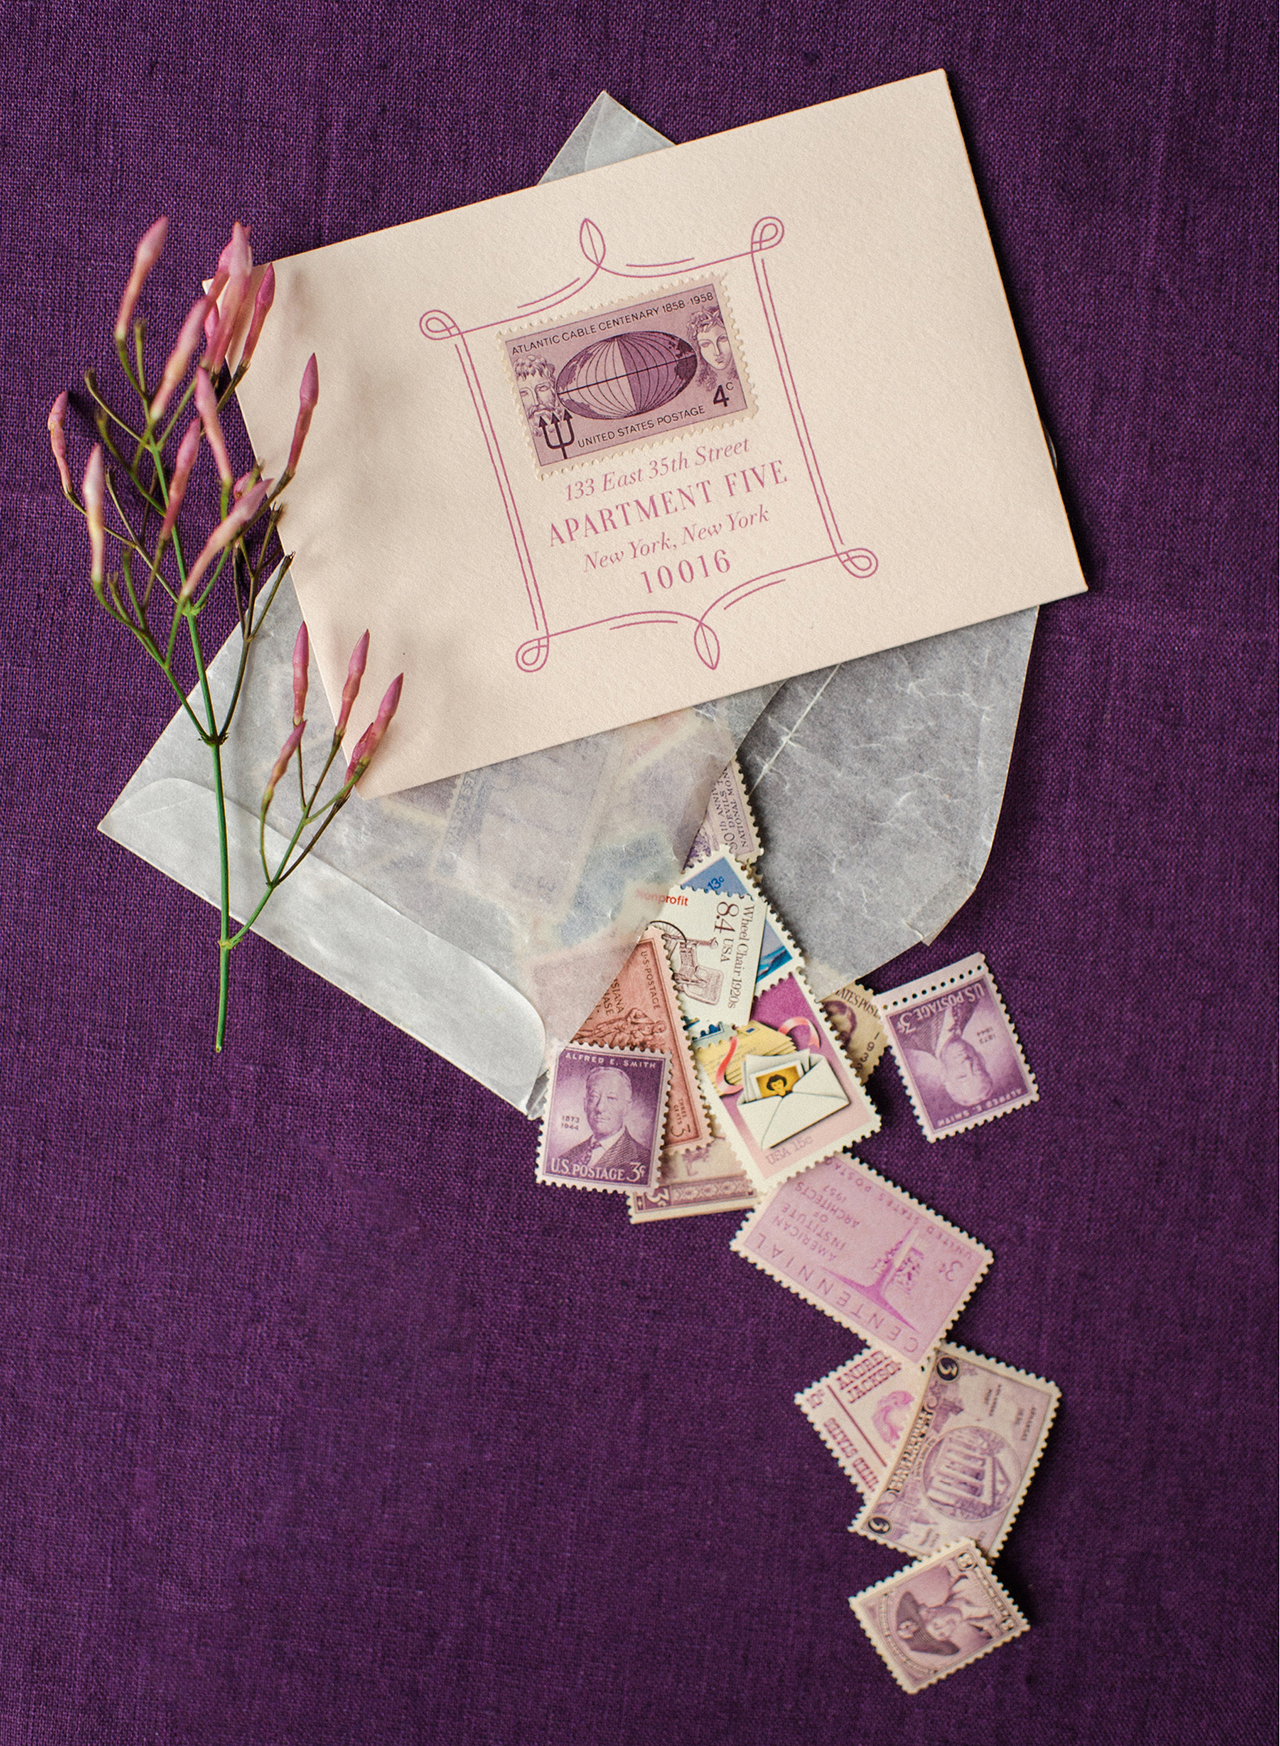
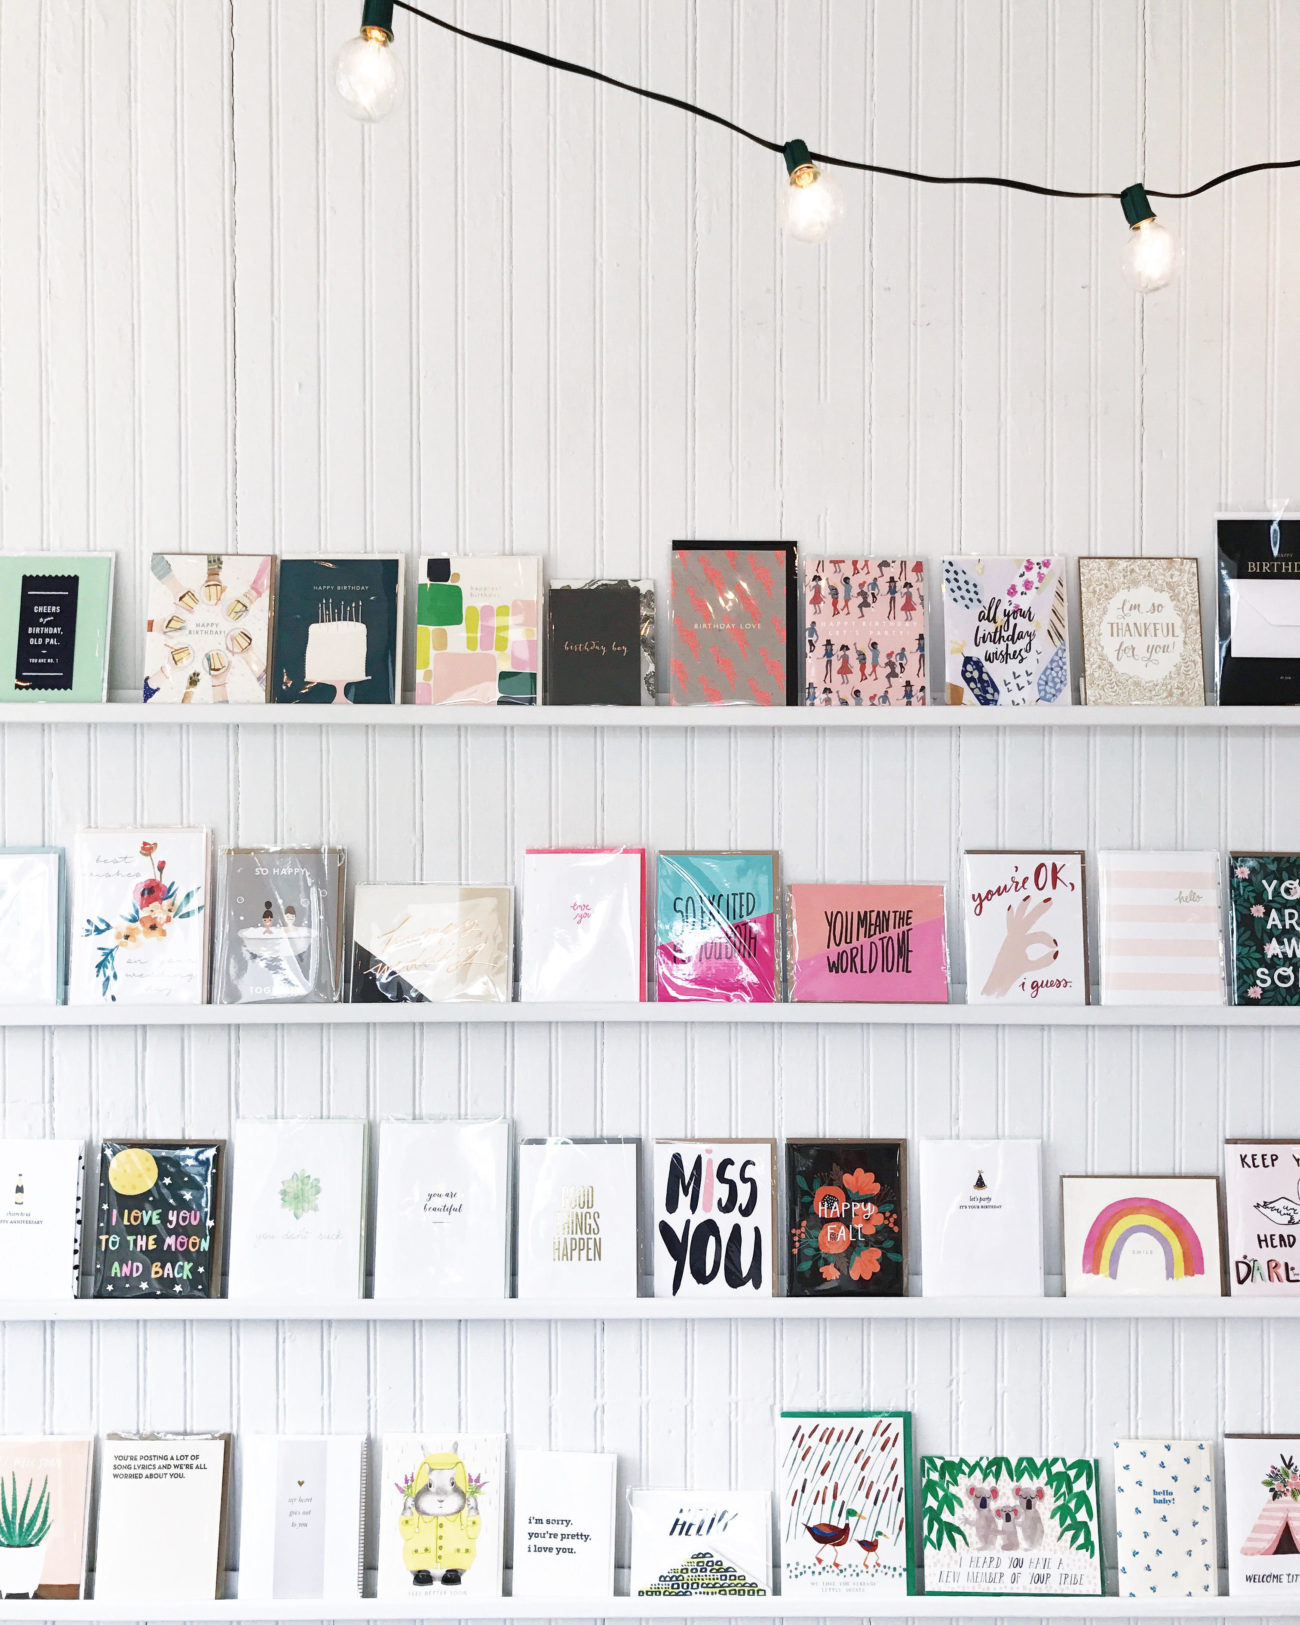
At Ramona & Ruth we print contemporary designs with timeless sentiment the old-fashioned way. While offering a variety of paper goods, the core of our product line is letterpress greeting cards. Each design starts from a sketch in my notepad and from there, is transferred to a digital image in Illustrator and prepared for platemaking. Letterpress is an art form and the details are what make it remarkable. The initial sketch, hand-mixing the colors, the intricacies of typography and spacing, hand-feeding the vintage presses — from conception to fruition, each and every product is a beautiful journey.

Ramona & Ruth

Each day at the studio is a little different, which is part of what I love about running this business. I typically start the work day at around 9 am once my boys are at their grandparent’s. After I pour a fresh cup of coffee and check through my emails, I go through my list of the day’s tasks which often include a mix of designing new products, printing, packaging wholesale orders, and marketing tasks including social media posts and newsletter design. I recently hired my first employee who will be working as our wholesale coordinator. I am hopeful that this will free up some time for me to focus on more of the things I enjoy, such as the design work and marketing outreach.

Ramona & Ruth

Ramona & Ruth

Designing fresh new products is the absolute favorite part of my job. I can sometimes be quick to tire of my more seasoned products, so I gain a lot of enjoyment out of dreaming up new ideas and nurturing them to life. When it’s time to start thinking about designs for new product releases, I like to start the design process by setting up a calm, quiet atmosphere where there are minimal distractions. This could be at my studio desk alongside my favorite citrus candle with a little music playing in the background. Other times I need a change of scenery so will head over to my favorite little coffee shop that is both quiet and spacious and design there for a few hours. Setting aside specific blocks of time to design along with creating a calm, relaxing atmosphere helps to clear my mind and allow the ideas to flow.

Ramona & Ruth

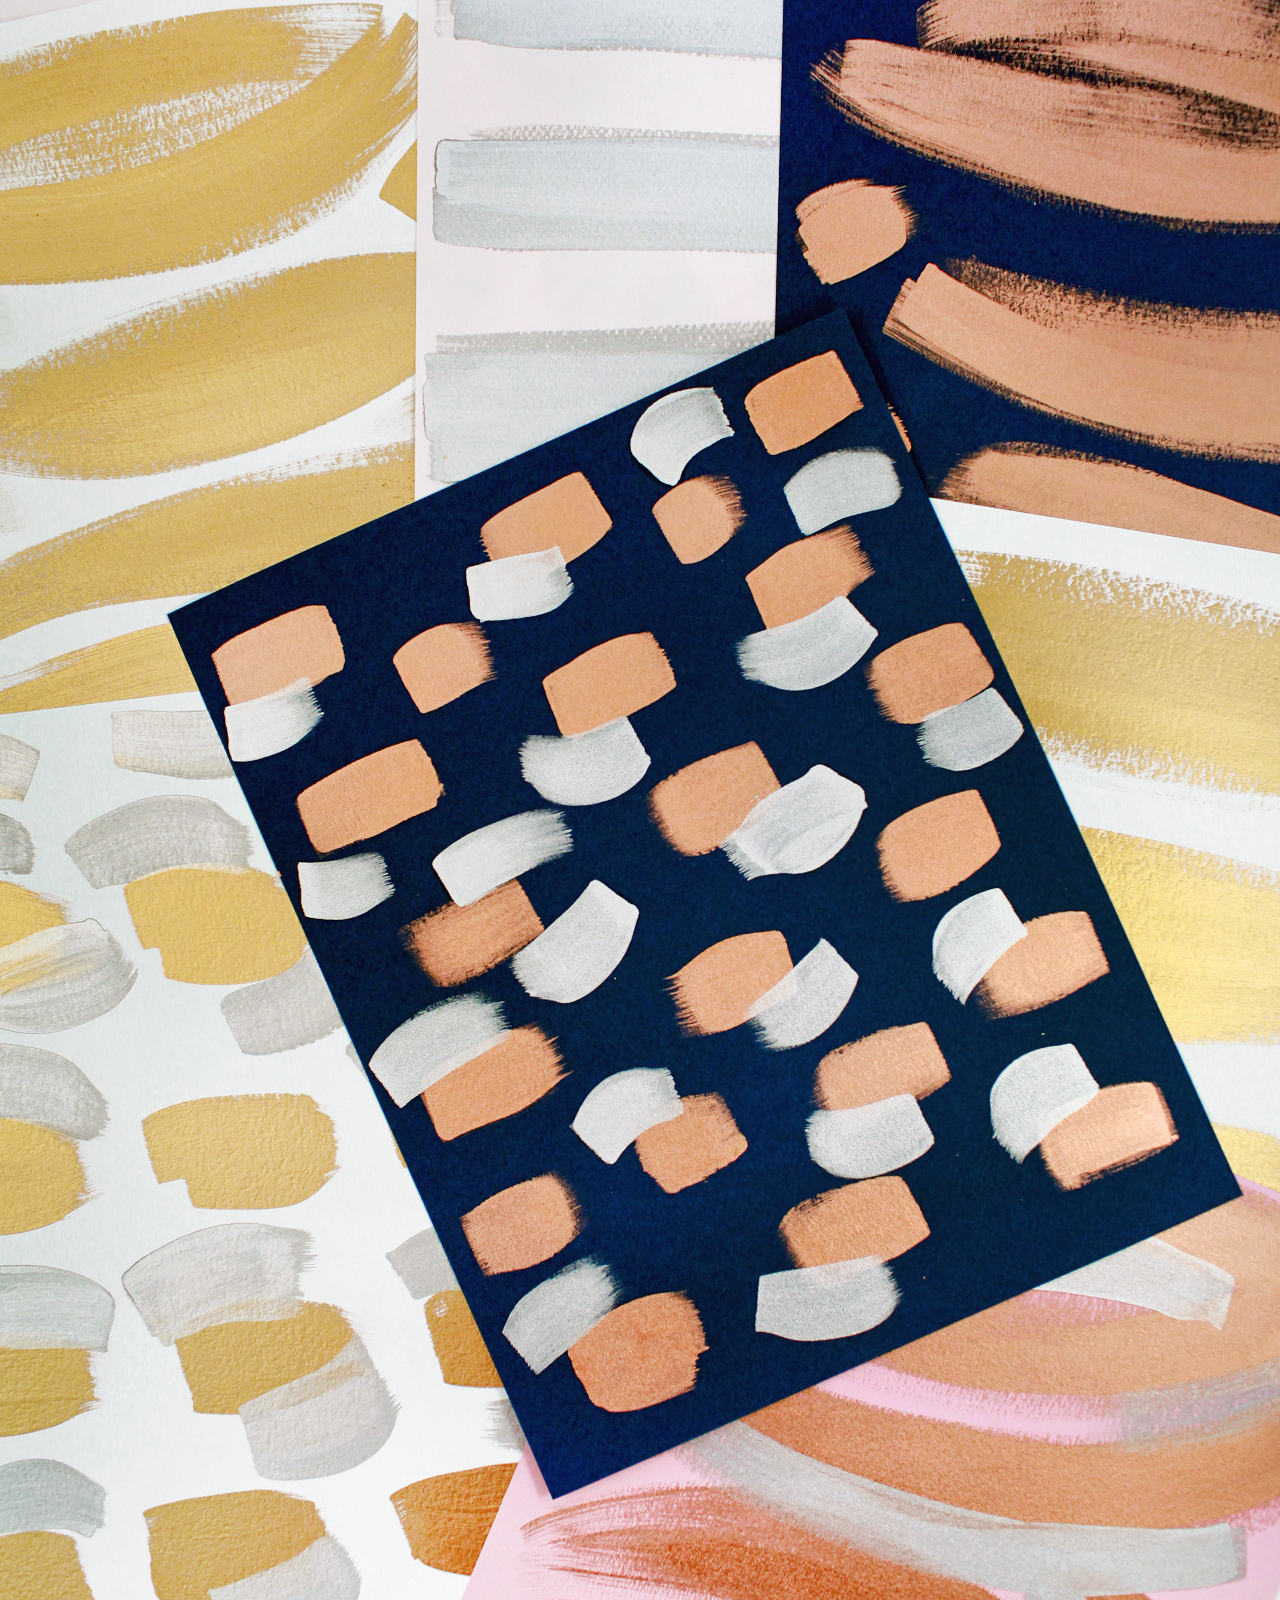
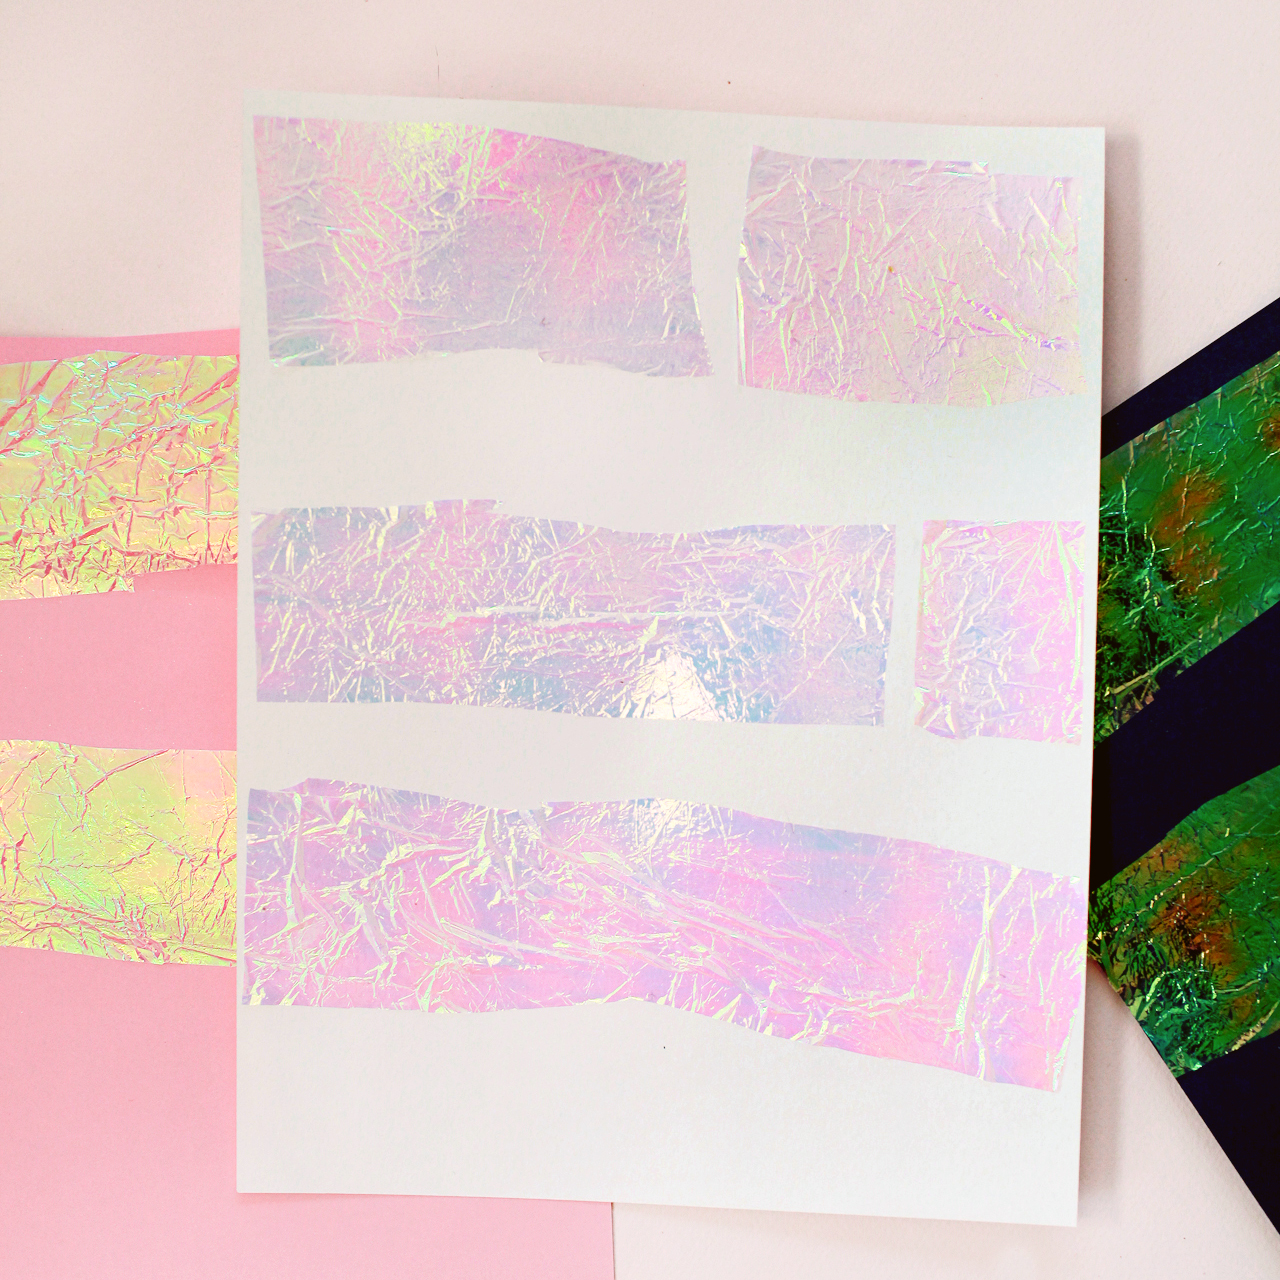
I have one designated notebook where I jot down my ideas and draw little sketches so that all of my ideas can be found in one place. Recently, I have been really drawn to patterns, so have been experimenting with different shapes and lines and how those can interact with each other in different ways. I also find it helpful to curate boards of things that inspire me such as fashion, textiles, interiors and ceramics. From there, it is interesting to see what overarching theme is apparent across the board and draw inspiration from there. Some of the most fulfilling products to develop are the letterpress greeting cards since many times I am involved in the production from start to finish. It is such an amazing feeling to see a design that started as a little idea in my head pressed into the sheet of cotton paper for the very first time.

Ramona & Ruth

Ramona & Ruth

All photos courtesy of Ramona & Ruth.

Interested in being featured on the Behind the Stationery column? Reach out to Megan for more information at megan[at]ohsobeautifulpaper.com.

Happy Weekend!

Happy Friday everyone! And happy almost 4th of July! Are you traveling somewhere this weekend? We’re doing the opposite: we have grandparents coming to town this weekend! My girls are always SO excited when their grandparents come to town, it’s seriously like the night before Christmas. But before we all go running off for the weekend, I have a fun announcement for my stationer friends! These long summer days and nights have been making me so happy lately, spending weekends at the splash pad and hanging out in our backyard to watch the fireflies emerge every night. I want to help spread the summer glow with an advertising special! So starting today, I’m celebrating summer with 30% off all 3-month and 6-month sidebar ads booked in the month of July. And since a 6-month ad would take you through the holiday advertising rush, this is a great opportunity to get in early and save big! You can get in touch with us for ad rates and more info right here. But in the meantime…

OSBP Summer Ad Special!

Photo Credit: Brandi Smyth Photography from these French Chateau-inspired wedding invitations by Paperglaze Calligraphy

…a few links for your weekend!

So many great quotes from this year’s commencement speeches

Have you seen the newest Land of Nod catalog? So many great items! I’m particularly loving this Ace & Jig wall hanging, this unicorn chair (!!), this super cute bedding, and this cute little rainbow pouf.

I’m totally making this glitter headband with my girls

Just bought this blue and white striped linen shirt – looks so comfy for summer!

Loving this rainbow honeycomb arch!

Adorable embroidered heels for summer soirées. Wear them with this colorful dress, which is currently on sale and an extra 30% off the sale price!

Great advice if you’re thinking about buying an older home

My next summer manicure

Card of the week!


Have a wonderful weekend everyone! I’ll see you back here on Monday. xoxo


Stationery A-Z: Holiday Thank You Cards

Happy New Year! You’ve opened your presents, drank all the eggnog, and celebrated to the fullest. Now it’s time to show your gratitude… start the new year (along with those pesky resolutions) off right by writing some good old fashioned thank you notes. Besides the obvious (mom for that cozy sweater, grandma for the new socks), be sure to also include those who hosted you at their annual Christmas Eve cookie bake-off, cooked all day to bring you Latkepalooza, and threw the downright classist New Years Eve celebration. While the thank you cards below aren’t all overtly holiday themed, they all convey the appropriate sentiment in their own way. See below for our selections/gentle reminders. – Shauna

Holiday Thank You Cards / Oh So Beautiful Paper

From top left:

1. This blank note from Hart Paper Co. feels both celebratory and seasonally appropriate. What better card to use when thanking Uncle Tim for those new kitchen utensils?

2. While this Rifle Paper Co. design may not have been intended as a holiday thank you, the metallic hue and floral berries definitely feel appropriate for expressing post-holiday gratitude.

3. A cheerful color palette and a sweet but simple message of thanks from Sugar Paper – perfect for sending thanks to co-workers and employers.

4. We love this elegant floral thank you card from Ink Meets Paper, especially for sending holiday thanks to neighbors or elderly relatives.

5. Loving this super cute and colorful thank you card by Moglea. The colorful dots and gold foil feel festive without being overly holiday.

6. These berry-like flowers from Worthwhile Paper give a subtle nod to the season while sharing a particularly kind message – a great card for that extra special person who got you that extra special gift.

7. This whimsical card from Near Modern Disaster is the perfect way to send thanks for any occasion!

8. Did someone go above and beyond this holiday season? Maybe they watched your kids so you could shop for presents, helped with holiday party prep, or just really knocked it out of the park with a personal and meaningful holiday gift. Send them this gold foil thank you card from One Canoe Two!

9. These “recipe” cards from Belle & Union are so sweet, and a really fun way to send a thank you note to a dear friend or loved one.

10. These double-sided postcards from Mr. Boddington’s Studio are both super adorable and so fun! They are intended for children, but would be just as much fun for adults. Definitely one of our faves.

Up next week: Engagement Congratulations!

Best of 2016: My Favorites

Today I’m wrapping up my Best of 2016 recap with a few of my personal favorite posts from the year! 2016 was definitely a rollercoaster of a year, and sometimes it has been tough to find the bright and happy moments with so much turbulence around the world. But when I look back at our posts from the year, each one below fills me with happiness and gratitude. I can’t think of a better way to say goodbye to another year (and welcome a new one!). I wish each and every one of you a very merry Christmas, happy Hanukkah, and a wonderful New Year!

Best of 2016: Rainbow Watercolor Hologram Foil Party Invitations by Ashley Buzzy for Paper Party 2016

Rainbow watercolor and hologram foil party invitations for Paper Party 2016. Designed by Ashley Buzzy and printed by Bella Figura. The invitations that started my love affair with hologram foil!

Best of 2016: Paper Party 2016 Art Print

I’m still completely obsessed with the limited edition art print that we made for Paper Party 2016! Designed by Ashley Buzzy, and printed by Mama’s Sauce on Legion Paper lavender Color Plan paper. Hologram foil for life!

Best of 2016: Dip Dyed Letterpress Printed Baby Announcements by Swell Press Paper

I loved these two-color dip dye baby announcements by Swell Press Paper – with mint green edge painting!

Best of 2016: Behind the Stationery with Hammerpress

Our Behind the Stationery column continued to be one of my personal favorites – this installment with Hammerpress was a particular highlight from 2016!

Best of 2016: Brick + Mortar / Daydream Prints

Over in our Brick + Mortar column, Emily talked about why stationery matters in these challenging times. So much yes. Greeting card by Daydream Prints.

Best of 2016: How to Style Stationery for Photography by Coral Pheasant

How to Style Stationery for Photography – I learned a ton of new tips and tricks in this guest post by Nichole of Coral Pheasant

Best of 2016: Eleven Independent Etsy Wholesale Boutiques

I got to share eleven of my favorite independent stationery and gift boutiques across the country in partnership with Etsy Wholesale!

Best of 2016: Our Bathroom Renovation

On the personal side, I got to share our bathroom renovation! This was our first major home renovation, and we did our best to create a bathroom that both honors the age of our home and maximizes storage for a family of four.

If you made it this far, I just want to thank you from the bottom of my heart for supporting Oh So Beautiful Paper this year. I love my job and the fact that I get to do it every single day, I love this blog and the amazing stationery community, and I love all of you for coming here to read our posts! The last couple of years have been incredibly challenging as I’ve tried to learn how to balance motherhood with entrepreneurship and try to figure out how to grow a business in an ever-changing environment. Your comments here and on social media are always a highlight on even the most difficult days. So thank you for supporting, commenting, sharing, and coming back. I may pop in with a couple of quick posts next week, but otherwise we’ll be back in 10 days. See you in 2017, my friends. xoxo

DIY Metallic and Iridescent Star Table Confetti

All I really want during the holidays is a whole lot of sparkle. Metallics, glitter, iridescent – I’ll take it all! So when Fiskars asked me what I’d do with their Star Thick Materials Shape Punches, I knew it had to involve plenty of sparkle and shine. Stars also happen to be the perfect way to dress up a Christmas or New Year’s Eve table. So I combined some colorful paper with lots of shimmery materials to make some DIY metallic and iridescent star table confetti! Use them as an informal table runner or to decorate a bar or buffet!

DIY Metallic and Iridescent Star Table Confetti

DIY Metallic and Iridescent Star Table Confetti

DIY Metallic and Iridescent Star Table Confetti

Stars are one of my favorite shapes all year long, but especially when it comes to the holidays. They echo the clear and crisp winter night skies, evoke the twinkling lights on Christmas trees, and add a sense of warmth during the cold winter months. The star punches come in three sizes – small (1″), medium (1.5″), and large (2″) – and create the most beautiful effect when scattered over a table together. And these punches from Fiskars are perfect for working with all of my favorite crafting materials, like cardboard, card stock, canvas, corkboard, and more! I went with a non-traditional color palette of white, pale pink, rose pink, and navy blue card stock mixed with metallics, but you could even make a bunch of stars in different shades of the same color for an ombré effect – or do a rainbow table runner made of dozens of stars in every color! Gah, the possibilities!

DIY Metallic and Iridescent Star Table Confetti

DIY Metallic and Iridescent Star Table Confetti

Did you notice the beautiful rainbow gold leaf above? It’s variegated red gold leaf and it’s ridiculously beautiful. It actually looks a bit more like copper leaf, which is just fine by me, and looks amazing against the pale pink and deep navy paper. In addition to the variegated leaf, I used traditional gold, silver, and copper leaf, along with the same metallics in liquid leaf form. For the liquid leaf, I wanted to experiment with punching the stars out of an abstract brushstroke pattern with all three metallics: gold, silver, and copper. Mixed metals for the win!

DIY Metallic and Iridescent Star Table Confetti

And of course I couldn’t resist adding in some iridescent stars made by layering iridescent cellophane over card stock. I also punched a few star shapes out of this iridescent white mylar, which looks way more shiny and iridescent in real life than it does in the photos! I may have gone slightly overboard with the number of materials in this project – I just couldn’t help myself! The good news is that you can definitely simplify the materials and still get the same gorgeous result! A table covered entirely in iridescent white stars would be gorgeous for New Year’s Eve, or just use easy-to-apply liquid gilding if time is a concern! When it comes to metallic sparkle, you really can’t go wrong.

DIY Metallic and Iridescent Star Table Confetti

Don’t they look so gorgeous all mixed up together? Let’s make some stars!

DIY Metallic and Iridescent Star Table Confetti

DIY Metallic and Iridescent Star Table Confetti

Supplies

Fiskars Thick Materials Star Punch in small (1″), medium (1.5″), and large (2″)

Fiskars Original Orange-handled Scissors

Card stock in your desired color palette (I used white, pale pink, rose pink, and dark navy blue)

Metallic leaf in gold, variegated red gold, silver, and copper

Liquid metallic leaf in gold, silver, and copper

1″ paint brushes

Iridescent cellophane (from your local party or craft store)

Iridescent white mylar

Metallic leaf adhesive

PVA Glue

DIY Metallic and Iridescent Star Table Confetti

DIY Metallic and Iridescent Star Table Confetti

For the metallic leaf star table confetti:

Apply 2″ strips of metallic leaf across a letter-sized sheet of card stock, following package instructions to apply the gold and copper leaf and leaving approximately 1-2 inches of space between each strip of metallic leaf. The application of metallic leaf usually involves applying a thin layer of gilding adhesive with a paint brush, allowing it to dry until clear and tacky, applying a small sheet of metallic leaf, then brushing off the excess metallic leaf with a clean paint brush.

I also used my Fiskars Original Orange-handled Scissors to carefully cut the sheets of metallic leaf down to size before applying them to the paper to minimize waste and get the maximum coverage from each individual sheet of metallic leaf. Each 2″ metallic strip used about half a sheet of metallic leaf. I wanted an abstract painterly pattern, so I freehanded the adhesive application, but you can use washi tape to tape off straight lines if you want a cleaner look.

The Fiskars Original Orange-handled Scissors are my all-time favorite scissors to use for crafting! They’re known for their quality and precision and I’ve been using them as long as I can remember. Can you believe that these iconic scissors are celebrating their 50th Anniversary next year!?

DIY Metallic and Iridescent Star Table Confetti

DIY Metallic and Iridescent Star Table Confetti

For the liquid metallic gilding star table confetti:

Using 1″ paint brushes, apply the liquid gilding across a sheet of card stock in an abstract pattern. I did a mix of long brush strokes on a few sheets of paper, and shorter brush strokes on other sheets of paper. I also layered short brushstrokes of silver liquid gilding over gold and copper gilding for additional dimension. The whole thing is meant to be abstract and painterly, so just have fun with whatever pattern you choose!

DIY Metallic and Iridescent Star Table Confetti

DIY Metallic and Iridescent Star Table Confetti

For the iridescent star table confetti:

Use Fiskars Original Orange-handled Scissors to cut 2″ strips of iridescent cellophane. Apply a thin layer of PVA glue to one side of the iridescent cellophane and apply the cellophane to a sheet of card stock. Allow the glue to dry completely.

DIY Metallic and Iridescent Star Table Confetti

To make the star shapes:

Step 1. Using a paper trimmer or Fiskars Original Orange-handled Scissors, cut each letter sized sheet of card stock into thirds, so that each section of paper measures approximately 3.6″ x 8.5″. I used the ProCision Rotary Bypass Trimmer to cut up to three sheets of card stock down at once, which definitely helped save time!

Step 2. Use the Star Thick Materials Shape Punches to punch out star shapes from the paper. I made sure to place the paper punch so that some of the resulting star shapes would be approximately half metallic or iridescent, and half uncovered card stock. You’ll often have enough room between the large star size to make a few small stars from the same piece of paper.

Step 3. Sprinkle the stars down the center of your table, or around any pitchers or punch bowls on your bar. Add in a few flowers and some votive candles – and have a great party!

DIY Metallic and Iridescent Star Table Confetti

DIY Metallic and Iridescent Star Table Confetti

DIY Metallic and Iridescent Star Table Confetti

DIY Metallic and Iridescent Star Table Confetti

DIY Metallic and Iridescent Star Table Confetti

These metallic and iridescent star shapes are the perfect way to decorate your holiday table, don’t you think? And such an easy way to add some celebratory sparkle to your holiday or New Year’s Eve party!

This post was created in partnership with Fiskars. All content and opinions are my own. Thank you for supporting the sponsors that make Oh So Beautiful Paper possible!

For more information on Fiskars crafting products, check out their website or follow Fiskars on Facebook, Twitter, Instagram, and Pinterest!