Wedding Invitation 101: Where to Start

Happy Monday everyone! I’ll be away for a couple of weeks to catch up on some personal things, but I’m leaving you in EXCELLENT hands while I’m away! Ashley from Fine Day Press graciously agreed to fill in for me this week, and we’re kicking things off with the first installment in a series of posts about wedding invitations! It’s a wonderful primer for anyone feeling overwhelmed by the world of wedding invitations and save the dates. Welcome Ashley!! –Nole

Invitation-101-Where-to-Start-Title

Hey there! Ashley Austin from Fine Day Press here. Nole has kindly invited me to guest blog this week, and I’m super-duper excited to be here sharing some fun posts with you all! Today we’re kicking off a weekly series all about wedding invitations called Wedding Invitation 101. Invitations are a big part of what I do over at Fine Day Press, in addition to greeting cards, calendars and other paper goodies. Over the years, I’ve learned a few tricks to streamline the process, and I’m sharing them with you here.

WHERE TO START

Your wedding invitations are often the first thing your guests will see; it should represent the spirit of the day and set the tone. It’s never too early in the planning process to start envisioning your dream invitations!

Will your wedding be a formal affair or is it more of a barefoot-on-the-beach event? Think about your style as a couple – does gold foil on navy stock suit your style, or will you go for a more romantic vibe with something hand-illustrated?

Maybe you’ve determined your wedding location, chosen your dress, flowers or even selected your color palette… All of these details can inspire your invitation suite.  But even if you haven’t figured those biggies out, you can still start dreaming up your perfect paper pairing.

FIRST STOP: GET INSPIRED!

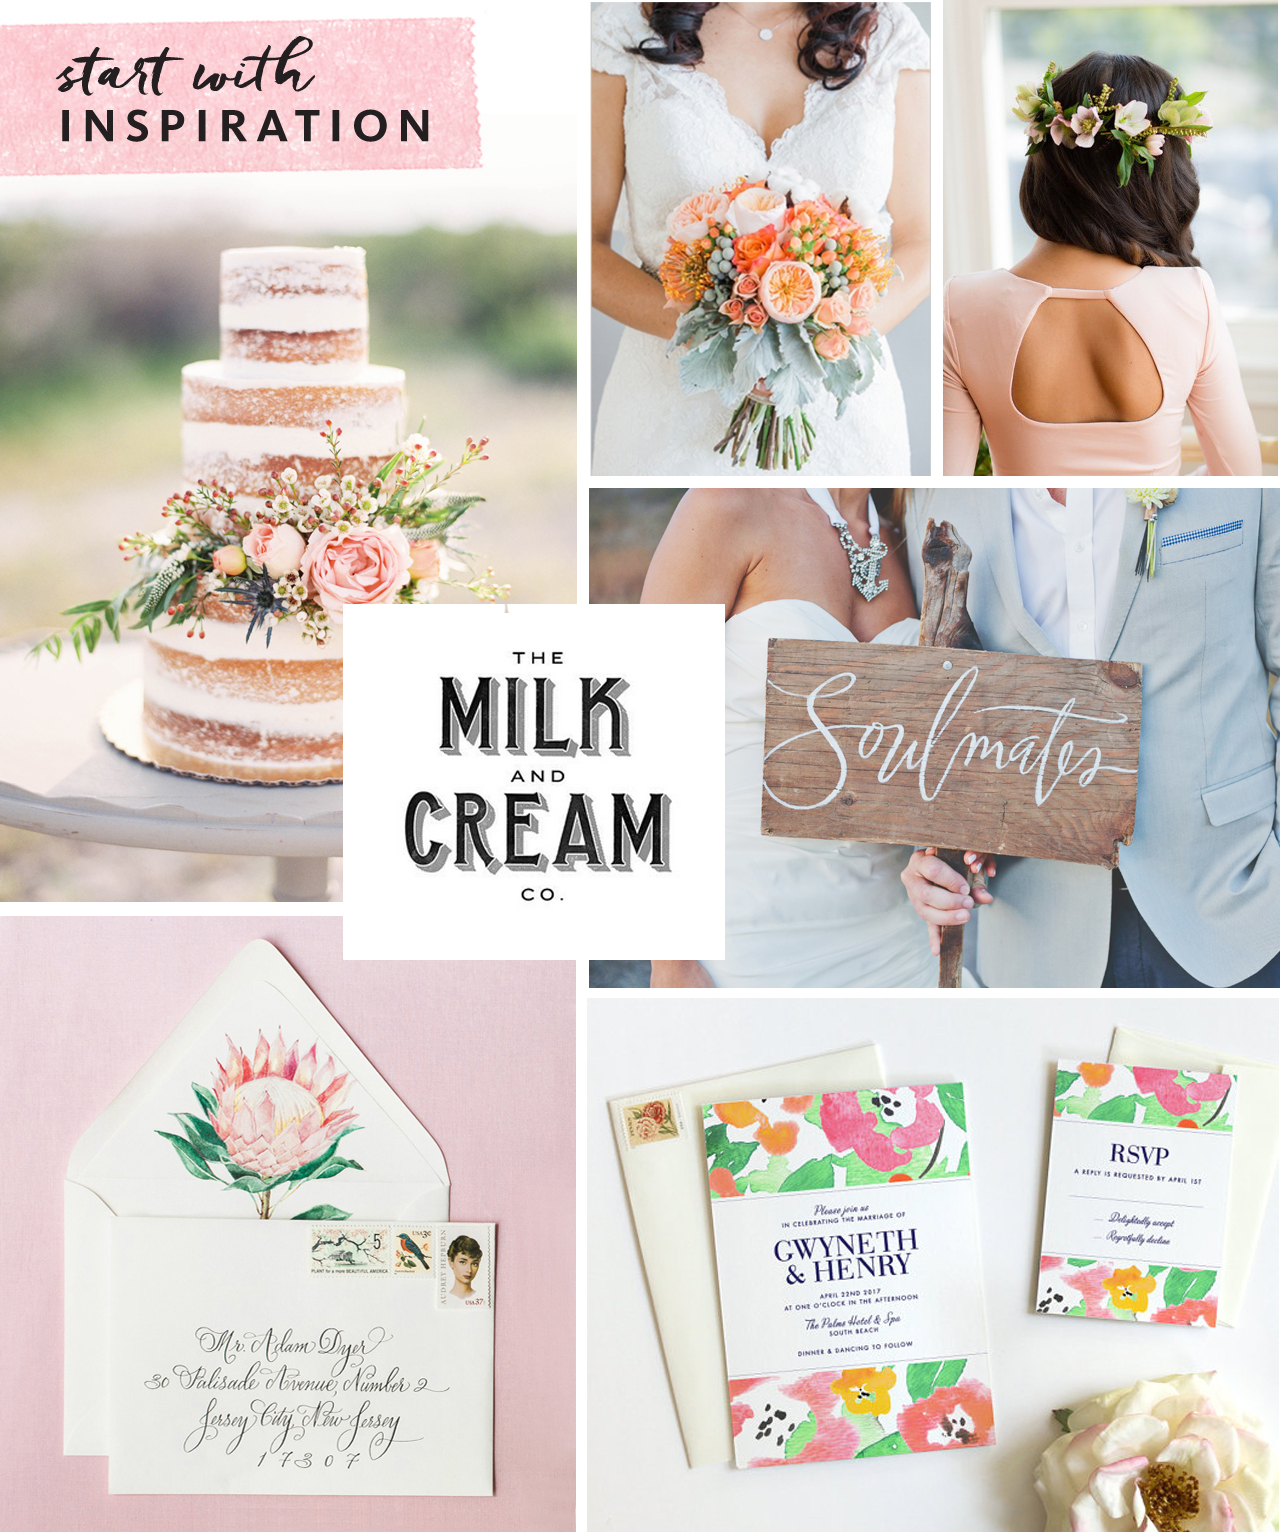
Collecting inspiration is a great way to kick off the process. This could be as simple as making a folder on your computer to save images as you’re browsing wedding blogs, clipping things out of magazines, or creating a Pinterest board specifically for invitation ideas (my personal favorite!). Below is an inspiration board I’ve created for example:
Invitation-101-Where-to-Start-1

Clockwise from top center: Bouquet via Southbound Bride; Hairstyle via Refinery29;  Soulmates painted sign Julie Song Ink; Invitation by Fine Day Press; Envelope & liner by Lana’s Shop; Naked cake via Wedding Sparrow; Milk & Cream type via Pinterest

Don’t just collect examples of invitations – think about colors, textures, ribbons, flowers, anything that might inspire you – like a throw pillow that’s the perfect shade of coral or the lace detail on the back of a dress.

Start researching stationery shops (whether brick & mortar or online) to identify a few you might like to work with. Found a stationer you like? Most stationery companies allow you to order a sample, so that you can see the paper and quality in person before committing to a bigger purchase. Local shops will have samples on hand for you to touch and feel.

CUSTOM OR READY-MADE?

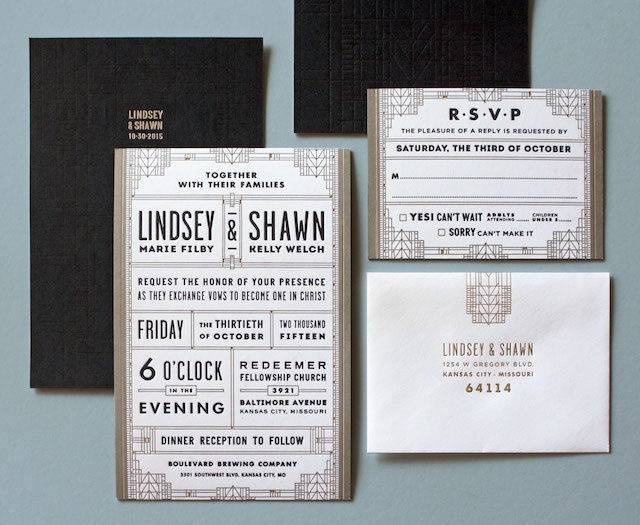
There are as many ready-made invitation styles out there as there are brides-to-be, and finding an existing design can be a great option. Your selected design can often be customized with your colors and typography choice, among other details.

If you love being part of the creative process, or have a very specific design idea for your suite, a custom design may be for you. Crafting a custom design typically takes longer and may involve an initial meeting, moodboard development (this is where that inspiration you’ve collected comes in handy), and multiple rounds of design development. Budget will come into play here as well, as creating a from-scratch design requires significantly more hands-on time and pricing usually reflects this.

TO SAVE OR NOT TO SAVE

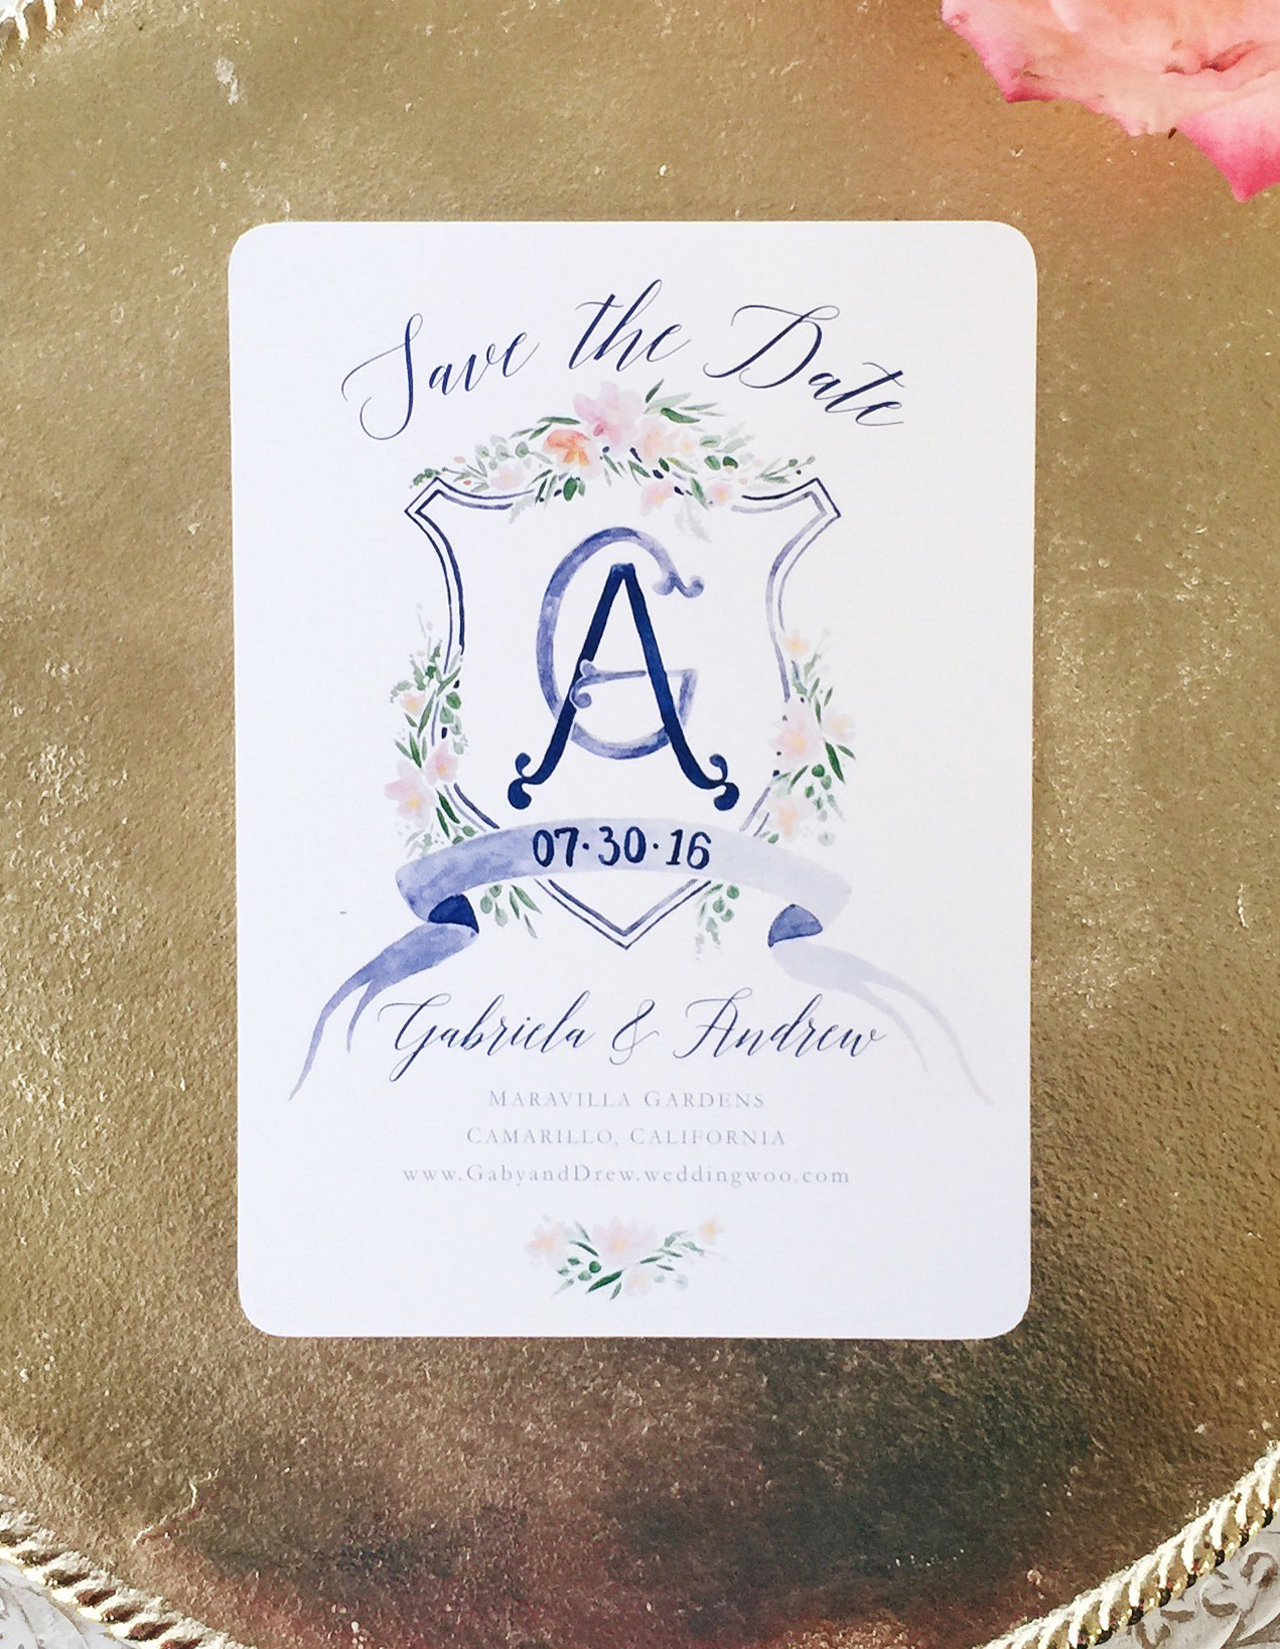
Sending out a Save the Date is a great way to give everyone on your list a heads up on your plans, and set the tone for the invitation to follow. Save the Dates are a great opportunity to do a less formal version of your invitation – for example, a magnet, a balloon or even a temporary tattoo are fun ideas! If you are having a destination wedding in a far-flung locale, a Save the Date is a must, in order to give your guests sufficient time to plan their travels.
Invitation-101-Where-to-Start-2

A beautiful printed Save the Date from Designer Rolodex member Sable & Gray

Are mailed Save the Dates a must-do? Not necessarily! If you are getting out your invitations super early, you could skip it. Or perhaps your wedding is small enough that word of mouth is sufficient until the invitations are sent. Some folks may prefer to send a digital Save the Date. This can also serve to direct guests to your wedding website. Keep in mind, though, that less digitally-savvy relatives (hi, Grams!) may feel left out with this option.

We’ll cover invitation timing in greater detail in a future installment of this series!

The 2016 National Stationery Show, Part 4

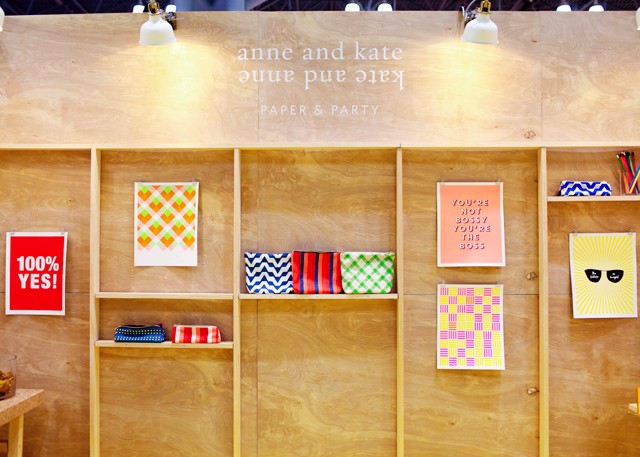
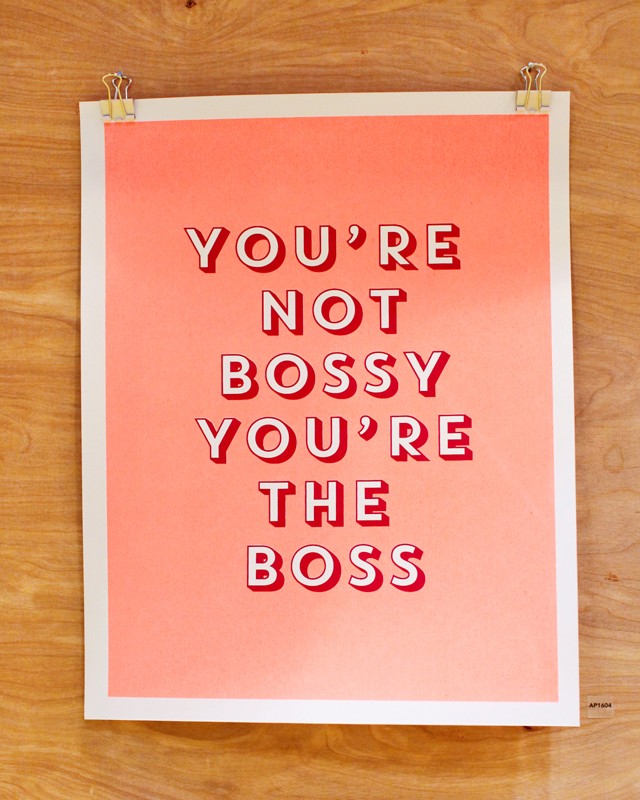
Last week I shared a few booths from the 2016 National Stationery Show that featured more pared down color palettes, but today’s recap post is all about booths that featured color in a MAJOR way! From neon to a rainbow of color-organized cards and notebooks, each of these booths features a ton of vibrant color. First up, the ladies of Anne and Kate with their modern screen printed art prints and greeting cards! The whole line just says FUN FUN FUN!

NSS 2016: Anne and Kate / Oh So Beautiful Paper

NSS 2016: Anne and Kate / Oh So Beautiful Paper

There are tons more photos – and more booths! – after the jump!

Continue reading

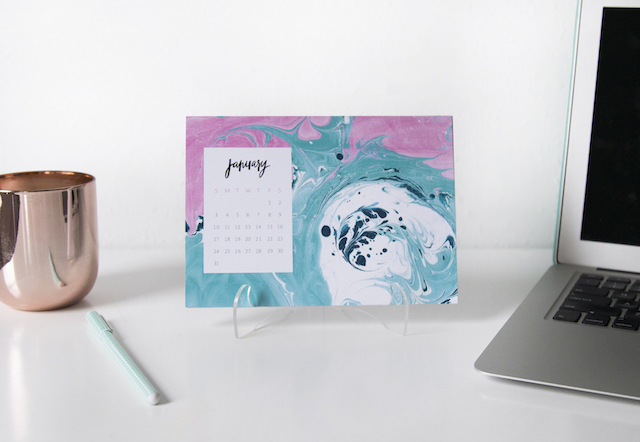
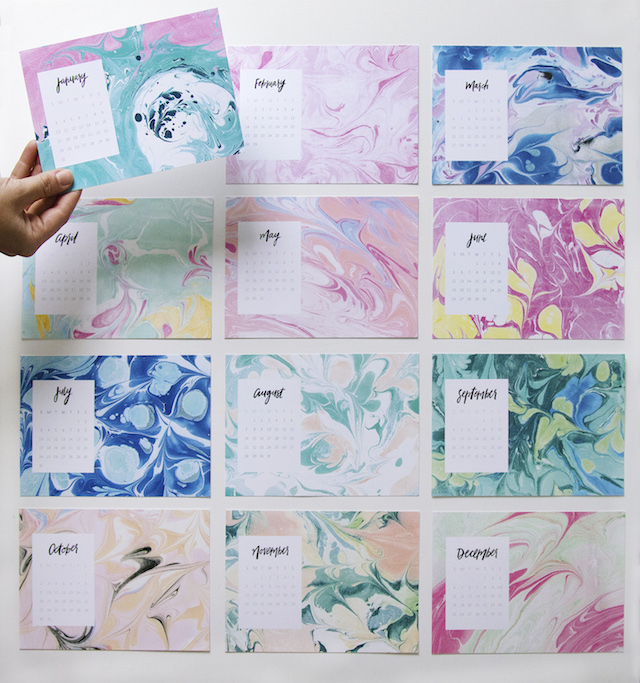
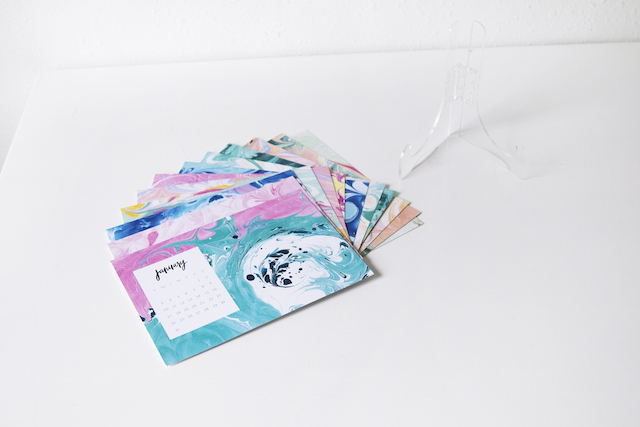
How to Make Marbled Paper – plus new Marbled Notebooks and Calendars from May Designs!

Making marbled paper is something that I’ve always wanted to try, but, thanks to the extensive supply list and unfamiliar ingredients, I’ve been too scared to even attempt. But today we’re in luck! Heather, Creative Director at May Designs, is here to demystify paper marbling and walk us through the entire process. The team at May Designs basically spent an entire day playing around with marbled paper patterns, with some seriously stunning results. We’ll start with Heather’s detailed tutorial (thanks Heather!!) for how to make marbled paper, followed by some photos of the GORGEOUS new May Designs collection inspired by their marbling experiments!

May Designs Marbled Notebooks / Oh So Beautiful Paper

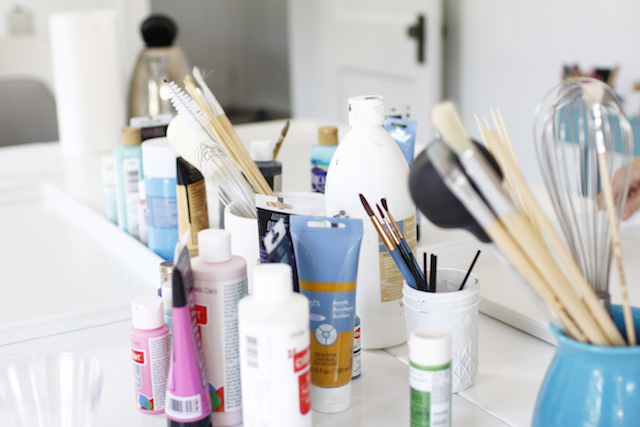
Supplies

100% cotton paper

Alum

Methocel

Spray bottle

Measuring spoons

Whisk

Dish soap

Large shallow tray

Bucket or large bowl (must have a capacity greater than one gallon)

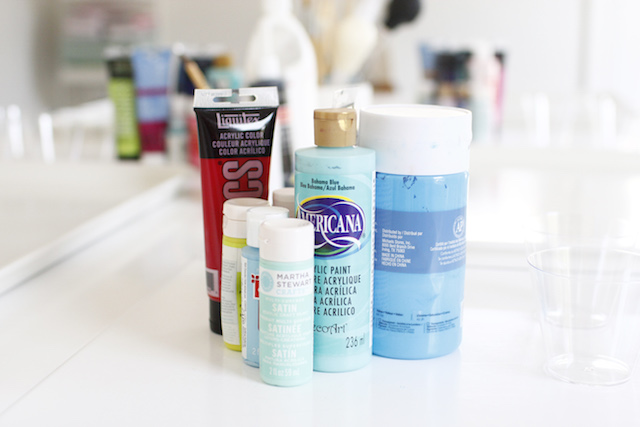
Acrylic paint

Small cups

Coffee straws

Clothesline + clothespins

How to Make Marbled Paper / May Designs via Oh So Beautiful Paper

How to make marbled paper:

Step 1. First, prep your paper. Fill a spray bottle with warm water. Add 2 tablespoons of alum and mix well. Let the mixture cool and spray a thin layer onto your cotton paper. Lay flat to dry! Make sure to mark the side that you sprayed because it can be hard to tell once it’s dried.

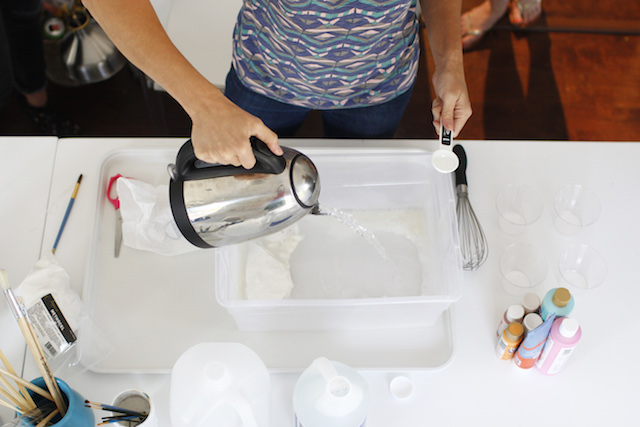
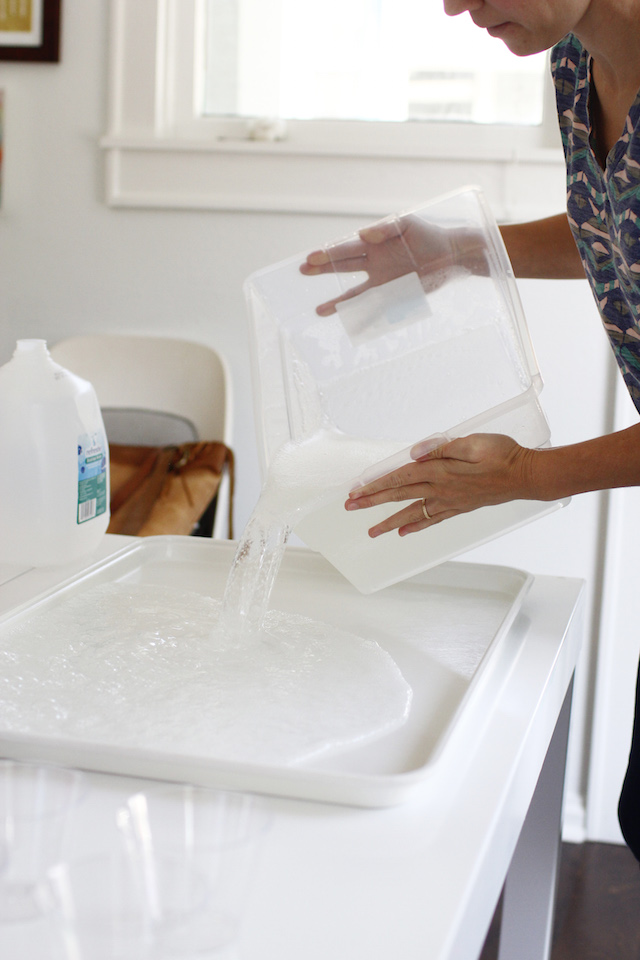
Step 2. Next, prepare the water bath. In a bucket, mix 4 tablespoons of Methocel with 1 gallon warm, distilled water, and one tablespoon of ammonia. Mix with a whisk. Find a shallow tray that is just a little larger than your paper. We found the perfect shallow tray to use for our water bath at a restaurant supply store (these trays from Amazon will also work!). Pour water mixture into shallow dish and let sit until all bubbles are gone! This can take a while, sometimes an hour or so.

Step 3. You’ll also need to add a dispersant to your water bath. To mix a dispersant, fill a cup with ½ cup water and a few drops of dish soap and mix.

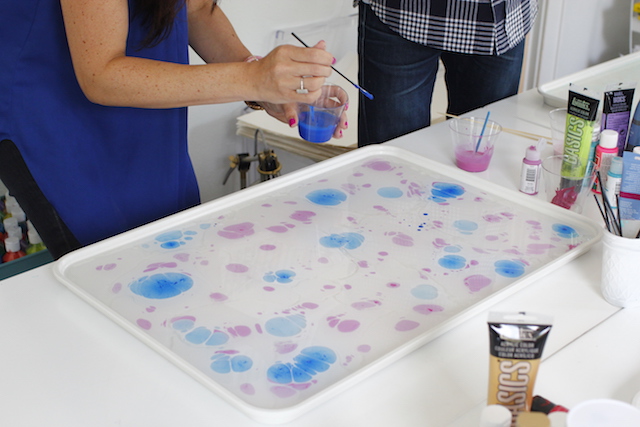
Step 4. Gather up your favorite colors of acrylic paints and squeeze them into cups. Add water to each color until you have the consistency of whole milk. Add one drop of dispersant/dish soap mixture to each color of paint. (A coffee straw works well for this!)

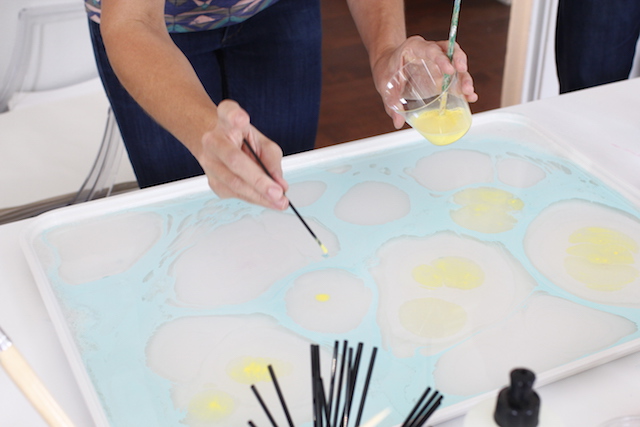
Step 5. Next, add diluted paint to the water bath. This is the fun part! Using coffee straws begin to drop paint onto the surface of the water bath. Keep dropping paint onto the water bath until it is pretty well covered with color.

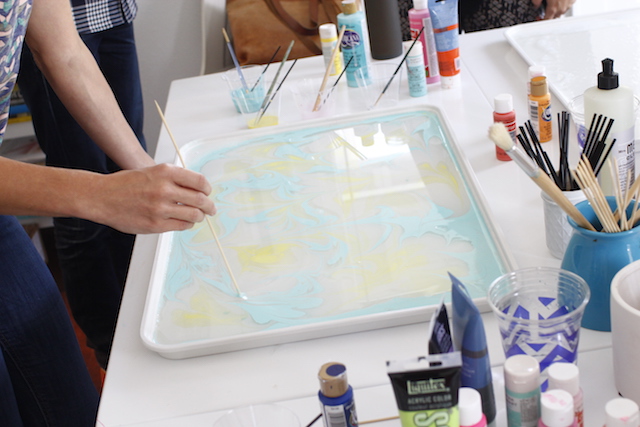
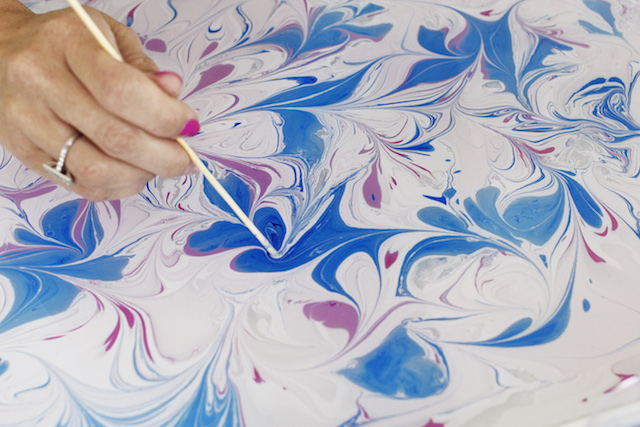
Step 6. Time to Marble! Take a clean straw and begin to drag it across the top of the water bath to create designs. You can also use the dispersant mixture you made to move the paint around, but only use a small drop to start. A little goes a LONG way.

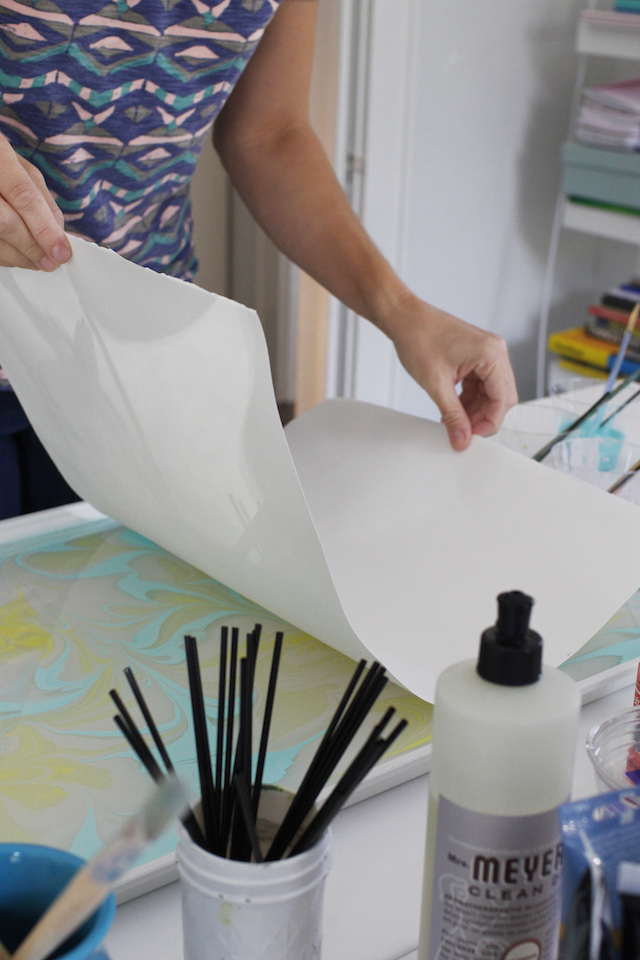
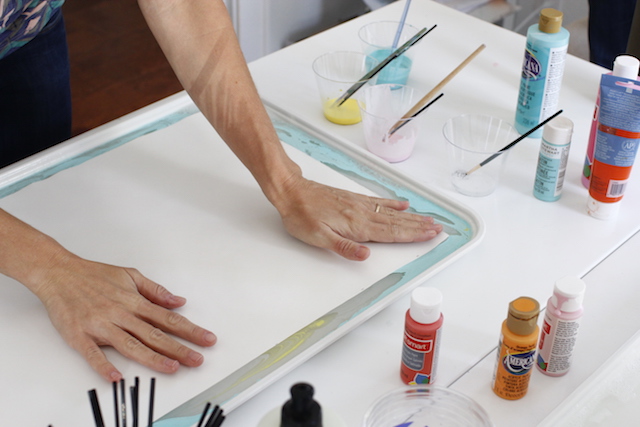
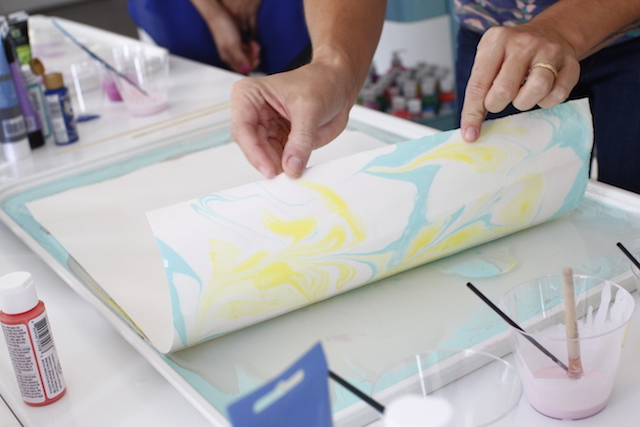
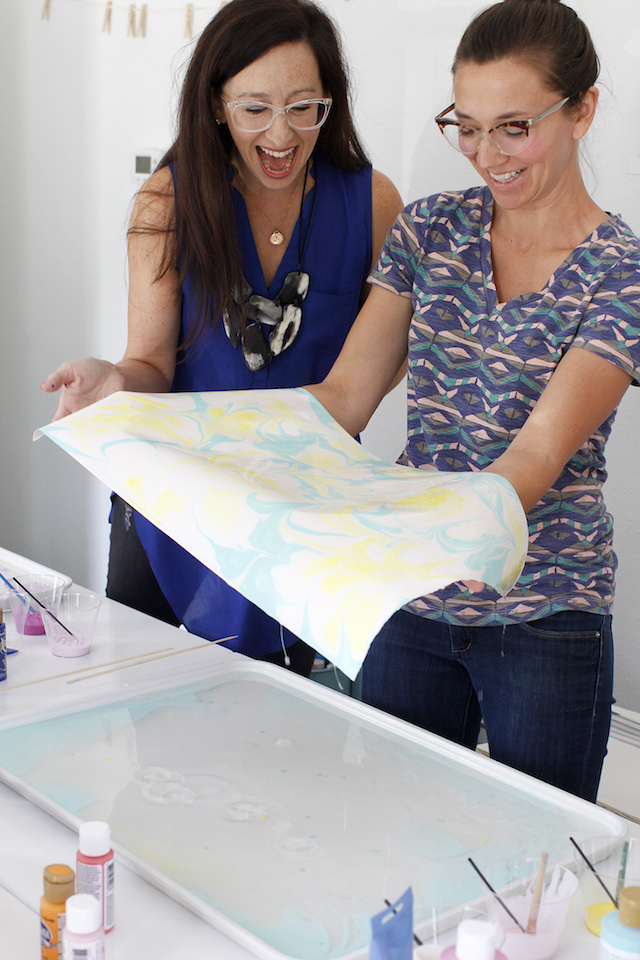
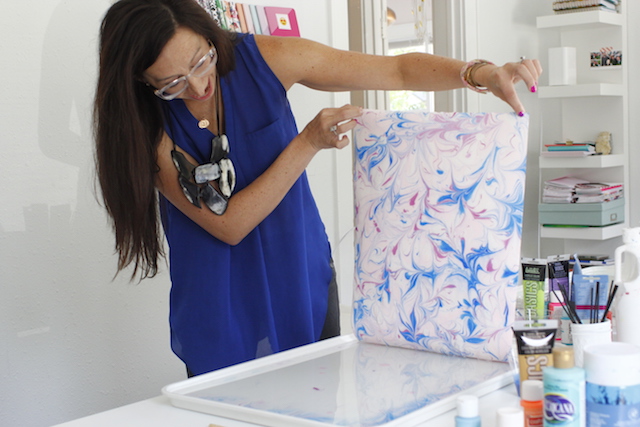
Step 7. Once you have a design that you like, take your prepped paper and gently lay it face down on the top of the bath. (Make sure you are placing the paper, prepped side down). Pat it down to make sure there are no air bubbles and then pull the paper up out of the bath starting with one corner and peeling it all the way up.

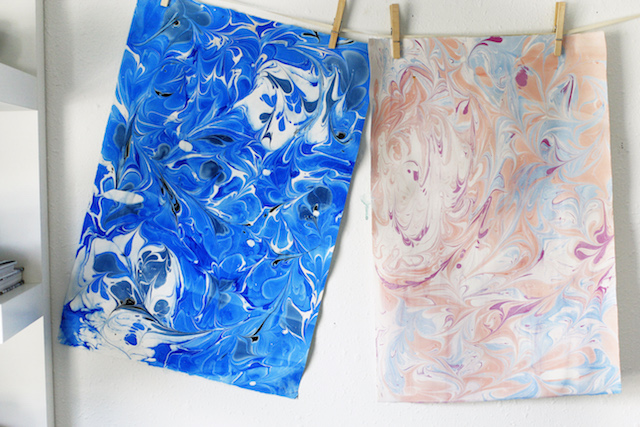
Step 8. Rinse paper with water. Don’t be afraid to get in there and clean the paper off with your hands. The paint is there to stay. Hang paper to dry!

How to Make Marbled Paper / May Designs via Oh So Beautiful Paper

How to Make Marbled Paper / May Designs via Oh So Beautiful Paper

How to Make Marbled Paper / May Designs via Oh So Beautiful Paper

How to Make Marbled Paper / May Designs via Oh So Beautiful Paper

How to Make Marbled Paper / May Designs via Oh So Beautiful Paper

How to Make Marbled Paper / May Designs via Oh So Beautiful Paper

How to Make Marbled Paper / May Designs via Oh So Beautiful Paper

How to Make Marbled Paper / May Designs via Oh So Beautiful Paper

How to Make Marbled Paper / May Designs via Oh So Beautiful Paper

How to Make Marbled Paper / May Designs via Oh So Beautiful Paper

How to Make Marbled Paper / May Designs via Oh So Beautiful Paper

How to Make Marbled Paper / May Designs via Oh So Beautiful Paper

How to Make Marbled Paper / May Designs via Oh So Beautiful Paper

How to Make Marbled Paper / May Designs via Oh So Beautiful Paper

From Heather: We’ve been excited to introduce this fun trend as a pattern collection since spotting it at the National Stationery Show. We first envisioned it as a collaboration. We thought we might need an expert, to guide us through the process, so that we could get the results we desired for the collection. BUT, when Mica had the idea to incorporate the marbling process into our brand new Desk Calendars, it changed our timeline quite a bit and we decided to roll up our sleeves and get our hands dirty!

We set aside a day that same week to set up our very own marble workshop in the studio. We’ve hosted a few different workshops in the studio; calligraphy, painting, cocktail classes, etc., but this was my personal favorite. The process is so free and each piece almost creates itself! We collected tips and tricks from several different videos and blogs to create the process outlined in the tutorial above. Here’s a list of little things that we feel made this a success:

  • Cotton paper is a must! The other papers we tried broke down in the water bath
  • Don’t go on a crazy search for fancy “dispersant” – dish soap works the same way! Oh and remember, a little goes a LONG way!
  • Turns out, restaurant supply stores have the perfect large, shallow dishes for water bath. And they’re white!

We hoped that by the end of the day, we would have 12 gorgeous pieces to work with, but the pressure was off. It was SUCH a fun day. Doors open, messy desks, lunch ordered in (of course) and selfies galore. A perfect exercise for our team to let loose and bond, and BONUS… we ended the day with walls covered in gorgeous marbled paper. We are so happy with the end result! The new calendars are are beautiful and the pattern collection for notebooks is a new favorite!

May Designs Marbled Calendar / Oh So Beautiful Paper

May Designs Marbled Calendar / Oh So Beautiful Paper

May Designs Marbled Calendar / Oh So Beautiful Paper

Photo Credits: May Designs

Happy Weekend!

Happy Friday everyone! We’re starting to see signs of spring here in DC, which makes me happier than I can possibly put into words. This winter has been fairly mild, at least compared to the last two winters, but I’m still looking forward to seeing green things in the ground again soon! Sophie and I started some seeds indoors a couple of weeks ago, and it has been so fun to watch new little seedlings sprout up! But in the meantime…

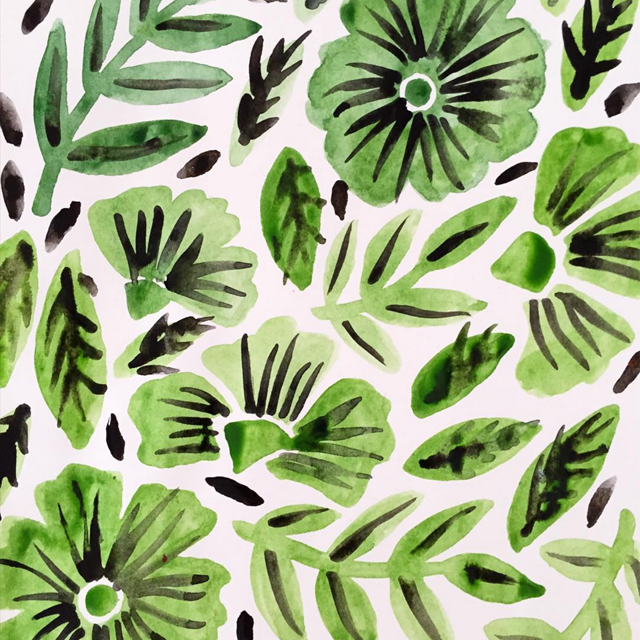
Katharine Watson Floral Sketch via Instagram / Oh So Beautiful Paper

Image by Katharine Watson via Instagram

…a few links for your weekend!

The last two weeks on Oh So Beautiful Paper:

That’s it for me this week! I hope you have a wonderful weekend, and I’ll see you back here on Monday! xoxo

Behind the Stationery: Hammerpress

It’s a true honor to feature printmaker, designer, entrepreneur, business owner, and true craftsman Brady Vest of Hammerpress in our latest installment of Behind the Stationery. Today Brady takes us behind the scenes, talking about his staff, daily business, and how he started the company before the internet took over. –Megan

Behind the Stationery: Hammerpress / Oh So Beautiful Paper

I started Hammerpress in 1994 while studying printmaking at the Kansas City Art Institute. The school had two letterpresses and some type that no one really used. I started working with friends on collaborative projects – mostly posters for local bands, record covers, etc. Once I graduated, I had no letterpress equipment to continue the work, so I began looking for presses and type. This was pre-internet and sources like Briar Press were non-existent. You would basically just walk into print shops and ask if they had any old equipment to sell. I lucked out when I was visiting my hometown of Oklahoma City and wound up scoring a bunch of type and other equipment. Then I got a studio space, and it was basically a word of mouth business. Again, pre-internet and pre-website for your business.

Behind the Stationery: Hammerpress / Oh So Beautiful PaperBehind the Stationery: Hammerpress / Oh So Beautiful Paper

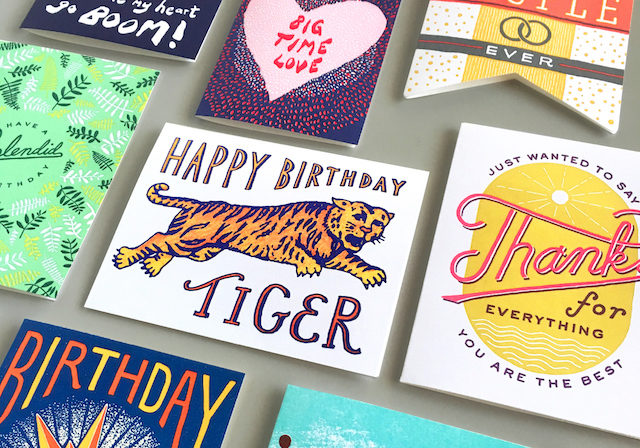
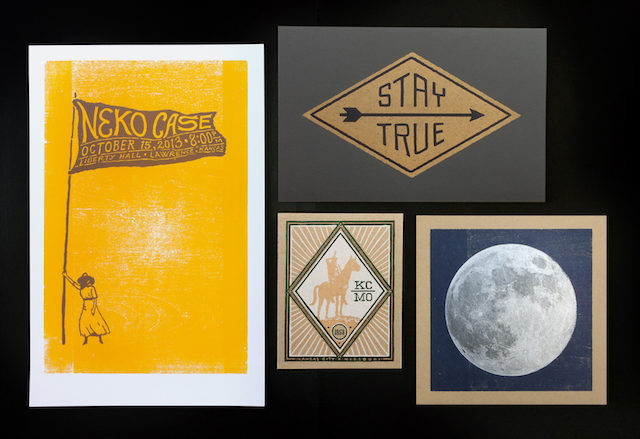
In those first years we printed job work for designers around town, making custom wedding invitations & business cards. From there it just kind of slowly grew and morphed into what it is today. The big jump happened in about 2004 or so, with the help of a couple of good people, we decided to go to the National Stationery Show in New York. I think once we entered that world, Hammerpress really started to develop into more of a business. We now have over 300 products in our wholesale line, mostly greeting cards, but also prints, notebooks, postcards, gift tags & calendars. We have an amazing network of reps selling our product on the road, in their showrooms, and at trade shows, and we couldn’t do it without them.

Behind the Stationery: Hammerpress / Oh So Beautiful Paper

We still continue to design and print work aside from the stationery line. Our custom work includes wedding invitations, business cards, restaurant menus, coasters, posters, and logo design. And we have our storefront, which is an important part of our local identity in Kansas City.

Behind the Stationery: Hammerpress / Oh So Beautiful PaperBehind the Stationery: Hammerpress / Oh So Beautiful Paper

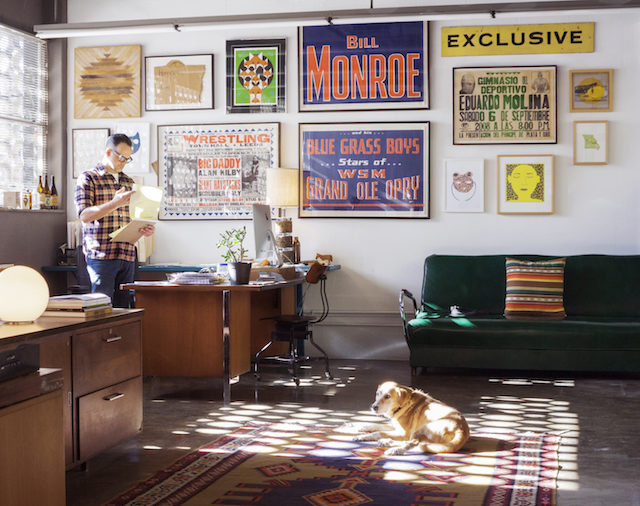
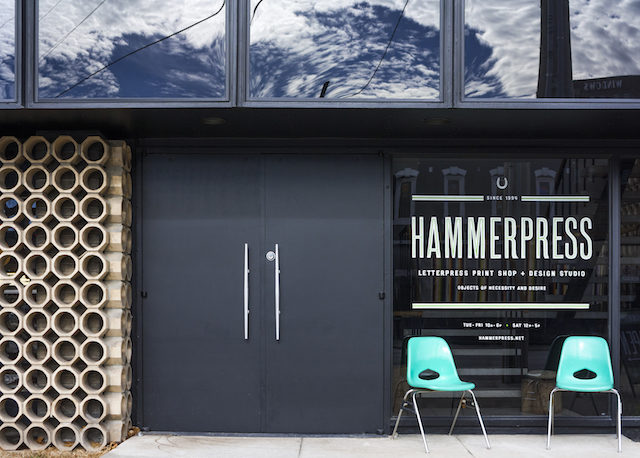
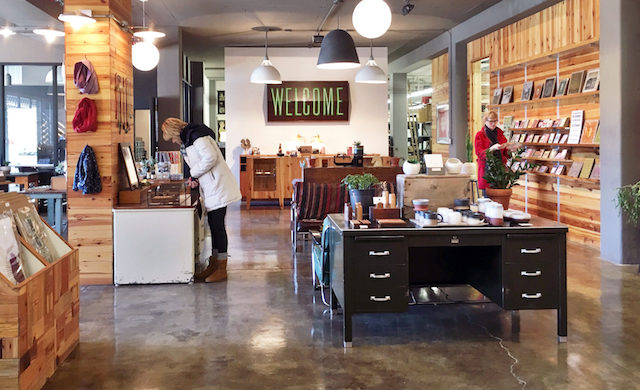
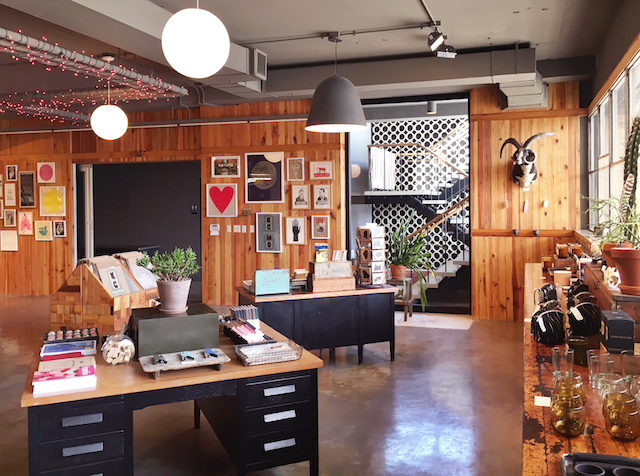
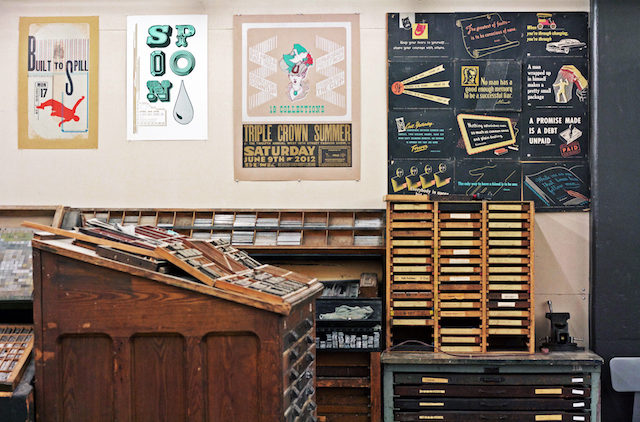
The Hammerpress print shop, design studio & retail space exists in a 1950s building in the Crossroads Arts District in Kansas City, Missouri. We moved to this space in January 2015 after 7 years in our previous location. But Hammerpress has operated out of the Crossroads district since ’95 when it wasn’t more than auto shops and a few art galleries. The Crossroads now hosts a great mix of restaurants, lofts, galleries, bars, retail shops, alongside the glorious Kauffman Center for the Performing Arts.

Behind the Stationery: Hammerpress / Oh So Beautiful Paper / PHOTO BY LANCE FLORES

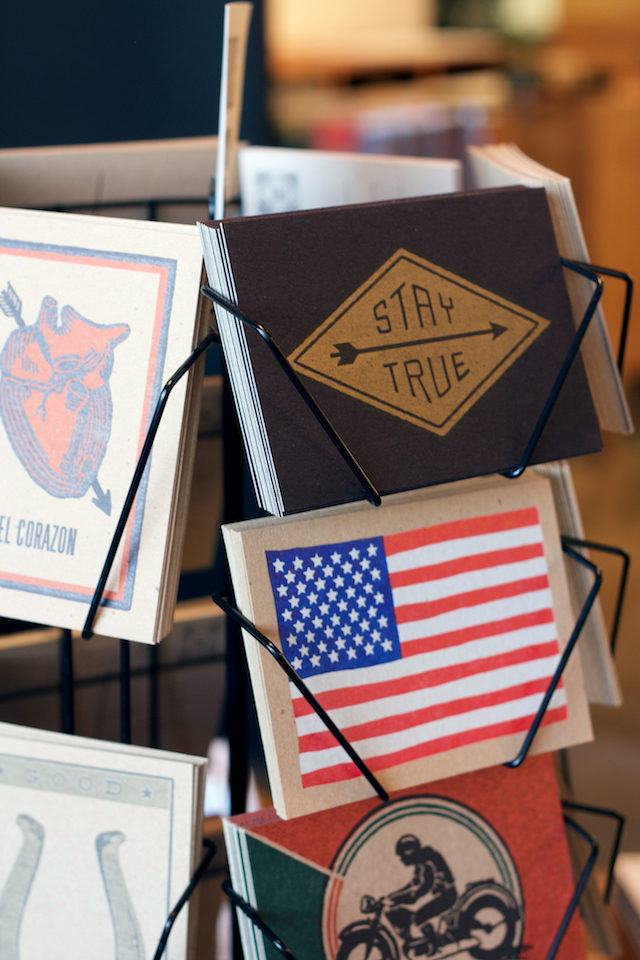
Photo by Lance FloresBehind the Stationery: Hammerpress / Oh So Beautiful PaperOur work - postcards in the shop

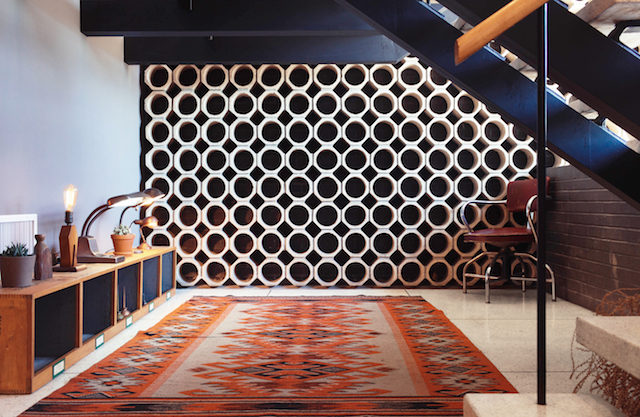
Our new building was vacant before – basically a giant open space with no walls and in need of a lot of attention when we moved in. With the help of some very talented friends and a lot of staring into space in an empty building, we turned it into a really wonderful studio space. The building’s architecture is characterized by a mix of mid-century modern and industrial manufacturing.

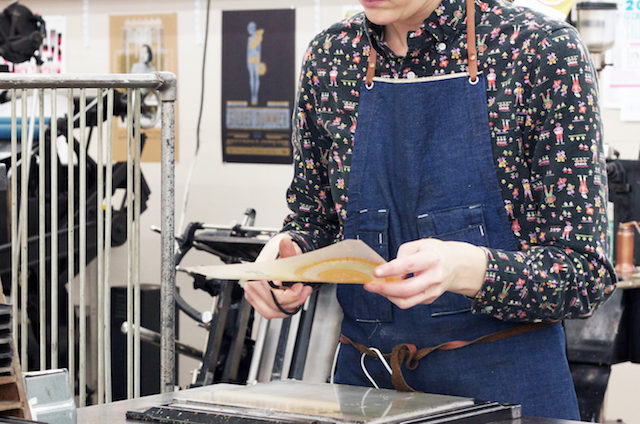
Behind the Stationery: Hammerpress / Oh So Beautiful PaperPressroom - preparing photo polymer plate for You Are My Sunshine card

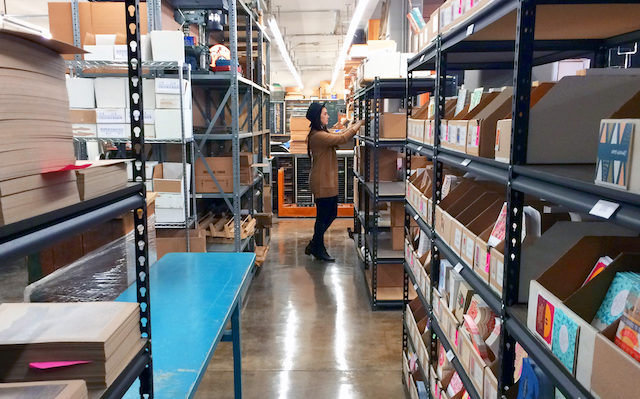
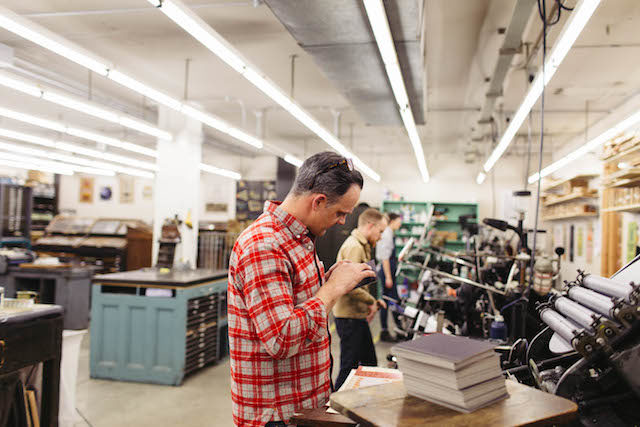
On a typical day, a few people start work at 9 am, and few at 10 am. We like to keep a flexible schedule that accommodates different people’s needs. The press room is usually buzzing by time our storefront opens. You can see through to the shop from the storefront and get a glimpse behind the scenes. Our inventory and fulfillment department is located just behind the front counter. And the office is just beyond that. Currently the designers here at the shop are myself and Jenn Rogers. Britta Rice handles all of our wholesale business, working directly with our retailers, reps, and distributors. Ben Jones and Kate Morgan make up our production team. Debbie Swan and Olivia Tedford take care of order fulfillment and donation requests, and Elise Sanders manages our storefront.

Behind the Stationery: Hammerpress / Oh So Beautiful Paper

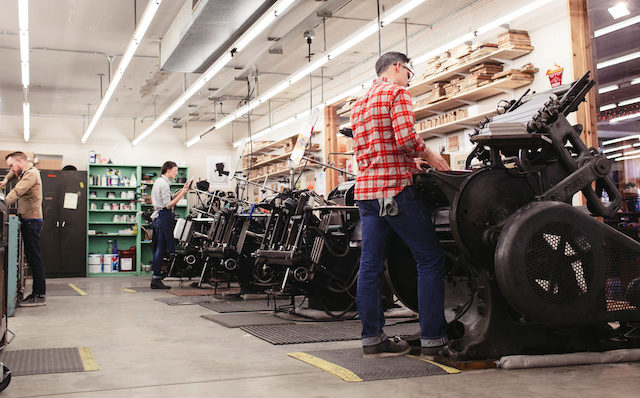
Everything we make here is letterpress printed on recycled-content paper. The majority of our projects are printed on our three Heidelberg windmills. For more particular jobs, we utilize the automated Kluge press, or the two hand-fed Chandler & Price platen presses. And all art prints and posters are produced on our two Vandercook Universal I cylinder presses.

Behind the Stationery: Hammerpress / Oh So Beautiful Paper / PHOTO BY LANCE FLORESPhoto by Lance Flores

With letterpress printing, you’re making a connection with all of the people who designed those machines, all of the people who built them, and all the people who made their living printing on them. And it’s a lovely reminder that there will always be a need for tangible things made by people.

Behind the Stationery: Hammerpress / Oh So Beautiful Paper / PHOTO BY LANCE FLORESPhoto by Lance Flores

Our goal is to continue to make quality letterpress work that has a connection to the roots of letterpress printing, as well as the roots of Hammerpress. I began the company on my own and, whether by accident or by design, established a look and feel that is recognized as Hammerpress work. We strive to keep that connection to both histories while continuing to change and develop fresh ideas and new directions offered by others within the Hammerpress team.

Behind the Stationery: Hammerpress / Oh So Beautiful Paper

We draw inspiration from so many sources that it’s hard to be specific. Each of us look at many different things – old sign painting, postage stamps, matchbooks, textiles, Russian posters, Cuban posters, Vaughn Oliver, Peter Seville, Bruce Licher, folk art, old science books, record covers, fashion, ceramics, etc.

Behind the Stationery: Hammerpress / Oh So Beautiful Paper

Each product usually starts out as sketches or doodles with some loose ideas regarding color, etc. The design process can really vary depending on the type of project. There are some projects that I work on completely solo, without a lot of interaction or involvement from others. But for our stationery products, it’s a few of us collaborating throughout the design process. When we’re developing product for a new release, we meet twice a week for product planning and group critique.

Behind the Stationery: Hammerpress / Oh So Beautiful Paper

After all of these years, I think the most important thing about letterpress printing is the connection to the machine and your hands. As the business has changed over the past 20 years, the connection to the machine always seems to stay the same. We are choosing to take an old and obsolete form of printing and strive to make a living doing it. By this, we are paying an homage to an era of the past.

All photos courtesy of Hammerpress, except where noted.

If you’re interested in participating in the Behind the Stationery column, contact Megan at megan[at]ohsobeautifulpaper.com!