If I had to pick just one standout wedding invitation trend from 2017, it would easily be the return of beautiful and unique handmade paper with deckle edges. Handmade paper is all over my Instagram feed, and with good reason! Handmade deckle edge papers bring incredible depth to a wedding invitation suite, with gorgeous texture and those beautiful, soft feathery edges – and, since the paper is often custom made by hand, it can be made in all sorts of amazing custom colors. Handmade deckle edge paper is also gorgeous in day-of wedding stationery, like menus and seating cards. Today I thought I’d share a few resources for where to find handmade deckle edge paper for those of you who might be on the hunt!
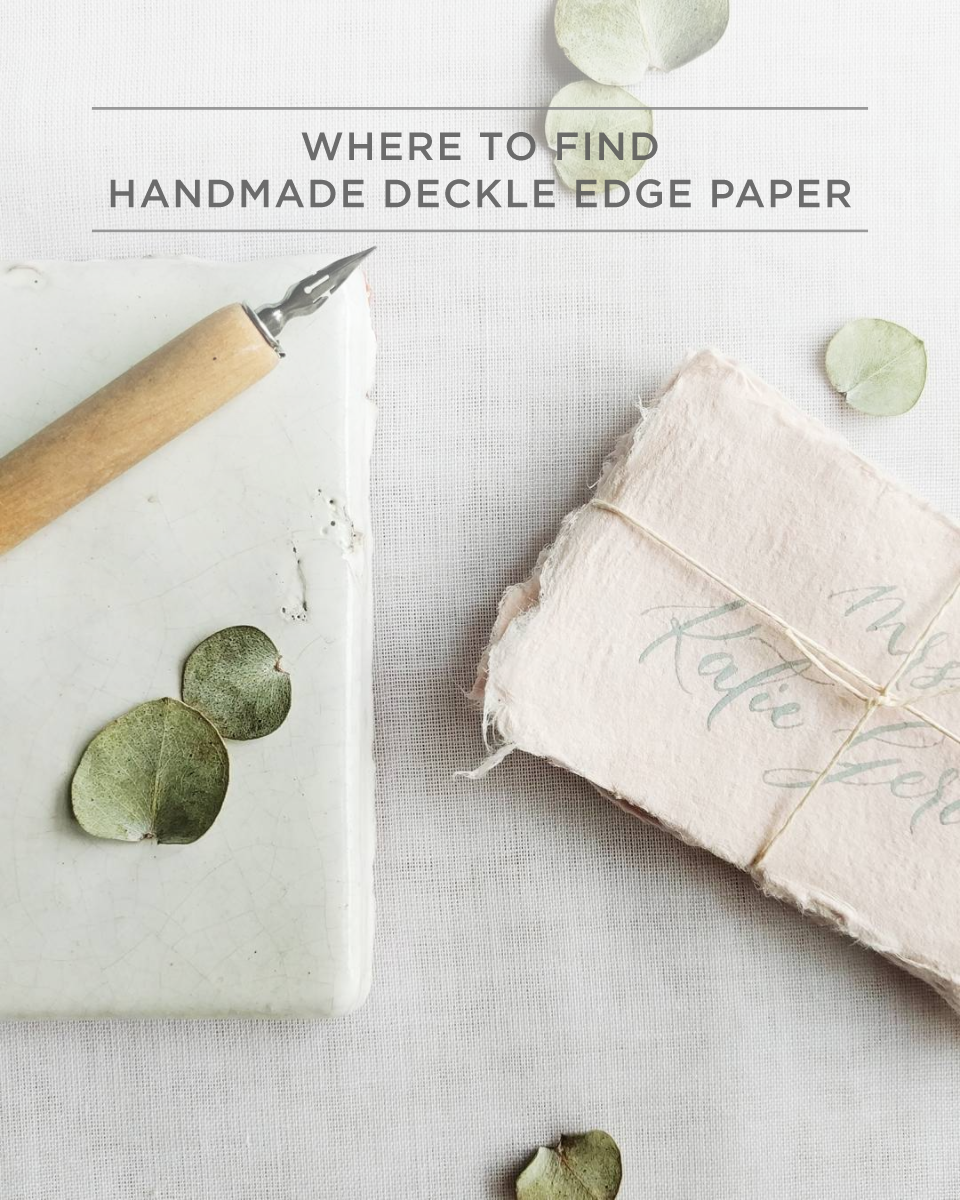
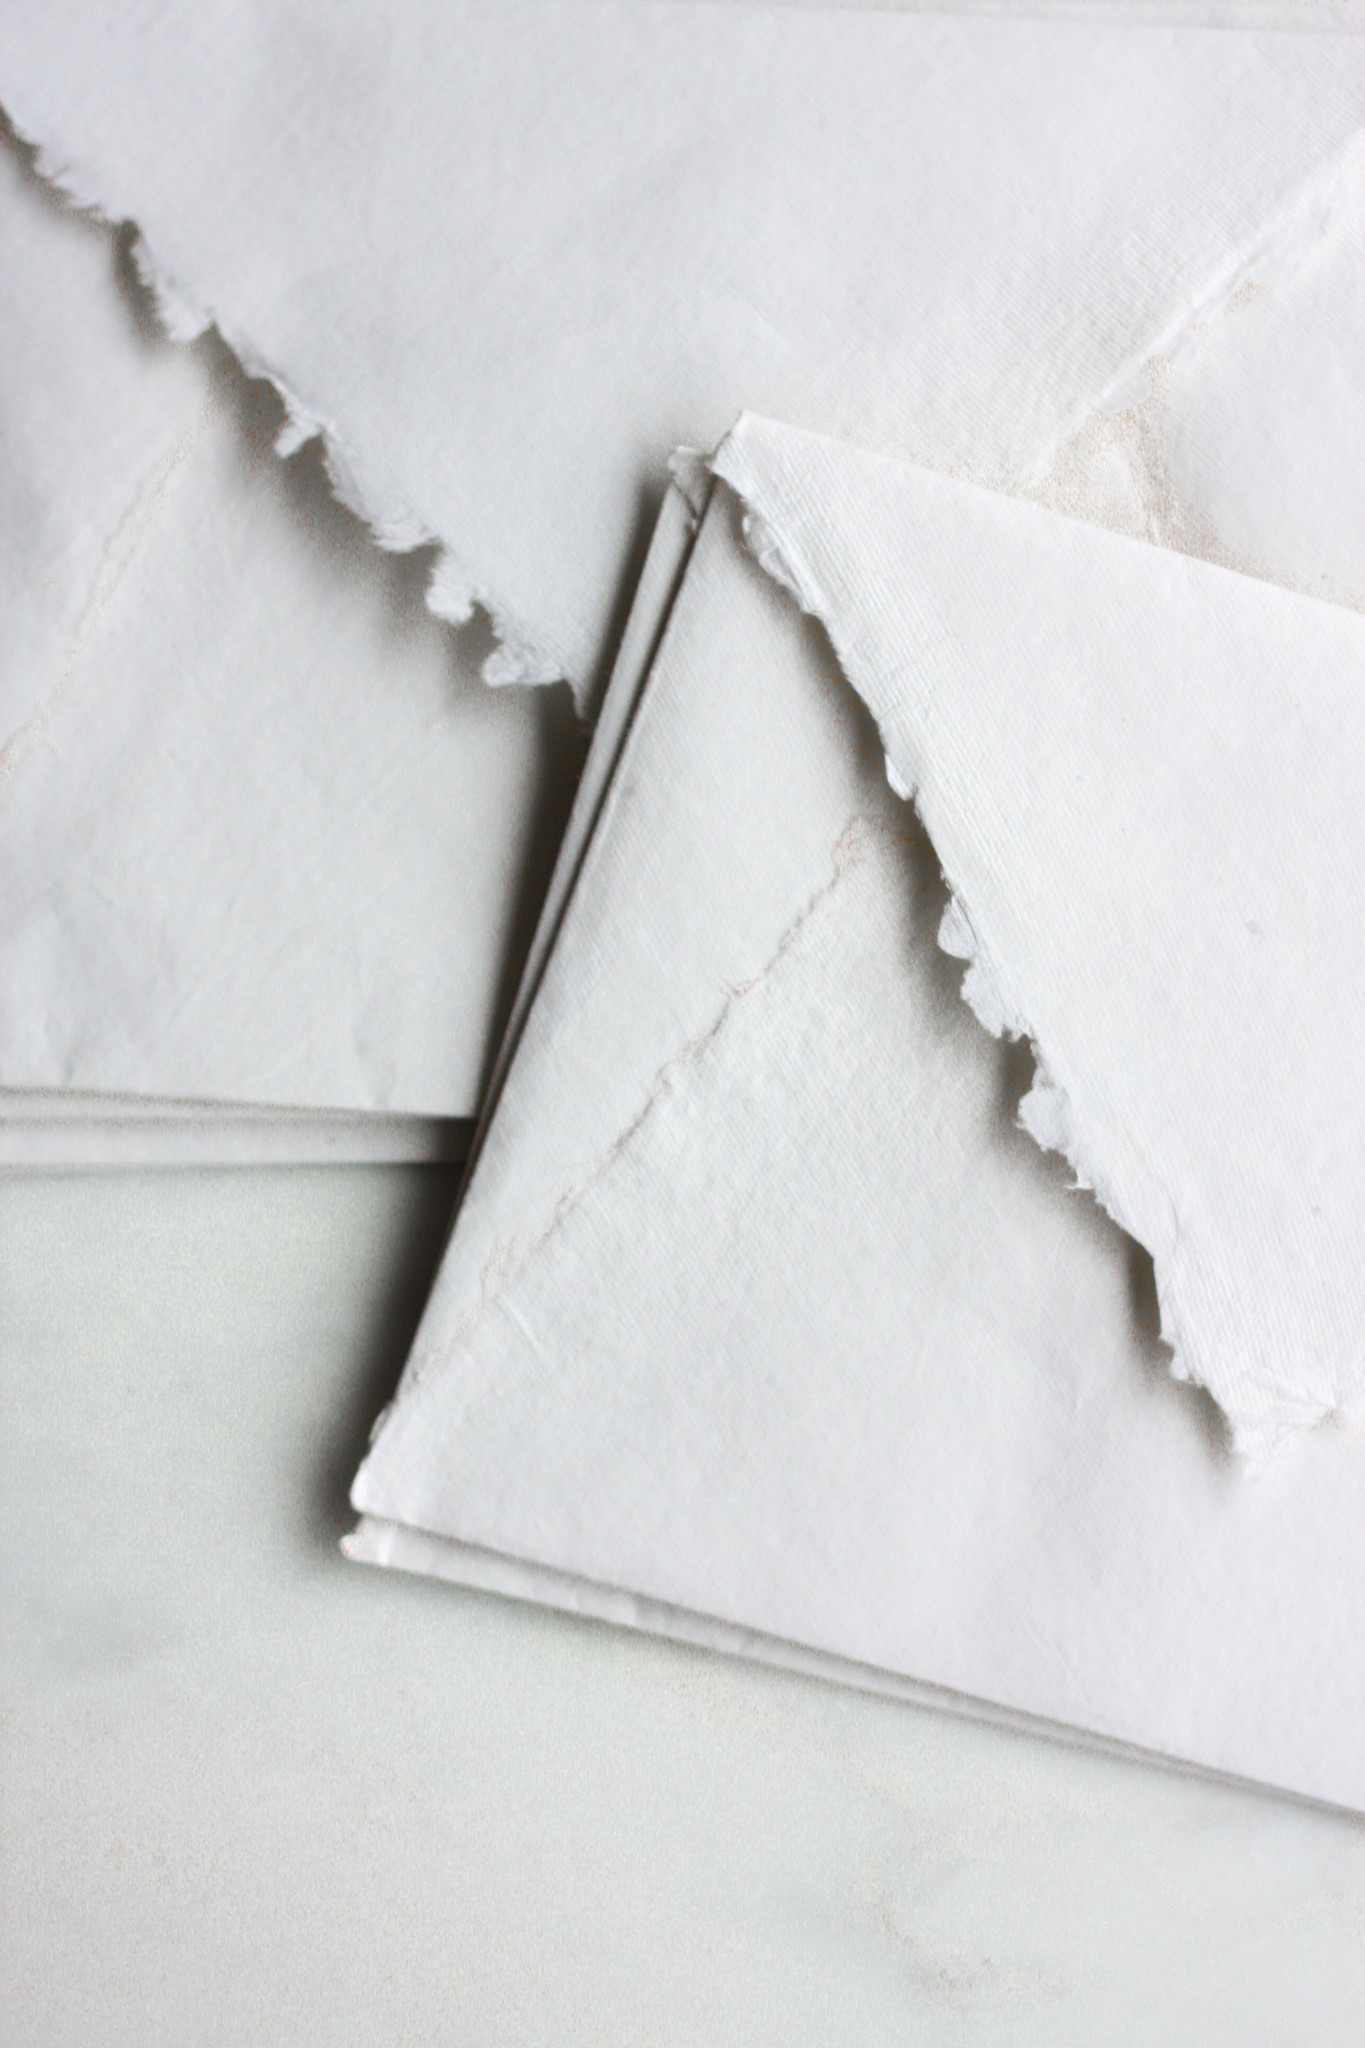
Photo by Little North Company via Instagram
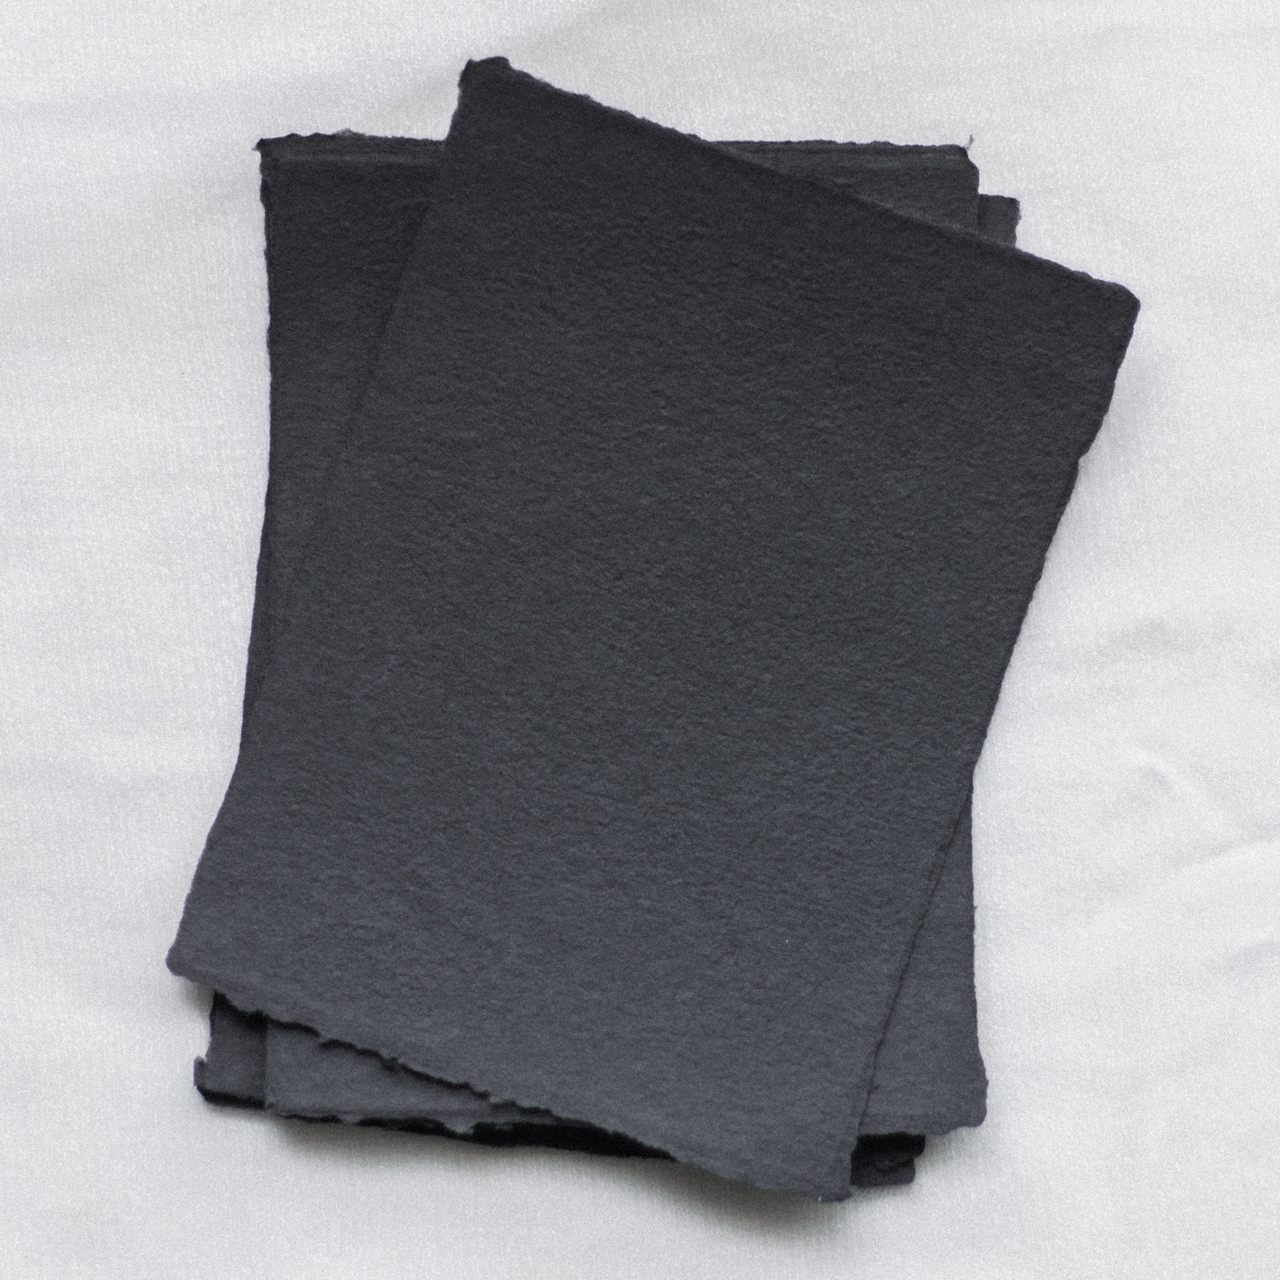
For those of you who aren’t familiar with deckle edge paper, we’re talking about the thin, imperfect edges that result from traditional paper making techniques. During the paper making process, a deckle – or wood fence – is placed in the mould to keep the paper slurry within bounds and control the final size of the resulting paper sheet. During the paper making process, some of the paper slurry passes under the deckle and forms an irregular, thin feathered edge. You can also achieve a deckle edge look by hand tearing machine-made paper using a ruler (this invitation suite is a great example of hand-torn paper), and some handmade paper may also be hand-torn to achieve a specific paper size without a deckle. But for today’s purposes we’re focusing on handmade paper with a feathered edge resulting from a wood deckle.
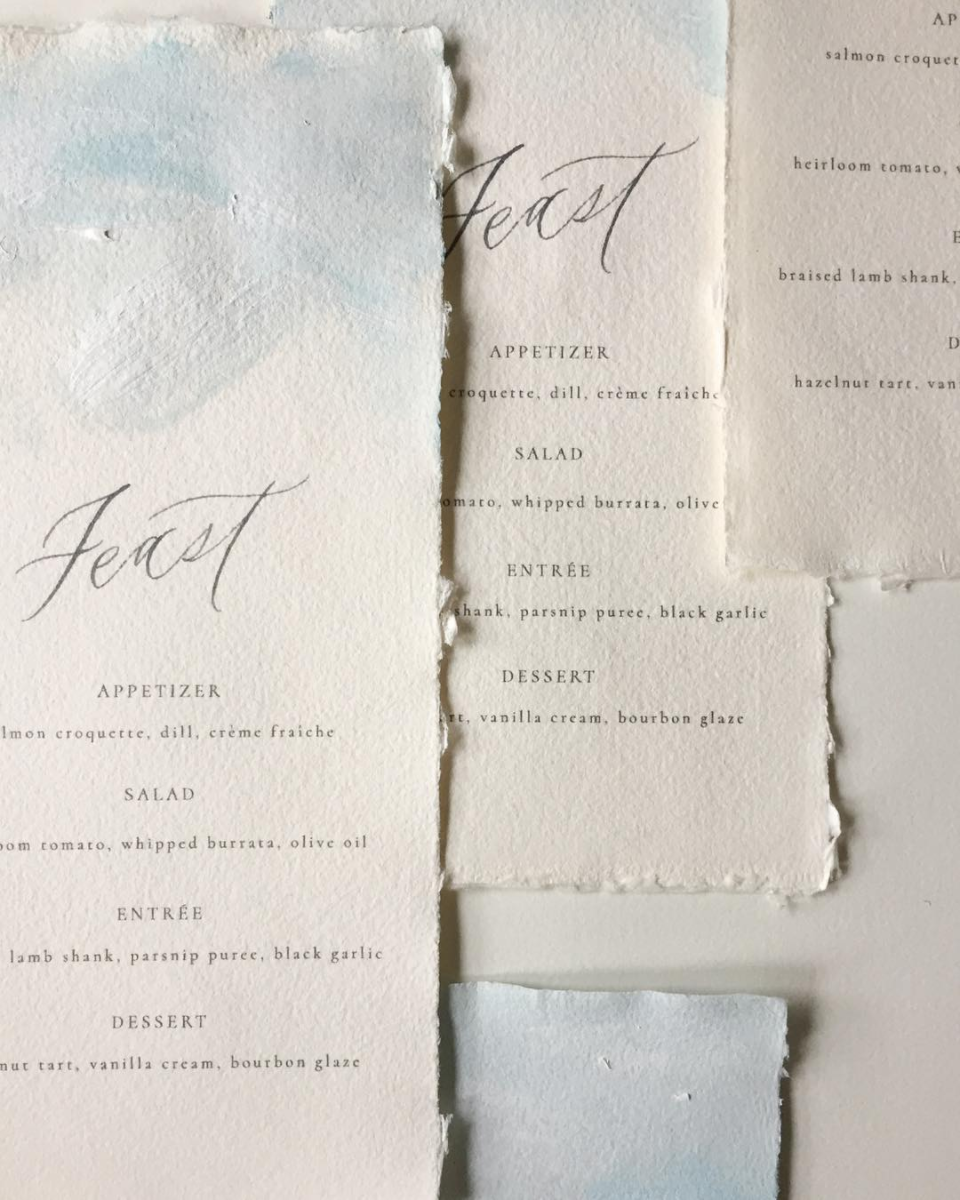
Photo Credit: Jenny Sanders of Graceline
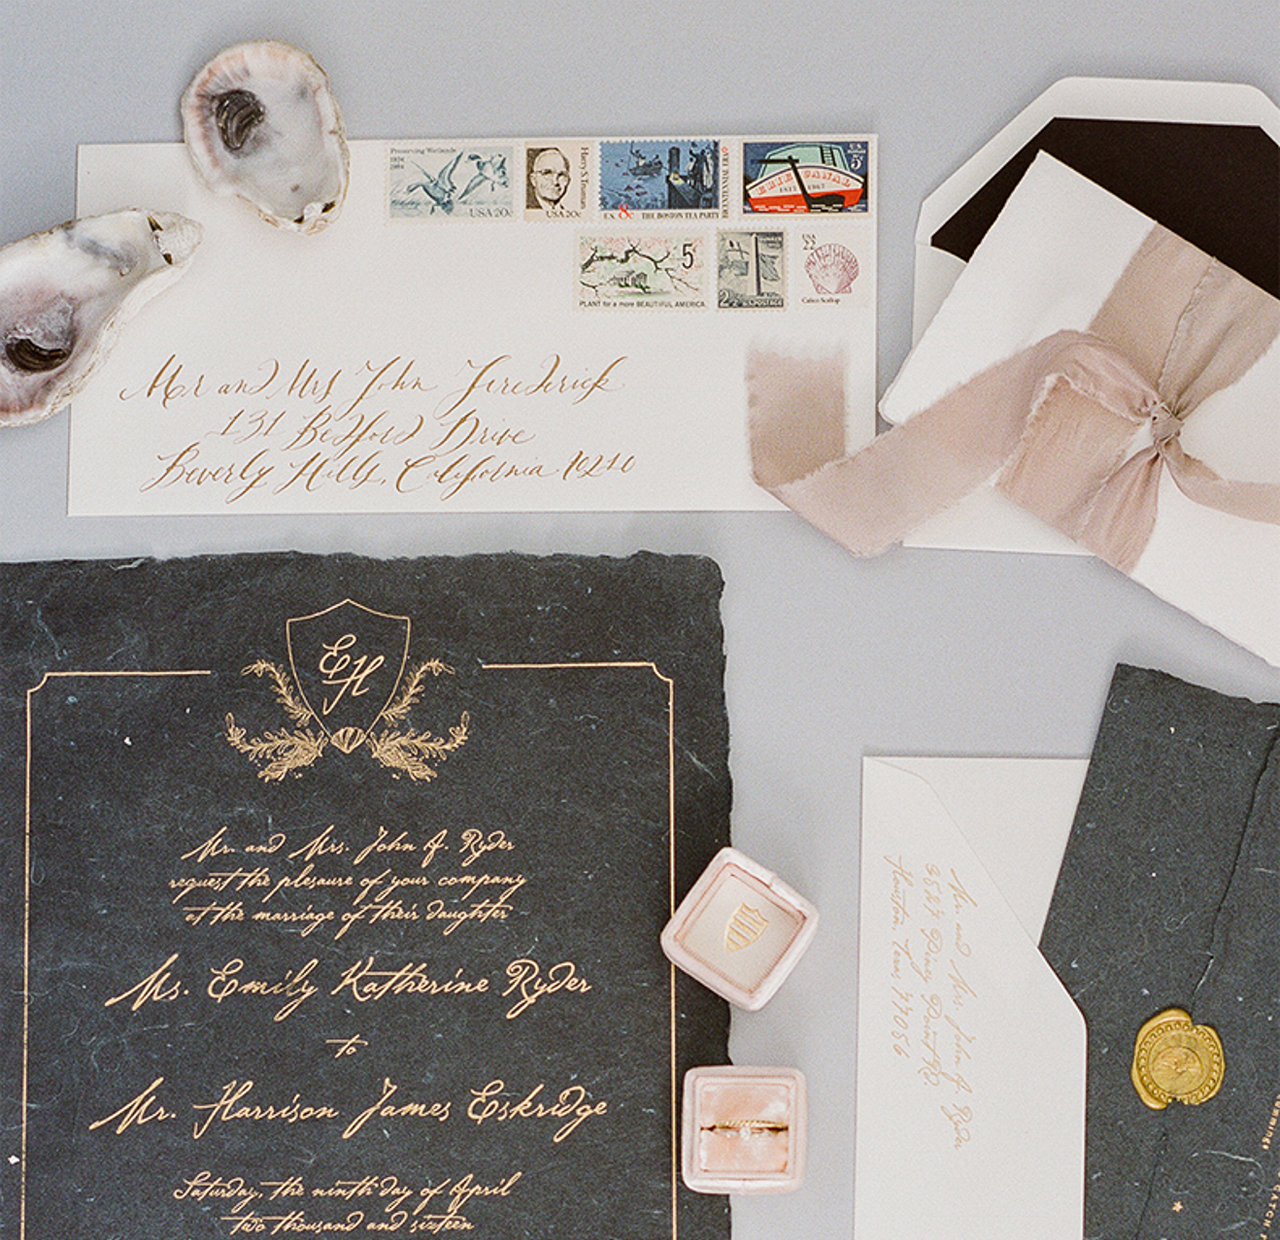
Romantic shipwreck-inspired wedding invitations by Poste & Co. / Handmade paper by Share Studios / Photo Credit: Kelli Durham Photography
Large Paper Orders
If you’re a stationer or calligrapher looking to carry deckle edge paper as one of your house paper stocks, I’m really only aware of two options for large quantity paper orders: the deckle edge paper stocks from Legion Paper (Arturo, Mediovalis, and Rives BFK among others) and Arpa from OrangeArt. I’ve seen the Arturo and Arpa papers in person and you really can’t go wrong with either option – I’m particularly smitten with the lavender and pale pink papers from each line. If you know of other wholesale deckle edge paper options, let me know in the comments and I’ll add them to the list!
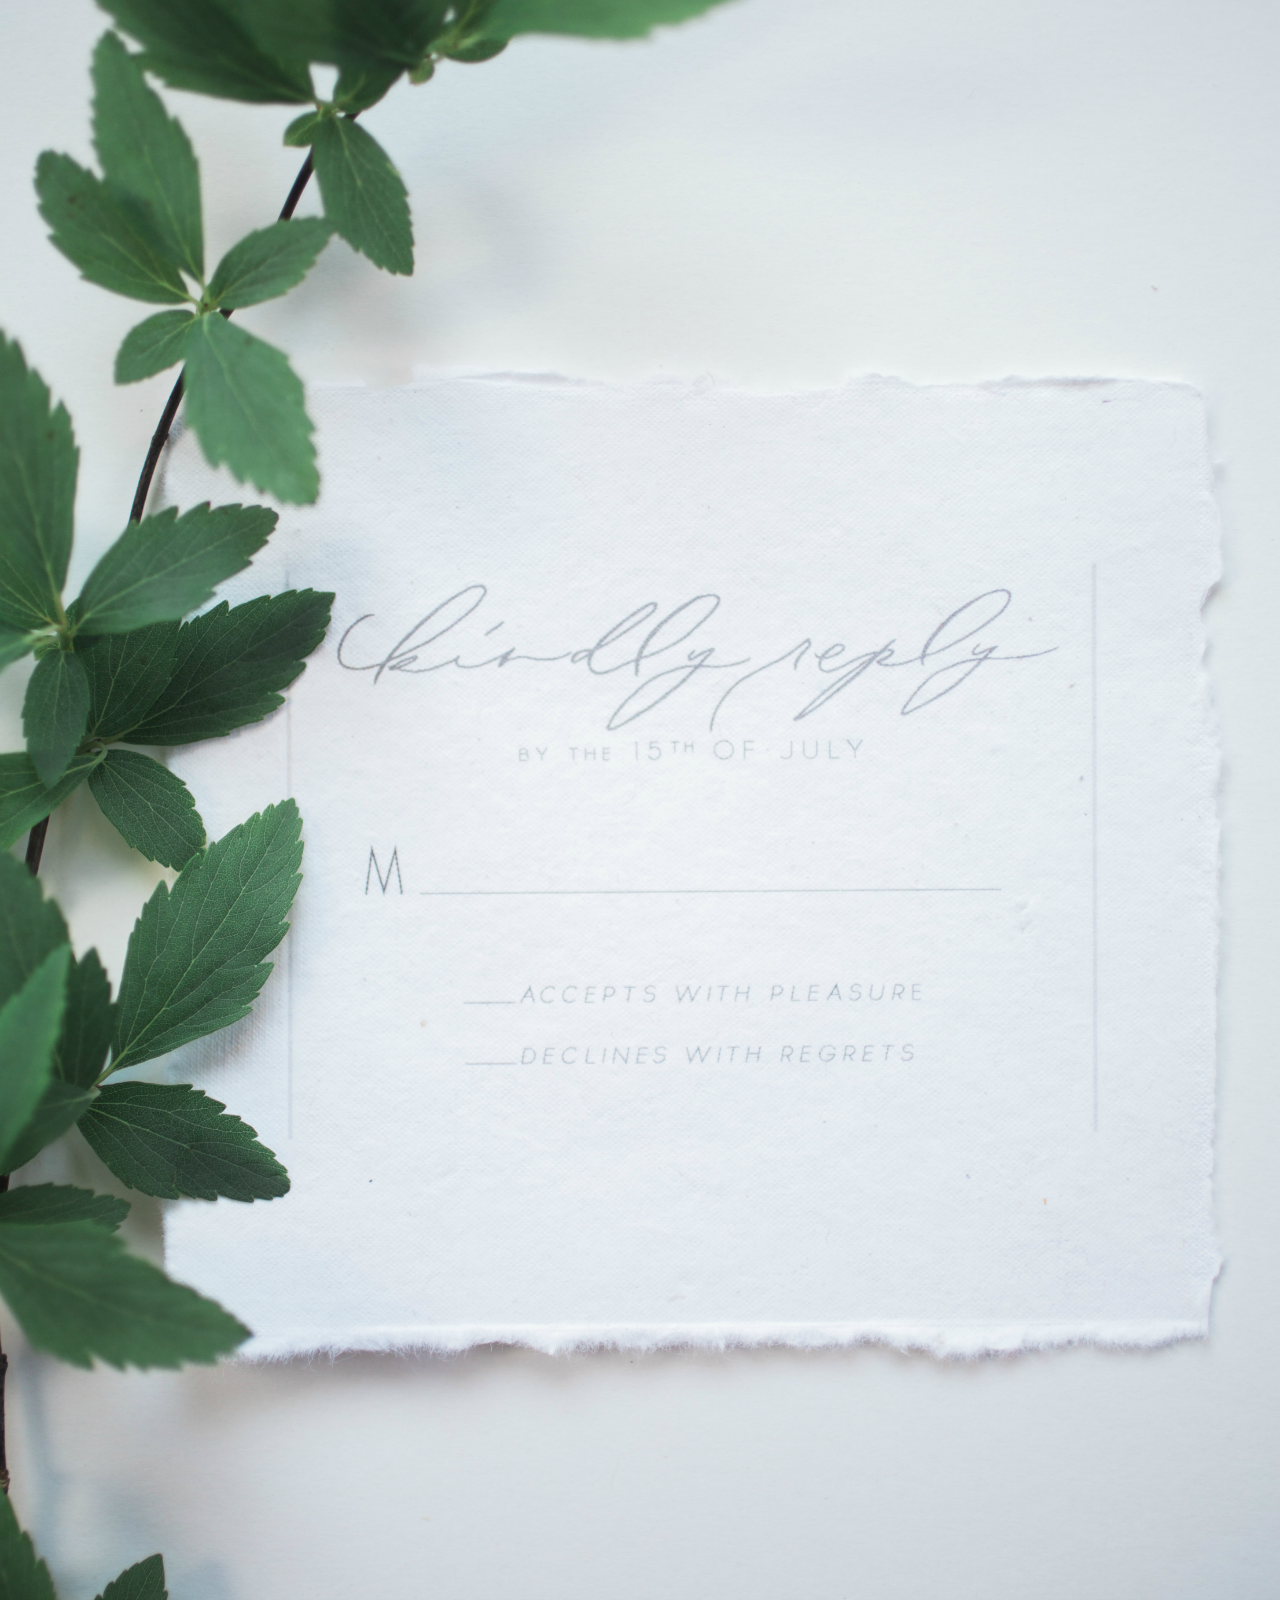
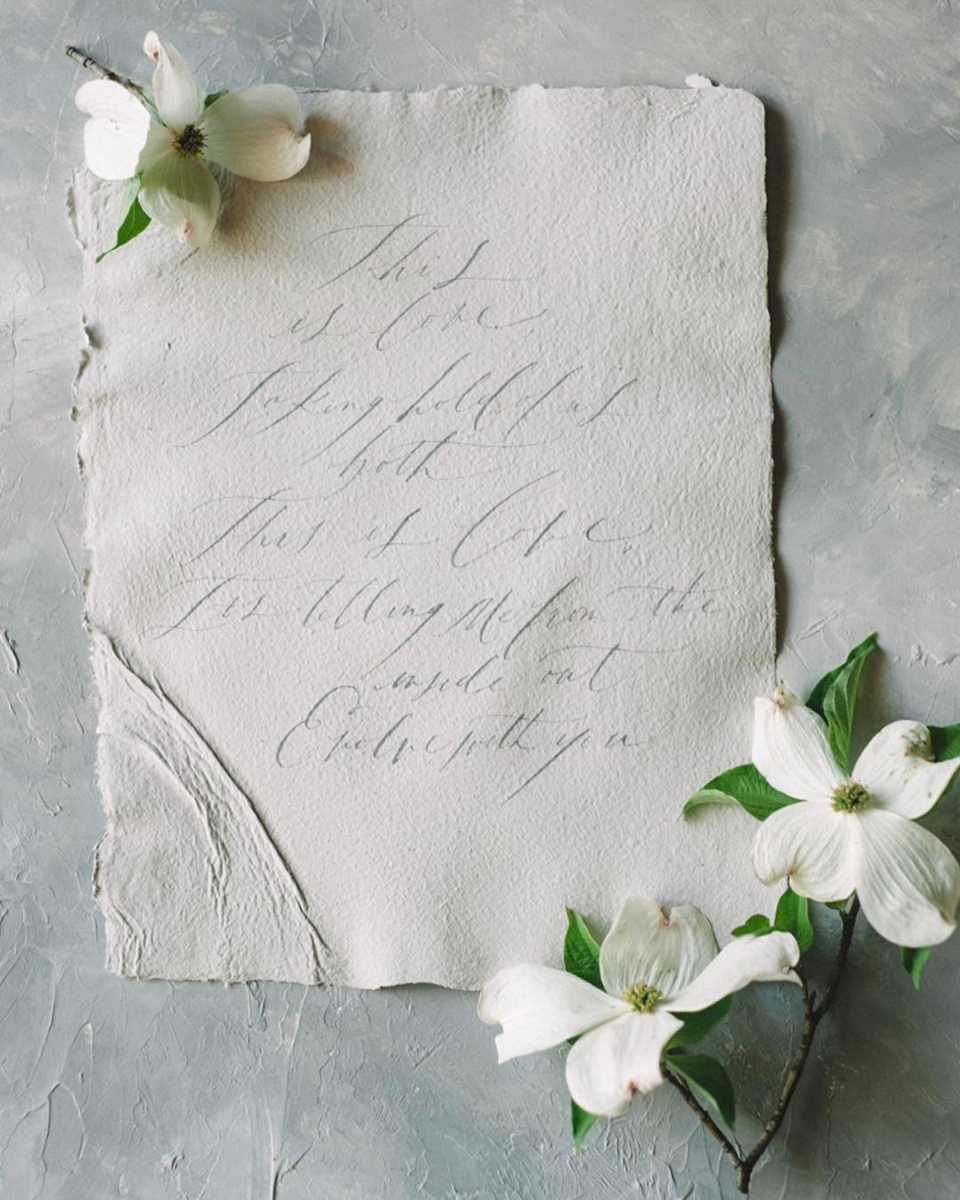
Ethereal vellum wedding invitations by KidGolightly Calligraphy / Handmade paper by Fabulous Fancy Pants / Photo Credit: My Sun & Stars Co.
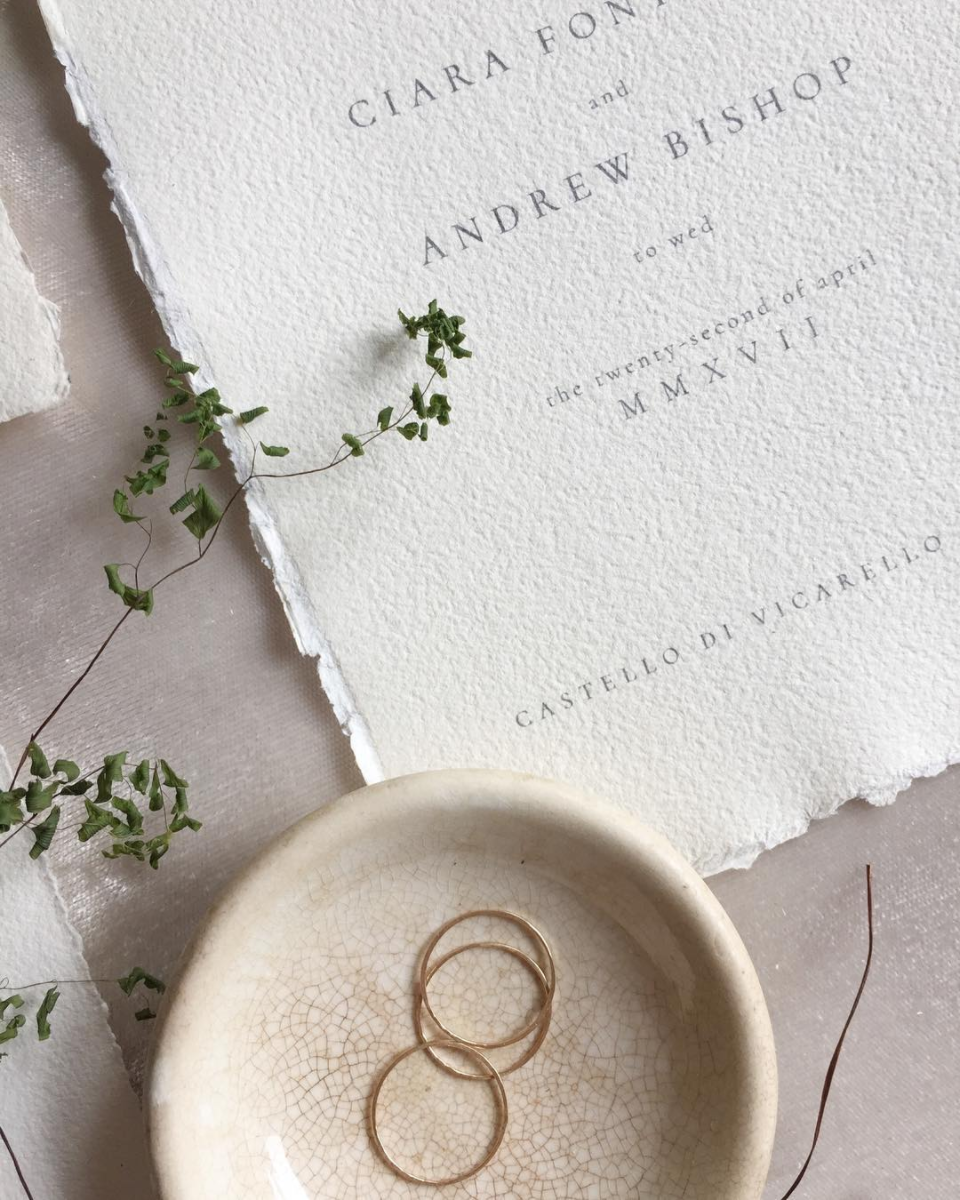
Photo Credit: Jenny Sanders of Graceline
Custom Handmade Papers
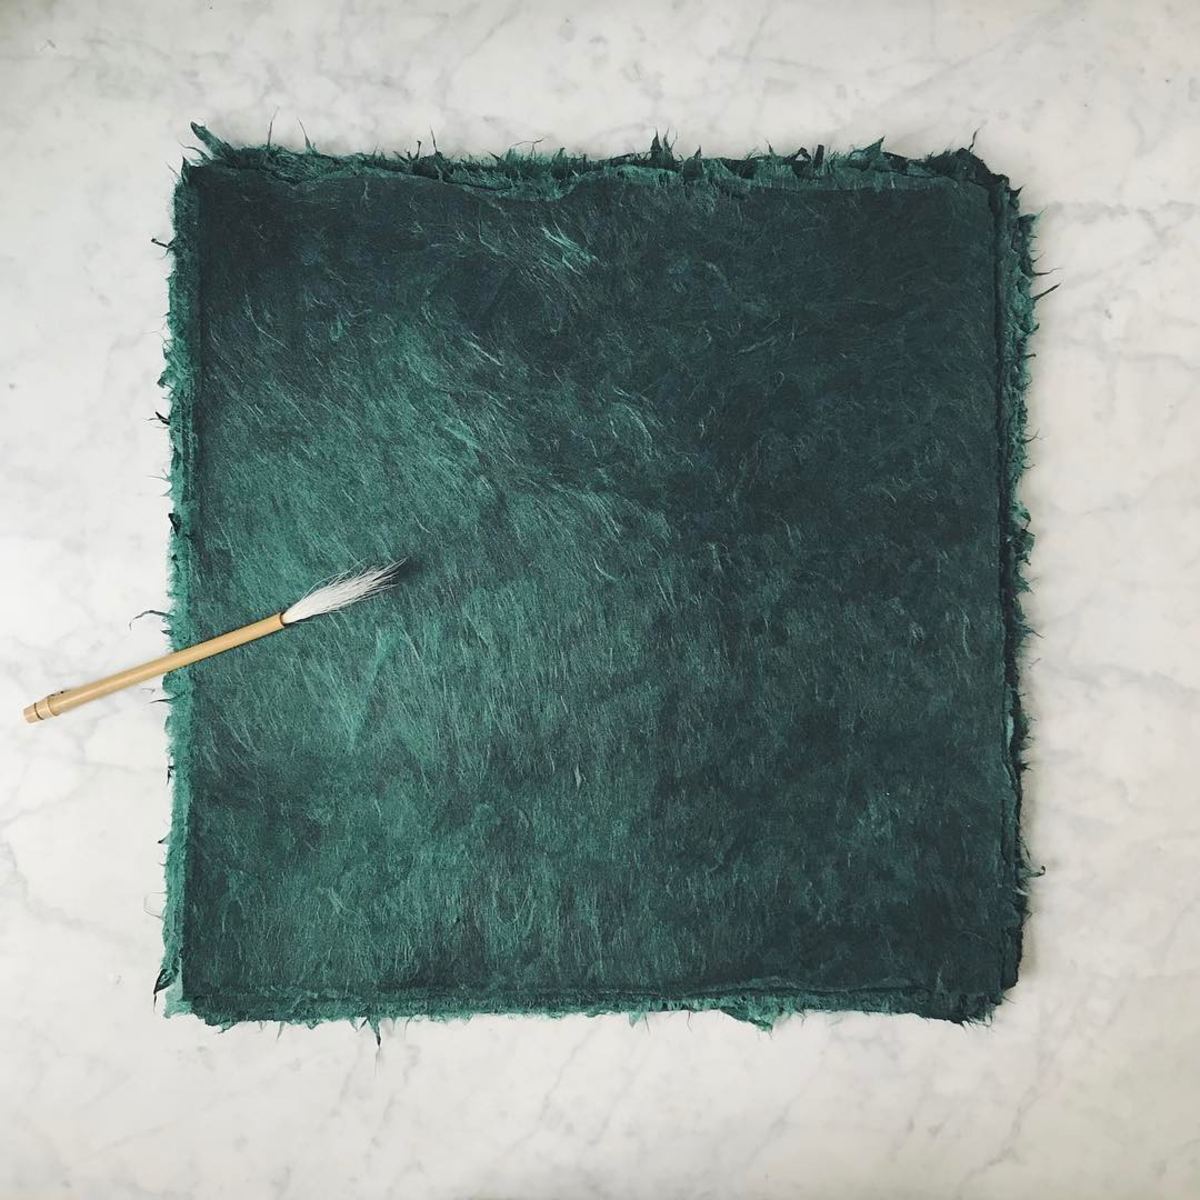
Oooh, this is where things get fun! There are tons of independent handmade paper making studios across the country, all making unbelievably beautiful handmade paper. Since these are small studios (often just one person), they produce extremely limited quantities and may require longer lead times to produce enough paper and/or envelopes for a full wedding invitation suite. But the results are SO worth it! Here are a few of the folks on my radar (in alphabetical order):
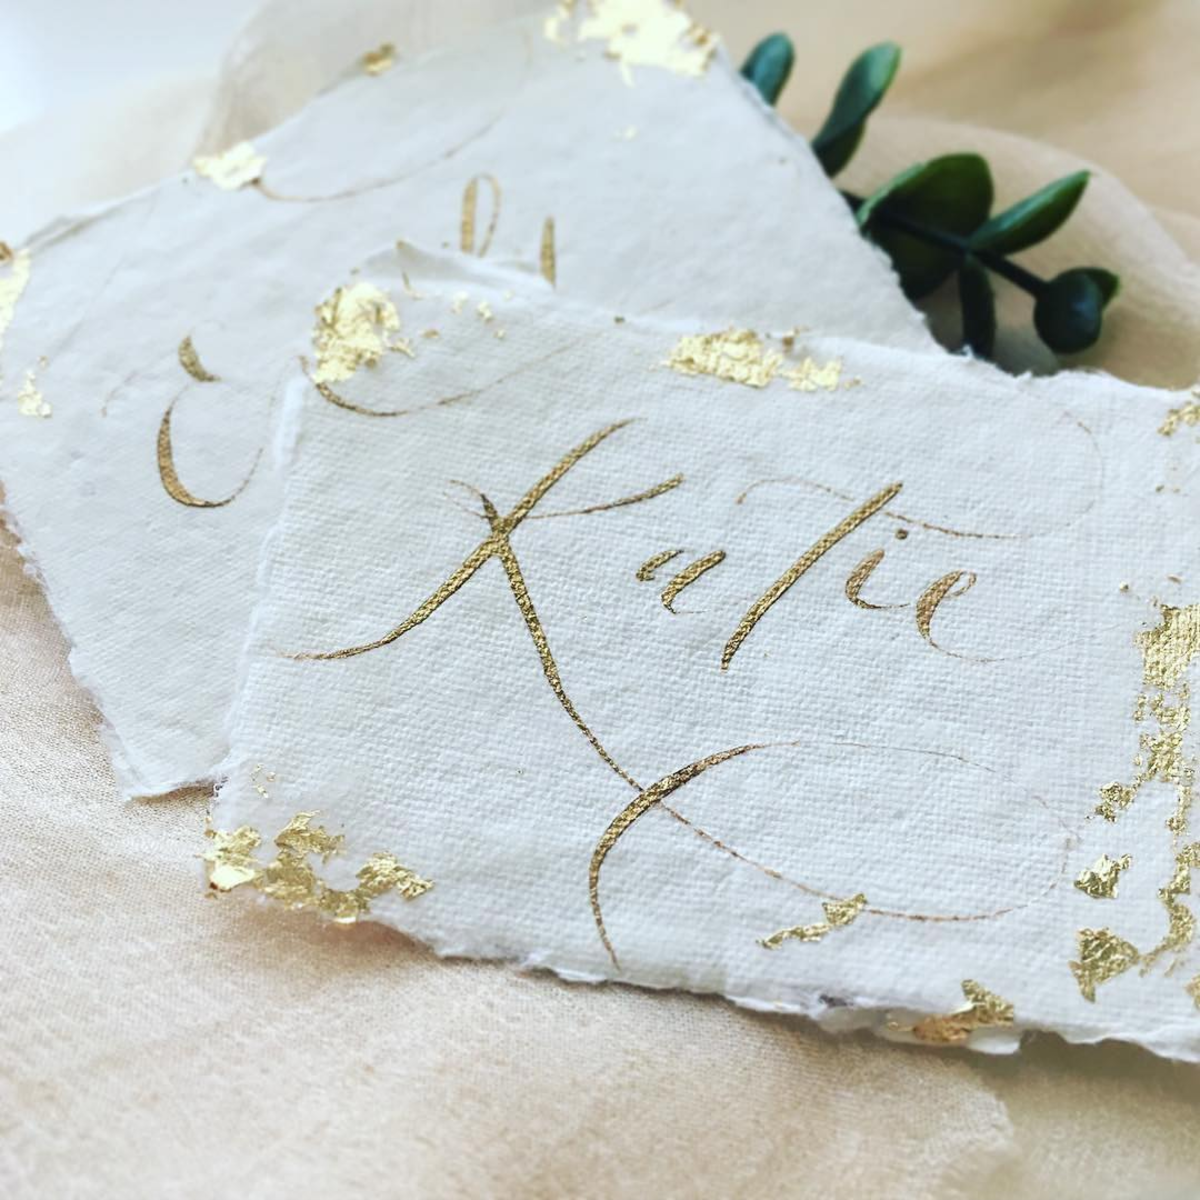
Photo Credit: Barbara Gregory Design
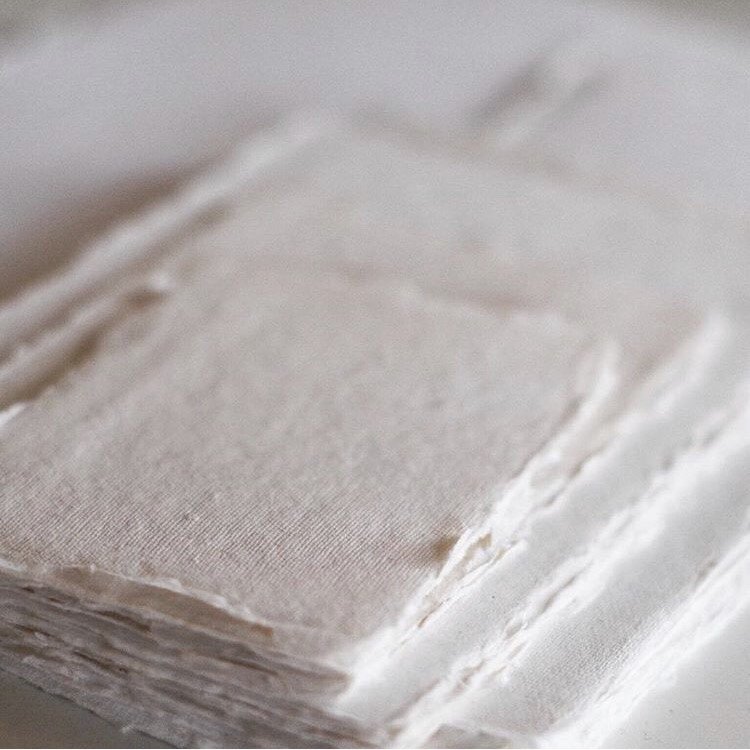
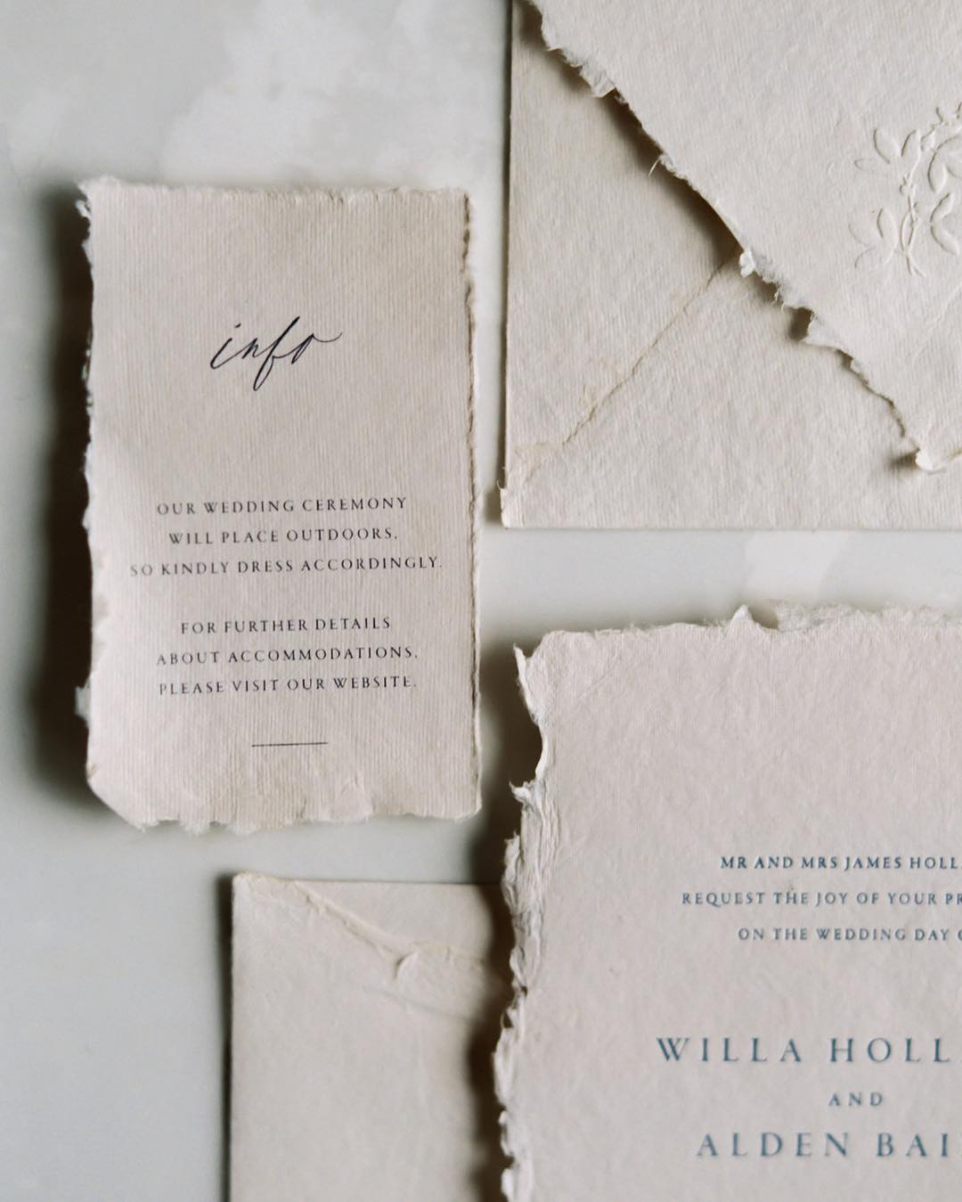
Photo Credit: Erich McVey
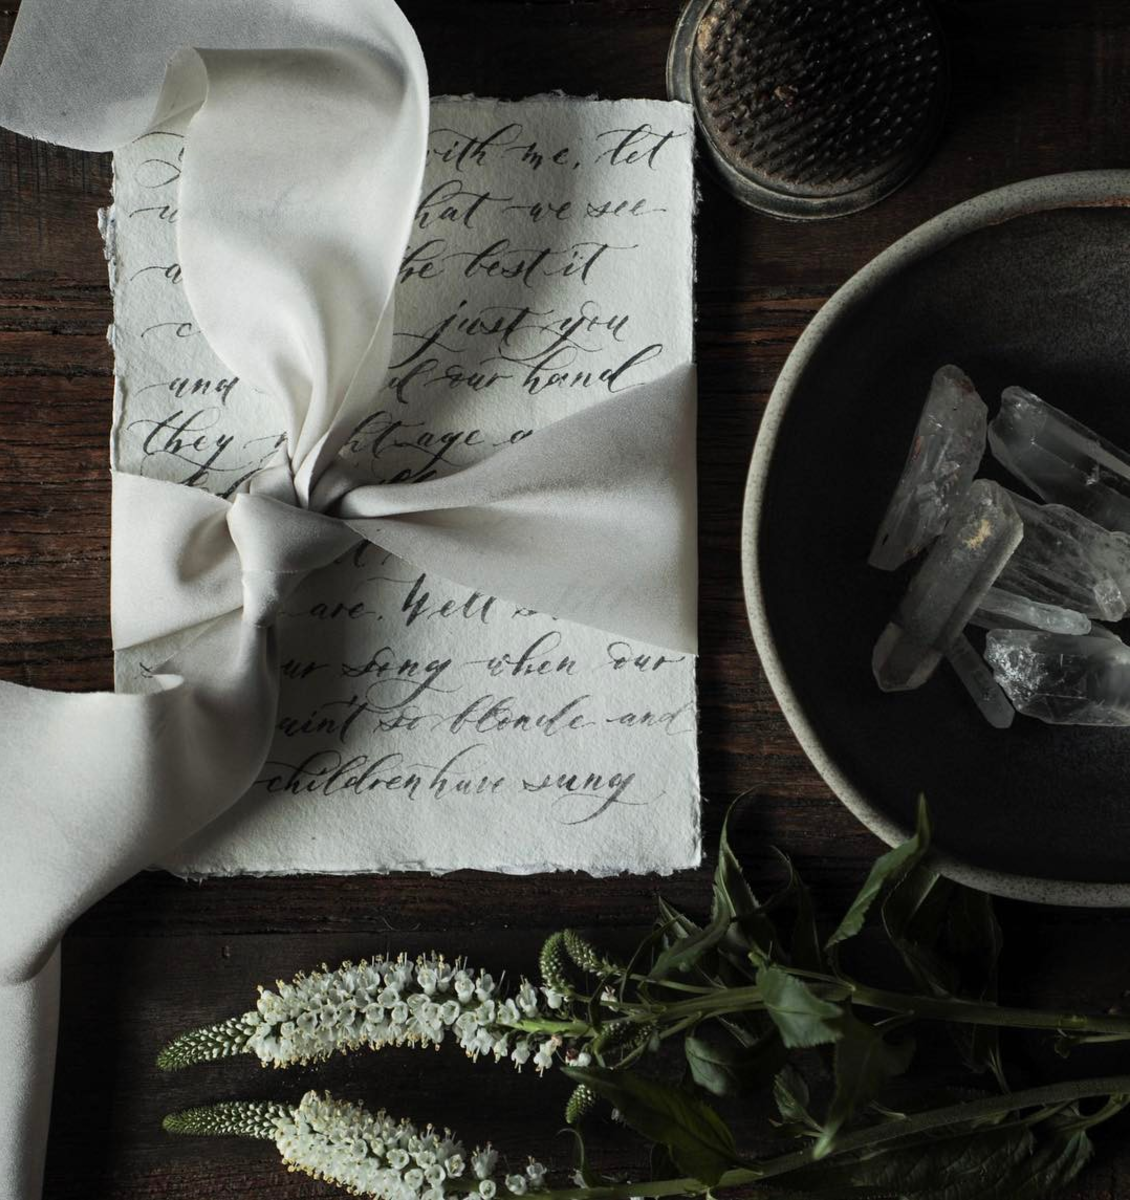
Calligraphy and Photo Credit: Katie Decker Hyatt of Signora e Mare


Photo Credit: Styletter
Calligraphy by Seniman Calligraphy

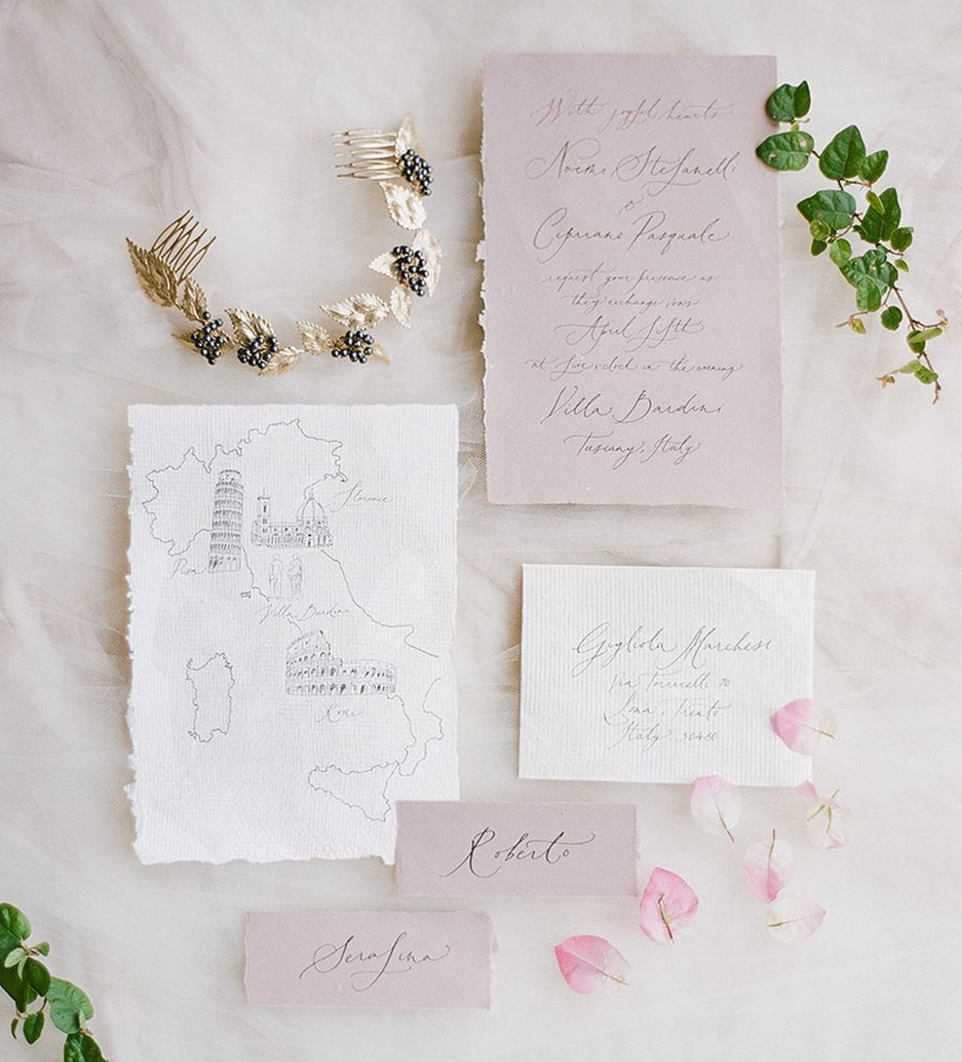
Photo Credit: Jenny Soi
Etsy
You can also find some pretty incredible handmade paper shops from around the world on Etsy – from traditional white and ecru paper to some very non-traditional color and material options. If you’re willing to spend a bit of time searching around, I recommend searching for “handmade paper” and “deckle edge paper” to get the best results. Here are a few of the more interesting shops that I found:
A couple quick tips for using handmade deckle edge paper in your wedding stationery:
Handmade papers vary widely in the materials used, texture, and color of each paper. If it’s your first time using a handmade paper or working with a particular paper maker, it’s probably a good idea to order some samples before placing a larger order.
Tell your stationer, printer, and/or calligrapher as soon as possible if you plan to incorporate handmade paper into your wedding stationery. You’ll want to be sure ahead of time that your favorite paper is compatible with your chosen printing method and invitation design. Writing on handmade paper can be very different from writing on machine-made paper, so your calligrapher will need to know well in advance so he or she can make any necessary adjustments in terms of equipment, paper quantities, or even just the amount of time needed to complete your stationery.
Those are my tips! Are any of you planning to use handmade paper in your wedding invitations?


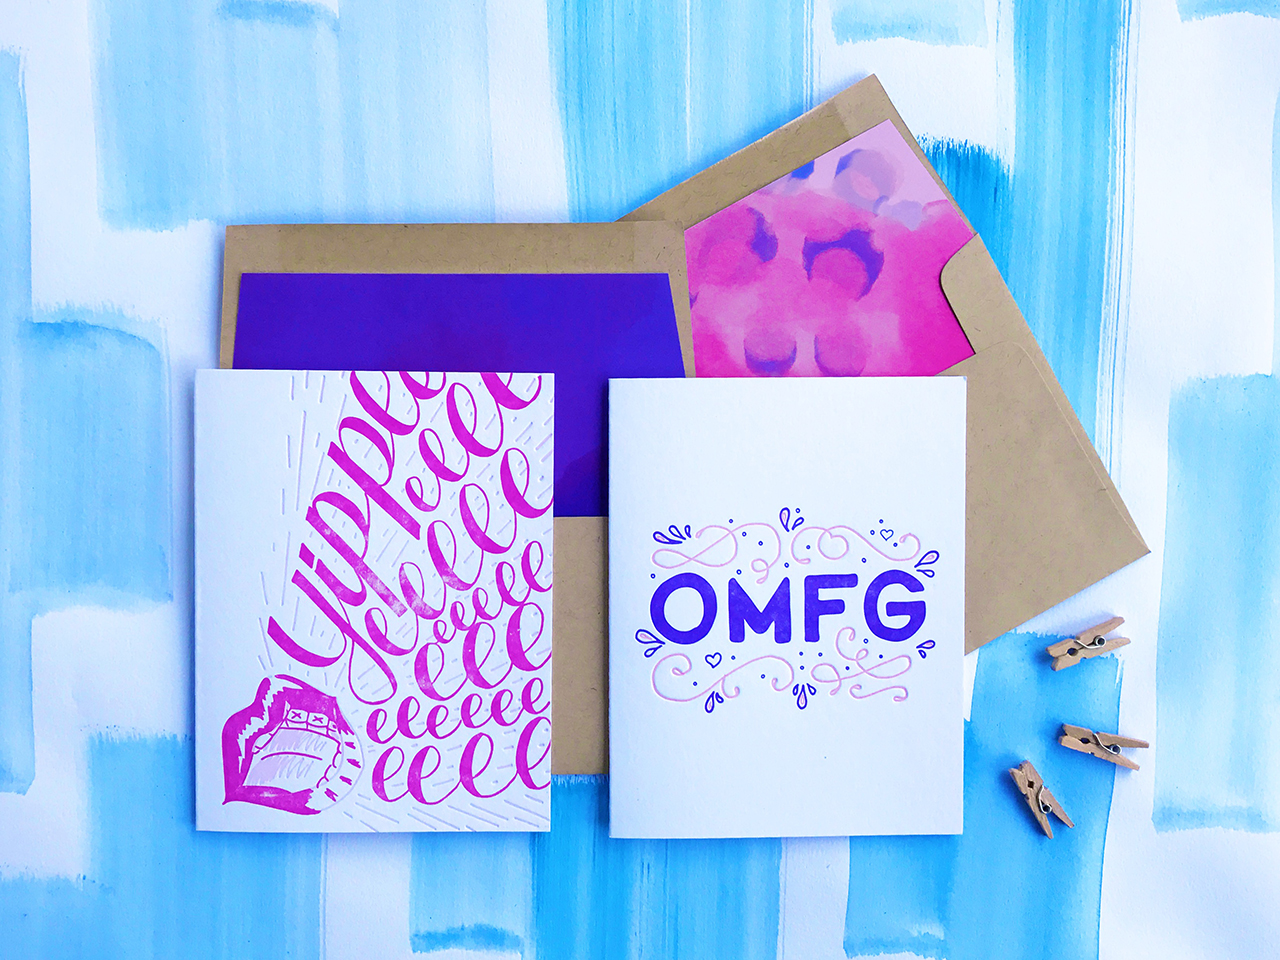
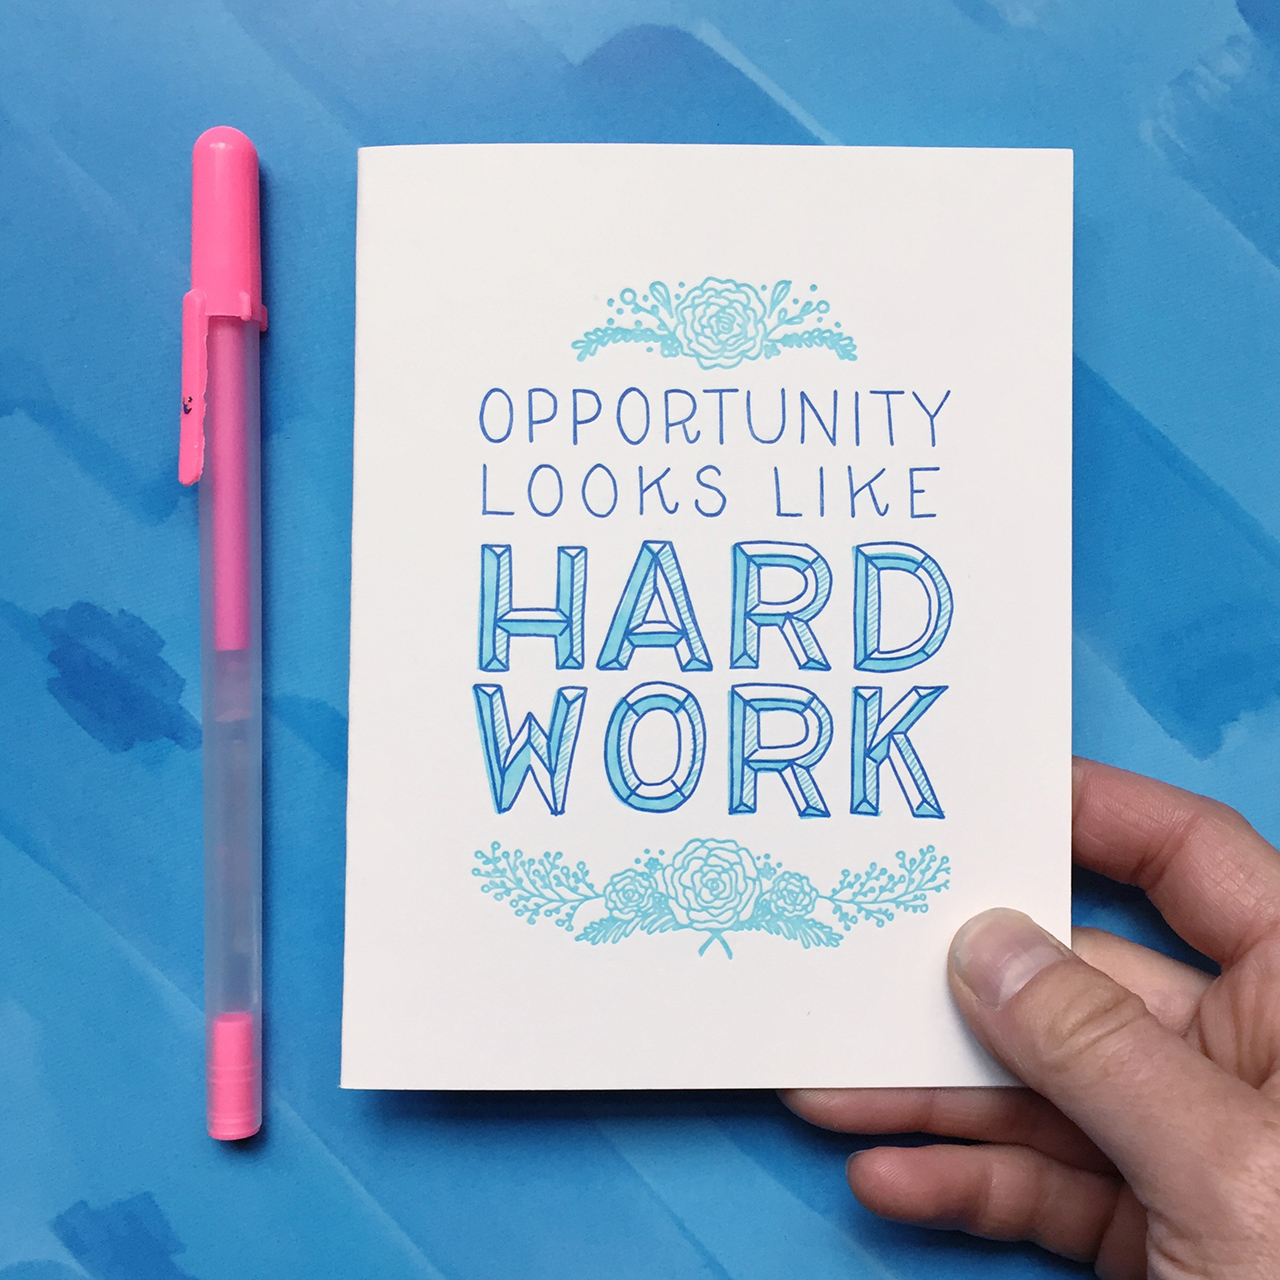
 We brainstorm as a team new product ideas and once we narrow down the general concept of a product, each product follows:


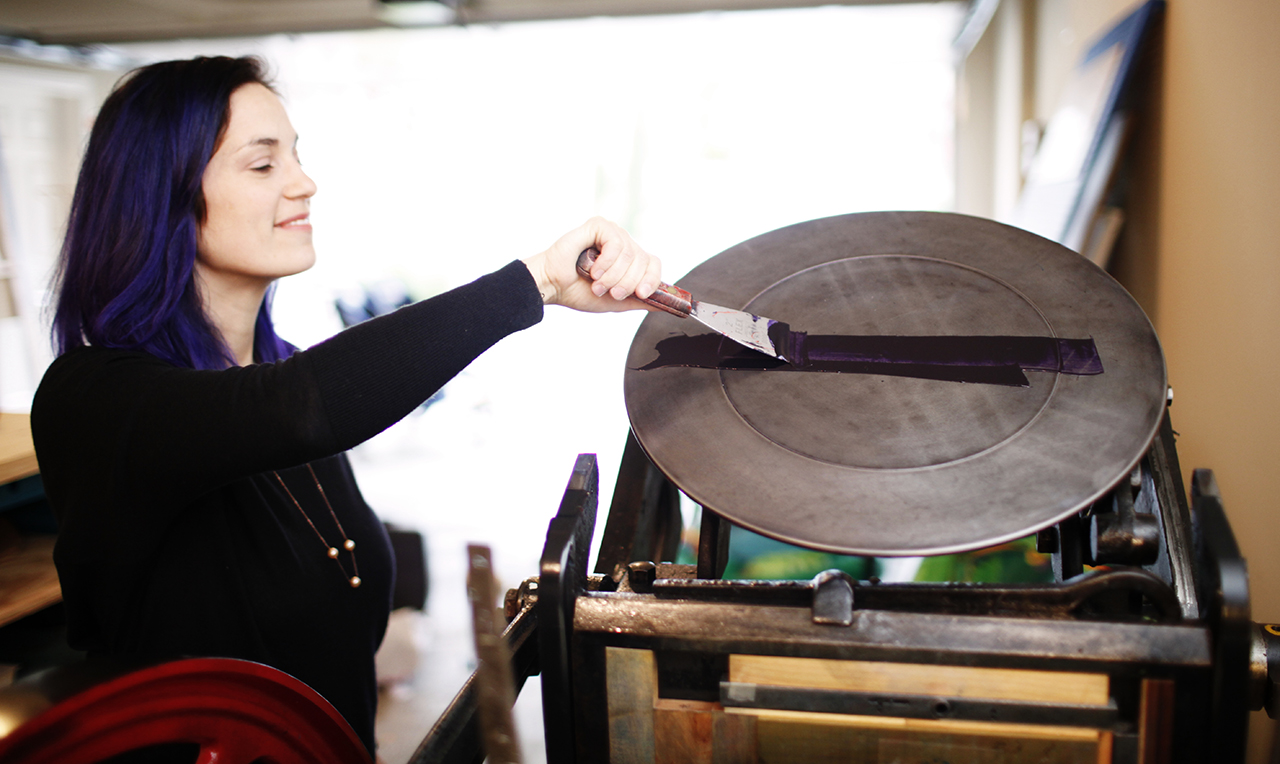
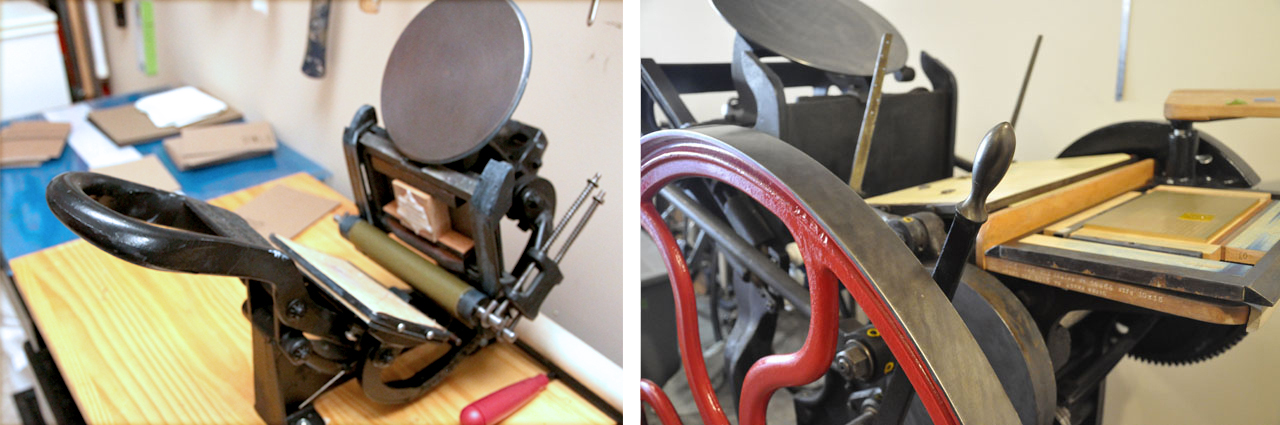 Left: Penny, my 45 pound Kelsey 3×5 printing press, Right: Ruby, my 1,800 pound Chandler & Price 10 x 15 printing press
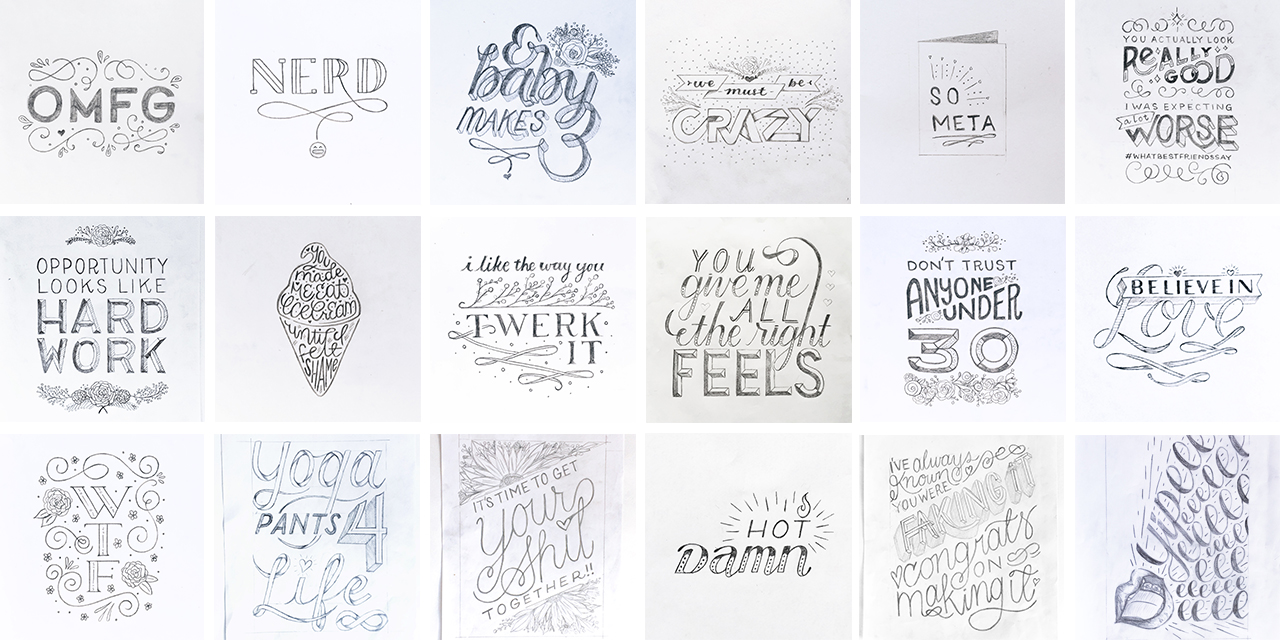
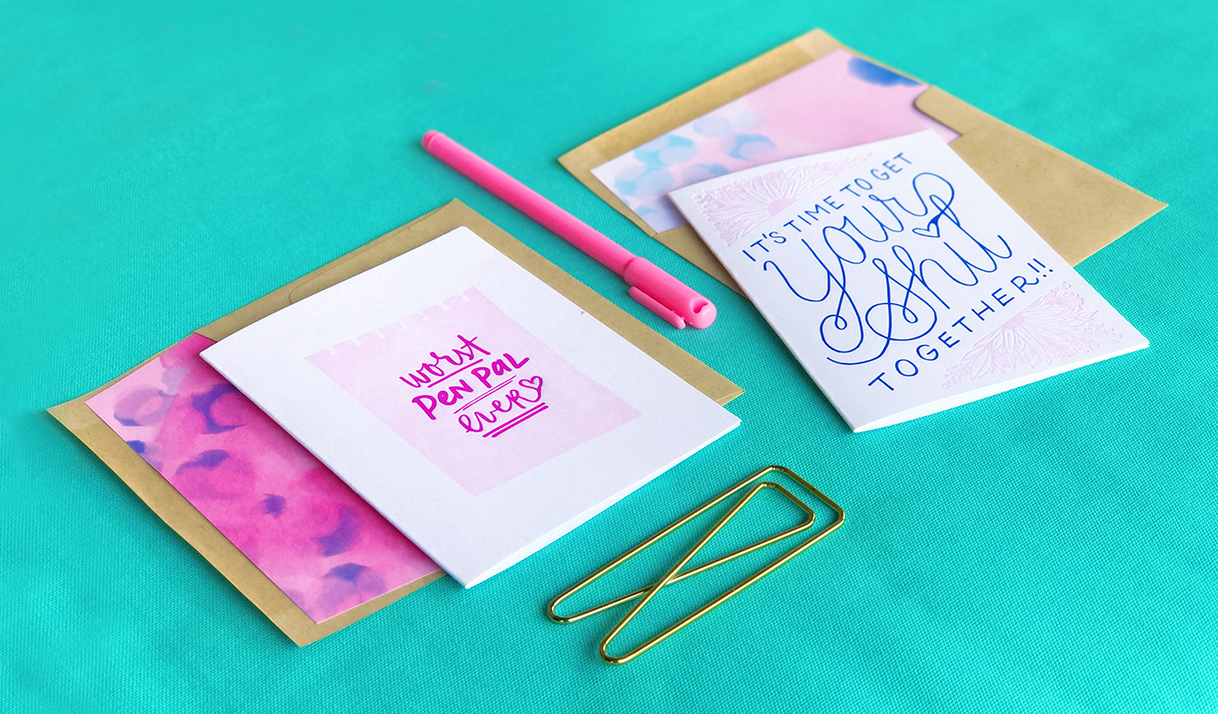
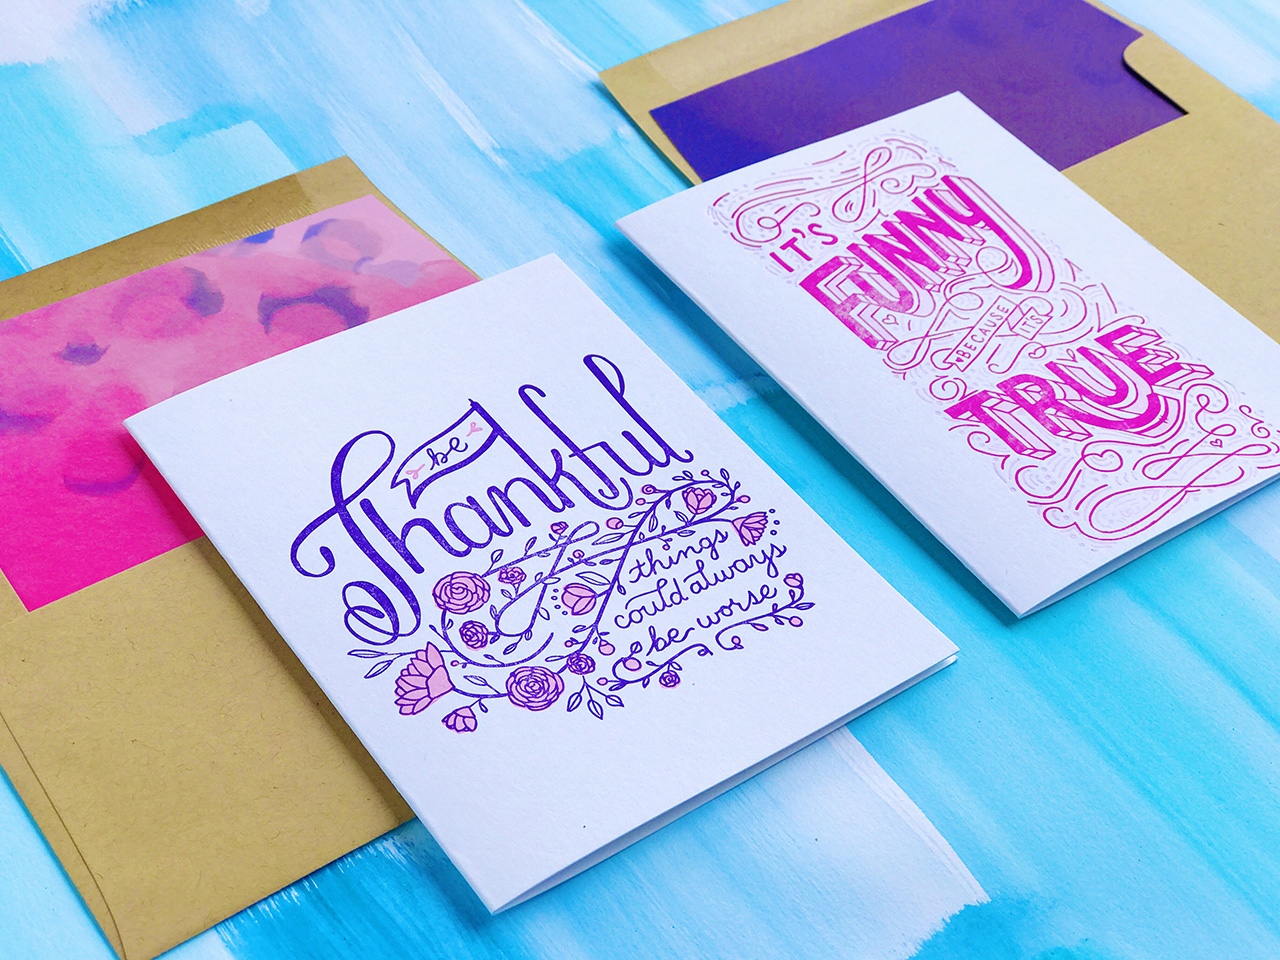
 From top right: