What to Grow in a Cocktail Garden

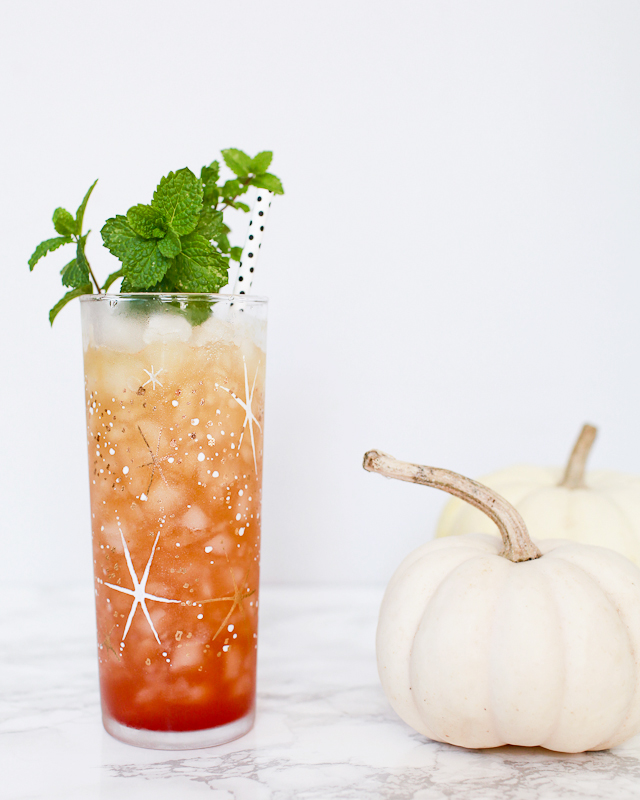
It’s no secret that food and drinks taste better with fresh ingredients – and that goes for cocktails as much as it does for anything else. Growing your very own cocktail garden is the perfect way to make sure you have your favorite ingredients on hand at all times. And you don’t need a huge amount of space to grow a cocktail garden. A kitchen window is all you need to grow a few favorite herbs, while berries and citrus can be grown in pots on a patio or balcony. Here’s what to grow in a cocktail garden!
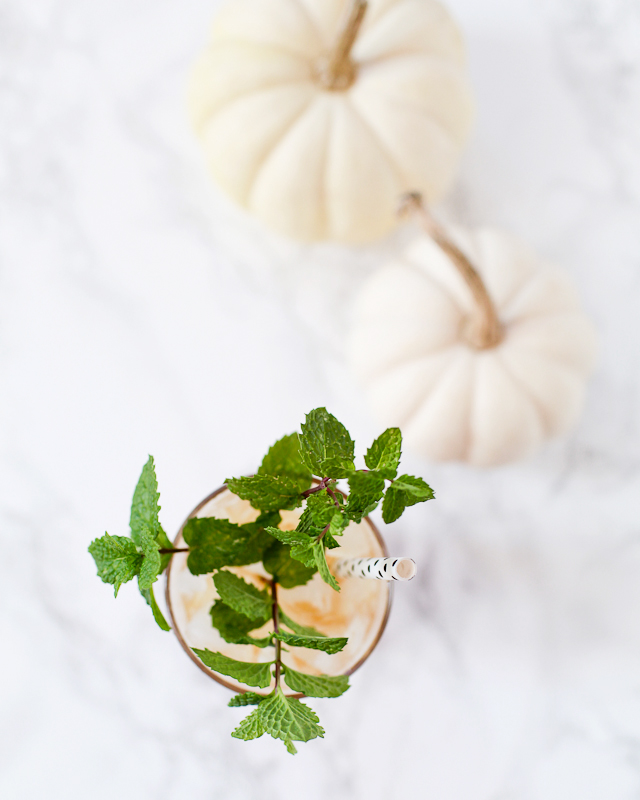
What to Grow in a Cocktail Garden / Oh So Beautiful Paper for eBay

1. Mint
If you only have room for one or two herbs – perhaps even just on a kitchen shelf or window – go for mint. It’s a classic ingredient in everything from Mojitos to Juleps and makes a wonderful garnish even if not directly called for in a particular recipe. Mint thrives under most conditions and spreads easily, making it the perfect candidate for a kitchen window garden or outdoor container garden.
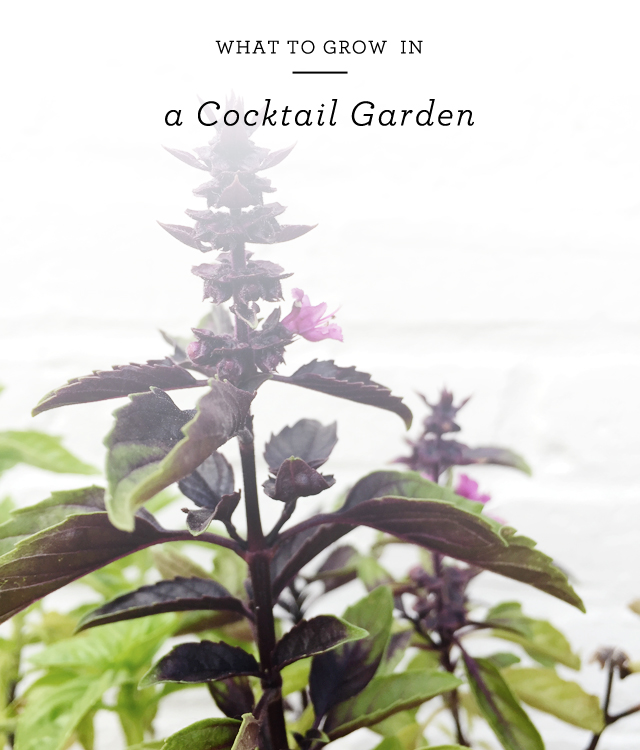
2. Basil
Basil is an underrated ingredient in cocktails – and one of my personal favorites. Sweet Basil is the most well-known variety, but there are several other varieties that do amazing things in cocktails including Opal Basil, Sweet Thai Basil, and Lemon Basil. Basil grows quickly and can easily be grown indoors – and it’s well worth the effort.

3. Rosemary
While mint and basil are staples of summer cocktail recipes, I love mixing sprigs of rosemary into fall and winter drinks. Rosemary pairs wonderfully with whiskey and bourbon – two spirits that I associate with cooler weather.

4. Sage
Sage has such a wonderful and subtle flavor profile – and it’s so versatile! Pair with fresh fruit for light summer cocktails or savory spirits like whiskey and bourbon for the fall and winter.

5. Citrus
If you have the ability to grow any type of citrus where you are – DO IT. Lemons, limes, and oranges are all cocktail staples. And if you aren’t able to grow citrus outside you could always try a potted tree inside!

6. Berries
When the weather gets warm I want nothing more than to pack my cocktails full of fresh seasonal fruit and berries. Blackberries, strawberries, blueberries, and raspberries are fantastic in everything from muddled drinks to summer sangria!

This post was created in partnership with eBay. All content and opinions are my own. Thank you for supporting the sponsors that make Oh So Beautiful Paper possible!

A Sherry Zombie

Tomorrow is Halloween, and what could be more fitting than a Zombie? The classic Tiki drink is something of a gimmick, totally over-the-top, and not particularly good. But this version? You’ll actually enjoy drinking it. And bonus: you can even light it on fire for a fun Halloween party effect! – Andrew

Sherry Zombie Halloween Cocktail Recipe / Liquorary for Oh So Beautiful Paper

A Sherry Zombie

1 oz Amontillado Sherry
1 oz Aged Rum
1 oz Jamaican Rum
1 oz Lime Juice

1/2 oz Pineapple Juice
1/2 oz Pineapple Shrub
1/2 oz Grenadine
1 oz Overproof Rum

Combine the sherry, rums, and shrub in a highball glass filled with crushed ice and give it a stir. Top with the grenadine, which will bleed down into the drink. Top the drink with half a spent lime shell, then pour the overproof rum into the lime shell and light it on fire. Round out the garnish with fresh citrus or tropical fruit. Stick a straw into the glass and enjoy!

Sherry Zombie Halloween Cocktail Recipe / Liquorary for Oh So Beautiful Paper

The original Zombie, which dates back to the 1930s and the golden age of Tiki, was always a little ridiculous. It contains three ounces of rum and that’s before you float the overproof rum on top. Don the Beachcomber, who created the drink, limited these to two per guest per night, both a prudent move to keep his guests breathing and also a marketing trick to play up the danger and drama of such a wallop of alcohol. This was important because it’s not a very good drink: it’s overly boozy and poorly balanced, with not enough going on outside all that rum to really work.

So we tweaked it a bit: lowered the amount of rum, and replaced some of the rum with a dry, nutty sherry that gives this Zombie a wonderfully savory edge. We also assigned the overproof to garnish duty. Then, we bumped up some of the other flavors in the drink. The classic Zombie includes lime and then two optional ingredients, “secret” ingredients that could be pretty much any tropical fruit juice or syrup, measured in teaspoons. We increased the amounts and threw in some fruity pineapple and grenadine, but also some pineapple shrub (a sweetened, flavored vinegar) that kicks in a mouthwateringly tart bite.

Sherry Zombie Halloween Cocktail Recipe / Liquorary for Oh So Beautiful Paper

So the result is still pretty boozy, but a bit better balanced, with lots of sweet and tart fruity flavors tempering all that funky rum. It’s probably not a bad idea, though, to still stick to no more than two of these in a row. And pro-tip: blow out that fire before you start drinking.

(Don’t forget to follow us on Instagram, where we’ve been posting our experiments before they make their way onto this column!)

Glassware by Liquorary

Photo Credits: Nole Garey for Oh So Beautiful Paper

DIY Tissue Paper Flower Piñata

I do love a good party, and there’s nothing quite like a piñata to get it going! They remind me so much of birthdays as a kid, and how, when the piñata comes out, everyone wants to join in and have fun. I wanted to make a grown-up version for bridal showers and grown-up birthdays — not just because I’m secretly jealous of the kids having all the fun. It’s a way to get nostalgic, throw around some confetti, and get on a sugar high with your girlfriends. The fact that they double as a pretty party decoration is a real plus too. Here we go! –Erin from BerinMade Paper GoodsDIY Tissue Paper Flower Piñata / BerinMade for Oh So Beautiful Paper

DIY Tissue Paper Flower Piñata / BerinMade for Oh So Beautiful Paper

Supplies

Standard Paper Lantern (buy to the size of your piñata)

PVA glue

Scissors (and fringing scissors optional)

Coloured tissue paper (3″ high, in long strips)

Floral tape

Floral Wire

DIY Tissue Paper Flower Piñata / BerinMade for Oh So Beautiful Paper

To Make the Piñata

Step 1. Start from one opening of the lantern and apply glue around the rim. Place the fringed tissue strips around, with the fringes facing inward. Gather the tissue around so that the strips curve to the shape of the lantern. Continue in layers until the entire lantern is covered.

Step 2. To create the piñata flowers, start by cutting petal shapes out of tissue paper and twisting the bottom to create a curved shape. Create the center of the flower by using a contrasting strip of tissue paper, and fringing the edge with scissors. Wrap the fringed strips around the floral wire and secure with floral tape. Apply petals around the center and continue until satisfied. Secure all the parts with floral tape.

Step 3. Create flowers of different sizes and shapes. Arrange on the piñata by puncturing the lantern with a pair of scissors and inserting the flower through with the wire end. Secure with tape on the inside.

Step 4. Cut a tissue paper circle to seal the bottom opening of the lantern. This is the weak spot where the candy and confetti will fall out! If you find that the tissue is too weak, you may need to apply another tissue paper circle from the inside. Fill the lantern with candy and confetti!

DIY Tissue Paper Flower Piñata / BerinMade for Oh So Beautiful Paper

DIY Tissue Paper Flower Piñata / BerinMade for Oh So Beautiful Paper

DIY Tissue Paper Flower Piñata / BerinMade for Oh So Beautiful Paper

Have fun with beautiful, bright colors or even a metallic fringing!

And don’t forget to tag us @berinmade when sharing the results on Instagram!

Photo Credits: Jeremy Tan

Happy Weekend!

Happy Friday everyone! So – big news! – OSBP is hiring! I have three positions open ranging from DIY contributor(s) to a Market Editor and I’m super excited to add some talented folks to the OSBP team. You can check out the details over on the jobs page. I can’t wait to hear from you! But in the meantime…

Ali Makes Things via Instagram / Oh So Beautiful Paper

Photo by Ali Makes Things via Instagram

…a few links for your weekend:

This week on Oh So Beautiful Paper:

Check back this afternoon for this week’s cocktail recipe! I hope you all have a wonderful weekend! I’ll see you back here on Monday! xoxo

DIY Faux Grass Hanging Gems

Craftcourse basically made its handmade event decor ‘debut’ with garlands of larger-than-life hanging paper gems for a local maker market here in Nashville last winter. Even though we’ve made all kinds of things since then, they’ve kind of become our signature creation, which we’ve been known to say could be used just about anywhere for any occasion. What space or event couldn’t be made better by some hanging gems?! Although we’ve never formally given away our ginormous paper gem secrets, I’m slipping a little today by showing you how to make some medium-sized hanging diamonds covered in faux grass – a fun summer take on our plain ole gems. Enjoy! –Mandy Pellegrin of Craftcourse

DIY Faux Grass Hanging Gems Party Decorations / Craftcourse for Oh So Beautiful Paper

Materials
Template
Poster Board
Pencil
Craft Knife
Metal Ruler
Cutting Surface
Hot Glue and Glue Gun
String
Small Wooden Bead
A Cheap Artificial Grass Rug (like this or this)
Scissors

DIY Faux Grass Hanging Gems Party Decorations / Craftcourse for Oh So Beautiful Paper

Step One: After you’ve downloaded and cut out the template, trace the template onto poster board. Trace four templates edge-to-edge as shown here and in the template file with the top points (that is, the point opposite the arrow on the template) meeting in the middle. Each diamond-shaped gem will require two of these four-triangle sets. I was able to fit six sets (or enough for three gems) onto two pieces of poster board.

DIY Faux Grass Hanging Gems Party Decorations / Craftcourse for Oh So Beautiful Paper

DIY Faux Grass Hanging Gems Party Decorations / Craftcourse for Oh So Beautiful Paper

Step Two: Cut out using a craft knife and a metal ruler. When cutting them out, you’ll need to add tabs for assembly. On one of the four-triangle sets, add only one tab along the side of one of the outer triangles as shown here (on the right) and in the template file. On the other set, you’ll need to add tabs both on an outer triangle like for the other set and along the bottom edge (i.e. the edge denoted with a triangle on the template) of each triangle. Again, this is shown here (on the left) and in the template file.

DIY Faux Grass Hanging Gems Party Decorations / Craftcourse for Oh So Beautiful Paper

Step Three: Score all the lines by gently tracing each one with the back-side of the blade of the craft knife. This will give you a nice clean score, but don’t push so hard that you cut through your poster board.

DIY Faux Grass Hanging Gems Party Decorations / Craftcourse for Oh So Beautiful Paper

Step Four: Crease each of the scores by folding inward so that your pencil marks will be on the inside of the finished gem.

DIY Faux Grass Hanging Gems Party Decorations / Craftcourse for Oh So Beautiful Paper

Step Five: Assemble the gem by first hot gluing the four bottom edge tabs of the one piece to the four bottom edges of the other piece.

DIY Faux Grass Hanging Gems Party Decorations / Craftcourse for Oh So Beautiful Paper

DIY Grassy Hanging Geometric Gems by OSBP 9

Step Six: Before glueing shut the edge tabs, slip a string with a small wooden bead tied onto the end inside the gem. Apply glue to the tabs, and gently squeeze shut and apply some pressure to the area on top of the tabs to get them to adhere. You now have a plain hanging gem!

DIY Faux Grass Hanging Gems Party Decorations / Craftcourse for Oh So Beautiful Paper

Step Seven: For each hanging gem, trace eight triangle templates onto the back of your artificial grass rug.

DIY Faux Grass Hanging Gems Party Decorations / Craftcourse for Oh So Beautiful Paper

Step Eight: Cut out each of the ‘grass’ triangles.

DIY Faux Grass Hanging Gems Party Decorations / Craftcourse for Oh So Beautiful Paper

Step Nine: Hot glue the triangles onto the plain finished gem. If you want to cover all of the poster board, make sure you cut your triangles out slightly bigger than the template. A little white peeks through on mine, but I sort of liked how it helped define the geometric shape a bit more.

For a full-on hanging gem installation, combine the ‘grass’ gems with other plain gems. Make a smaller diamond gem by shrinking the template provided, and assemble multiple on a single string. Make larger ones by blowing the template up.

DIY Faux Grass Hanging Gems Party Decorations / Craftcourse for Oh So Beautiful Paper


DIY Faux Grass Hanging Gems Party Decorations / Craftcourse for Oh So Beautiful Paper

Photo Credits: Mandy Pellegrin for Oh So Beautiful Paper