Seaside Brunch Invitations

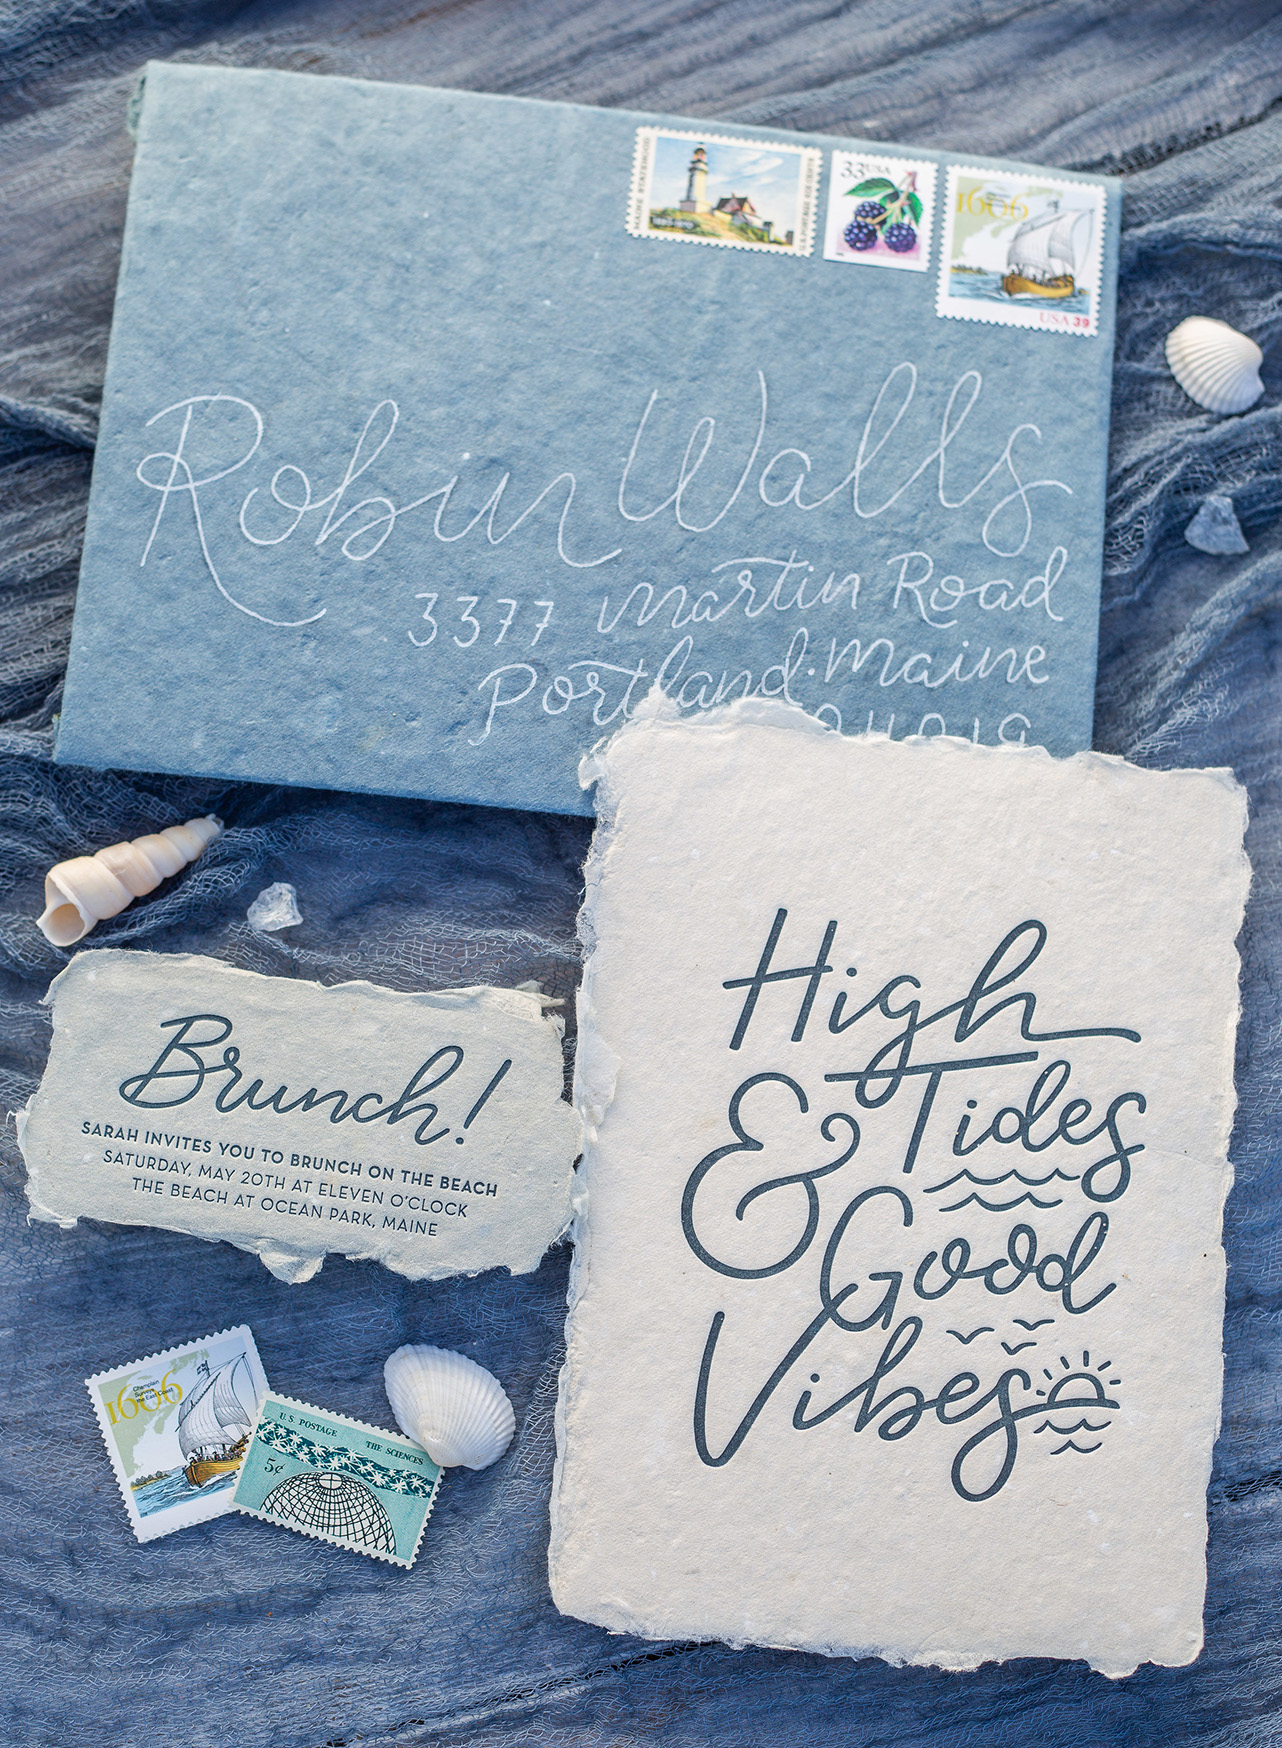
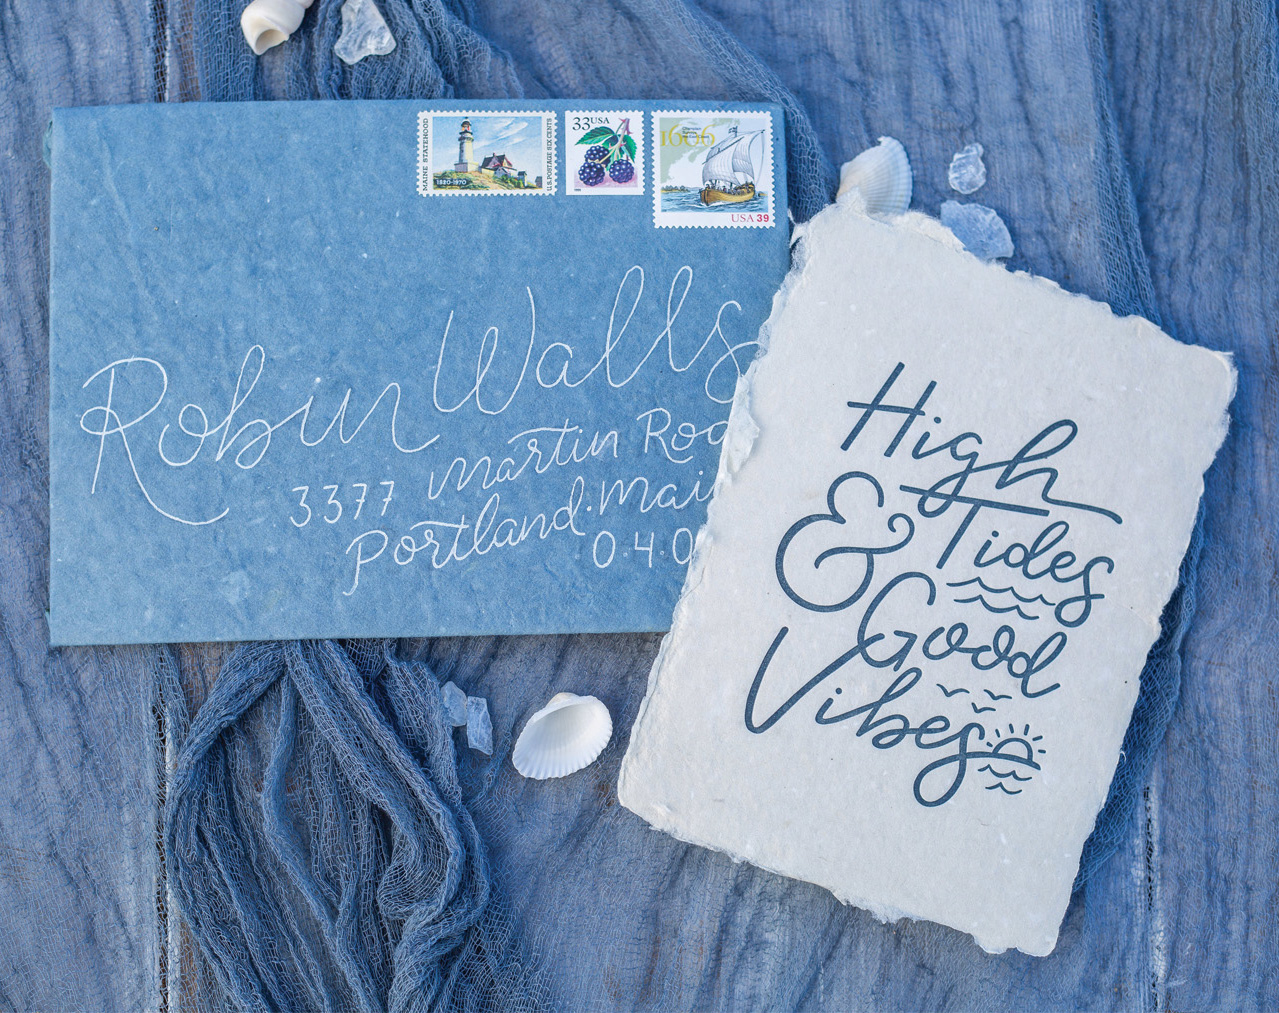
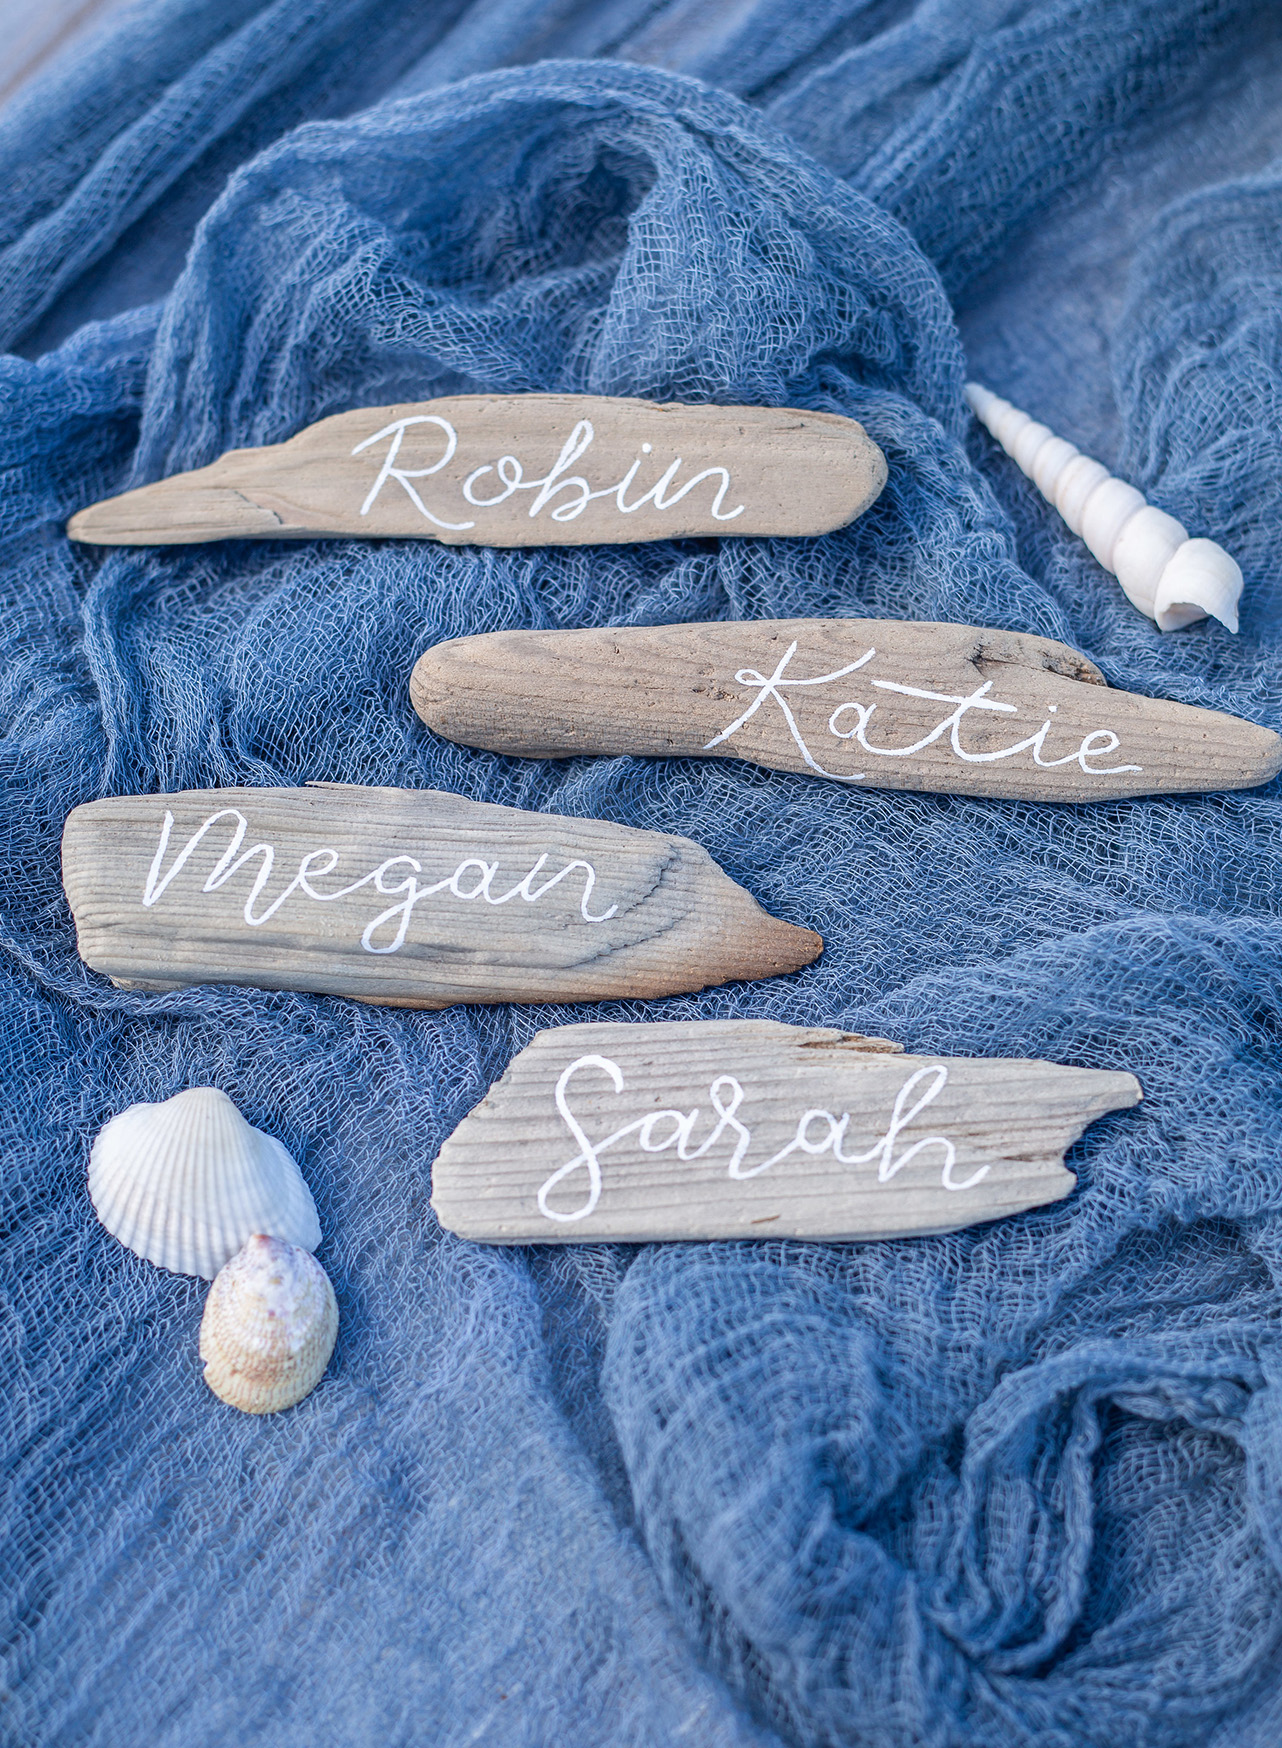
A seaside brunch with a few of your closest friends – doesn’t that sound like a dream? I love this brunch idea for birthday parties, bridal showers, or really any occasion. The romantic seaside brunch invitations by Jen of Chatty Press were printed on handmade paper from Farmette Press to mimic the rugged Maine coastline and feature Jen’s whimsical hand lettering on a fun keepsake print (the best kind of keepsake, IMHO). Take a look! 
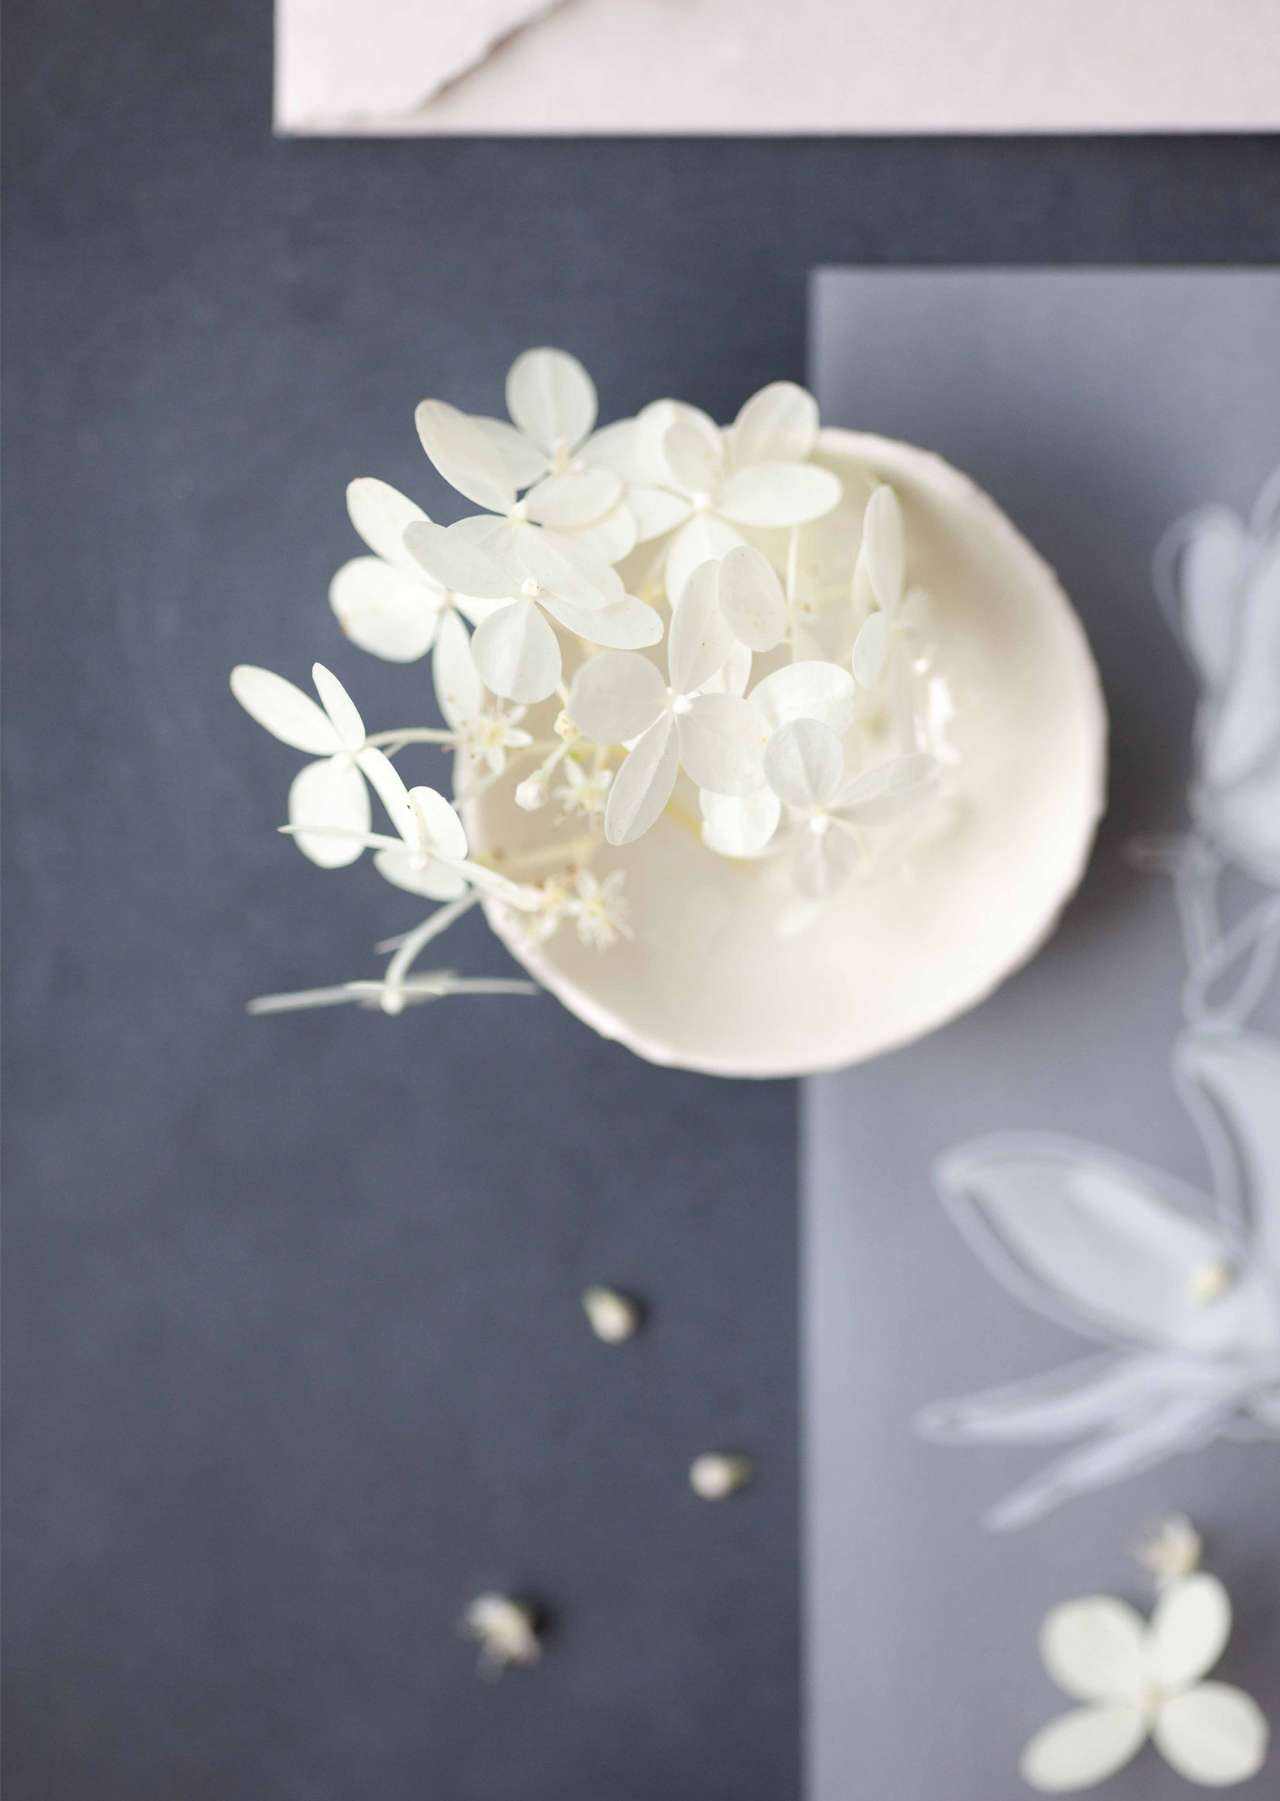
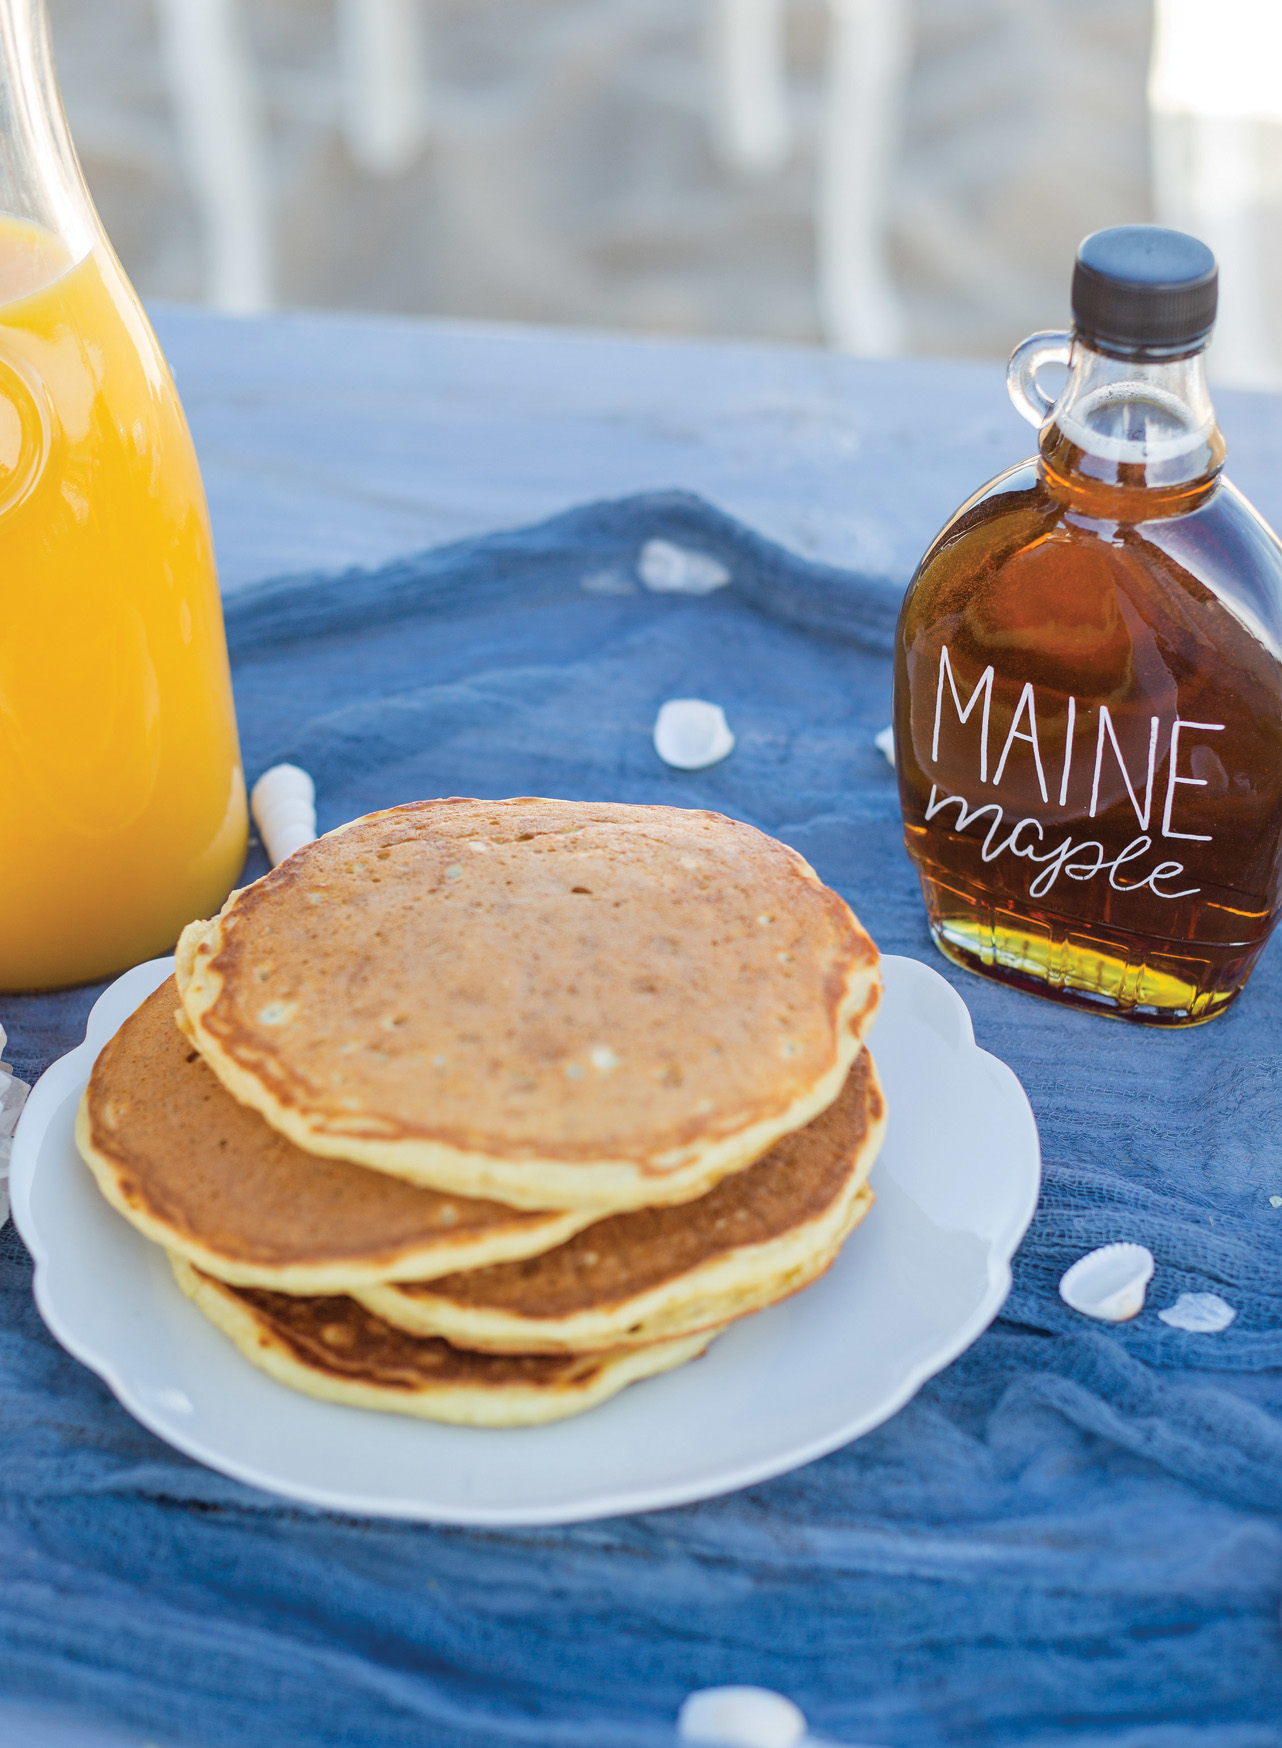
Seaside Brunch Invitations by The Chatty Press

From JenThe coast of Maine is often thought of as rocky and rugged, so we wanted to showcase the romantic vibes of the sandy seacoast for this seaside brunch invitation. While it’s easy to thrown down a blanket and a cooler and have a great time together, this group of gals wanted a day together that was a little more fanciful. So with windswept skirts four good friends spent the morning noshing on baked goods and fruit on a whitewashed farm table.

Seaside Brunch Invitations by The Chatty Press

I wanted the ladies invited to this brunch to feel special and have something aside from the memories to remember the day, so I decided to make a keepsake print inspired by the seacoast. After reading a ton of quotes about the seaside, the ocean, friendship and love, I decided that this short and sweet saying “High tides and good vibes” was the perfect sentiment that perfectly fit the feeling of the day.

Seaside Brunch Invitations by The Chatty Press

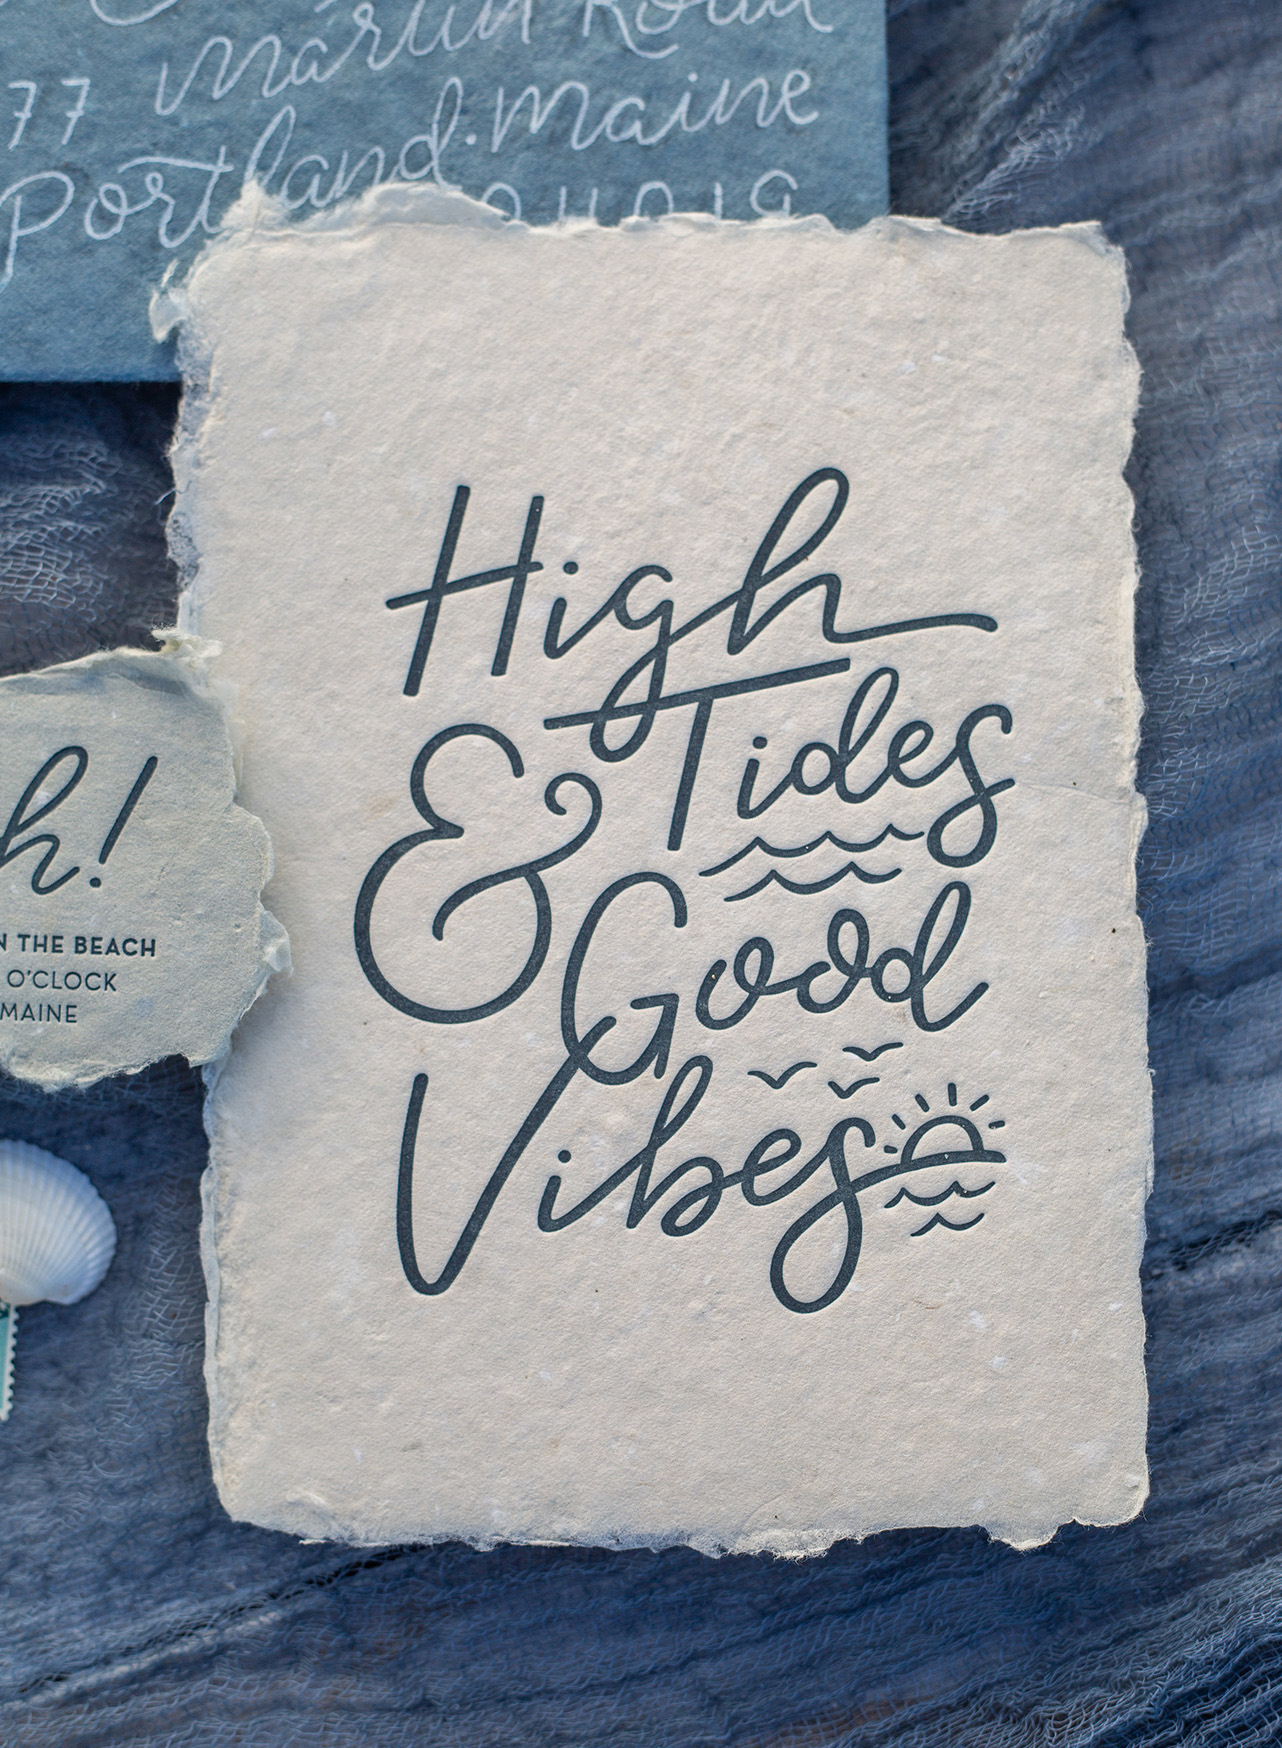
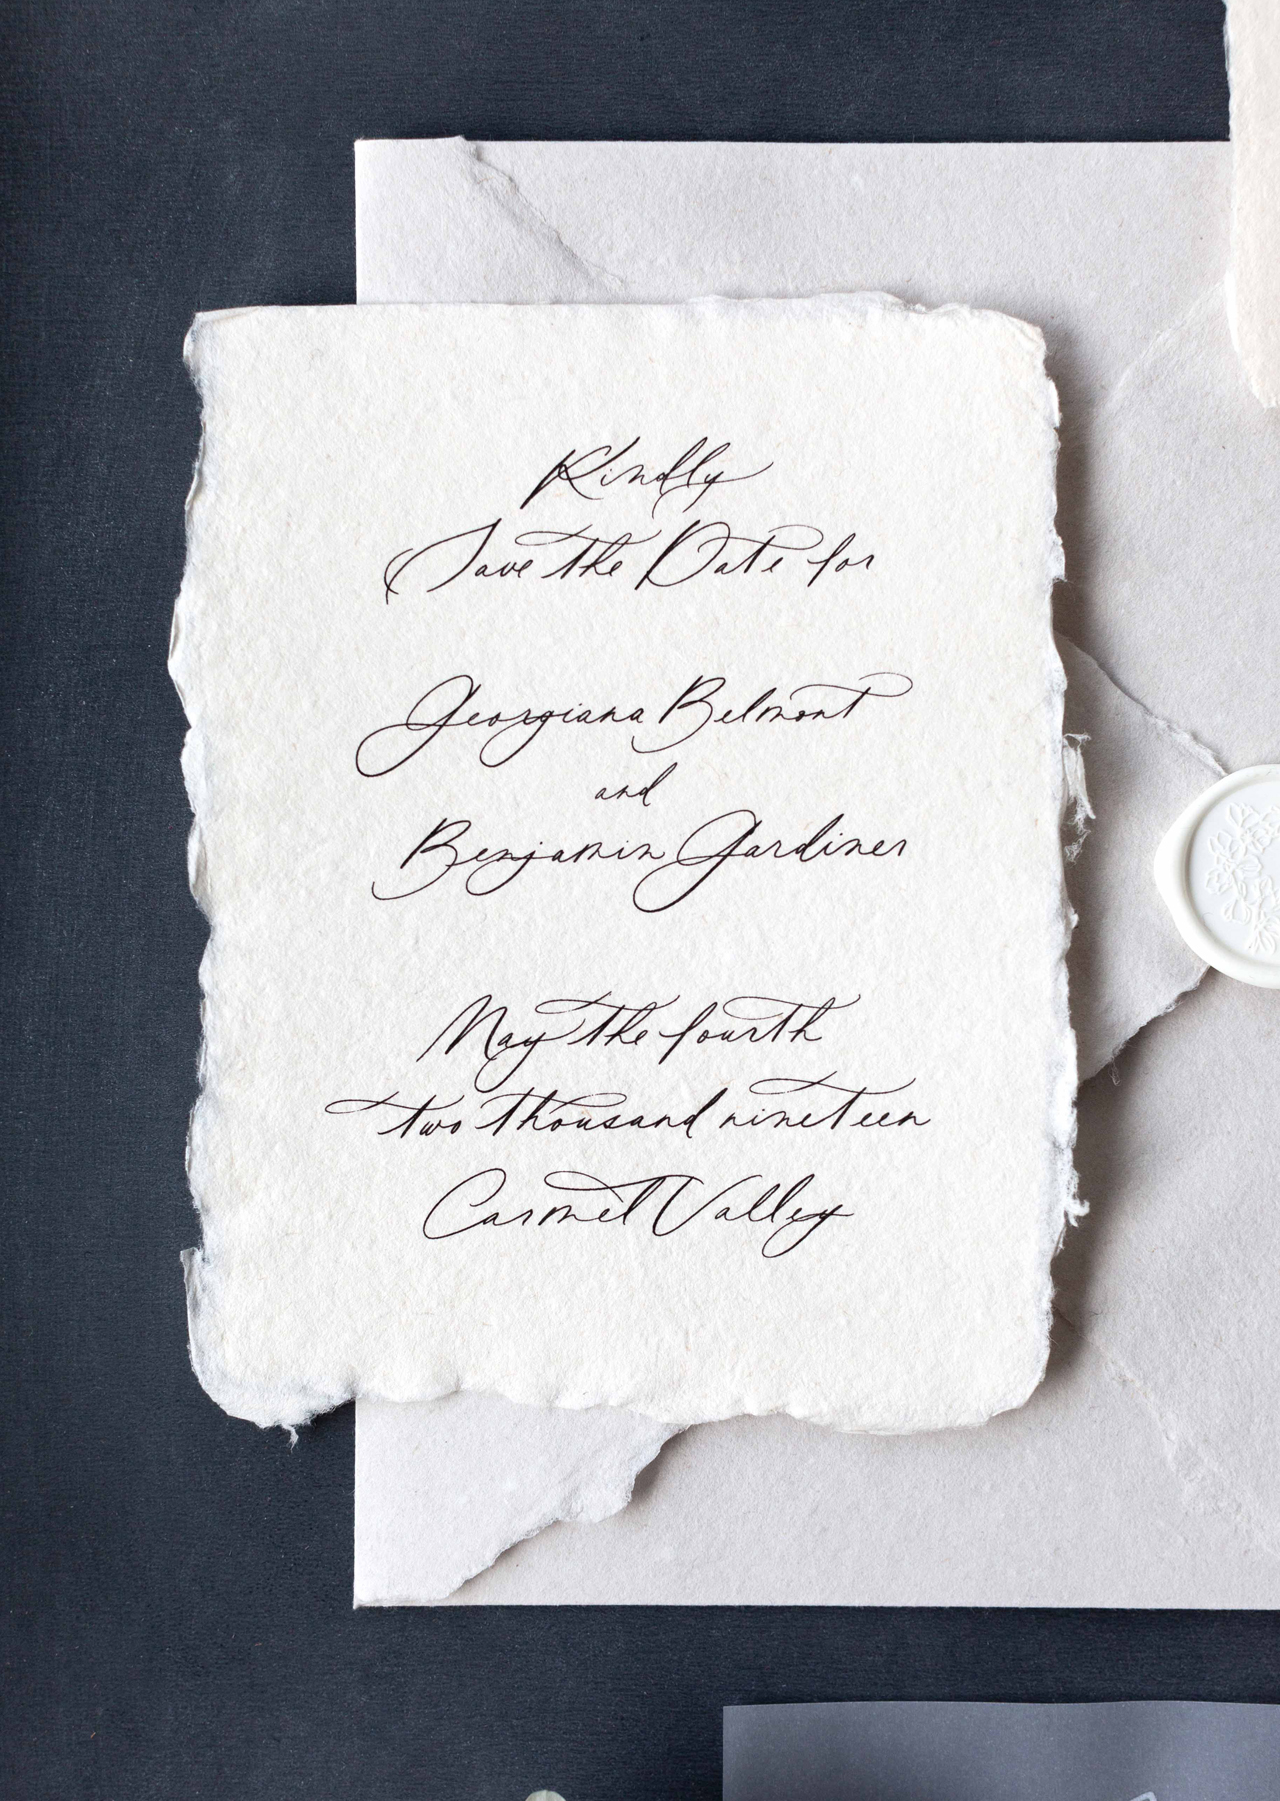
I hand lettered the quote, first as a pencil sketch, and then digitally, to be letterpress printed onto some very pillowy and soft handmade paper from Farmette Press. I didn’t quite want the ink color to match the handmade envelopes, but I wanted something that complimented it, so I chose a blue that was a tad bit darker and really popped on the off-white paper.

Seaside Brunch Invitations by The Chatty Press

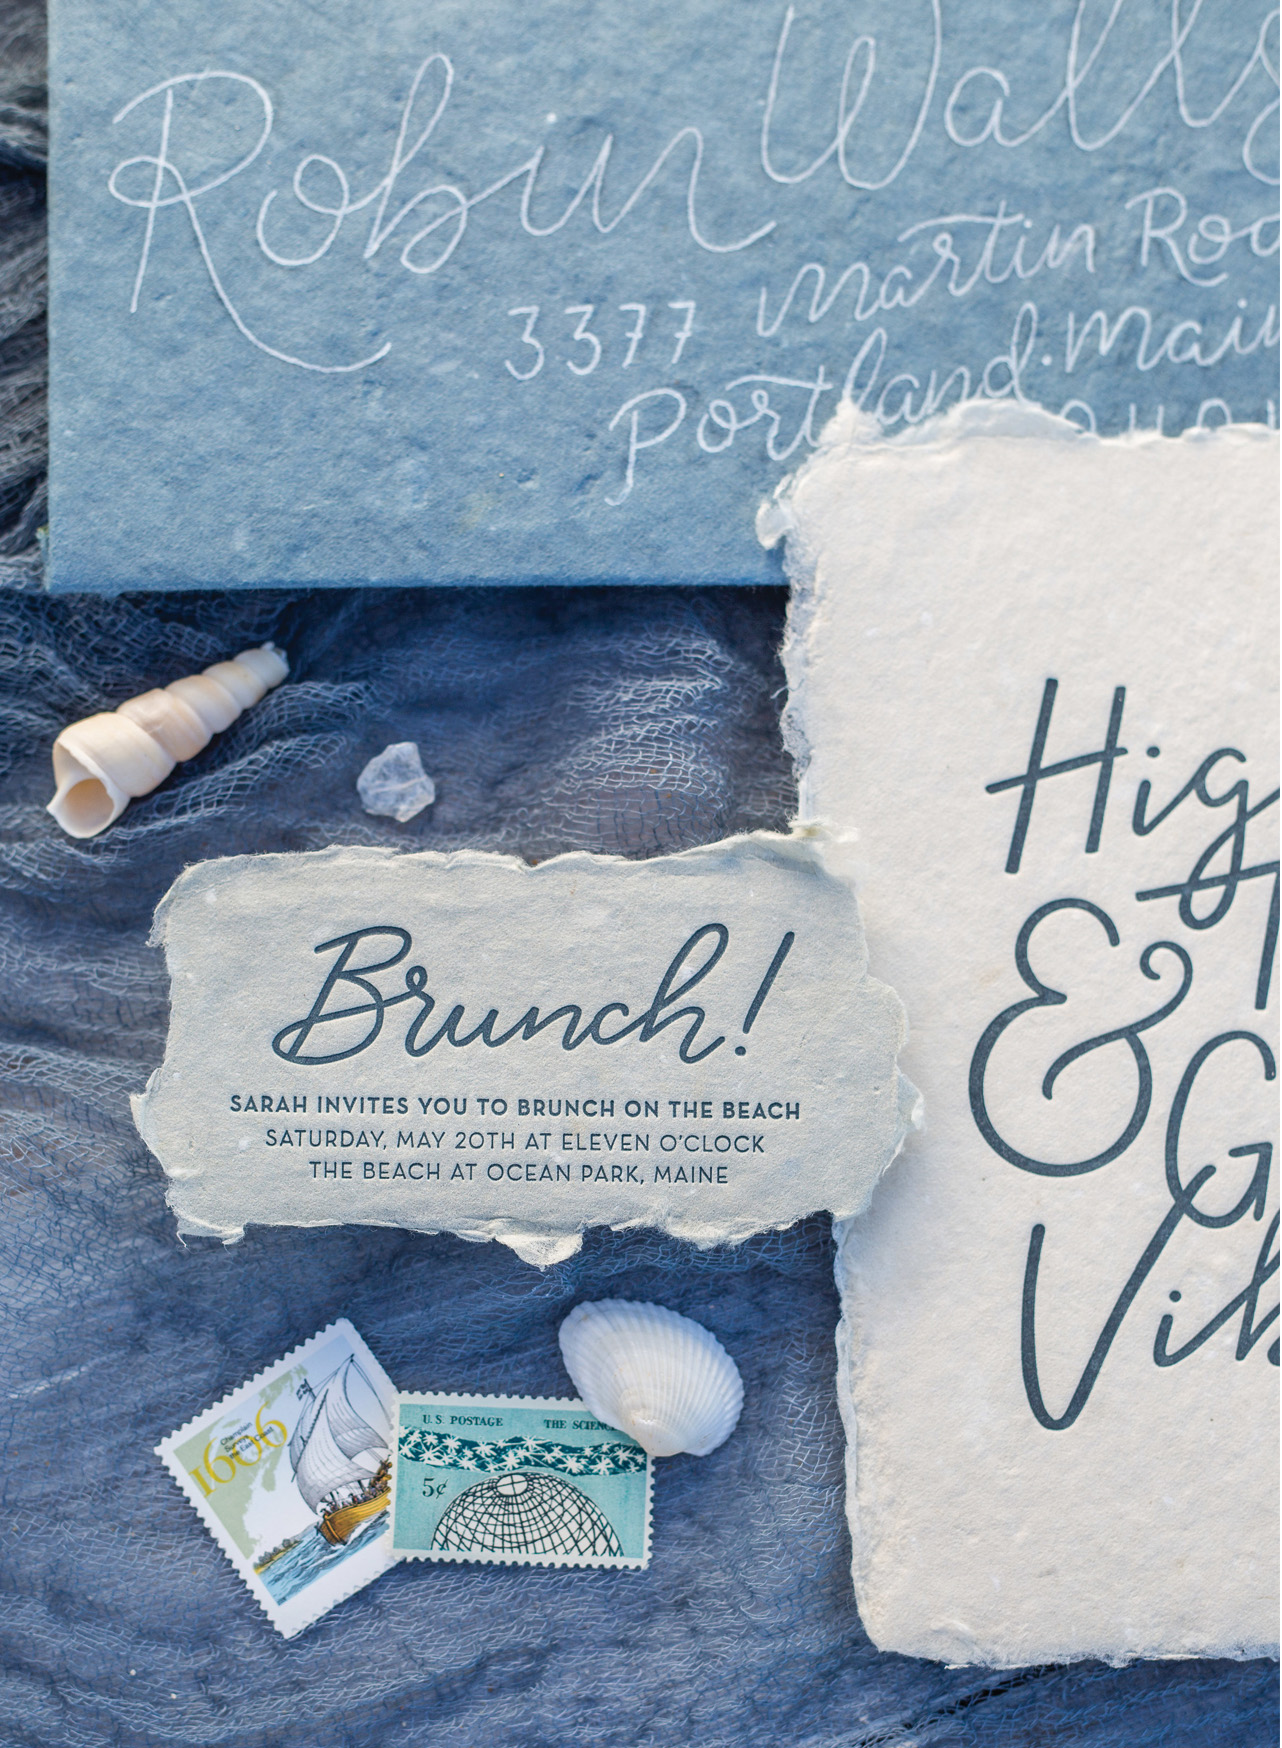
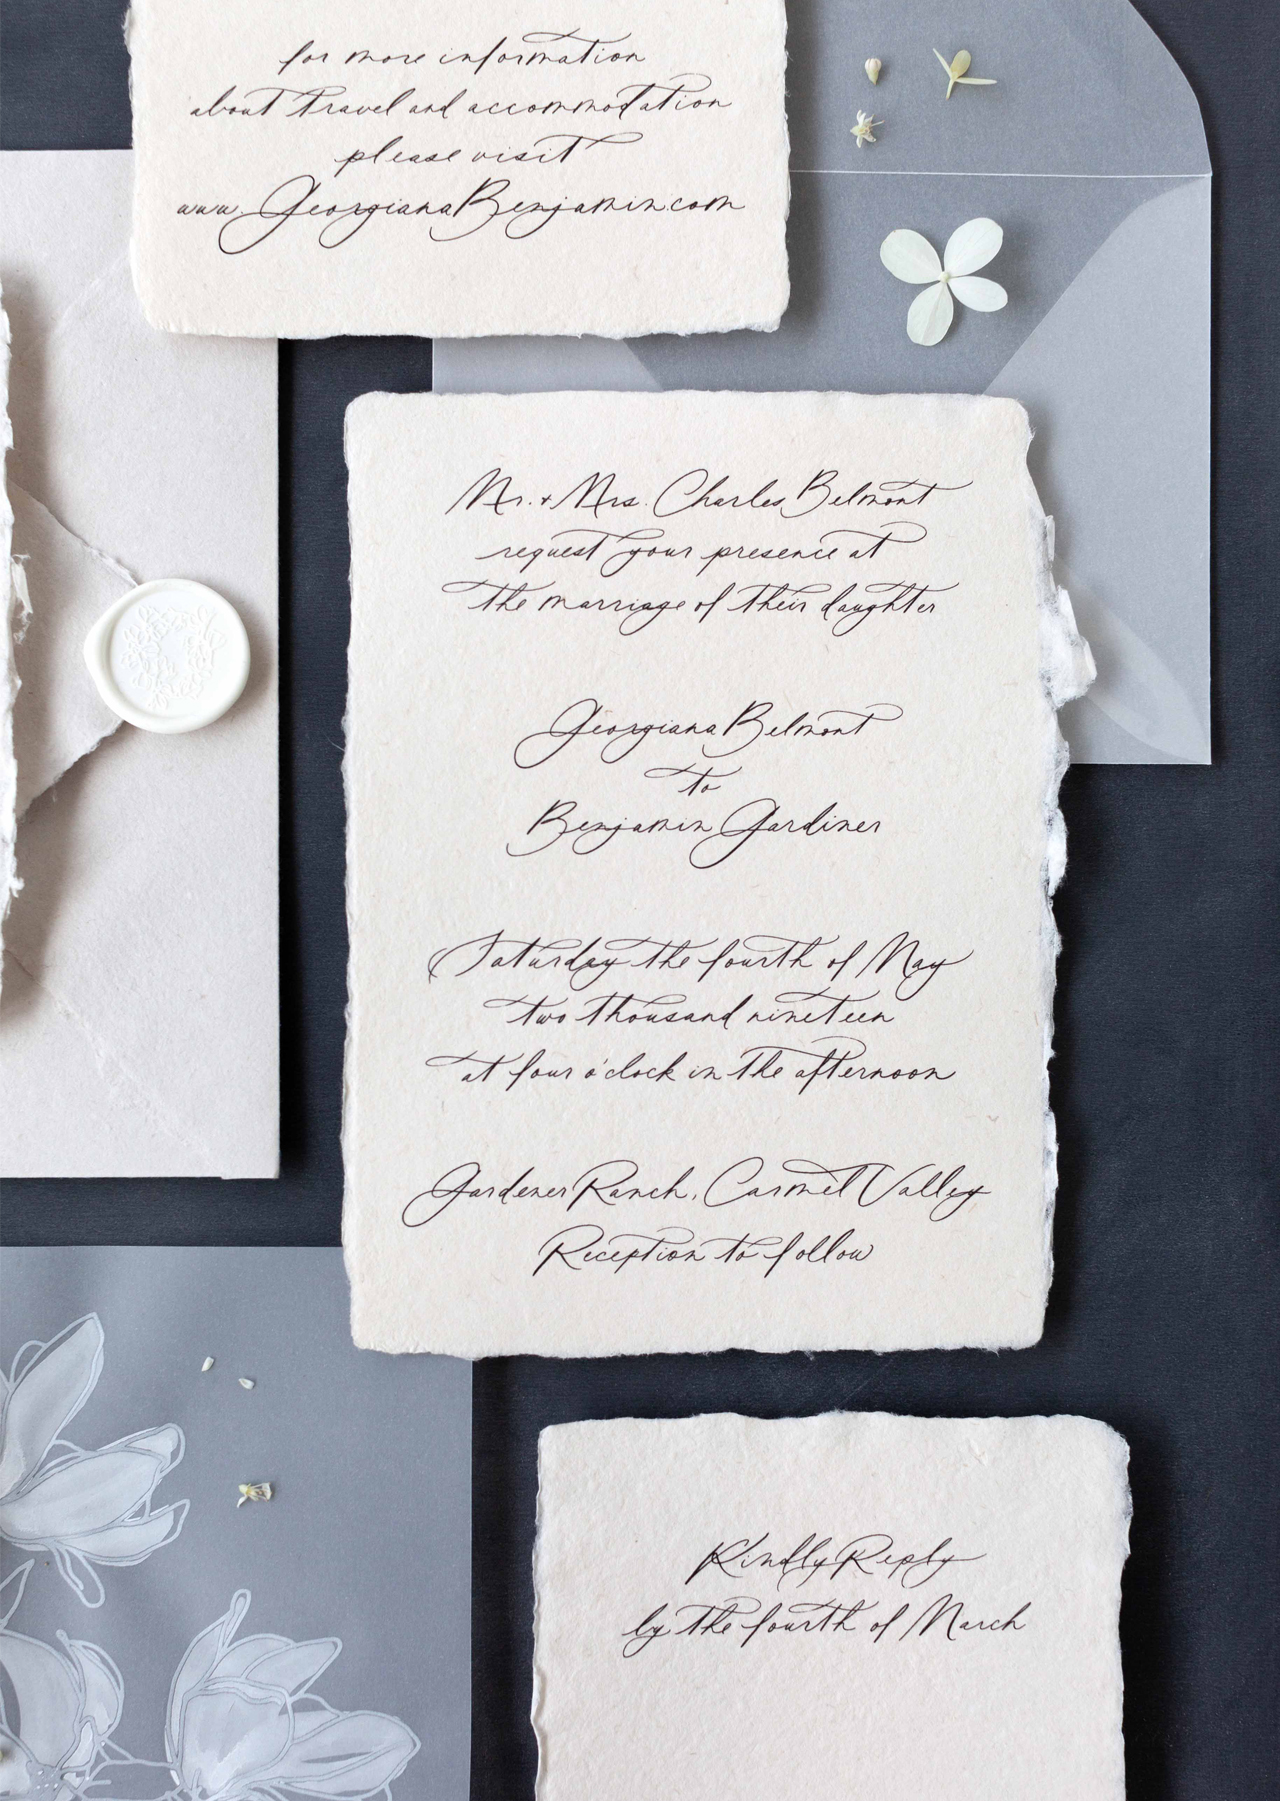
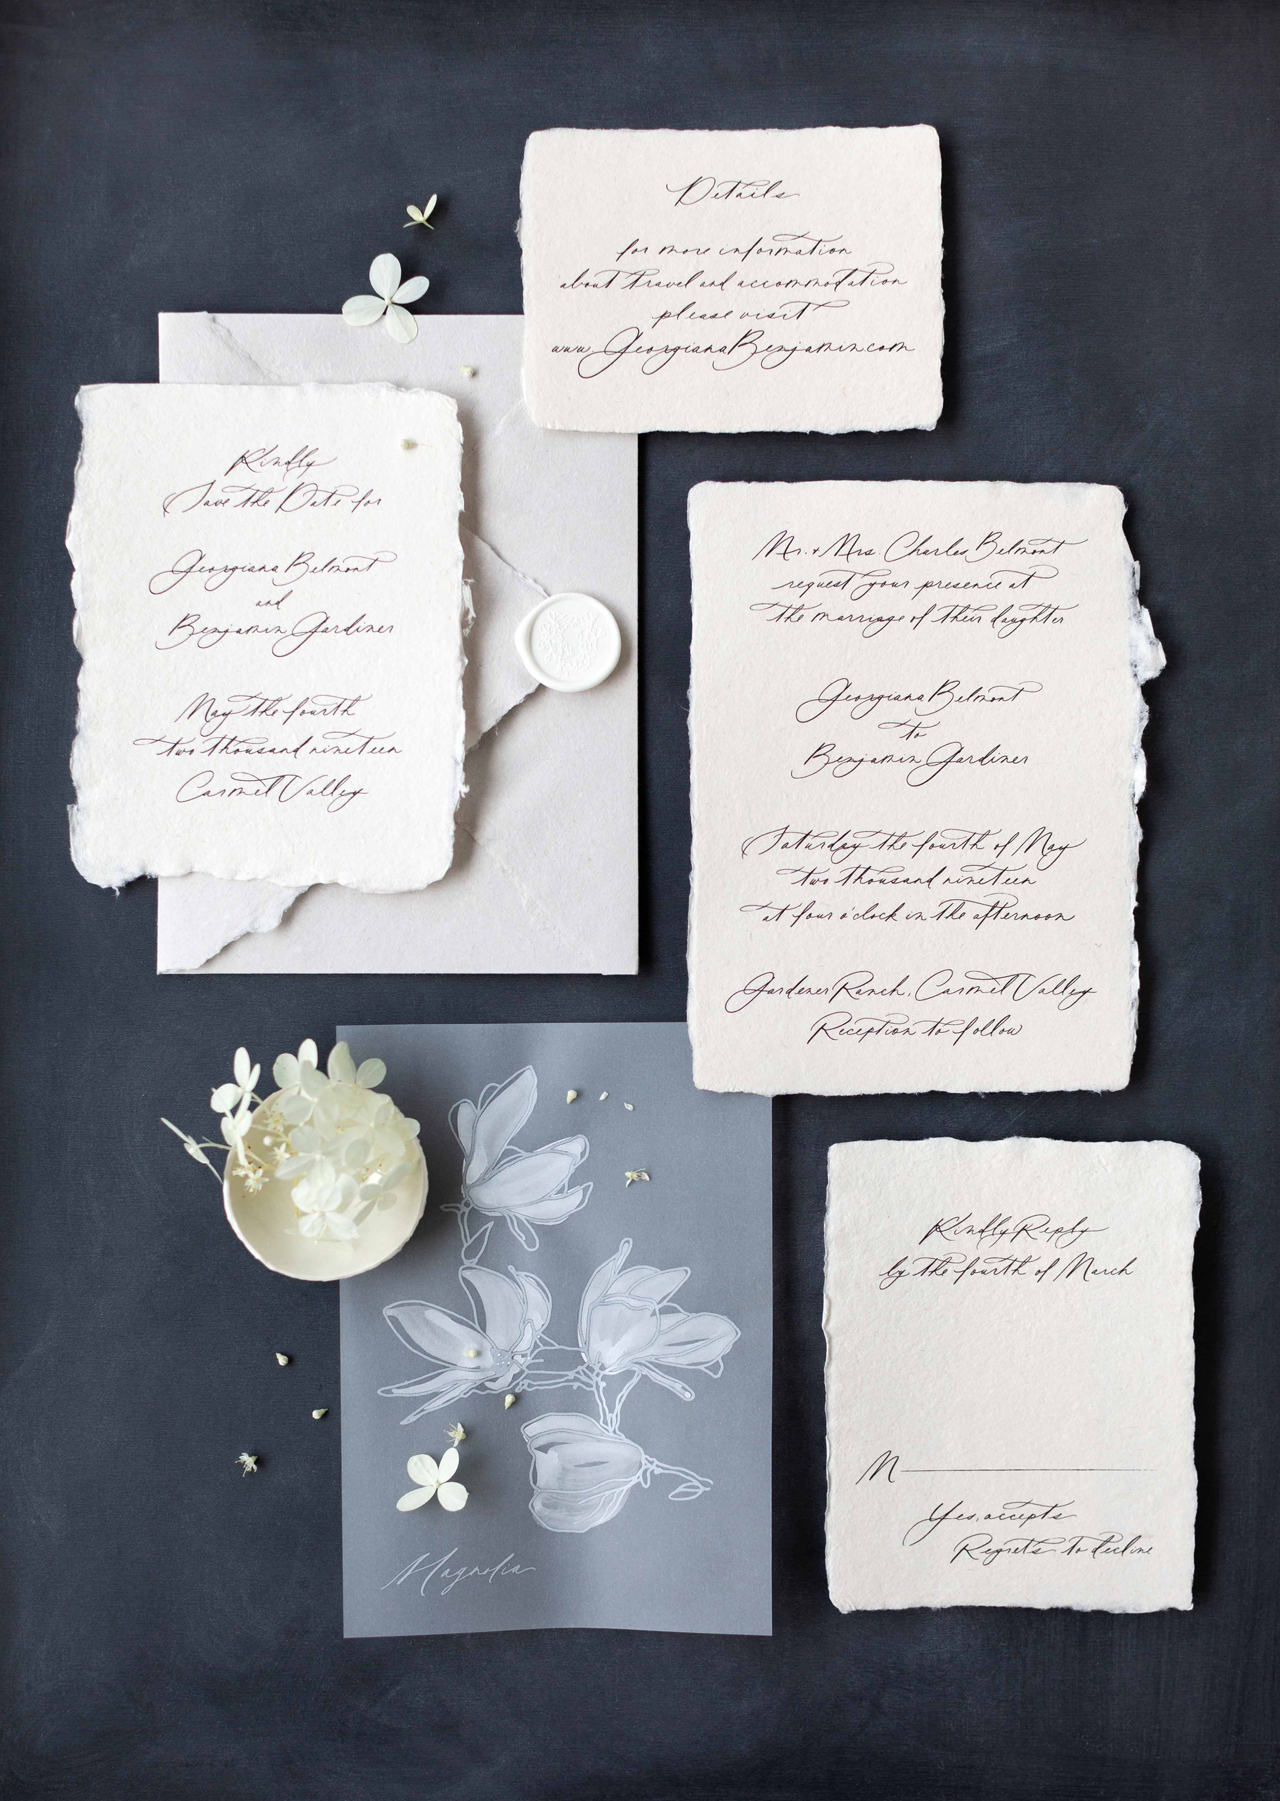
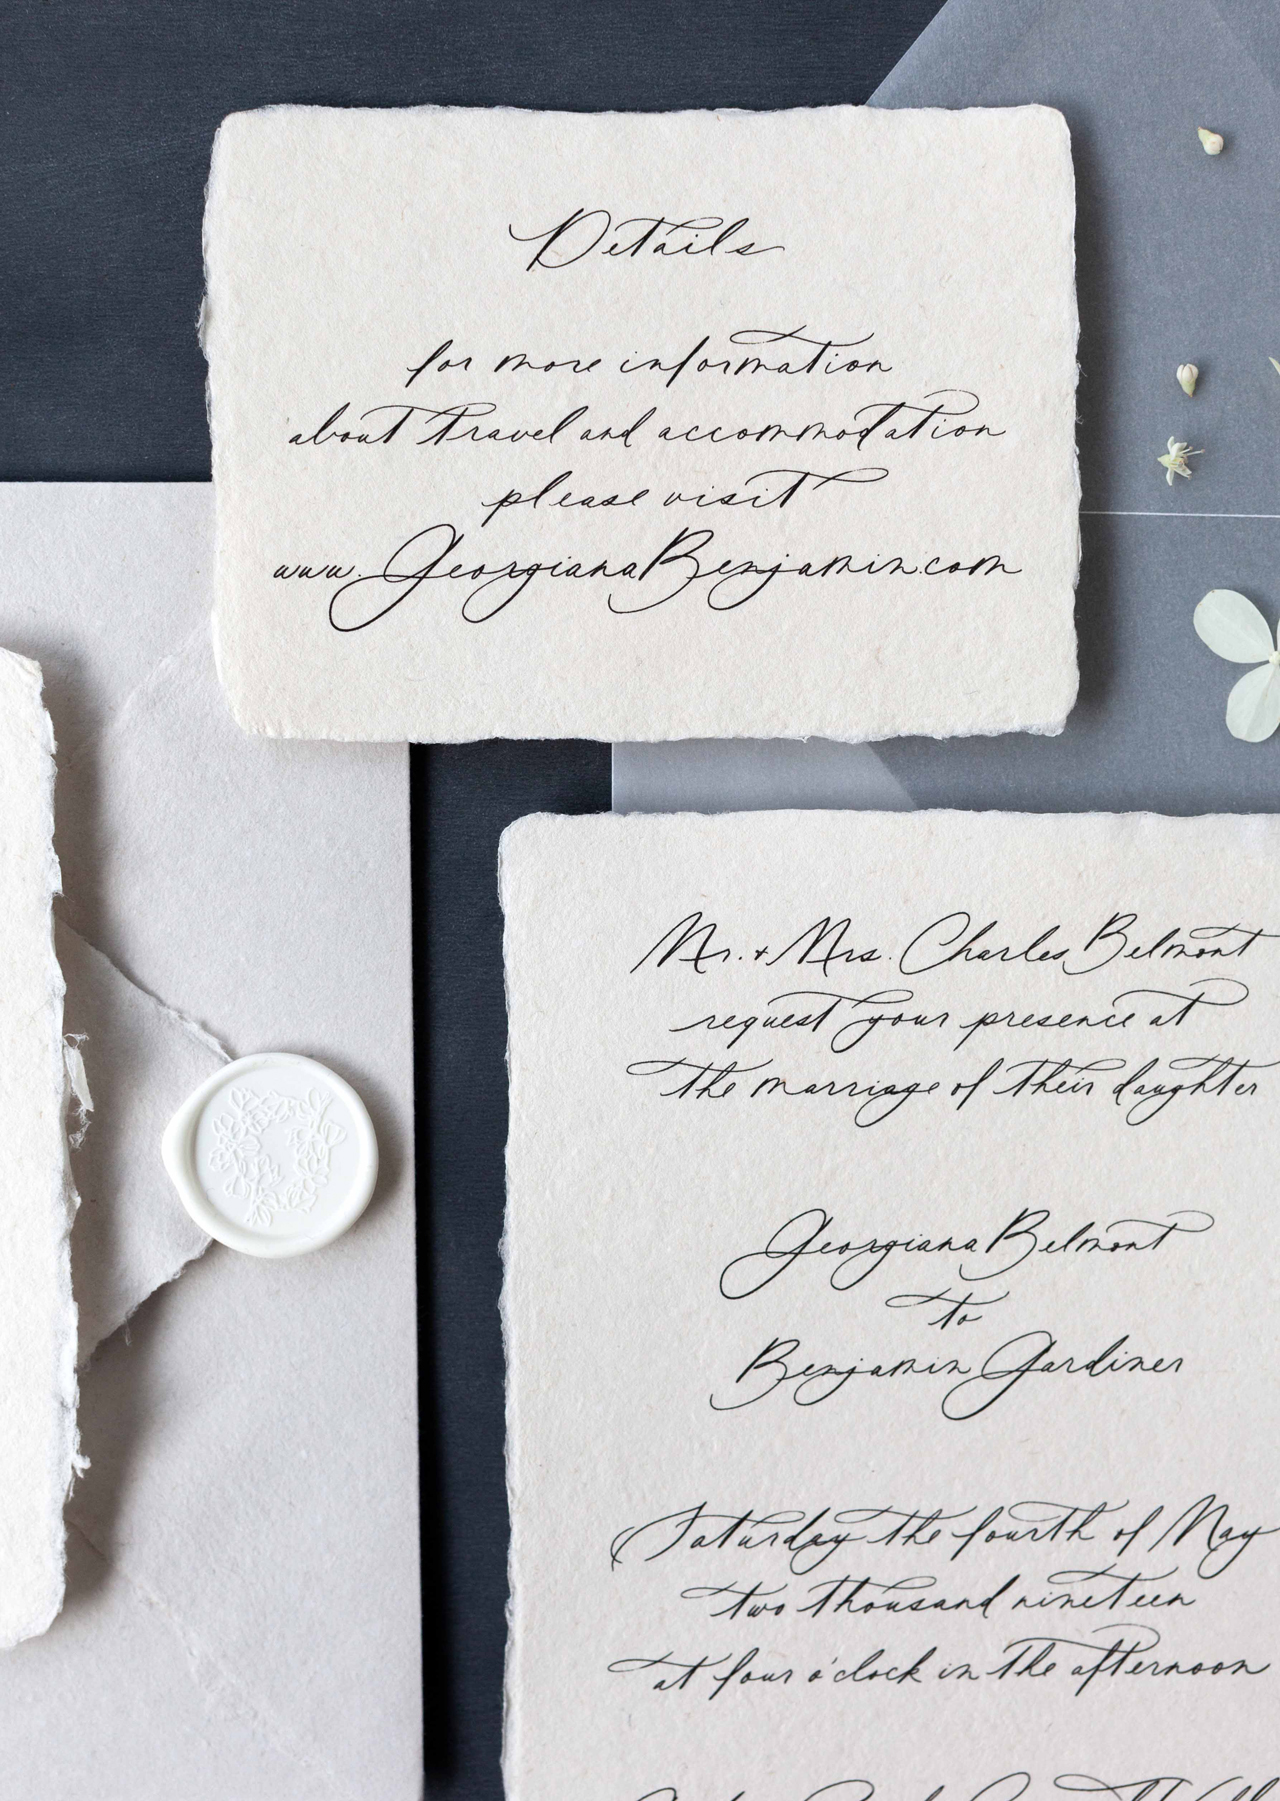
Of course, the invitation still had to convey the important details, so I decided to create a small card printed on a sandstone grey handmade paper, that was concise and to the point. Each card was printed by hand on my antique golding pearl. I absolutely love adding something special and memorable to an invitation that guests won’t just throw away, and this keepsake print is my current favorite.

Seaside Brunch Invitations by The Chatty Press

Seaside Brunch Invitations by The Chatty Press

Seaside Brunch Invitations by The Chatty Press

Thanks Jen!

Design and Printing: Chatty Press

Paper: Farmette Press

Event Design: Aulette Events


Photo Credit: Ellysia Francovitch Photography

Romantic Calligraphy Wedding Invitations on Handmade Paper

Delicate vellum with a hand painted magnolia branch illustration. Pillowy handmade paper and envelopes with wax seals. Romantic calligraphy letterpress printed with care. Every single detail sings in these romantic calligraphy wedding invitations on handmade paper by Aileen of Plume Calligraphy. Take a look below – you’ll see what I mean!

Romantic Calligraphy Wedding Invitations on Handmade Paper by Plume Calligraphy

From AileenThis invitation suite is a full calligraphy design featuring large looping descenders and elegant flourishes. This modern, yet romantic calligraphy style is complimented beautifully by Pressed Paper Co‘s soft, naturally deckled handmade paper. Adding transparent vellum in the form of envelopes and floral illustrated overlays creates contrast between the organic nature of the handmade paper and the clean modern appeal of vellum.

Romantic Calligraphy Wedding Invitations on Handmade Paper by Plume Calligraphy

I originally hand painted the Magnolia illustration on vellum for a styled shoot and found that it’s become one of our most popular details couples add to their suite design. We’ve been able to produce this pieces for clients with the help of Sibylle of Hubbub Paper Co., who letterpress printed the illustration in white ink on vellum. Once printed each piece is hand painted to show slightly transparent white brush strokes. The vellum takes on a slightly ruffled effect when painted, which we love as it adds depth and shadow especially when styling for flat lay photographs.

Romantic Calligraphy Wedding Invitations on Handmade Paper by Plume Calligraphy

White wax seals featuring our Magnolia design help to add a fresh aesthetic while keeping the overall scheme neutral to emphasize the textures and design elements.

Romantic Calligraphy Wedding Invitations on Handmade Paper by Plume Calligraphy

Styling this suite on a dark, moody background gives it organic flair and highlights the transparency of the vellum, the contrasting white details and the deckled edges of the handmade paper. We love creating designs that are mainly neutral and can be altered by the choice of background. Especially when designing for styled shoots, we find that giving the design elements simple, tone on tone schemes helps to allow the photographer or stylist the flexibility to work within their overall color scheme.

Romantic Calligraphy Wedding Invitations on Handmade Paper by Plume Calligraphy

This design is now available through our Semi-Custom Collection as the Winsome Suite! We absolutely love the romantic look of a fully handwritten invitation suite and we wanted to offer this option to our semi-custom couples! We can’t wait to see all the ways this suite will be personalized by our clients!

Romantic Calligraphy Wedding Invitations on Handmade Paper by Plume Calligraphy

Thanks so much Aileen!

Design and Calligraphy: Plume Calligraphy

Paper: Pressed Paper

Wax Seals: Artisaire

Printing: Hubbub Paper Co.

Plume Calligraphy is one of the talented, hand selected members of the Oh So Beautiful Paper Designer Rolodex – you can see more from Plume Calligraphy right here! Or visit our wedding invitations archive for more custom wedding invitation ideas!

Photo Credits: Plume Calligraphy

Friday Faves

I Am A Voter / Sophie and Lilli

Illustration by Sophie and Lilli

Happy Friday everyone – let’s talk about voting. Are you registered to vote? Need to confirm that your registration is still valid? Click here and take care of it RIGHT NOW. It’s super easy. You can even request an absentee ballot if you won’t be able to make it to a polling location on Election Day! The voter registration deadlines have already passed for many states, but if you had been registered to vote and discover that you got kicked off your state’s voter roll, you still have options. Just go to your local polling location on Election Day and request to vote by provisional ballot. With voter suppression efforts across the country and especially in Georgia and North Dakota, it’s super, super, super important that every American over the age of 18 votes in the upcoming elections. It’s our most fundamental civic responsibility and it’s never been more important to make your voice heard.

Oh, and by the way, the whole idea of voter registration is voter suppression. Let’s get rid of it and automatically register everyone to vote.

Here are a few easy ways to help support local campaigns in these last few weeks before the mid-term elections.

Between Brock Turner and Brett Kavanaugh, when do girls matter?

How Iceland chose to clean up it’s financial crisis

Everything you know about obesity is wrong

I love the idea of Open House Sundays

DC friends! My husband is teaching a fall cocktail class at Red Barn Mercantile! You can sample three delicious fall cocktails and learn how to make them for yourself back at home. Come join us!

It’s finally sweater season! I’ve got my eye on this cozy popcorn stitch sweater, this adorable Madewell sweaterthis polka dot sweater, and this classic crewneck from Everlane.

Loving this new wood mirror at Target!

My heart goes out to everyone affected by Hurricane Michael in my home state of Florida today – especially the folks living in the Florida panhandle. For those of you looking to help out, the New York Times wrote an article with ways to support recovery efforts. Please help support recovery efforts if you are able to do so. Every little bit helps!

Inspiring Calligraphers: Frani Matthews of Authentic By Frani

Hey everyone! So I have a beautiful collection of calligraphy to share with you all today. We’re taking a look at the work of Frani Matthews and her take on the art of lettering work and favorite projects she’s worked on with her business Authentic by Frani. Let’s dive in! – Jen

Inspiring Calligraphers: Authentic by Frani

Inspiring Calligraphers: Authentic Frani

Inspiring Calligraphers: Authentic by Frani

On her start as a calligrapher, Frani shares:

“When I started lettering (more seriously than my notebook-doodling days, mind you), I simply mimicked the letter forms and fonts I saw in magazines, on Instagram, in advertisements, etc. I would trace things and break more intricate forms into smaller, more manageable portions; but in the end, my style just looks like the upgraded version of my loose, cursive handwriting. Using a pointed pen and ink amps it up to its characteristic look: effortless, romantic, whimsical. After almost three years of refining, my style is now a part of me. Each stroke carries the tension of my day, the joy, the hunger-shakes. We live (and create) out of the overflow of our hearts, and I’m thankful that this art continues to be a release.”

Inspiring Calligraphers: Authentic by Frani

Photo Credit: Swak Photography

Paper or digital? The answer is clear, according to Frani:

“When designing pieces, I always sketch it out on paper first. I’m kind of a noob at digitizing my work (read: I’m still learning!), and I’d have no idea how to start from the screen. Sometimes, I consider saving up for a fancy iPad or something. Maybe one day. But I definitely feel most connected to my art, the client, and the energy of the piece when creating simply by hand. Is it wrong to say I tend to love my rough pencil sketch more than the crisp, completed piece? I don’t think so.”

Inspiring Calligraphers: Authentic by Frani

This wedding suite that Frani created for an October bride featured so many creative favorites on one wish list: handmade paper, gold foil lettterpress printing, warm and muted tones, silk ribbon, wax seals, and vintage stamps. No surprise why this was a dream project to work on!

Inspiring Calligraphers: Authentic by Frani

Photo Credit: Klaire Dixius

Frani likes to experiment with non-paper surfaces, too. On her favorites, she shares:

“In my spare time, I do some chalkboard lettering. It’s such a fun medium, and it stretches me creatively— between designing interesting layouts and then properly measuring and planning to ensure my ideas are portrayed accurately. I’m amazed by people who have a serious knack for it. I also appreciate lettering on fabric and embroidering my calligraphy as well.”

Inspiring Calligraphers: Authentic by Frani

Inspiring Calligraphers: Authentic by Frani

Another design medium she loves: designing tattoos. Frani shares, “It gives me so much life to illustrate florals and encouraging words as it is, but the fact that people want something I’ve drawn on their bodies permanently totally blows my mind. There really aren’t accurate words for it.”

Thanks so much to Frani for sharing a peek into her work and process as a calligrapher!

Photo Credits: All images via Authentic By Frani, except where noted.

Want to be featured in our calligraphy column? Reach out to us at submissions [at] ohsobeautifulpaper [dot] com with the subject line “Calligraphy Feature” for more details!

DIY No Carve Terrazzo-Inspired Pumpkins

When it comes to pumpkin decorating ideas, I tend to draw my inspiration from design trends. Last year it was Matisse-inspired pumpkins, the year before that it was fun iridescent pumpkins. Terrazzo is my favorite design trend this year, so naturally I decided to do a terrazzo-inspired pumpkin! These DIY no carve terrazzo-inspired pumpkins are super easy to make, only require a couple of easy-to-find materials, and are a great way to bring a pop of color to your holiday décor!

DIY No Carve Terrazzo-Inspired Pumpkins

DIY No Carve Terrazzo-Inspired Pumpkins

Aren’t they so cute?? I just love the colors! I used white pumpkins since the colors would pop more against a white surface, but you could also paint orange pumpkins and go for ALL the color. Oooh, that would be so fun – someone please do it and send me photos!

DIY No Carve Terrazzo-Inspired Pumpkins

DIY No Carve Terrazzo-Inspired Pumpkins

DIY No Carve Terrazzo-Inspired Pumpkins

I actually started with the intent of making these pumpkins just with craft vinyl, but I was a bit frustrated by the lack of control over my color palette. I really wanted to use some nature-inspired fall tones along with soft muted pinks and greens. Color is so important for anything terrazzo inspired! You can still make these pumpkins with craft vinyl (especially if you’re decorating faux pumpkins), but you’ll probably want to choose a brighter color palette. The pink and purple pumpkin above was made entirely with craft vinyl on a faux white pumpkin.

DIY No Carve Terrazzo-Inspired Pumpkins

Materials

Craft paint in your chosen color palette

Paint brushes (the smaller the better! Size 0 and 1 for corners and smaller pieces, probably no larger than size 4 or 5 for some of the larger pieces)

Paint palette or paper plate

Craft vinyl and scissors (optional)

Pumpkins in varying shapes and sizes

DIY No Carve Terrazzo-Inspired Pumpkins

To make the DIY No Carve Terrazzo-inspired Pumpkins:

Step 1. Choose your color palette. I recommend selecting 4-6 colors per pumpkin. You can keep the color palette the same for each pumpkin, or mix things up a bit and choose several color combinations with some overlapping colors. I chose a mix of pinks, peach, ochre (deep yellow), navy blue, shades of green, and rust. Each pumpkin had some pink and ochre, but otherwise I mixed things up a bit!

Step 2. Squeeze a small amount of each paint color onto a paint palette or paper plate. If necessary, mix colors to achieve the perfect shade of a particular color. Starting with the first color, paint a few terrazzo-inspired geometric shapes around the pumpkin. You want these shapes to look like stone fragments, so geometric shapes with softer corners are definitely your friend here. Trapezoids, diamonds, irregular circles and rectangles, and triangles. I found it easiest to paint a few larger shapes around the pumpkin to make sure the colors were evenly distributed, then fill in with smaller shapes. 

Note: If you’re using craft vinyl, you’ll basically do the same thing, except instead of painting you’ll use your scissors to cut terrazzo-inspired shapes from your craft vinyl. Once you have a variety of shapes and colors cut, carefully peel the adhesive backing and apply to the pumpkin like a sticker. I found it easiest to start with some of the larger shapes randomly scattered around the pumpkin surface, then fill in with the smaller shapes as I went. I really didn’t have a plan, so you can totally just wing it! If you place a shape and then change your mind, you should be able to move it by very carefully peeling the vinyl from the pumpkin and moving it to a new spot.

Step 3. Continue painting the entire pumpkin, and if necessary apply a second or third coat of paint to ensure full color coverage. Allow the paint to dry completely and enjoy!

DIY No Carve Terrazzo-Inspired Pumpkins

DIY No Carve Terrazzo-Inspired Pumpkins

DIY No Carve Terrazzo-Inspired Pumpkins

I scattered these pumpkins across our mantel and bookshelves, but these would be so cute as a holiday centerpiece. Paint a bunch (like a dozen) and line them all in a row down a table!

DIY No Carve Terrazzo-Inspired Pumpkins

DIY No Carve Terrazzo-Inspired Pumpkins

DIY No Carve Terrazzo-Inspired Pumpkins

Yay! Happy Halloween decorating everyone!

p.s. DIY Iridescent Pumpkins and DIY Rainbow Halloween Treat Bags

Photo Credits: Nole Garey for Oh So Beautiful Paper