Friday Happy Hour: The Aviation

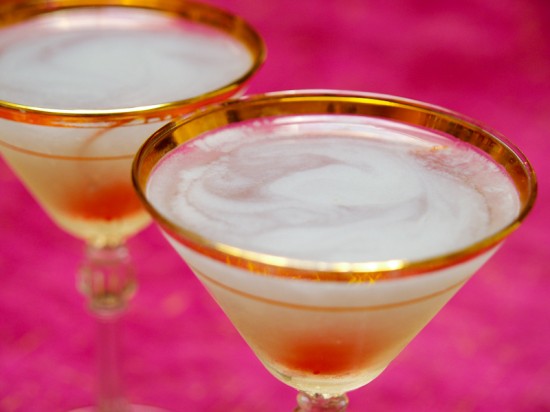
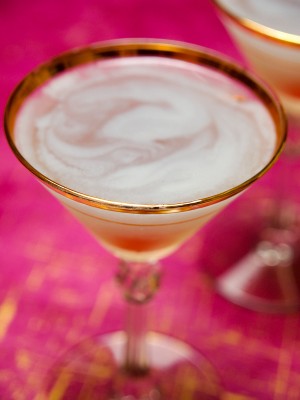
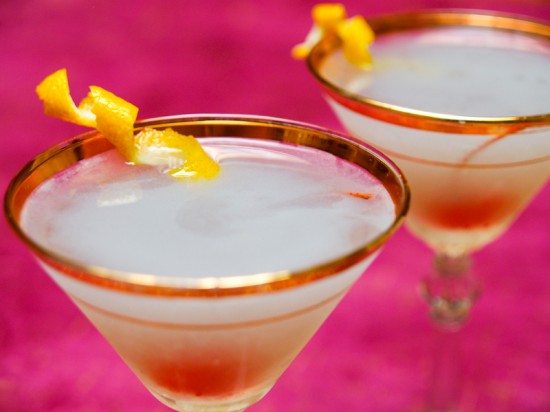
Today’s cocktail, the Aviation, involves an obscure but fascinating liqueur – Creme de Violette, which went out of production following Prohibition but recently resurfaced.  This is a really interesting drink, not like anything I’d had before.  It’s sour and sweet with a strong hint of almond from the Maraschino liqueur (made from Marasca cherries and their pits), and a floral finish from the Creme de Violette (literally flowery – the Creme de Violette is made from violets).  It also has the really unique color of a cloudy blue sky, from which I’m sure it got its name.

This is a drink that could star in its own soap opera.  A hit before the First World War, it disappeared in the 1920s and was replaced by another cocktail masquerading under the same name, only to reappear years later with no memory of where it had been all that time.  Ok, so maybe I’m overselling it a bit, but this fantastic drink has a really interesting history.

Read below for the full recipe!

The Aviation

2 oz Gin
1/2 oz Maraschino Liqueur
1/2 oz Lemon Juice
1/4 oz Creme de Violette

Combine and shake over ice, then strain into a cocktail glass.  Garnish with a cherry and enjoy.


The first mention of the Aviation was in 1911, when flying still had a tremendous air of glamor, adventure, and sophistication (some things have not been improved by progress).  But, by 1930, the Aviation appeared in recipe guides missing an ingredient: the Creme de Violette.  What happened?  Prohibition.  I suspect Creme de Violette was just too obscure an ingredient to justify the risk of smuggling it in from Europe.  Everyone seems to have forgotten that it was ever part of the recipe.  Recipes have described the impostor for decades, and it has been impossible to enjoy a true Aviation.

Until now!  A few years ago, Haus Alpenz started importing a Creme de Violette by Rothman and Winter from Austria, and suddenly all sorts of vanished drinks started reappearing.  This Creme de Violette is a rich dark purple that gives the drink its color and sweet, floral finish.

The Maraschino liqueur and, especially, the Creme de Violette may be hard to find in a lot of places.  Keep looking!  It’s worth it.

{happy weekend!}

Happy Friday everyone!  I hope you all had a wonderful week!  I actually managed to come down with a bit of a cold this week, so I’m planning to lie low this weekend.  Not very exciting, I know, but definitely necessary every now and then.  But in the meantime…

…a few links for your weekend!

This week on Oh So Beautiful Paper:

I’ve got an awesome cocktail recipe coming up for you a bit later this afternoon, but otherwise that’s it for me this week!  I hope you all have a wonderful weekend and I’ll see you back here on Monday! xoxo

Photo Credit: Tieperfume

DIY Rubber Stamp Photo Card Save the Dates

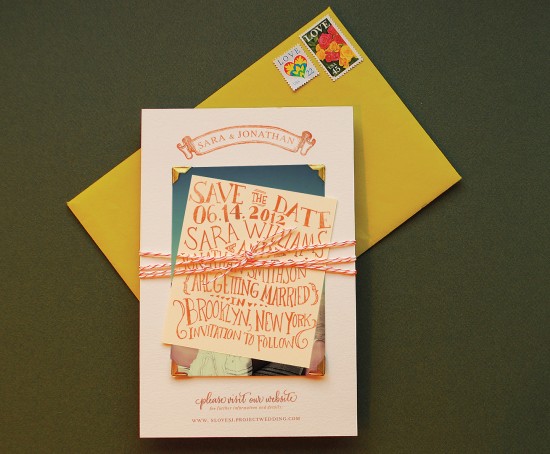
It’s the ladies of Anti­quaria, back with another fab­u­lous and cre­ative DIY project for you!  This week they’re here with some awe­some DIY photo card save the dates!

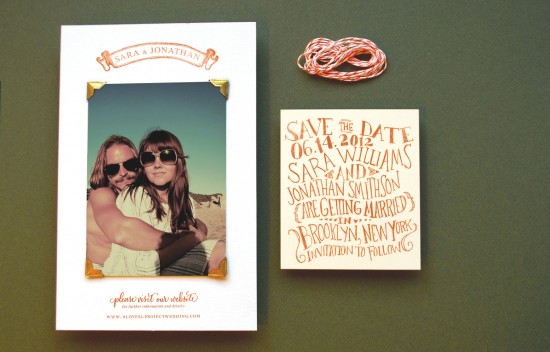
Need a fabulous and unique way to incorporate your engagement shoot into your save the date?  We’ve got the solution for you: hand stamped photo save the date cards!  We are constantly inspired by all the wonderful engagement shoots that folks are putting together these days, and wanted to find a way to incorporate that imagery with rubber stamps.  We think the results are truly adorable and your family and friends will love receiving a sweet photo of the two of you.

DIY Photo Card Save the Date

DIY Photo Card Save the Date

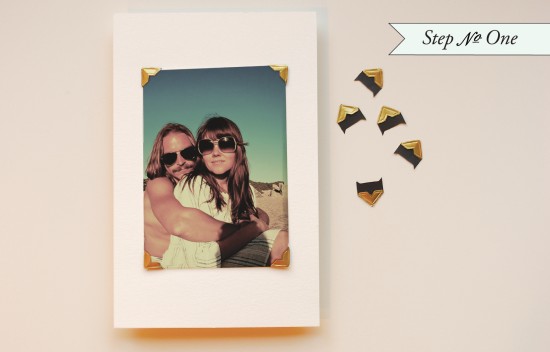
Step One: Cut paper to a size A9 card (5.5″ x 8.5″).  Use photo corners (our most recent obsession) to secure your (3″ x 5″) photo to the card.  You just stick them on each corner to activate and the adhesive, center over the paper and press down to secure.

DIY Photo Card Save the Date

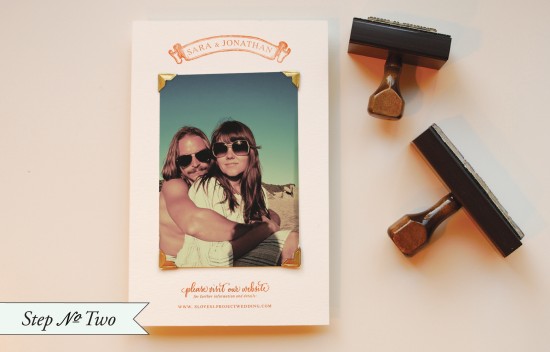
Step Two: This step will take two stamps, a monogram (we used our ribbons & banners monogram) and a website stamp (we used our calligraphy accent website stamp).  Ink each stamp thoroughly, position and stamp down on a hard, even surface.  Let dry.

DIY Photo Card Save the Date

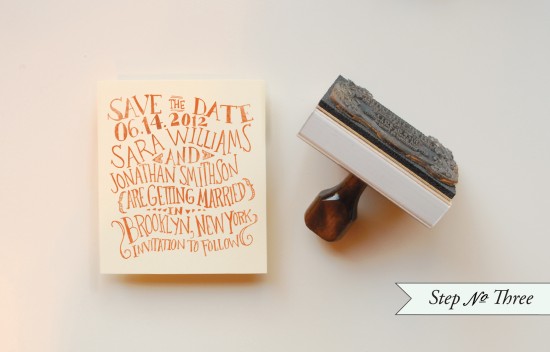
Step Three: Cut paper to (4″ x 4.5″).  Ink a save the date stamp (we used our “Circus” save the date stamp) and make print on a hard surface.  Make sure when stamping, you apply moderate and even pressure over the entire stamp.  Let dry before assembly.

DIY Photo Card Save the Date

Finish up the suite with twine, wrapping the bundle a few times before making a knot.

Rubber Stamps:

“Banners” monogram

“Calligraphy Accent” website card

“Circus” save the date

Supplies:

A9 Card (5.5″ x 8.5″)

A9 Envelope

Photo – Printed locally or online.  Look for specials and deals on 3″ x 5″ prints

Save the Date (cut to 4″ x 4.5″)

Stamp Pad (we used orange)

Orange twine

Photo corners

Photo Credits: Anti­quaria, Save the Date photograph by Kelly Lynn James

p.s.  I’ve got two holiday card round ups coming a bit later this morning, so check back soon!


Sofia + Jeffrey’s Garden-Inspired Silhouette Wedding Invitations

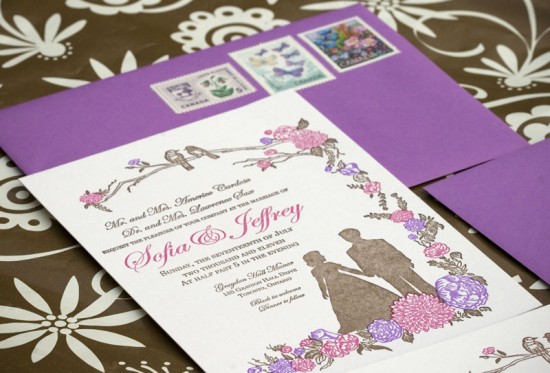
These lovely wedding invitations come to us from Chantal of Papillon Letterpress, an illustrator and letterpress printer based in Ontario, Canada.  Chantal created these illustrated invitations for a summer wedding in Toronto.  Chantal incorporated silhouettes, floral illustrations, and lovebirds to complement the wedding’s garden location.  So pretty!

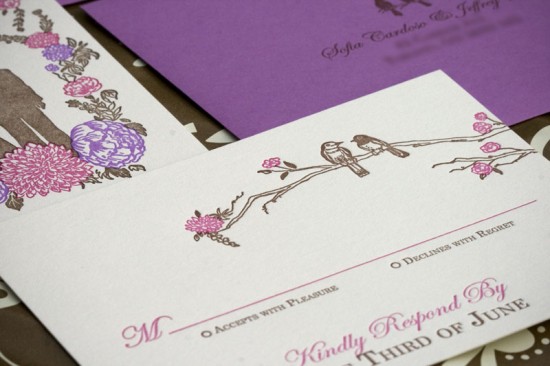
From Chantal: Sofia and Jeffrey were a dream to work with.  Sofia requested that lovebirds, a silhouette of a couple and certain types of flowers be featured on the invitation and then she let us do our thing.  I illustrated the entire invitation – with a garden theme since they were to be married outdoors at a stately manor in Toronto – and printed the invitation suite myself.  The result is a 3-colour invitation and 2-colour reply card complete with purple envelopes and vintage postage stamps.

Thanks Chantal!  You can check out more lovely wedding invitations from Papillon Letterpress right here!

Check out the Designer Rolodex for more tal­ented wed­ding invi­ta­tion design­ers and the real invi­ta­tions gallery for more wedding invitation ideas!

Photo Credits: Papillon Letterpress

Vivi’s Gold Foil First Birthday Party Invitations

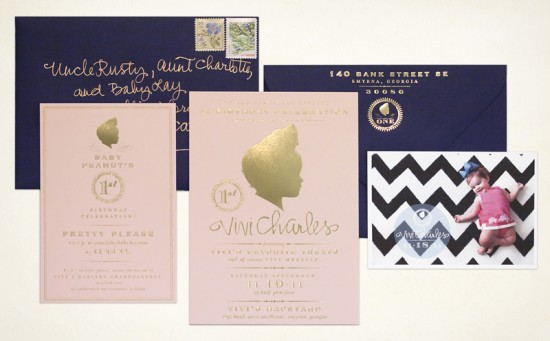
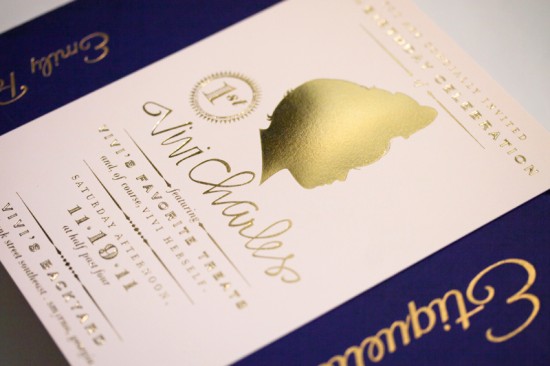
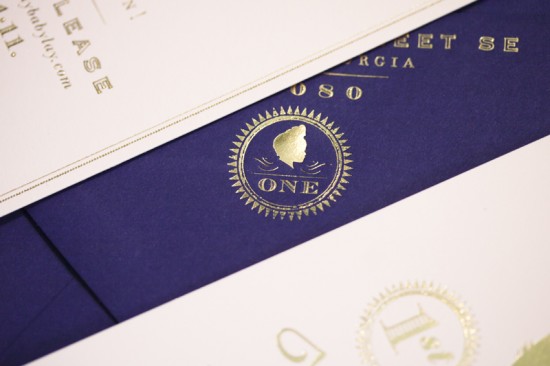
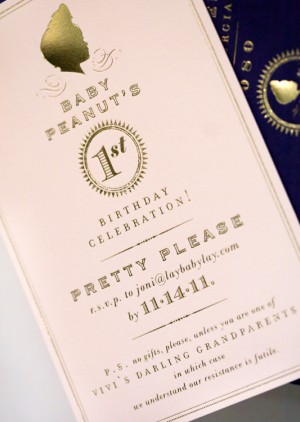
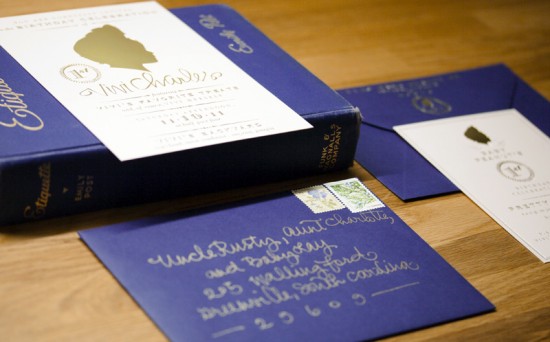
I’ve already documented my love for gold foil, so I was thrilled when Joni from Chocolate Butterbean sent over the gold foil invitations that she created for her daughter Vivi’s upcoming first birthday party.  Joni wasn’t able to send out announcements following Vivi’s birth and she knew that she wanted to do something special for Vivi’s first birthday.  Joni was inspired by the gold foil on a vintage copy of Emily Post’s book on etiquette, incorporating gold foil silhouettes on pale pink paper and paired with dark indigo envelopes.

From Joni: I was inspired by the vintage copy of Emily Post’s Etiquette I purchased a few years ago.  The cover is a rich indigo with beautiful gold text, and it has such a lovely, ladylike feel which is perfect because I wanted her invitations to be sweet, but not baby.  The inspiration for the party is Vivi herself, and we will have her favorite foods and other fun things on hand at the party.

The invitations include Vivi’s silhouette, with the distinctive bow she always wears to keep her crazy hair out of her eyes, and her name is handwritten for a custom touch.  Originally, I wanted to use a very bright coral paper swatch that I had been keeping on file, but unfortunately it was discontinued, so I went with the light pink for the invitation and rsvp card along with the indigo envelope.


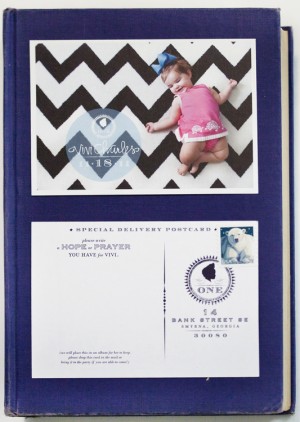
I also designed a small postcard for the guests to write a hope or prayer for Vivi’s future, which I plan to put into an album alongside a picture of her with each special person to keep.  I hope it will be a treasure for her when she grows up!

Thanks Joni!

Design: Chocolate Butterbean

Printing: Crayton-Heritage Letterpress

Photo Credits: Chocolate Butterbean