I love, love, LOVE using vintage postage stamps on envelopes. They add a little something special to everything from wedding invitations to dinner and cocktail party invitations to baby announcements. Vintage stamps offer a wonderful opportunity to represent your personal style, whether chosen thematically or by color palette. And since unused postage never expires, there are endless options to suit every type of occasion – from a formal black tie wedding to a casual backyard gathering. Here are a few of my tips for how to use vintage stamps – plus, I put a collection together with some of my favorite vintage stamps that you can use in your own projects!
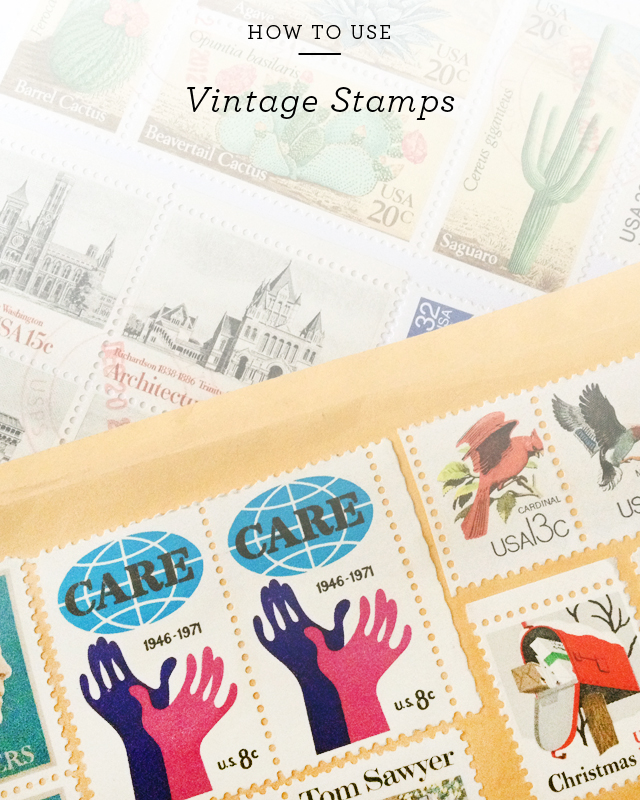
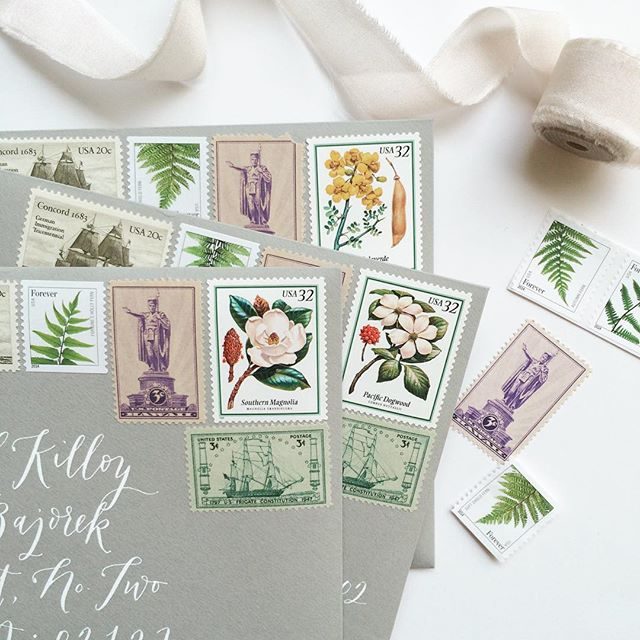
Photo Credit: La Happy Design & Calligraphy
1. Add it Up
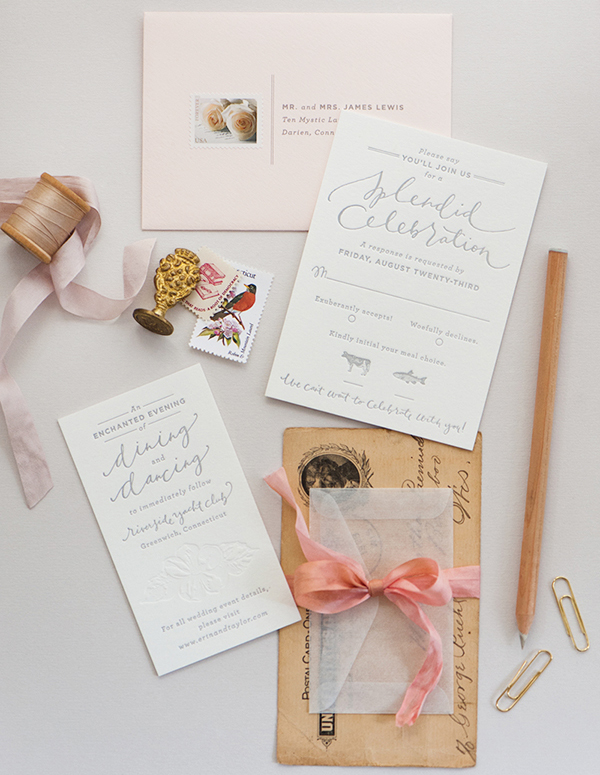
First things first: vintage postage must add up to current postage rates. While searching and shopping for stamps, make sure that you have one stamp worth at least 25¢ (or more!). Wedding invitations and birth announcements mailed in a larger envelope usually require a minimum of 71¢ postage. The 3¢ and 8¢ stamps are great for rounding out a color palette or subject theme, but you’ll need a 29¢ or 33¢ stamp in the mix to make up the difference in the total postage amount.
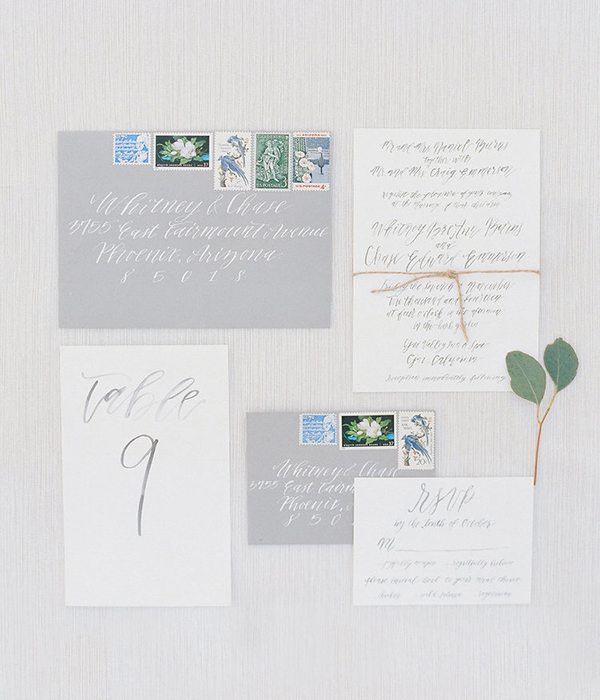
Photo Credit: Diana McGregor Photography / Calligraphy by Wondrous Whimsy

Photo Credit: Stephanie Collins Photography / Calligraphy by Anne Robin / Vintage Postage by Underwood Letterpress
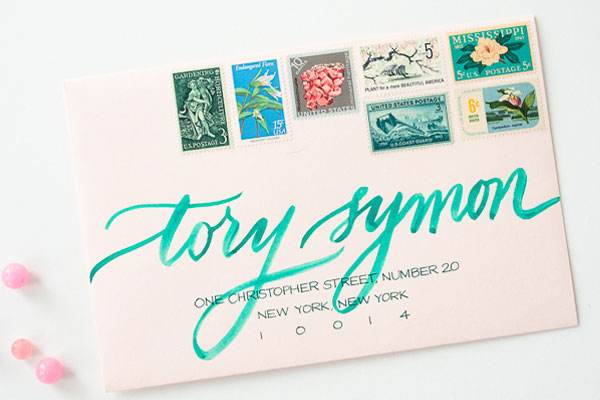
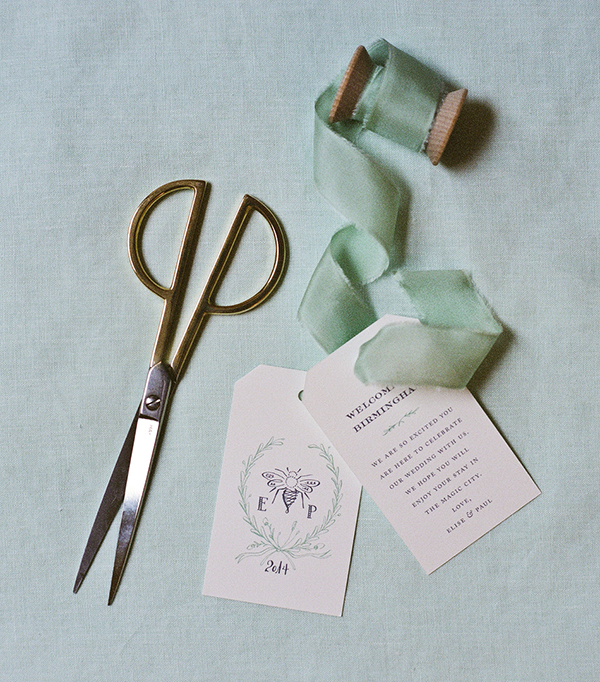
2. Plan it Out
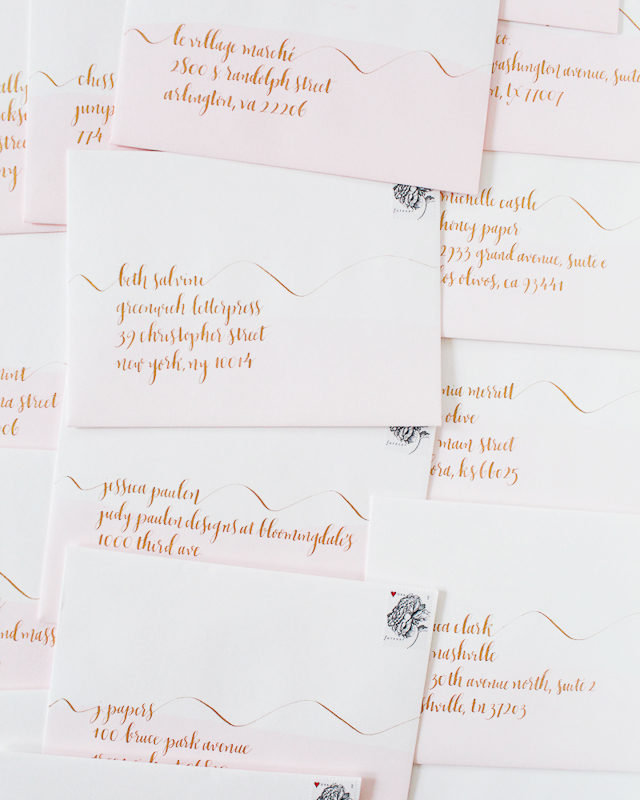
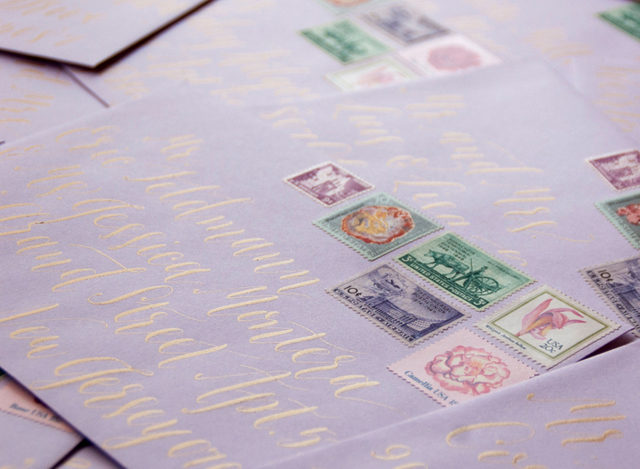
Plan your stamp arrangement ahead of time to make sure you leave room for an address – and to maximize visual impact. Some stamps look best in a straight row across the top of an envelope, while others look best in a puzzle piece arrangement in the corner. It all depends on the stamps you select!
Calligraphy: The Weekend Type / Floral Styling: The Moss & Rose / Styling: Two Be Wed / Photo Credits: Korie Lynn Photography
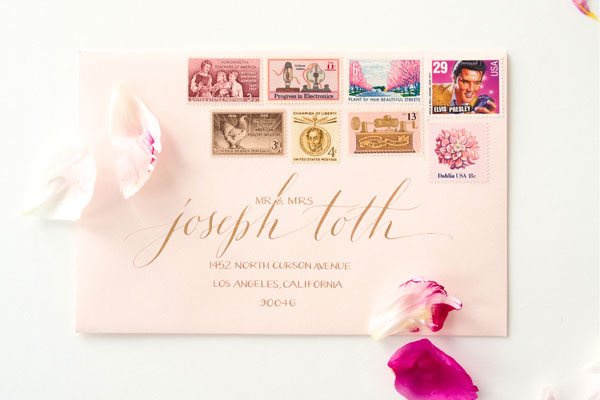
Photo Credit: Stephanie Collins Photography / Calligraphy by Anne Robin / Vintage Postage by Underwood Letterpress
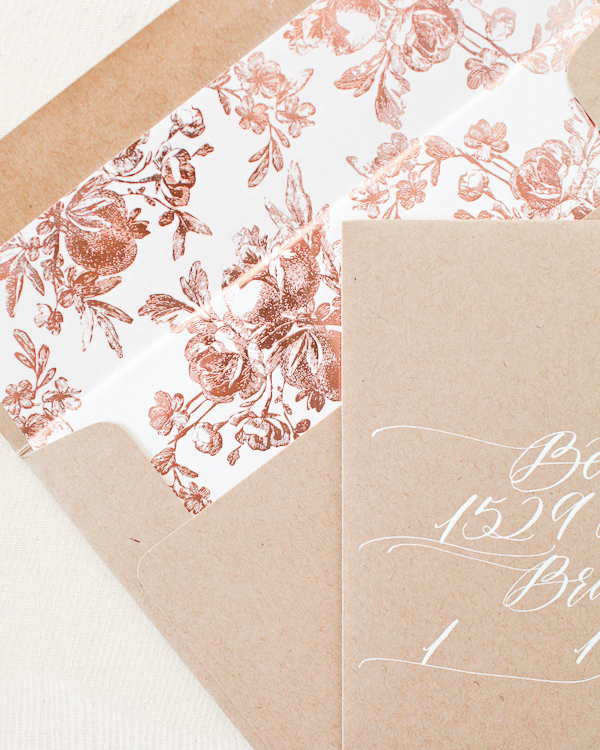
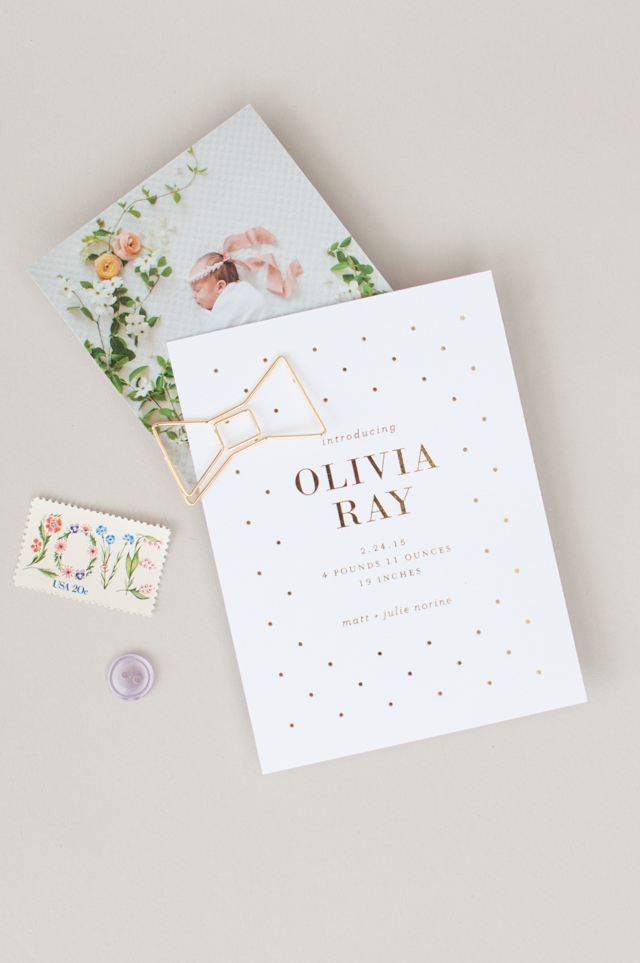
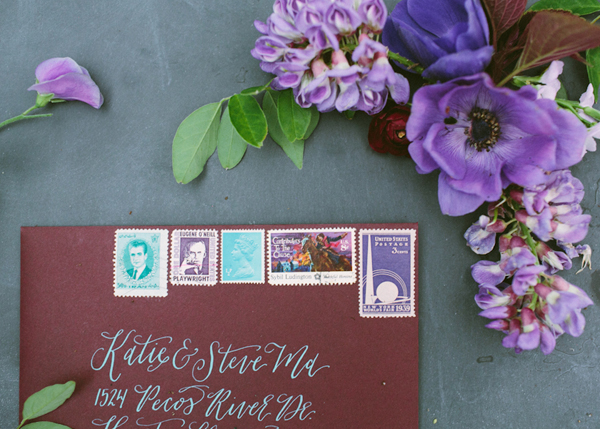
3. Color Theory
The easiest way to group vintage stamps together? By color! Let your wedding color palette guide your vintage stamp selections and your envelopes will shine! You can even address the envelopes using ink in a complementary color to make your envelopes even more special and complete the overall look.

Photo Credit: Antiquaria Design Studio
4. Personal Geography
I love it when couples share a glimpse of their personal history – and geography! – in their vintage stamp selections. It can be as simple as a stamp with the city or state where the couple met, along with stamps of their home state. Perhaps they grew up in Montana and Texas but met in college in DC. When placed together on an envelope, these stamps tell such a fun story!
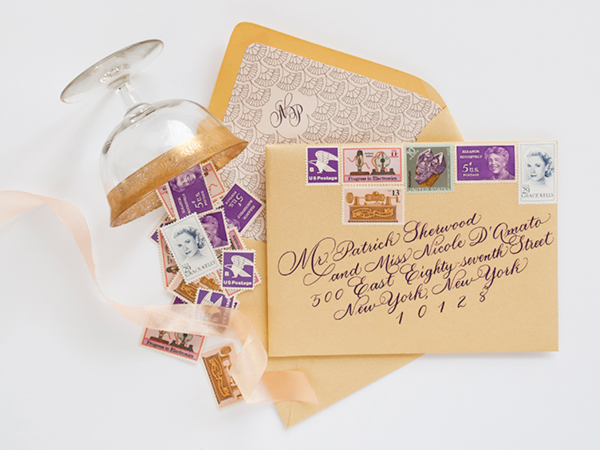
Photo Credit: Coral Pheasant
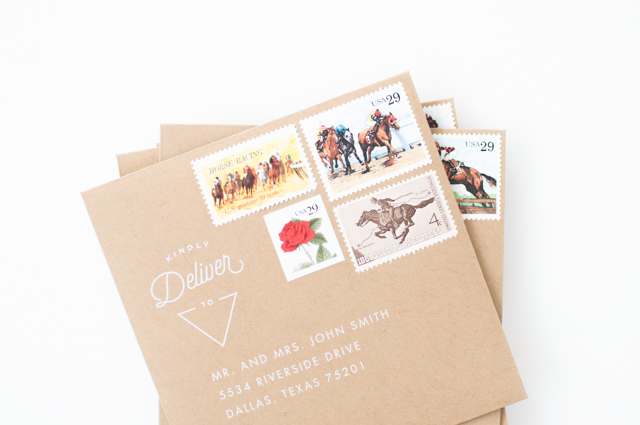
Photo Credit: Lauren Chism Fine Papers
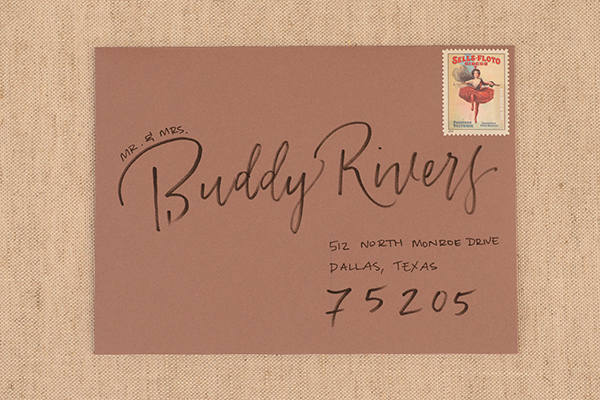
5. Stick to a Theme
Love science? Have a passion for architecture? Maybe you’re both crazy for horses, or you met while working on a political campaign. Whatever your interests, let them shine in your envelope postage! You can find vintage postage stamps for practically any topic or theme, from travel to modern art.
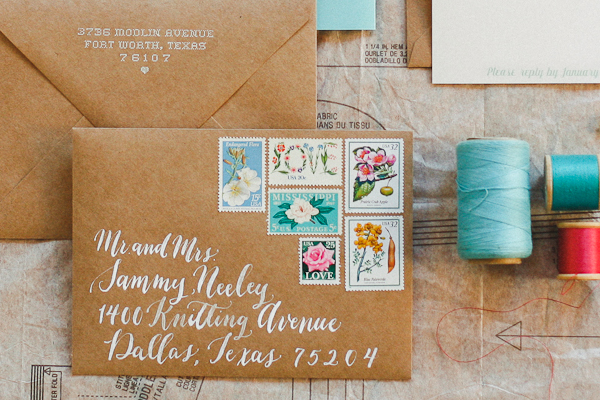
Photo Credit: Blue Eye Brown Eye Calligraphy
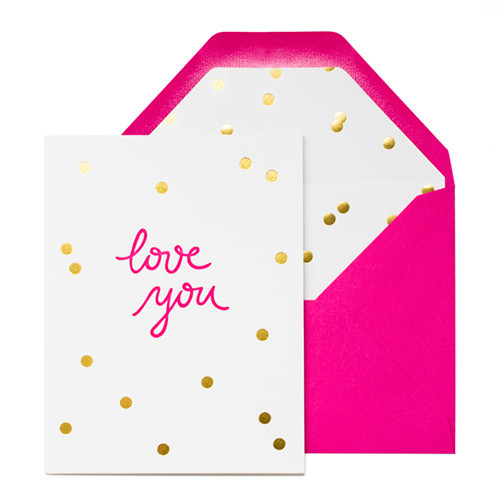
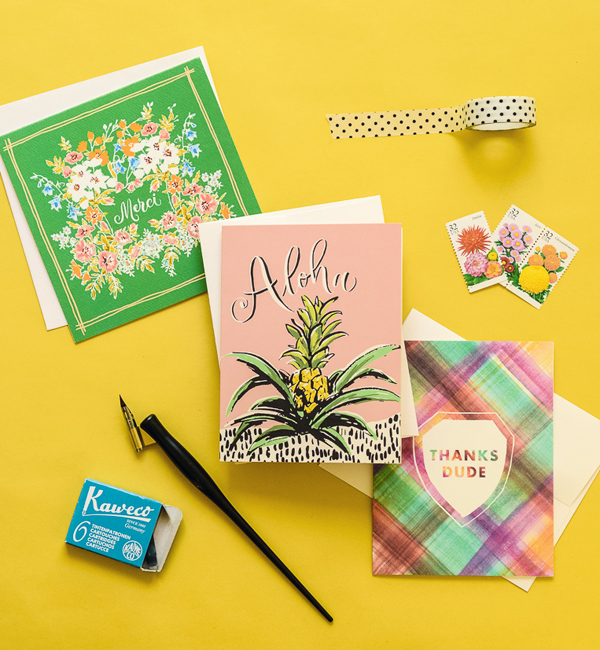
6. Pretty Botanicals
If themes aren’t your thing, go with flowers! My favorite vintage stamps feature floral designs – and they look so incredibly beautiful when grouped together on a wedding invitation envelope! My favorite floral stamps are the Mississippi and Alabama statehood stamps, along with this love stamp.
p.s. Where to find (and buy) vintage stamps and more inspiration for mixing vintage stamps
This post was created in partnership with eBay. All content and opinions are my own. Thank you for supporting the sponsors that make Oh So Beautiful Paper possible!