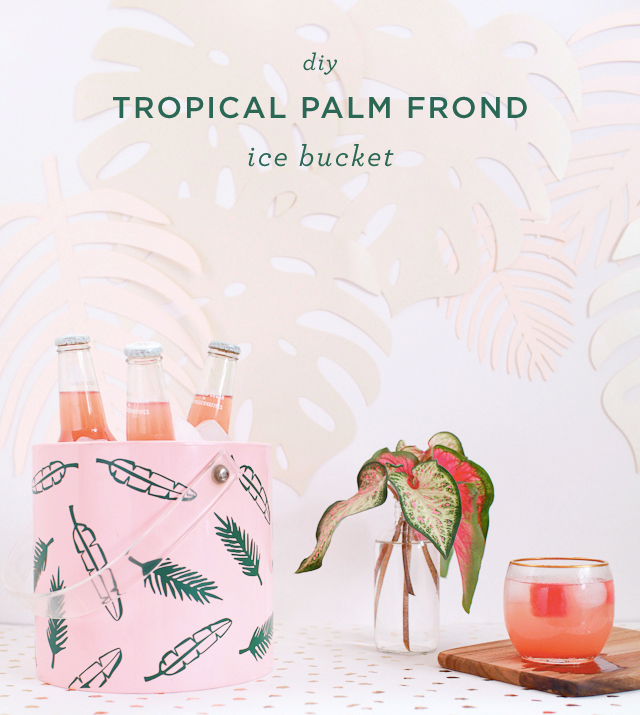
Happy Monday everyone! It’s getting super hot out there, and a cute ice bucket is an absolute necessity for any summer parties. So here’s a fun (and totally easy) tutorial for making an awesome “Let’s Party” tropical palm frond ice bucket using vinyl decals made with the Silhouette CAMEO®!
This tropical ice bucket was inspired by a sign that I made for the bar at Paper Party 2015 using a vinyl decal made with my Silhouette CAMEO® on painted acrylic. The sign featured gorgeous “Let’s Party” lettering from Jenna of Mon Voir Calligraphy surrounded by amazing palm frond illustrations by Courtney of Swiss Cottage Designs. This tropical motif is absolutely perfect for summer! And it turns out that a pretty vinyl decal is an awesome way to take your ice bucket game to the next level.
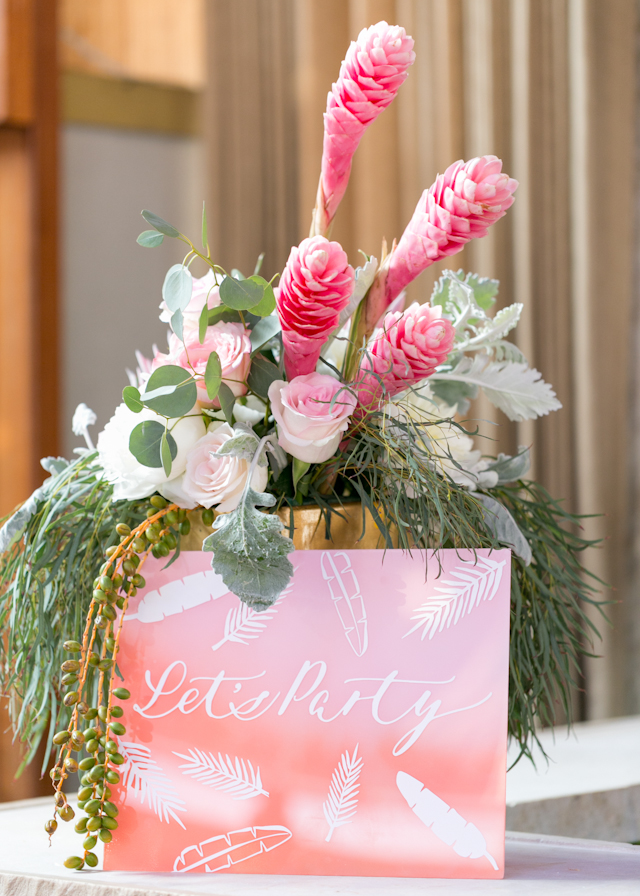
Photo by Charlie-Juliet Photography
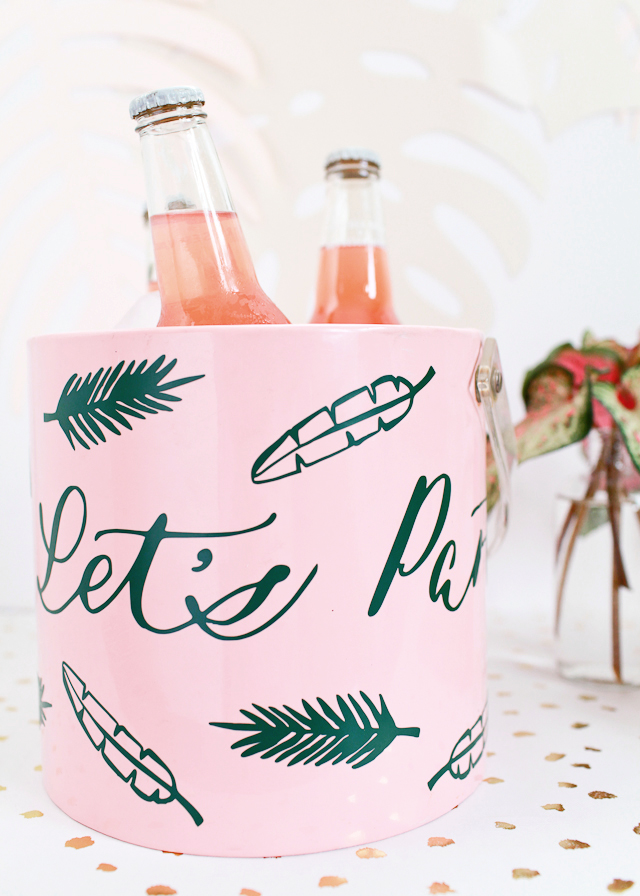
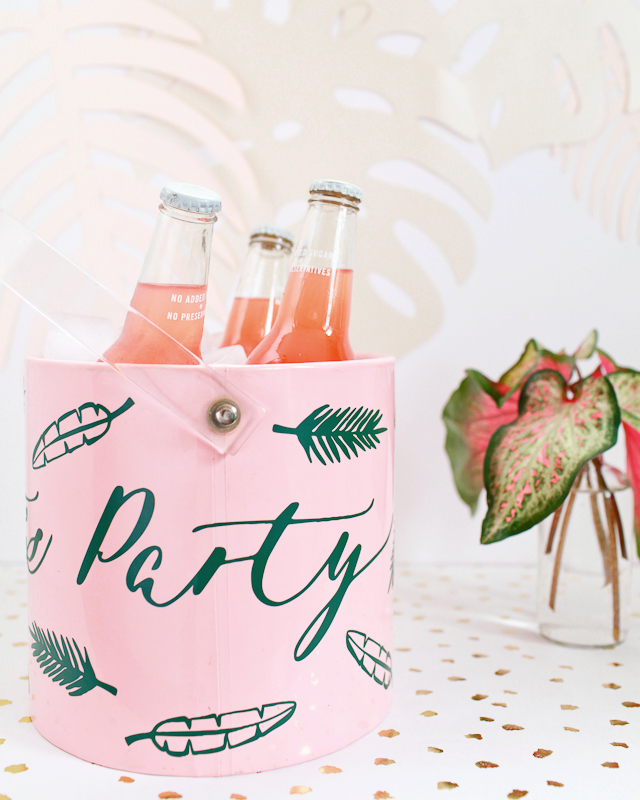
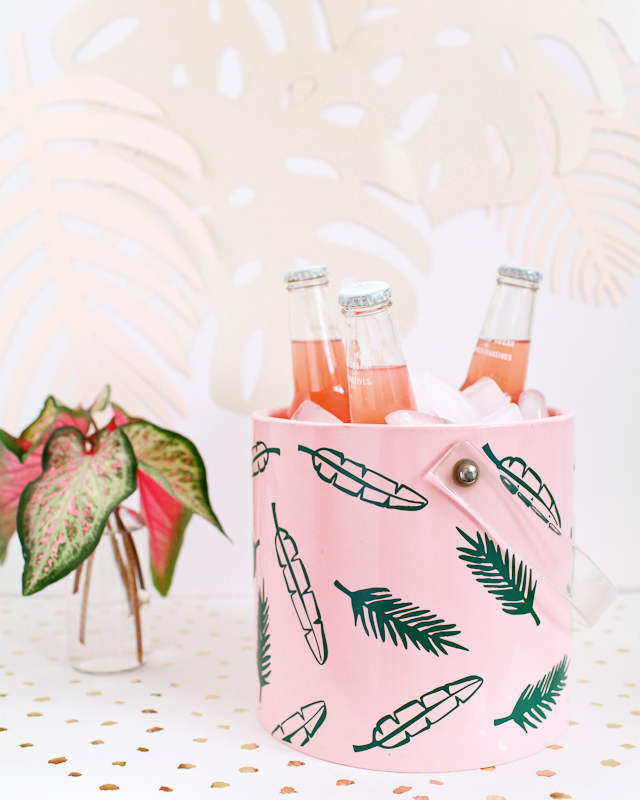
Okay, now onto the fun part – making the decal!
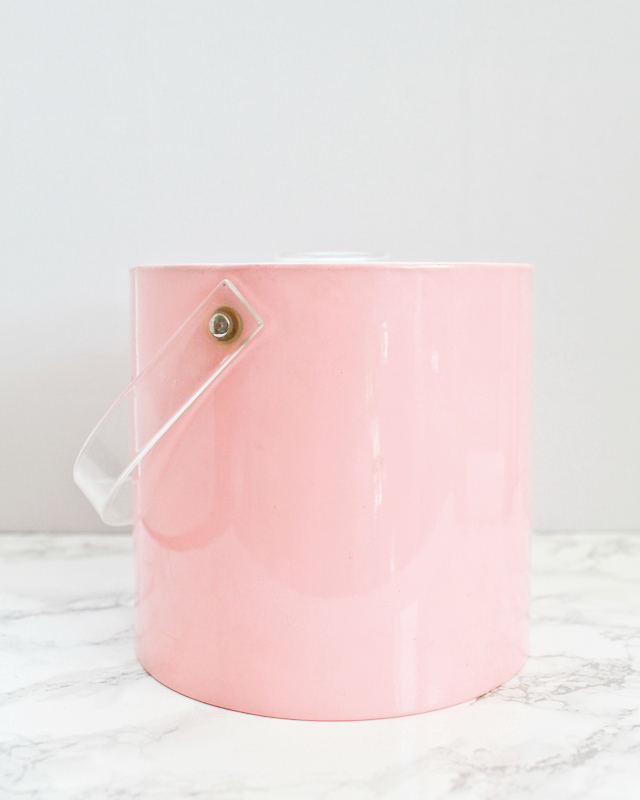
The original ice bucket. Totally fine, but just begging for an upgrade.
Supplies
12″ Matte Dark Green Vinyl (or another color of your choice)
Vinyl Ice Bucket (mine was vintage via eBay – but you can find new versions here!)
Scissors
Exacto knife (optional)
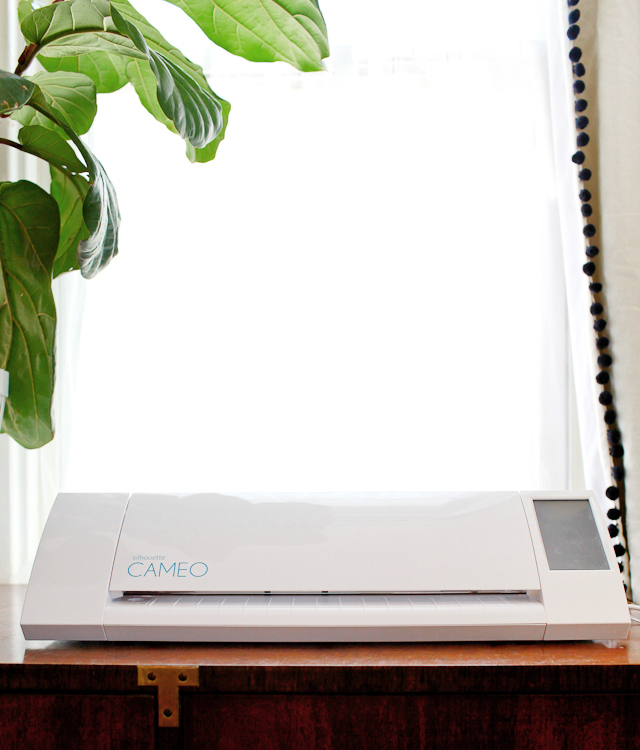
Instructions
1. Download the decal file right here and open the file in Silhouette Studio – it’s all traced and ready to go! My ice bucket measures around 7.5″ tall and 24″ around, but I made the file a full 12″ tall with some extra tropical leaves along the bottom so you can fill in as needed if your ice bucket has different dimensions.
2. Cut a piece of vinyl 24″ in length. Load your vinyl into the machine, adjust the page size to 24″ wide by 12″ high with no cutting mat, set the cut settings to vinyl, then click Send to Silhouette and watch the machine do its thing!
3. Carefully remove excess vinyl from the liner, leaving just your words and tropical leaves. Use the exacto knife to hold down thin parts of the decal while removing the excess vinyl and to pick out the tiny bits inside the lettering and leaves. If needed, trim the decal to the height of your ice bucket and cut away any unnecessary leaves.
4. Place a piece of transfer tape over the entire decal, remove the liner backing, and transfer to your ice bucket as desired, making sure to press down firmly and smoothly along the entire decal.
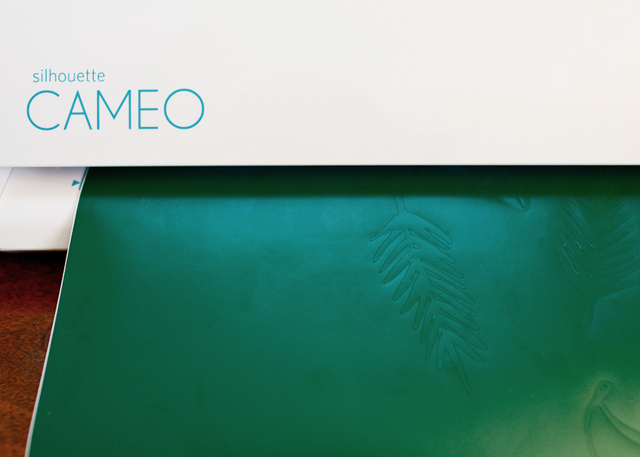
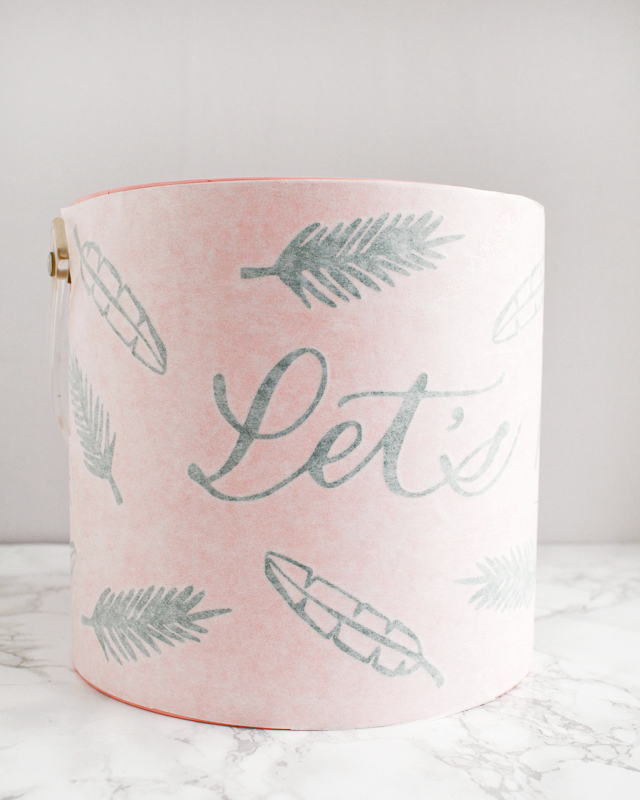
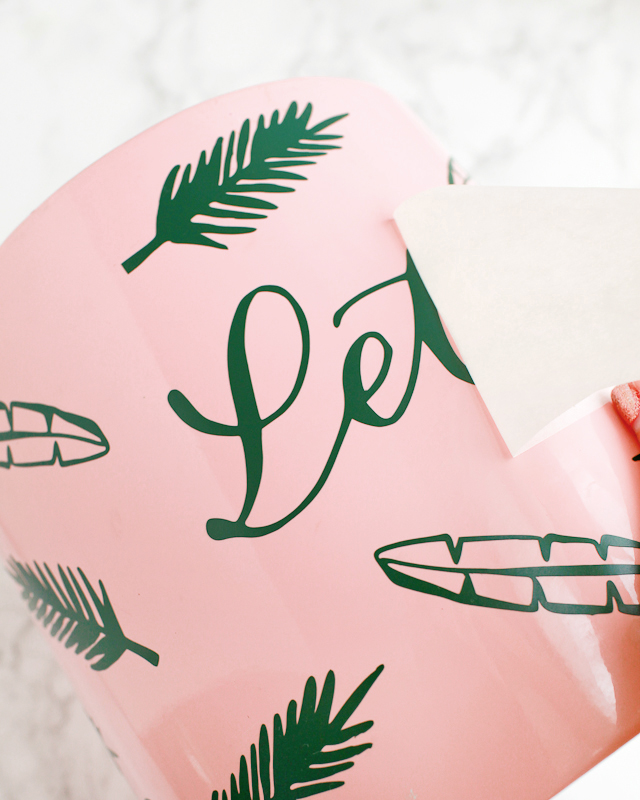
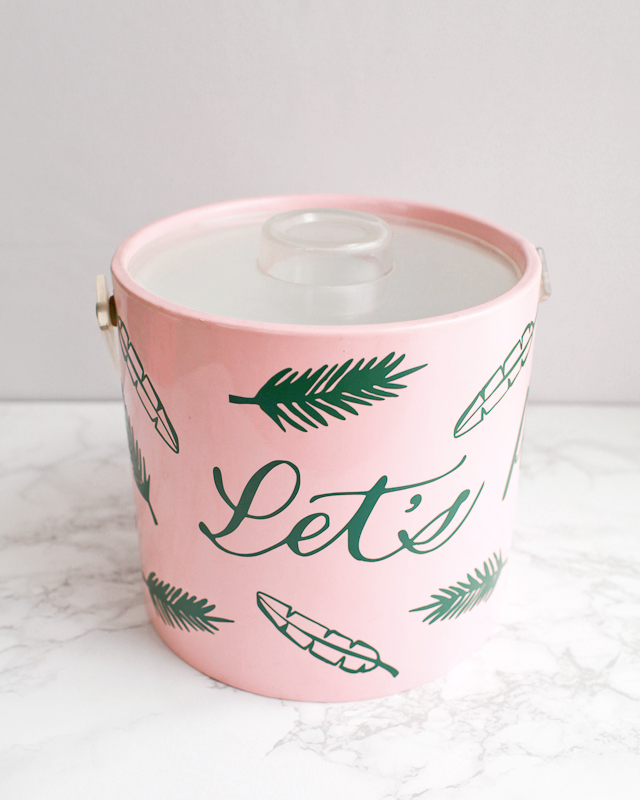
Such a fun way to upgrade your ice bucket! Stay cool out there this summer!
Note: Let’s Party calligraphy by Mon Voir and palm frond illustrations by Swiss Cottage Designs. This artwork is made available for personal use only and may not be copied, altered, or distributed in any way.
This post is brought to you in collaboration with Silhouette. Thank you for supporting the sponsors that make Oh So Beautiful Paper possible!

Beyond gorgeous! Pinning and running to get a silhouette 😉 I wish! This whole soft pink + palms is so inspiring! I posted last Friday a printable with a similar vibe:
http://kraftmint.com/2015/06/26/hooray-its-summer-tropical-artwork/
Ursula 😉
Love, Love this Silhouette project! I’ve been working mainly with paper, but must definitely get on the vinyl train!