Preppy Palm Beach Wedding Stationery Inspiration

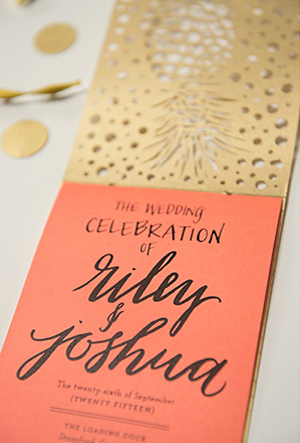
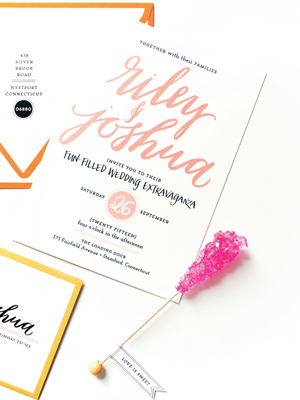
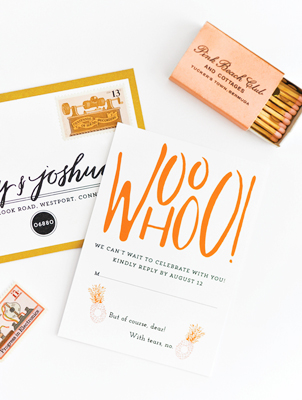
Happy Monday everyone! We’re experiencing yet another winter storm here in DC, so I’m excited to start the week off with some colorful wedding invitation inspiration from Nichole at Coral Pheasant! Inspired herself by the playful vibe of Palm Beach, these invitations feature brush style lettering from Moira Ink and lots of pineapples. So fun!

Preppy-Palm-Beach-Wedding-Invitations-Coral-Pheasant

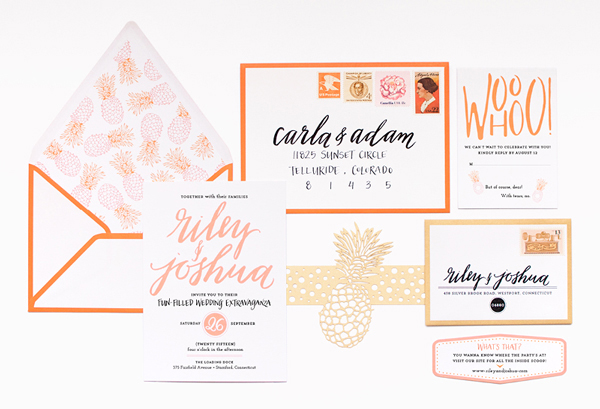
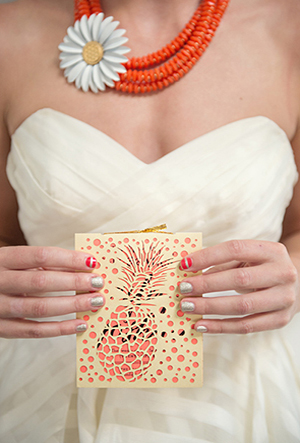
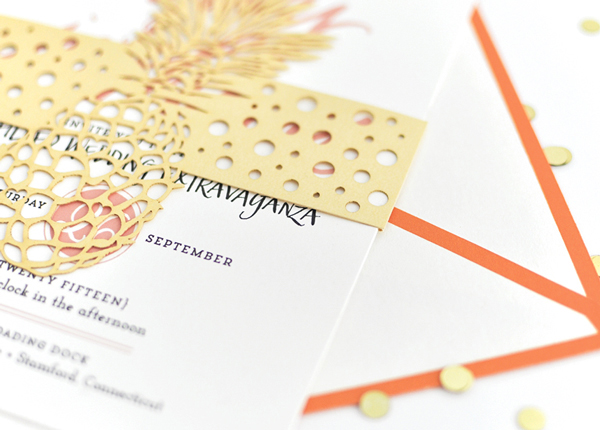
From Nichole: Punchy colors, pineapples and a preppy chic Palm Beach vibe were the inspiration behind this invitation. I asked Jenny of Moira Ink to create playful brush style lettering that I incorporated into the suite and signage. Striking envelopes with bold edge coloring were paired with a pineapple patterned envelope liner.

Preppy-Palm-Beach-Wedding-Invitations-Coral-Pheasant2

Preppy-Palm-Beach-Wedding-Invitations-Coral-Pheasant4

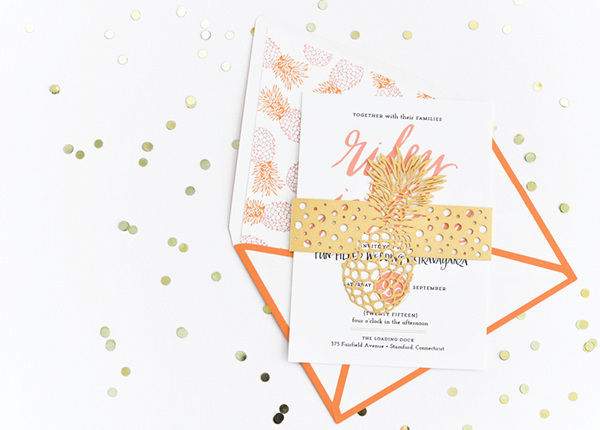
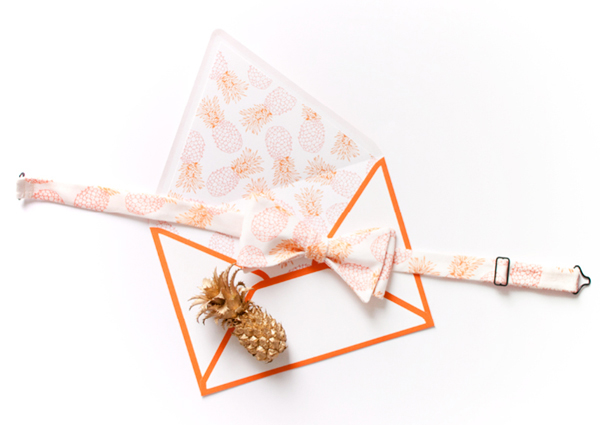
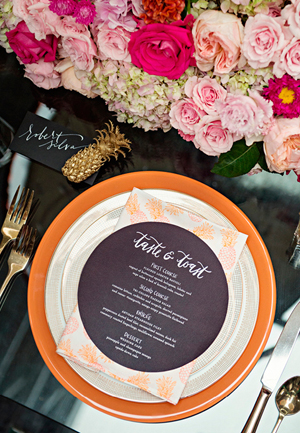
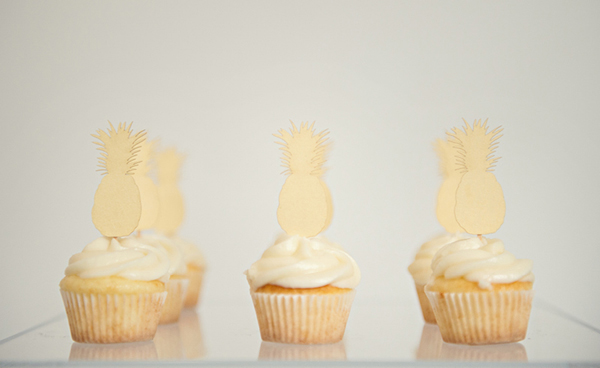
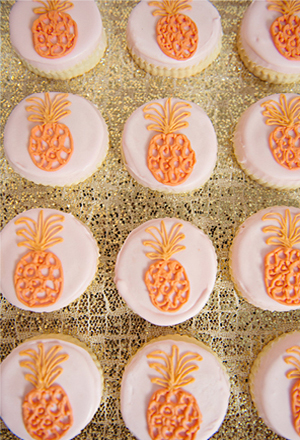
This same pattern was used to create custom fabric that became matching napkins and a bow tie for the groom – a great and unexpected way to carry this design element throughout, creating a really cohesive experience. (Something to think about all you brides-to-be!) A laser cut pineapple belly band repeated the motif and held all the pieces together. Laser cutting was also used to create the front of the wedding program and mini laser cut pineapples adorned cute cupcakes.

Preppy-Palm-Beach-Wedding-Invitations-Coral-Pheasant9Preppy-Palm-Beach-Wedding-Invitations-Coral-Pheasant10

Preppy-Palm-Beach-Wedding-Invitations-Coral-Pheasant3

Preppy-Palm-Beach-Wedding-Invitations-Coral-Pheasant5Preppy-Palm-Beach-Wedding-Invitations-Coral-Pheasant6

Preppy-Palm-Beach-Wedding-Invitations-Coral-Pheasant7

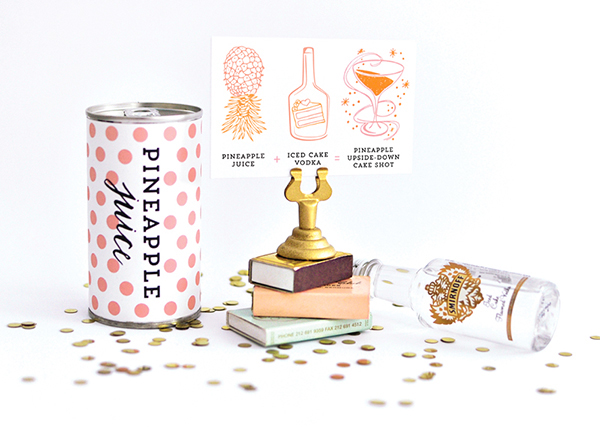
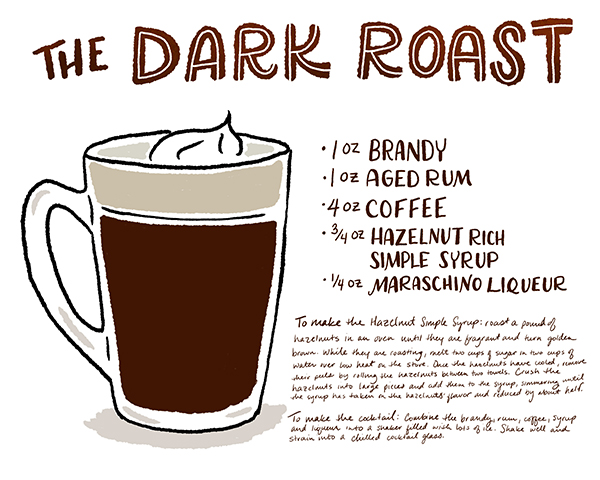
One of my favorite elements were the pineapple welcome bags. Treats for the guests included tropical trail mix and a pineapple upside down cake shot! Little pineapple juice cans were wrapped in coordinating labels and a recipe card provided illustrated instructions. The instructions were tucked into a polka dot bag and affixed to the welcome letter. I don’t know about you, but I’d love to be on the receiving end of this cute package – and I’d be super stoked for the wedding!

Preppy-Palm-Beach-Wedding-Invitations-Coral-Pheasant13Preppy-Palm-Beach-Wedding-Invitations-Coral-Pheasant14

Preppy-Palm-Beach-Wedding-Invitations-Coral-Pheasant12

Preppy-Palm-Beach-Wedding-Invitations-Coral-Pheasant8Preppy-Palm-Beach-Wedding-Invitations-Coral-Pheasant11

Thanks Nichole!

Stationery Design: Coral Pheasant

Calligraphy: Moira Ink

Event Design/Coordination: Jubilee Events

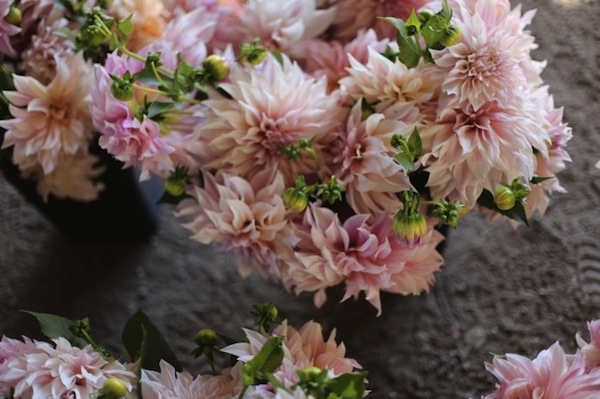
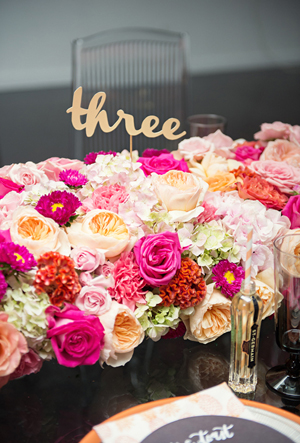
Floral Design: Diane Gaudette Custom Floral Designs

Confections: Sweet Maria’s Bakery

Check out the Designer Rolodex for more tal­ented wed­ding invi­ta­tion design­ers and the real invi­ta­tions gallery for more wedding invitation ideas!

Photo Credits: Stationery photography by Coral Pheasant, detail photography by Carla Ten Eyck Photography

Friday Happy Hour: The Dark Roast

I love coffee. And I also love cocktails! The great thing about booze is that two things like that need never be in conflict: if you love something and you also love cocktails, just…put that thing into a cocktail! So that’s what I did with coffee. There are some classic coffee drinks (like Irish Coffee), but not that many, so there’s plenty of room to play around. Which is what we did with our first coffee cocktail: The Dark Roast. – Andrew

OSBP-Signature-Cocktail-Recipe-Dark-Roast-Coffee-Cocktail-7

OSBP-Signature-Cocktail-Recipe-Card-The-Dark-Roast-Shauna-Lynn-Illustration

Illustration by Shauna Lynn for Oh So Beautiful Paper

The Dark Roast

1 oz Brandy
1 oz Dark Rum
4 oz Coffee
3/4 oz Hazelnut Rich Simple Syrup
1/4 oz Maraschino Liqueur

To make the Hazelnut Simple Syrup: roast a pound of hazelnuts in an oven until they are fragrant and turn golden brown. While they’re roasting, melt two cups of sugar in two cups of water over low heat on the stove. Once the hazelnuts have cooled, remove their peels by rolling the hazelnuts between two towels. Crush the hazelnuts into large pieces and add them to the syrup, simmering until the syrup has taken on the hazelnuts’ flavor and reduced by about half.

To make the drink: combine the brandy, rum, coffee, syrup and liqueur in a shaker filled with lots of ice. Shake well and strain into a chilled cocktail glass.

The Turks (who really know their coffee) have a saying: coffee should be black as hell, strong as death, and sweet as love. The Dark Roast comes pretty close. It’s dark and rich, with a robust coffee flavor (and plenty of caffeine, so maybe don’t drink this one too late in the day). But the bitterness and rough edges of the coffee are balanced and rounded off by the sweet nuttiness of the hazelnut syrup and Maraschino liqueur.

OSBP-Signature-Cocktail-Recipe-Dark-Roast-Coffee-Cocktail-4OSBP-Signature-Cocktail-Recipe-Dark-Roast-Coffee-Cocktail-6

Although the flavors don’t exactly line up – the Dark Roast is missing typical Middle Eastern coffee flavors like cardamom and cinnamon – it reminds me nothing more than a chilled, boozy Turkish coffee: sweet but strong, almost muddy with rich coffee flavors. Which just makes me want some Turkish coffee now…

OSBP-Signature-Cocktail-Recipe-Dark-Roast-Coffee-Cocktail-17

Don’t forget to let us know if you try any of our recipes. And if you do make one at home, you can use #osbphappyhour to share photos of these (or your own creations) on Instagram.

Photo Credits: Nole Garey for Oh So Beautiful Paper

Happy Weekend!

Happy Friday everyone! Are you ready for March? I definitely am! I’m ready for cherry blossoms and spring daffodils, tulips, and crocus… even if all those things are still a few weeks away, it’s something to look forward to! But in the meantime…

Floret-Flower-Farm-Dahlias

Gorgeous dahlias by Floret Flower Farm

…a few links for your weekend!

This week on Oh So Beautiful Paper:

Check back soon for this week’s cocktail! I hope you all have a wonderful weekend, and I’ll see you back here next week! xoxo

DIY Tutorial: Seed Packet Wedding Ceremony Program

By the time most couples get around to finalizing their wedding program, they’ve waited until the last minute. They’re also desperately trying to stay within their budget since the big day is right around the corner. But making your own ceremony programs at home doesn’t have to yield ho-hum results! In our tutorial today, we’ll show you an adorable way to make custom programs every guest is sure to love. – Bailey and Emma of Antiquaria

DIY Tutorial: Seed Packet Wedding Program by Antiquaria for Oh So Beautiful Paper

DIY Tutorial: Seed Packet Wedding Program by Antiquaria for Oh So Beautiful Paper

Step One: First, you’ll need to gather your papers together and fold them exactly in half, using a bone folder. The cover of this program uses 8.5″ x 11″ patterned text weight paper (we used a version of our popular Paloma pattern). You could also use a scrapbook paper, so long as nothing is printed on the back side. For the text inside, you can use a design program, such as Illustrator or InDesign or simply use Word to lay out all of your information in two columns. We printed front and back by flipping the paper and re-running it through our home printer. You could also send the file to a copy store and have them print it for you.

DIY Tutorial: Seed Packet Wedding Program by Antiquaria for Oh So Beautiful Paper

Step Two:  Assemble your booklets with the cover on the back and the inner pages in the middle. Use paper clips to hold them together in preparation for sewing. This helps prevent shifting when you’re running a stitch down the center.

DIY Tutorial: Seed Packet Wedding Program by Antiquaria for Oh So Beautiful Paper

Step Three: With your needle in the middle position, sew straight down the center fold. Trim off any thread ends after the booklet is finished.

DIY Tutorial: Seed Packet Wedding Program by Antiquaria for Oh So Beautiful Paper

Step Four: We wanted to gussy up our program a bit by adding a little envelope containing home-grown seeds to the front for guests to take home. Instead of leaving the envelope blank, we added the couple’s name and wedding date in white calligraphy on the back flap. Don’t feel comfortable tackling calligraphy on your own? You could also use a monogram stamp with white ink to get a similar result!

DIY Tutorial: Seed Packet Wedding Program by Antiquaria for Oh So Beautiful Paper

Step Five: Adhere the envelope to the front cover (approximately in the center) using double sided tape or stick glue. We found that our  ATG Tape Gun worked the best on this project.

DIY Tutorial: Seed Packet Wedding Program by Antiquaria for Oh So Beautiful Paper

Step Six: Give your guests a little take away with your program! We spooned hand-harvest seeds into the envelopes so that each guest could plant flowers in honor of the couple. You could also fill the envelope with rice, confetti or anything else you can dream of! Have fun making it suit your own special day.

We also included a little note about the gift in the program itself, “Help our love grow! You’ll find hand-harvested seeds in the front envelope. Plant them and share the love.” Be sure to also include the type of seeds and some general growing instructions as well, either in the envelope itself or on the back page of your program.

DIY Tutorial: Seed Packet Wedding Program by Antiquaria for Oh So Beautiful Paper

Step Seven: Lastly, you’ll just need to close up the envelope so that the seeds don’t spill out. We used a fun patterned washi tape, which is easy to remove yet stays put!

Materials

Patterned paper in 8.5″ x 11″ text weight

Text weight paper in sage

Home Printer

Paper Clips

Sewing Machine and Thread – have fun with your thread color selection!

Mini Envelopes

Calligraphy Pen and Ink, or Monogram Stamp and White Stamp Pad

ATG Tape Gun

Seeds (or rice or confetti)

Washi Tape

Photography: Antiquaria for Oh So Beautiful Paper