DIY Tutorial: Dye Painted Napkins

Beautiful cloth napkins are definitely one of my weaknesses. They’re  functional but add style and charm to a table. I also think they make great hostess gifts, because it’s the kind of thing people often don’t buy for themselves. Whether you’re looking to add more cloth napkins to your collection or on the hunt for the perfect hostess gift, these DIY napkins are perfect…and quick. All it takes is a little dye and a load of laundry to create a set of completely custom, one-of-a-kind napkins perfect for a Spring table.  – Mandy of Fabric Paper Glue

DIY Dye Painted Napkins OSBP 1DIY Dye Painted Napkins OSBP 2

DIY Dye Painted Napkins OSBP Materials

Materials
white cotton napkins
liquid dye (I used navy blue.)
pointed-tip paint brush

DIY Dye Painted Napkins OSBP Step 1

Step One: Dip the paint brush directly into the liquid dye, and paint small crosses onto the napkins. I painted four rows of crosses onto one edge of each napkin. Don’t overthink it and try to hard to make them perfect and consistent. The charm comes from the casual and free form strokes. Make sure you put a drop cloth or some other surface protector underneath your napkins as you paint them.

DIY Dye Painted Napkins OSBP Step 2DIY Dye Painted Napkins OSBP Step 3

Step Two: After the dye has dried (approximately 30 minutes), rinse each of the napkins out in cold water. Be sure to rinse them out individually or you’ll rinse the dye from one right onto another.

Step Three: Launder the napkins in cold water. Dry them, and give them a press.

Pair them with a beautiful Spring table, or bundle them with a pretty little ribbon for a thoughtful hostess gift.

DIY Dye Painted Napkins OSBP 3

DIY Dye Painted Napkins OSBP 6DIY Dye Painted Napkins OSBP 5

DIY Dye Painted Napkins OSBP 4

Photo Credits: Mandy Pellegrin for Oh So Beautiful Paper

Joy’s DIY Tea Bag Bridal Shower Invitations

These DIY bridal shower invitations are so creative – and I love the sentiment behind them! As a bridesmaid in her cousin’s wedding, Joy Ang wanted to create a memorable invitation experience for guests at her cousin’s bridal shower. After a bit of thought and experimentation, Joy came up with these tea bag invitations that fit perfectly with the shower theme!

Tea-Bag-Bridal-Shower-Invitation-Joy-Ang

From Joy: Last year I was a bridesmaid for my cousin’s wedding and I got the chance to design her bridal shower invitations. The theme was an Alice in Wonderland tea party, and that’s what led me to thinking about tea bag-shaped invitations. However, I wanted them to have a little more impact on the guests, so I thought it would be really fun to make the invitations hold tea leaves that you could brew and drink.

Tea-Bag-Bridal-Shower-Invitation-Joy-Ang2

After a couple of prototypes, I created these invitations by printing on vellum paper, which allowed the tea leaves to show through. I then assembled the invitations similarly to how you would with an actual tea bag, using the tag at the end of the string as instructions for brewing the leaves. This was such an enjoyable project to work on and I’m so glad I was able to make it for my cousin and her shower!

Tea-Bag-Bridal-Shower-Invitation-Joy-Ang3Tea-Bag-Bridal-Shower-Invitation-Joy-Ang4

Tea-Bag-Bridal-Shower-Invitation-Joy-Ang5

Tea-Bag-Bridal-Shower-Invitation-Joy-Ang6

Tea-Bag-Bridal-Shower-Invitation-Joy-Ang7

Tea-Bag-Bridal-Shower-Invitation-Joy-Ang8

Tea-Bag-Bridal-Shower-Invitation-Joy-Ang9

Tea-Bag-Bridal-Shower-Invitation-Joy-Ang10

Thanks Joy!

Photo Credits: Joy Ang

Chelsea + Nick’s Hand Drawn Gingham Save the Dates

Happy Monday everyone! I spent most of this weekend dreaming of summer picnics and BBQs, so it’s only fitting that we start the week with save the dates for a country theme summer wedding! Rachel from Robinson Press created the entire design by hand, with hand lettering on the front and a hand drawn gingham pattern on the back. So fun!

Hand-Drawn-Gingham-Letterpress-Save-the-Dates-Robinson-Press2

From Rachel: These letterpress save the dates were created for an outdoor wedding in Vermont with a country theme. The entire save the date is hand drawn in an intentionally naive way, including a hand drawn gingham pattern. Chelsea and Nicholas spend as many weekends as possible in Vermont, they love it there, and they wanted their friends and family to experience their favorite spot.

Hand-Drawn-Gingham-Letterpress-Save-the-Dates-Robinson-Press

The save the dates are letterpress printed on white Reich Savoy extra heavyweight stock, enclosed with Jute envelopes from Mohawk Paper. They are printed on both sides, with the gingham pattern on the back.

Hand-Drawn-Gingham-Letterpress-Save-the-Dates-Robinson-Press6Hand-Drawn-Gingham-Letterpress-Save-the-Dates-Robinson-Press9

Hand-Drawn-Gingham-Letterpress-Save-the-Dates-Robinson-Press8

Hand-Drawn-Gingham-Letterpress-Save-the-Dates-Robinson-Press5

Thanks Rachel!

Check out the Designer Rolodex for more tal­ented wed­ding invi­ta­tion design­ers and the save the date gallery for more beau­ti­ful cus­tom save the dates!

Photo Credits: Robinson Press

Welcome to the new OSBP!

The-New-Oh-So-Beautiful-Paper

Hello, and welcome to the new OSBP! You may notice that things look a bit different over here today (and for those of you reading through a reader or via email, click on through to check it out!).

This change has been a long time coming, and I’m thrilled to finally share our new look with you – I hope you like it as much as I do! I was thrilled to work with Liz from Linda & Harriett, who contributed her beautiful hand lettering and illustrations to the new design, and Eli Van Zoeren, who worked his magic to bring our design to life on screen – including our first ever responsive (and mobile friendly) design!

We’ve also updated the navigation to make it easier to find content and move around the site, updated the Designer Rolodex (featuring a brand new logo by Meant to Be Calligraphy), and made our curated shopping galleries front and center with the new Market List section. Have fun exploring!

Friday Happy Hour: The Cocktail

We’ve written about a lot of different kinds of drinks: some with long ingredient lists and others that literally take weeks to prepare and others that are super simple to throw together. But we’ve never written about the foundation of all those other drinks: the Cocktail. That’s it, just: the Cocktail. So let’s kick off a month of back-to-basics with the most basic drink of all. – Andrew

OSBP-Signature-Cocktail-Recipe-The-Cocktail-1

OSBP-Signature-Cocktail-Recipe-Illustration-The-Cocktail

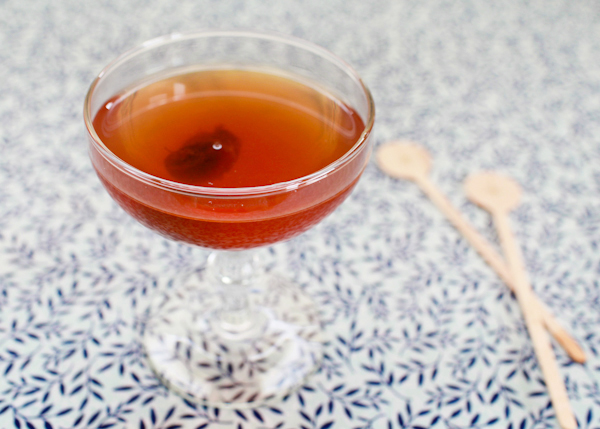
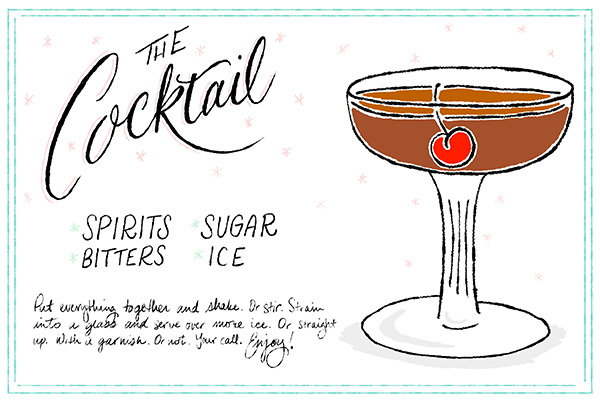
Illustration by Shauna Lynn for Oh So Beautiful Paper

The Cocktail

Spirits
Bitters
Sugar
Ice

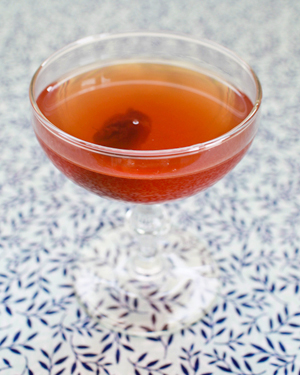
Put everything together and shake. Or stir. Strain into a glass and serve over more ice. Or straight up. With a garnish (we used a brandied cherry). Or not. Your call. Enjoy!

That’s it: spirits, bitters, sugar, and ice. Every other cocktail is a variation or elaboration on this theme. It’s at least 200 years old and probably older (Americans have been loving their booze for a long time), and it’s just as good now as it was (as I love to imagine) back then.

Ok: so how to turn this list of ingredients into a drinkable drink? Easy: 2 oz of spirits, two dashes of bitters, and 1/2 simple syrup in a glass with ice and…that’s it. Give it a stir to mix in the sugar, but otherwise, that’s literally all you have to do. This comes from the oldest detailed recipe for a Cocktail I’ve seen. From 1833.

OSBP-Signature-Cocktail-Recipe-The-Cocktail-6OSBP-Signature-Cocktail-Recipe-The-Cocktail-7

Because Americans love taking a thing and figuring out how they can make it even better (and how they can add bells and whistles), it didn’t take long before the simple perfection of the Cocktail evolved into the Plain Cocktail – add a dash or two of orange liqueur and a squeeze of lemon peel – and then the Fancy Cocktail, same as the Plain, just throw the lemon peel in as garnish, and then the Improved Cocktail with a couple dashes Maraschino liqueur and a dash of Absinthe in place of the orange liqueur. These are all great. I recommend trying these versions out too. Just try the Cocktail first.

Spirits? Make sure you’re using solid pot-still liquor here: whiskey, genever, brandy aged rum, Tequila or Mezcal, that sort of thing. Steer clear of lighter, clear spirits, like dry gin or unaged rum, that won’t have enough body or flavor to support a drink as bare-bones as this. Bitters? Aromatic. Sugar? Syrup is easier to mix, while granulated sugar looks a little cooler. It also doesn’t mix as well as syrup, so you’ll need to muddle the sugar with the bitters before you add everything else. The amount of sugar you’ll need will vary based on your taste and on the sweetness of the spirits you’re using. A sweet bourbon will need less sugar than a malty and sharp genever.

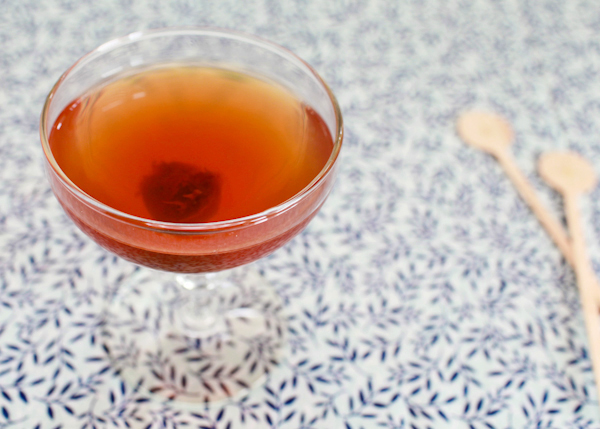
Shaken or stirred? I like stirring myself, it dilutes the drink less and leaves it with a cleaner look, or just building the drink over ice. Garnish? Drop a lemon twist, or grate some nutmeg, or plop in a brandied cherry, or leave it alone. No rules. Go wild.

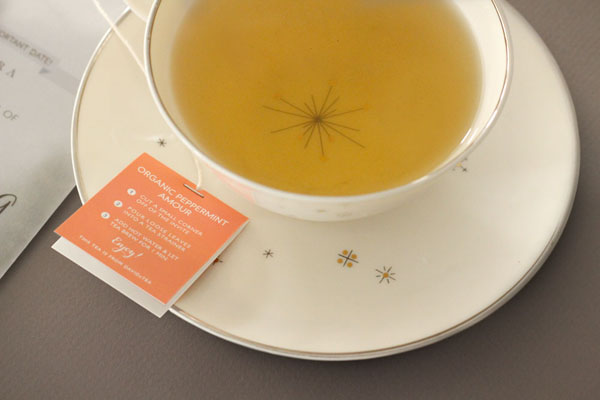
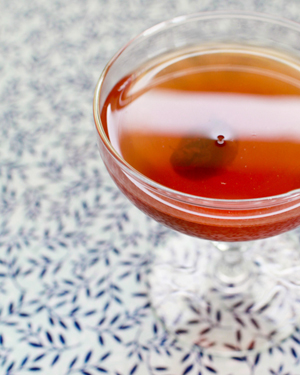
Here’s how I made the Cocktail in Nole’s beautiful photographs: an ounce of brandy, an ounce of rye whiskey. Two dashes of Fee Brothers Aromatic Bitters and an eighth of an ounce of rich simple syrup. Stirred, strained, and garnished with a brandied cherry. Beautiful.

OSBP-Signature-Cocktail-Recipe-The-Cocktail-15

Don’t forget to let us know if you try any of our recipes. And if you do make one at home, you can use #osbphappyhour to share photos of these (or your own creations) on Instagram.

Photo Credits: Nole Garey for Oh So Beautiful Paper