Friday Happy Hour: The Cuba Libre

When we started our cocktail column all the way back in 2011, we wanted to introduce classic drinks to a new audience. Along the way, we’ve started featuring more and more of our own drinks, which is ok too, but I want to make sure we don’t forget our roots. Here’s an easy but great spin on a classic summer highball, the sweet and spicy Cuba Libre. – Andrew

OSBP-Signature-Cocktail-Recipe-The-Cuba-Libre-13

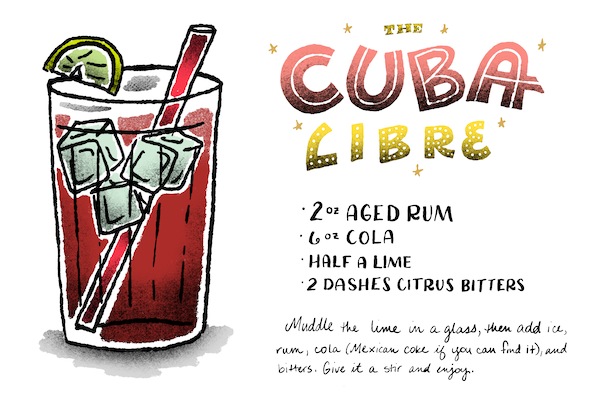
Signature-Cocktail-Recipe-Card-Cuba-Libre-OSBP-Shauna-Lynn-Illustration

Illustration by Shauna Lynn for Oh So Beautiful Paper

The Cuba Libre

2 oz Aged Rum
6 oz Cola
Half a Lime
2 Dashes Citrus Bitters

Muddle the lime in a glass, then add ice, rum, cola (Mexican Coke if you can find it), and bitters. Give it a stir and enjoy.

OSBP-Signature-Cocktail-Recipe-The-Cuba-Libre-4

The Cuba Libre is not actually a cocktail, but rather a highball – a spirit with a mixer, like Scotch and soda or gin and tonic, usually served in a tall glass. They’re great and all, but a little too simple to spend too much time writing about. So we cocktailed it up a bit. (That’s a word, right? It is now.) Throw in a couple dashes of bitters (I remain a big fan of Hella Bitter’s citrus bitters) and you add just enough depth of flavor to call it a cocktail.

OSBP-Signature-Cocktail-Recipe-The-Cuba-Libre-18OSBP-Signature-Cocktail-Recipe-The-Cuba-Libre-21

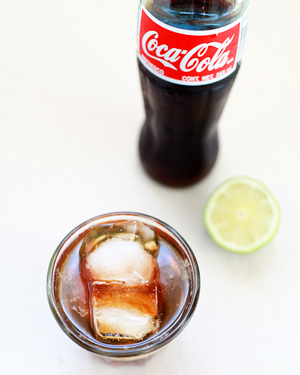
Any cola will do in a pinch, but Mexican Coke is just the perfect balance of sweet (using real cane sugar) and spicy. The Cuba Libre is traditionally made with white rum, but I like to use aged rum instead. It adds more flavor than unaged white rum, and its mellow roundness is a nice balance to the cola.

OSBP-Signature-Cocktail-Recipe-The-Cuba-Libre-1

The Cuba Libre has one of those fun popular origin stories that’s demonstrably untrue. American troops fighting the Spanish-American War, so it goes, introduced Coca Cola to Cuba where they met local freedom fighters who introduced rum to the Americans – and the rest is drink history. Except Coca Cola’s own history claims the soda wasn’t introduced to Cuba until 1900, while the war began and ended in 1898. So the story is probably a little less romantic, but a little more in keeping with the universal human urge to add booze to anything at hand and see what turns up, it just takes one random person to figure out that rum and Coke are pretty good together.

Don’t forget to let us know if you try any of our recipes. And if you do make one at home, you can use #osbphappyhour to share photos of these (or your own creations) on Instagram.

Photo Credits: Nole Garey for Oh So Beautiful Paper

Happy Weekend!

It has been such a whirlwind week, with three and a half days at the National Stationery Show, one big Paper Party (more on that next week!), and very very little sleep. And despite the sore feet and general exhaustion that always follows the show, my heart feels like it’s about to burst with happiness after meeting and spending time with so many amazing people at the show. I really do love our stationery community! I’ll be back to share lots more from the show next week, but in the meantime…

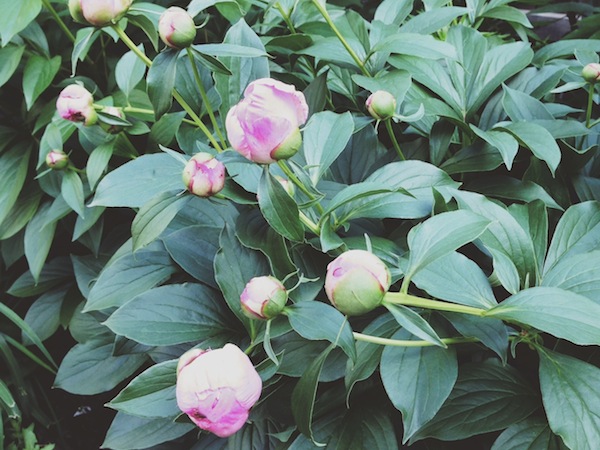
OSBP-Peonies

A few of the (many!) peonies waiting for me when I came home from New York

…a few links for your weekend!

This week on Oh So Beautiful Paper:

Check back soon for this week’s cocktail! I hope you all have a wonderful weekend, and I’ll see you back here next week! xoxo

National Stationery Show 2014, Part 4

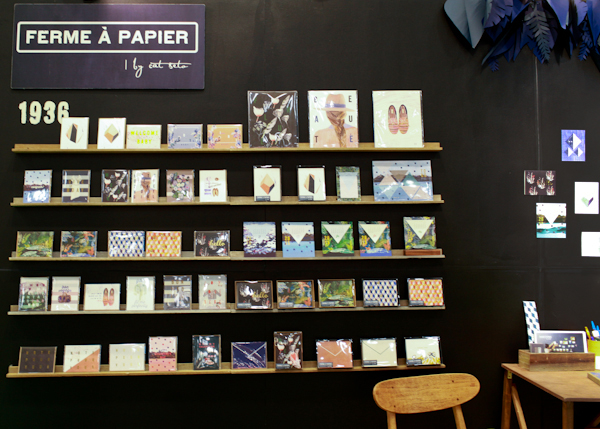
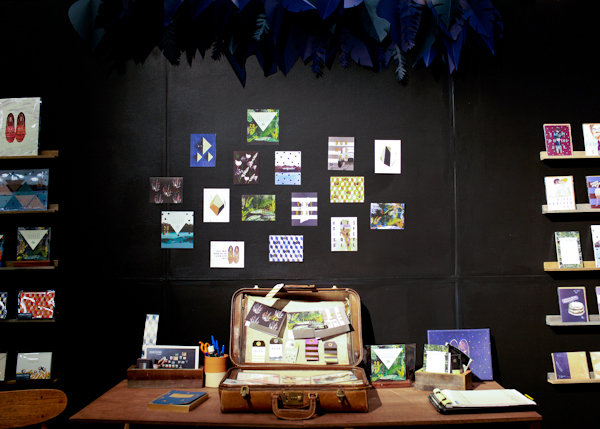
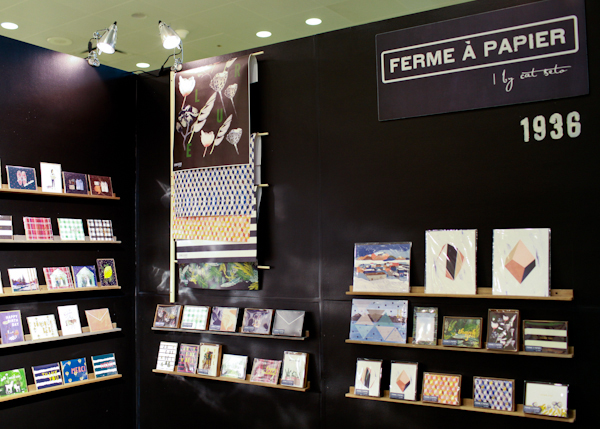
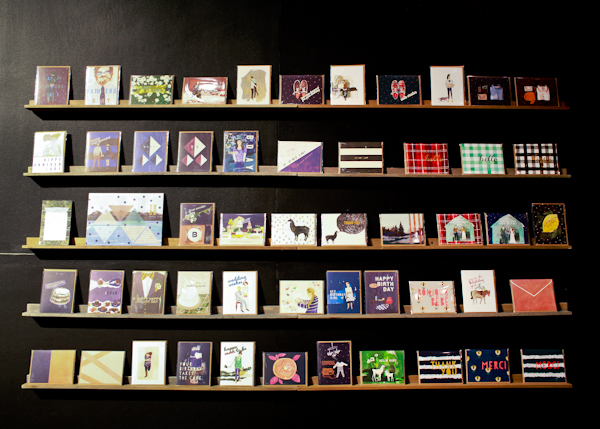
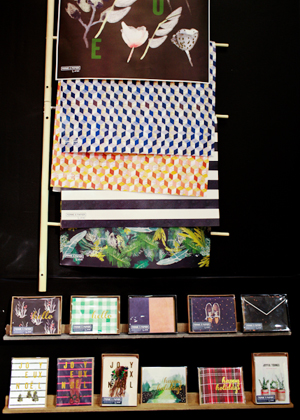
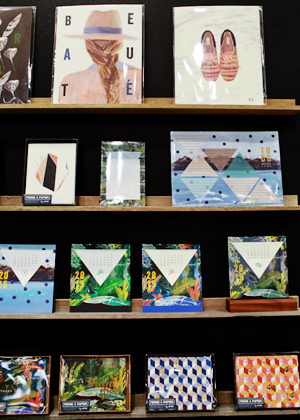
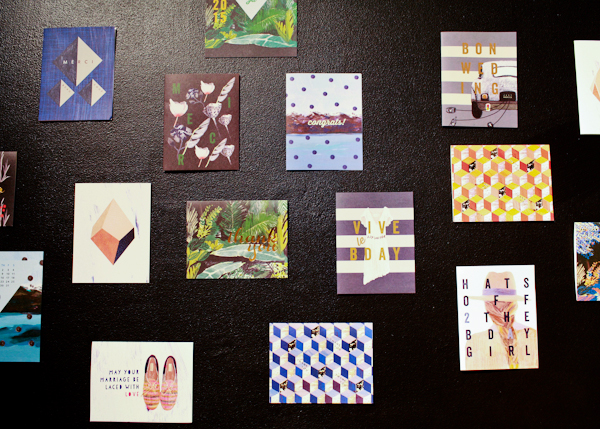
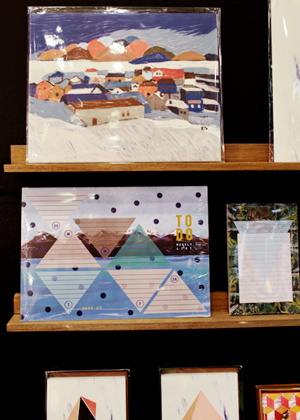
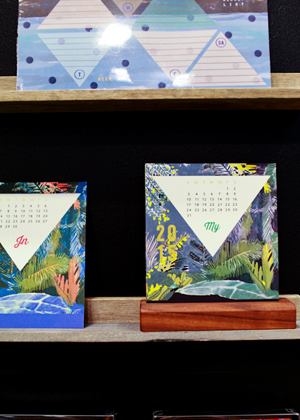
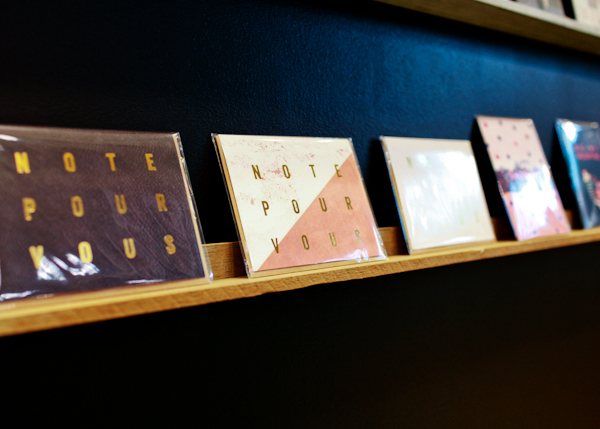
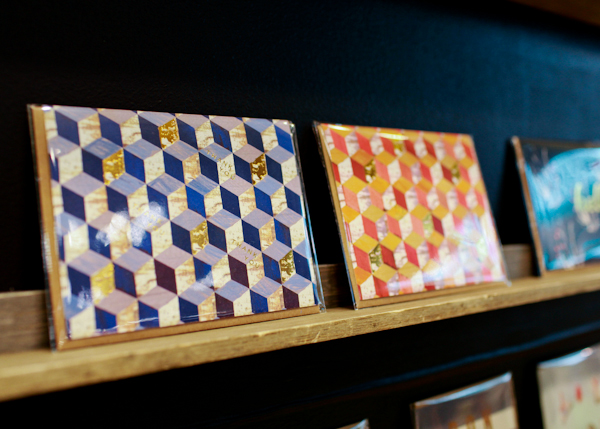
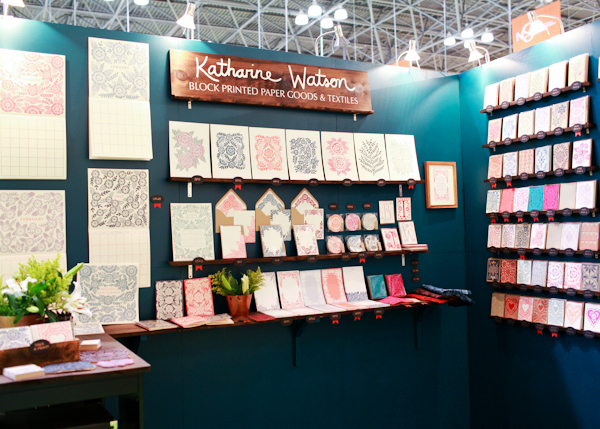
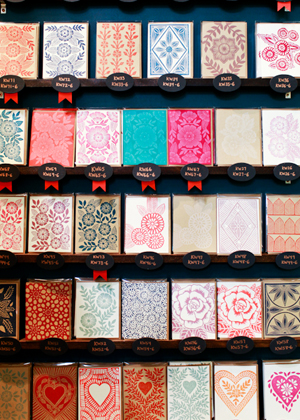
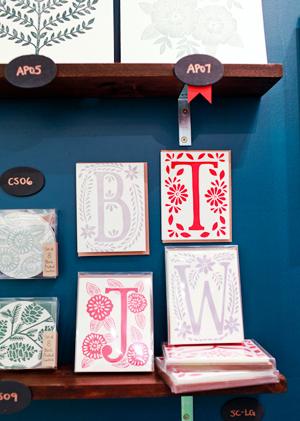
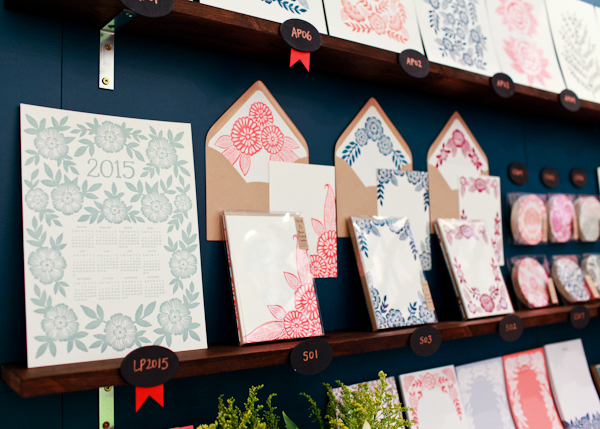
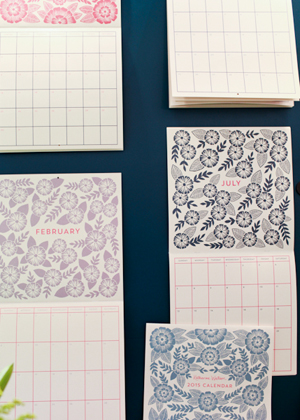
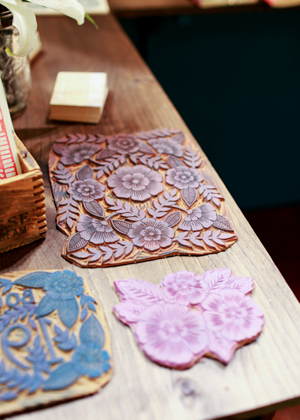
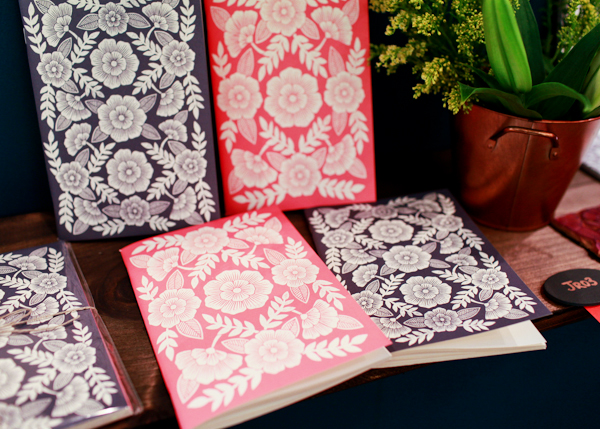
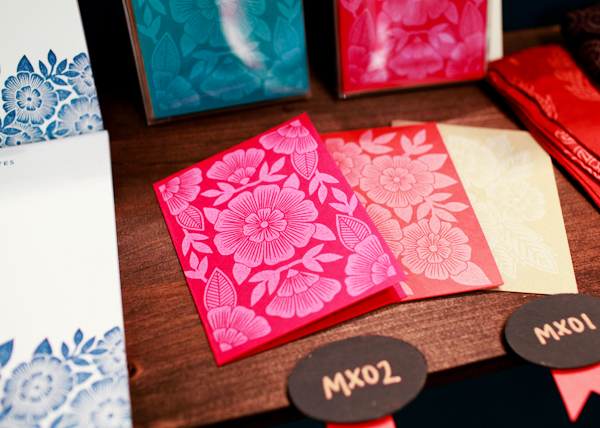
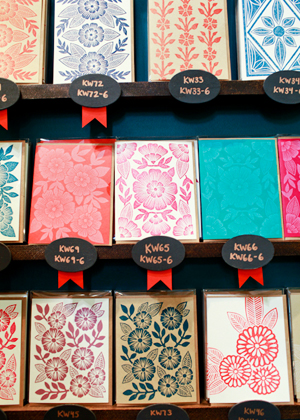
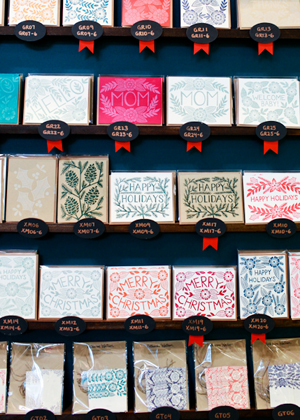
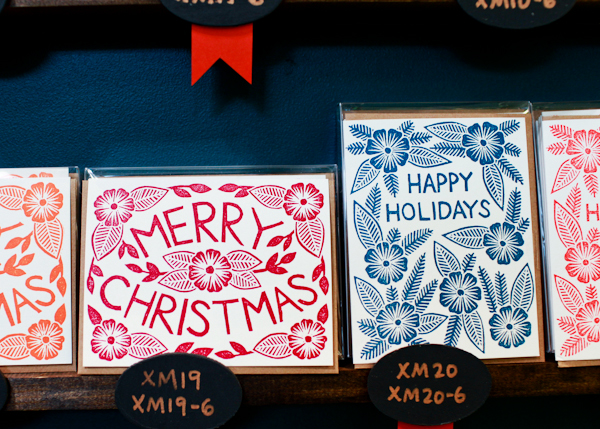
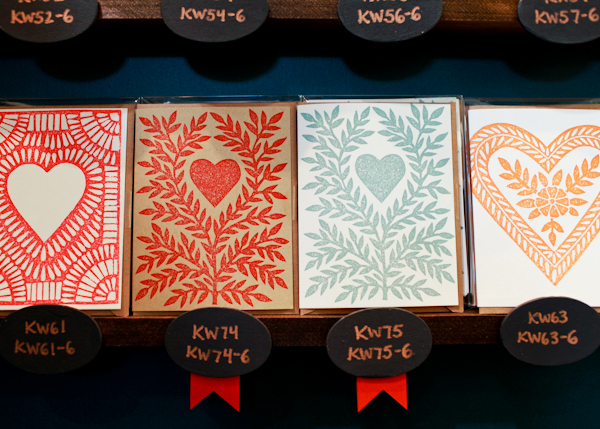
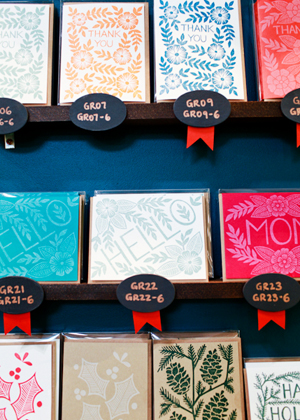
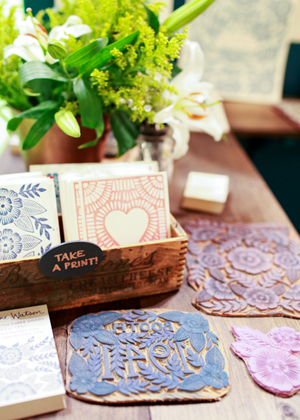
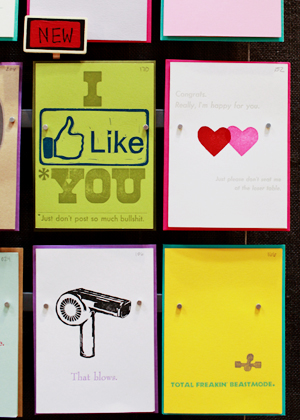
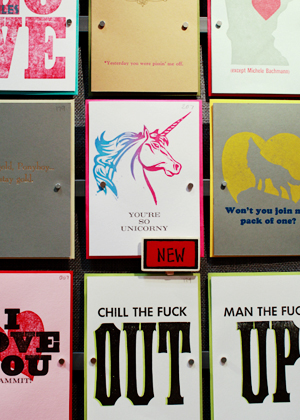
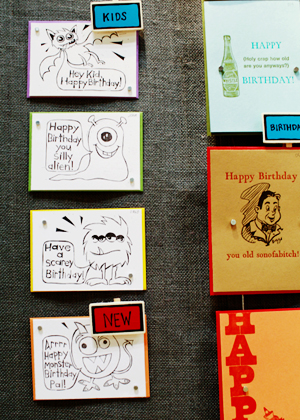
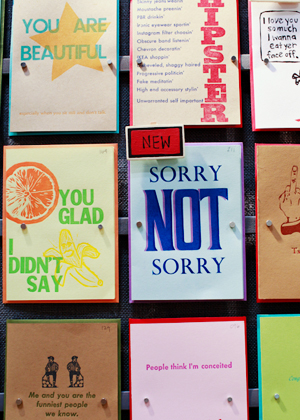
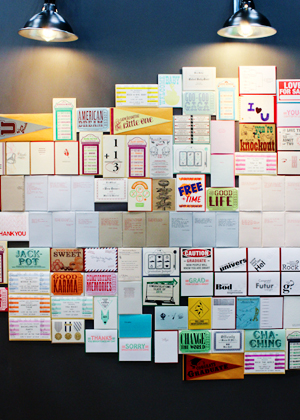
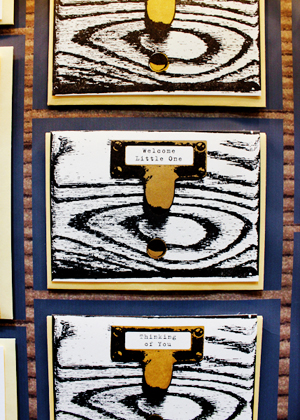
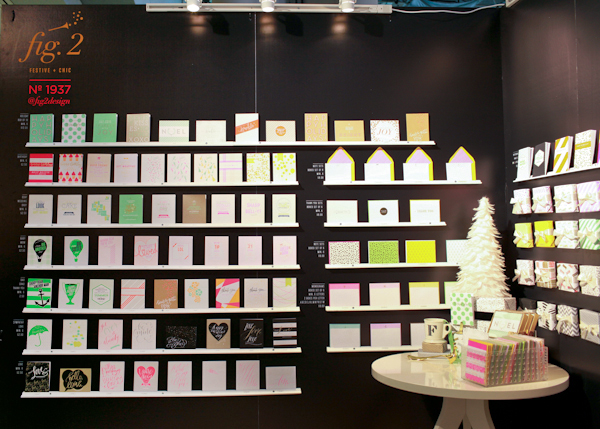
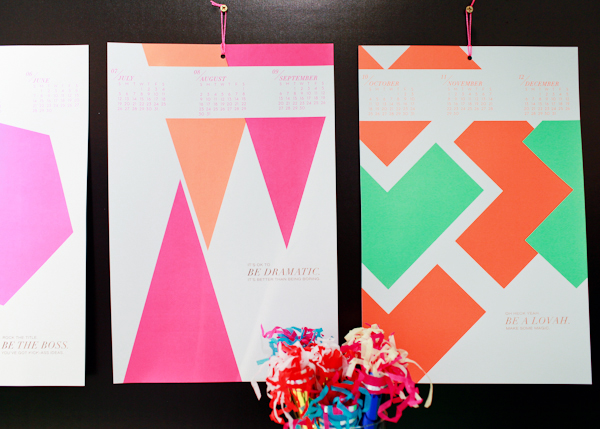
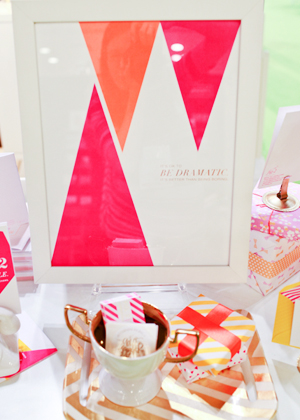
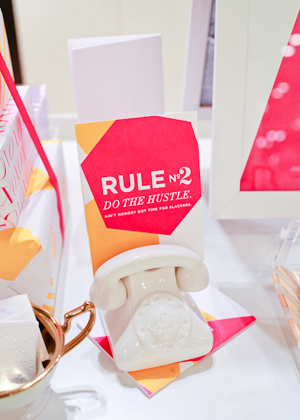
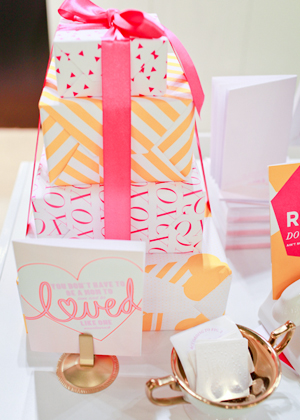
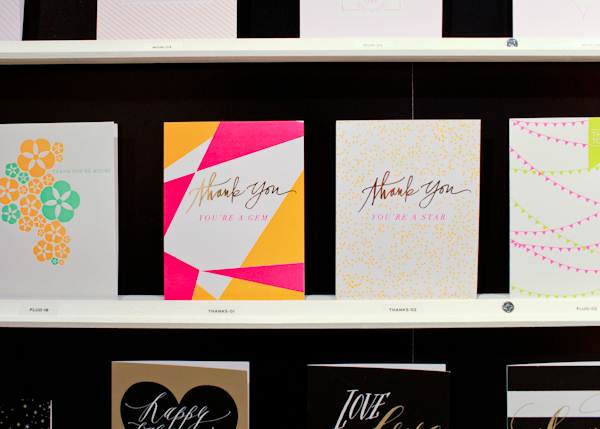
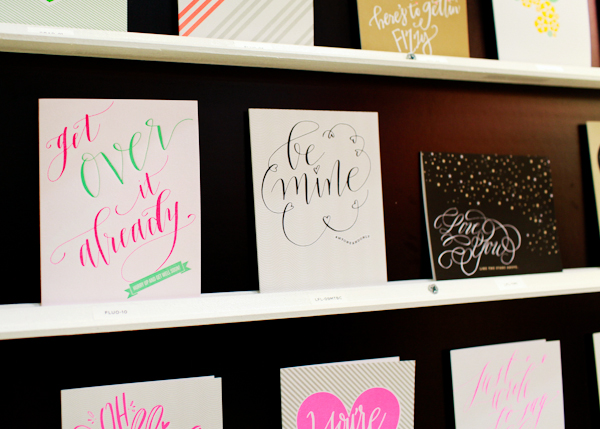
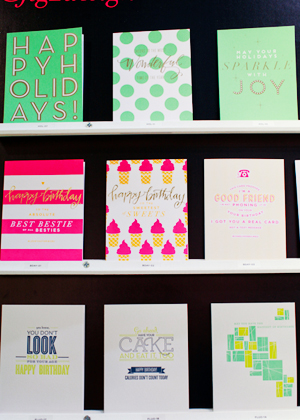
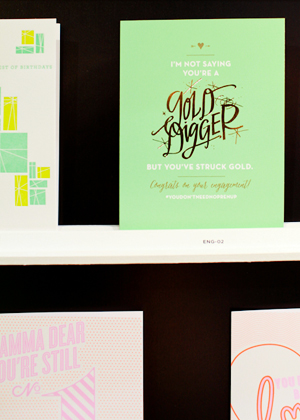
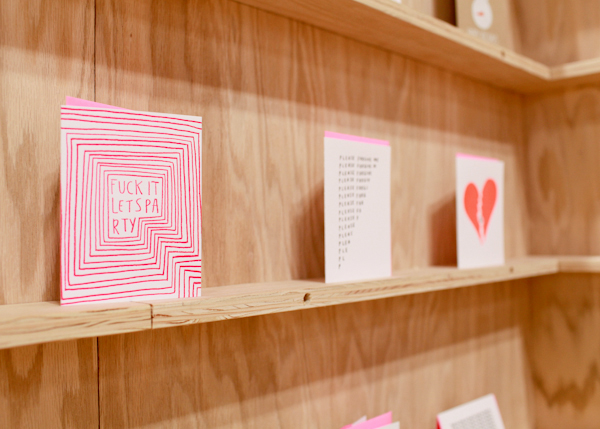
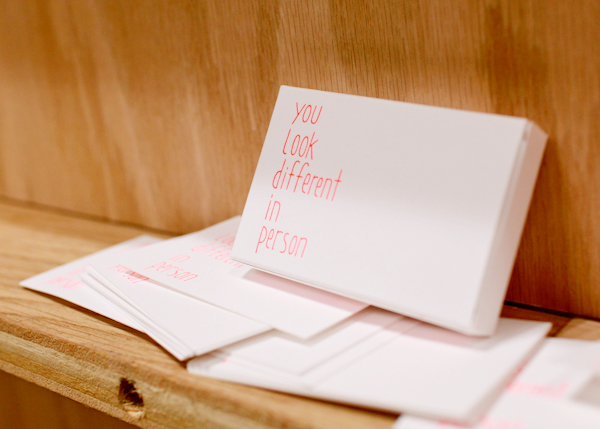
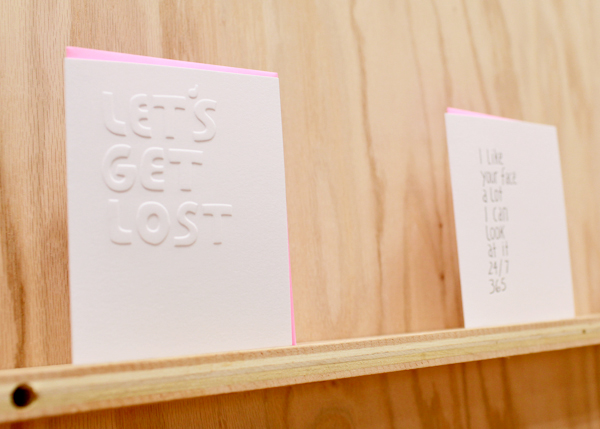
These days I’m loving the dark and moody trend in everything from weddings to interiors. So for this recap from the National Stationery Show, I thought I’d highlight some of the exhibitors that chose to showcase their stationery against bold, deep or dark walls – from the Tahitian-Parisian-inspired collection of Ferme à Papier to the beautiful block-printed goods of Katharine Watson to the neon greeting cards and gift wrap of Fig. 2 Design Studio!

OSBP-National-Stationery-Show-2014-Ferme-a-Papier-3

OSBP-National-Stationery-Show-2014-Ferme-a-Papier-21

OSBP-National-Stationery-Show-2014-Ferme-a-Papier-8

OSBP-National-Stationery-Show-2014-Ferme-a-Papier-11

OSBP-National-Stationery-Show-2014-Ferme-a-Papier-17OSBP-National-Stationery-Show-2014-Ferme-a-Papier-40

OSBP-National-Stationery-Show-2014-Ferme-a-Papier-27

OSBP-National-Stationery-Show-2014-Ferme-a-Papier-18OSBP-National-Stationery-Show-2014-Ferme-a-Papier-31

OSBP-National-Stationery-Show-2014-Ferme-a-Papier-32

OSBP-National-Stationery-Show-2014-Ferme-a-Papier-36

OSBP-National-Stationery-Show-2014-Ferme-a-Papier-38

OSBP-National-Stationery-Show-2014-Ferme-a-Papier-34

Ferme à Papier

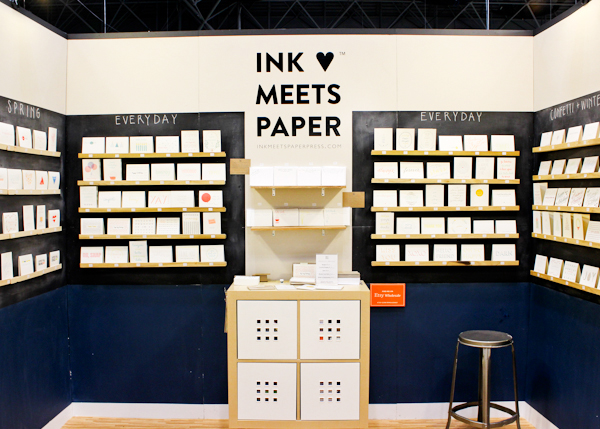
OSBP-National-Stationery-Show-2014-Ink-Meets-Paper-10

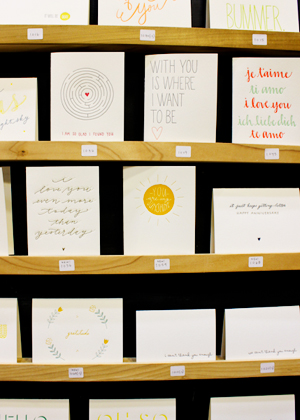
OSBP-National-Stationery-Show-2014-Ink-Meets-Paper-35OSBP-National-Stationery-Show-2014-Ink-Meets-Paper-3

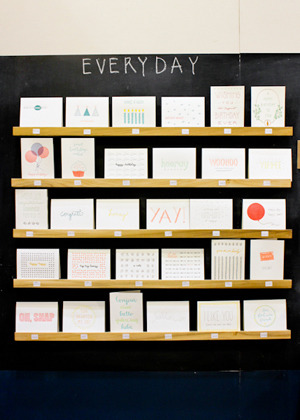
 OSBP-National-Stationery-Show-2014-Ink-Meets-Paper-17OSBP-National-Stationery-Show-2014-Ink-Meets-Paper-29

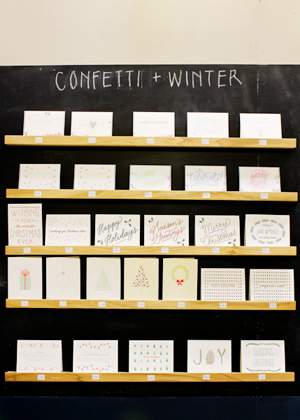
OSBP-National-Stationery-Show-2014-Ink-Meets-Paper-24

OSBP-National-Stationery-Show-2014-Ink-Meets-Paper-25

OSBP-National-Stationery-Show-2014-Ink-Meets-Paper-31

OSBP-National-Stationery-Show-2014-Ink-Meets-Paper-38

Ink Meets Paper

OSBP-National-Stationery-Show-2014-Katharine-Watson-2

OSBP-National-Stationery-Show-2014-Katharine-Watson-22OSBP-National-Stationery-Show-2014-Katharine-Watson-18

OSBP-National-Stationery-Show-2014-Katharine-Watson-10

OSBP-National-Stationery-Show-2014-Katharine-Watson-6OSBP-National-Stationery-Show-2014-Katharine-Watson-8

OSBP-National-Stationery-Show-2014-Katharine-Watson-11

OSBP-National-Stationery-Show-2014-Katharine-Watson-14

OSBP-National-Stationery-Show-2014-Katharine-Watson-15

OSBP-National-Stationery-Show-2014-Katharine-Watson-21

OSBP-National-Stationery-Show-2014-Katharine-Watson-29OSBP-National-Stationery-Show-2014-Katharine-Watson-25

OSBP-National-Stationery-Show-2014-Katharine-Watson-26

OSBP-National-Stationery-Show-2014-Katharine-Watson-28

OSBP-National-Stationery-Show-2014-Katharine-Watson-32OSBP-National-Stationery-Show-2014-Katharine-Watson-9

Katharine Watson

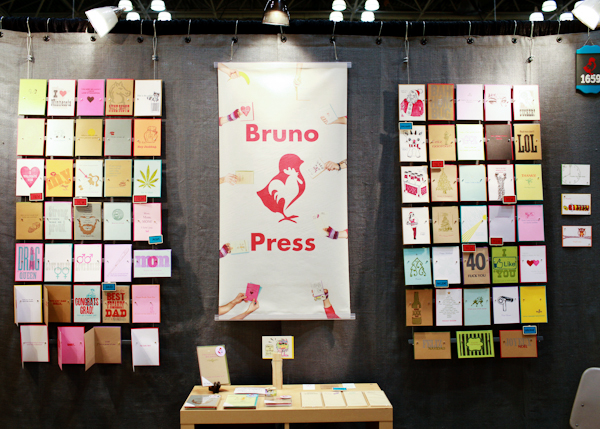
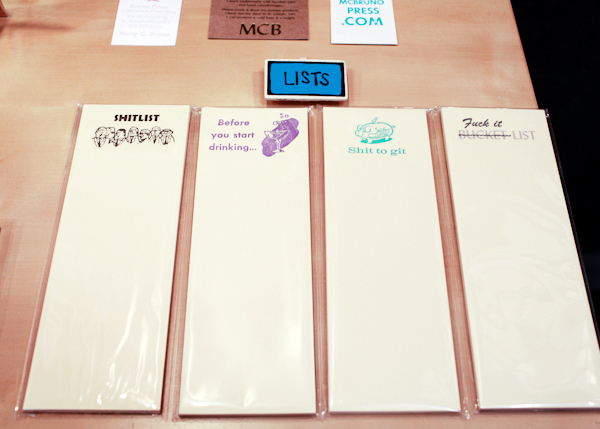
OSBP-National-Stationery-Show-2014-Bruno-Press-1

OSBP-National-Stationery-Show-2014-Bruno-Press-4

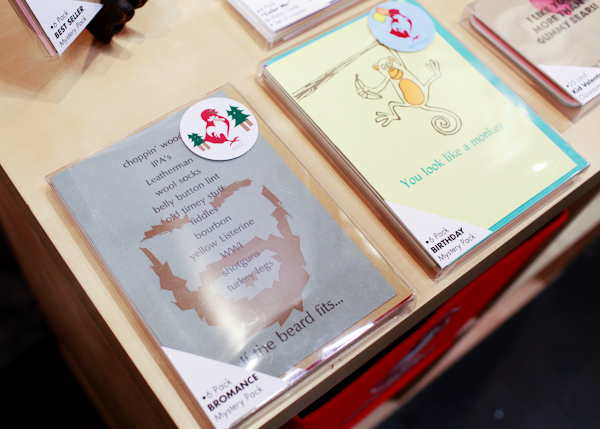
OSBP-National-Stationery-Show-2014-Bruno-Press-6

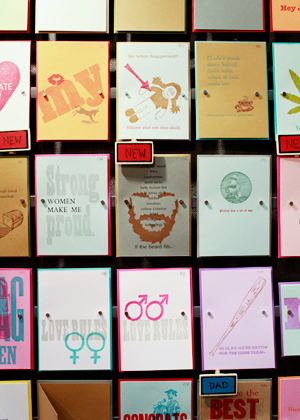
OSBP-National-Stationery-Show-2014-Bruno-Press-9OSBP-National-Stationery-Show-2014-Bruno-Press-10

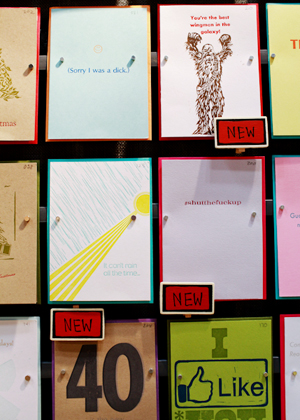
OSBP-National-Stationery-Show-2014-Bruno-Press-11OSBP-National-Stationery-Show-2014-Bruno-Press-13

OSBP-National-Stationery-Show-2014-Bruno-Press-19OSBP-National-Stationery-Show-2014-Bruno-Press-22

OSBP-National-Stationery-Show-2014-Bruno-Press-21

Bruno Press

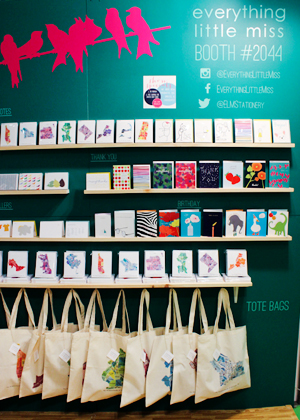
OSBP-National-Stationery-Show-2014-Everything-Little-Miss-43

OSBP-National-Stationery-Show-2014-Everything-Little-Miss-46OSBP-National-Stationery-Show-2014-Everything-Little-Miss-40

OSBP-National-Stationery-Show-2014-Everything-Little-Miss-2OSBP-National-Stationery-Show-2014-Everything-Little-Miss-38

OSBP-National-Stationery-Show-2014-Everything-Little-Miss-13

OSBP-National-Stationery-Show-2014-Everything-Little-Miss-29

OSBP-National-Stationery-Show-2014-Everything-Little-Miss-30

OSBP-National-Stationery-Show-2014-Everything-Little-Miss-24

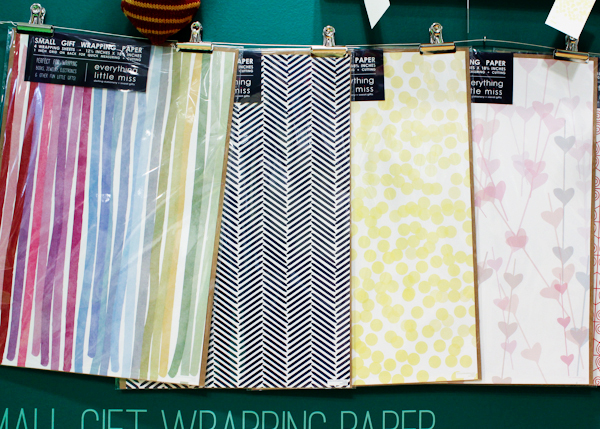
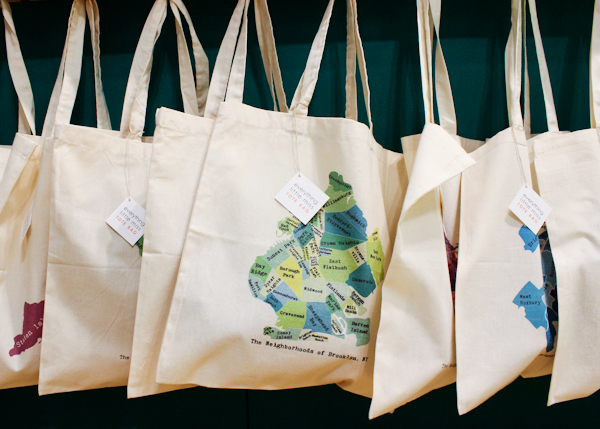
Everything Little Miss

OSBP-National-Stationery-Show-2014-afavorite-design-2

OSBP-National-Stationery-Show-2014-afavorite-design-26

OSBP-National-Stationery-Show-2014-afavorite-design-29OSBP-National-Stationery-Show-2014-afavorite-design-30

OSBP-National-Stationery-Show-2014-afavorite-design-22

OSBP-National-Stationery-Show-2014-afavorite-design-13OSBP-National-Stationery-Show-2014-afavorite-design-24

OSBP-National-Stationery-Show-2014-afavorite-design-35OSBP-National-Stationery-Show-2014-afavorite-design-40

OSBP-National-Stationery-Show-2014-afavorite-design-41

OSBP-National-Stationery-Show-2014-afavorite-design-46OSBP-National-Stationery-Show-2014-afavorite-design-20

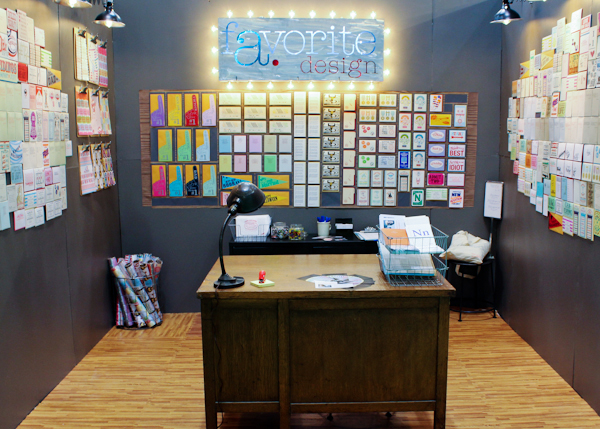
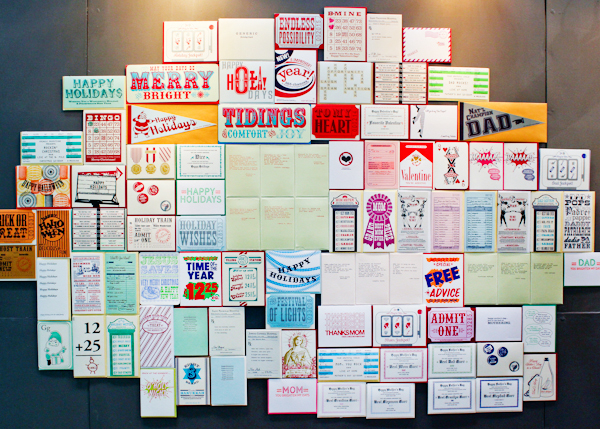
a.favorite design

OSBP-National-Stationery-Show-2014-Fig2-Design-Studio-2

OSBP-National-Stationery-Show-2014-Fig2-Design-Studio-7

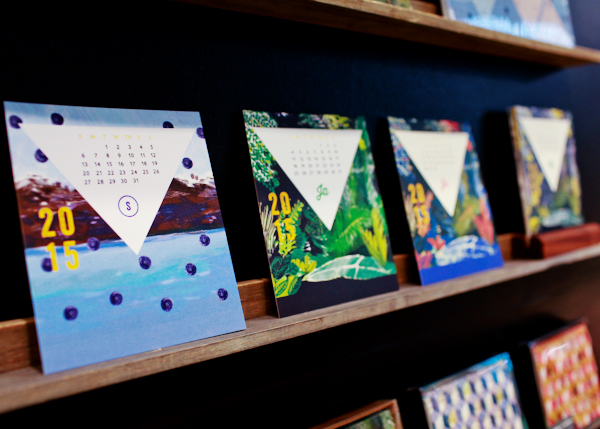
Love this new quarterly calendar!

OSBP-National-Stationery-Show-2014-Fig2-Design-Studio-12

OSBP-National-Stationery-Show-2014-Fig2-Design-Studio-14OSBP-National-Stationery-Show-2014-Fig2-Design-Studio-15

OSBP-National-Stationery-Show-2014-Fig2-Design-Studio-16OSBP-National-Stationery-Show-2014-Fig2-Design-Studio-19

OSBP-National-Stationery-Show-2014-Fig2-Design-Studio-30

OSBP-National-Stationery-Show-2014-Fig2-Design-Studio-36

OSBP-National-Stationery-Show-2014-Fig2-Design-Studio-32OSBP-National-Stationery-Show-2014-Fig2-Design-Studio-40

OSBP-National-Stationery-Show-2014-Fig2-Design-Studio-37

Fig. 2 Design Studio

OSBP-National-Stationery-Show-2014-One-Canoe-Two-30OSBP-National-Stationery-Show-2014-One-Canoe-Two-19

OSBP-National-Stationery-Show-2014-One-Canoe-Two-34

OSBP-National-Stationery-Show-2014-One-Canoe-Two-3

OSBP-National-Stationery-Show-2014-One-Canoe-Two-4OSBP-National-Stationery-Show-2014-One-Canoe-Two-31

OSBP-National-Stationery-Show-2014-One-Canoe-Two-36

OSBP-National-Stationery-Show-2014-One-Canoe-Two-44OSBP-National-Stationery-Show-2014-One-Canoe-Two-41

OSBP-National-Stationery-Show-2014-One-Canoe-Two-39

OSBP-National-Stationery-Show-2014-One-Canoe-Two-17

OSBP-National-Stationery-Show-2014-One-Canoe-Two-8OSBP-National-Stationery-Show-2014-One-Canoe-Two-25

OSBP-National-Stationery-Show-2014-One-Canoe-Two-23

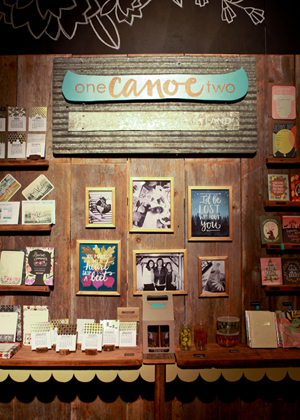
One Canoe Two

I’ve got lots more to share from this year’s show – coming on Tuesday after the holiday weekend!

Photo Credits: Oh So Beautiful Paper

National Stationery Show 2014, Part 3

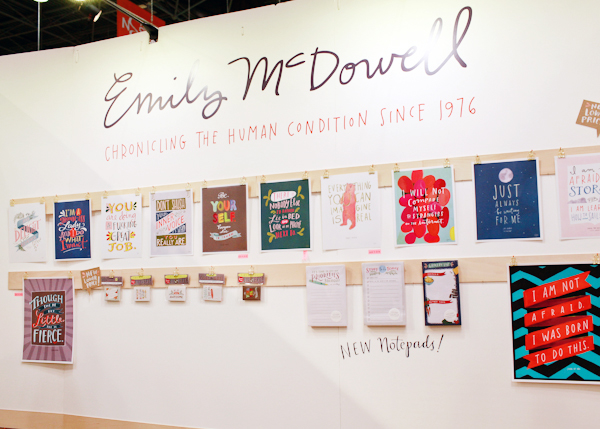
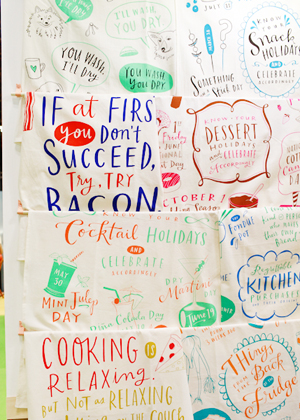
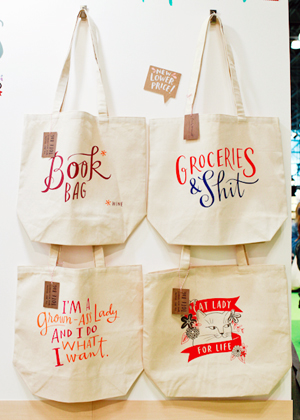
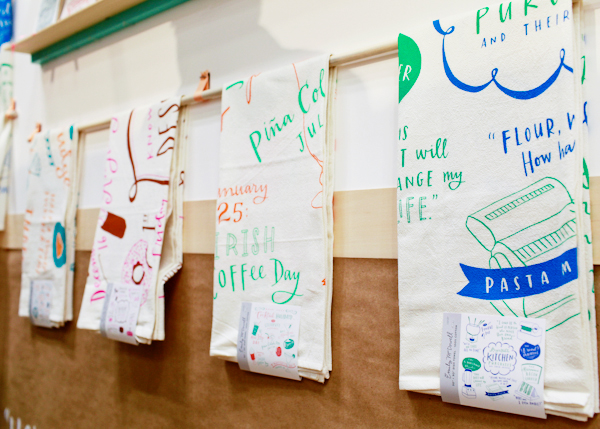
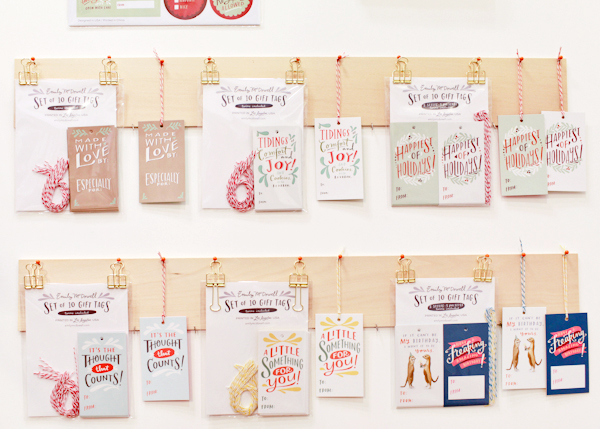
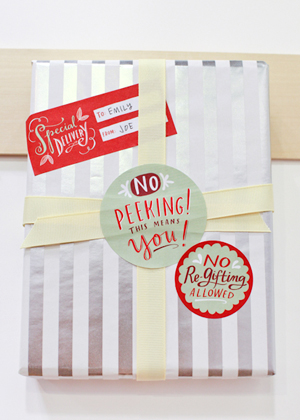
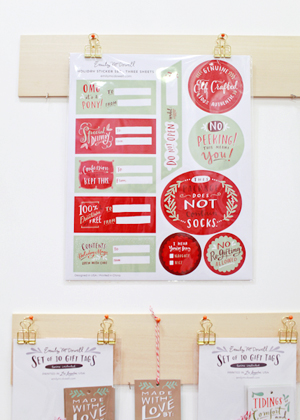
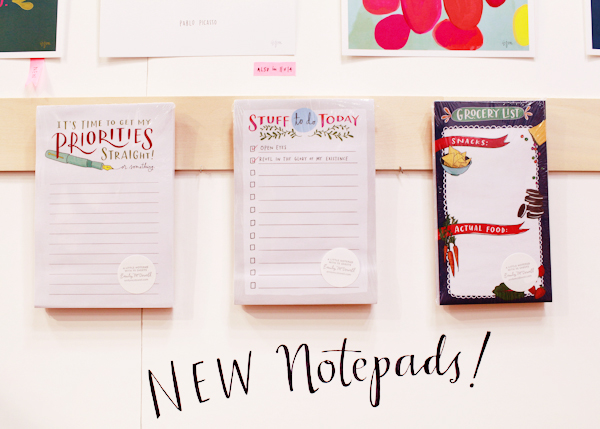
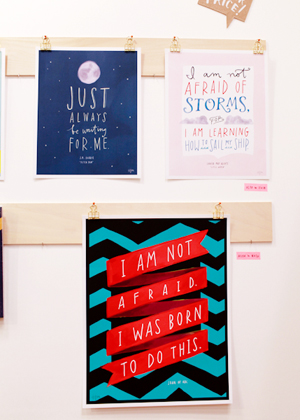
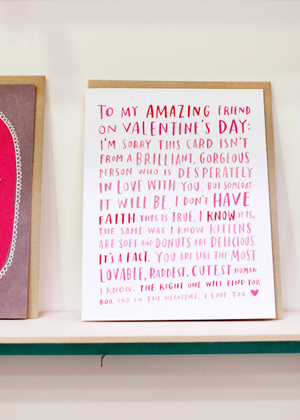
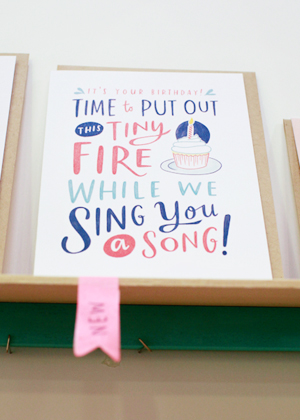
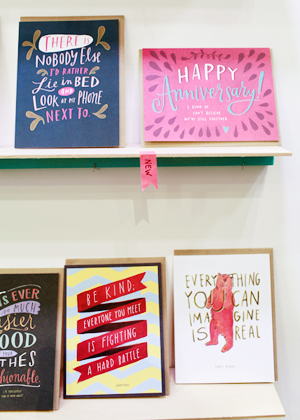
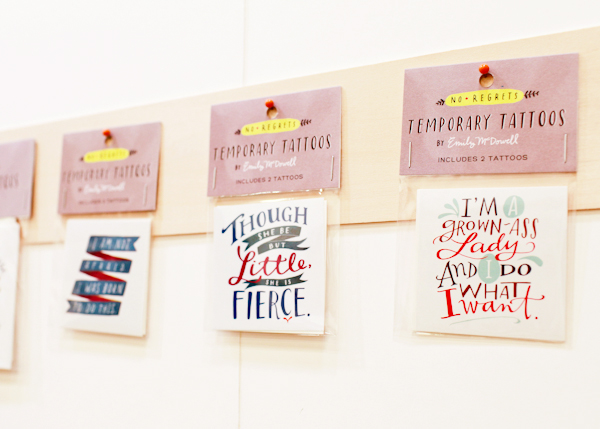
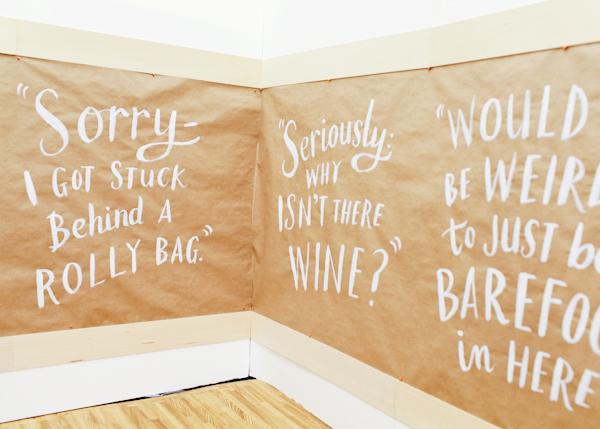
The 2014 National Stationery Show may have officially wrapped up yesterday (sniff!! miss you all already!), but my coverage from this year’s show is just getting started! And you guys, there were SO MANY amazing booths this year, I’m almost afraid to think of how many photos I took over the last three and a half days. So let’s get right back to it, with one of this year’s most hotly anticipated booths: Emily McDowell! I’m such a big fan of Emily’s compelling hand lettered greeting cards, prints, tea towels, tote bags, and temporary tattoos – and this year Emily added gift tags, sticker labels, and notepads to the collection!

OSBP-National-Stationery-Show-2014-Emily-McDowell-5

OSBP-National-Stationery-Show-2014-Emily-McDowell-2OSBP-National-Stationery-Show-2014-Emily-McDowell-31

OSBP-National-Stationery-Show-2014-Emily-McDowell-27

OSBP-National-Stationery-Show-2014-Emily-McDowell-10

OSBP-National-Stationery-Show-2014-Emily-McDowell-12OSBP-National-Stationery-Show-2014-Emily-McDowell-13

OSBP-National-Stationery-Show-2014-Emily-McDowell-14

OSBP-National-Stationery-Show-2014-Emily-McDowell-16

OSBP-National-Stationery-Show-2014-Emily-McDowell-17OSBP-National-Stationery-Show-2014-Emily-McDowell-19

OSBP-National-Stationery-Show-2014-Emily-McDowell-21OSBP-National-Stationery-Show-2014-Emily-McDowell-22

OSBP-National-Stationery-Show-2014-Emily-McDowell-24

OSBP-National-Stationery-Show-2014-Emily-McDowell-33

OSBP-National-Stationery-Show-2014-Emily-McDowell-30

Emily McDowell

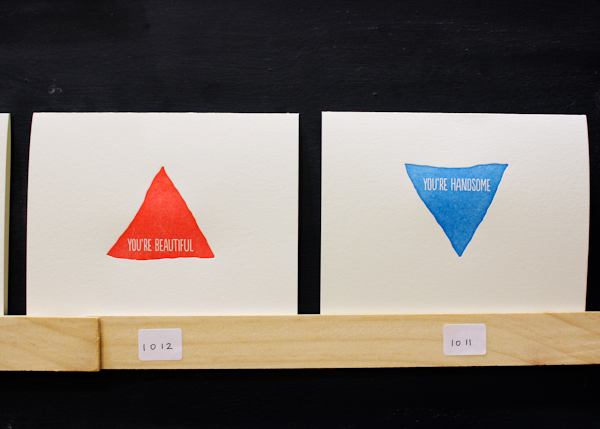
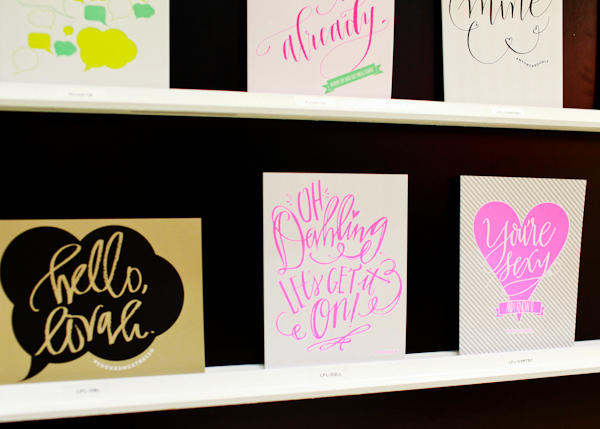
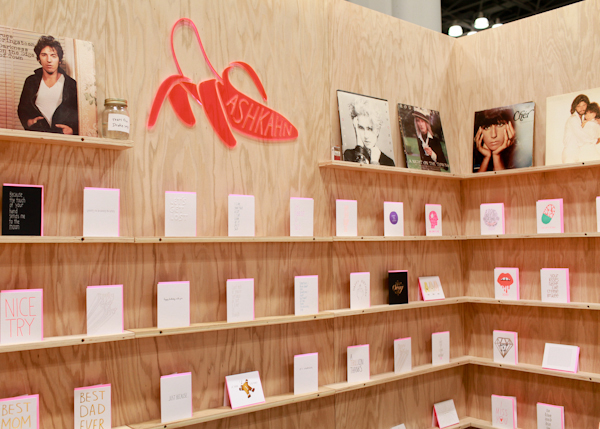
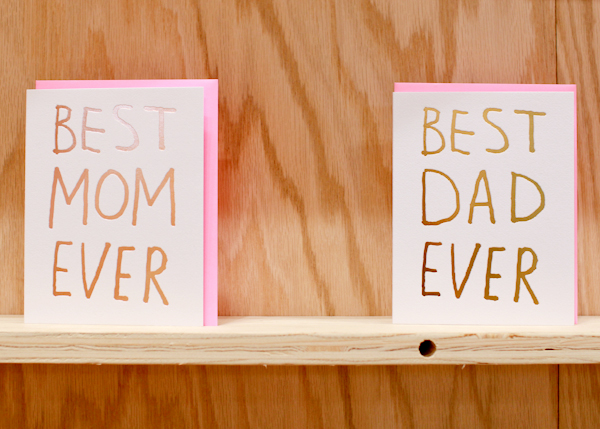
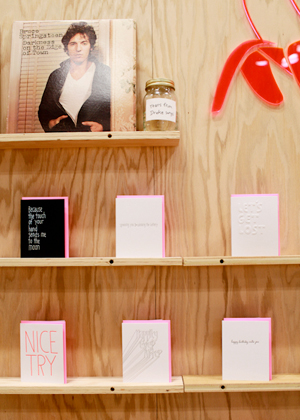
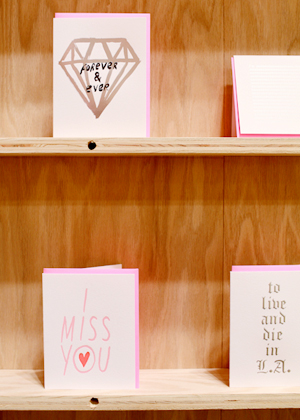
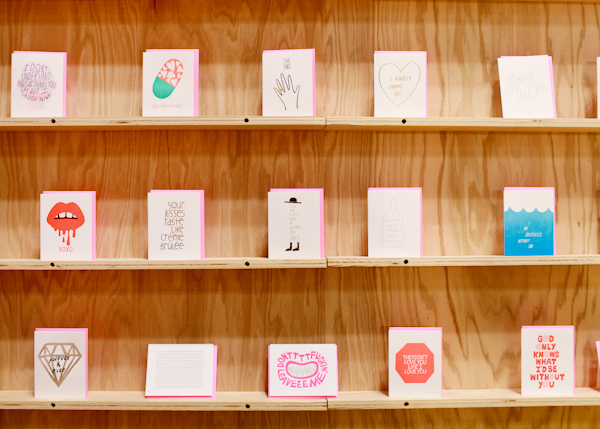
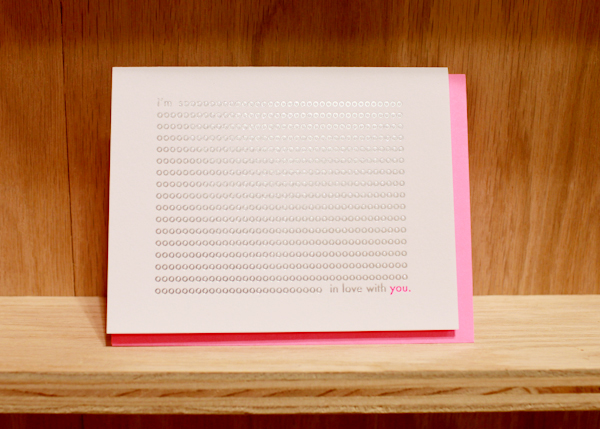
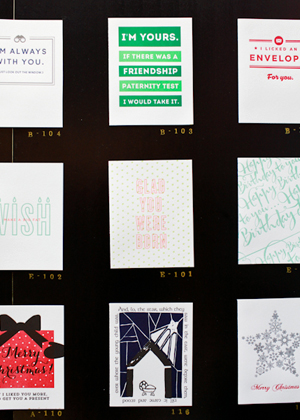
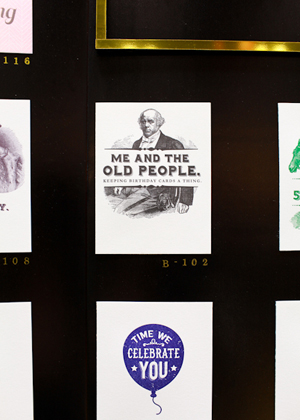
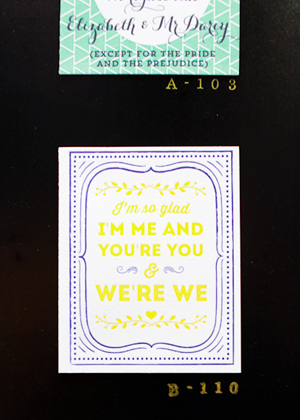
After exhibiting with Crow and Canary a few times, Ashkahn made his official debut in a solo booth this year! I love the mix of foil and neon, not to mention irreverence and sentimentality, in his letterpress greeting cards.

OSBP-National-Stationery-Show-2014-Ashkahn-3

OSBP-National-Stationery-Show-2014-Ashkahn-5

OSBP-National-Stationery-Show-2014-Ashkahn-8

OSBP-National-Stationery-Show-2014-Ashkahn-13

OSBP-National-Stationery-Show-2014-Ashkahn-14

OSBP-National-Stationery-Show-2014-Ashkahn-17OSBP-National-Stationery-Show-2014-Ashkahn-23

OSBP-National-Stationery-Show-2014-Ashkahn-19

OSBP-National-Stationery-Show-2014-Ashkahn-20

Ashkahn

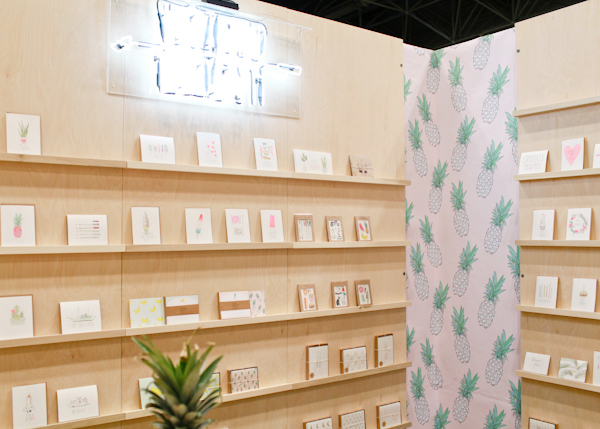
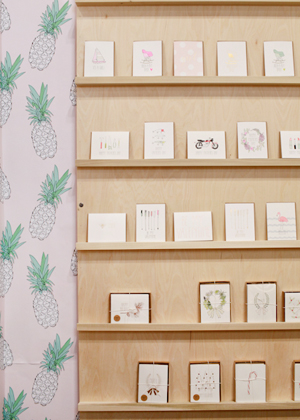
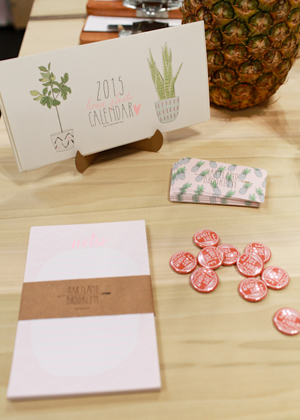
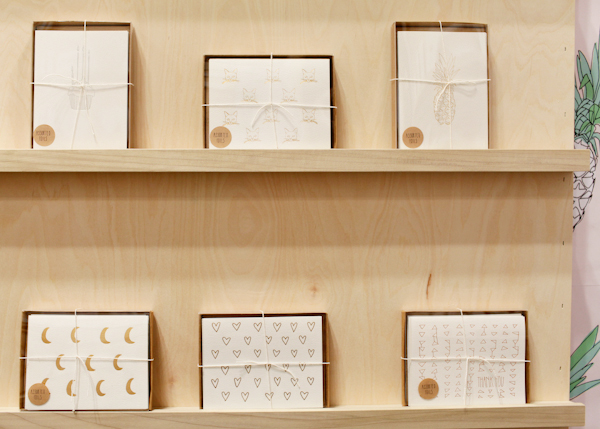
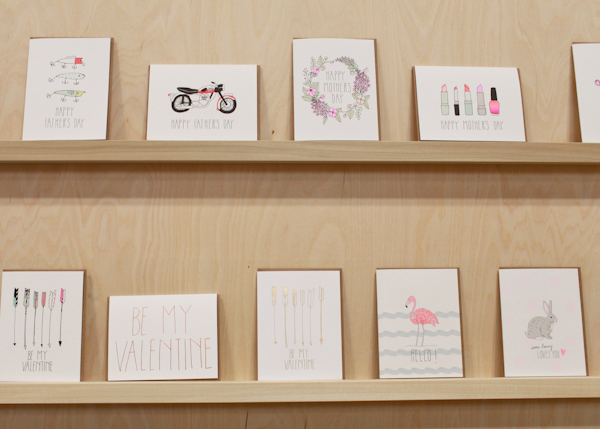
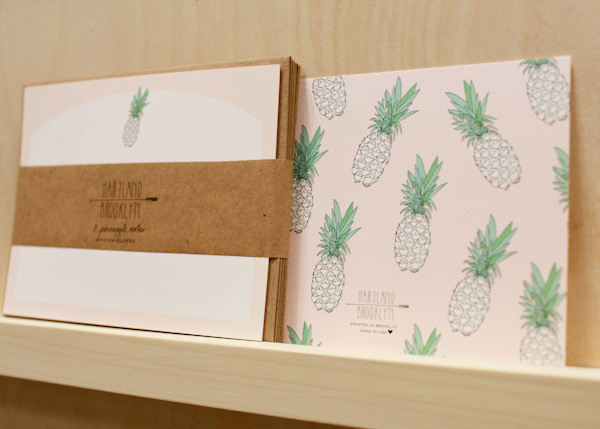
Pineapples were everywhere at this year’s show (seriously), but that was perhaps most true at the debut booth from Hartland Brooklyn. Isn’t that wallpaper (made using custom gift wrap!) incredible? And so many fun greeting cards with gold foil, tropical illustrations, and yes, plenty of pineapples.

OSBP-National-Stationery-Show-2014-Hartland-Brooklyn-3

OSBP-National-Stationery-Show-2014-Hartland-Brooklyn-21OSBP-National-Stationery-Show-2014-Hartland-Brooklyn-1

OSBP-National-Stationery-Show-2014-Hartland-Brooklyn-8

OSBP-National-Stationery-Show-2014-Hartland-Brooklyn-10

OSBP-National-Stationery-Show-2014-Hartland-Brooklyn-12

OSBP-National-Stationery-Show-2014-Hartland-Brooklyn-17

OSBP-National-Stationery-Show-2014-Hartland-Brooklyn-18

OSBP-National-Stationery-Show-2014-Hartland-Brooklyn-19

OSBP-National-Stationery-Show-2014-Hartland-Brooklyn-22

Hartland Brooklyn

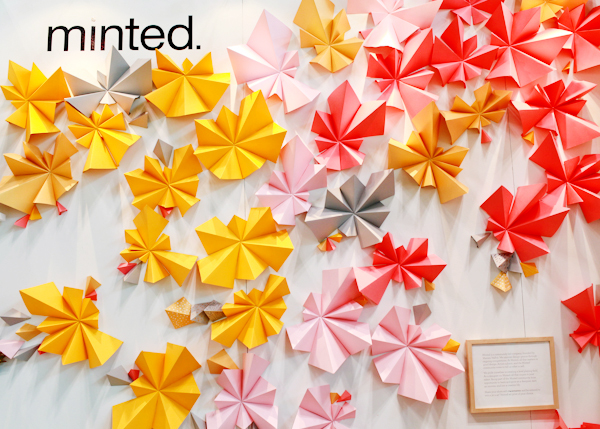
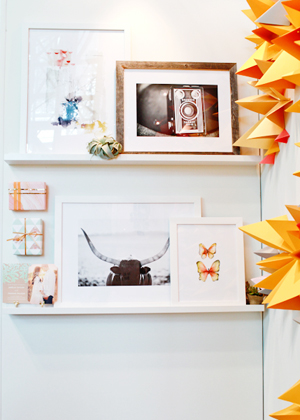
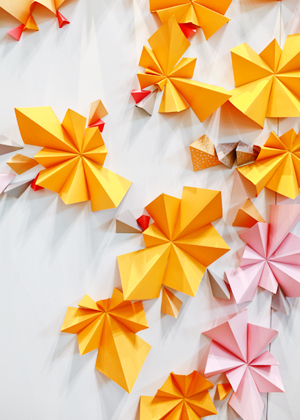
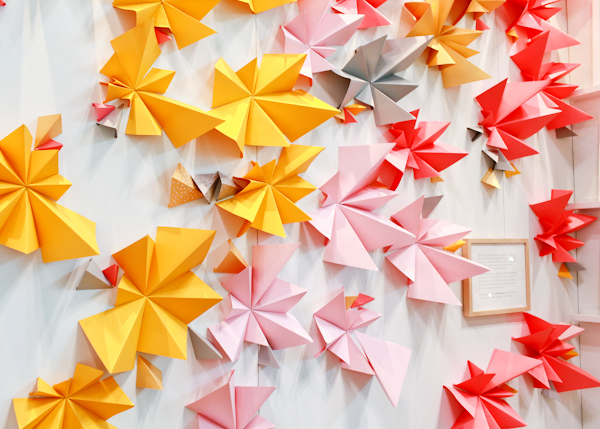
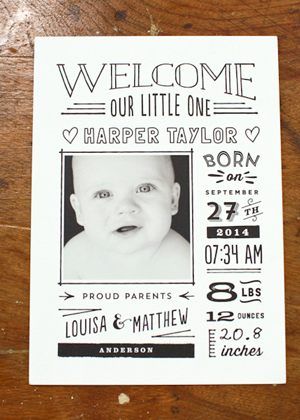
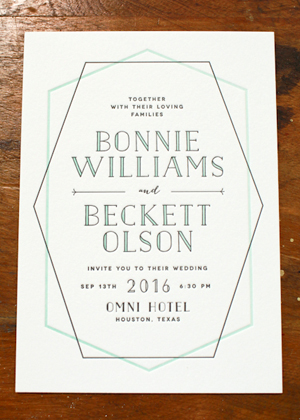
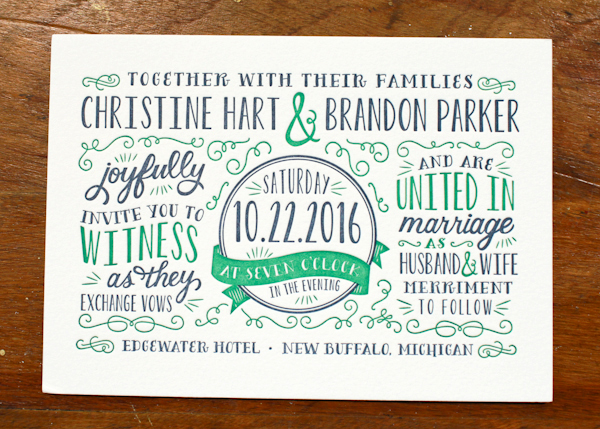
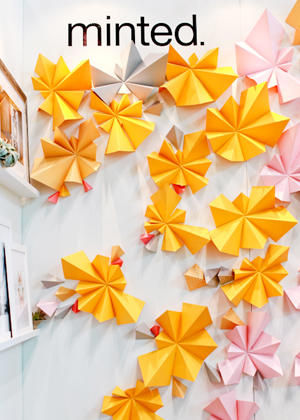
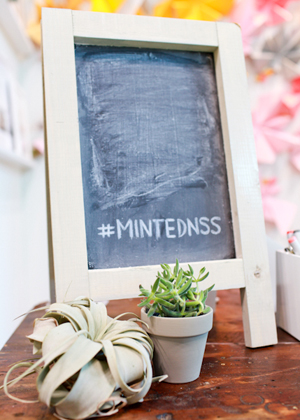
Minted‘s booth this year showcased their art prints, gold foil holiday cards, and additions to their letterpress wedding invitation and baby announcement collections. And how gorgeous is that folded paper backdrop?!?

OSBP-National-Stationery-Show-2014-Minted-23

OSBP-National-Stationery-Show-2014-Minted-8OSBP-National-Stationery-Show-2014-Minted-18

OSBP-National-Stationery-Show-2014-Minted-20

OSBP-National-Stationery-Show-2014-Minted-13OSBP-National-Stationery-Show-2014-Minted-17

OSBP-National-Stationery-Show-2014-Minted-15

OSBP-National-Stationery-Show-2014-Minted-3OSBP-National-Stationery-Show-2014-Minted-5

OSBP-National-Stationery-Show-2014-Minted-7

OSBP-National-Stationery-Show-2014-Minted-22OSBP-National-Stationery-Show-2014-Minted-26

Minted

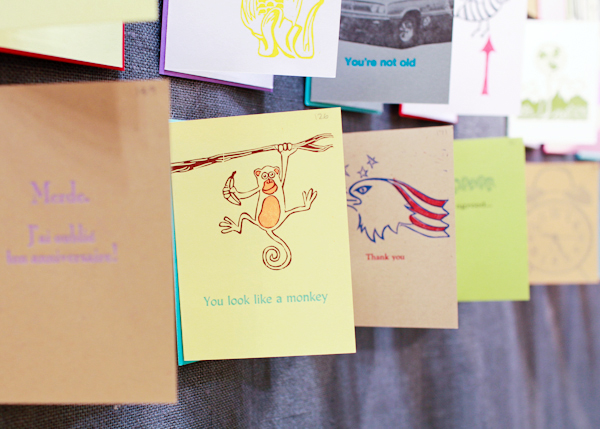
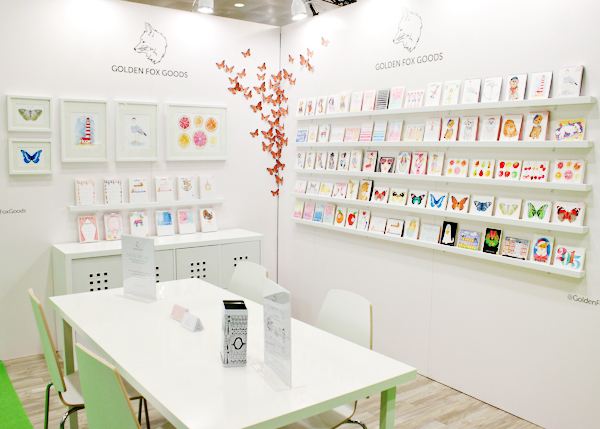
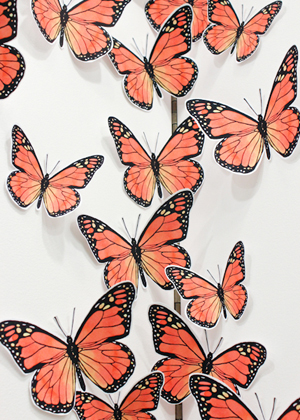
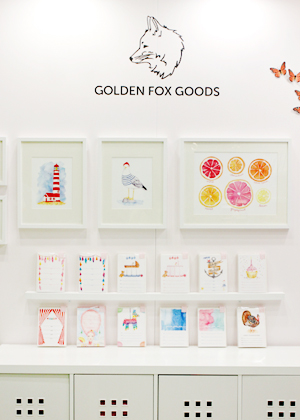
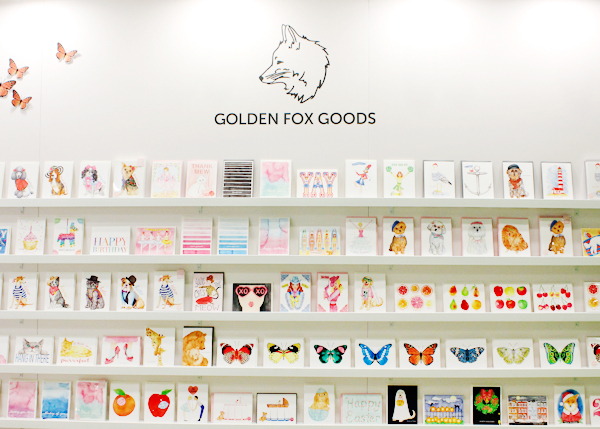
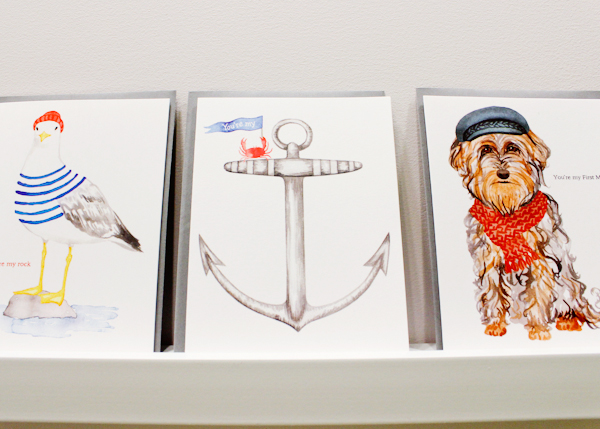
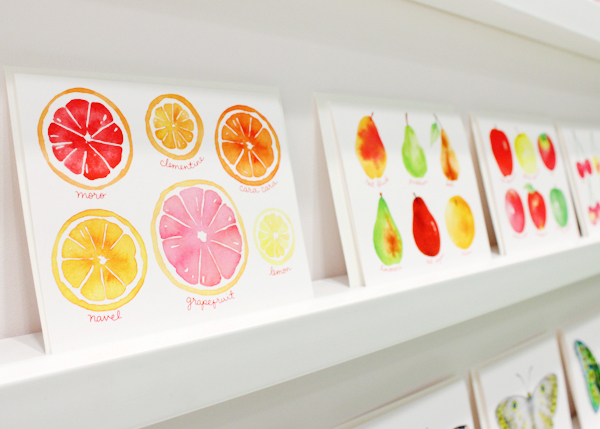
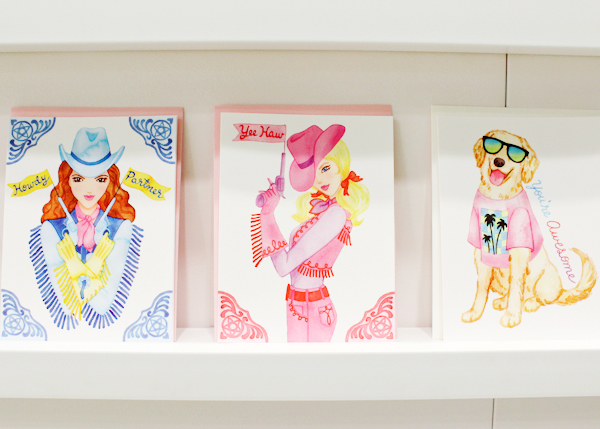
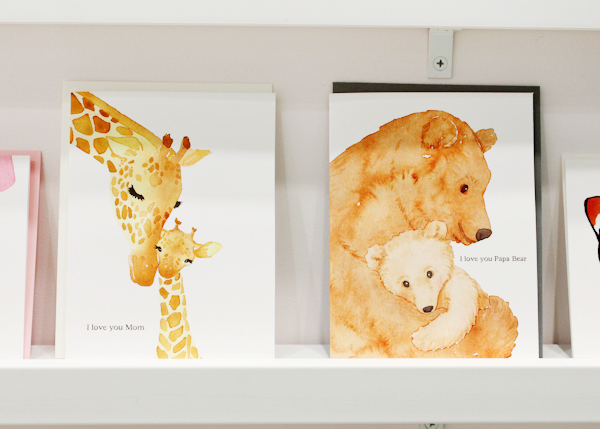
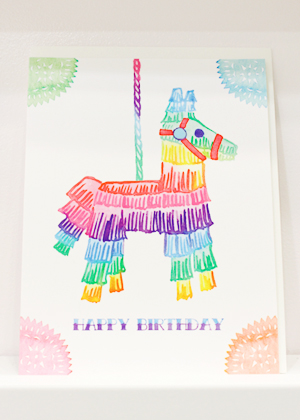
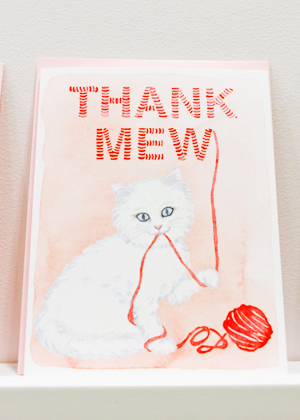
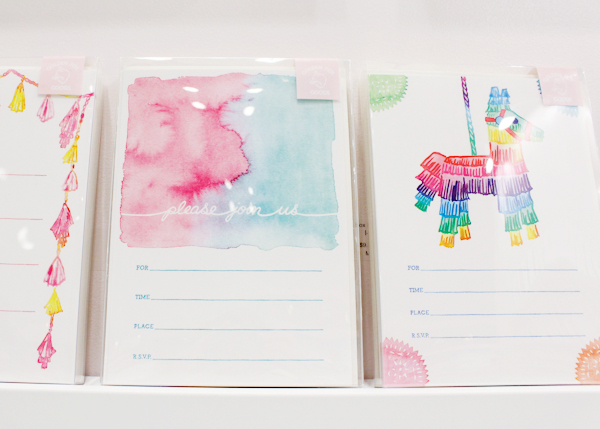
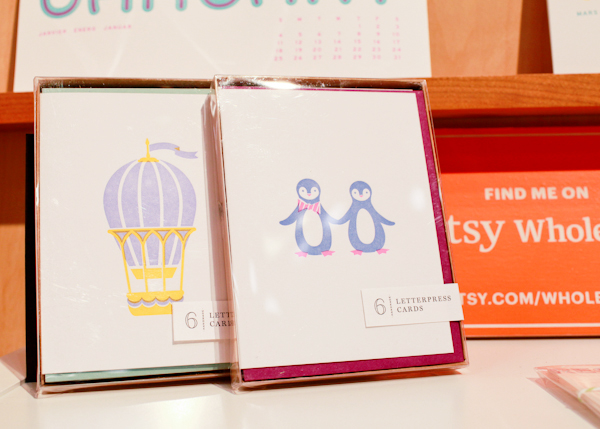
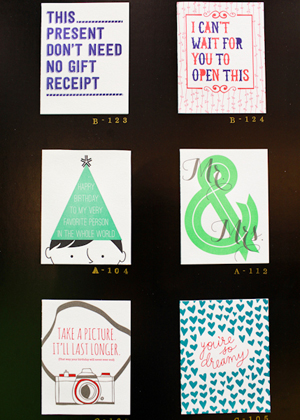
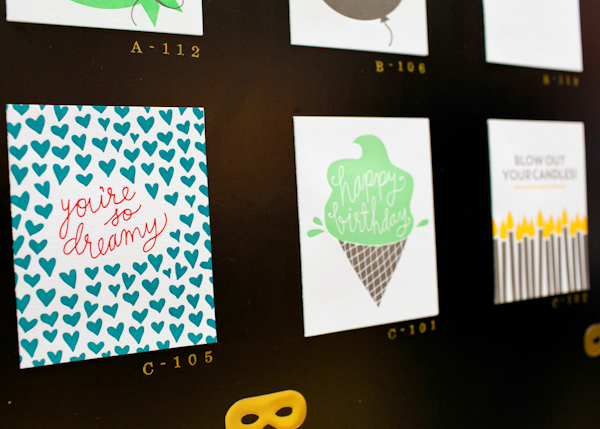
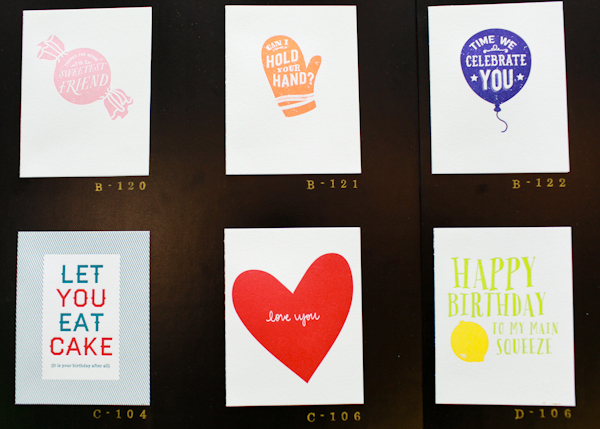
Another new exhibitor, Golden Fox Goods, had a bright white booth with tons of colorful greeting cards, fill-in party invitations, and art prints!

OSBP-National-Stationery-Show-2014-Golden-Fox-Goods-4

OSBP-National-Stationery-Show-2014-Golden-Fox-Goods-29OSBP-National-Stationery-Show-2014-Golden-Fox-Goods-9

OSBP-National-Stationery-Show-2014-Golden-Fox-Goods-12

OSBP-National-Stationery-Show-2014-Golden-Fox-Goods-3-2

OSBP-National-Stationery-Show-2014-Golden-Fox-Goods-17

OSBP-National-Stationery-Show-2014-Golden-Fox-Goods-20

OSBP-National-Stationery-Show-2014-Golden-Fox-Goods-24

OSBP-National-Stationery-Show-2014-Golden-Fox-Goods-25OSBP-National-Stationery-Show-2014-Golden-Fox-Goods-27

OSBP-National-Stationery-Show-2014-Golden-Fox-Goods-36

OSBP-National-Stationery-Show-2014-Golden-Fox-Goods-2-2

Golden Fox Goods

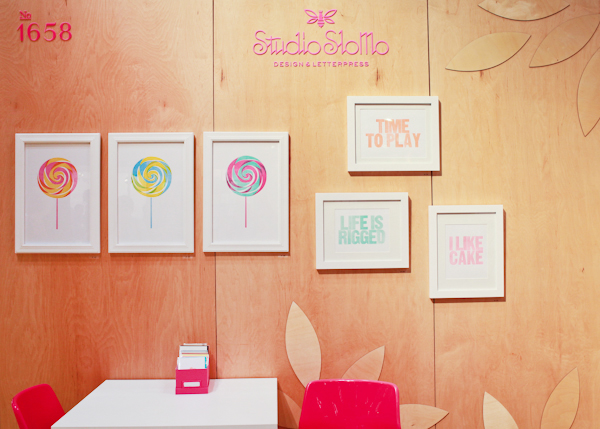
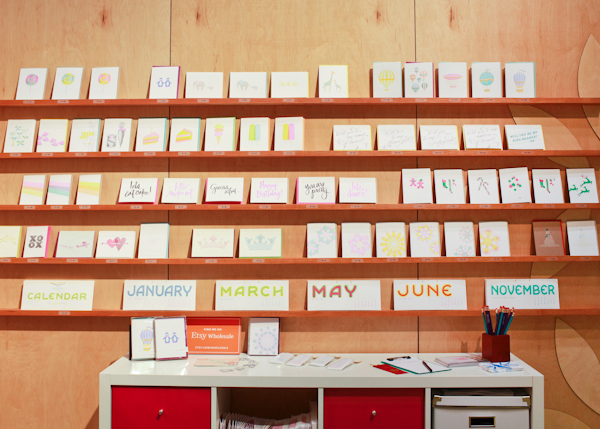
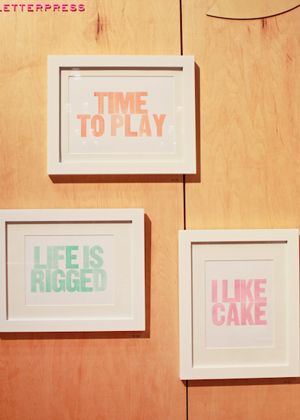
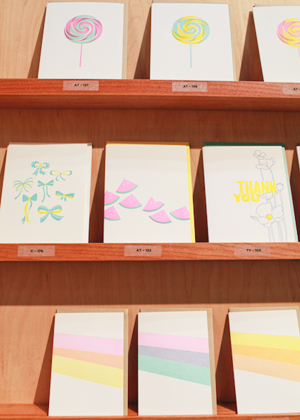
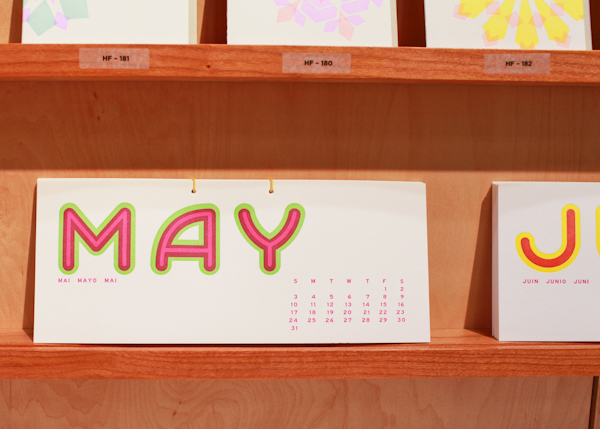
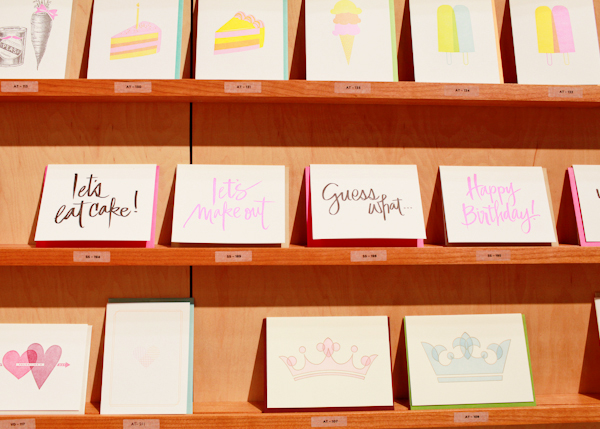
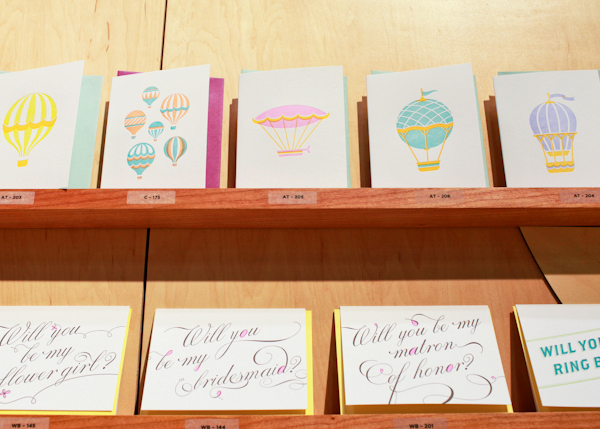
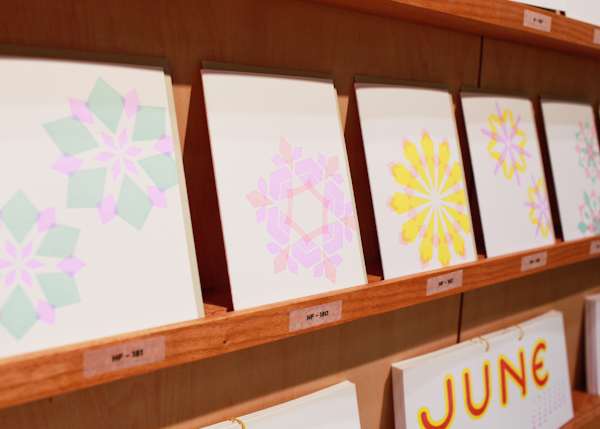
Lots of colorful letterpress paper goods from Studio SloMo – from a calendar to greeting cards to art prints!

OSBP-National-Stationery-Show-2014-Studio-SloMo-5

OSBP-National-Stationery-Show-2014-Studio-SloMo-2

OSBP-National-Stationery-Show-2014-Studio-SloMo-8OSBP-National-Stationery-Show-2014-Studio-SloMo-13

OSBP-National-Stationery-Show-2014-Studio-SloMo-11

OSBP-National-Stationery-Show-2014-Studio-SloMo-17

OSBP-National-Stationery-Show-2014-Studio-SloMo-21

OSBP-National-Stationery-Show-2014-Studio-SloMo-24

OSBP-National-Stationery-Show-2014-Studio-SloMo-28

Studio SloMo

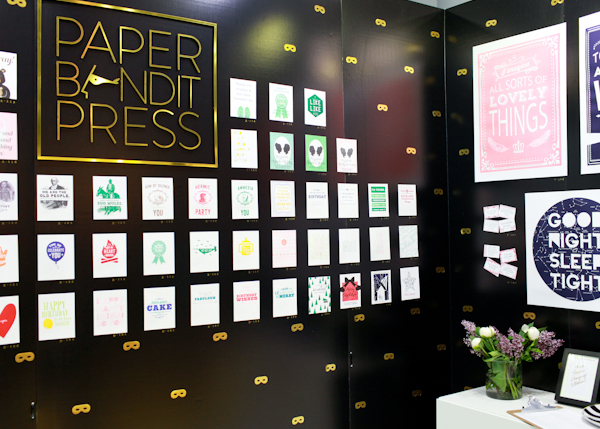
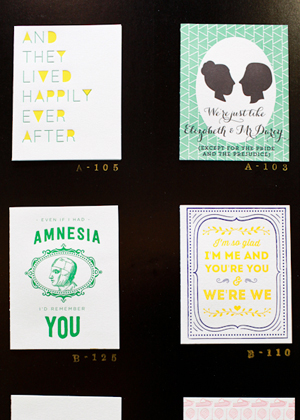
And last up for today, another strong debut exhibitor – Paper Bandit Press – with a wonderful collection of letterpress cards and prints!

OSBP-National-Stationery-Show-2014-Paper-Bandit-Press-8

OSBP-National-Stationery-Show-2014-Paper-Bandit-Press-19OSBP-National-Stationery-Show-2014-Paper-Bandit-Press-3

OSBP-National-Stationery-Show-2014-Paper-Bandit-Press-2

OSBP-National-Stationery-Show-2014-Paper-Bandit-Press-5

OSBP-National-Stationery-Show-2014-Paper-Bandit-Press-15OSBP-National-Stationery-Show-2014-Paper-Bandit-Press-16

 OSBP-National-Stationery-Show-2014-Paper-Bandit-Press-18OSBP-National-Stationery-Show-2014-Paper-Bandit-Press-20

OSBP-National-Stationery-Show-2014-Paper-Bandit-Press-11

Paper Bandit Press

Check back tomorrow for more from the 2014 National Stationery Show!

Photo Credits: Oh So Beautiful Paper

Envelope Addressing Styles

We’re often (very often) asked about addressing options for wedding invitations. Many of our clients are DIY couples and it’s simply not in their budget to hire a professional or to pay for digital addressing. Believe us: even if you or a loved one are planning address them yourself, they can still be creative and cohesive with your invitation! It’s simply a matter of the right tools, methods, and a some practice! – Bailey and Emma of Antiquaria
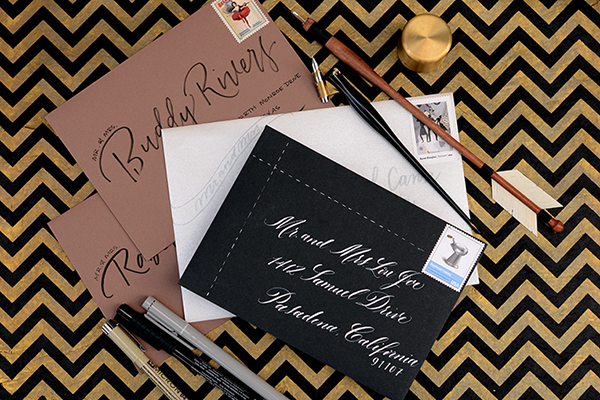
DIY Envelope Addressing Styles by Antiquaria via Oh So Beautiful Paper

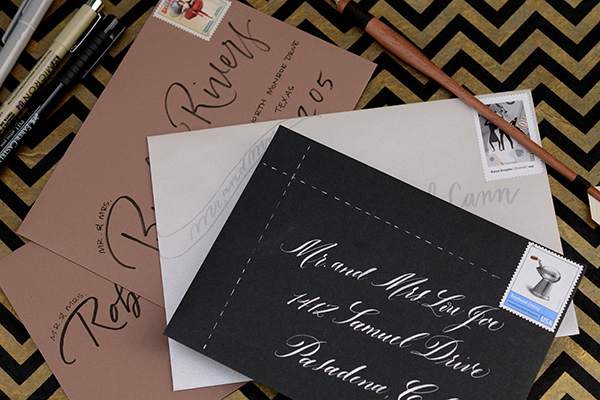
Option One: DIY Pointed Pen Calligraphy. For someone that has a little experience already with a dip pen and ink or for someone with plenty of time to practice before the invitations need mailing, calligraphy addressing can actually be a great DIY option. One hundred years ago, everyone who wanted to write had to use a dip pen and ink. We’re certainly used to modern pens these days, but it’s inspiring to think that it can be done with practice! It takes years and years of practice to truly master the art – so don’t hold yourself to expectations of perfection for the project. Try playing with your unique hand writing and see what is most natural for you with the tools.
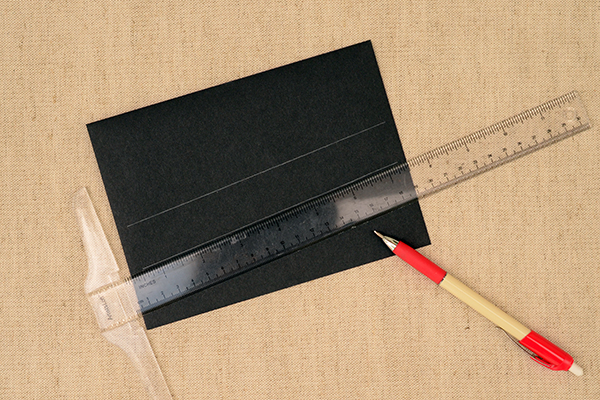
DIY Envelope Addressing Styles by Antiquaria via Oh So Beautiful Paper

It’s really helpful to give yourself guidelines when writing with pen and ink (your focus will be more on the writing than keeping the lines straight). For a playful look, we drew them at a slant, leaving a ruler’s width between them. Three lines will suffice for most U.S. addresses but occasionally you’ll need four. Just count up how many 3 and 4 liners you need on your list and tackle all of the “ruling up” first.
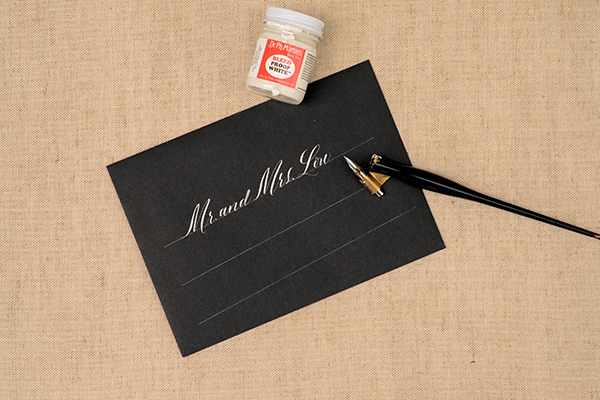
DIY Envelope Addressing Styles by Antiquaria via Oh So Beautiful Paper

Address each envelope on your guest list. Set aside to dry. This can take minutes to a day depending on the ink and weather, so don’t be too anxious. The last thing you want is to smear you hard work! We used our favorite white ink on these gorgeous black envelopes. It’s the loveliest and most opaque that we’ve found but it must be diluted quite a bit to use with a pointed pen and nib. Add (distilled) water with an eyedropper to the bottle. Stir the ink with the water until it reaches the consistency of heavy cream.
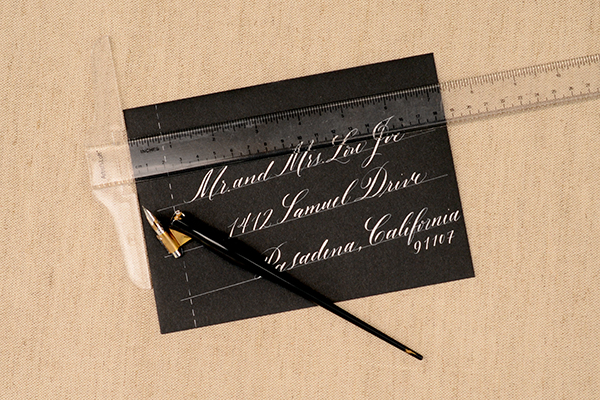
DIY Envelope Addressing Styles by Antiquaria via Oh So Beautiful Paper

Once they’re all addressed, we added a fun little dashed line to further decorate and modernize the envelope. Use a T-square ruler and dash along the straight line with the white ink loaded into the dip pen. Let them all dry once more.
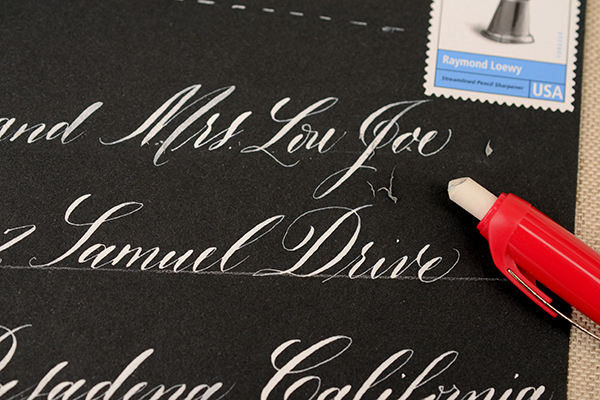
DIY Envelope Addressing Styles by Antiquaria via Oh So Beautiful Paper

Erase the lines gently once everything is good and dry.

You can find more information about DIY calligraphy on our blog. You can also search for local calligraphy classes to get you started. The key to calligraphy is practice, practice, and more practice!
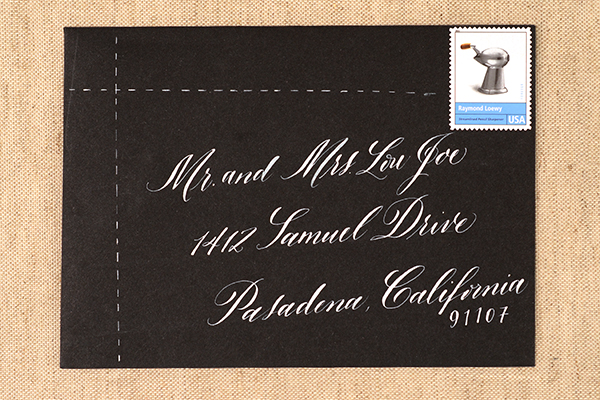
DIY Envelope Addressing Styles by Antiquaria via Oh So Beautiful Paper

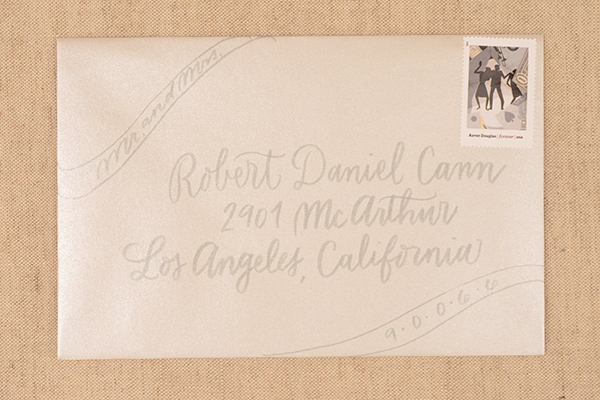
Option Two: Brush Pen Lettering. Brush pens can be a great option for addressing without the mess of an actual brush and ink. A lot of them are actually felt tipped (like the ones in this tutorial) which makes controlling them much easier. This silver and gray design is lovely, soft and tonal. Play with the brush lettering a bit and find a style that’s comfortable for you. You can print or use cursive with them, so the options are endless!
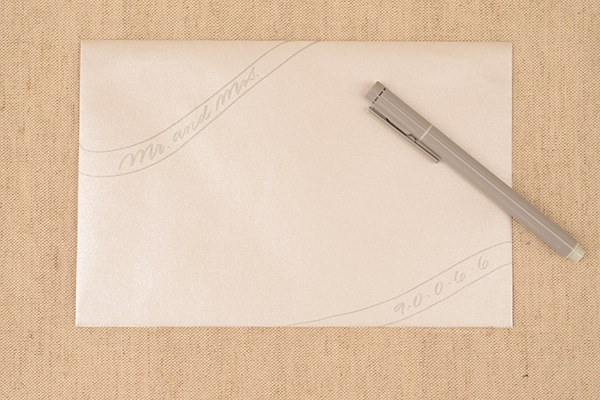
DIY Envelope Addressing Styles by Antiquaria via Oh So Beautiful Paper

Draw “ribbons” in the upper left and lower right corners. Then write the title(s) (i.e. Mr., Miss, Ms., or Mr. and Mrs.) in the upper left banner. Move to the lower right and write the zip code, spacing out each number with a small dot.
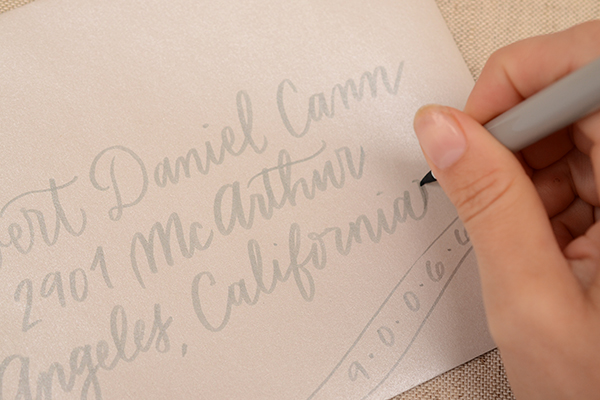
DIY Envelope Addressing Styles by Antiquaria via Oh So Beautiful Paper

In the middle of the envelope, you’ll write the guest(s) name and address. We used a simple handwriting cursive. Because the brush pen gives the lines weight variation, it looks fancier than a ball point pen, which we love. One key to writing with a brush pen is to write on its point, as shown in the photo above. This will help keep the writing thin and legible. Center the address as much as you can, but the banners in the corners will help keep the design looking balanced even if it’s not perfect.
DIY Envelope Addressing Styles by Antiquaria via Oh So Beautiful Paper

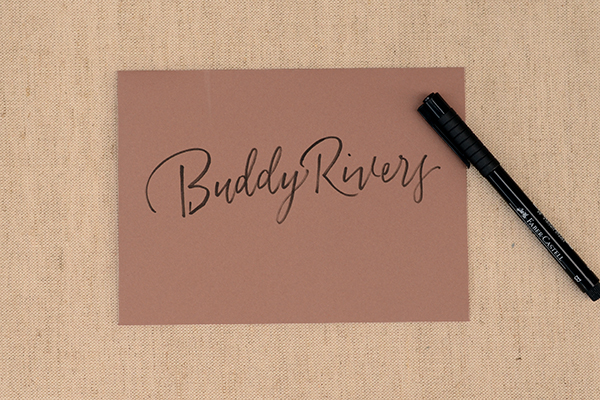
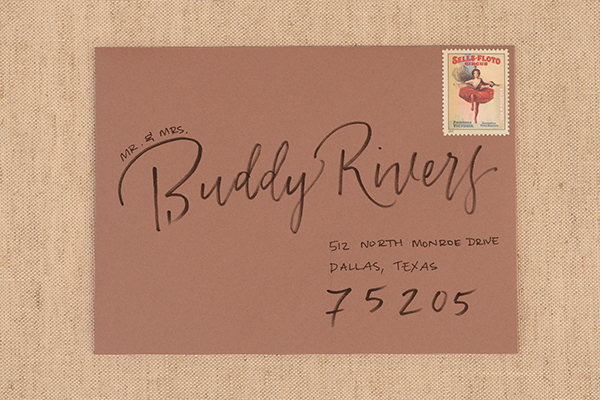
Option Three: Mixed Pen Lettering. This design uses two different kinds of pens to achieve a very custom look. We again used a brush pen, this time in black, as well as a thin felt tipped pen for variation in line quality and so that we could make some text much smaller.
DIY Envelope Addressing Styles by Antiquaria via Oh So Beautiful Paper

Write your guests name fairly large across the envelope. Vary the size of lettering depending on the length of their name (you’ll get the hang of this with practice).
DIY Envelope Addressing Styles by Antiquaria via Oh So Beautiful Paper

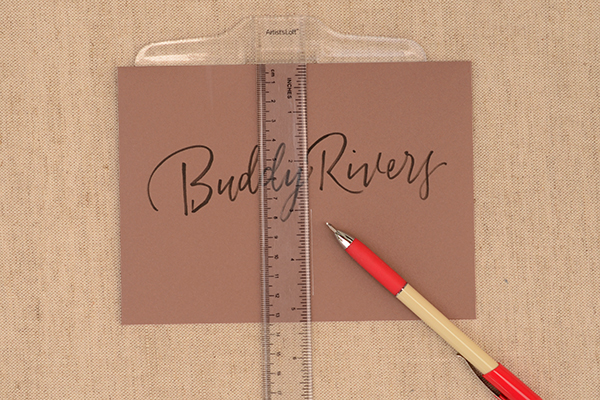
Then, draw straight line down, using a T-square ruler a little right of center. You will use this line to left justify the address.
DIY Envelope Addressing Styles by Antiquaria via Oh So Beautiful Paper

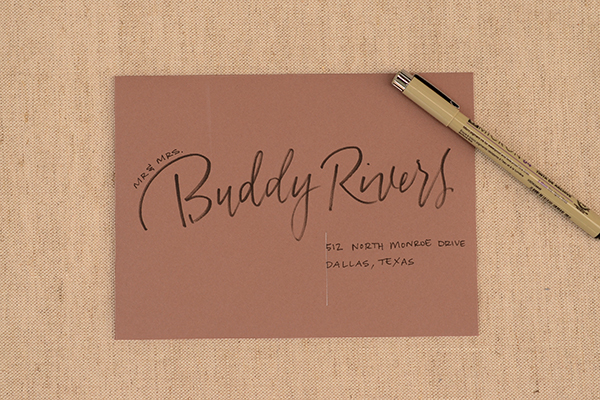
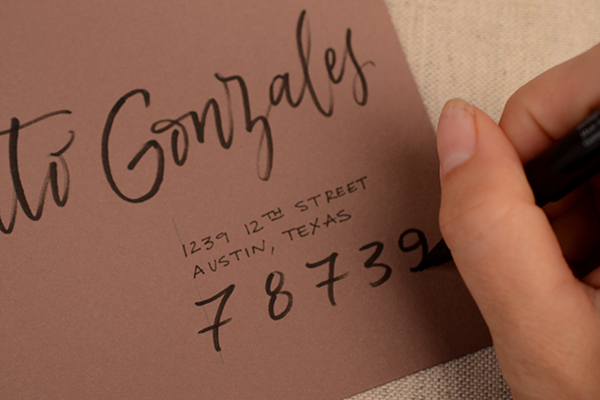
With the vertical lines as your guide, print the street, city and state portion of the address using the felt tipped marker. Add the appropriate title(s) to the left hand side of the guests name.
DIY Envelope Addressing Styles by Antiquaria via Oh So Beautiful Paper

With the brush pen, add the guest’s zip code in large numbers below the address. Erase your vertical line and the envelope is done!
DIY Envelope Addressing Styles by Antiquaria via Oh So Beautiful Paper
DIY Envelope Addressing Styles by Antiquaria via Oh So Beautiful Paper
Addressing options really are limitless. Play around with ideas until you find something that works for you and coordinates well with your invitation suite. It can help to experiment with addressing your own save the dates (usually they’re less formal) to determine if you want to tackle the process of addressing your wedding invitations.

Materials & Resources

Calligraphy Starter Kit
White Calligraphy Ink

Calligraphy Resources: Setting up your Tools,  Lower Case Alphabet by Bailey Rivera, Calligraphy Supplies
Brush and Felt Tipped Pens

For envelopes, we discuss many different envelope resources and options in a previous post, found here.
T-square Ruler

White Mechanical Pencil or Graphite Pencil

Photo Credits: Antiquaria for Oh So Beautiful Paper