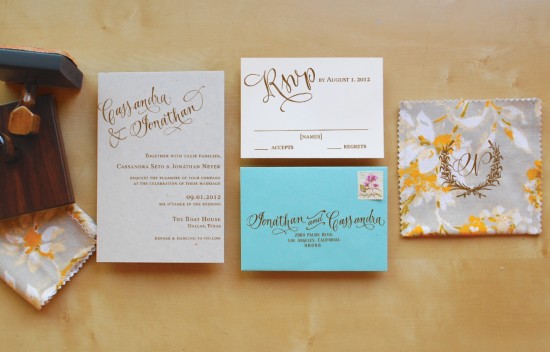
DIY Rubber Stamp Holiday Cards

Hi Everyone!  Before we run off for the holiday weekend, the ladies of Antiquaria are back with a holiday DIY for you!  You can see lots of awesome holiday cards in my holiday card round ups right here, but if you’re planning to DIY your holiday cards this year, check out the post below for a fabulous idea!

Wow! This holiday season has totally crept up on us…however, we couldn’t be more thrilled that it has arrived.  For the past few months, we’ve been busy bees designing a new holiday stamp collection!  This tutorial was born out of our desire to get our hands on some of the new seasonal stamps.  Add vintage grosgrain ribbon and it’s just icing on the cake.  This holiday card design is so simple and lovely… it would be a great afternoon project.

DIY Holiday Card

DIY Rubber Stamp Holiday Card

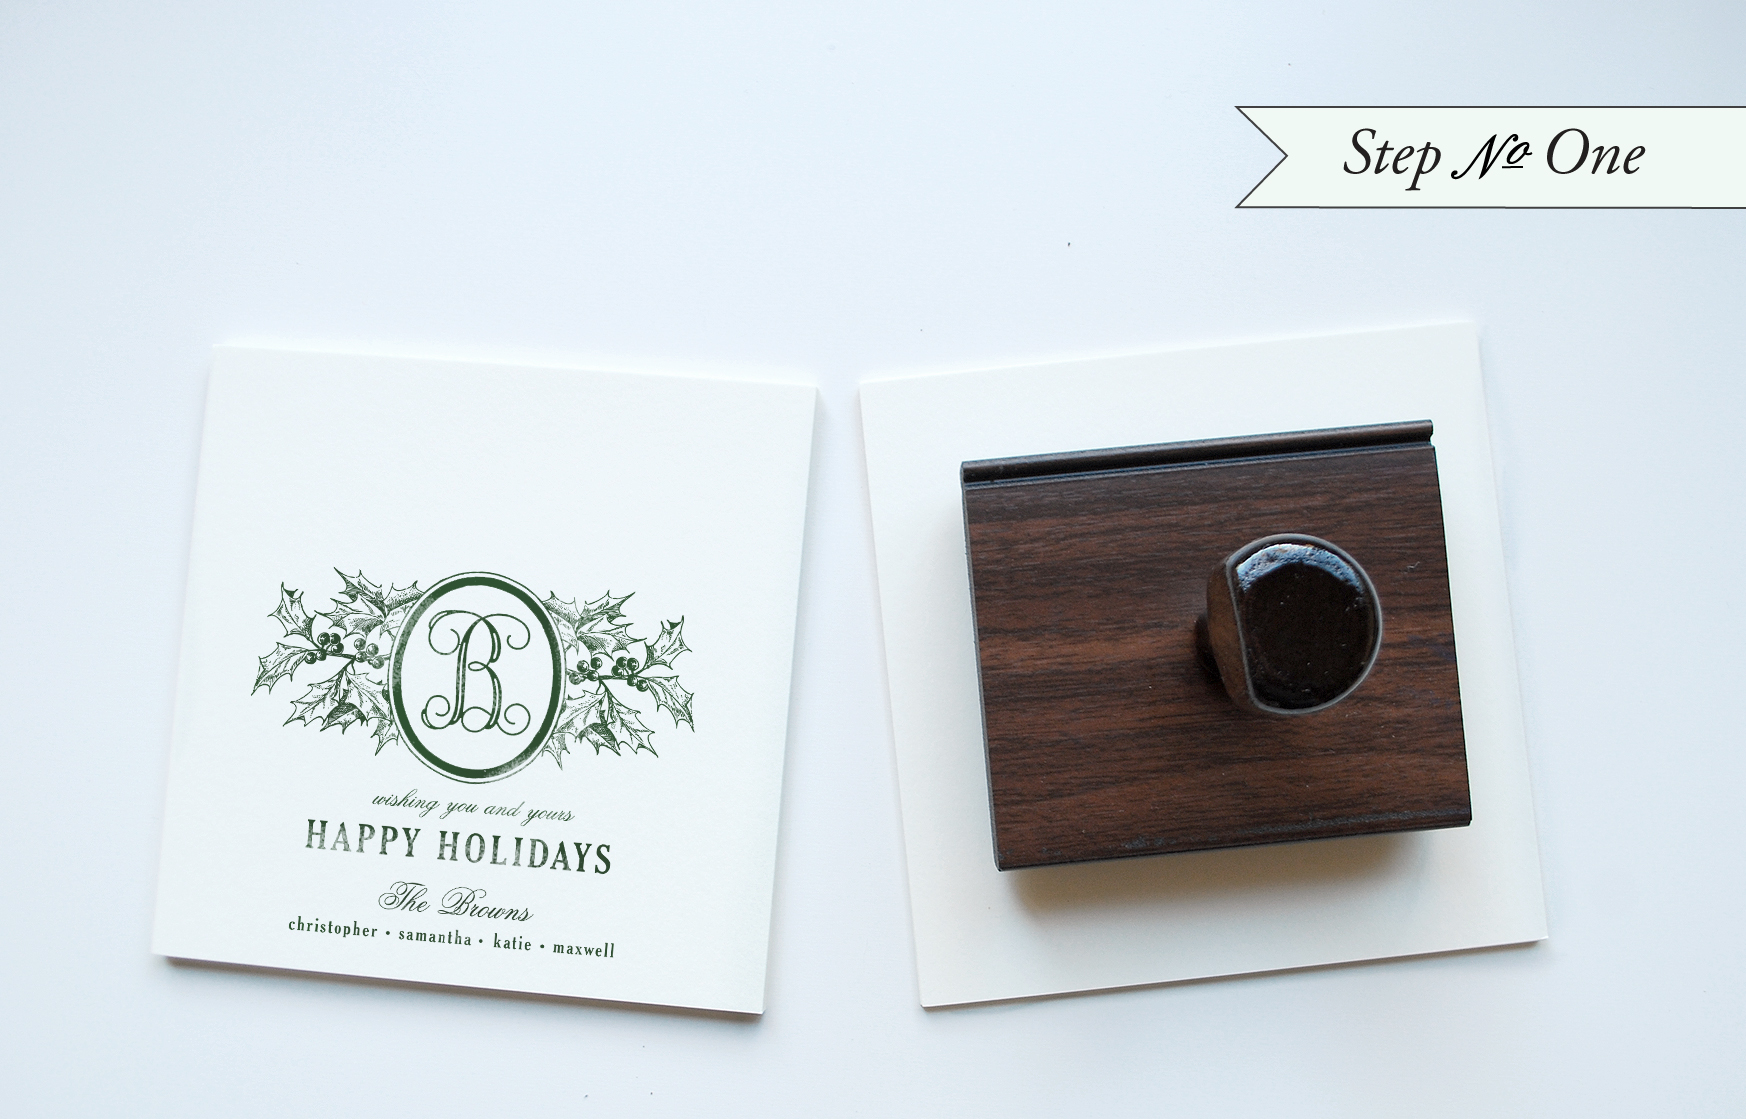
Step One: Cut card to square dimensions (5.5″ x 5.5″).  Ink the stamp (we used our Holly Berry Greeting stamp) thoroughly and center on the lower half of the square card.  Press evenly to make print.  Let dry.

DIY Rubber Stamp Holiday Card, Step 2

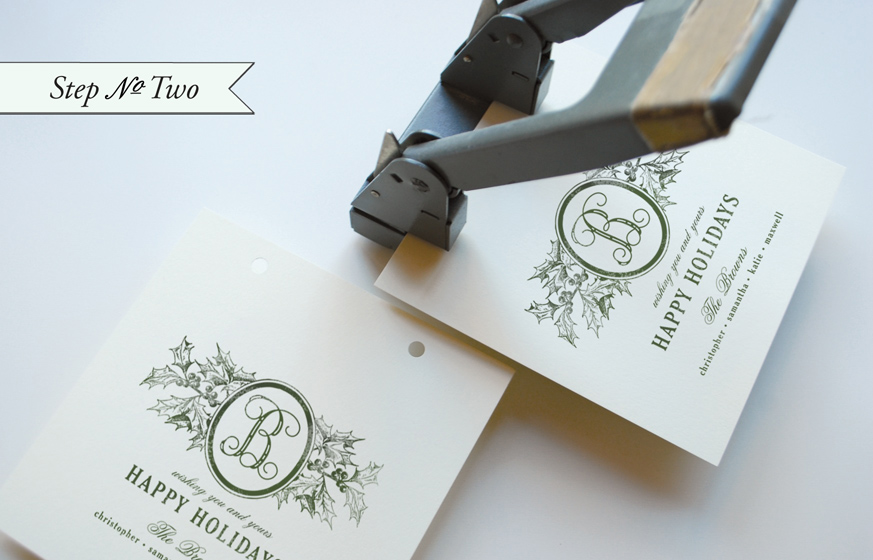
Step Two: Punch 2 holes in the top of the card by either using a 2 hole punch (as shown, makes things really simple) or drawing & punching 2 even dots about 1/2″ from the top and 1″ in on each side.
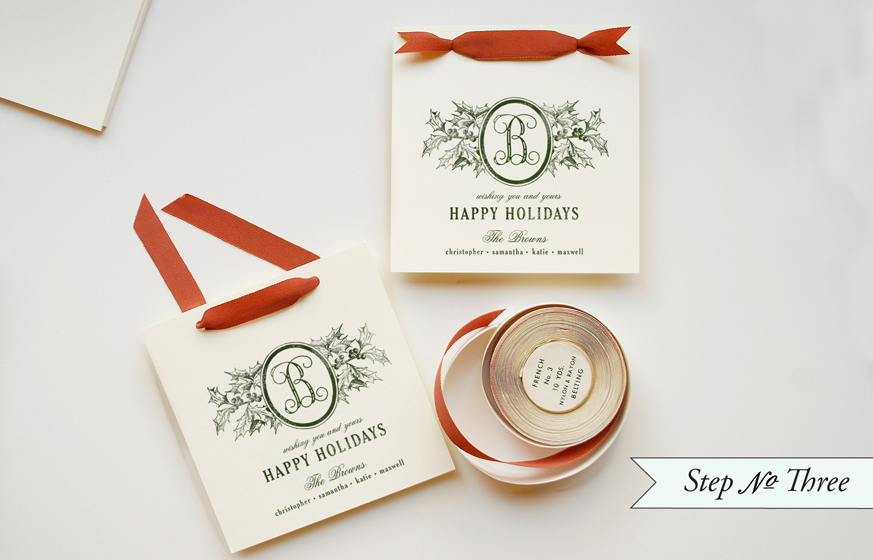
DIY Rubber Stamp Holiday Card, Step 3

Step 3: Cut ribbon in pieces 10-12 inches long.  Thread ribbon through the holes so that each end is now on towards the back of the card.  Crossing in the back, thread each end back through the holes and toward the front.  Fold ribbon in half and cut to make a crisp V shaped end.
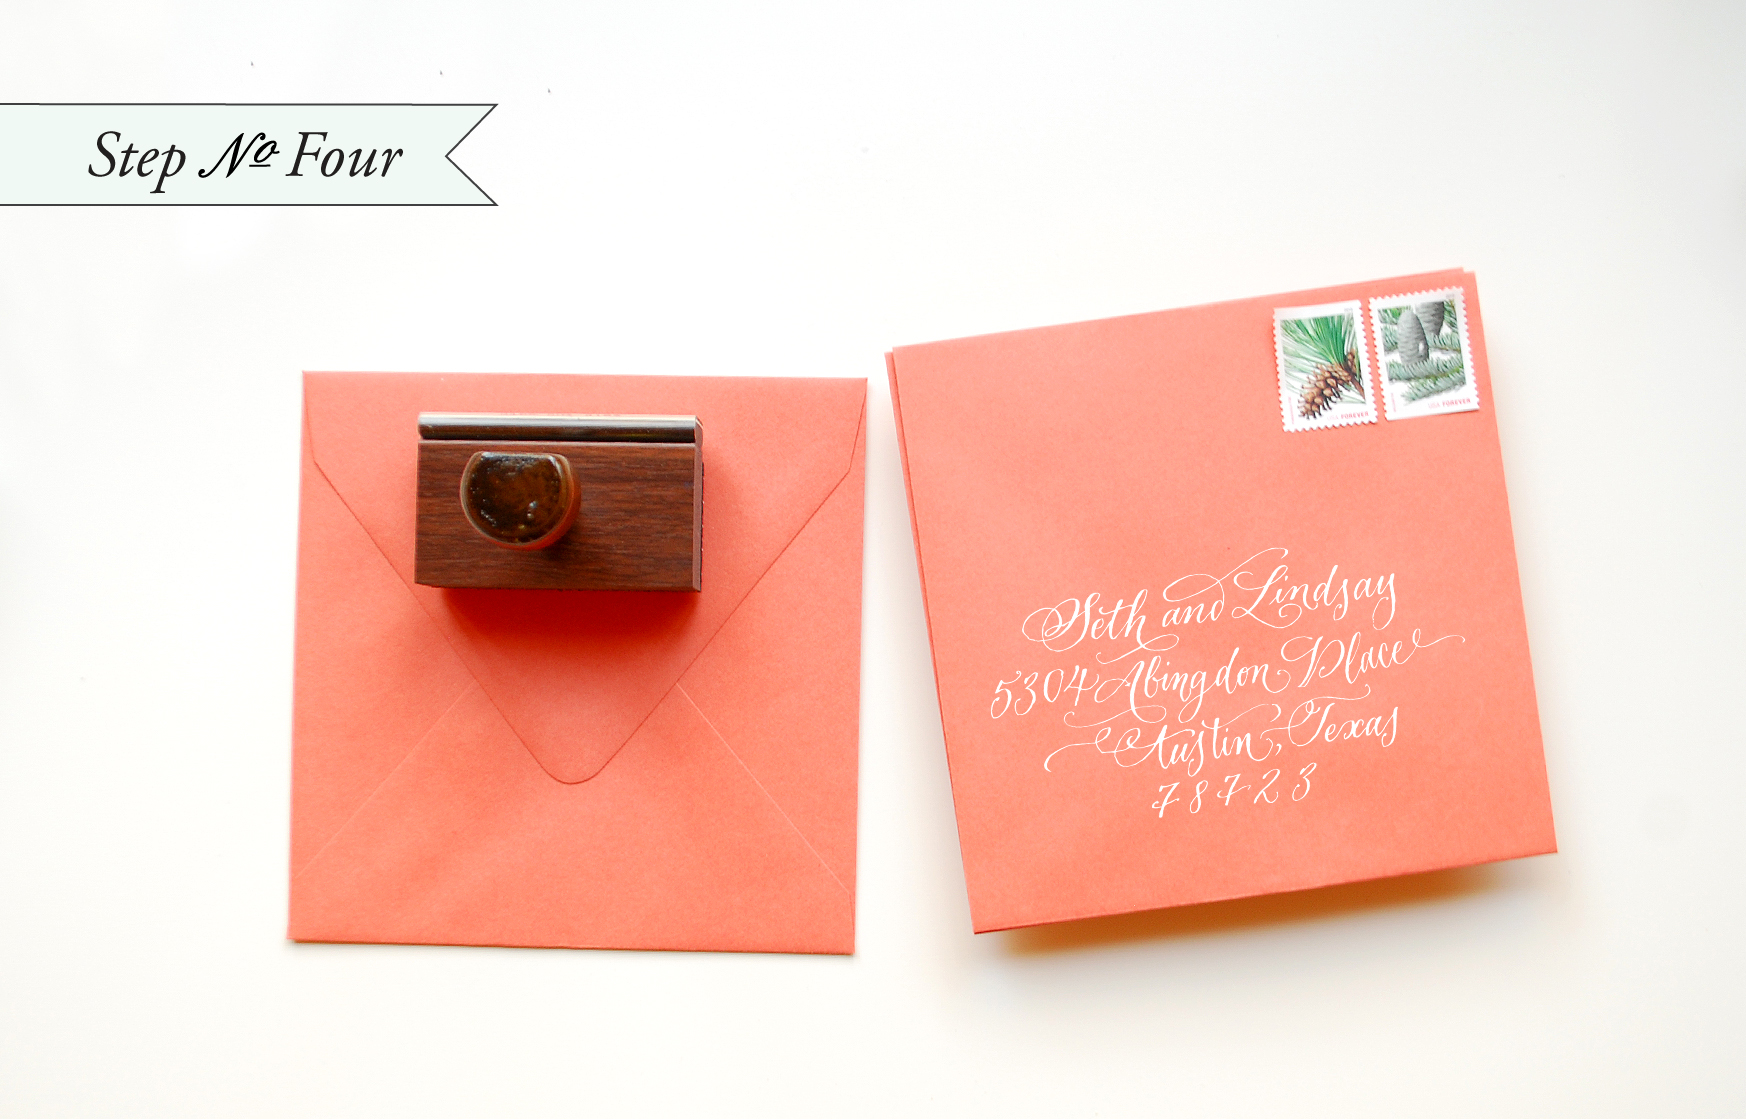
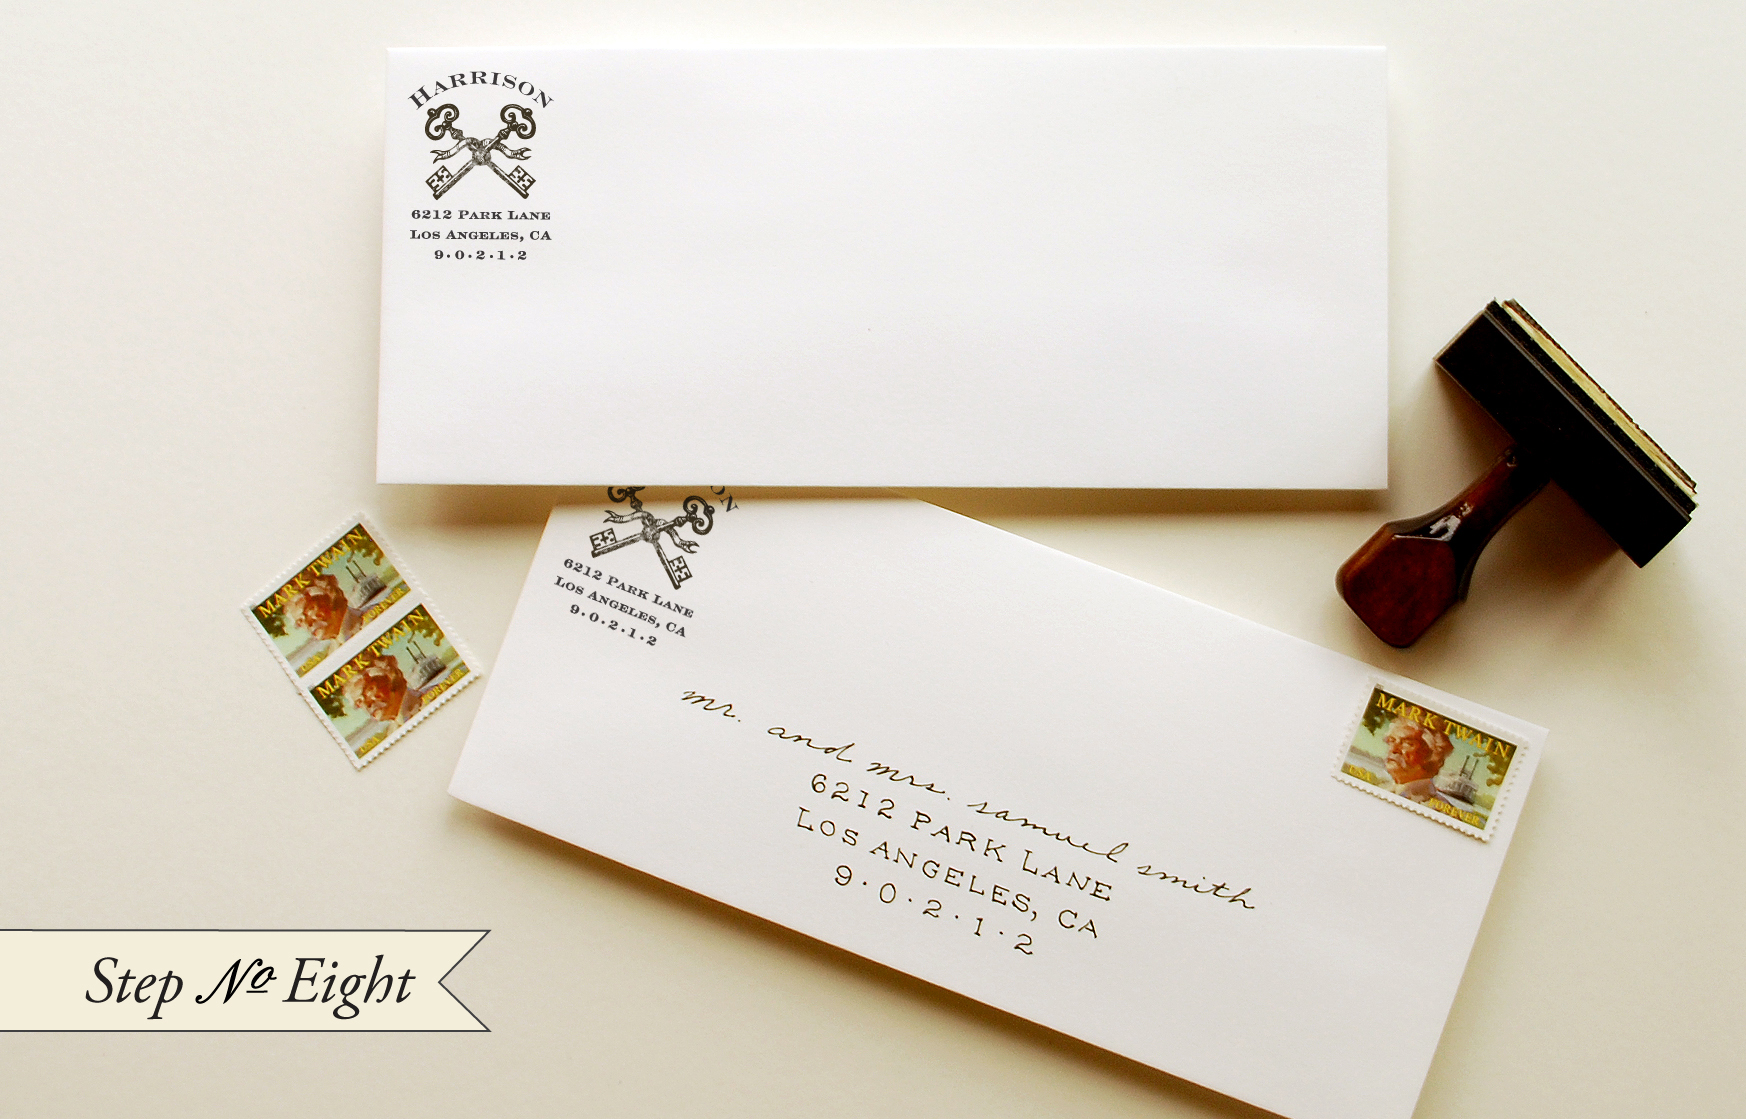
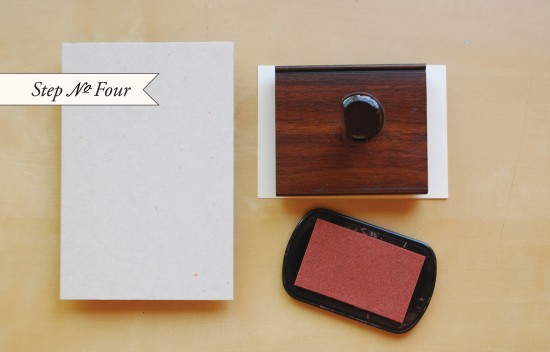
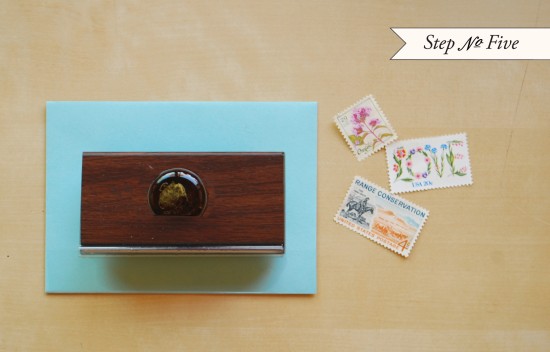
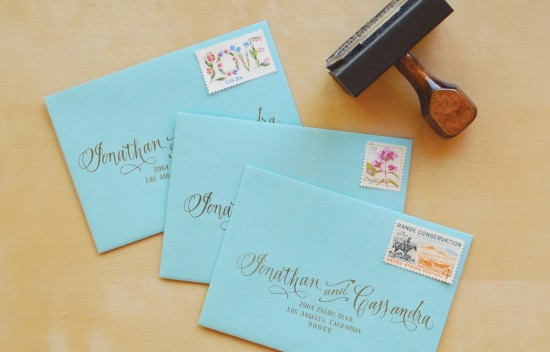
DIY Rubber Stamp Holiday Card, Step 4

Step 4:  With everything going on this time of year addressing your envelopes may seem like the last thing you need to spend time on.  Make the process a bit more fun by trying interesting color combinations that will help your card stand out from the rest.  Save time by using a return address stamp or fun printed labels, and you’re all done!

Materials:

Holly Berry Greeting Stamp  (Greeting stamps work just as well inside a store bought card)

Holiday Wreath Return Address Stamp

Cover paper, cut into 5.5″x5.5″ square cards

Stamp Pad, we used Hunter Green

2 Hole Punch

Grosgrain ribbon, search Etsy, Ebay or local thrifts for the vintage stuff.

5.75″x5.75″ Envelopes, we used Papaya

Photo Credits: Antiquaria

DIY Rubber Stamp Photo Card Save the Dates

It’s the ladies of Anti­quaria, back with another fab­u­lous and cre­ative DIY project for you!  This week they’re here with some awe­some DIY photo card save the dates!

Need a fabulous and unique way to incorporate your engagement shoot into your save the date?  We’ve got the solution for you: hand stamped photo save the date cards!  We are constantly inspired by all the wonderful engagement shoots that folks are putting together these days, and wanted to find a way to incorporate that imagery with rubber stamps.  We think the results are truly adorable and your family and friends will love receiving a sweet photo of the two of you.

DIY Photo Card Save the Date

DIY Photo Card Save the Date

Step One: Cut paper to a size A9 card (5.5″ x 8.5″).  Use photo corners (our most recent obsession) to secure your (3″ x 5″) photo to the card.  You just stick them on each corner to activate and the adhesive, center over the paper and press down to secure.

DIY Photo Card Save the Date

Step Two: This step will take two stamps, a monogram (we used our ribbons & banners monogram) and a website stamp (we used our calligraphy accent website stamp).  Ink each stamp thoroughly, position and stamp down on a hard, even surface.  Let dry.

DIY Photo Card Save the Date

Step Three: Cut paper to (4″ x 4.5″).  Ink a save the date stamp (we used our “Circus” save the date stamp) and make print on a hard surface.  Make sure when stamping, you apply moderate and even pressure over the entire stamp.  Let dry before assembly.

DIY Photo Card Save the Date

Finish up the suite with twine, wrapping the bundle a few times before making a knot.

Rubber Stamps:

“Banners” monogram

“Calligraphy Accent” website card

“Circus” save the date

Supplies:

A9 Card (5.5″ x 8.5″)

A9 Envelope

Photo – Printed locally or online.  Look for specials and deals on 3″ x 5″ prints

Save the Date (cut to 4″ x 4.5″)

Stamp Pad (we used orange)

Orange twine

Photo corners

Photo Credits: Anti­quaria, Save the Date photograph by Kelly Lynn James

p.s.  I’ve got two holiday card round ups coming a bit later this morning, so check back soon!


DIY Moving Announcement Bookmarks

It’s the ladies of Anti­quaria, back with another fab­u­lous and cre­ative DIY project for you!  This week they’re here with some awesome DIY moving announcement bookmarks!

Here at Antiquaria, we’ve got moving on the brain.  Emma recently moved the Antiquaria design studio out to sunny California and Bailey is prepping to relocate the vintage shop and registry at the end of the year.  As lovers of all things paper… this means only one thing, sending out moving announcements!

We were brainstorming, looking for something that might be fun to send out; that recipients interact with and can use…instead of just a card to keep on their fridge.  And voila…moving bookmarks!  So fun, useful and an impressive little gift to receive in the mail.

DIY Rubber Stamp Moving Announcements

We love the coordinating designs of the moving announcement and the matching return address stamp.

DIY Rubber Stamp Moving Announcements

Step One: Get a little rectangle of cardboard and cut it to the height that you would like your tassle to be (we made ours 3 inches).  Wrap your thread around the card approximately 20 times or until you reach your desired thickness.  Leave the tail at the bottom as seen in the photo above.

DIY Rubber Stamp Moving Announcements

Step Two: Using another piece of thread (~10 inches long), tie a knot at the top of the cardboard, securing all the loops together.

DIY Rubber Stamp Moving Announcements

Step Three: Cut the bottom loops, freeing the tassel from the cardboard.

DIY Rubber Stamp Moving Announcements

Step Four: With another length of thread (~15 inches), wrap thread close to the top of the tassel and secure with a knot.  Trim the ends, ensuring that you don’t cut the knot.

DIY Rubber Stamp Moving Announcements

Step Five & Six: Cut bookmarks to desired size (2.125 x 7.25″).  On the bottom of the bookmark, print your stamp (we used our Keys Moving Announcement Rubber Stamp).  Ink stamp throughly and press evenly on a hard surface.  Lift stamp straight up and let ink dry.  Once dry, punch a small hole at the top center of the bookmark and tie on the tassel.

DIY Rubber Stamp Moving Announcements

Step Seven: Cut black backers to (4 x 9.25″).  Stick gold photo corner on each corner of the bookmark, lick to activate the adhesive.  Center and press the bookmark down onto the backer.  Let adhesive dry.

DIY Rubber Stamp Moving Announcements

Step Eight: Stamp upper left hand side of an #10 envelope with your new return address stamp.  Address, apply postage and mail them out!!

Materials:

Stamps: Keys Moving Announcement Rubber Stamp, size medium, Keys Return Address Rubber Stamp

Stamp Pad 

Thread: Thrift for vintage thread or buy some at your local craft or fabric store.  Use a thicker cotton thread, such as one for hand quilting.

Scrap Cardboard

Scissors

Hole Punch

Paper for Bookmarks cut to (2.5 x 7.25″), we used luxe white

Paper for Backers: #10 or (4 x 9.25″), we used black

Photo Corners

#10 Envelopes (we used luxe white)

Photo Credits: Antiquaria

{happy weekend!}

Happy Friday everyone!  It’s finally starting to feel like fall here in DC; the leaves are changing colors everywhere and the skies have been mostly gray and rainy the last few days.  I think it’s all beautiful, and I love listening to the rain while I sit at my computer all day.  Right now I’m looking forward to a quick trip up to New York for a few days for Bridal Market – it’ll be nice to get out of DC for a couple of days!  But in the meantime…

Photo Credit: Nguyễn Hà

…a few links for your weekend!

This week on Oh So Beautiful Paper:

That’s it for me this week!  Don’t forget to enter the custom journal giveaway from Paper + Cup – the contest ends at midnight tonight!  I hope you all have a wonderful weekend, and I’ll see you all back here on Monday! xoxo

DIY Rubber Stamp Fabric Pocket Wedding Invitations

It’s the ladies of Anti­quaria, back with another fab­u­lous and cre­ative DIY project for you!  To celebrate the launch of their new custom wedding invitation design studio, this week they’re here with a tutorial for a full wedding invitation suite!

We are so excited for this DIY tutorial because this week, we’ve taken on an entire invitation suite!!!  When we are out and about shopping for vintage house-wares to stock our shop, we like to also pick up remnants of old curtains, sheets, and scarves when we can find them in patterns that we love.  We dug into our stash, using an old fitted sheet to create a lovely fabric pocket that holds all of our invitation suite components.  We love the idea of  using different patterns for each pocket!

Hand Stamped Wedding Invitation Suite

Steps1-3

Step One: Using pinking shears, cut pieces of fabric into 5″ x 9 3/4″ rectangles (for a finished pocket that fits into an A7 envelope).

Step Two: Fold each cut piece of fabric in half and stamp with a monogram stamp (we used our wreath monogram, size large).

Step Three: With the fabric folded, stitch up each side 1/8″ from the edge, creating a pocket that the invitation pieces will slide into.  We suggest that you make one to test the size before you cut all of the pockets.

Step 4

Step Four: For the invitations, cut chipboard to 4.5″ x 6.75″ to fit in the pouch.  Cut the RSVP card to a standard 4 bar size, 3.5″ x 5″.  Ink and print the invitation (we used our Calligraphy Accent Invitation Stamp) and RSVP (we used our Calligraphy Accent Reply Stamp) stamps using even pressure on a hard surface.

Step 5

Reply Envelopes

Step Five: Ink and print return address stamp (we used our Calligraphy Accent Return Address Stamp) on 4 bar envelopes to house your reply cards. Again, using even pressure on a hard surface.  Vintage stamps throughout help complete the overall look!


Materials:

Stamps – Calligraphy Accent Collection (invitation, reply card and return address), wreath monogram, large

Fabric – Either use “found” fabric like we did, or , if you would prefer to buy yardage, we love the prints from Purl Soho.

Pinking shears, sewing machine & thread

Chipboard or Kraft paper – If needed, enlist a framing shop to help you cut chipboard.  Their cutting tools should be able to do the job if you can’t at home.

Envelopes, A7 & 4 bar

Stamp Pad – we used a chestnut brown color

Vintage Postage Stamps

Anti­quaria is a mem­ber of the Designer Rolodex – you can see more of their beau­ti­ful work right here!

Photo Credits: Antiquaria

 p.s. Have you entered the custom journal giveaway from Paper + Cup?  The contest closes tomorrow!