Morgan and Arley-Rose are the incredible team that is Ladyfingers Letterpress. They have such a dear history with Nole and this blog, so I am especially honored to share their story with you today. The combined effort in their designs and production make for some of the most innovative custom invitations that will, no doubt, rock your world. Read on about their creative processes and how downsizing their business was right for them! –Megan

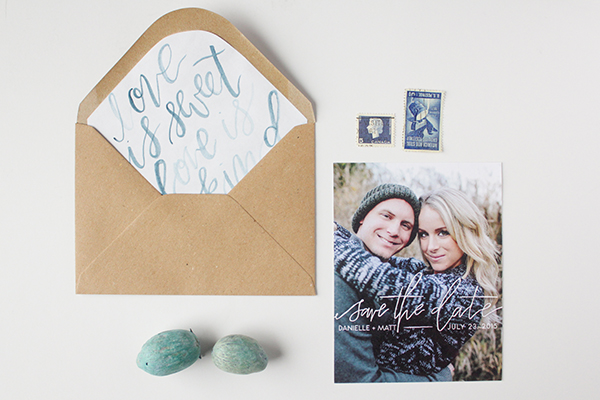
 Photos by Anthony Delao Photography
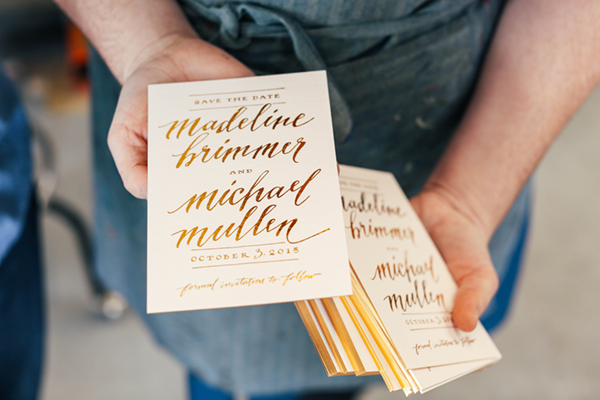
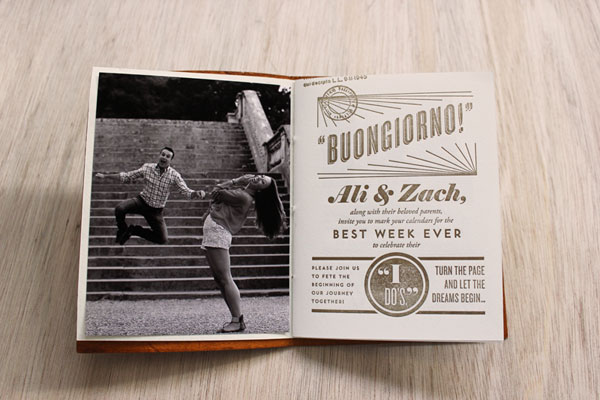
Our dreams all came true when we got married in 2011, not only because it was the year we tied the knot, but also because it was the year that photos of our wedding invitations were discovered by Nole Garey, who you all know as the editor of this amazing blog! Our unique poster-sized, hand-lettered and neon letterpress-printed invitations were featured right here and from that moment on, we’ve been totally inundated with requests for custom one-of-a-kind invitations. Our business began as we worked personally with each couple to design a totally unique wedding invitation and we soon had people returning asking if we had any greeting cards to celebrate a new baby, birthdays, holidays, and more. So we said, “why not?”.
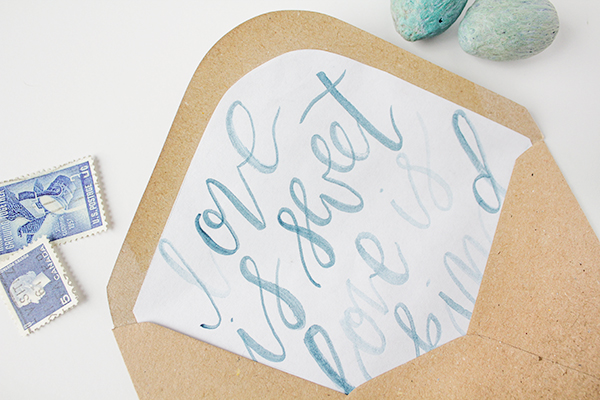
 Â Photo by Anthony Delao Photography
 Photo by Anthony Delao Photography
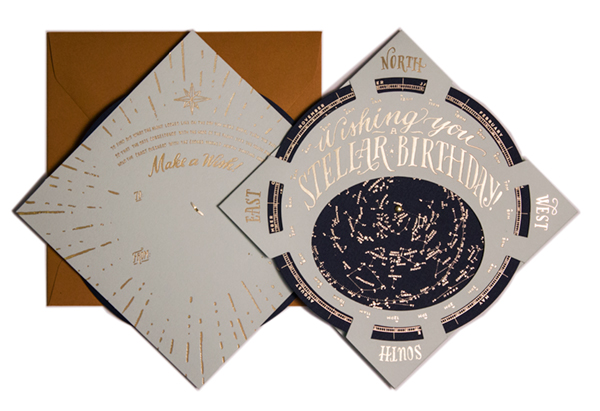
Photo by Arley-Rose Torsone
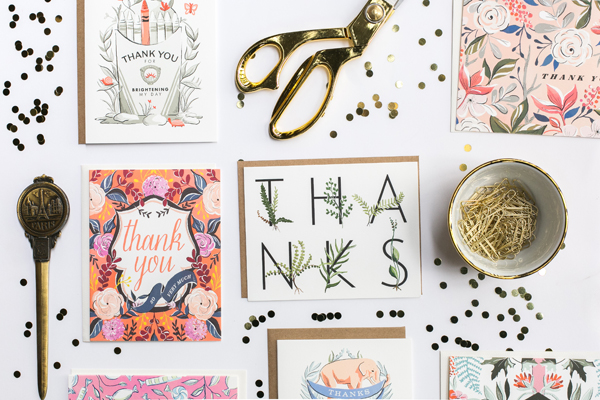
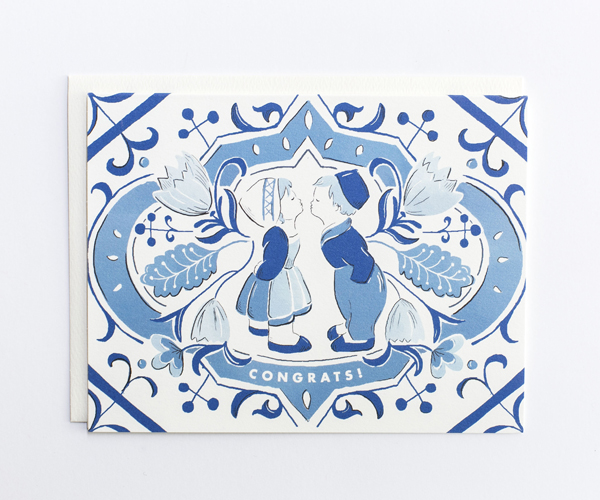
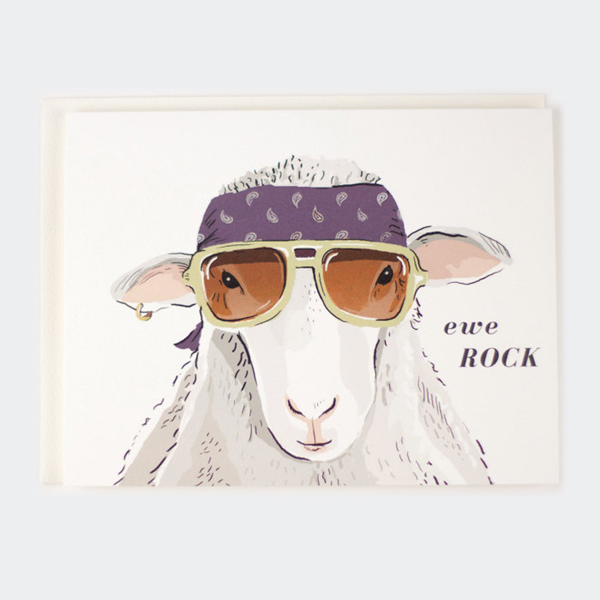
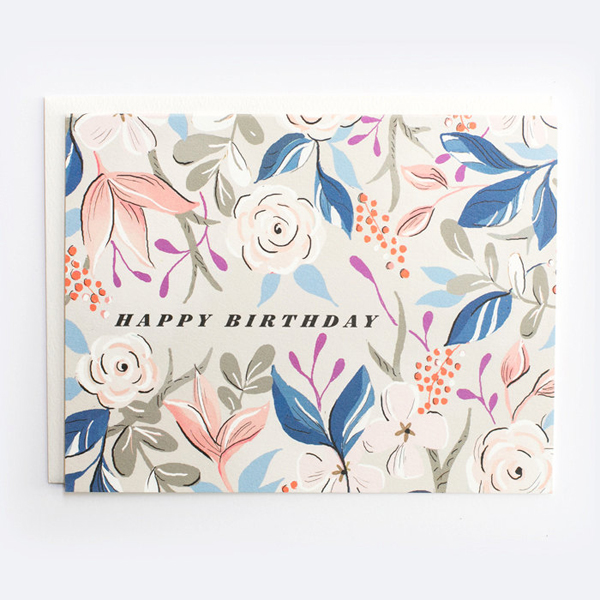
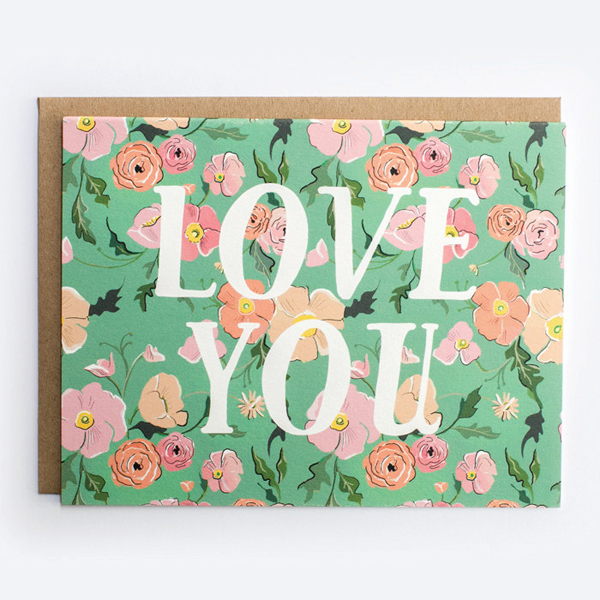
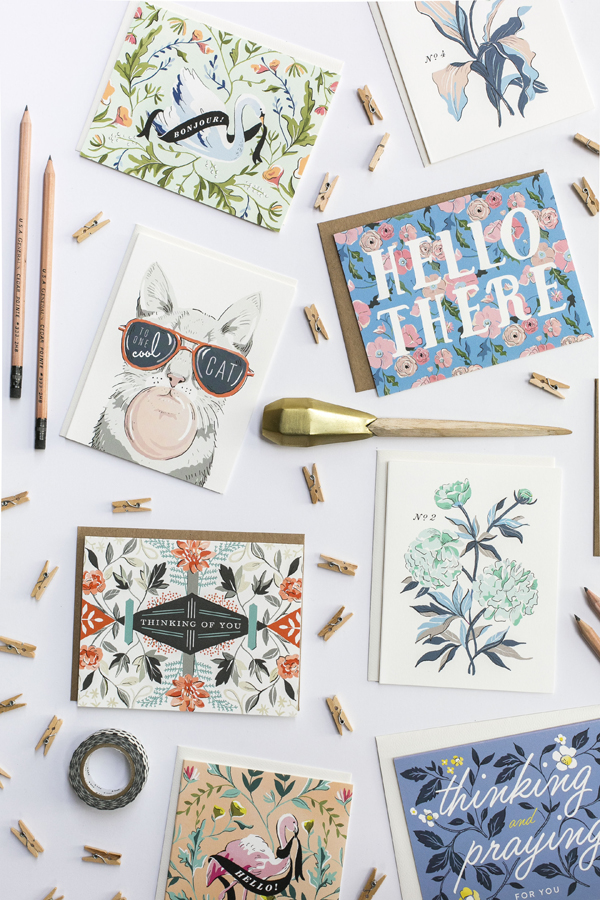
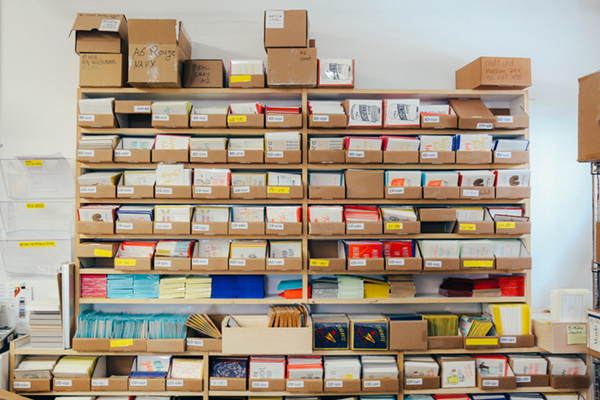
In 2013, we launched our greeting card line at the National Stationery Show in New York with about 70 products which included cards, booze bags, art prints, drink tags, and a line of custom hand-lettered rubber stamps. When we returned in 2014, we edited down our line and added a bunch of cool new stuff — including a line of Deluxe cards which feature moving parts, fun pop-outs, and 3D paper magic!
 Photos by Love Roots Photography
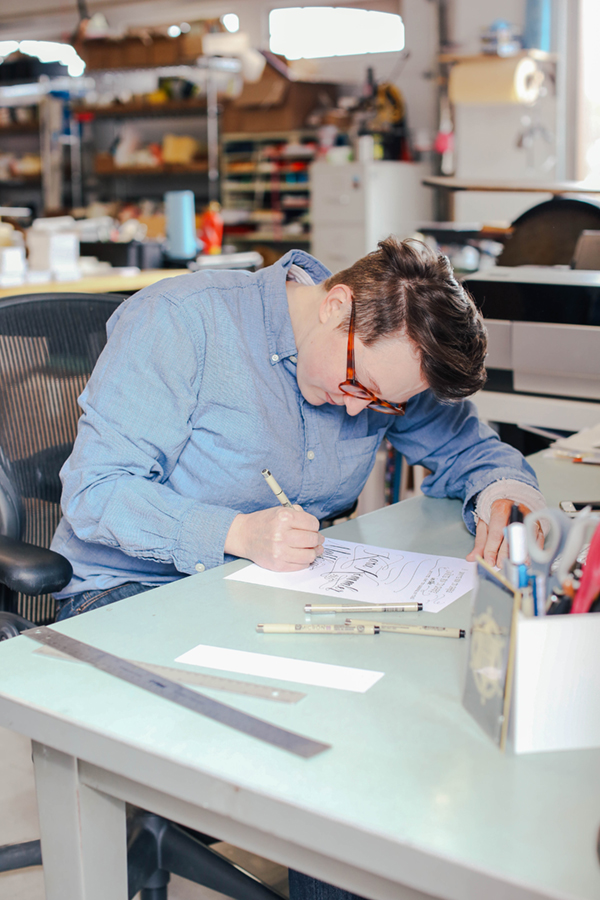
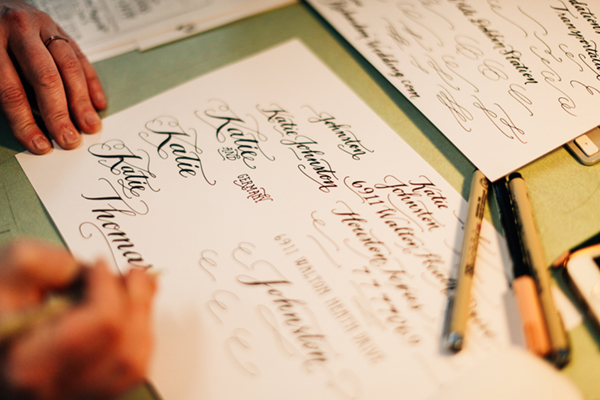
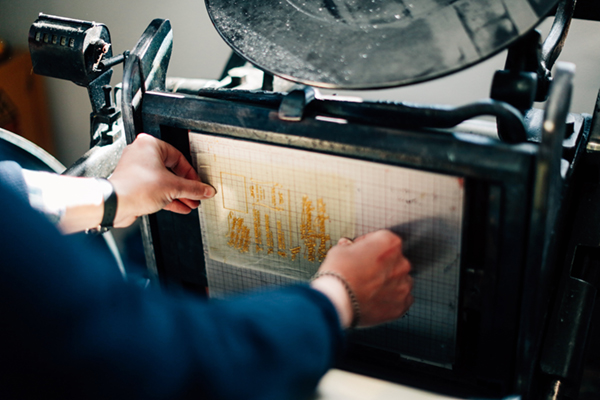
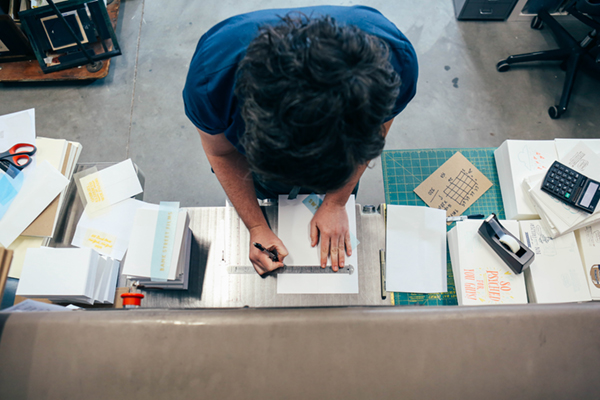
Since all our design and production is done in house, we use many tools to create our work! It all begins with a Micron pen and a sheet of paper, where Arley-Rose creates her hand-lettered and illustrated designs. She then scans her drawings and digitizes them so we can produce films from her black and white PDFs. With those films, we create our polymer plates and when those plates are dry, we mount them to a type-high printing base and lock them onto the printing beds of either our 10†x 15†Chandler and Price, Vandercook 219, or Miehle v40 letterpresses. We mix all of our own inks, cut and score every sheet of paper, and hand pack each box with the same love and care that was put into creating each piece.
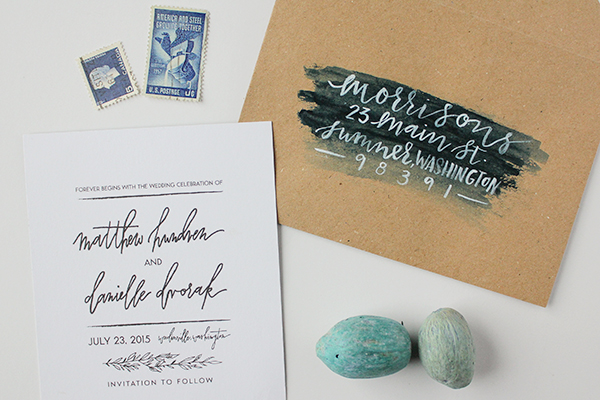
 Photo by Anthony Delao Photography
People ask us all the time, “You’re married? How do you guys work together without killing each other?â€. Luckily we are very different people with different talents and we don’t try to do the other persons job. Each piece that we create – whether it is a custom wedding invitation or a new holiday card – begins with a brainstorming and planning session by the two of us so we’re both on the same page about what will be created. Finding inspiration in a good pair of headphones and a fleeting melody, Arley often finds that the rhythm of a song and the way a pen dances on paper are not too different from each other. She then gets to work with the lettering and illustration and calls Morgan in during the final stages to help tweak the design to perfection. Between piloting a hot air balloon that she built herself as a senior at the Rhode Island School of Design and thinking about the ways that uncommon materials come together to make something new and beautiful, Morgan handles the printing, production, and project management. Together, we keep a journal next to the bed so that when an idea strikes (usually right before we’re about to nod off) we can scribble it out, often finding in the morning that we are totally nuts. And what the heck is that drawing of a cat with cucumbers over its eyes supposed to mean?
 Photos by Anthony Delao Photography
We recently relocated from Rhode Island to Colorado to be closer to family and in the process re-evaluated the size of our studio and number of jobs that we take on. Back in Rhode Island, our team consisted of seven amazing folks who we were thrilled to work with every day. Once we made it out to Colorado, we realized that for us success wasn’t measured by how big our studio was or how many people worked with us, but rather by how happy our work made us. We realized that we preferred working with each other in a smaller environment, similar to how we got started. We now take on fewer custom clients, which allows us to work with people who are excited to give us a lot of creative freedom and are also looking to redefine what it means to invite their loved ones to a special event.

Photos by Arley-Rose Torsone
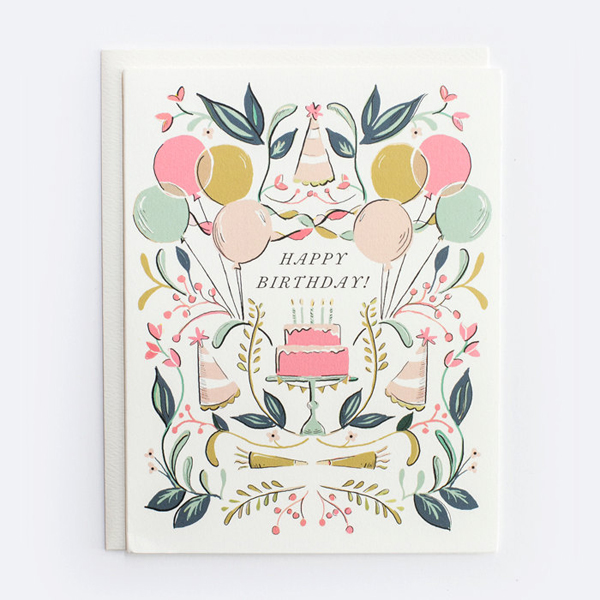
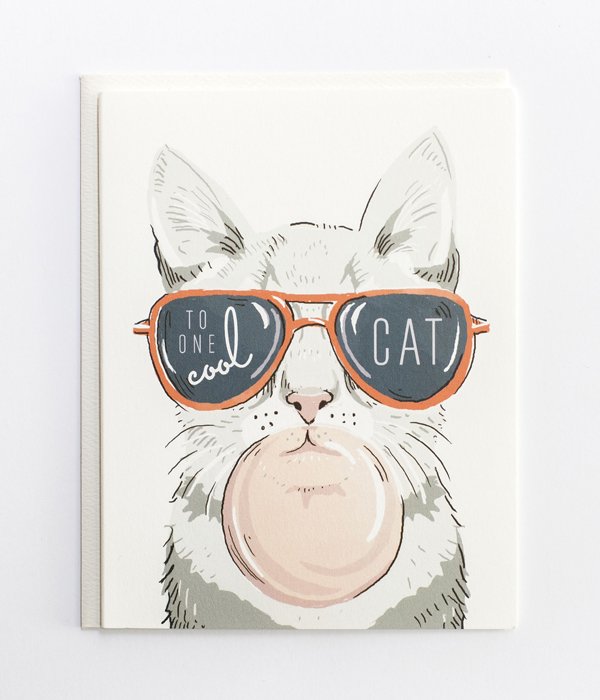
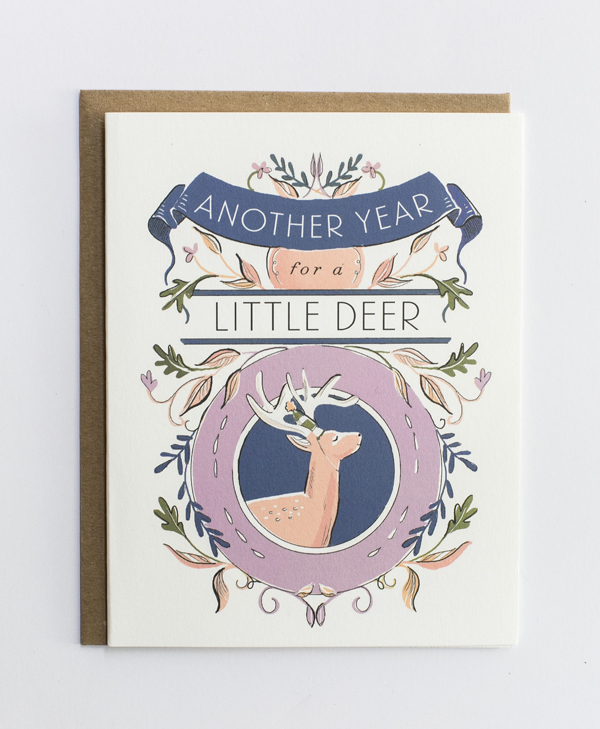
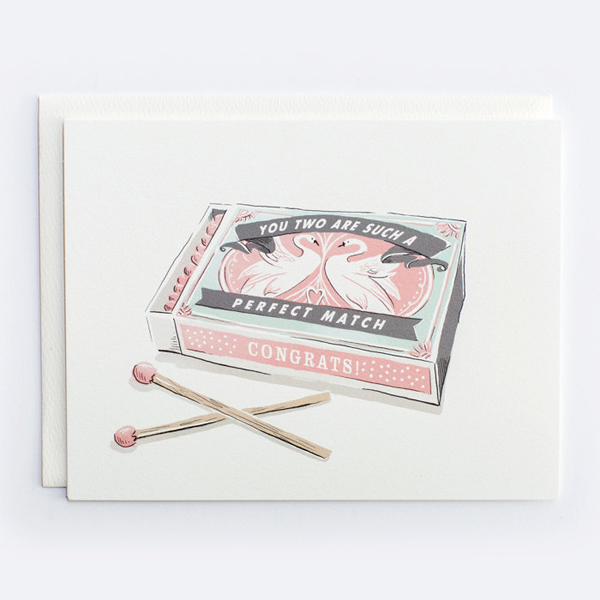
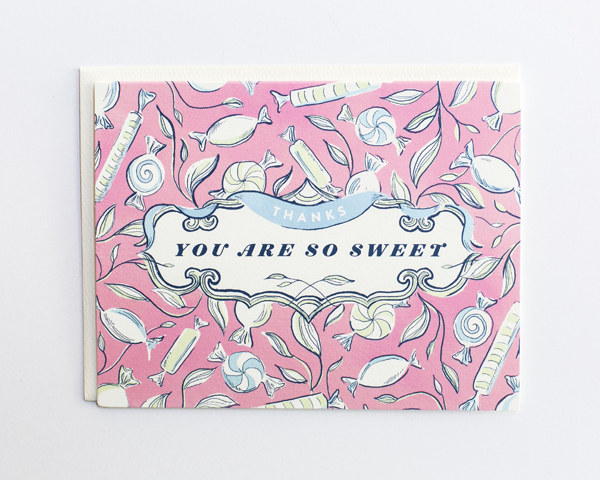
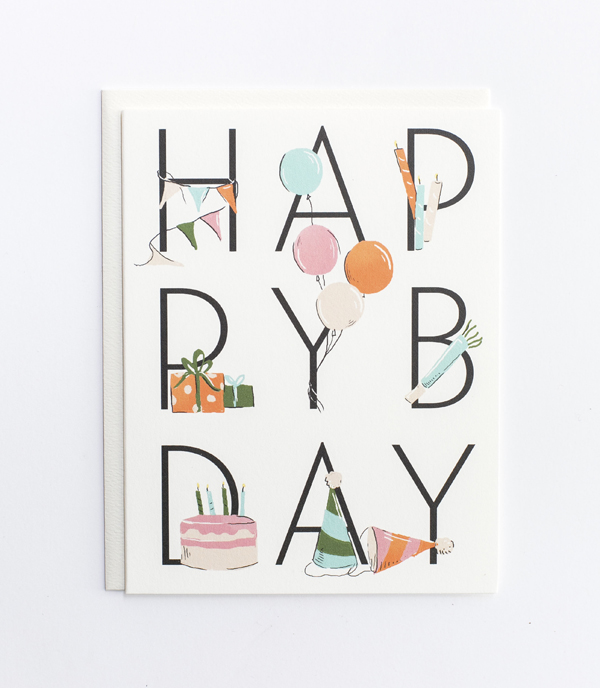
We now basically operate two branches of Ladyfingers: our custom invitation service, which we still create on a one-on-one basis with a select number of clients per year, and our greeting card line which can be found in over 200 stores worldwide and in our online store. Of our custom invitations, we’ve had a terrific response to our own wedding invitations, Sophie’s Constellation Starfinder Birth Announcements, as well as Kate and Alex’s Elegant Rustic Wedding Invites and Shelley’s Destination 40th Birthday Party Invitations. Of our greeting card line, we’ve had the best responses to our Deluxe line where the card is often the gift (our Baby Bump Surprise! for example!) as well as some other punny letterpress cards such our Dog/Cat Love Card.
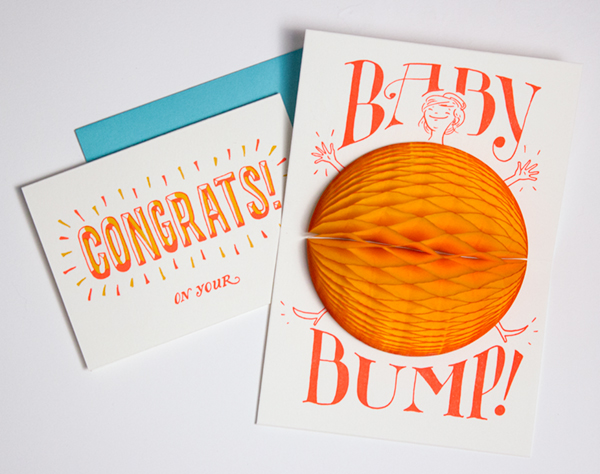
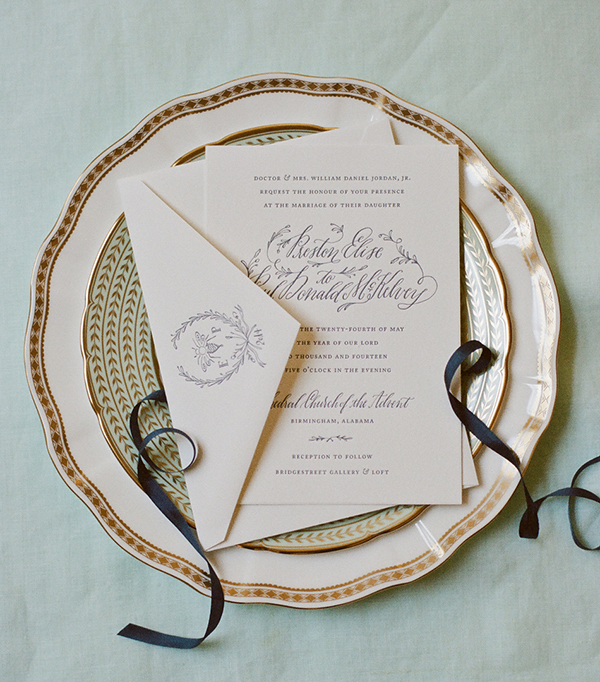
Photo by Arley-Rose Torsone
 Interested in participating in the Behind the Stationery column? Reach out to Megan at [email protected]
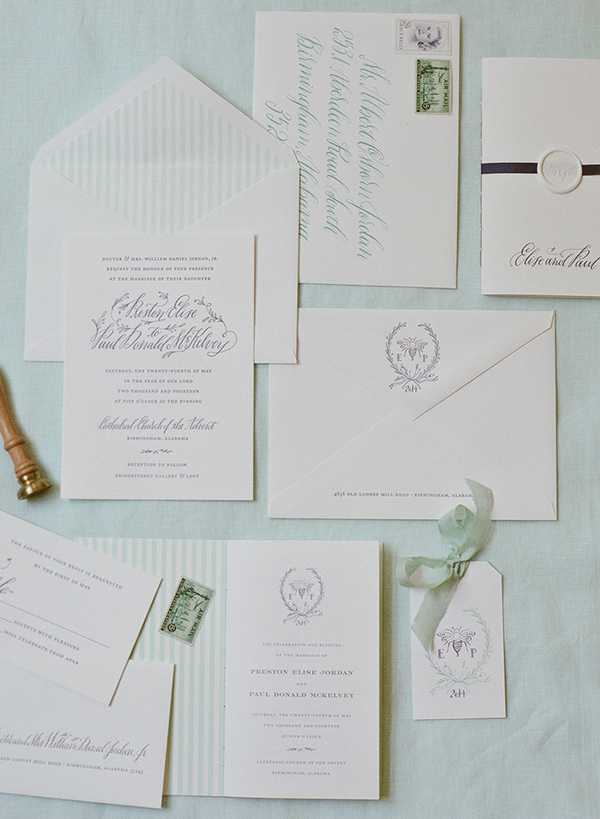

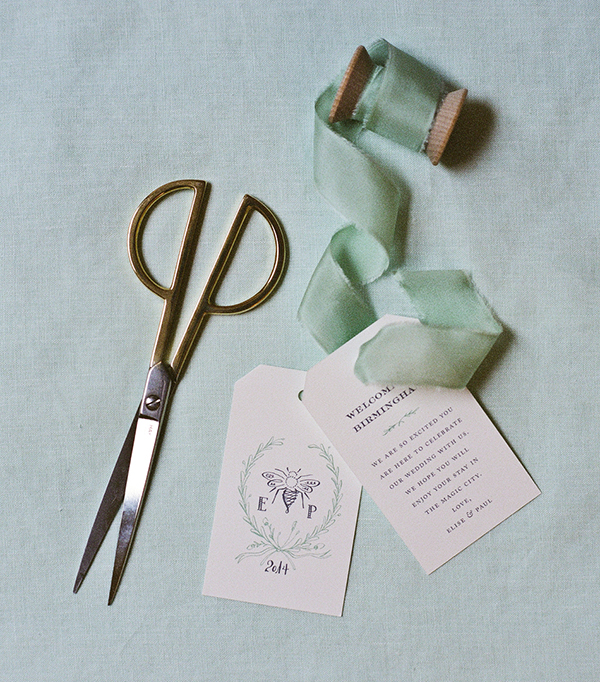
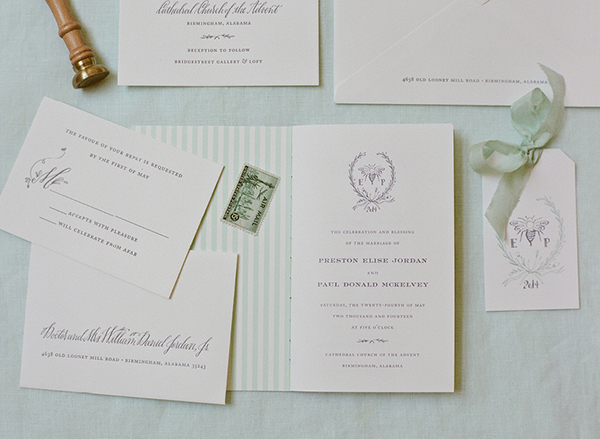
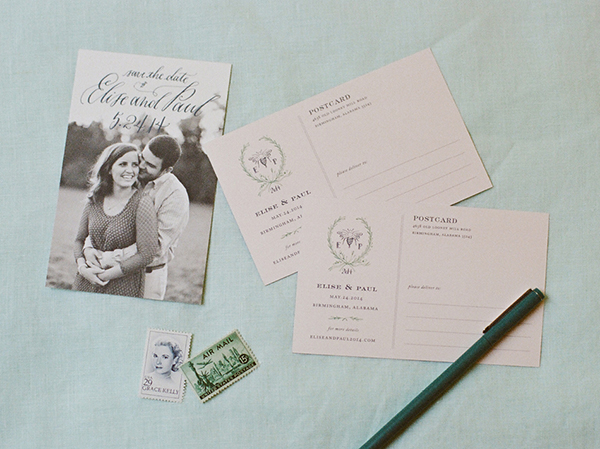
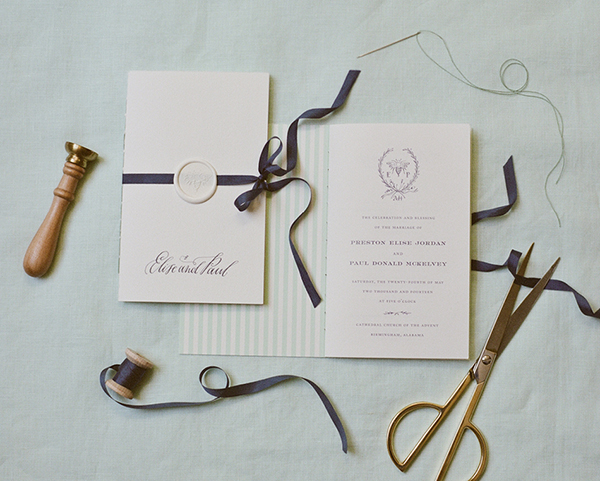
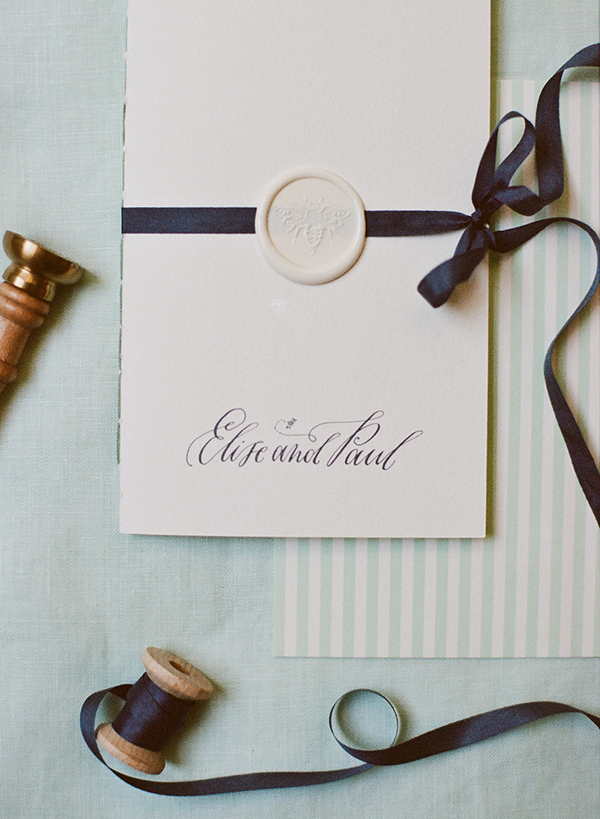

 Â Materials
 Materials