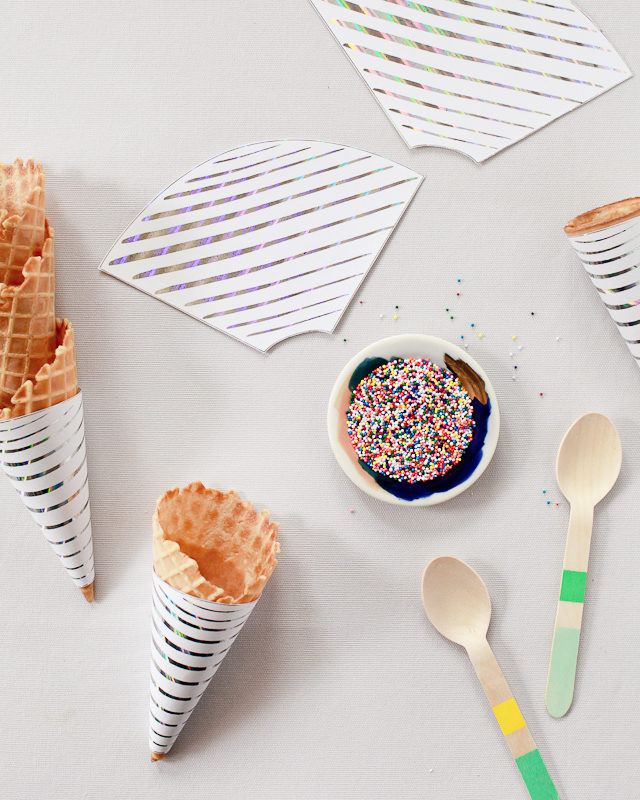
Happy (Early) Weekend!

I know, I know – it’s only Thursday! But I’ve been solo parenting this week while my husband is out of town, so I’m heading out a bit early to spend the day with my girls. We’ll have a cocktail post for you tomorrow afternoon (it’s SO good!), but in the meantime…

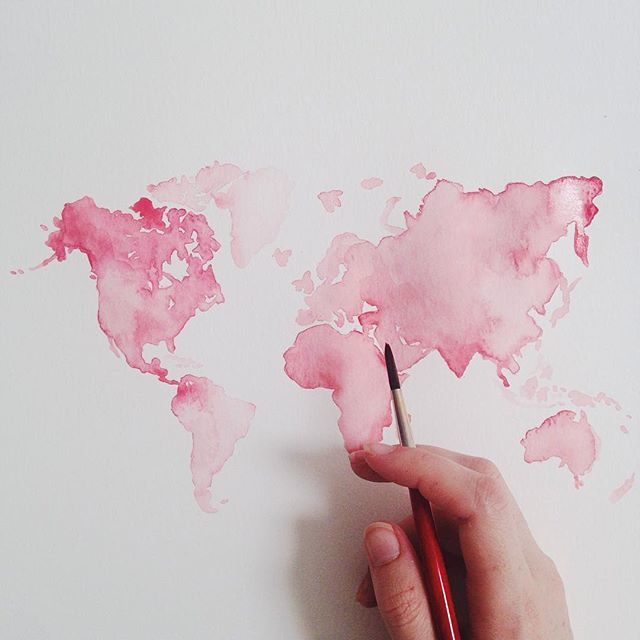
Mon Voir Watercolor World Map / Oh So Beautiful Paper

Photo by Mon Voir Calligraphy via Instagram

…a few links for your weekend!

This week on OSBP:

I hope you all have a wonderful weekend! I’ll see you back here on Monday! xoxo

How to Create Calligraphy and Floral Frames

We design lots of calligraphy frames in the studio for wedding invitations, art prints, stamps… we just can’t get enough! We thought it would be fun today to show you a little bit about the process of making a frame with a pointed calligraphy pen and a brush pen. You can really explore this topic in so many variations, which is what makes it so much fun! We hope that this little lesson helps springboard you into making designs that are your own! –Bailey and Emma of Antiquaria

How to Create Calligraphy and Floral Frames for Wedding Invitations and Art Prints / Antiquaria for Oh So Beautiful Paper

Materials

Hot press watercolor paper

Calligraphy pen, pointed nib, and Sumi ink

Brush Pen

Monogram Rubber Stamp – we used our Handwritten Calligraphy Names Monogram

Stamp Pad

Pencil
How to Create Calligraphy and Floral Frames for Wedding Invitations and Art Prints / Antiquaria for Oh So Beautiful Paper

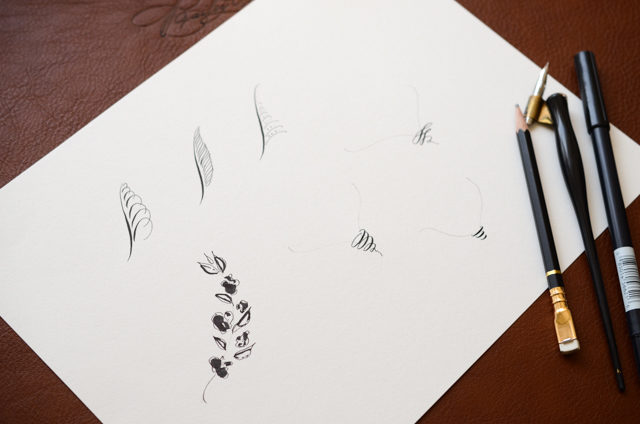
There are endless techniques you can use to make illustrated borders, and today we’re only going to dip into a few of the basics. We recommend taking a few minutes (or hours) to peruse IAMPETH, which has amazing resources and inspirations for pointed pen work, since that is the tool that we’re going to primarily use today. Most of these decorations start with a compound curve (the main stem that will border your image) and are decorated off of that curve. Here’s a little bit about each decoration:
How to Create Calligraphy and Floral Frames for Wedding Invitations and Art Prints / Antiquaria for Oh So Beautiful Paper

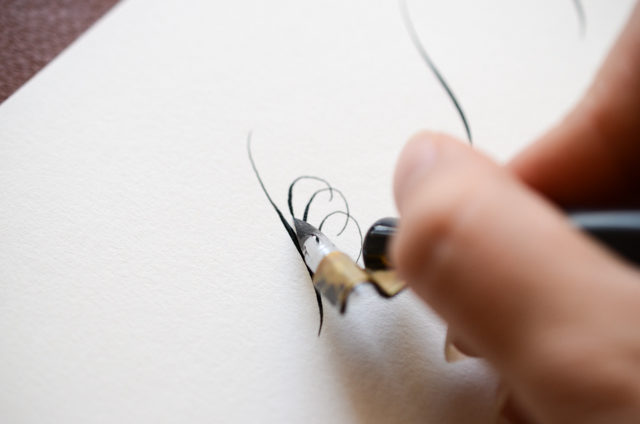
For this plume-like decoration, you want the thick stroke (using pressure) to be on the inside, next to the main stem, as shown above. Make the little loops smaller as you go up the stem.
How to Create Calligraphy and Floral Frames for Wedding Invitations and Art Prints / Antiquaria for Oh So Beautiful Paper

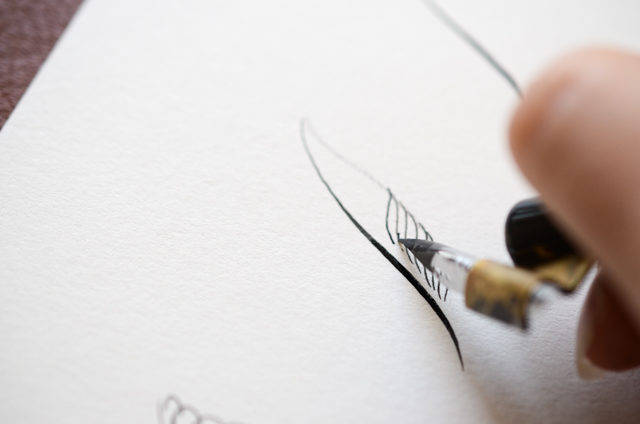
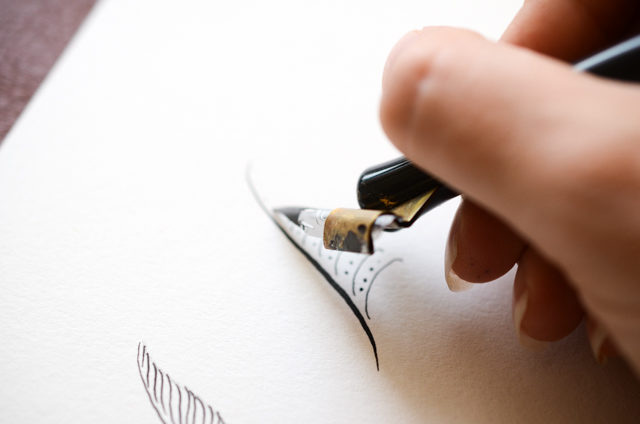
This decoration resembles a feather. With a pencil, draw a shape on the side of your main stem, as a guide. Then fill in the shape with light compound curves, moving up the stem.
How to Create Calligraphy and Floral Frames for Wedding Invitations and Art Prints / Antiquaria for Oh So Beautiful Paper

This simple little leaf decoration just has arches up the side of the stem. In the middle of each, we drew in little dots.
How to Create Calligraphy and Floral Frames for Wedding Invitations and Art Prints / Antiquaria for Oh So Beautiful Paper

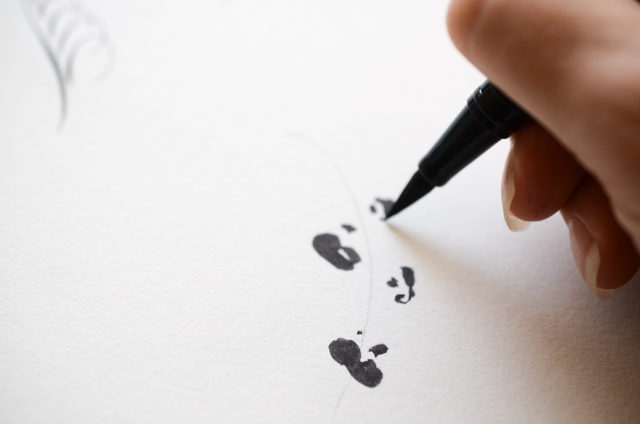
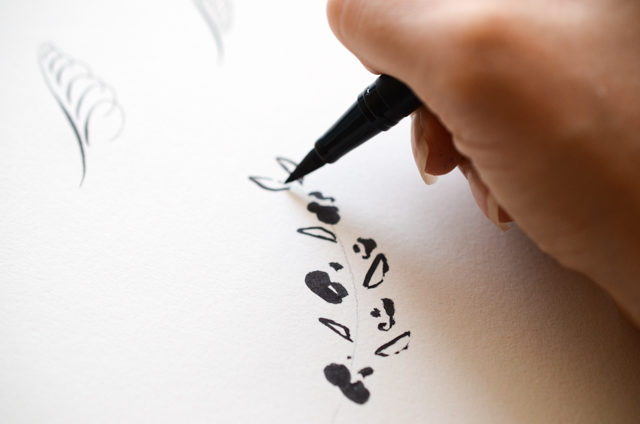
The abstract floral border is done off of a pencil line, with no main stem. Start with a pencil line. Then, using a brush pen, or a small paint brush and ink, make little petal shapes up the pencil line.
How to Create Calligraphy and Floral Frames for Wedding Invitations and Art Prints / Antiquaria for Oh So Beautiful Paper

Next, add in your leaves.

How to Create Calligraphy and Floral Frames for Wedding Invitations and Art Prints / Antiquaria for Oh So Beautiful Paper

Lastly, add in some details with your calligraphy pen. Outline around the shapes to define them and add the centers of the abstract flowers.

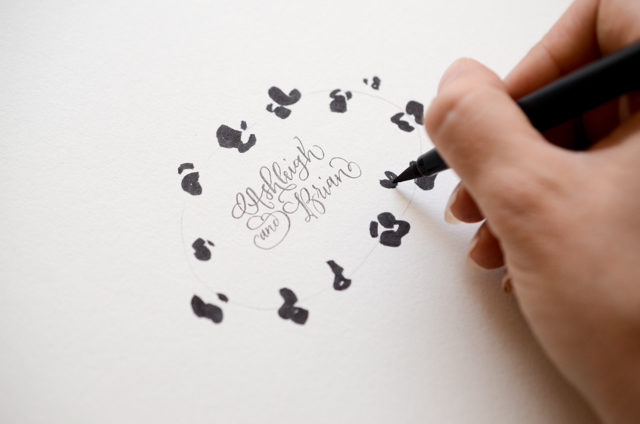
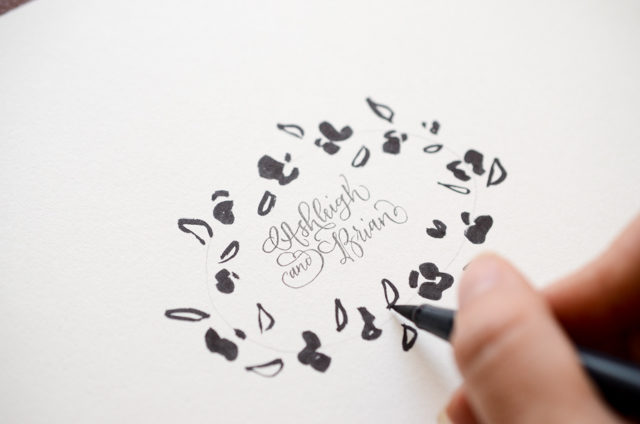
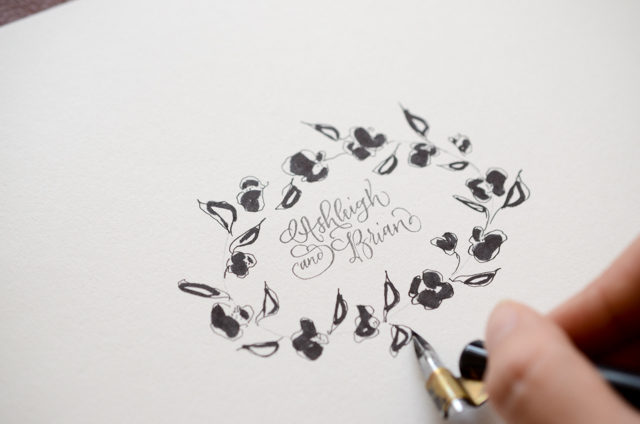
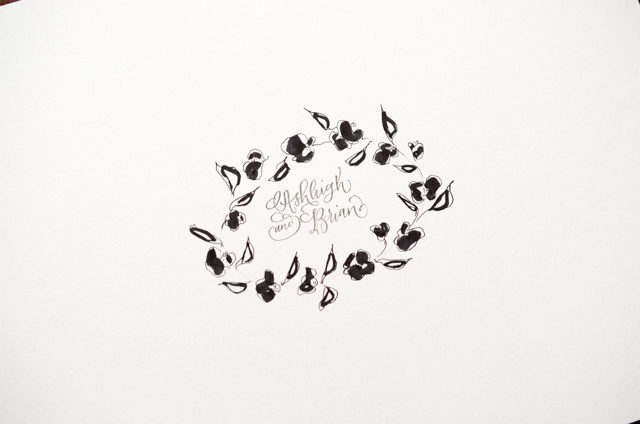
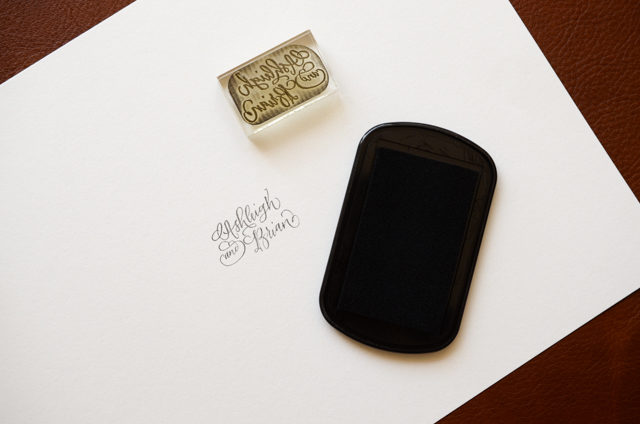
Decorated Monogram. In the series of pictures below, we use the above techniques (specifically the abstract floral border) to embellish one of our Monogram Stamps (our Handwritten Calligraphy Names Monogram). You could do the same thing around an invitation, single initial monogram or to address an envelope!
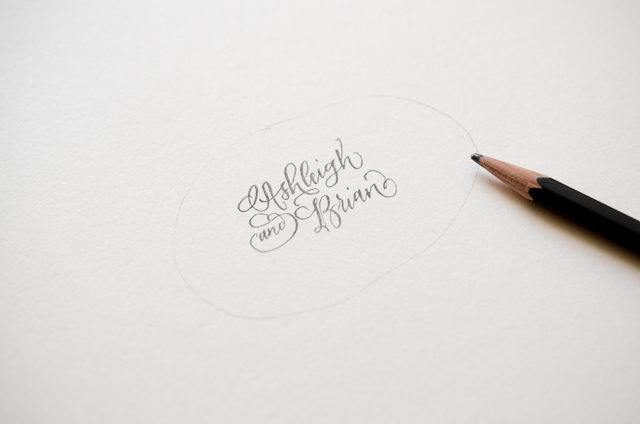
How to Create Calligraphy and Floral Frames for Wedding Invitations and Art Prints / Antiquaria for Oh So Beautiful Paper

How to Create Calligraphy and Floral Frames for Wedding Invitations and Art Prints / Antiquaria for Oh So Beautiful Paper

How to Create Calligraphy and Floral Frames for Wedding Invitations and Art Prints / Antiquaria for Oh So Beautiful Paper

How to Create Calligraphy and Floral Frames for Wedding Invitations and Art Prints / Antiquaria for Oh So Beautiful Paper

How to Create Calligraphy and Floral Frames for Wedding Invitations and Art Prints / Antiquaria for Oh So Beautiful Paper

How to Create Calligraphy and Floral Frames for Wedding Invitations and Art Prints / Antiquaria for Oh So Beautiful Paper

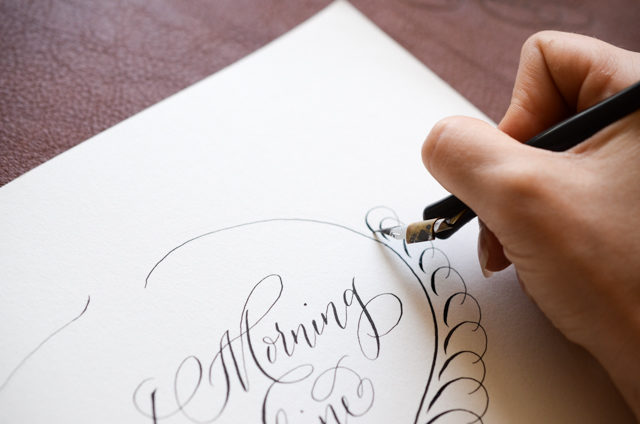
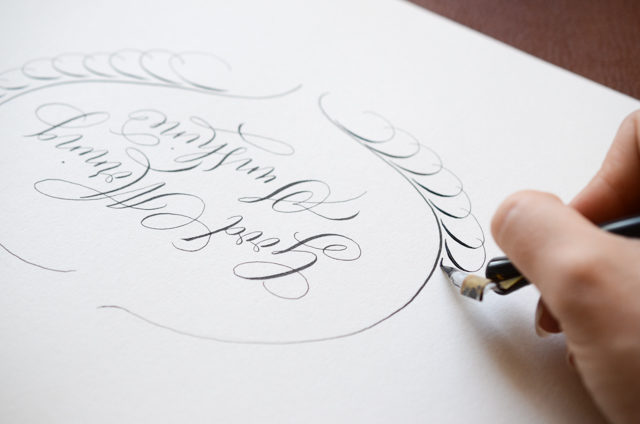
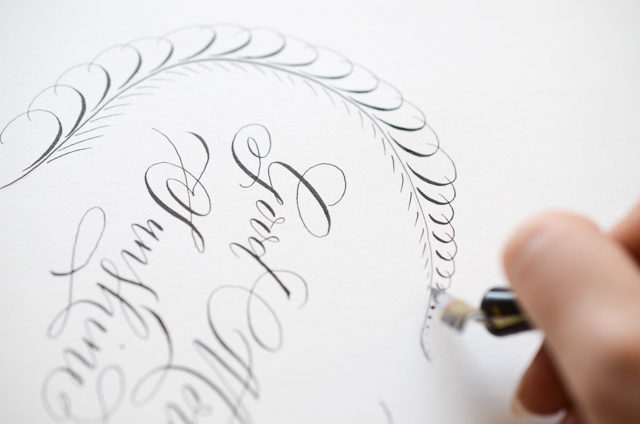
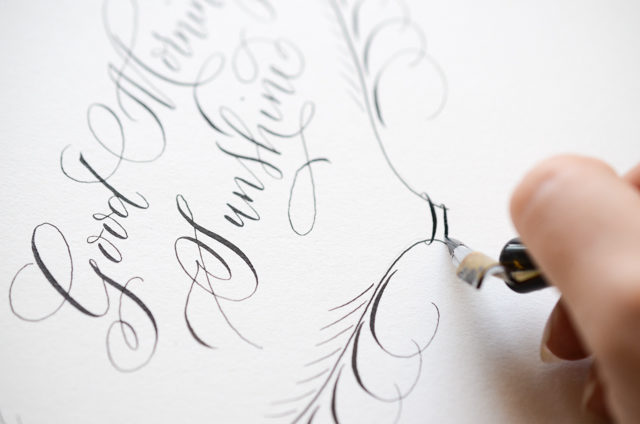
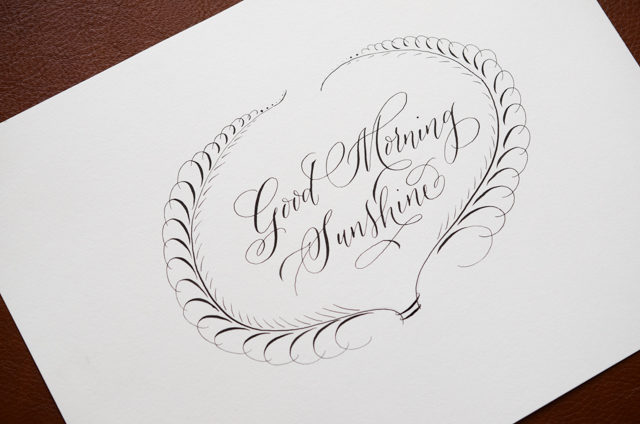
Calligraphy Wall Art. After lettering a phrase, we decorated the border using the same pointed pen that it was written with (mainly the plume technique). Alternatively, you could use a fine tip Micron pen to draw any of the lettering or borders that we’ve shown here. You could also use color or gold to embellish your work!
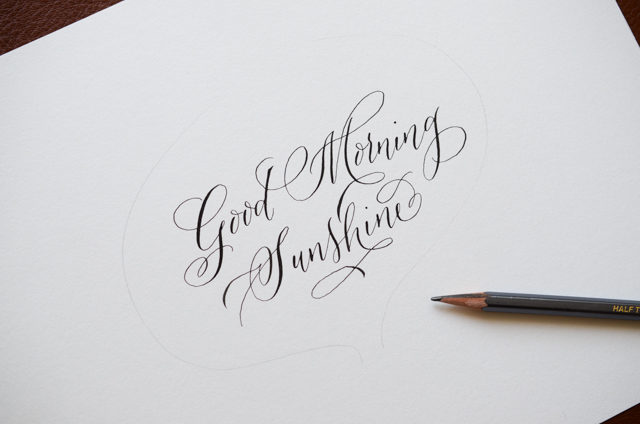
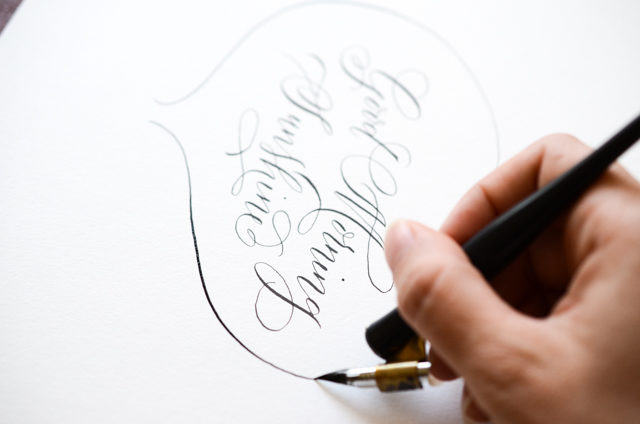
How to Create Calligraphy and Floral Frames for Wedding Invitations and Art Prints / Antiquaria for Oh So Beautiful Paper

How to Create Calligraphy and Floral Frames for Wedding Invitations and Art Prints / Antiquaria for Oh So Beautiful Paper

How to Create Calligraphy and Floral Frames for Wedding Invitations and Art Prints / Antiquaria for Oh So Beautiful Paper

How to Create Calligraphy and Floral Frames for Wedding Invitations and Art Prints / Antiquaria for Oh So Beautiful Paper

How to Create Calligraphy and Floral Frames for Wedding Invitations and Art Prints / Antiquaria for Oh So Beautiful Paper

How to Create Calligraphy and Floral Frames for Wedding Invitations and Art Prints / Antiquaria for Oh So Beautiful Paper

How to Create Calligraphy and Floral Frames for Wedding Invitations and Art Prints / Antiquaria for Oh So Beautiful Paper

How to Create Calligraphy and Floral Frames for Wedding Invitations and Art Prints / Antiquaria for Oh So Beautiful Paper

We hope you have tons of fun playing around with the techniques! Be sure to show us your interpretation on Instagram by tagging us @antiquariadesign! We can’t wait to see what you come up with.
Vivid Watercolor 21st Birthday Party Invitations

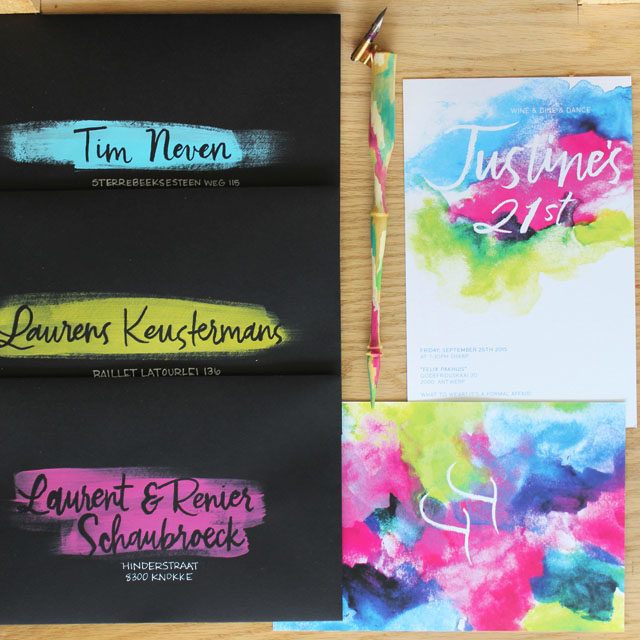
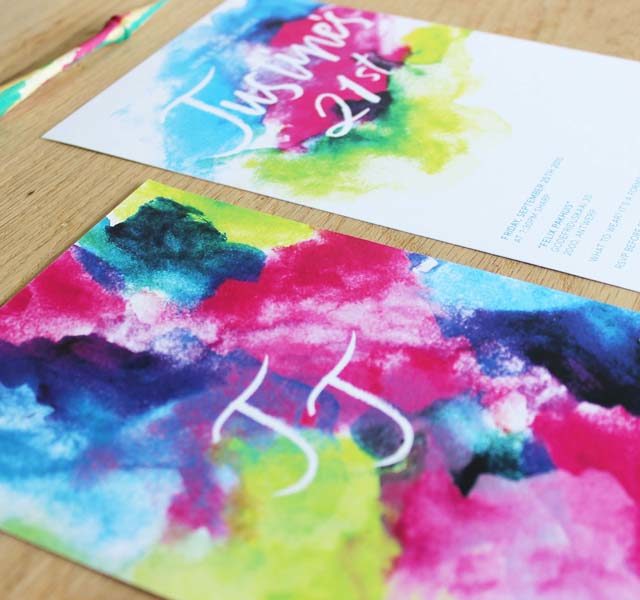
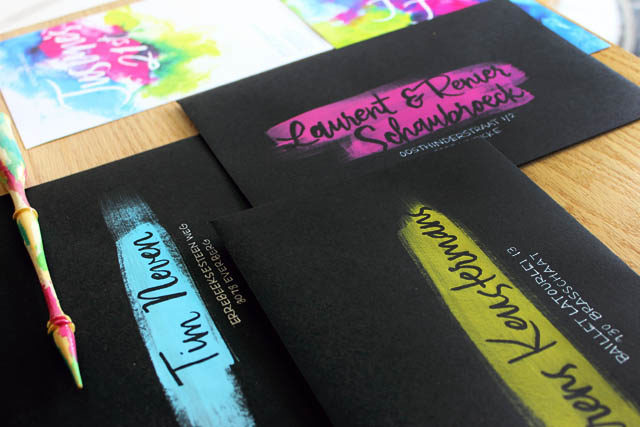
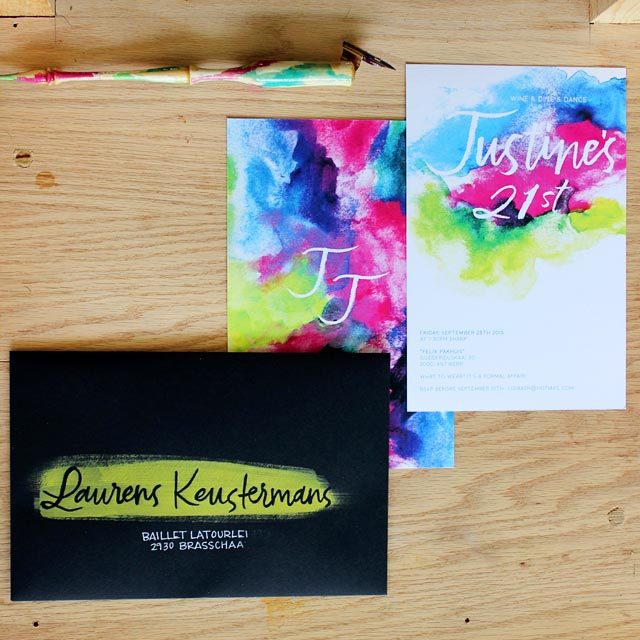
These bright and colorful watercolor invitations from Ashley Bush Lettering and Design are so fun for a 21st birthday party! And those envelopes? OMG. Ashley used masking fluid and a bright swash of paint to create the most amazing resist technique in the address. Love love love!

Colorful Watercolor Birthday Party Invitations by Ashley Bush Lettering and Design / Oh So Beautiful Paper

From Ashley: This collection was for a 21st birthday celebration! The concept was bright watercolor fun with a big emphasis on the envelopes! I started with the invitation design: I hand painted the multi-colored splash and finalized the design in Photoshop. I also created some custom brush-lettering for the front and back of her invitations.

Colorful Watercolor Birthday Party Invitations by Ashley Bush Lettering and Design / Oh So Beautiful Paper

We carried the colorful painted look right onto the envelopes, but instead of making every envelope the same color scheme I decided to mix and match, utilizing all of the fun colors from the invitation!

Colorful Watercolor Birthday Party Invitations by Ashley Bush Lettering and Design / Oh So Beautiful Paper

Colorful Watercolor Birthday Party Invitations by Ashley Bush Lettering and Design / Oh So Beautiful Paper

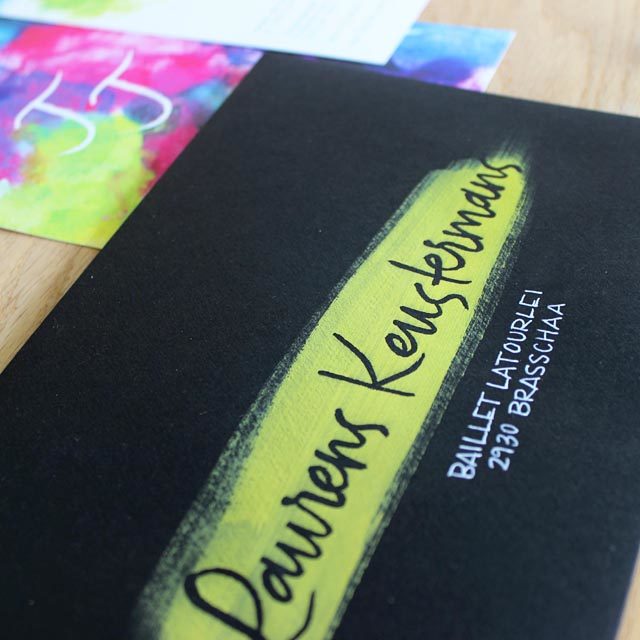
The black envelopes gave just the right pop for the bright colors. Using a small, fine-tip brush I lettered the names on the envelopes in masking fluid, brushed the paint on, and finished the address with a white Gelly Roll pen! You can see a video of this process here and if you want to try lettering with masking fluid you can follow my step-by-step tutorial.

Colorful Watercolor Birthday Party Invitations by Ashley Bush Lettering and Design / Oh So Beautiful Paper

Thanks Ashley!

Photo Credits: Ashley Bush Lettering and Design

Printable Hologram Foil Ice Cream Cone Wrapper

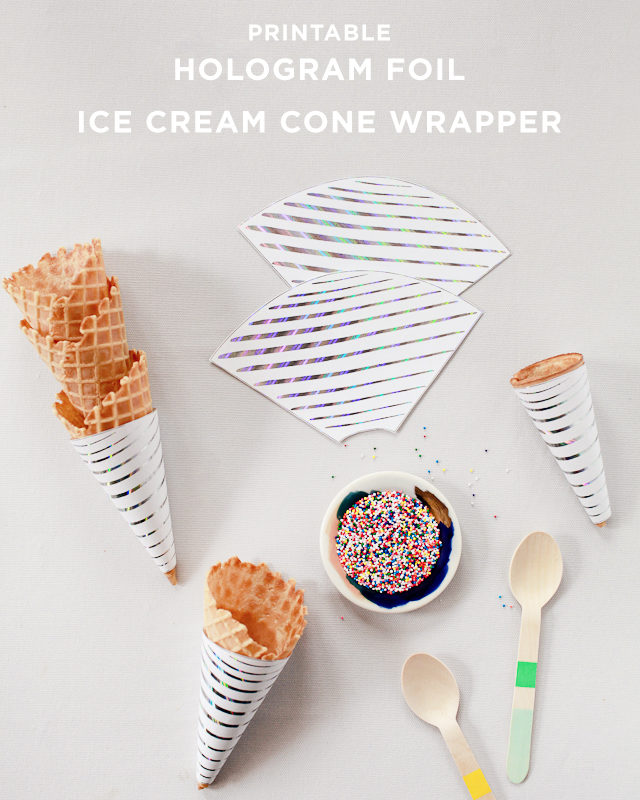
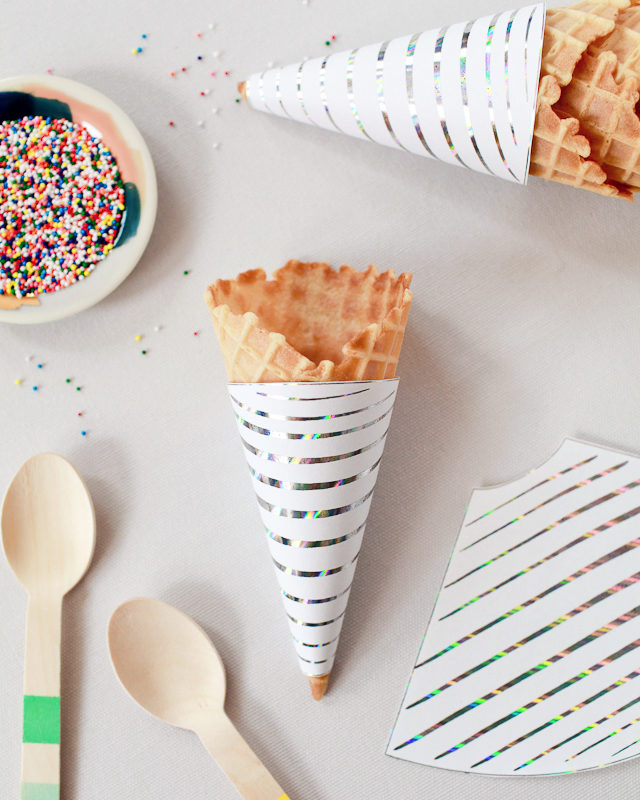
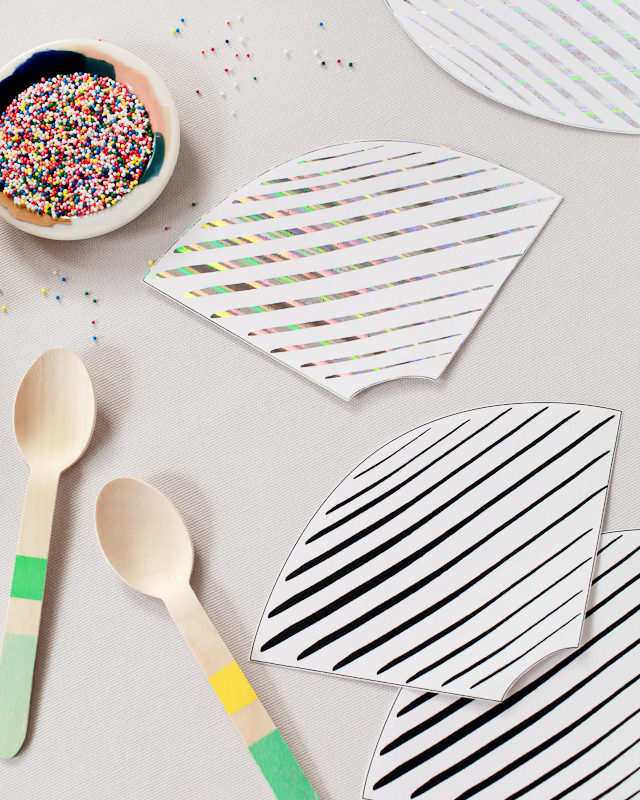
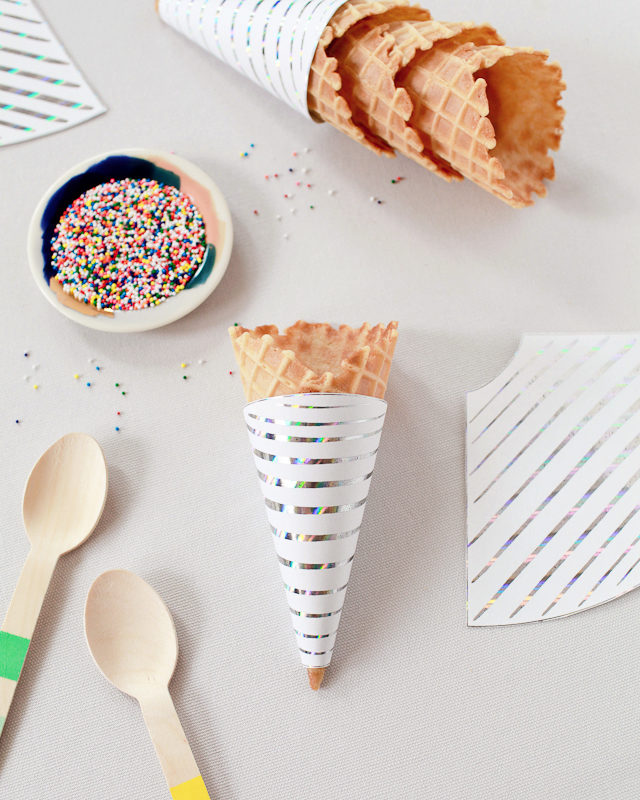
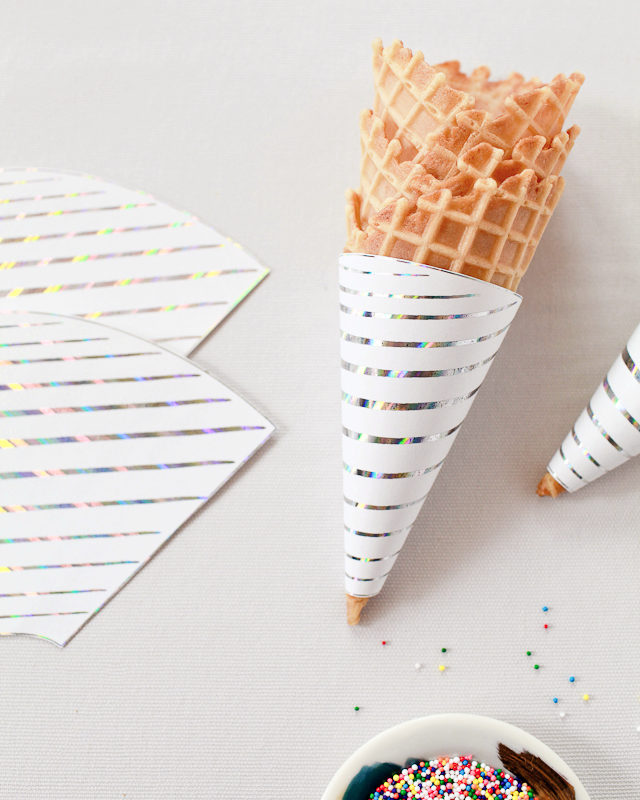
I’ve been foiling everything in sight since getting my hands on a Heidi Swapp Minc foil applicator a few weeks ago, and today I’m thrilled to share another project using this amazing machine! My obsession with all things holographic/iridescent is still running strong, so when I found out about this hologram foil I just knew I wanted to do something fun and summery with it. So here’s a little something to jazz up any backyard BBQs or late summer picnics – hologram foil ice cream cone wrappers!

Printable Hologram Foil Ice Cream Cone Wrapper / Oh So Beautiful Paper

Printable Hologram Foil Ice Cream Cone Wrapper / Oh So Beautiful Paper

These ice cream cone wrappers are super cute in just black and white, so you can totally use the printable template even if you haven’t yet gotten yourself a Minc. But seriously, you should totally get one. I’ve been having SO much fun with mine, and there are tons of foil colors and options to play around with!

Printable Hologram Foil Ice Cream Cone Wrapper / Oh So Beautiful Paper

To make the ice cream cone wrappers:

Step 1. Print out the template on text weight paper using a laser printer. The Minc foil applicator works with toner ink, so if you don’t have access to a laser printer you can print the template on an ink jet printer and then make copies on a copier.

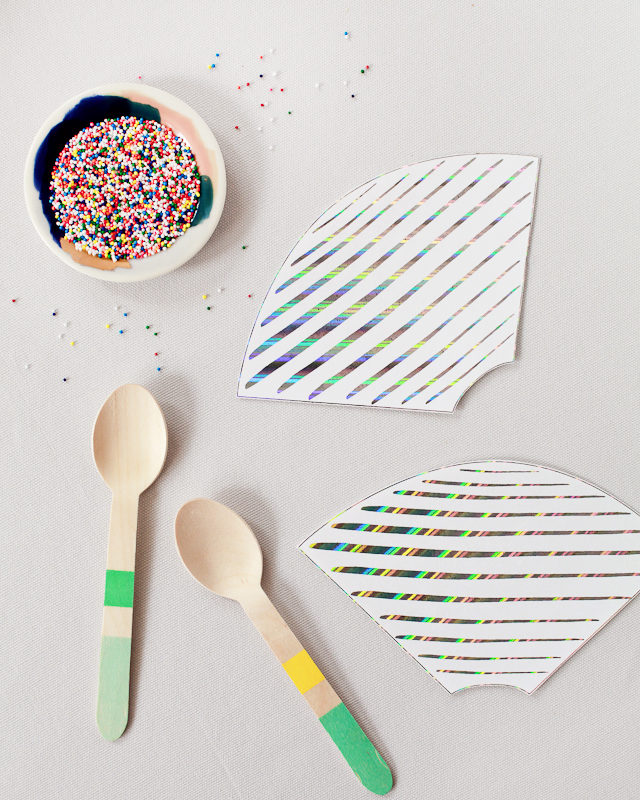
Step 2. I found I got better results and more mileage from the foil if I cut out each individual wrapper before running it through the Minc foil applicator. Cut out each individual ice cream cone wrapper, being careful to cut just outside the outline. Cut a piece of hologram foil just large enough to cover the ice cream wrapper.

Step 3. Place as many ice cream cone wrappers and pieces of foil as you can fit inside the transfer folder – foil side up. Run through the Minc foil applicator. Peel away the excess foil and voila!

Printable Hologram Foil Ice Cream Cone Wrapper / Oh So Beautiful Paper

Printable Hologram Foil Ice Cream Cone Wrapper / Oh So Beautiful Paper

Printable Hologram Foil Ice Cream Cone Wrapper / Oh So Beautiful Paper

I just can’t get enough of those rainbow shimmers. Holographic everything!

Printable Hologram Foil Ice Cream Cone Wrapper / Oh So Beautiful Paper

Download the printable ice cream cone wrapper template right here!

This post was created in partnership with American Crafts. All content and opinions are my own. Thank you for supporting the sponsors that make Oh So Beautiful Paper possible!

Photos by Nole Garey for Oh So Beautiful Paper