You heard me. DIY. Gold. Foil! At the National Stationery Show in May, I wandered upon a demo in the American Crafts booth of the amazing new Heidi Swapp Minc foil applicator – and I’m pretty sure my jaw dropped all the way to the floor. The Minc makes it possible to foil pretty much anything – you could even foil a spreadsheet if you wanted! Today I’m sharing the first in a series of projects using the Minc foil applicator: DIY gold foil place cards! Just think of all the new foil place card possibilities, from bridal showers to holiday dinners!
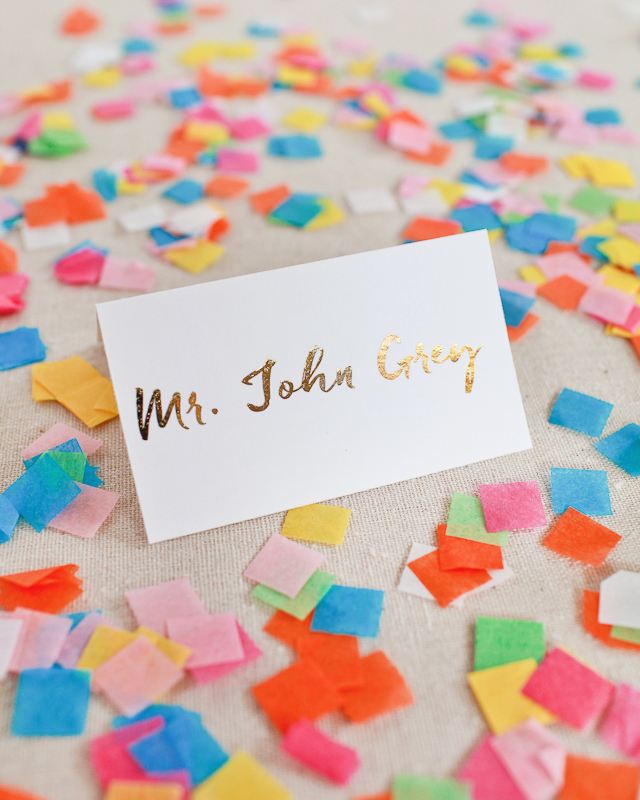
The Minc works with a special type of reactive foil that adheres to toner ink. For custom designs, you need to be able to print the foil portion of your design on a laser printer or copier but you don’t need any special design software. You can use Photoshop, Illustrator, or even Word – as long as you can print it out using toner ink you can foil it with the Minc! Heidi Swapp also offers a range of products that you can use for non-custom designs!
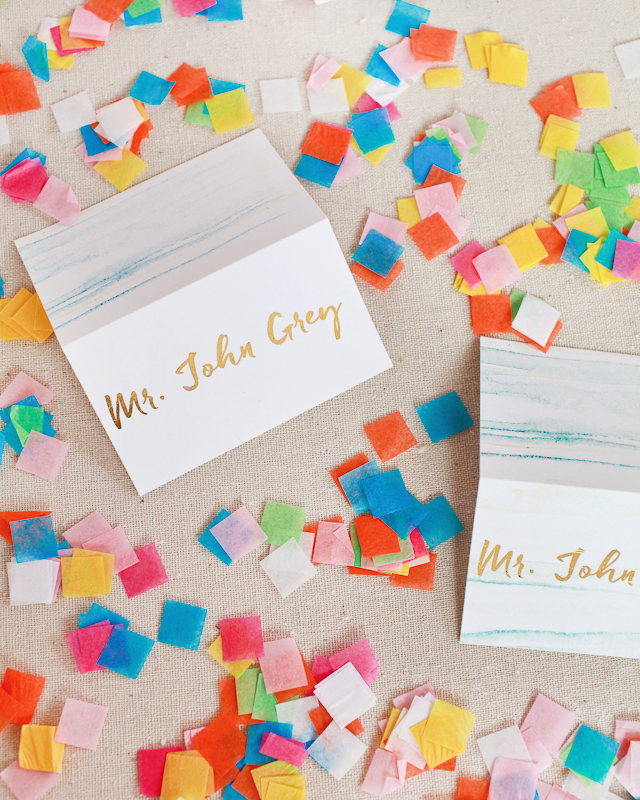
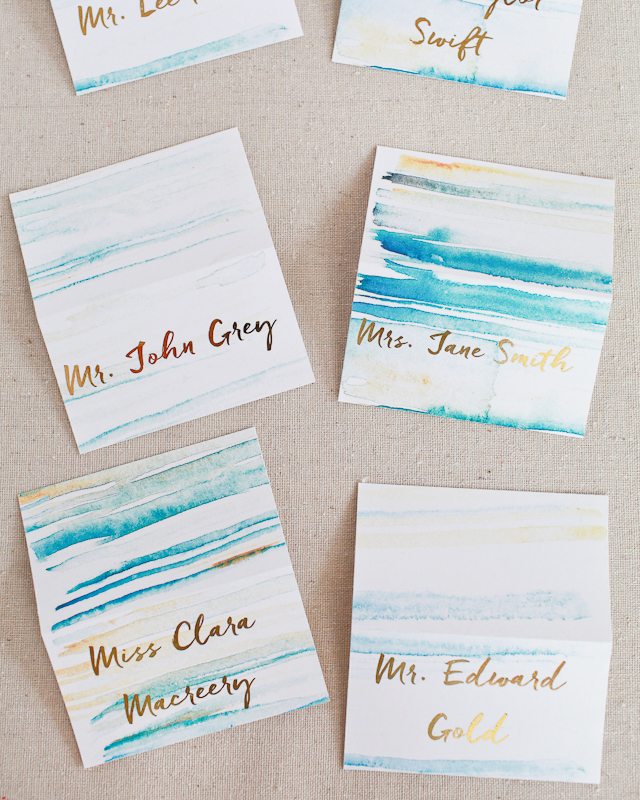
These place cards would look gorgeous and completely classic with just gold foil against white paper, but I decided to make things a bit more interesting with a whimsical watercolor background! I used a printable watercolor download from one of Antiquaria’s past DIY tutorials – you could also hand paint your watercolor background!
Supplies
Minc foil applicator and transfer folder
Instructions
1. Download the watercolor background right here and print it onto the printable tent cards using an ink jet printer. Print your text in a favorite font on the tent cards (you can find templates right here) using a laser printer. Black toner ink works best with the reactive foil.
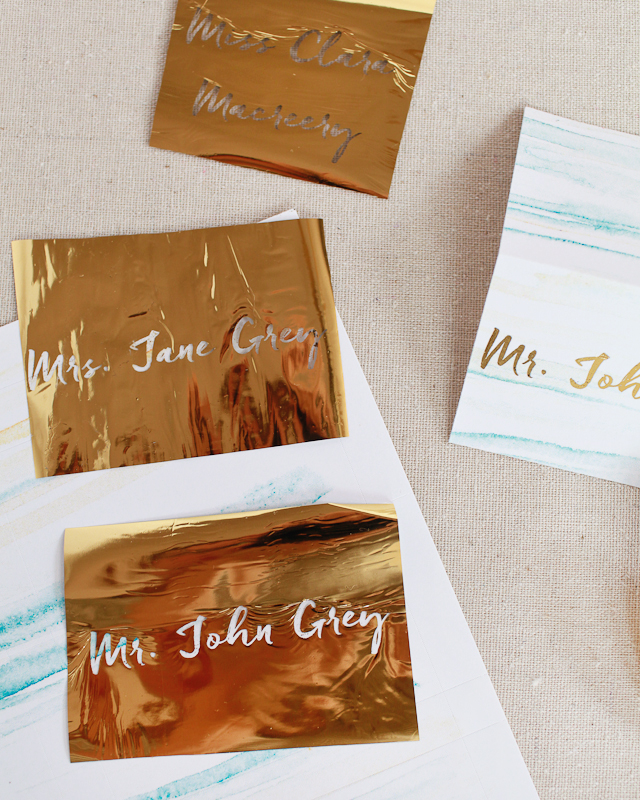
2. Cut strips of gold foil just big enough to cover the text you want to foil. Place the foil strips over the printed tent cards, then place everything in the transfer folder foil side up.
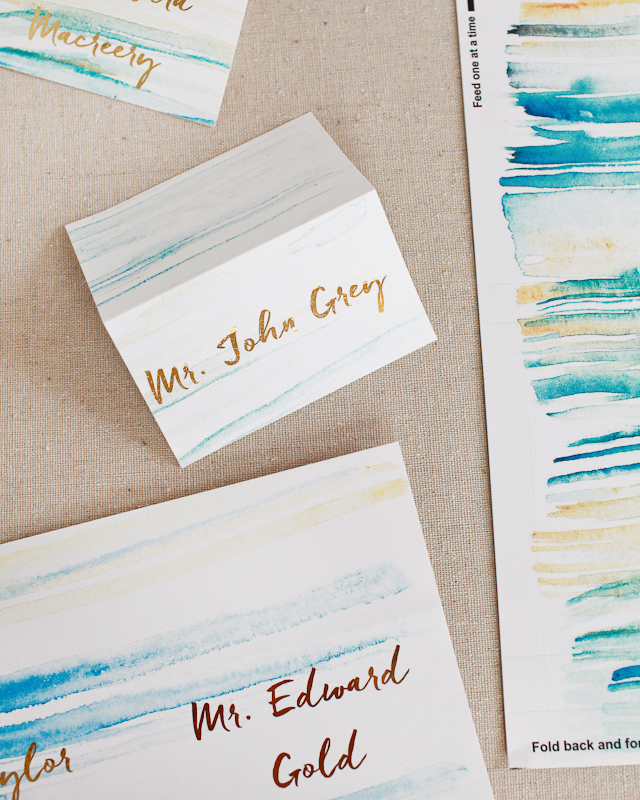
3. Run the transfer folder with your tent cards and gold foil through the Minc foil applicator. Peel away any excess foil and voila!
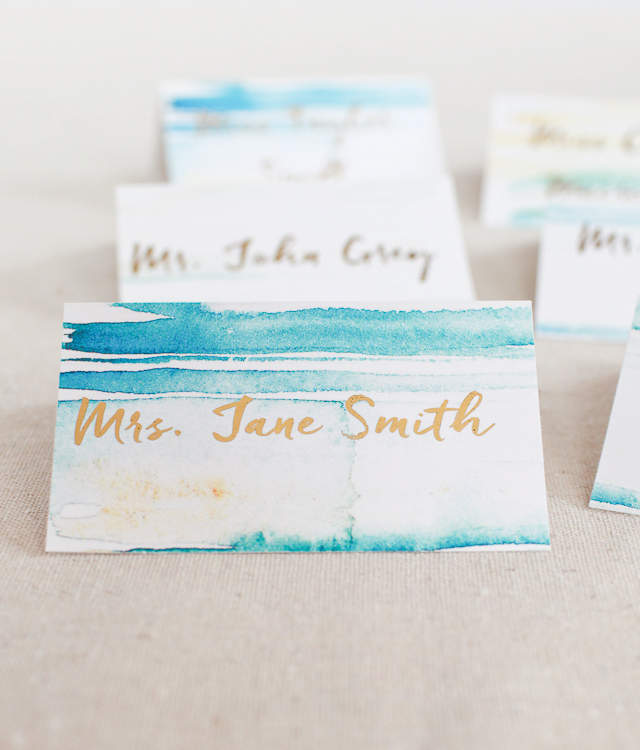
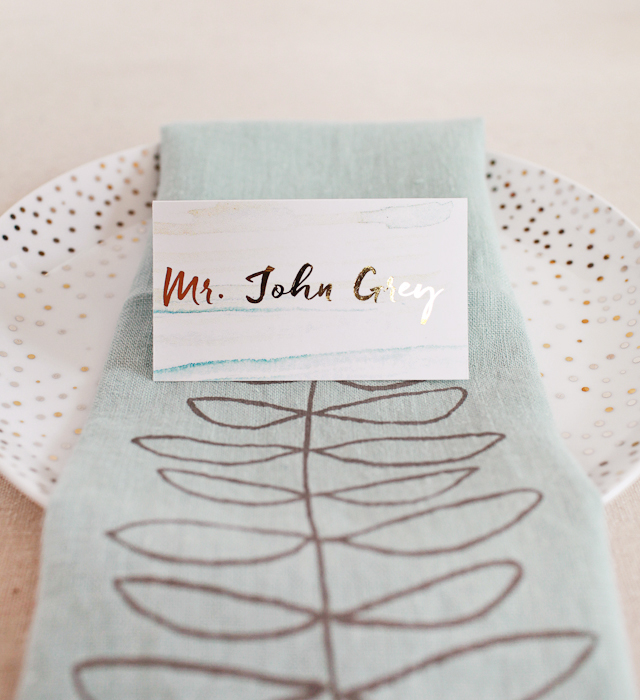
Photos by Oh So Beautiful Paper
This post was created in partnership with American Crafts. All content and opinions are my own. Thank you for supporting the sponsors that make Oh So Beautiful Paper possible!

#gamechanger
Right?!?!
I think you’ve sold me on this machine for our wedding escort cards… question, might be silly, but how do you choose the fonts for the projects? Can you use any fonts?? Thanks and love it all!!
Best,
Lexi
http://www.pictricks.com
Never mind, answered my own silly question… I’ll just have the names printed via laser printer onto cardstock tent cards… then run through the foil machine:)
Hey Lexi!
Yep! You can choose any font from your font library – I used a font called Evenfall and just printed the cards at home through Word. If you’re printing somewhere other than home I’d recommend converting your font/text to a PDF since fonts need to be installed on individual computers. I can’t wait to see how it turns out!
Omg, I would love to get this and add foil to my greeting cards! Thanks! (: