Happy Weekend!

Happy Friday everyone! Today marks a big milestone – Sophie’s first day at preschool! Sophie has been in daycare since just after her first birthday, which after a rough transition period turned out to be an amazing experience for our entire family. She had some fantastic teachers and made her first real friends there, so we’re all feeling pretty emotional with this transition. But I keep telling myself that we’re not really saying goodbye since Alice will hopefully start at the same daycare soon. And we’re feeling good about Sophie’s preschool – we like her teachers and have already met some of the other kids in her class. My big girl is growing up so fast! Can we just ask the world to stop turning for a bit please? Well, in the meantime…

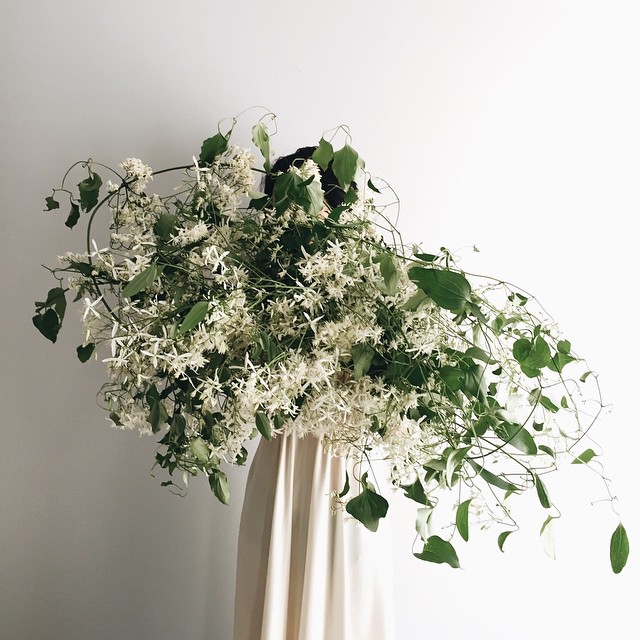
Autumn Clematis / Gossamer Vintage via Instagram

Photo by Gossamer Vintage via Instagram

…a few links for your weekend!

This week on Oh So Beautiful Paper:

NYNOW Summer 2015 Highlights, Part 2

Today I’m winding down my NYNOW Summer 2015 recaps with a few more (non-stationery) highlights from the show! As much as I love stationery, I love getting to see what folks are doing with different mediums – like ceramics, textiles, and leather! Here are a few more favorites from the show:

NYNOW Summer 2015 Highlights / Oh So Beautiful Paper

1. Beautiful play blankets (swans!) and sheet sets (eyelashes!) from blabla kids

2. Sparkly ribbon and beautiful red scissors from Studio Carta

3. Modern wood ring boxes from Oh Dier

4. Beautiful painted wood platters and trinket dishes from The Vintage Vogue

5. Hand painted leather business card cases from Cold Gold

6. Painterly ceramics in moody blues from Jill Rosenwald

7. AMAZING new glass and copper barware accessories from Tom Dixon (WANT)!

8. Beautiful new colors and fun patterns from Baggu

9. Minimalist ceramic wall pockets and vases from Ovo Ceramics

10. Beautiful porcelain dinnerware and trinket dishes with gold details from Redraven Studios 

All photos by Nole Garey for Oh So Beautiful Paper

Four Tips for Awesome Paper Styling

Last week I mentioned my new partnership with eBay. They asked me to curate some shopping collections around my favorite topics. And I’ve been having so much fun pulling them together! My first two collections featured home bar essentials and a fun group of cocktail picks, stir sticks, and paper straws! I also thought it would be fun to share a few of my favorite paper styling props and some tips for awesome paper styling! I know through experience that even the prettiest wedding invitations and birth announcements can be really hard to photograph. But with the right technique and a few styling props, you can take your paper photography and styling to the next level!
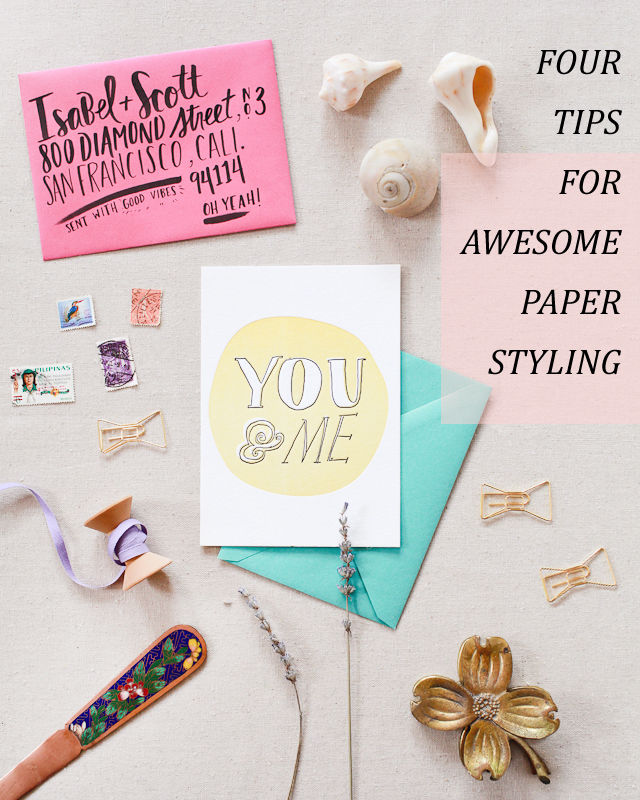
Tips for Paper Styling / Oh So Beautiful Paper + eBay

Start with the Right Conditions

A great photo starts with good lighting conditions and a few pieces of equipment. Always take photos using bright and even natural light, ideally on a table placed near or next to a large window. Buy the highest quality camera you can afford and invest in a great 35 mm or 50 mm lens. A few basic pieces of inexpensive equipment, like light diffusers, reflectors, and white foam core, can help you create a makeshift light box and avoid harsh shadows or bright spots.
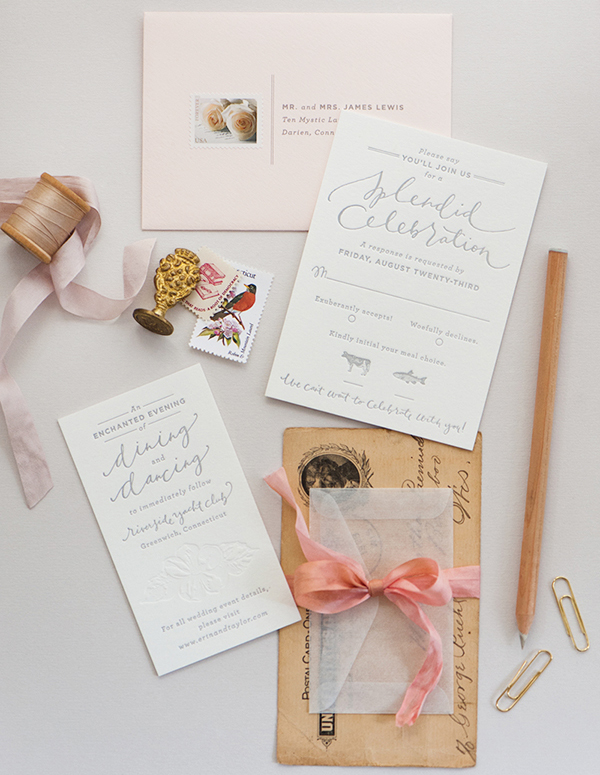
Elegant Blind Emboss Calligraphy Wedding Invitation by Coral Pheasant and Brown Linen Design

Photo Credit: Coral Pheasant

Choose Your Backdrop

I always recommend styling and photographing paper against a flat surface placed on the floor or a table near a window. White or colorful foam board makes a fantastic neutral backdrop. You can also choose a neutral linen or fabric in a complementary color to elevate your photographs. If you’ll be taking lots of photos, consider investing in a styling surface – Erickson Surfaces, Woodville, and One Stone West are all great places to start.
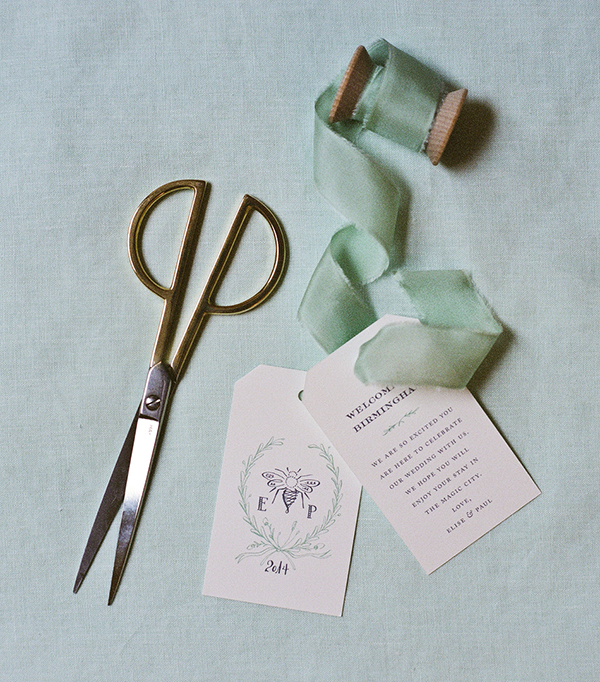
Mint and Navy Calligraphy Wedding Invitations / Photo Credit: Mandy Busby Creative / Design by Holly Hollon

Photo Credit: Mandy Busby Creative / Design by Holly Hollon

Style it Up!

I always return to the same favorite props for my own styling needs. Choose items in a variety of shapes, sizes, and dimensions to direct the viewer’s eye and fill negative space. Vintage postage stamps, brass paperclips (especially in unique shapes!), twine, silk and cotton ribbon, washi tape, brass scissors or letter openers – anything with texture or that adds a vintage patina is perfect for adding character to photos! Natural elements like seashells and dried lavender also make fantastic styling props.
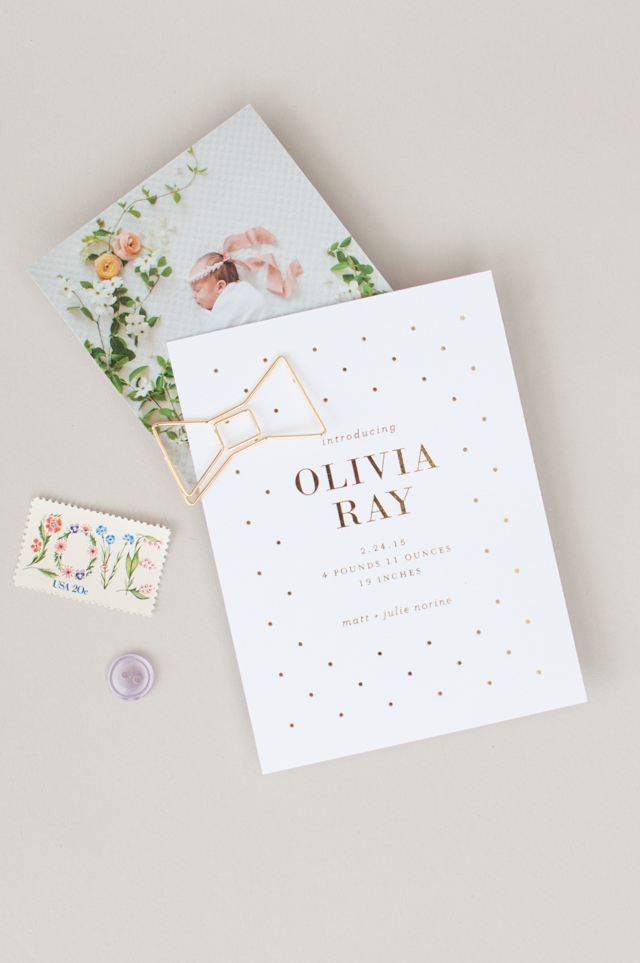
Gold Foil Polka Dot Birth Announcements by Lauren Chism Fine Papers

Photo Credit: Lauren Chism Fine Papers

Avoid a Grid

Paper styling and photography should be fun! Try to photograph everything straight on, with a few fun props scattered around to add visual interest. Have at least one thing (and maybe three) slightly off-kilter in each image. Square or rectangular paper pieces turned on a slight angle feel playful and whimsical. Have some elements touch or overlap in the photo to create depth and texture. Ribbon and washi tape can also run off the image to create movement and add visual interest.
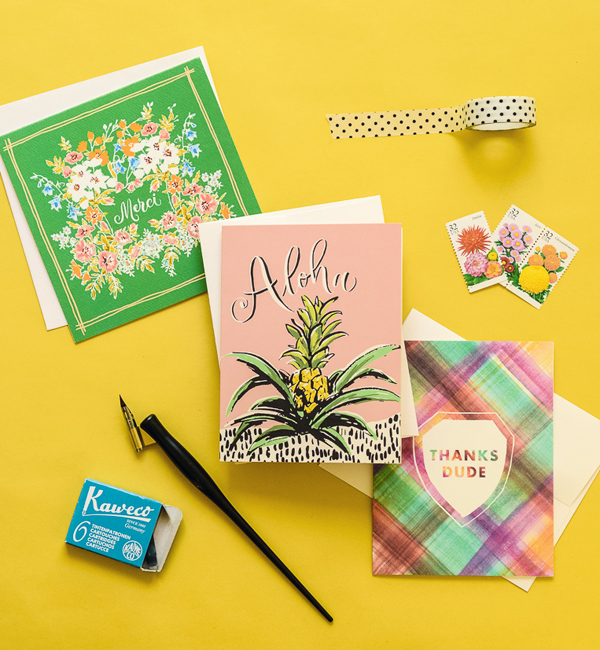
Antiquaria Design

Photo Credit: Antiquaria Design Studio

Finally, don’t forget to take photos of the full paper suite, especially for wedding invitations and birth announcements, along with plenty of detail shots of individual pieces. And those detail shots are a great excuse to rotate and add in new props!

For any stationers out there, whether you have a wholesale stationery line or specialize in custom design, you’ve probably heard about the importance of styling a million times over. And to be honest, it’s a huge factor when I’m deciding which submissions to feature here on Oh So Beautiful Paper. Great styling can really help elevate a beautiful design and make it stand out from the crowd!

This post was created in partnership with eBay. All content and opinions are my own. Thank you for supporting the sponsors that make Oh So Beautiful Paper possible!
Frozen Cocktail Recipe: Basil-Grapefruit Granita

Suddenly, everyone is talking about fall. It’s still August, people! Let’s not get ahead of ourselves. It feels like a swamp outside! Hold off on those pumpkin spice lattes for a few more weeks. Let’s eat some granita instead. – Andrew

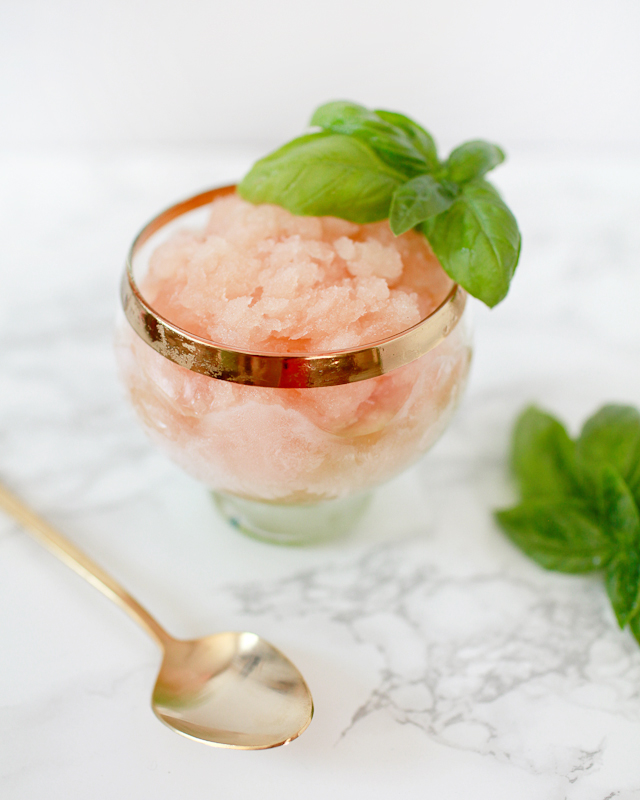
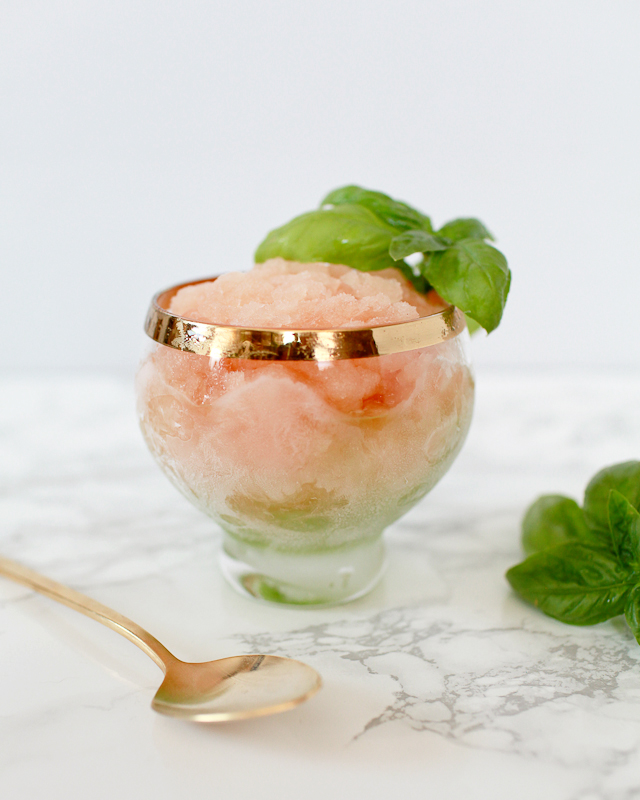
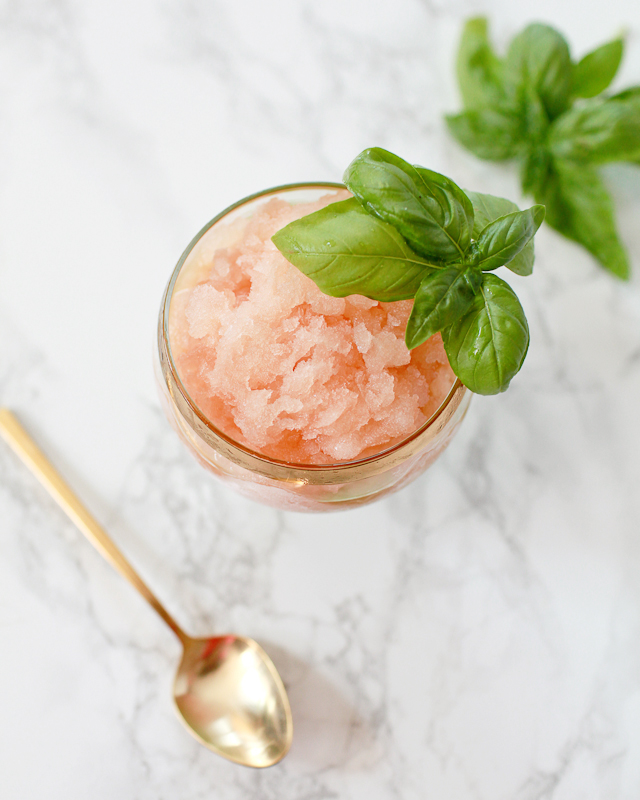
Boozy Basil-Grapefruit Granita / Liquorary for Oh So Beautiful Paper

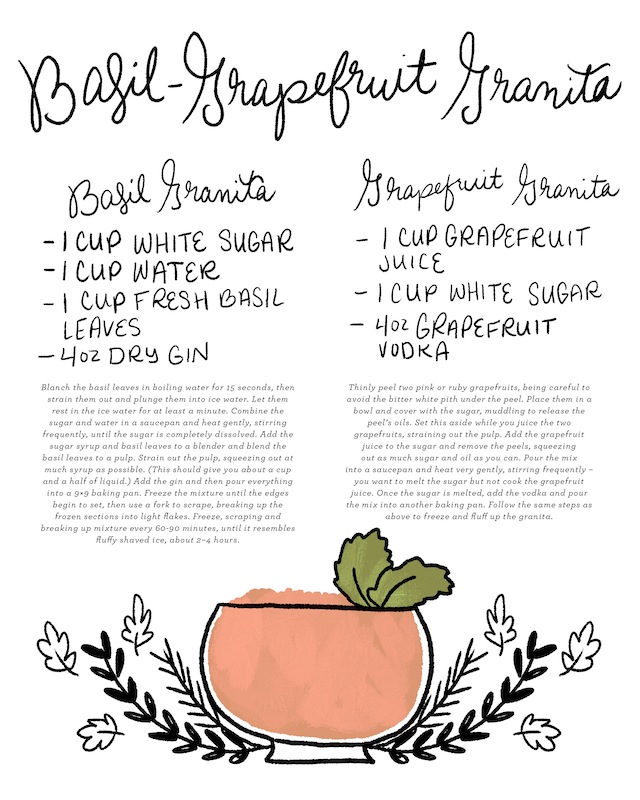
Basil-Grapefruit Granita Cocktail Recipe Card / Illustration by Shauna Lynn for Oh So Beautiful Paper

Illustration by Shauna Lynn for Oh So Beautiful Paper

Basil-Grapefruit Granita

Basil and grapefruit work so well together, we’re kind of surprised we hadn’t already tried this combination. When coming up with this basil-grapefruit granita recipe, we chose to make them separately and layer them together so that the flavors would be crisp and distinct yet complementary. It’s like ordering an ice cream cone with two scoops in two different flavors – the best of both worlds!

Boozy-Basil-Grapefruit-Granita-Liquorary-OSBP-33

For the Basil Granita:

1 cup White Sugar
1 cup Water
1 cup Fresh Basil Leaves
4 oz Dry Gin

Blanch the basil leaves in boiling water for 15 seconds, then strain them out and plunge them into ice water. Let them rest in the ice water for at least a minute. Combine the sugar and water in a saucepan and heat gently, stirring frequently, until the sugar is completely dissolved. Add the sugar syrup and basil leaves to a blender and blend the basil leaves to a pulp. Strain out the pulp, squeezing out at much syrup as possible. (This should give you about a cup and a half of liquid.) Add the gin and then pour everything into a 9×9 baking pan. Freeze the mixture until the edges begin to set, then use a fork to scrape, breaking up the frozen sections into light flakes. Freeze, scraping and breaking up mixture every 60-90 minutes, until it resembles fluffy shaved ice, about 2–4 hours.

For the Grapefruit Granita:

1 cup Grapefruit Juice
1 cup White Sugar

4 oz Grapefruit Vodka

Thinly peel two pink or ruby grapefruits, being careful to avoid the bitter white pith under the peel. Place them in a bowl and cover with the sugar, muddling to release the peel’s oils. Set this aside while you juice the two grapefruits, straining out the pulp. Add the grapefruit juice to the sugar and remove the peels, squeezing out as much sugar and oil as you can. Pour the mix into a saucepan and heat very gently, stirring frequently – you want to melt the sugar but not cook the grapefruit juice. Once the sugar is melted, add the vodka and pour the mix into another baking pan. Follow the same steps as above to freeze and fluff up the granita.

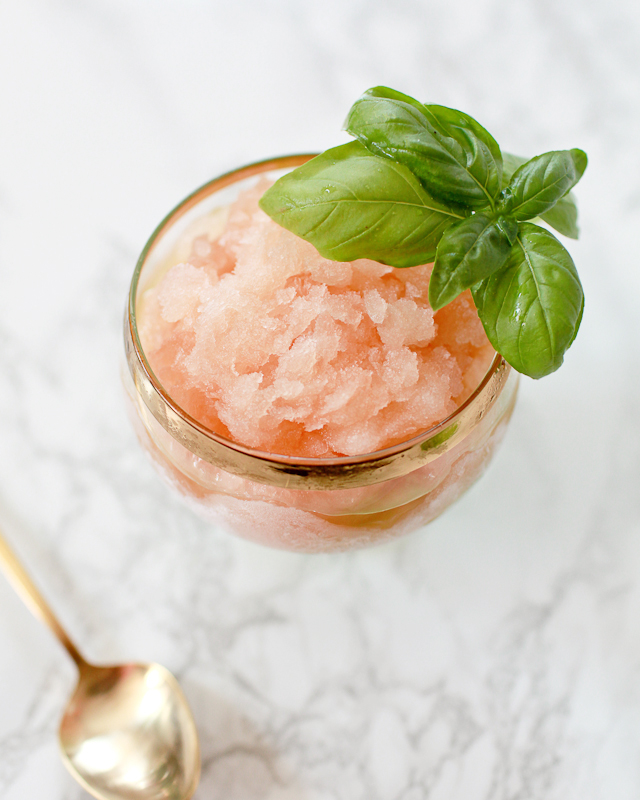
Boozy Basil-Grapefruit Granita / Liquorary for Oh So Beautiful Paper

Once all that is done, add the basil and grapefruit granitas to a bowl or glass (ours are technically shrimp cocktail glasses but work perfectly for granitas!) in alternating layers for a gorgeous effect. Because alcohol has a lower freezing temperature, adding this much booze to your granita will leave your granita a little slushier than usual, so we recommend sticking your glass into the freezer before you serve so that your granita will stay solid longer. Dig in with and enjoy!

Boozy Basil-Grapefruit Granita / Liquorary for Oh So Beautiful Paper

Sweet, tart, herbaceous…delicious. And cold. Just what we need right now.

(Don’t forget to follow us on Instagram, where we’ve been posting our experiments before they make their way onto this column!)

Glassware by Liquorary

Photo Credits: Nole Garey for Oh So Beautiful Paper