Many of the great classics are beautifully simple, and the Gimlet is no exception. Gin, lime cordial – and it should be lime cordial, which we’ll get to in a moment – and that’s pretty much it. This drink is somewhere between a Gin Sour and a Gin Old Fashioned and it’s all wonderful. – Andrew
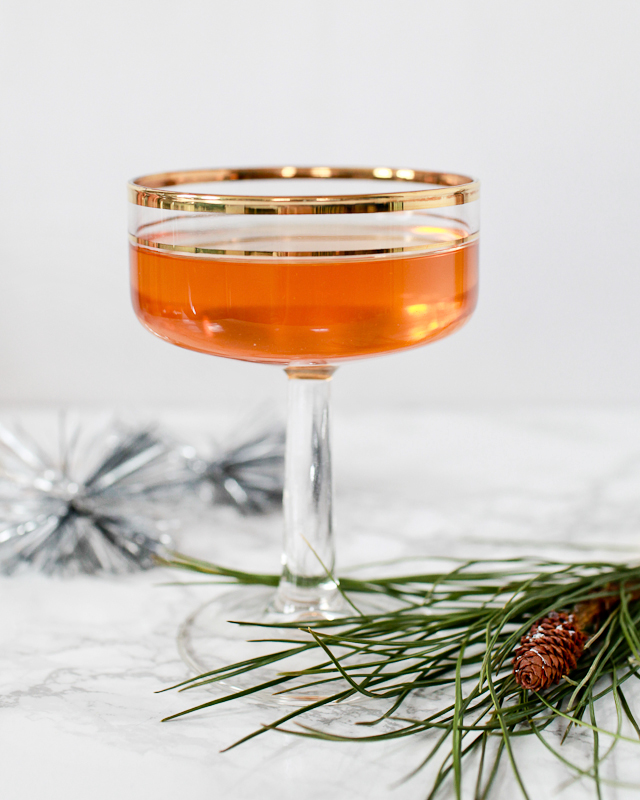
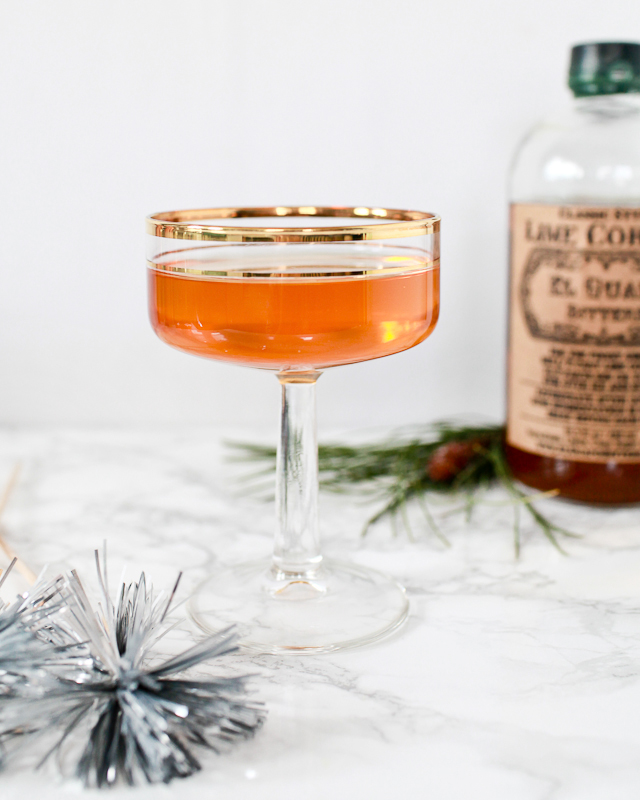
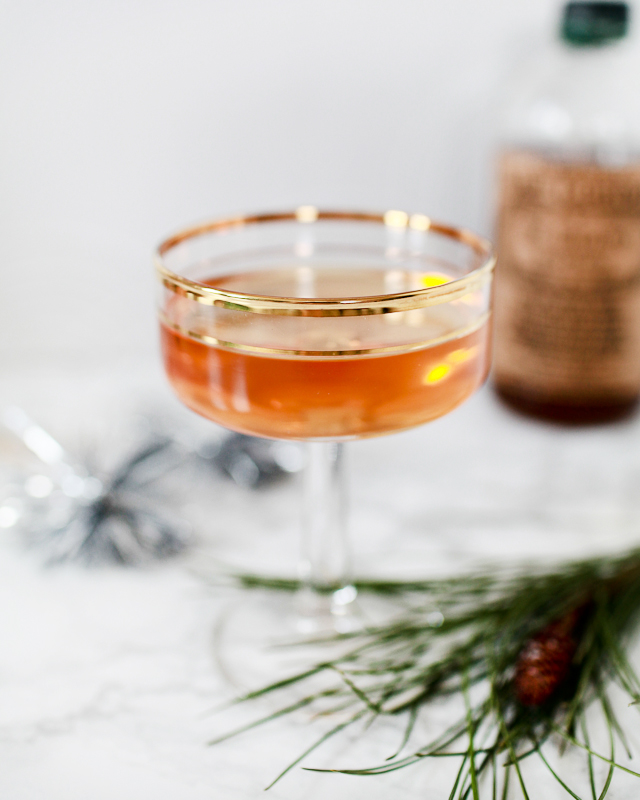
The Gimlet
2 oz Dry Gin
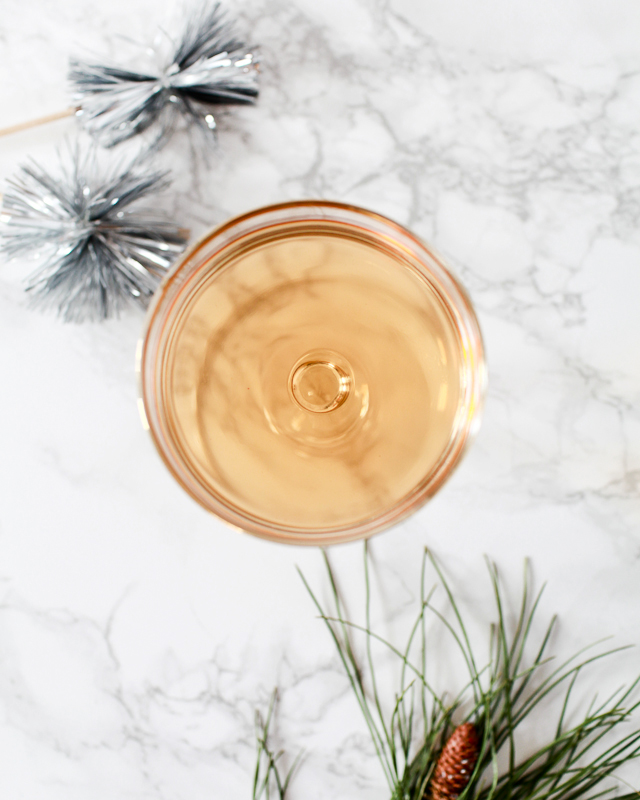
1 oz Lime Cordial
1 dash Angostura Bitters
Combine all the ingredients in a mixing glass with ice and stir well. Strain into a chilled cocktail glass. Enjoy!
The Gimlet is a snappy little drink: it has both gin’s sharp herbaceous kick and lime cordial’s citrusy, tart zing. A dash of bitters just helps bring those flavors together and make them pop. Like the Manhattan or the Martini, there’s no real bad time for a Gimlet; they’re all-weather drinks.
Like I said: lime cordial. For a long while, ordering a Gimlet meant either that you were going to get a glass of gin with some lime juice and a bit of sugar, if you were lucky, or a glass of gin sweetened with a thick syrupy mess sold as “cordial.” Both would deprive you of real lime cordial’s tremendously refreshing, tongue-twisting sweet-tartness.
You can make lime cordial at home, somewhat laboriously, by zesting and juicing some limes, then adding an equal amount by weight of sugar to the juice, letting the whole thing sit for a day or two in a nonreactive vessel, and then straining out the zest. It’s delicious when fresh but, like I said, a lot of work. But for years, your only options were to make your own or buy a bottle of Rose’s, which dates all the way back to 1867 but for years has been made with barely any real lime in it at all. Fortunately, more and more purveyors of craft cocktail ingredients are starting to make and sell lime cordial with fresh, basic ingredients.
The Gimlet, despite its appearance in Betty Draper’s hand in more than one episode of Mad Men, has a rough-and-tumble origin. Sailors in the British navy were issued rations of lime or lemon juice to prevent scurvy. Back in 1867, one Lauchlan Rose figured out a way of preserving citrus juice for long sea journeys with sugar instead of rum, and the Rose’s I mentioned above was born. But sailors also got liquor rations, and it didn’t take long for them to put the two together. (I imagine sailors back then probably tried mixing pretty much anything they found anywhere in the world with booze.) So the Gimlet was basically a drunken sailor’s way of making his gin ration more palatable. Or his lime ration more exciting. Or both.
For the most authentic experience, we recommend picking a navy proof gin. “Navy proof” refers to the strength of the liquor; it’s a measure of the amount of alcohol in spirit needed to still ignite gunpowder that had been dowsed in the spirit. You know, a basic safety measure to ensure the ship could still fight even if its drunken sailors spilled their booze all over the gunpowder. The minimum is 114 proof, in contrast to the 80 proof that most spirits are bottled at today. So you’re going to get a wallop of flavor and booze and heat from a Gimlet made from navy proof gin. Which doesn’t sound too bad.
(Don’t forget to follow us on Instagram, where we’ve been posting our experiments before they make their way onto this column!)
Glassware by Liquorary
Photo Credits: Nole Garey for Oh So Beautiful Paper