Mulled Winter Sangria Recipe

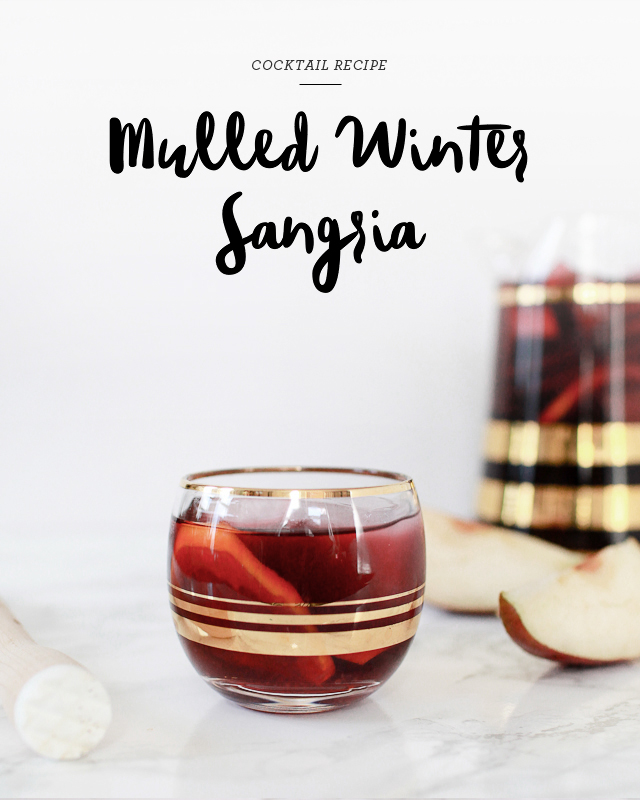
Since the holidays are all about getting together with family and friends, I figured we should offer a recipe for a holiday-appropriate drink that can be made in large batches and enjoyed by large groups of people. What could be better than sangria? We normally think of sangria as a summer drink, but add in seasonal pears, citrus, and some mulling spice syrup and you’ve got the perfect drink that can be just as good in cold weather! Enjoy this Mulled Winter Sangria recipe over ice – or heat it up for a more traditional mulled wine!
Mulled Winter Sangria Recipe / Oh So Beautiful Paper

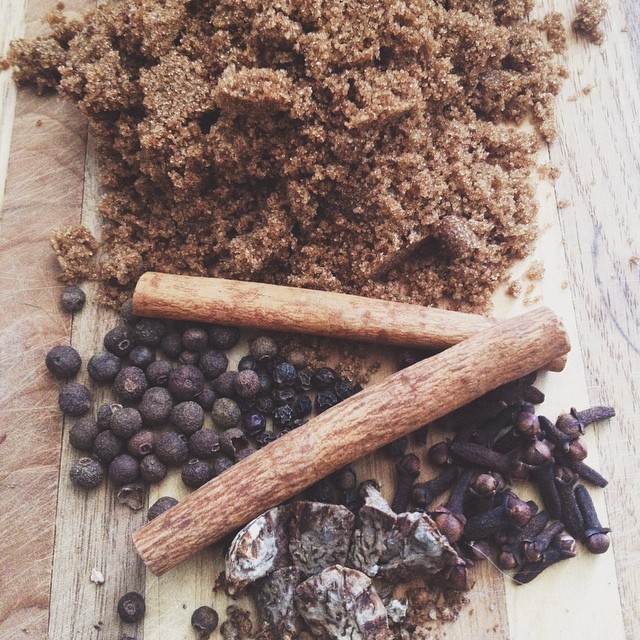
The most important element of a Mulled Winter Sangria is the Mulling Spice Syrup. Luckily, most of us already have most of these ingredients at home: cinnamon sticks, allspice berries, cloves, and whole nutmeg. Let these ingredients simmer in a simple syrup made with brown sugar and your whole house will smell amazing!
Mulling Spices

Mulled Winter Sangria

1 bottle of Dry Red Wine
1 Orange, thinly sliced
1 Lemon, thinly sliced
1 Red Anjou Pear, diced
2 oz Orange Liqueur
2 oz Spiced Rum
6 oz Mulling Spice Syrup
1 cup Apple Cider

To make the mulling spice syrup, combine a cup of brown sugar and a cup of water in a sauce pan over low heat, stirring frequently. Add two cinnamon sticks, a heaping teaspoon each of allspice berries and cloves, and two whole nutmegs, all crushed with a muddler or pestle. Stir over heat until all the sugar is melted into the syrup, then remove from heat and cover the sauce pan. Let it sit for at least twenty minutes to infuse. Using cheesecloth or a fine-mesh sieve, strain out all the solids. Bottle and refrigerate.

To make the sangria, combine all of your ingredients in a pitcher and let it sit, preferably overnight in the refrigerator, to let all of the flavors combine. To serve, pour over ice and garnish with fresh pear slices. 

This sangria is sweet and fruity, but has lots of warm baking spice flavors that make this a cold-weather treat. This sangria would also be pretty great heated in a pot and turned into a more traditional mulled wine. Just take the fruit out first – you can always add it back in later.
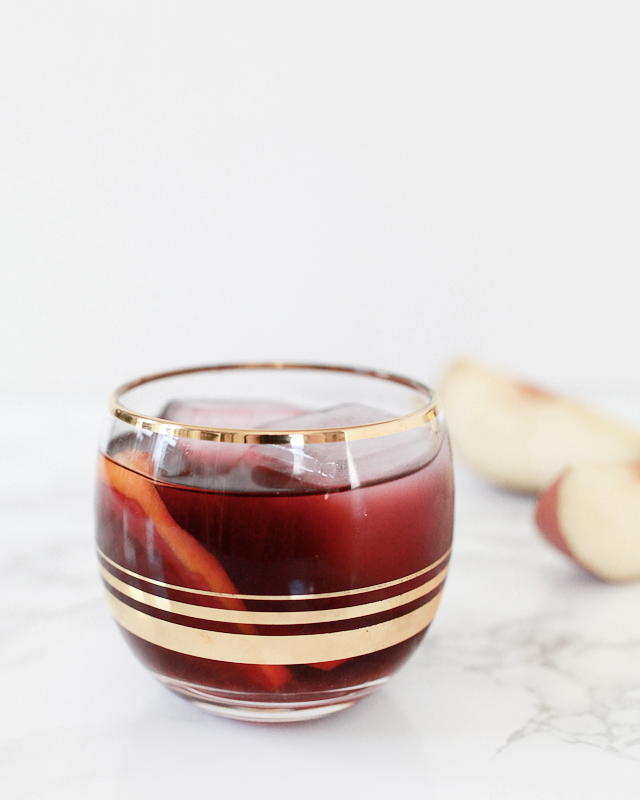
Mulled Winter Sangria Recipe / Oh So Beautiful Paper

p.s. How to make a Classic Old Fashioned and a Rosé 75 recipe that is perfect for New Year’s!

This post was created in partnership with eBay. All content and opinions are my own. Thank you for supporting the sponsors that make Oh So Beautiful Paper possible!

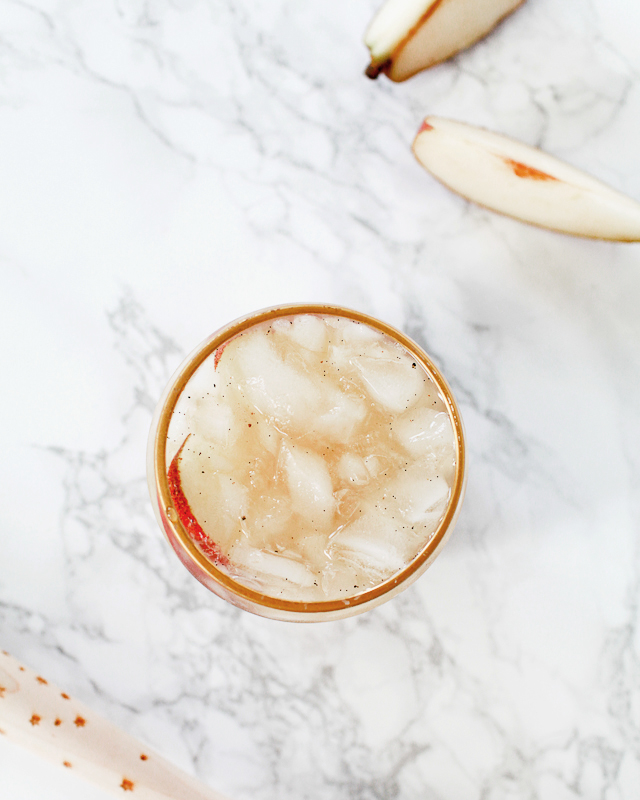
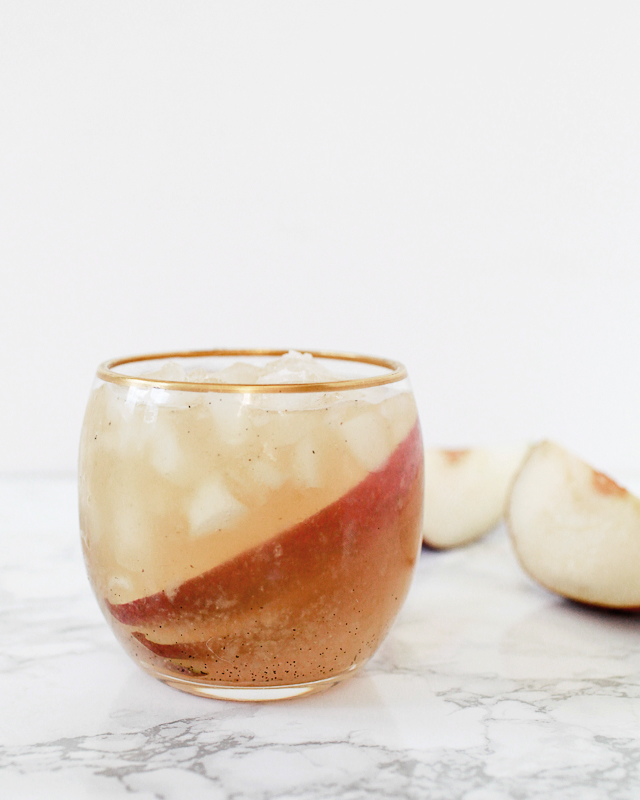
Bourbon Pear Vanilla Bean Smash

It’s nearly Thanksgiving, and I’m thinking about cocktails I’d like to drink during my most favorite of all holidays. Fruit, spice, and the warmth of bourbon – all those woodsy and caramel and vanilla notes – that’s what I’m looking for right now. So I decided to – literally – smash all those together in one really fantastic drink that I hope you try this turkey day. – Andrew

Bourbon Pear Vanilla Bean Smash Cocktail Recipe / Liquorary for Oh So Beautiful Paper

Vanilla-Pear Bourbon Smash

2 oz Bourbon Whiskey
1/2 oz Simple Syrup
1/2 oz Lemon Juice
1/4 of a Pear, Diced
1 piece of Vanilla Bean, about an inch long
Perry (optional)

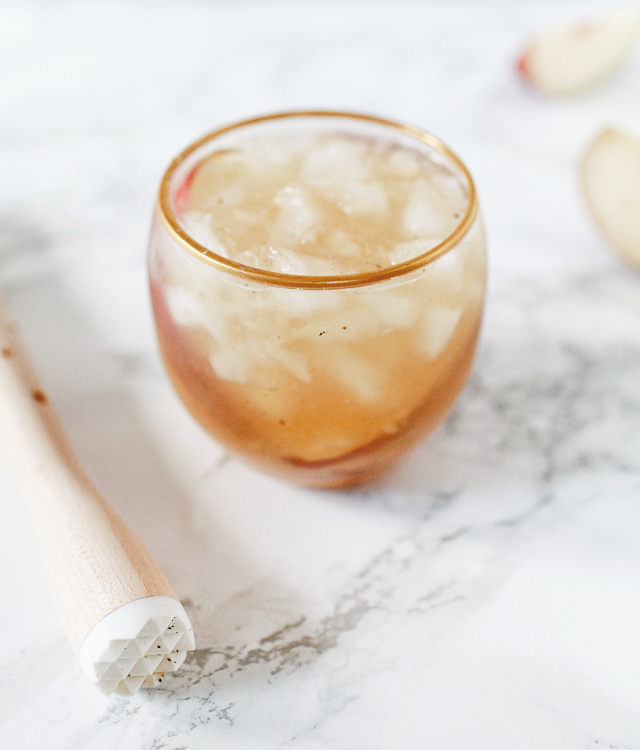
In a dry cocktail shaker, grind up the vanilla bean with a muddler, then add the pear and muddle that too. Add the bourbon, simple syrup, and lemon juice. Put a few big pieces of ice in the shaker and shake well. Strain into a glass filled with fresh cracked ice. Enjoy!

Bourbon Pear Vanilla Bean Smash Cocktail Recipe / Liquorary for Oh So Beautiful Paper

This drinks works just fine like this, with lots of fruit and warm vanilla spice flavors, and just enough tart zing from the lemon to balance out the sweetness of the pears and bourbon. But I also really like it topped with a splash of perry, an alcoholic drink made from fermented pears the way (hard) cider is made from apples. The perry adds an edge of crisp, dry fruit and a sparkling fizz that really peps up the drink.

Bourbon Pear Vanilla Bean Smash Cocktail Recipe / Liquorary for Oh So Beautiful Paper

But look: this is Thanksgiving. There’s no need to stress about the drinks.

(Don’t forget to follow us on Instagram, where we’ve been posting our experiments before they make their way onto this column!)

Glassware by Liquorary

Photo Credits: Nole Garey for Oh So Beautiful Paper

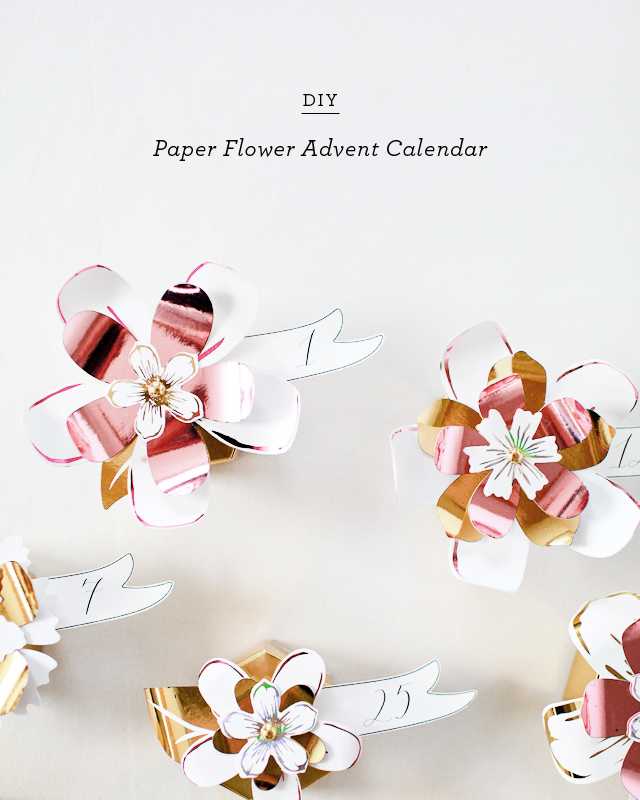
DIY Paper Flower Advent Calendar

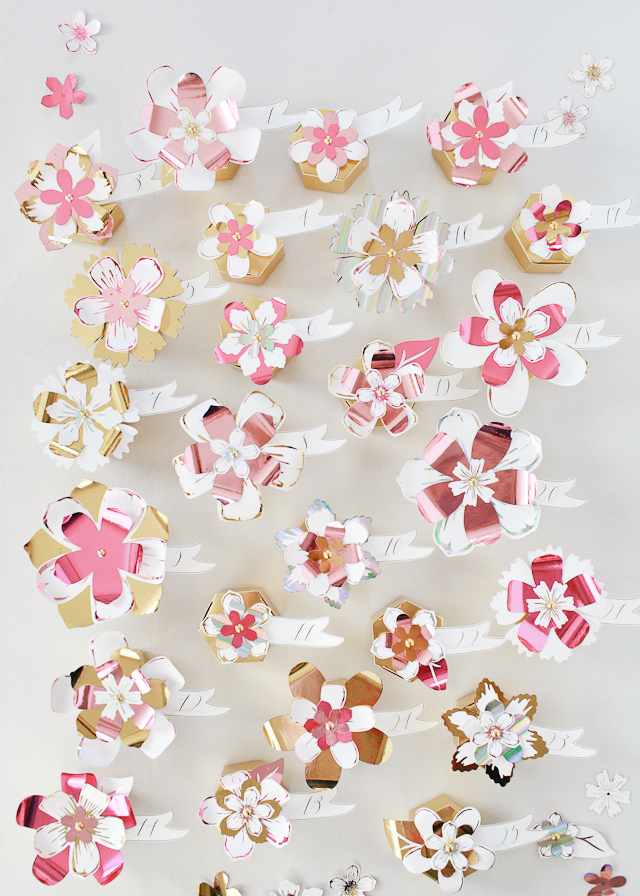
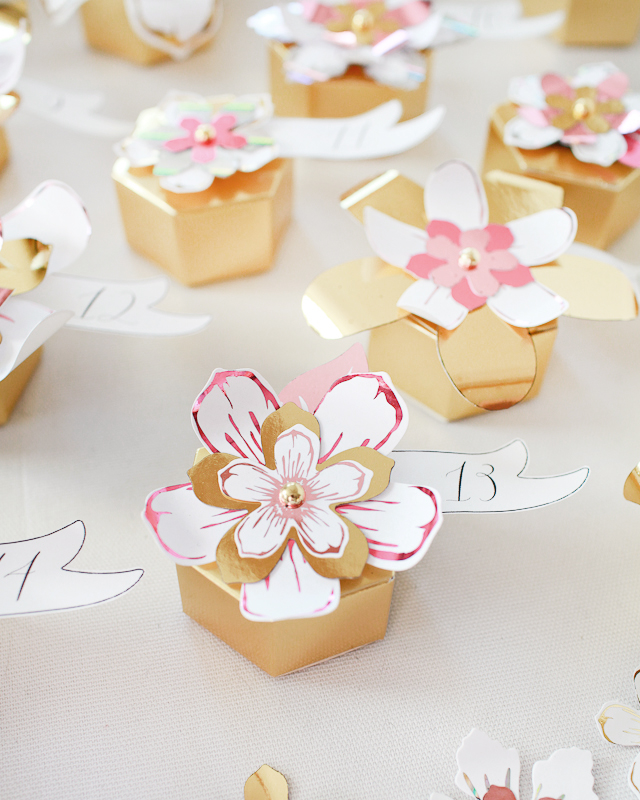
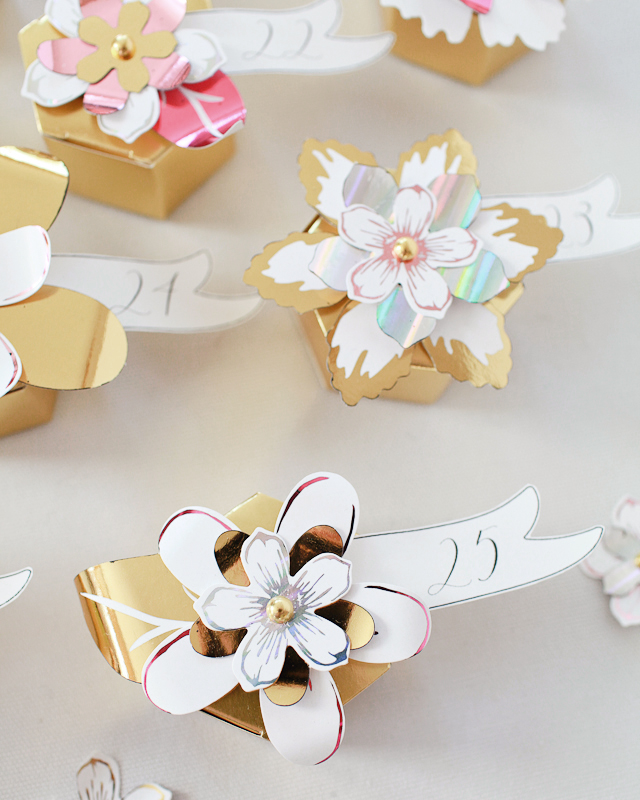
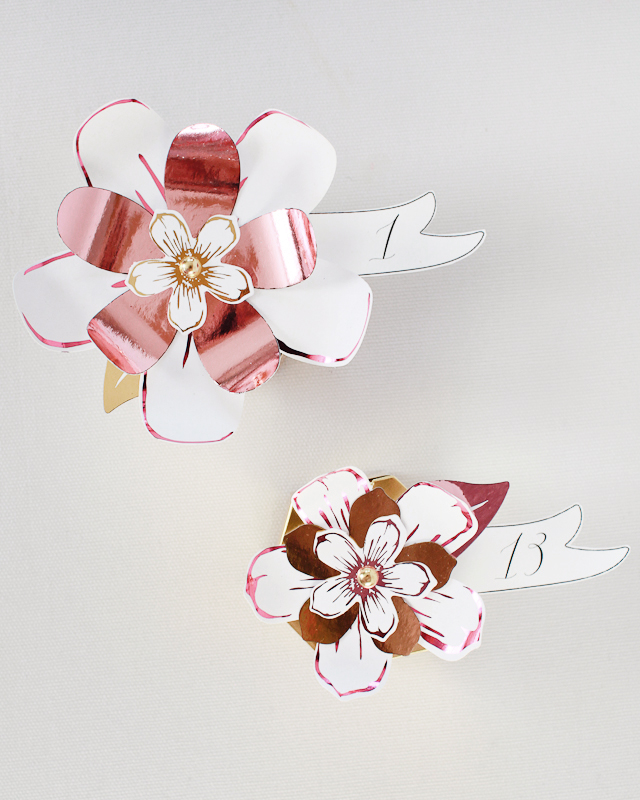
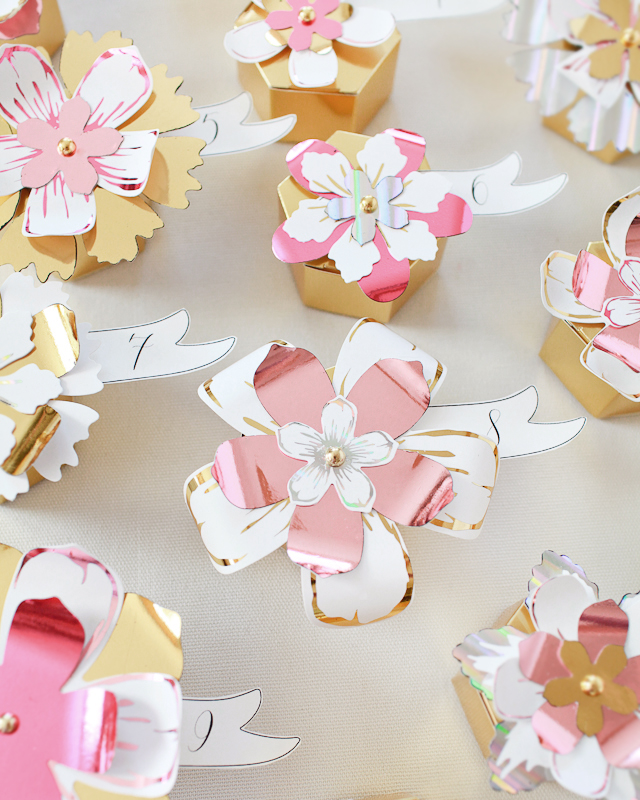
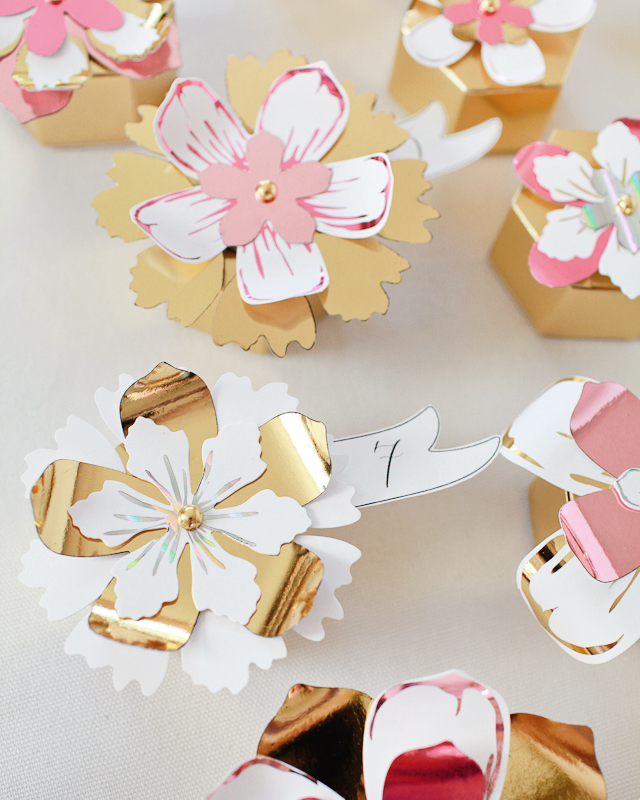
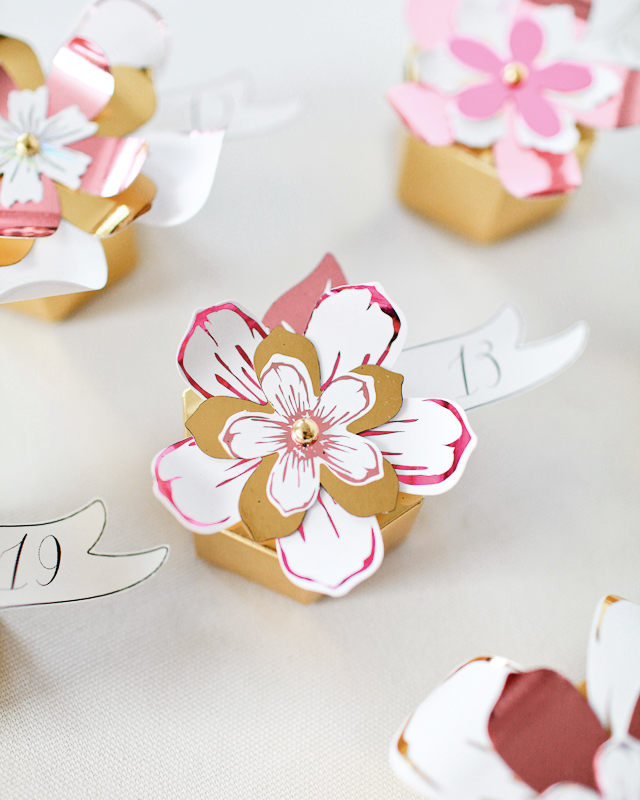
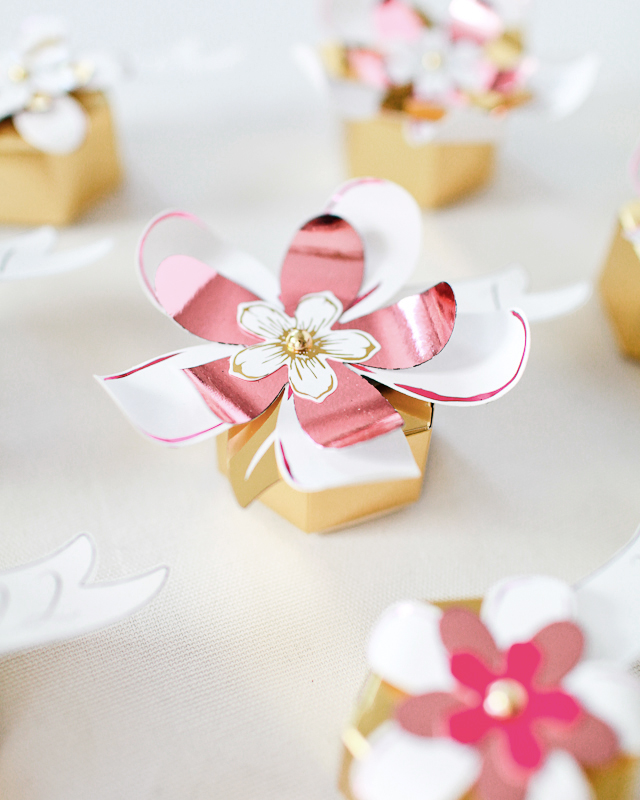
You guys! I’m SO excited to share today’s DIY post! I’ve been wanting to make an advent calendar for years, but I never really found something that felt quite like “me.” Well, along came my favorite Heidi Swapp Minc foil applicator and all of a sudden it just clicked! I shared a couple of DIY projects over the summer involving the Minc, but if you want to create your own DIY projects with the Minc you need access to a laser printer or copier since it works with toner ink. Well, for those of us that might not have regular access to a laser printer or copier, Heidi Swapp offers a few ready made DIY kits – including these amazing 3D flowers! I decided to pair the 3D flowers with some gold hexagon favor boxes from the Oh Happy Day party shop to create a DIY paper flower advent calendar of my dreams!

DIY Paper Flower Advent Calendar / Oh So Beautiful Paper

DIY Paper Flower Advent Calendar / Oh So Beautiful Paper

DIY Paper Flower Advent Calendar / Oh So Beautiful Paper

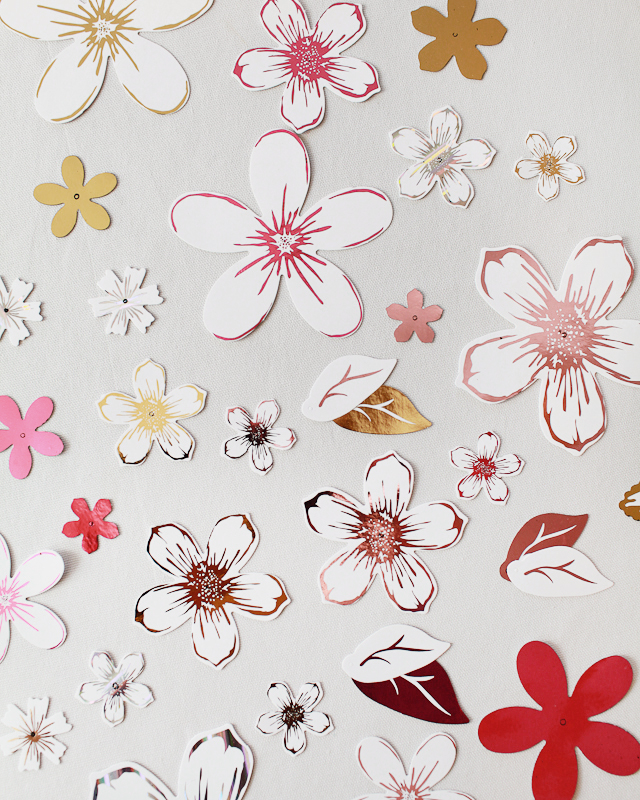
The Minc has easily become my favorite DIY tool in the last few months. You can find the Minc at Michael’s and craft stores, or pick one up right here. This was my first time experimenting with one of the readymade kits and I’m now completely obsessed with these 3D flowers. They come flat in sheets with pre-printed toner ink, so you just run them through the Minc to apply the foil – then pop them out and assemble the layers into beautiful flowers! I kind of want to do an entire backdrop using these gorgeous metallic flowers! But I’m getting ahead of myself. The holidays are just around the corner: advent calendars first!

DIY Paper Flower Advent Calendar / Oh So Beautiful Paper

DIY Paper Flower Advent Calendar / Oh So Beautiful Paper

DIY Paper Flower Advent Calendar / Oh So Beautiful Paper

To make the DIY paper flower advent calendar:

Step 1. Cut sheets of foil just big enough to fit over each flower sheet. We chose light pink, hot pink, gold, and silver hologram foil, and we were able to fit three sheets of flowers at a time in the Minc folder. Run the flowers through the Minc foil applicator on high heat (at least the “4” setting).

Step 2. Pop the foiled flowers out of each sheet and assemble flowers according to package instructions. You’ll want a total of twenty-five flowers with a nice mix of large, medium, and small flowers for the advent calendar.

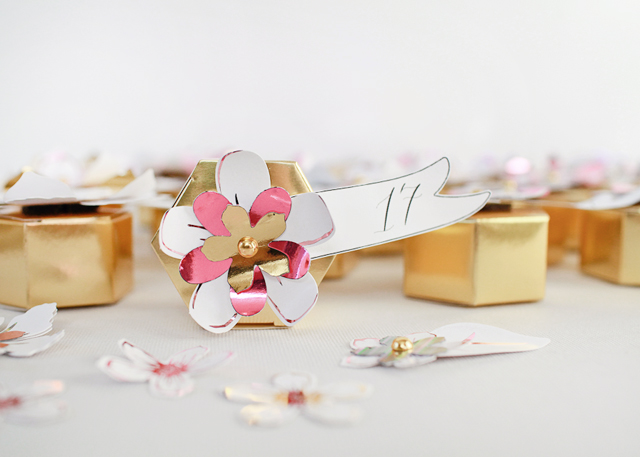
Step 3. Print the advent calendar number template on text weight paper and cut out each number. Place a number under each flower, then adhere to the gold hexagon boxes using double-sided tape or removable mounting squares.

Step 4. Fill each box with candy or small trinkets! You can use removable mounting squares to mount the boxes to the wall, or just set them out on a side table to open and enjoy!

DIY Paper Flower Advent Calendar / Oh So Beautiful Paper

DIY Paper Flower Advent Calendar / Oh So Beautiful Paper

DIY Paper Flower Advent Calendar / Oh So Beautiful Paper

DIY Paper Flower Advent Calendar / Oh So Beautiful Paper

DIY Paper Flower Advent Calendar / Oh So Beautiful Paper

DIY Paper Flower Advent Calendar / Oh So Beautiful Paper

I can’t wait to start the advent calendar tradition with Sophie – she already spotted the flowers on my desk and she’s so excited to open all the little boxes! Are any of you planning to do an advent calendar this year?

This post was created in partnership with American Crafts. All content and opinions are my own. Thank you for supporting the sponsors that make Oh So Beautiful Paper possible!
Photos by Nole Garey for Oh So Beautiful Paper

Modern Calligraphy Summit Holiday Registration!

A few months ago I posted about an awesome opportunity for any aspiring calligraphers out there: The Modern Calligraphy Summit! You can read all about it here, but basically it’s the opportunity to learn the art of calligraphy from nine amazing calligraphers from the comfort of your home!

Wildfield Paper Co. / Modern Calligraphy Summit via Oh So Beautiful Paper

Wildfield Paper Co. / Modern Calligraphy Summit via Oh So Beautiful Paper

The Modern Calligraphy Summit will take place February 22 – March 5, 2016 and offers over 7 hours of video lessons. Summit courses include Beginning Calligraphy, Brush Lettering, Envelope Layouts, Flourishing, Floral Embellishments, Digitizing, and more! The early bird registration period ended back in August, but you have another chance to sign up from November 27 through December 1!

Wildfield Paper Co. / Modern Calligraphy Summit via Oh So Beautiful Paper

For those of you who sign up during these dates, the team over at the Modern Calligraphy Summit has put together a free video series that will help you create unique hand lettered holiday correspondence. The videos are available right now, and if there’s ever a time to improve your hand lettering skills the holidays are certainly it! Click here to sign up to get the free video series and a special holiday price when enrollment for the Summit opens later this week!

Photo Credits: Annie Mertlich of Wildfield Paper Co. for the Modern Calligraphy Summit

This post contains affiliate links. By clicking on these links, you’ll help support Oh So Beautiful Paper while also learning the beautiful art of calligraphy! I only recommend products that I truly love and trust that you’ll love, too. My full disclosure policy can be found here.

Classic Hand Calligraphed Wedding Invitations

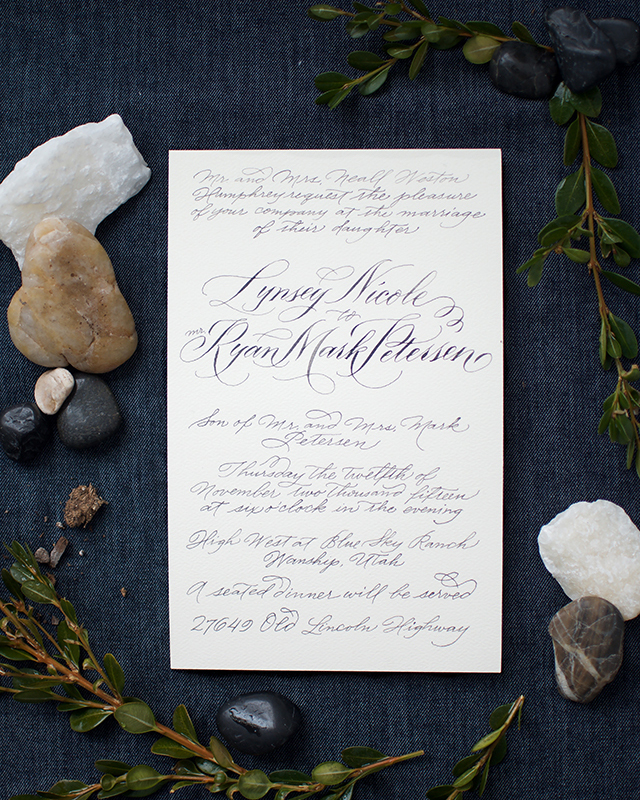
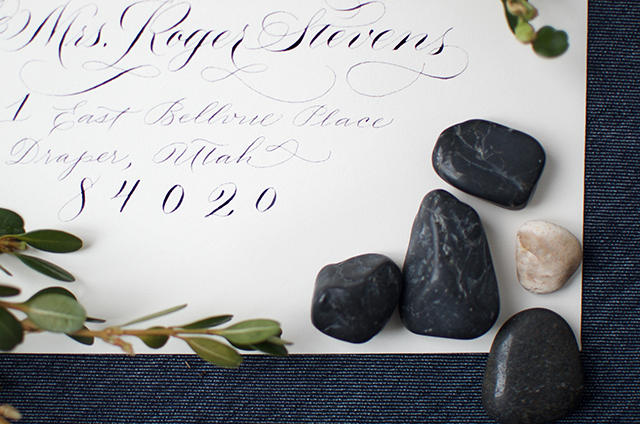
Happy Monday everyone – and welcome to a short week! We’ll be wrapping up a bit early this week for the Thanksgiving holiday, but before we go I have a couple of beautiful wedding invitations and a super fun DIY project that I know you won’t want to miss. First up this week, these gorgeous calligraphy wedding invitations by Melissa Esplin – each of which was written entirely by hand. Yep, Melissa hand calligraphed each and every invitation for this intimate wedding, most of which were in turn hand delivered to family and friends. These are the kind of wedding invitations that make my heart beat just a little bit faster!

Classic Hand Calligraphed Wedding Invitations by Melissa Esplin / Oh So Beautiful Paper

From Melissa: Every once in a while I have a dream client that lets me do my thing. I was thrilled to work with this bride on a very last-minute invitation for her rustic wedding just outside of Park City, Utah.

Classic Hand Calligraphed Wedding Invitations by Melissa Esplin / Oh So Beautiful Paper

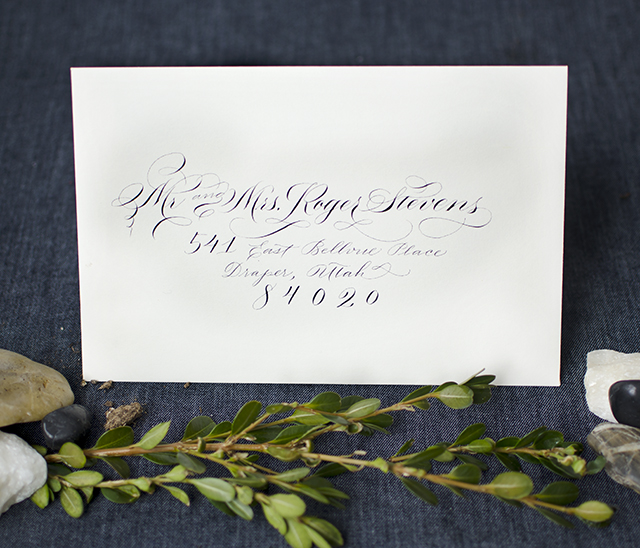
The calligrapher hired through the event planner fell through, so I was left with 14 days until the wedding to design and calligraph 30 wedding invitations and envelopes and 42 place cards. It came down to the wire; but because the bride kept it an intimate affair, most invitations were hand-delivered. Family and close friends already had the date saved.

Classic Hand Calligraphed Wedding Invitations by Melissa Esplin / Oh So Beautiful Paper

Classic Hand Calligraphed Wedding Invitations by Melissa Esplin / Oh So Beautiful Paper

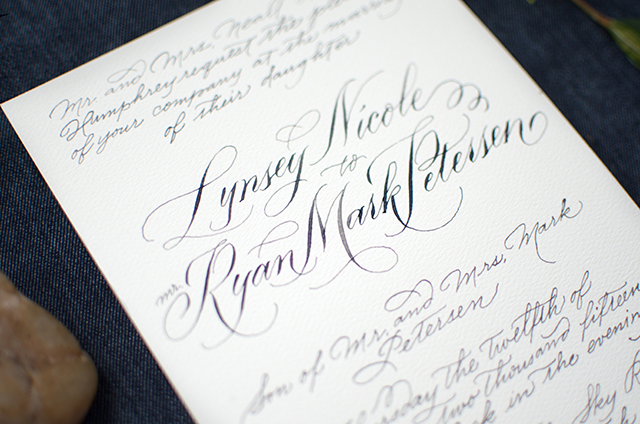
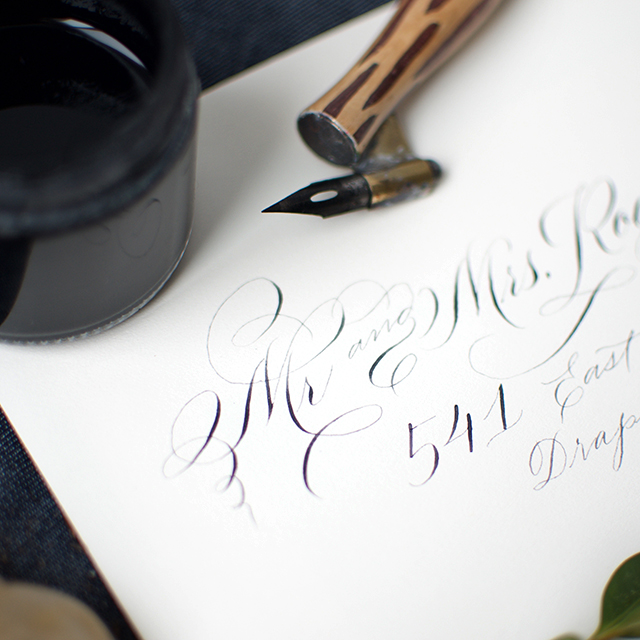
I came across some issues with the felt-finish paper. It has a rough surface so gliding the pen across the top adds texture to the line. I would prefer a finer line, but considering the wedding took place at High West in Wanship, Utah; it fits.

Classic Hand Calligraphed Wedding Invitations by Melissa Esplin / Oh So Beautiful Paper

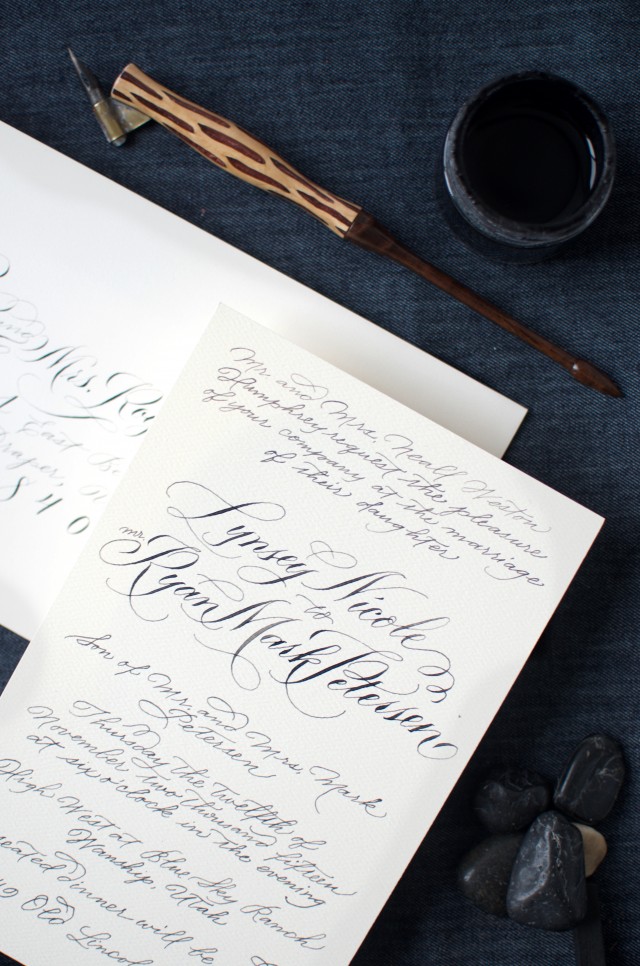
The design itself is simple and classic. A flourished running hand for the text body and a flourished shaded script for the bride and groom.

Classic Hand Calligraphed Wedding Invitations by Melissa Esplin / Oh So Beautiful Paper

Thanks Melissa!

Design and Calligraphy: Melissa Esplin

Paper: Natural White Felt Finish

Ink: Old World Iron Gall Ink

Nib: Nikko G

Check out the Designer Rolodex for more tal­ented wed­ding invi­ta­tion design­ers and the real invi­ta­tions gallery for more wedding invitation ideas!

Photo Credits: Melissa Esplin