Happy Friday everyone! We’ve had the most gorgeous week here in DC, and I got to chaperone my first field trip for Sophie’s kindergarten class on Monday! We went out to a farm in Virginia with a huge pumpkin patch and a bunch of fun things for kids to do. Sophie has 25 kids in her class, so it was a little bit chaotic, but a lot of fun. This weekend we’re planning to take Alice to the pumpkin patch (since she didn’t get to go on the field trip) and enjoy this gorgeous fall weather! But in the meantime…
Country Curtains is going out of business after 60 years, and I’m so sad. They make my absolute favorite thermal blackout roman shades – get some while you still can!
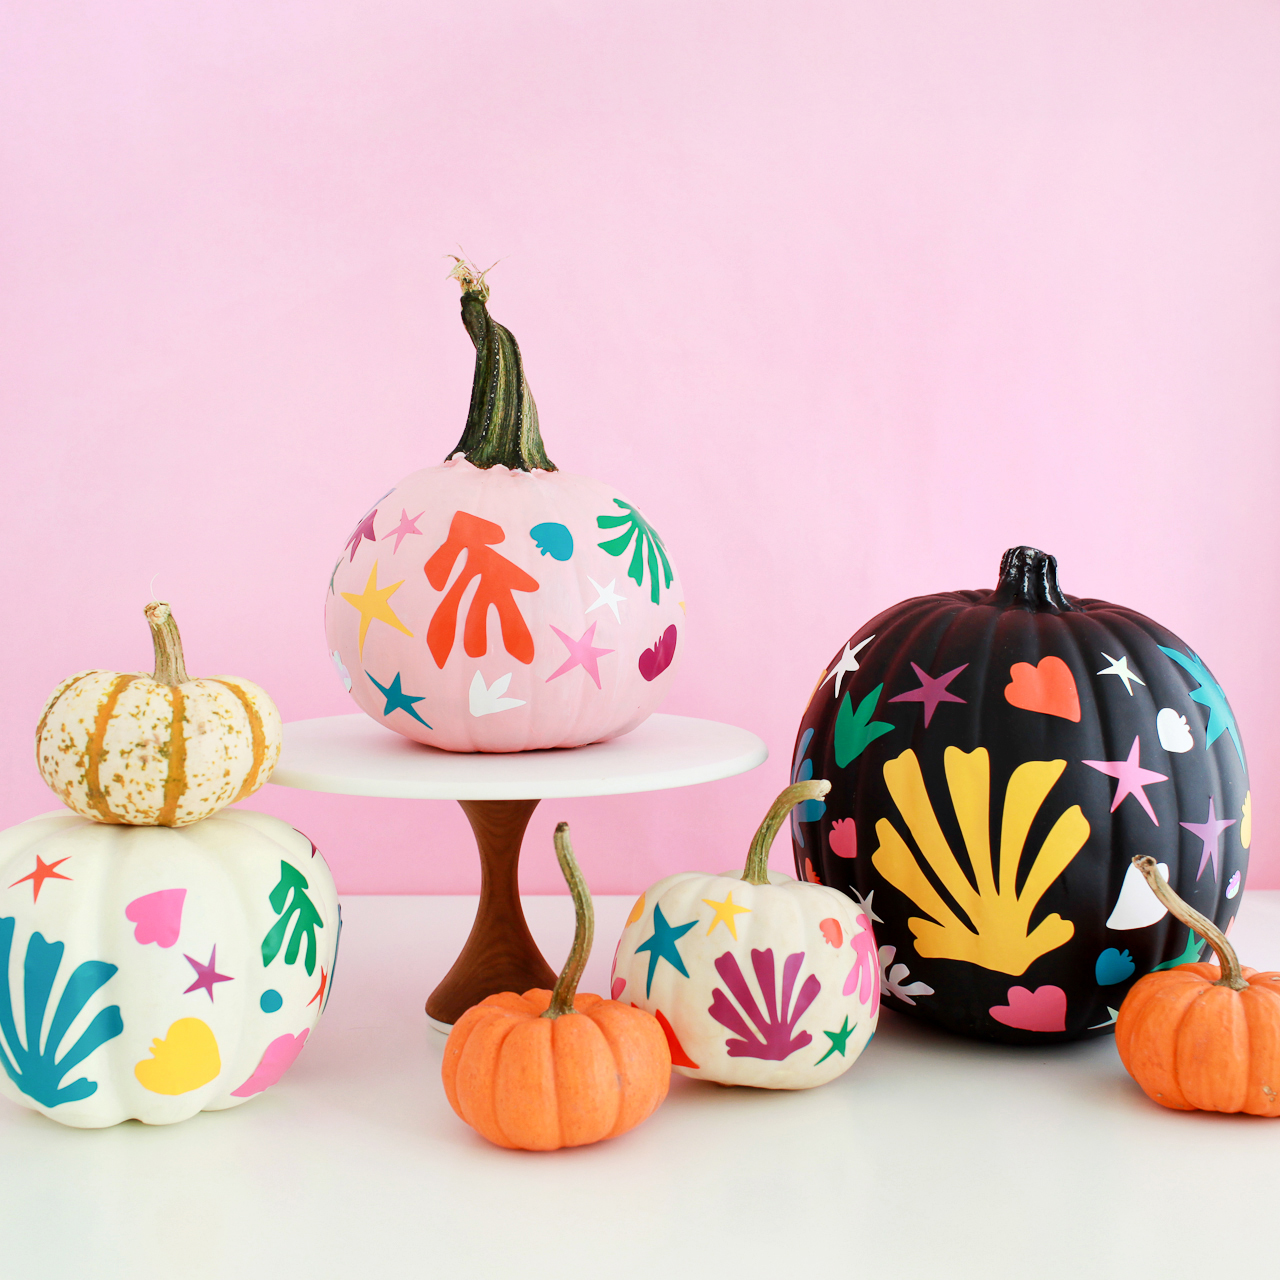
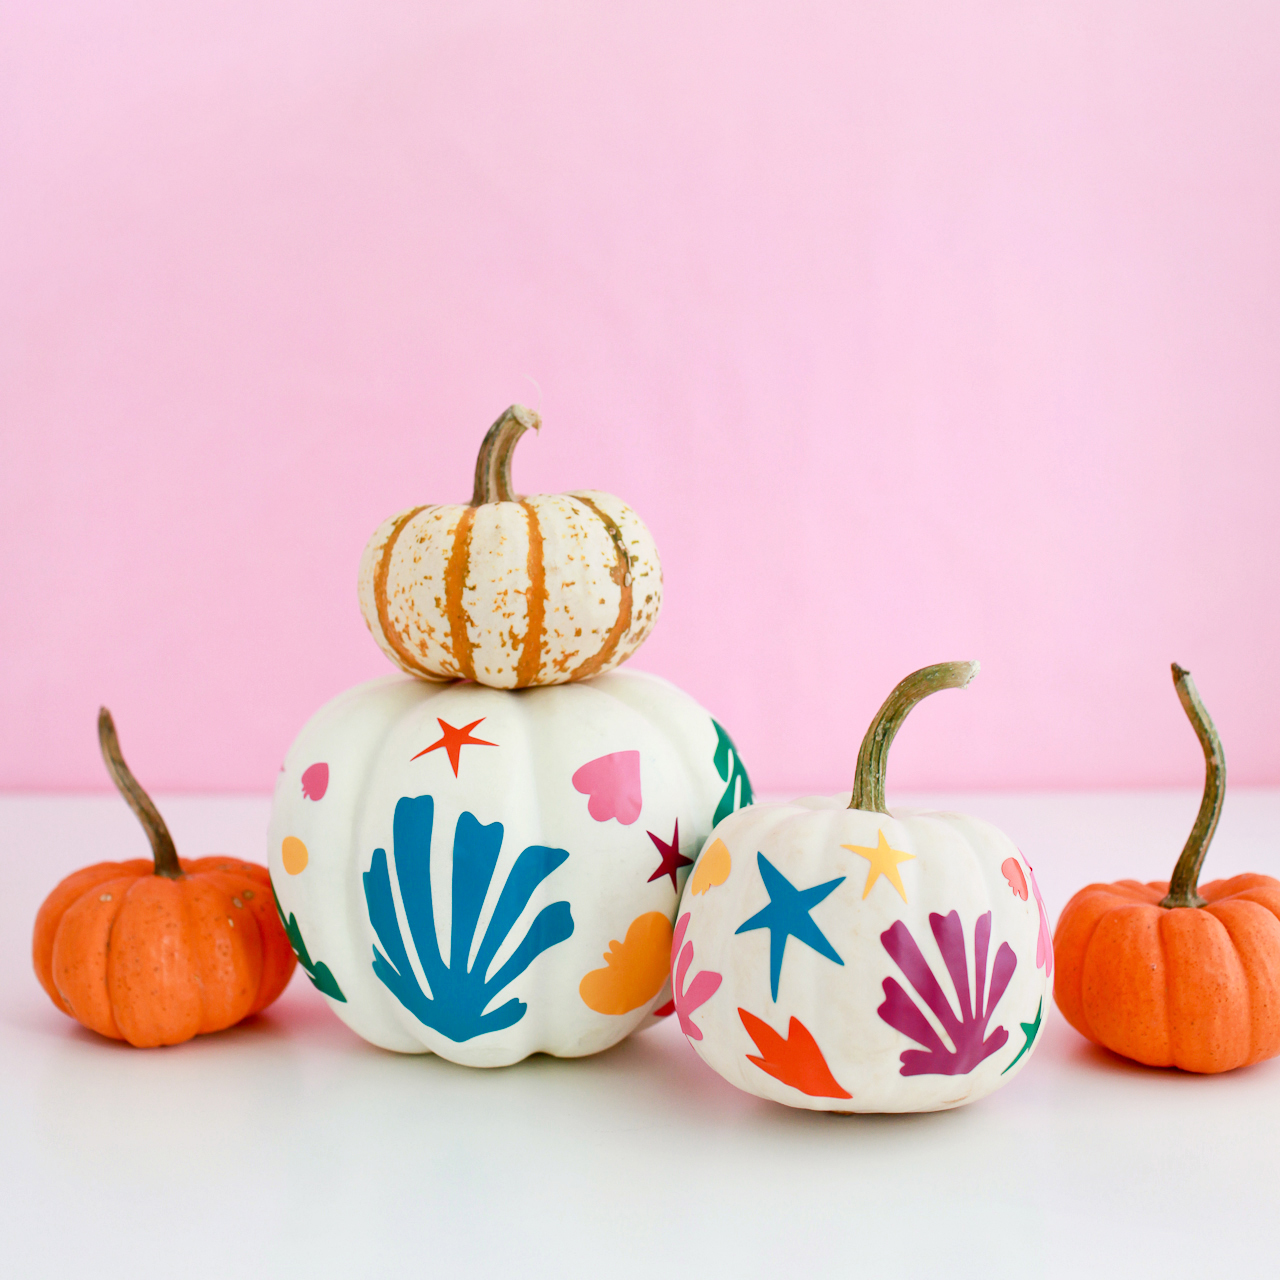
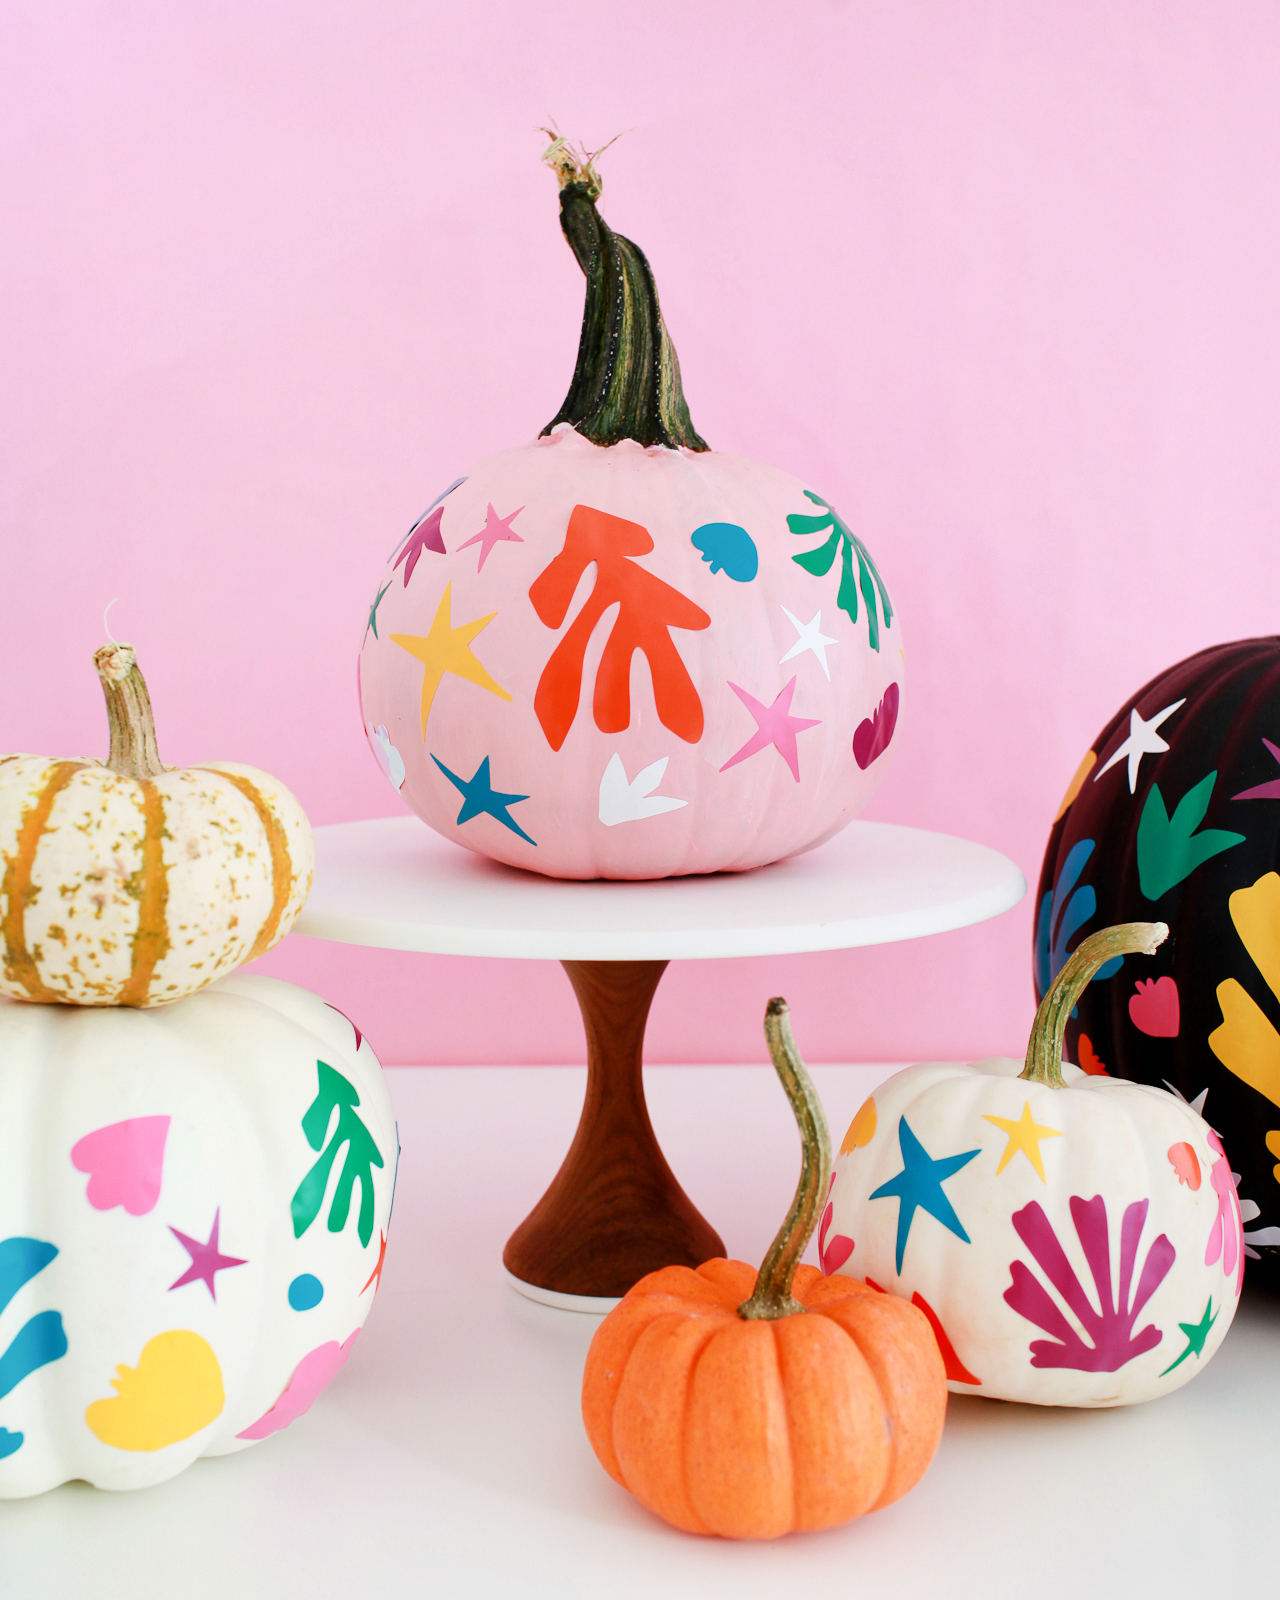
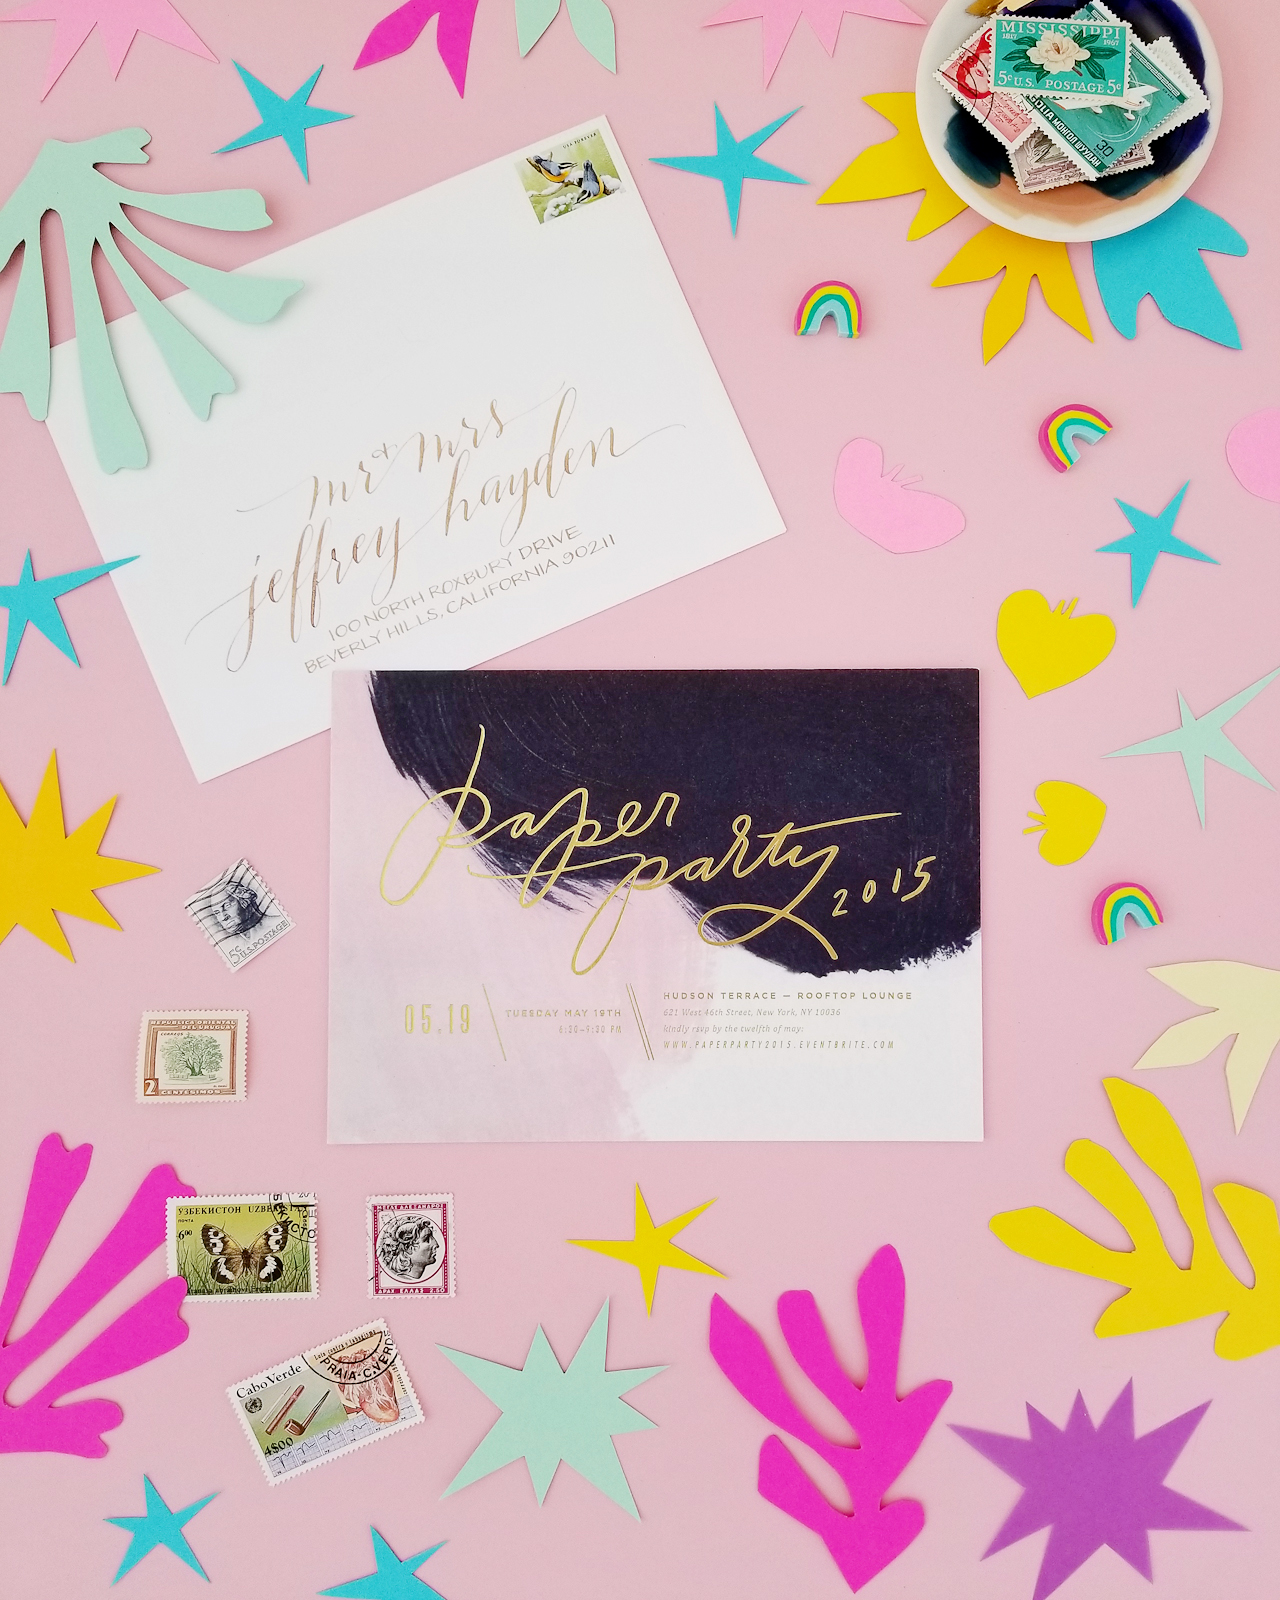
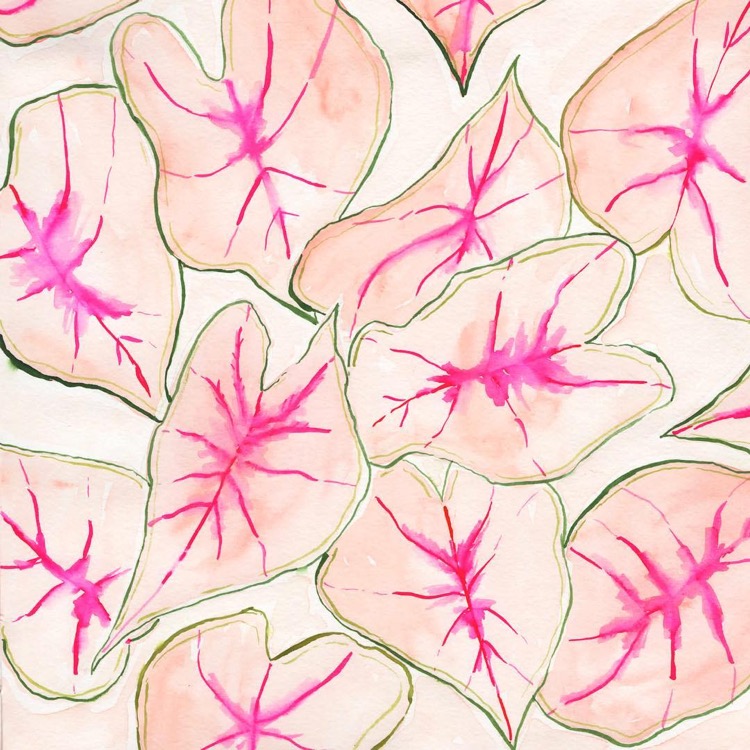
With two little kids in the house, our Halloween tends to be more fun and colorful – less creepy and scary. So today I’m sharing a Halloween pumpkin tutorial inspired by fine art! The idea for these pumpkins came as I was making this Matisse-inspired paper garland a couple of weeks ago. The shapes are just so fun and colorful, I thought they would be great on Halloween pumpkins. These DIY Matisse-inspired pumpkins are super easy to make, and I’m sharing my template below so you can make your own!
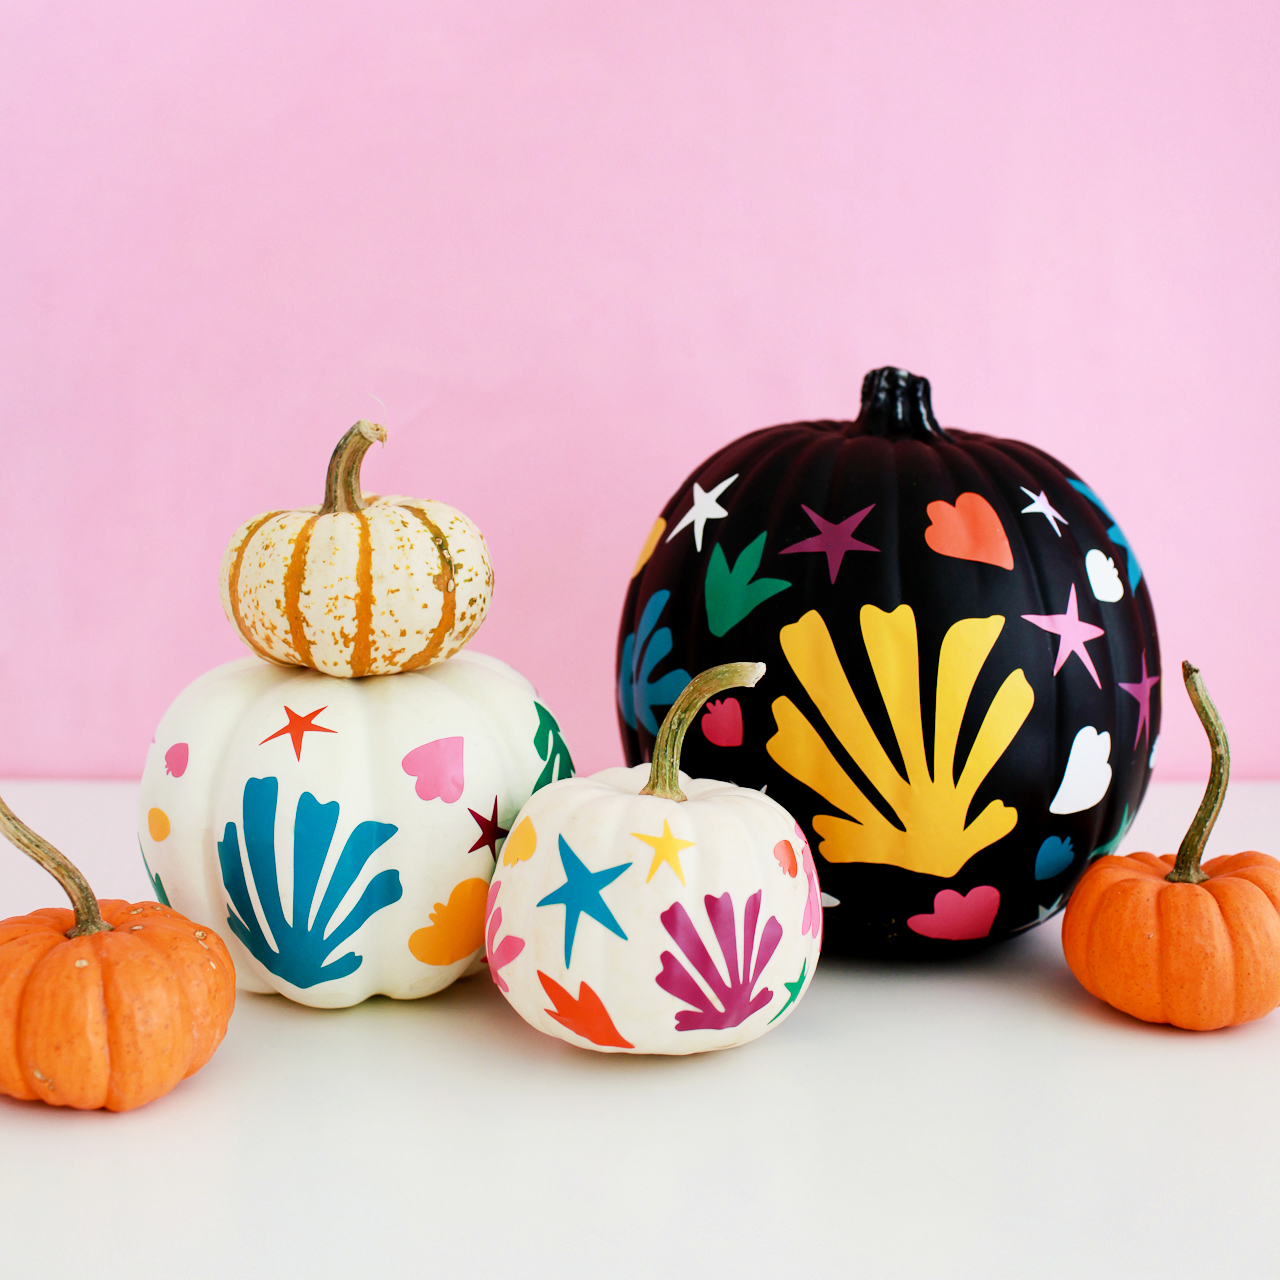
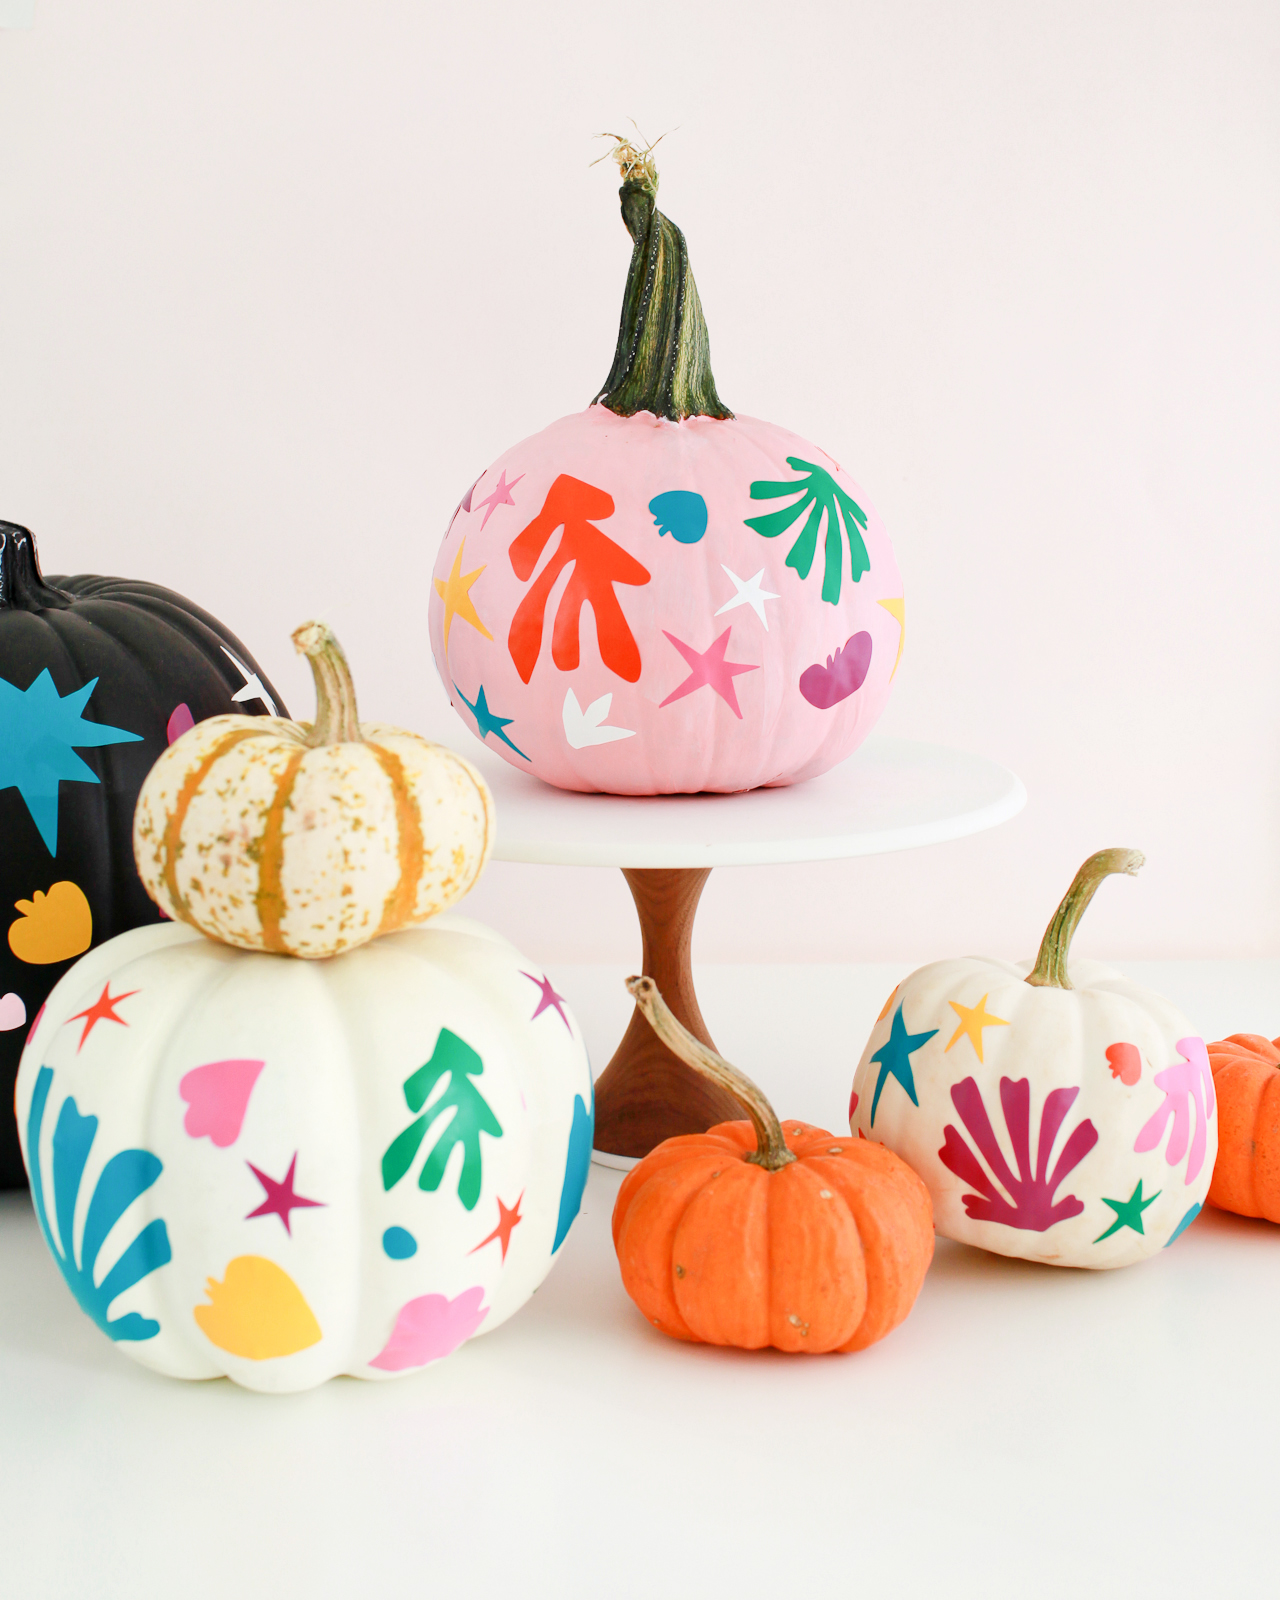
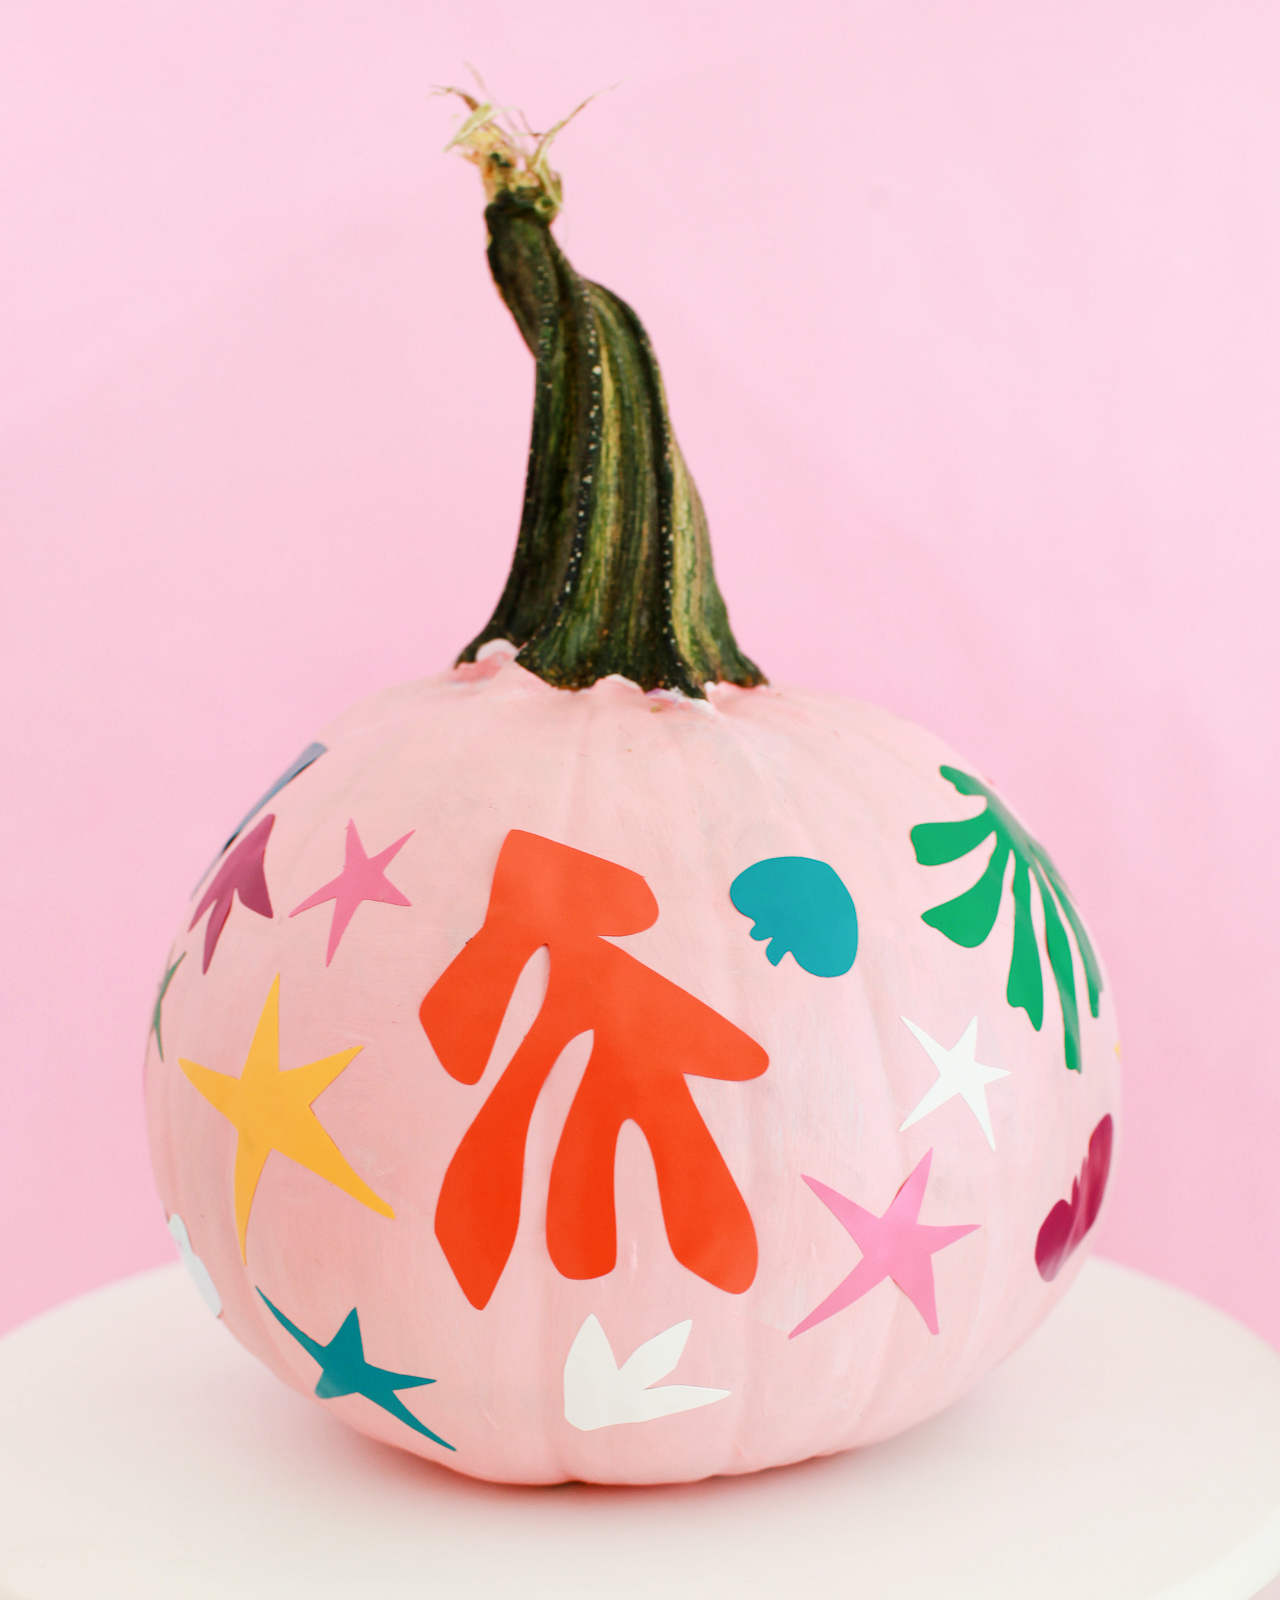
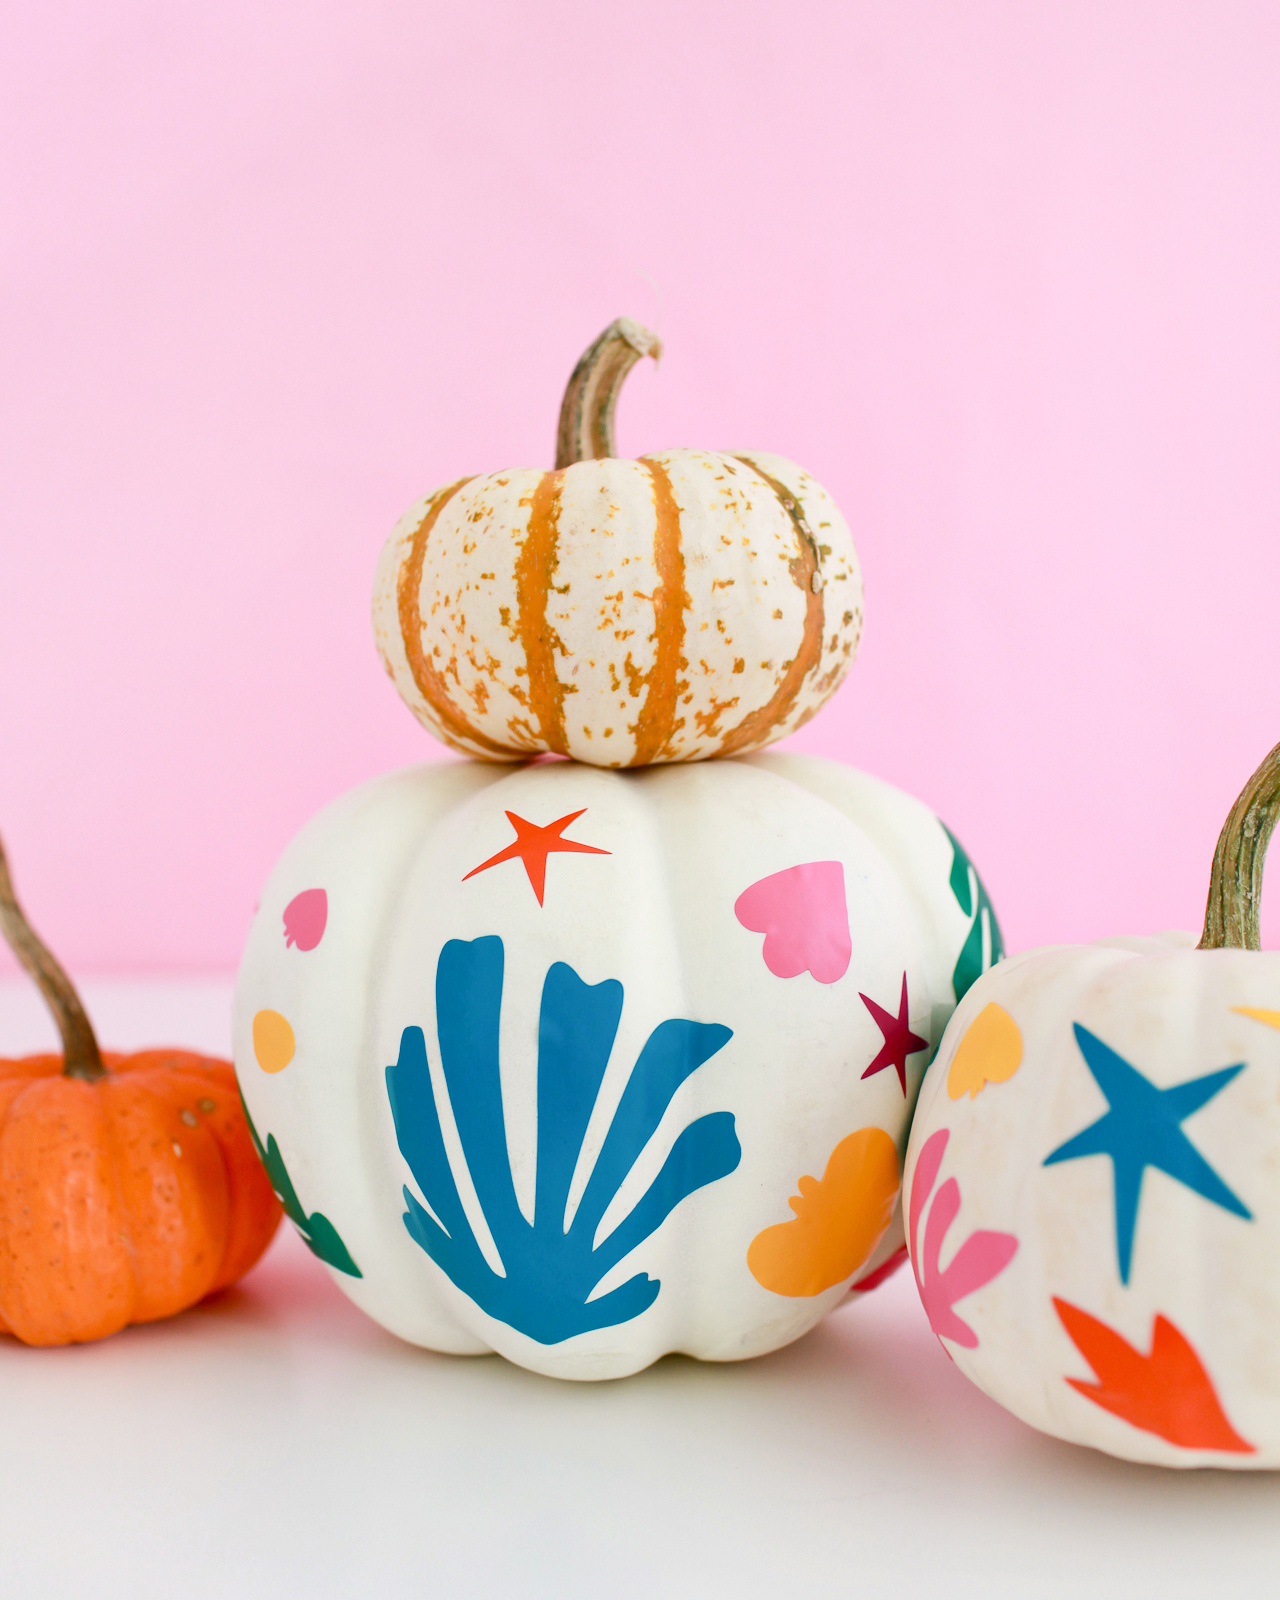
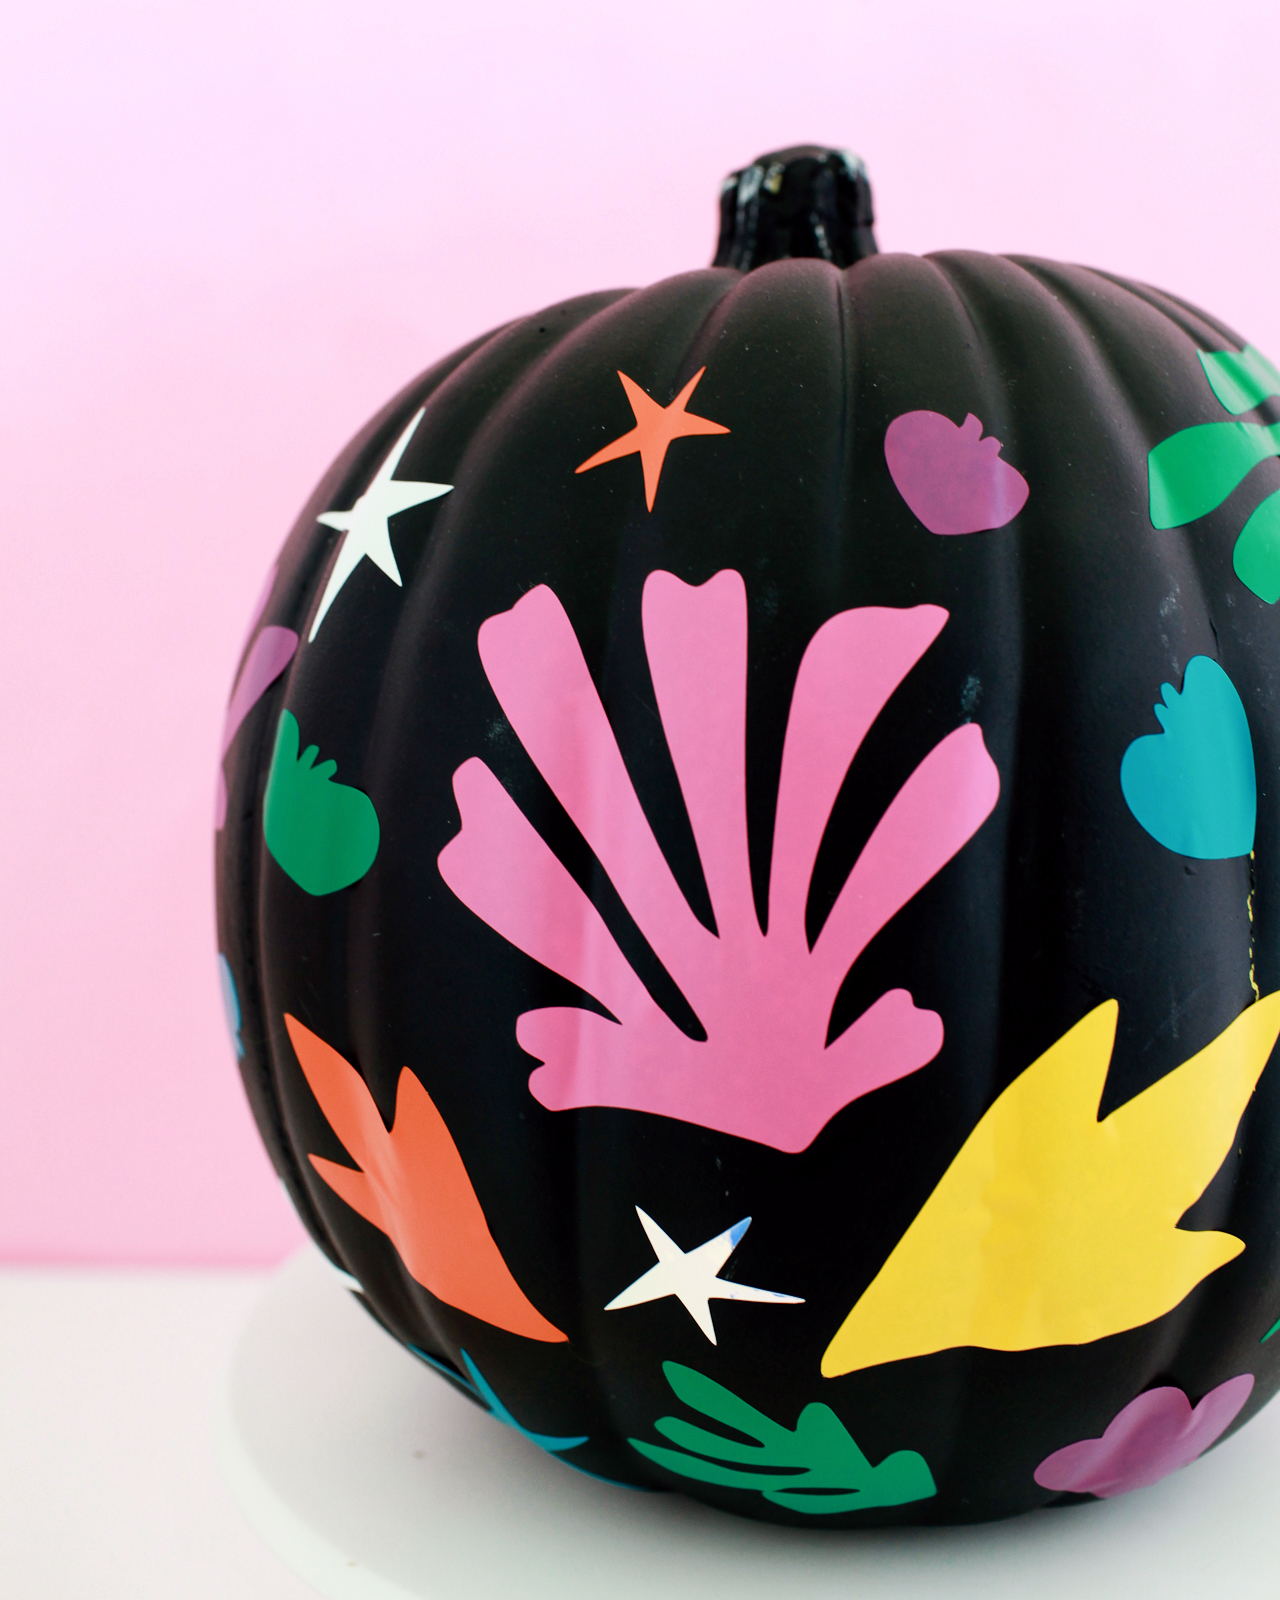
I love, love, love the way the colors pop against the white pumpkins, but they’re also great against black faux pumpkins or colorful painted pumpkins! The pink painted pumpkin is so sweet, don’t you think?
I adapted the Matisse-inspired shapes that I originally created for the garland to work on a pumpkin, making them slightly smaller for large pumpkins and adding a set of smaller shapes to use on tiny pumpkins and mix with the larger size shapes for variety. And the shapes are really fun when mixed all together in a random pattern on the pumpkin!
The supplies for this project are pretty simple: you’ll need matte craft vinyl in a variety of colors (I used pink, orange, yellow, green, teal, purple, and white) and a Silhouette Cameo or Cricut Explore cutting machine. If you don’t have one of those machines, you can still use our template to trace the shapes onto the vinyl and cut the shapes out by hand – but it will go a LOT faster with a cutting machine. You can download our templates at the bottom of the post!
To make the DIY Matisse-inspired pumpkins:
Step 1. Download our templates at the bottom of the post and use your Silhouette Cameo or Cricut to cut the shapes from each color of vinyl. You can do a colorful rainbow like I did (best if you’re doing a big group of pumpkins) or keep things simple with just one or two colors!
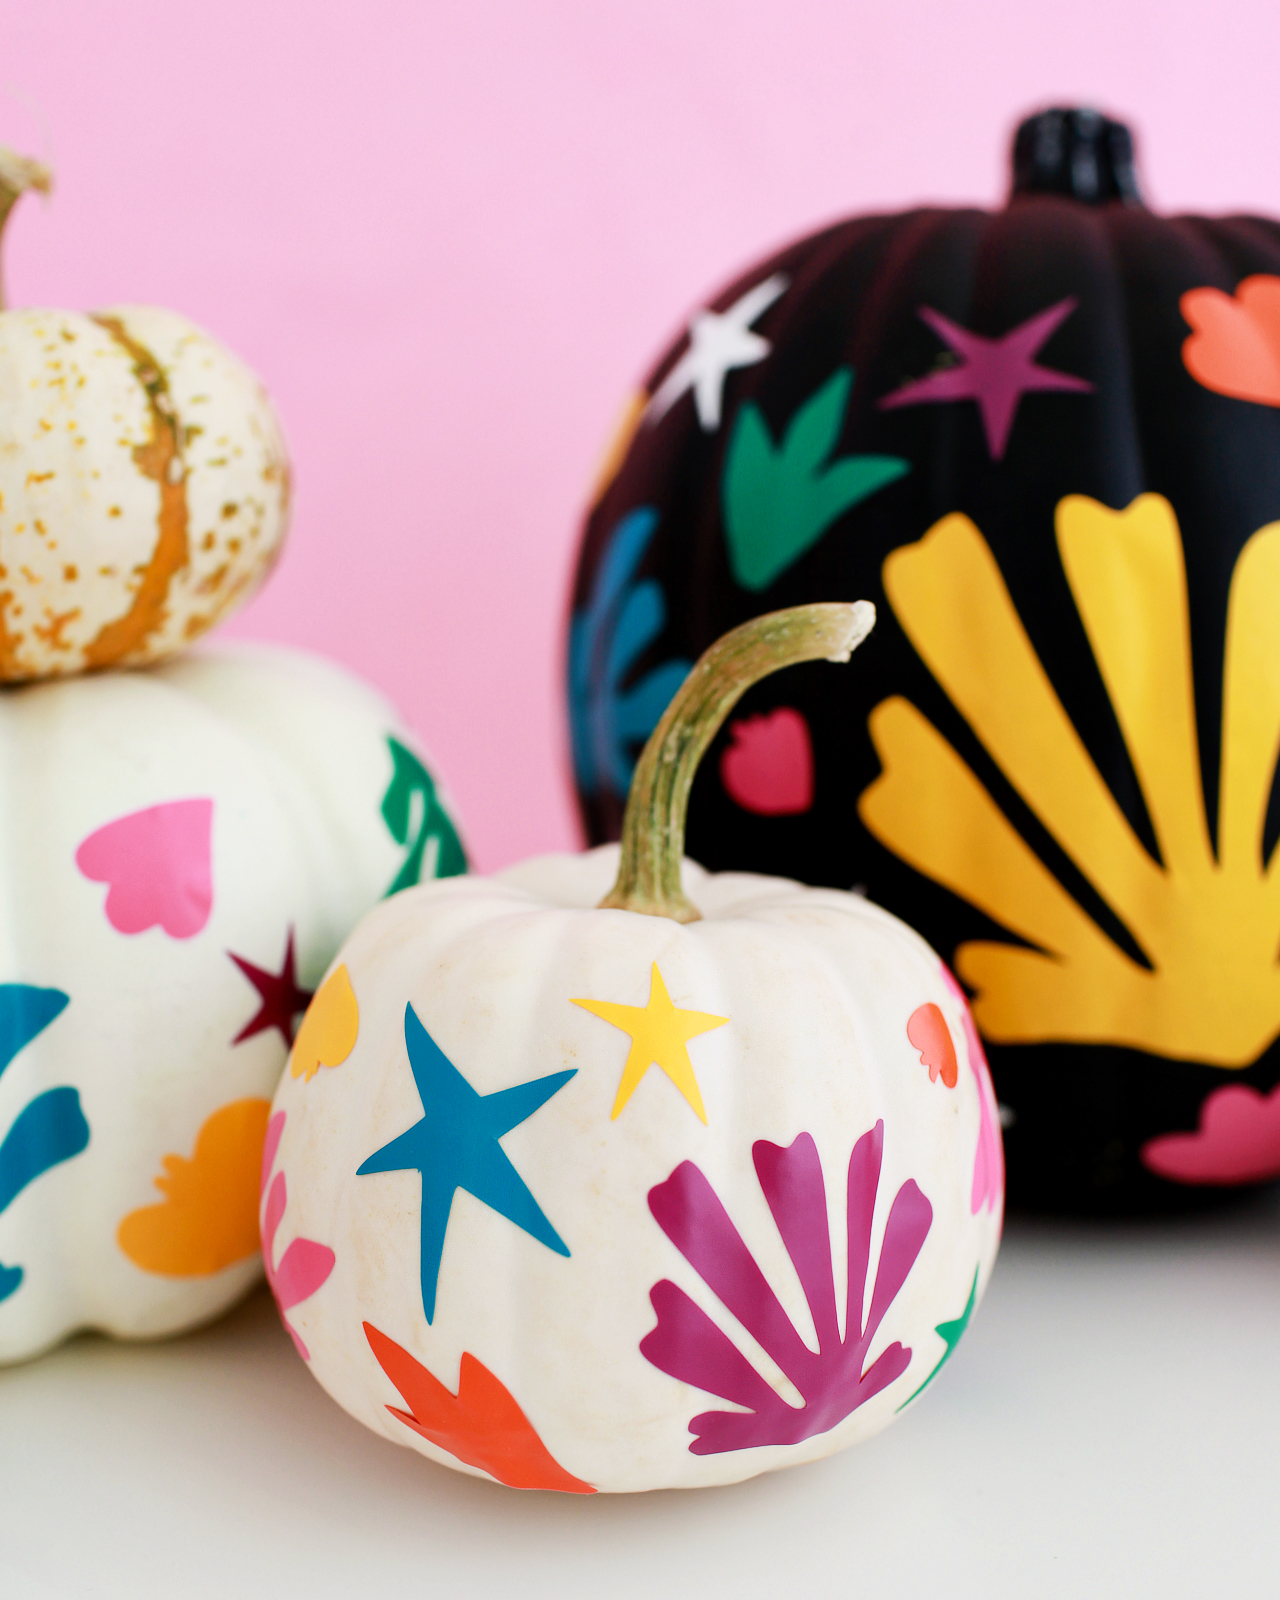
Step 2. Carefully peel individual shapes from the adhesive backing and apply to the pumpkin like a sticker. I found it easiest to start with some of the larger shapes randomly scattered around the pumpkin surface, then fill in with the smaller shapes as I went. I really didn’t have a plan, so you can totally just wing it! If you place a shape and then change your mind, you should be able to move it by very carefully peeling the vinyl from the pumpkin and moving it to a new spot.
Step 3. Continue placing vinyl shapes until you’ve covered the entire pumpkin, and enjoy!
So easy, right? And such a great way to add some color to your front porch for Halloween!
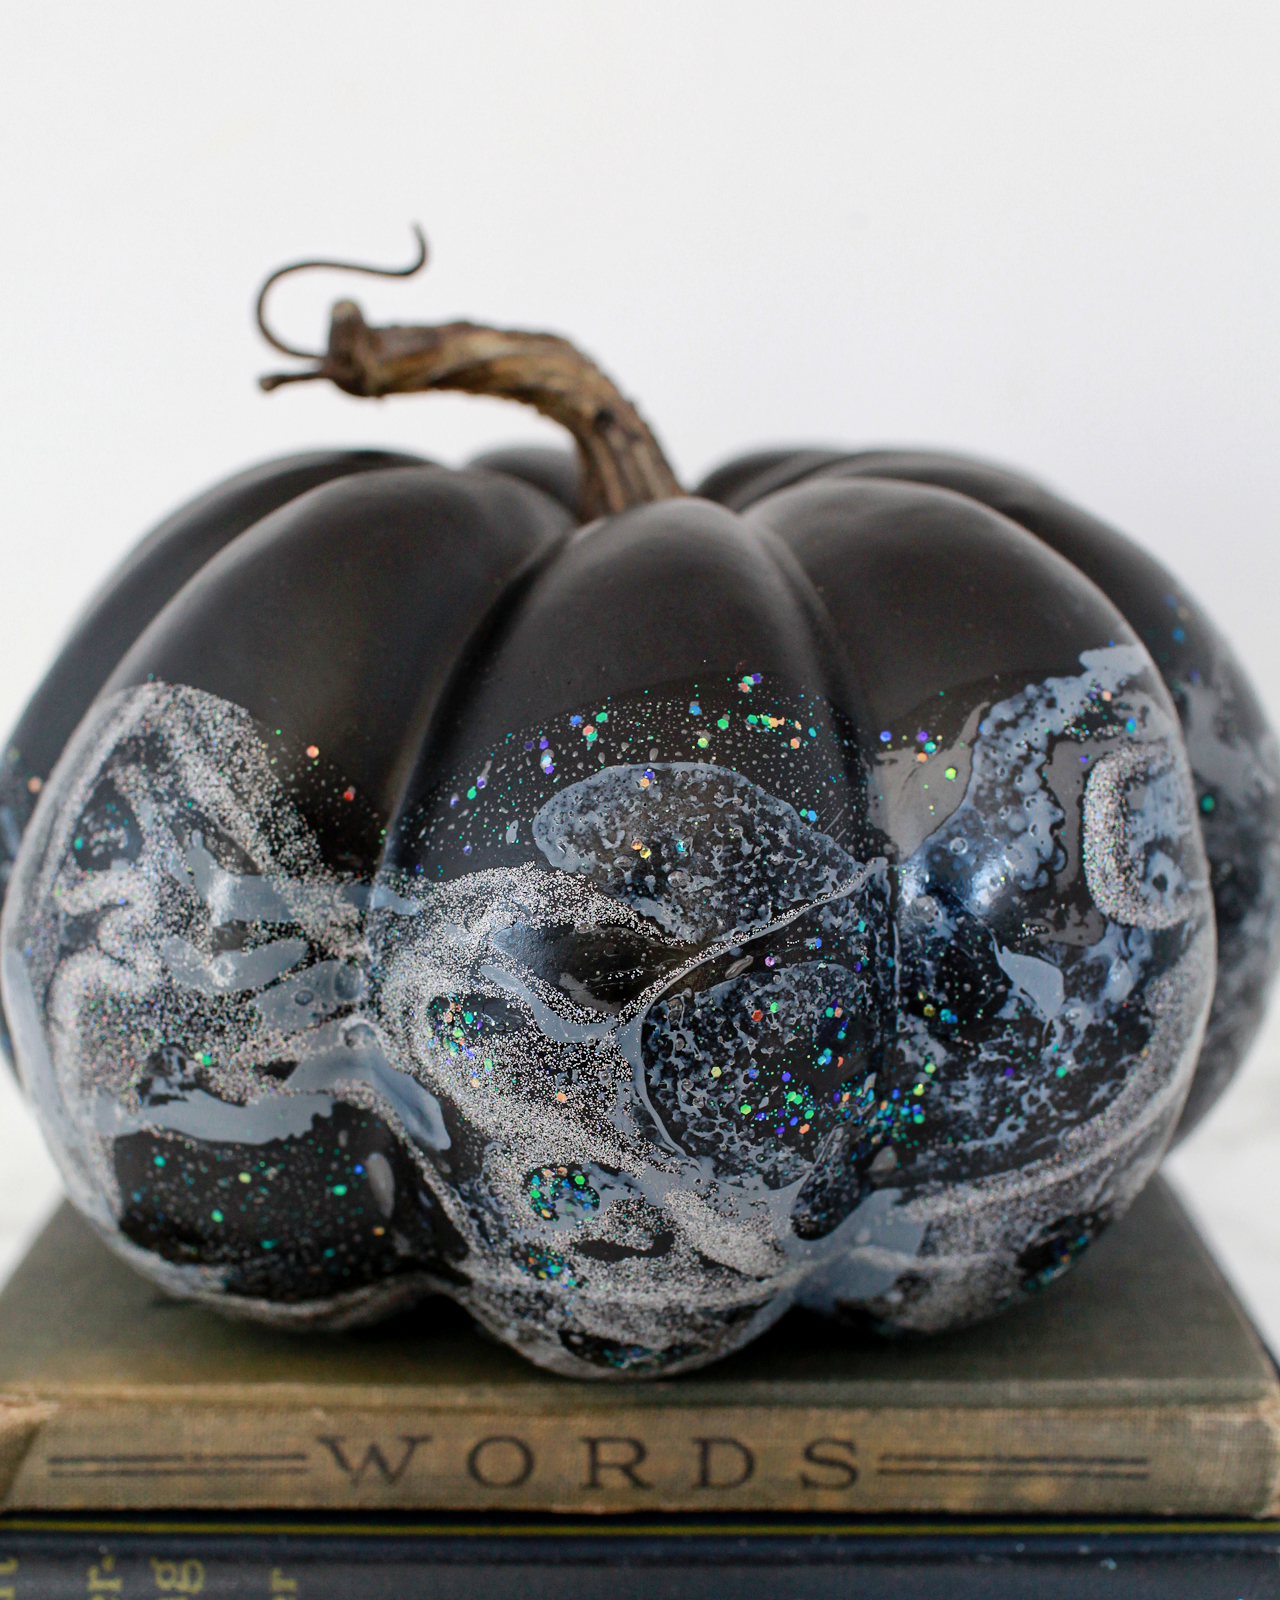
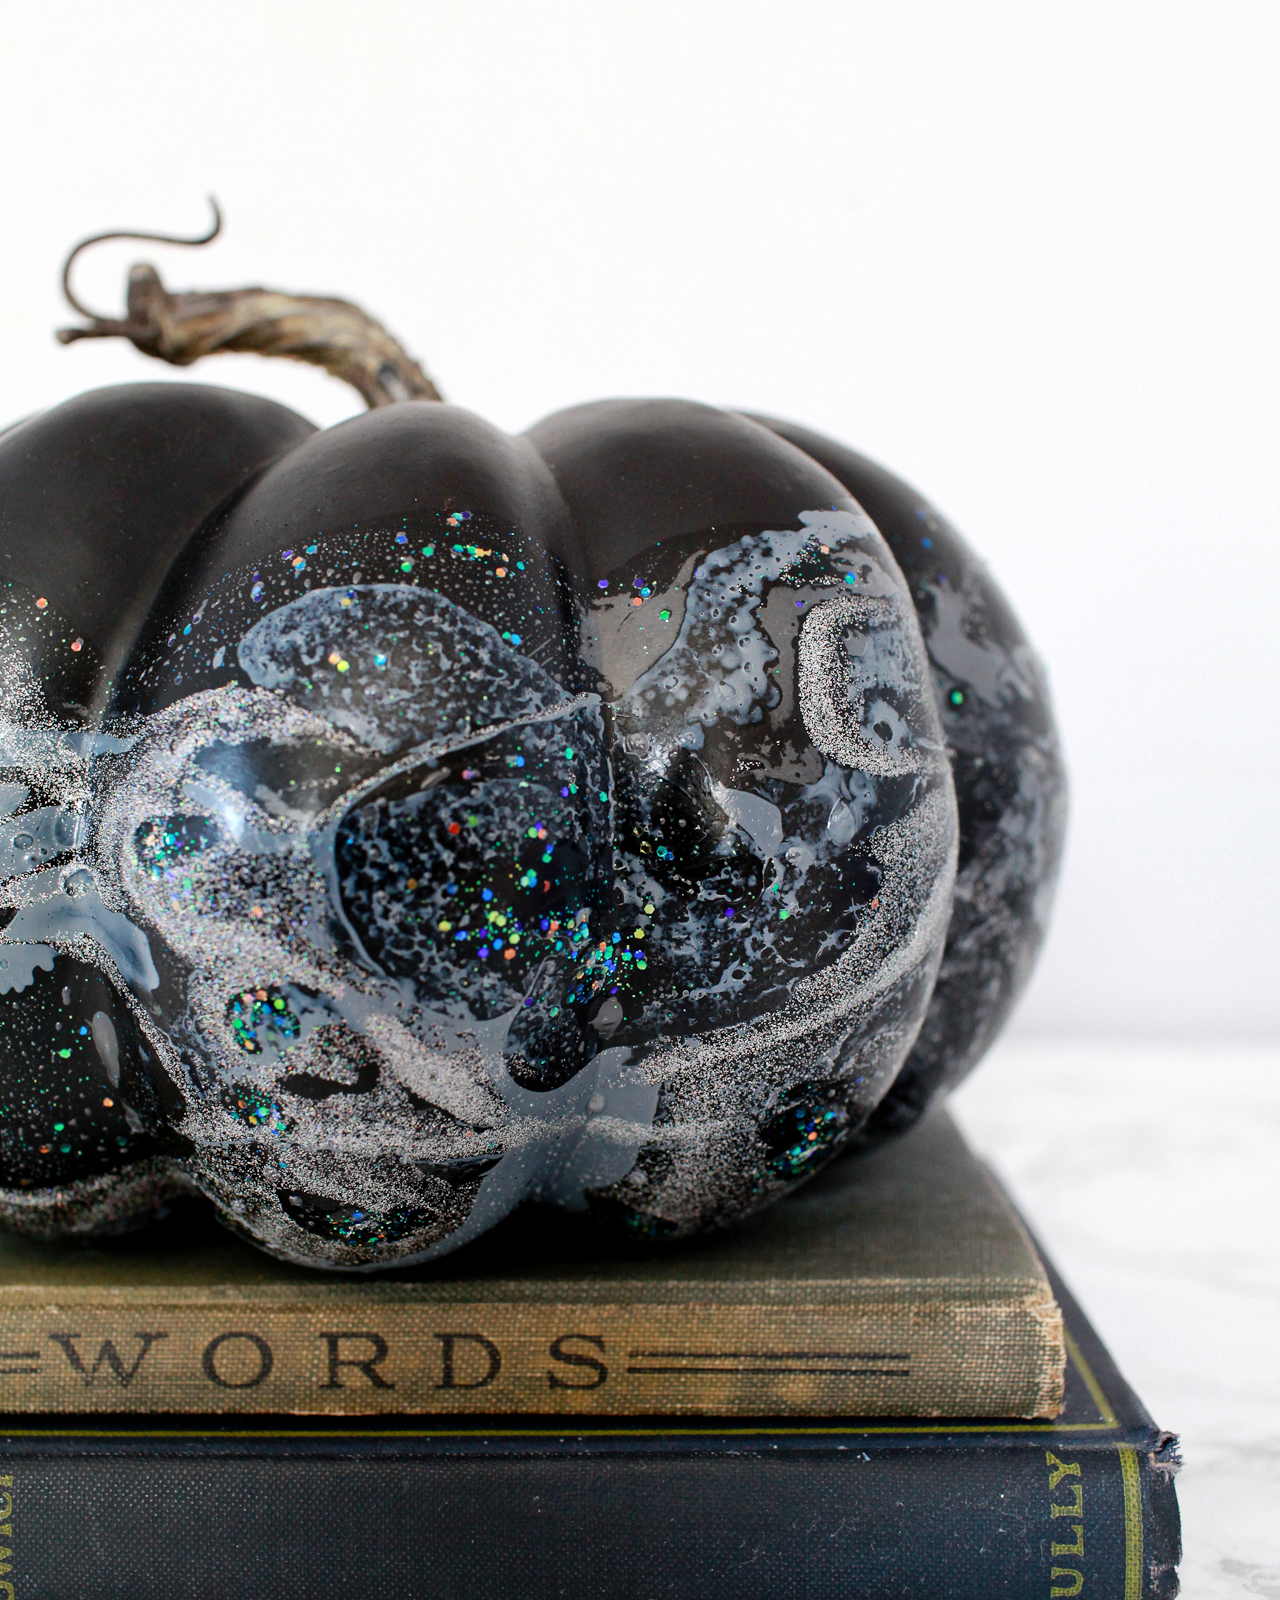
I have a couple of fun DIY pumpkin projects that I can’t wait to share with you – but first, I thought I’d revisit some of my favorite DIY Halloween ideas from years past! First up, these DIY hologram galaxy pumpkins are SO much fun to make – and the results are SO cool! This method will work on pretty much any dark pumpkin, from matte black to a deep navy blue!
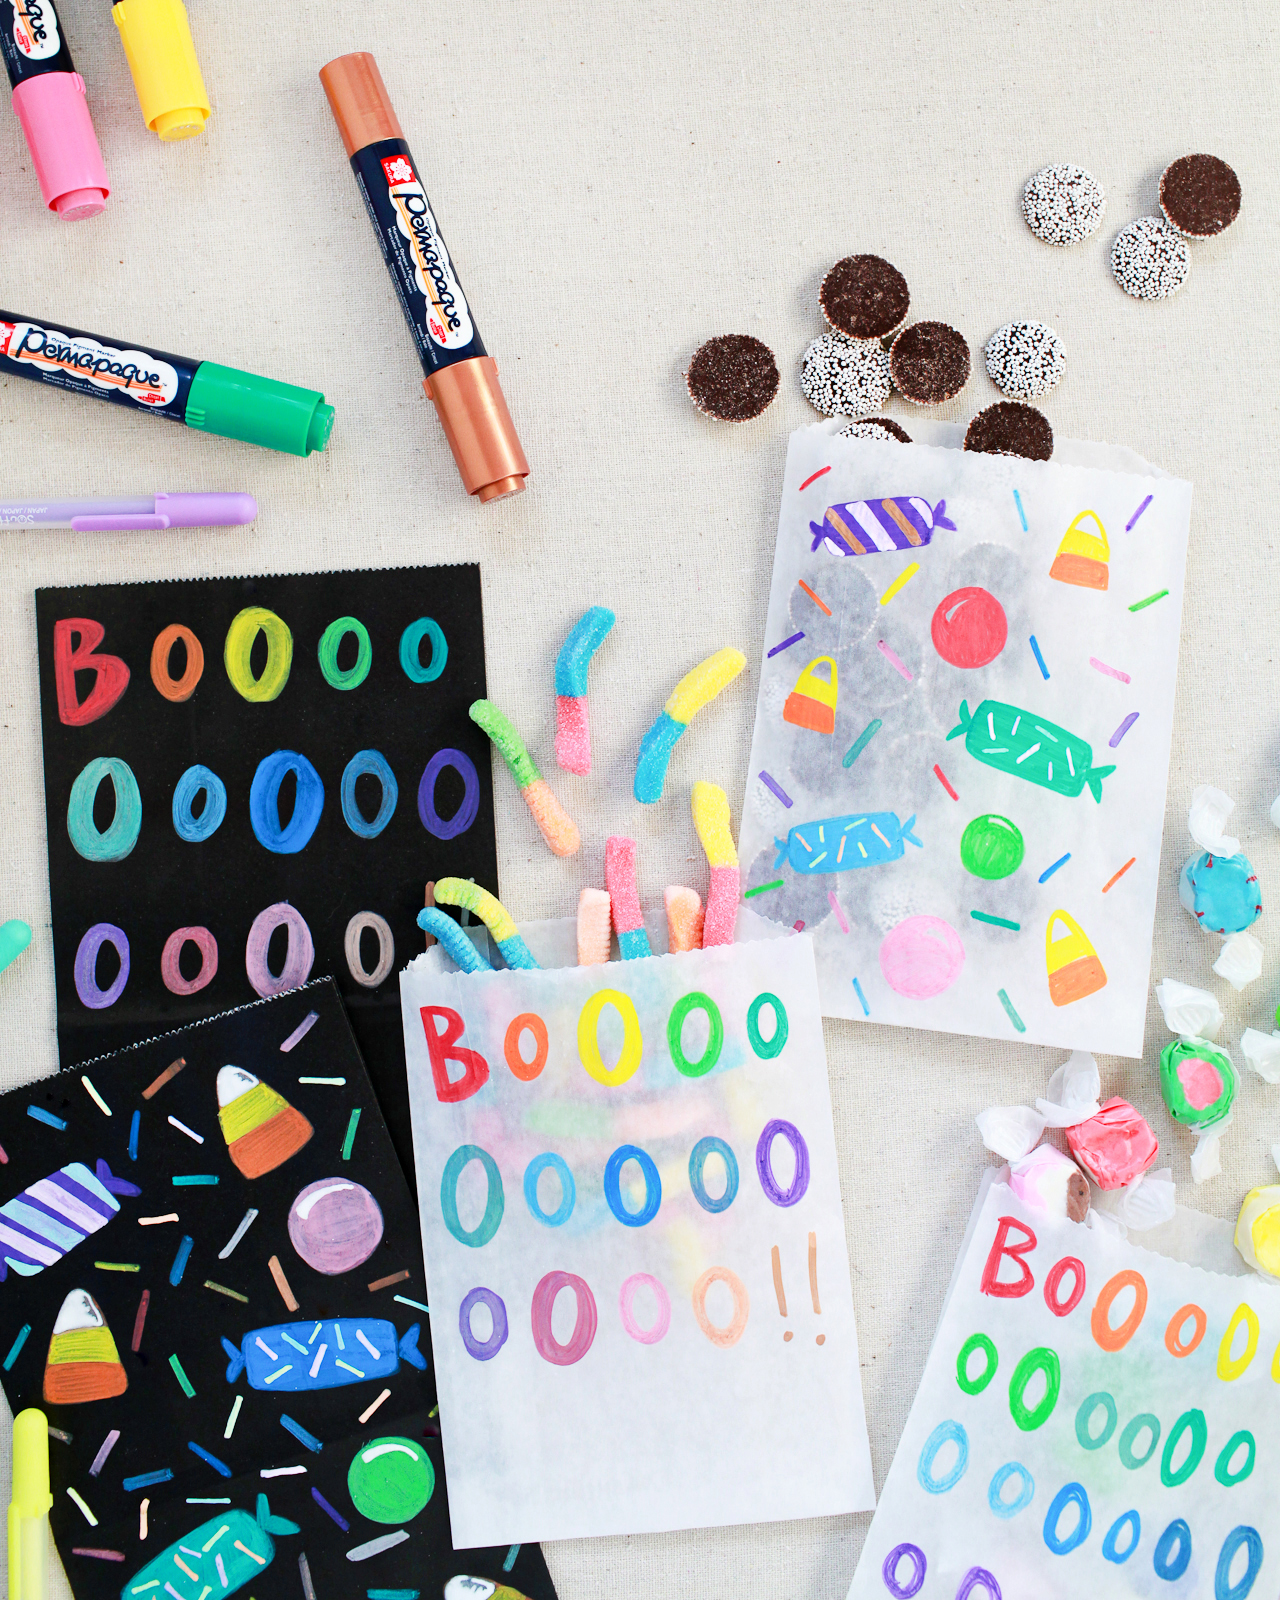
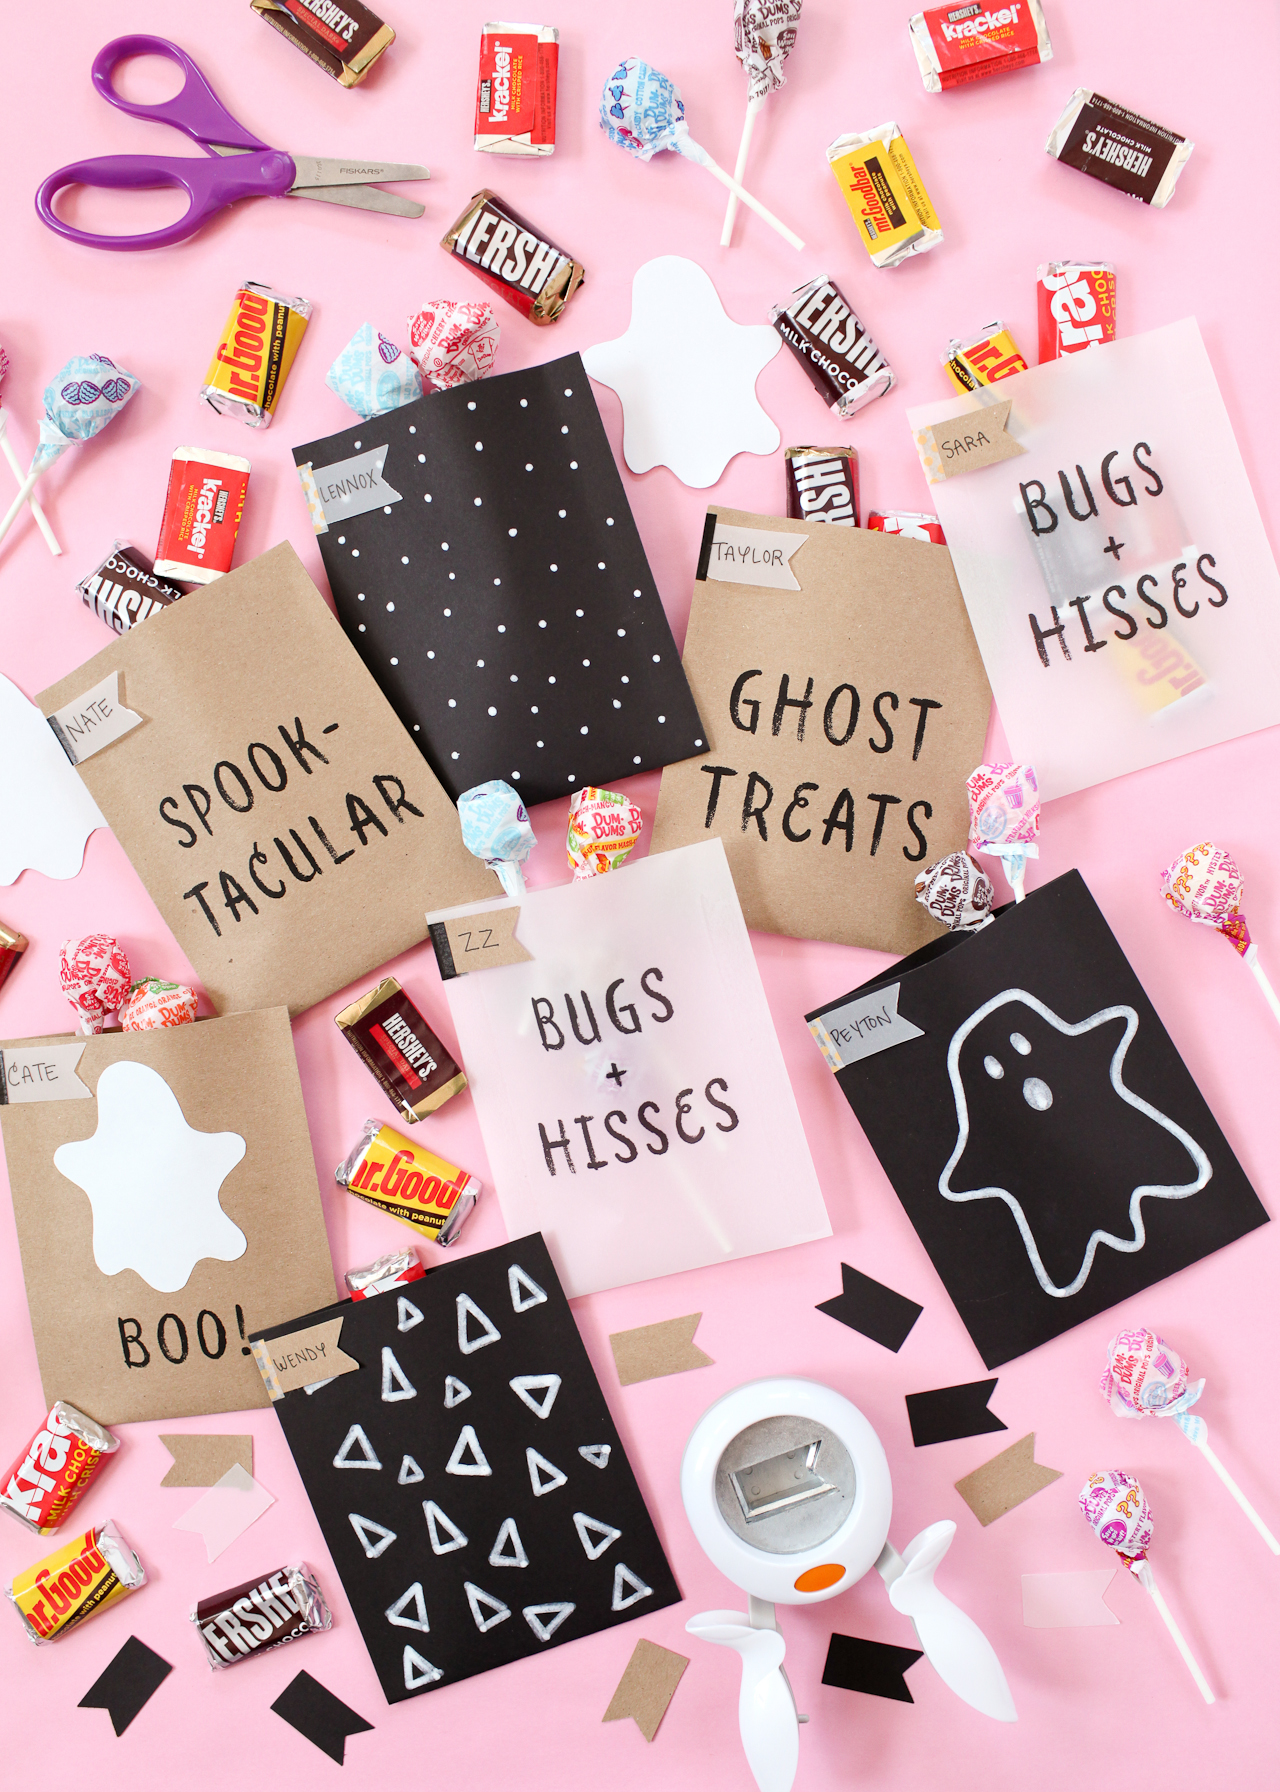
For those of you with school-aged kids, I created these fun printable Halloween classroom treat bags with some of my favorite Halloween puns. Print them on any paper color (I used kraft paper and vellum), and fill them with sweet (or healthy) treats! You can also use white Pen-touch paint markers to add a few fun patterns on black treat bags!
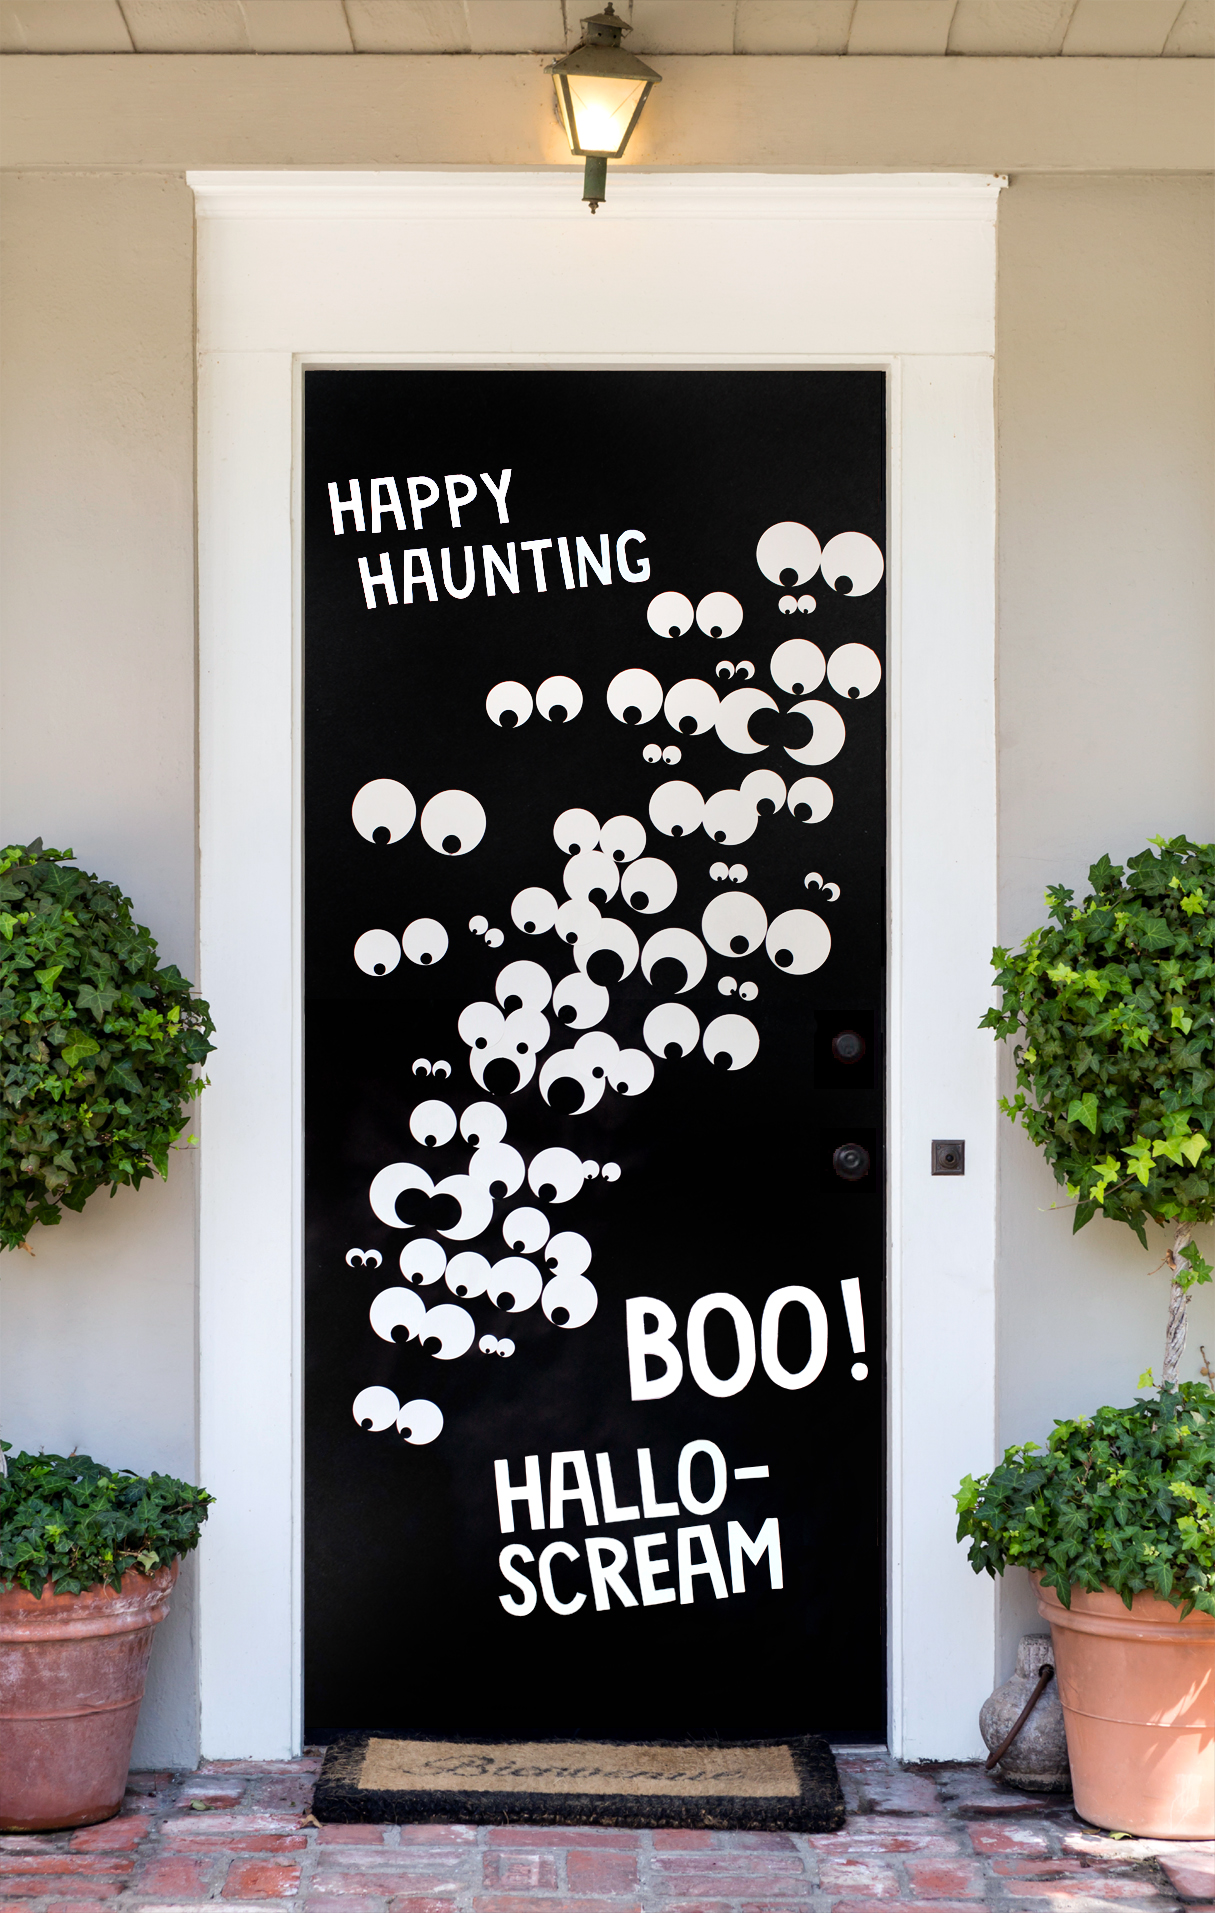
My kids aren’t quite ready for the super scary side of Halloween, so I created this quirky DIY eyeball Halloween door cover using circle craft punches in a variety of sizes! Wouldn’t this be completely adorable on a classroom door??
This is a sponsored conversation written by me on behalf of Samsung. All content and opinions are my own. Thank you for supporting thesponsors that make Oh So Beautiful Paper possible!
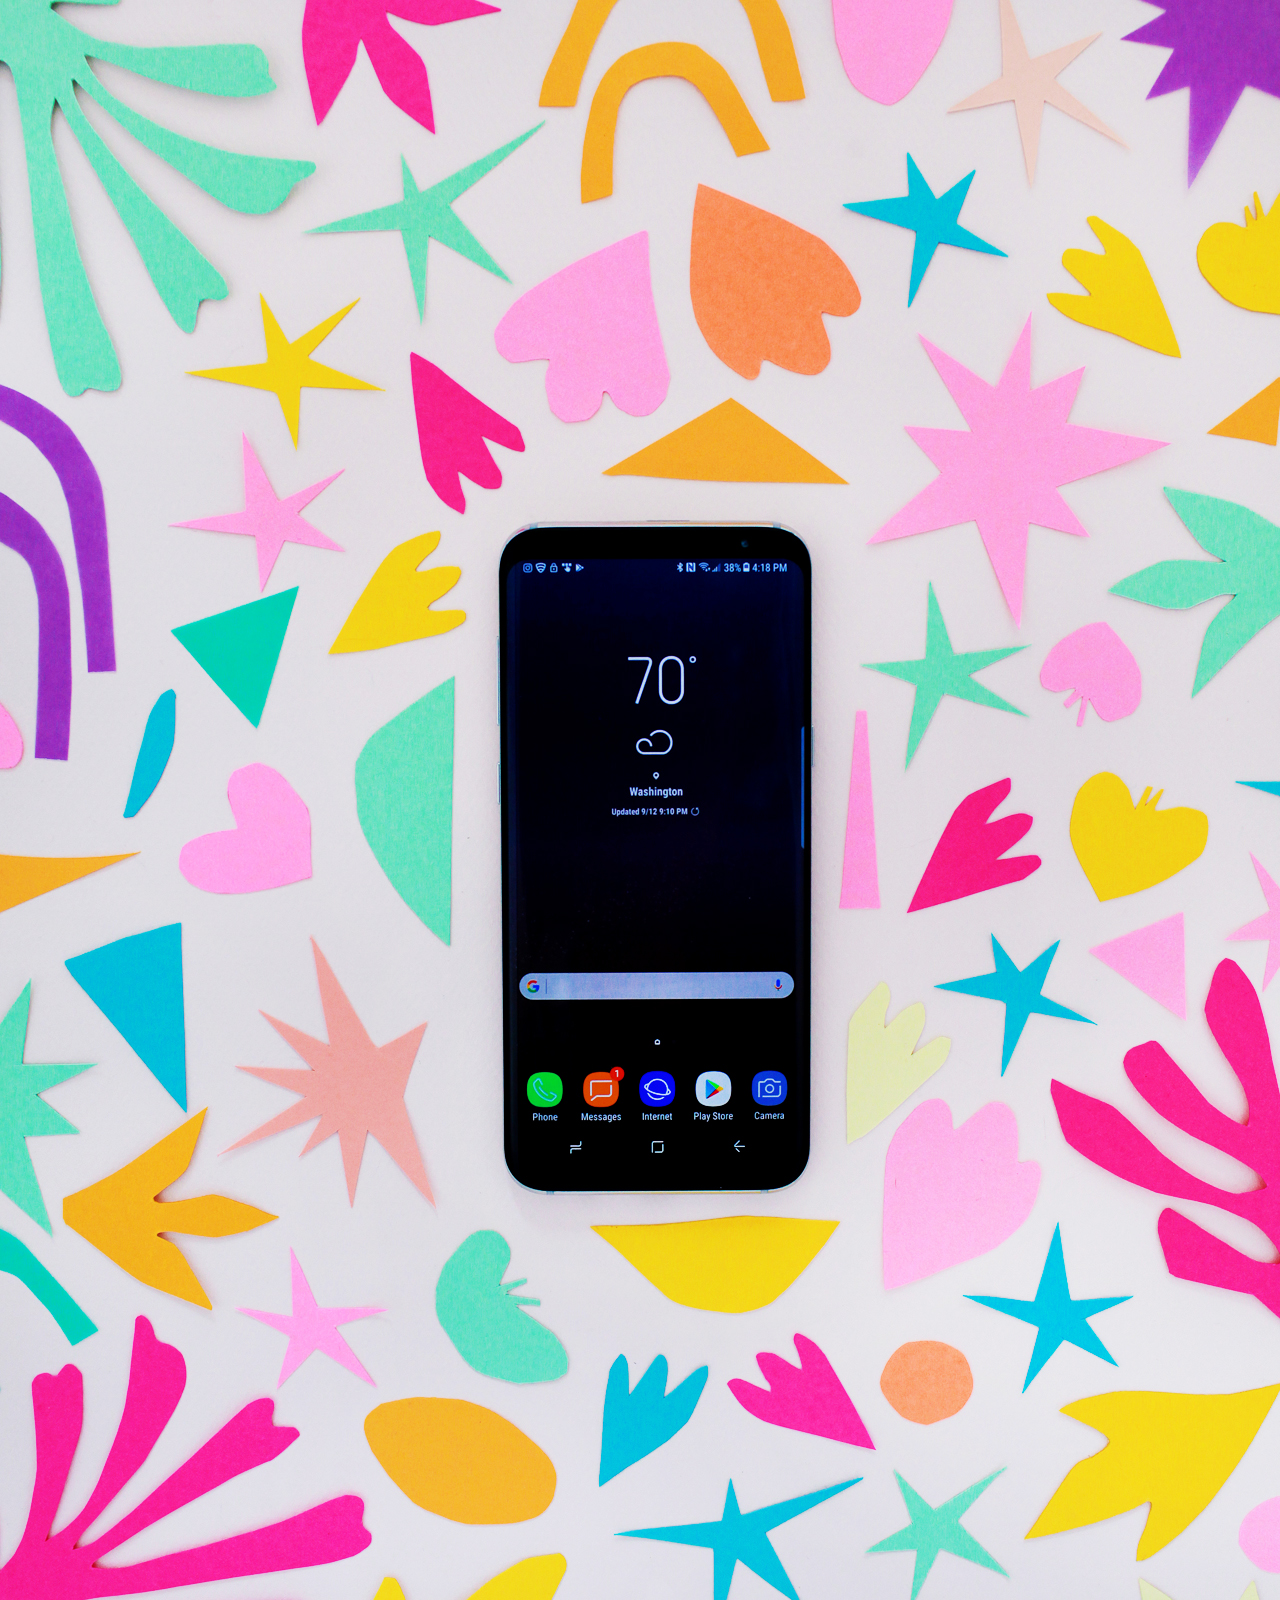
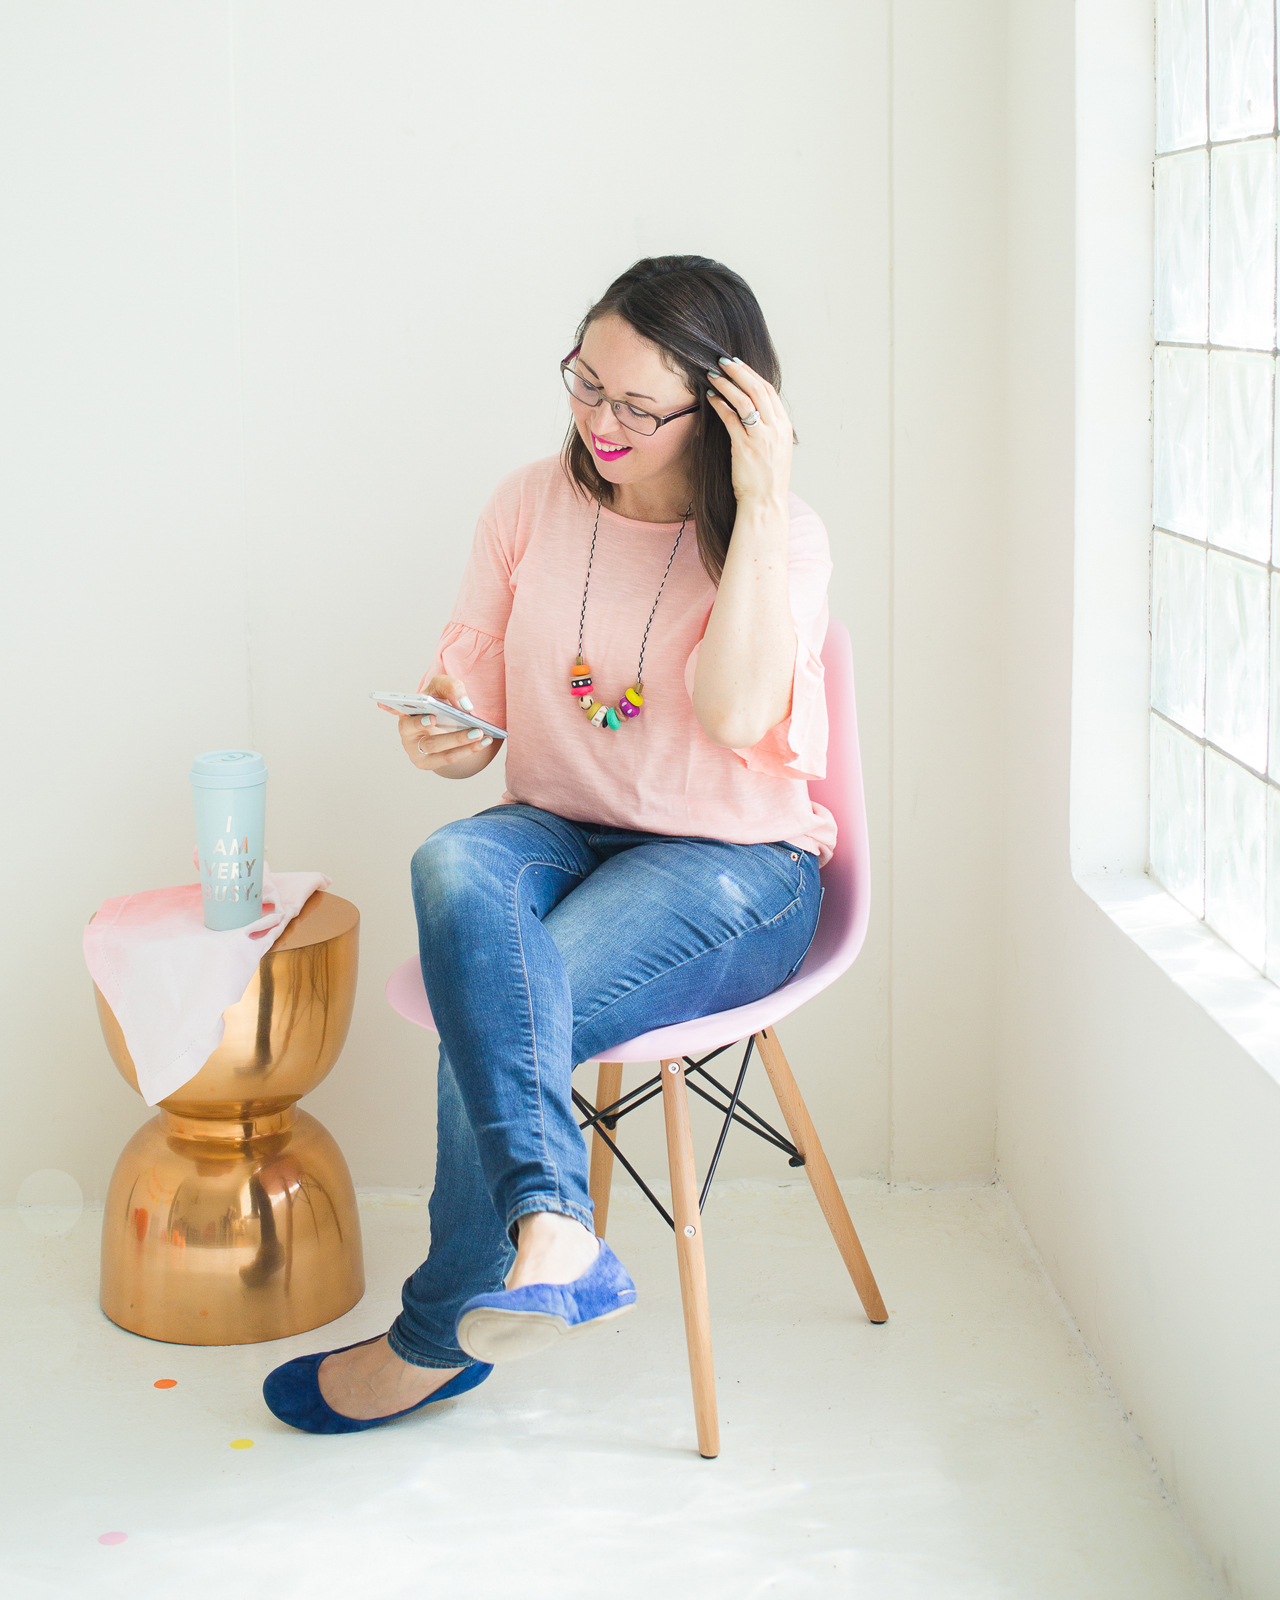
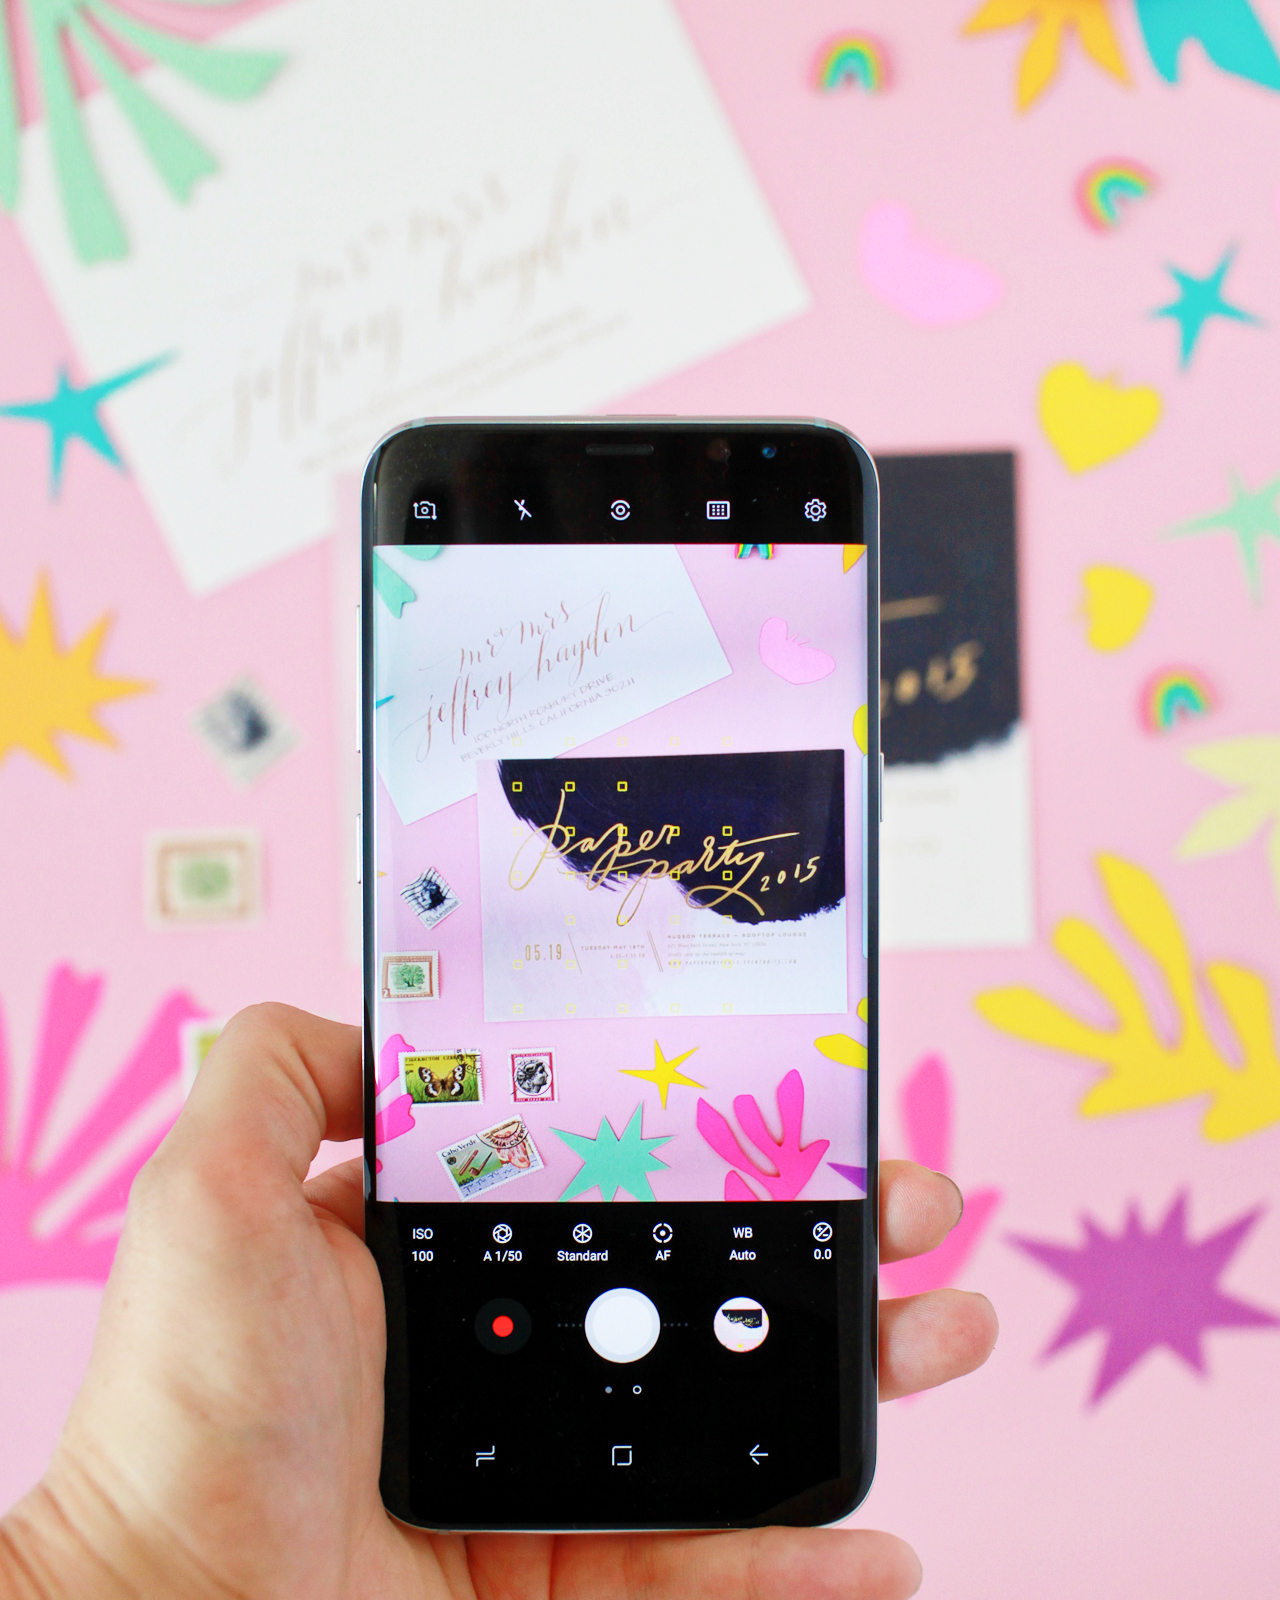
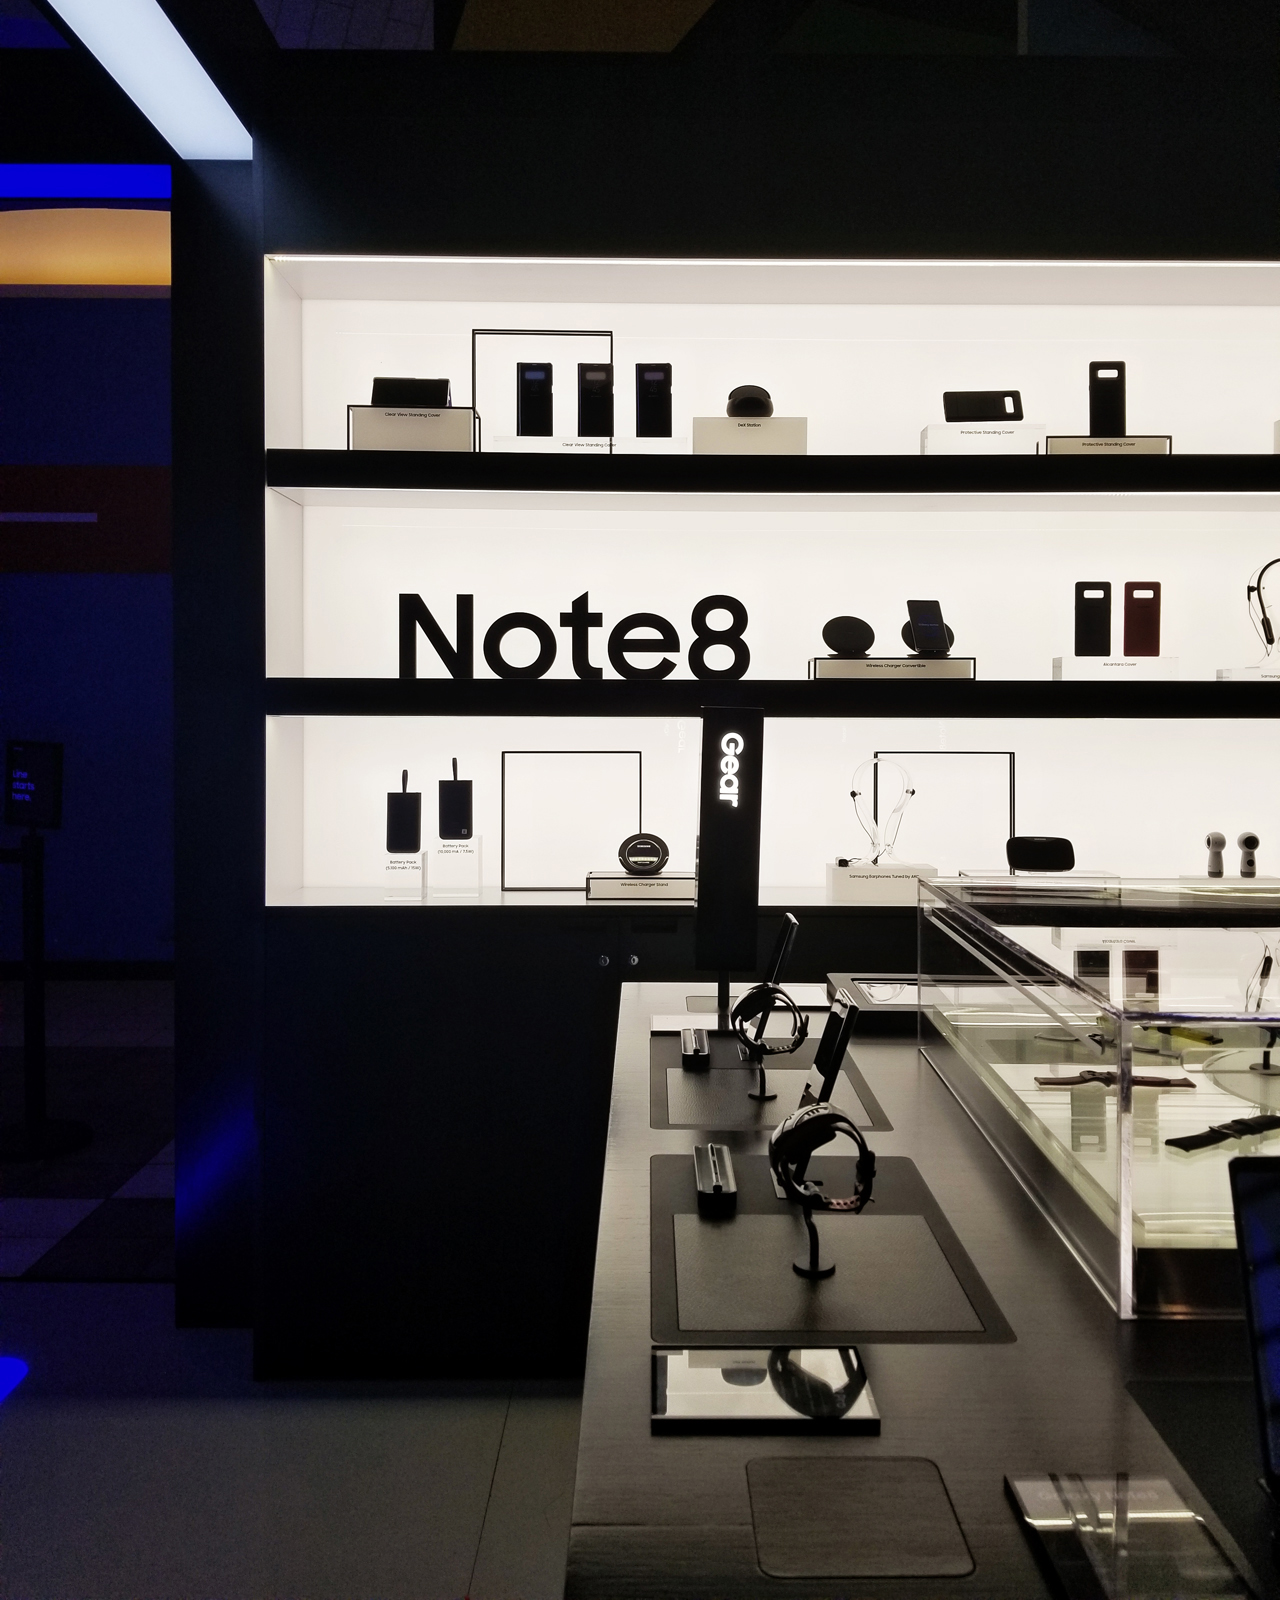
Like everyone else, I basically live on my phone. Email, social media, calendars, running lists and notes, reading on the Kindle app – and of course, taking photos. I drag my big DSLR camera out for blog photo shoots and travel, but I pretty much always use my phone to snap a quick photo of my kids or style something for social media. This means the camera component of my phone is SUPER important to me. I’ve heard good things about the camera in the new Samsung Galaxy S8 (especially the video quality!), so I was thrilled when Samsung gave me a Galaxy S8+ to try out. I took the Galaxy S8+ with me on a recent family trip to Upstate New York, and I thought I’d share the results with you today! And for those of you in DC, Dallas, Chicago, New York, Los Angeles, and Las Vegas, you can check out the new Galaxy S8 in person at one of the Samsung Galaxy Studios, which have a bunch of fun interactive experiences – read below for more info on my visit to the DC Studio!
Okay, so first things first. I’m not a techie person who can rattle off megapixels and display resolution facts at the drop of a hat. But I know how things look in a camera, and I know image quality. And you guys, the camera on the Galaxy S8 and S8+ is just SO good. For those of you who do follow techie talk, the Galaxy S8 has a 12 megapixel back/rear camera and 8 megapixel front-facing camera. And the phone is both dust and water resistant, just in case you have a three year old that thinks it’s super funny to drop your phone in the toilet. Sigh.
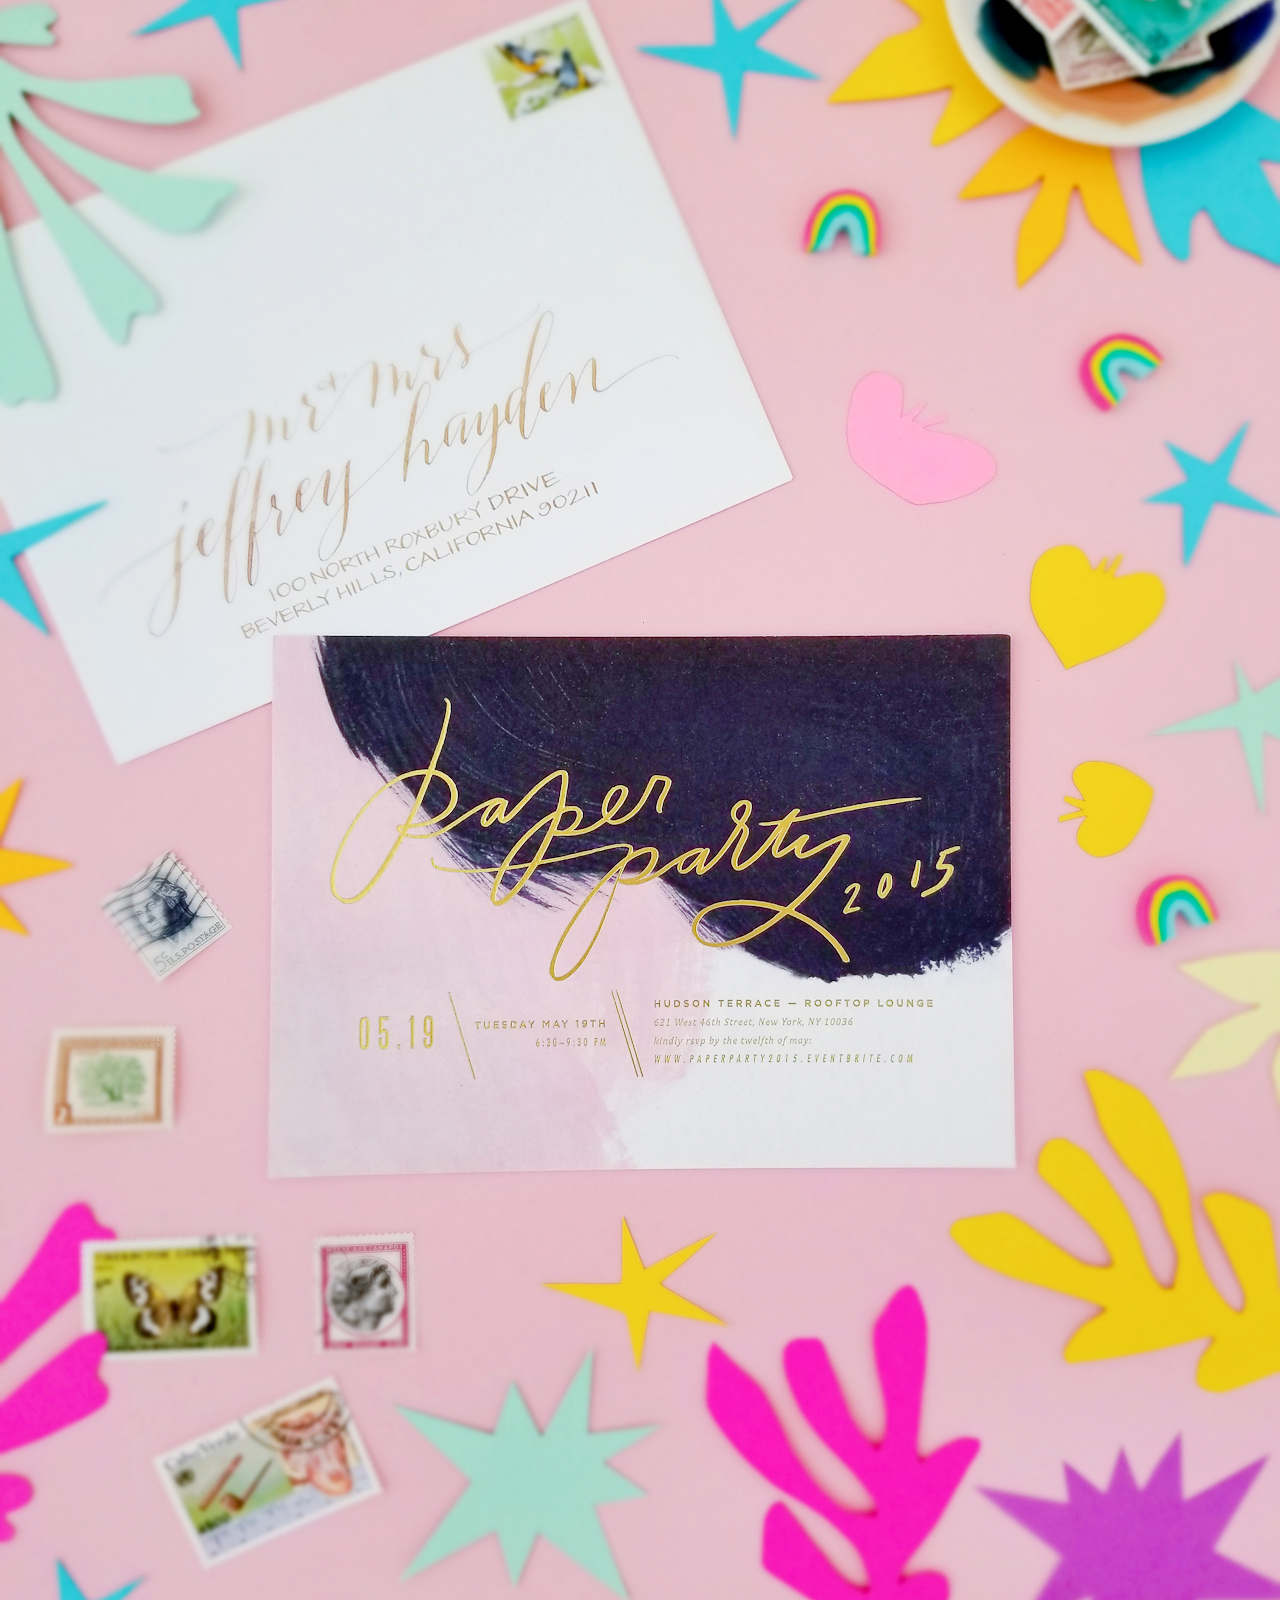
I took this photo with the Samsung Galaxy S8+!!
The Galaxy S8 and S8+ have an Infinity screen display that stretches from edge to edge and can display 16 million colors (!!) with over 4.1 million pixels. One of my favorite features on the Galaxy S8, aside from the camera of course, is that the Infinity screen gives me the ability to use two apps at once. No more toggling between apps while trying to look things up or follow a new recipe – I can do them at the same time!
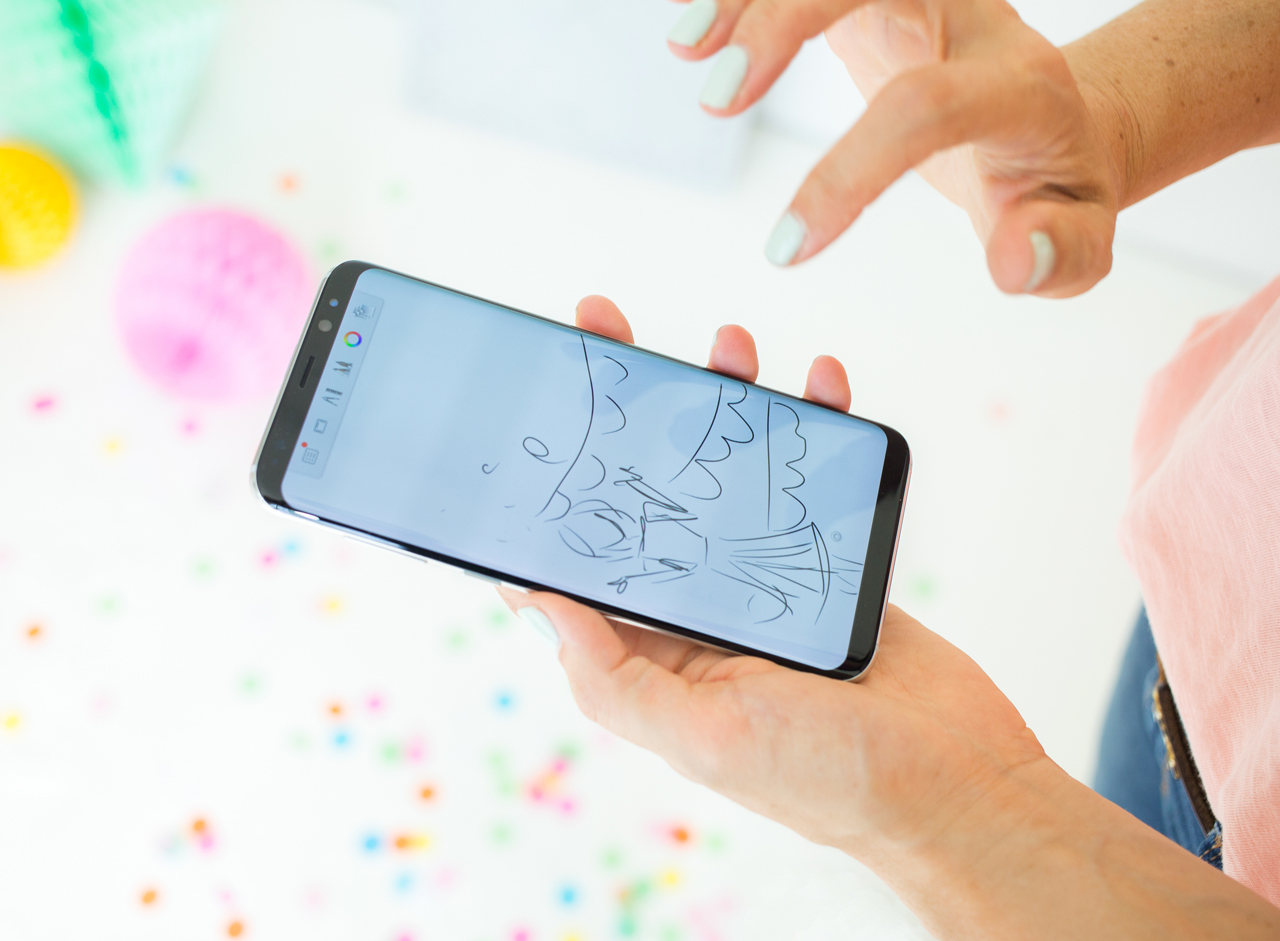
Okay, back to the camera. The phone offers multiple camera modes ranging from panoramic to slow motion, all with a F1.7 lens that lets in tons of light. For those of us with experience using a DSLR, the Galaxy S8 and S8+ offers a Pro mode that allows you to control and adjust everything from the ISO and shutter speed to exposure value and white balance. It even has a “Food” mode that automatically blurs everything outside a particular radius. Perfect for detail shots!
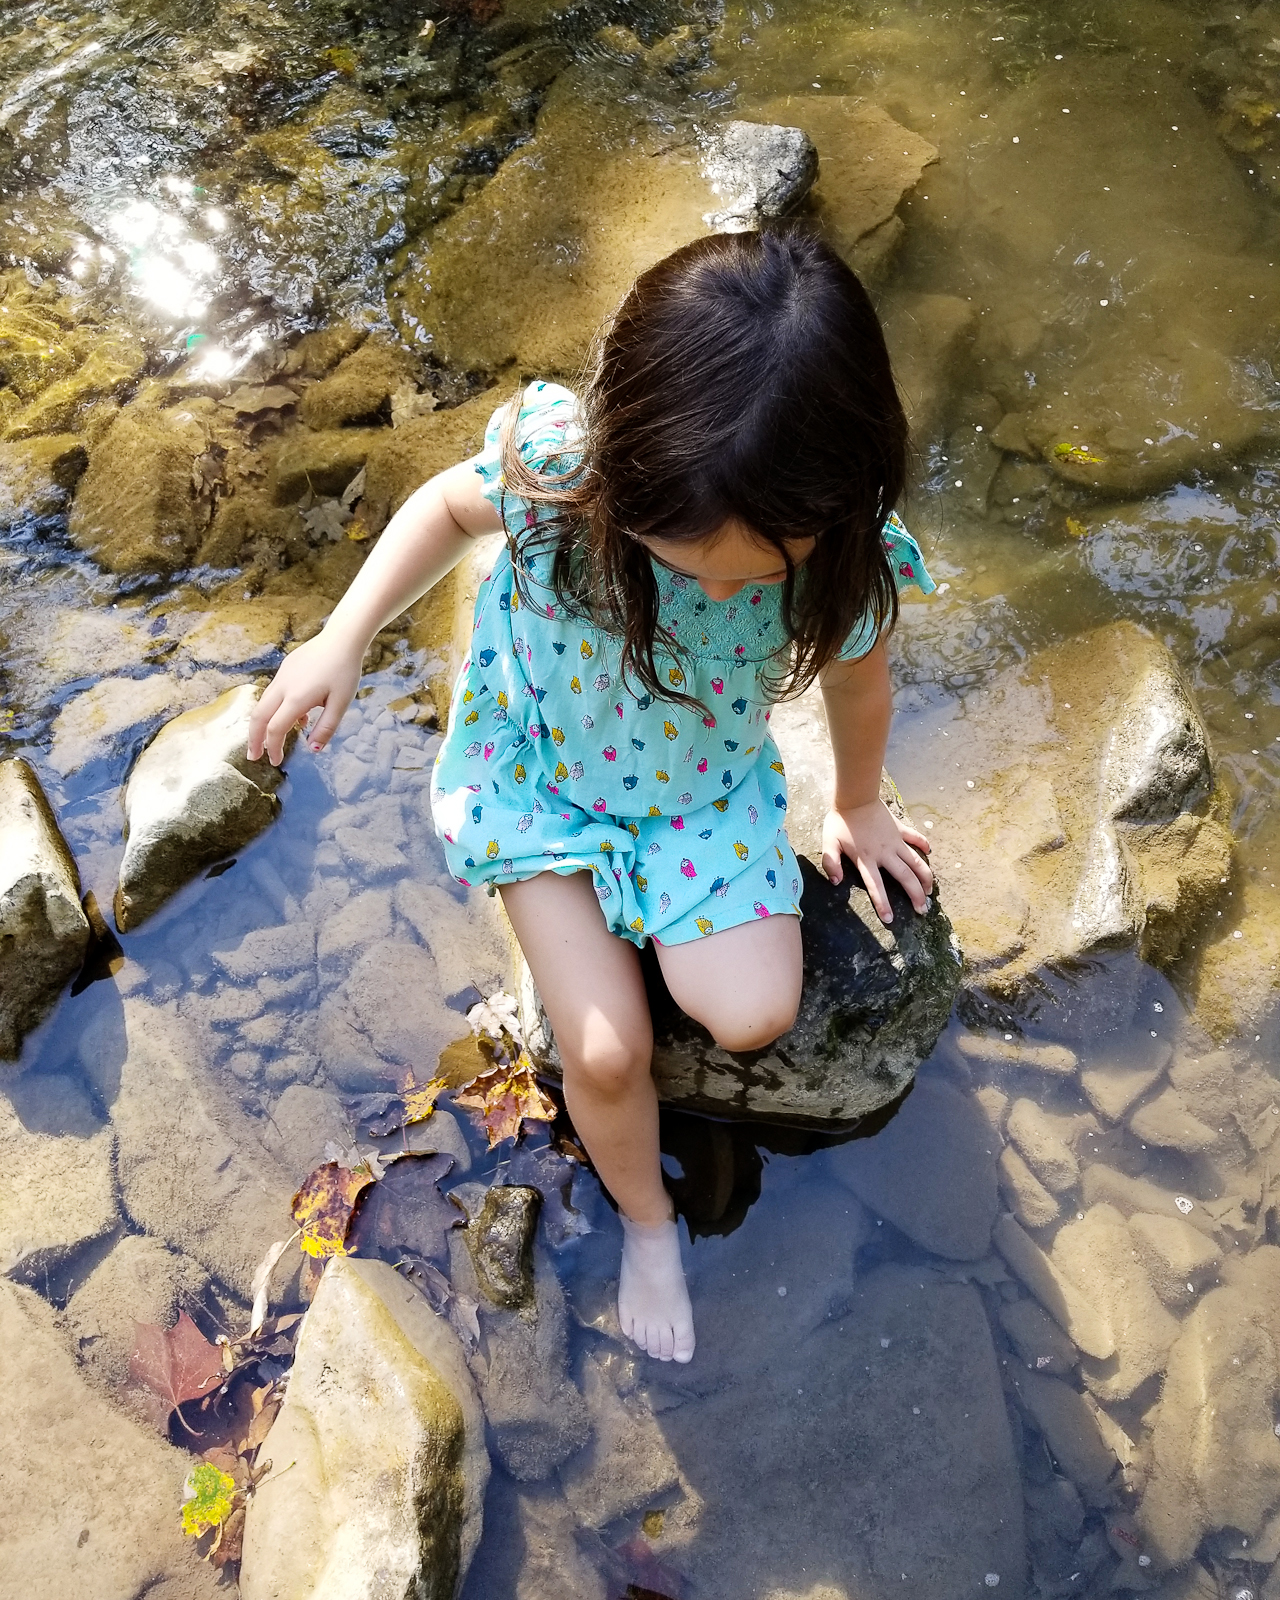
The Smart Auto Focus tracks every face in the frame to make sure every shot stays sharp and in focus – even in low light or while in motion. The Galaxy S8 even takes multiple shots with every press of the shutter button and instantly combines them into a single photo, so the final image looks crystal clear. It’s seriously like magic.
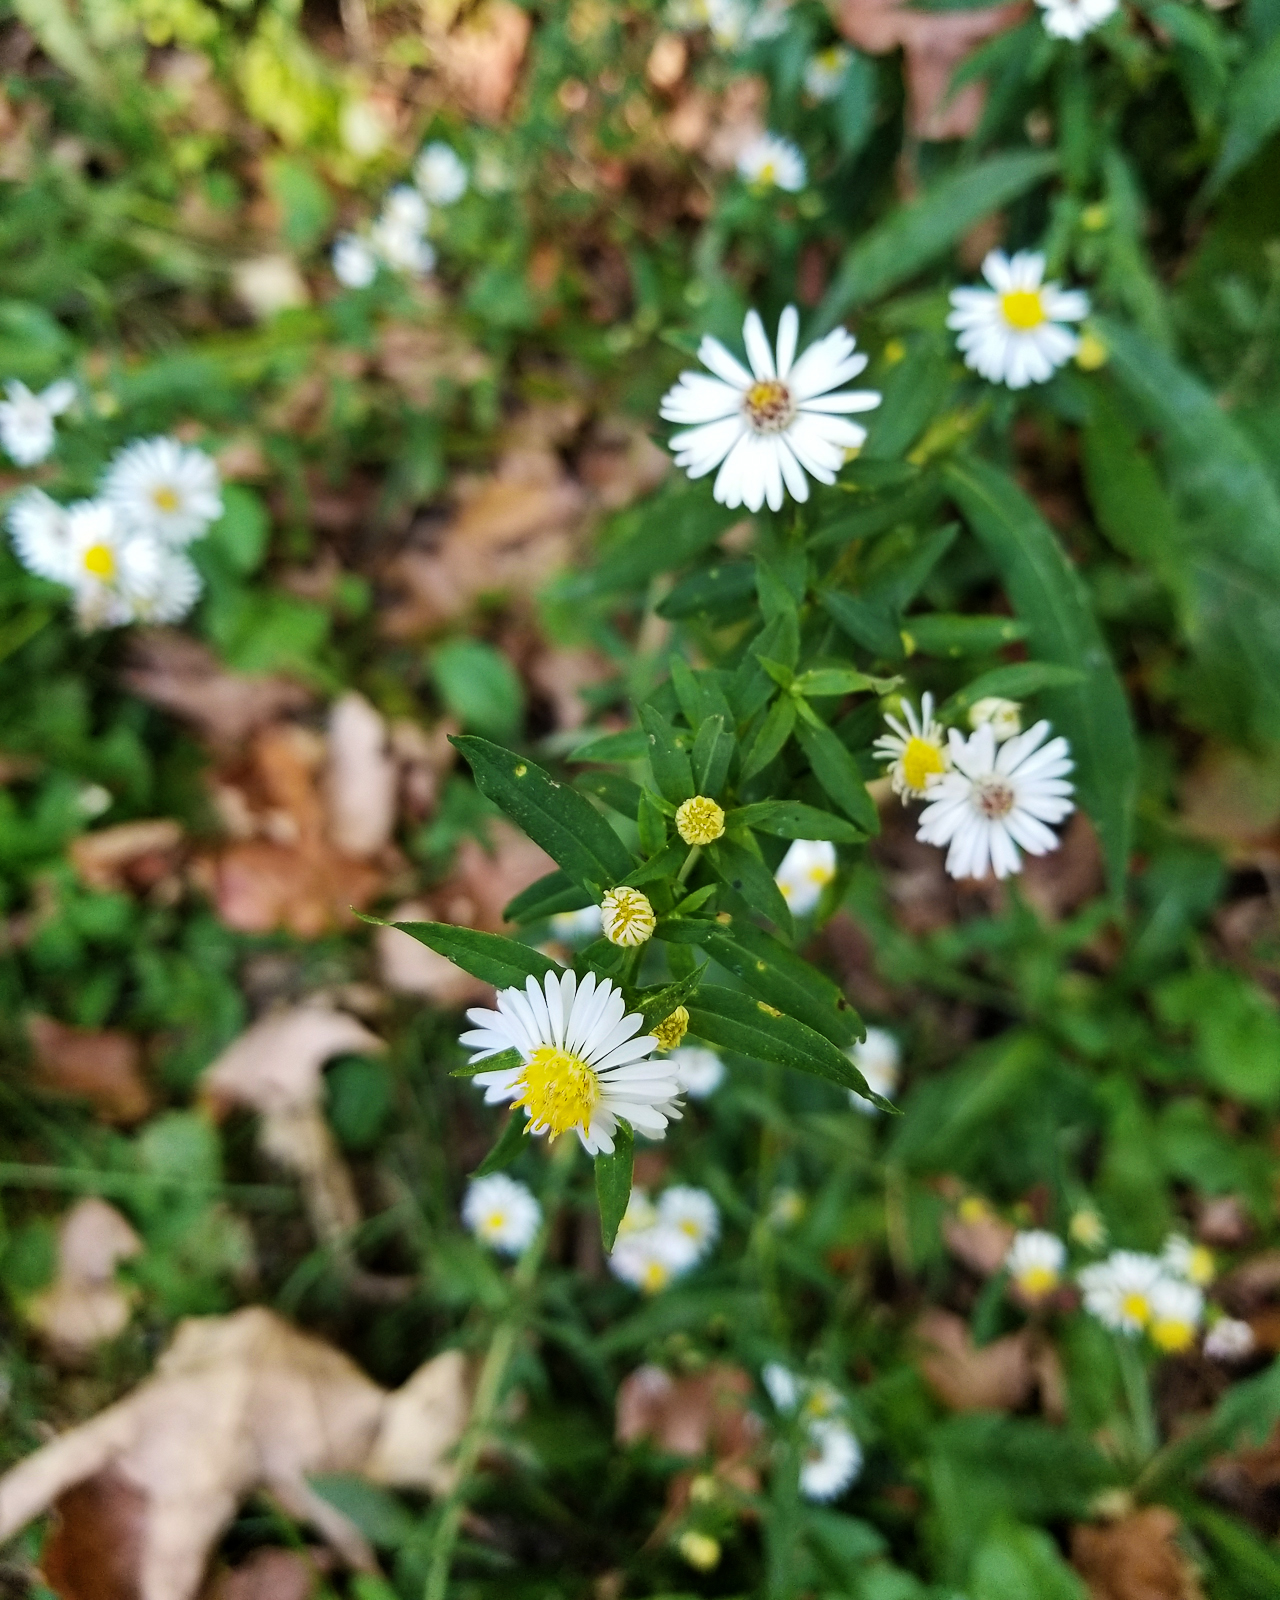
I’ve been wanting to make more of my own videos, and the Samsung Galaxy S8 shoots full 4k video. I shot a bunch of footage while exploring a local creek in Upstate New York with my family over the weekend and edited it all together into a quick little film – the whole process was just so easy! I can definitely see myself using the Samsung Galaxy S8 to make both family videos and quick DIY tutorials in the future!
You can see all the Samsung goodies in person at the Samsung Galaxy Studios in DC, Los Angeles, Las Vegas, Dallas, Chicago, and New York. For those of you in the DC area, our Samsung Galaxy Studio is located at Union Station in the food court level! They have the Galaxy S8 and S8+, the brand new Note8, and all their accessories – including the very cool S-Pen – along with a Samsung 4D Gear VR theater, fitness tracking demo, interactive art experiences, and Gear 360 camera demo! I really loved the Samsung 4D Gear VR theater demo – it was my first experience with virtual reality! And the interactive touch screen that they use to explain all the different features of the Samsung Galaxy S8 and S8+ is so cool – I heard several visitors say that they wished they had one at home! BTW, did you know that you can use Samsung’s Bixby to shop for products online? If you see a gorgeous hat in a photo, you can select just the hat and ask Bixby to find it for you – and it automatically browses Pinterest to find buyable options! So easy.
All images and video in this post were taken with the Samsung Galaxy S8+, with the exception of the images featuring the phone, which were taken with a DSLR. Can you even spot the difference?
This is a sponsored conversation written by me on behalf of Samsung. All content and opinions are my own. Thank you for supporting the sponsors that make Oh So Beautiful Paper possible!
Happy Friday everyone! I survived my first week of Mama Camp with my two girls – hooray! So far, we’ve been blackberry picking, visited some farm animals, visited our local splash pad and a few playgrounds, and went to check out the Hive installation and kid-friendly exhibits at the National Building Museum. I’m super excited for our adventures next week! But in the meantime…
I really appreciated this post on Design Mom about having a big family. I constantly feel overwhelmed as the mom of two kids under 5 – but maybe it’s just because of their young age? I don’t plan to have more children, but I’m curious to see if I’ll feel less overwhelmed once both of my kids are over the age of 4.