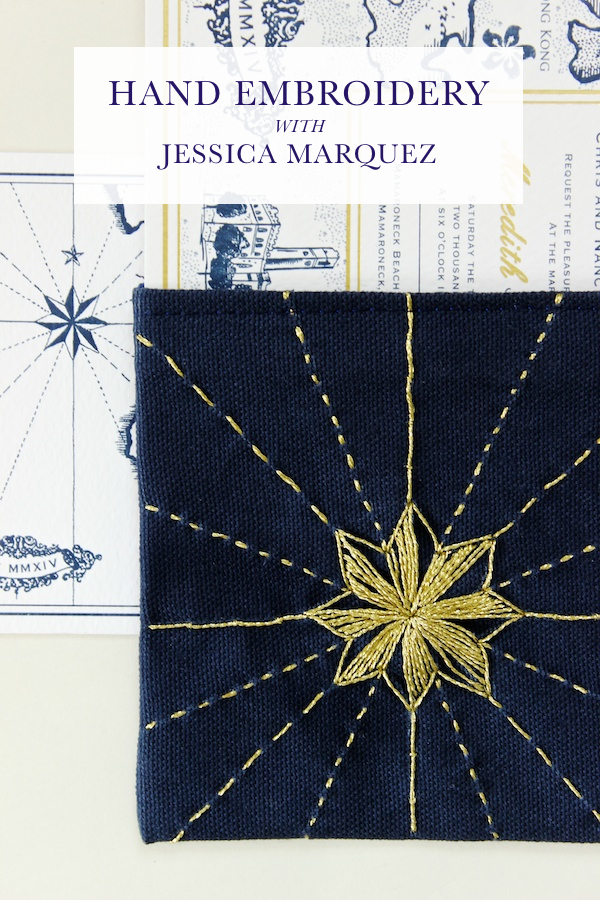
Today we’re continuing our series with Craftsy, an online craft class platform. They gave me the opportunity to take a few of their online classes and learn some new skills – and this time we wanted to expand our horizons a bit by combining embroidery with paper by taking Design It, Stitch It Hand Embroidery class with Jessica Marquez. For this post, I roped in my talented DIY contributor Mandy Pellegrin – she used her new skills to create a beautiful embroidered fabric invitation pocket! And of course we’re offering a serious discount for you to take the class too!
Here’s Mandy:
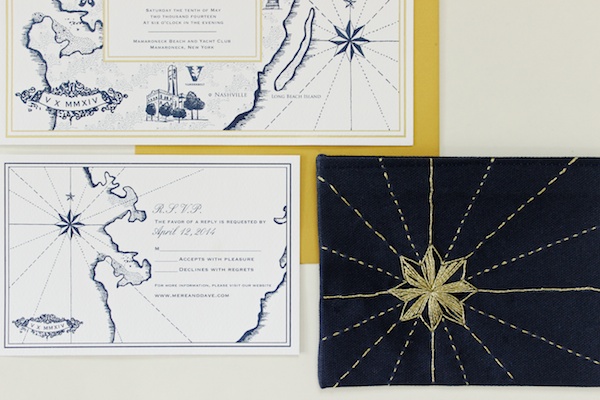
One of the first craft skills that I ever learned was embroidery from my grandmother. For this and many other reasons, it’s always been one of my favorite mediums for getting creative. I was excited to dust off my embroidery skills and pick up some great new tips with the help of Craftsy’s Design It, Stitch It Hand Embroidery class with Jessica Marquez. I’m even more excited to share with you what I created with my newly refreshed skills – a completely custom, hand-embroidered invitation pocket:
My favorite part of Craftsy classes is how accessible they are – no matter where you are. I propped myself up in bed with my iPad and the Craftsy app to work my way through the class. If you don’t have an entire afternoon to spend boning up on embroidery, no worries! Once you’ve signed up for a class, it’s yours forever.  The Hand Embroidery class is organized into eight lessons covering everything from the very basics of quickly threading a needle to embroidering on specific types of fabrics, and each lesson is subdivided into discrete sections making later reference an absolute breeze, which is pretty clutch for revisiting some of the more complicated stitches. I also really appreciated all the inspiration that Jessica shared at the end of each lesson. It really got my gears turning for fresh and modern ways to put the stitches to use.
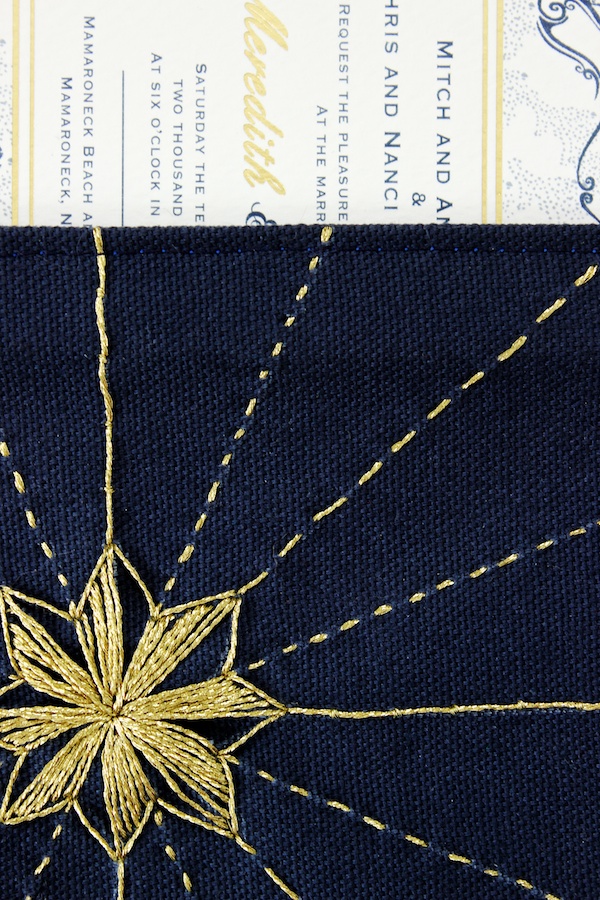
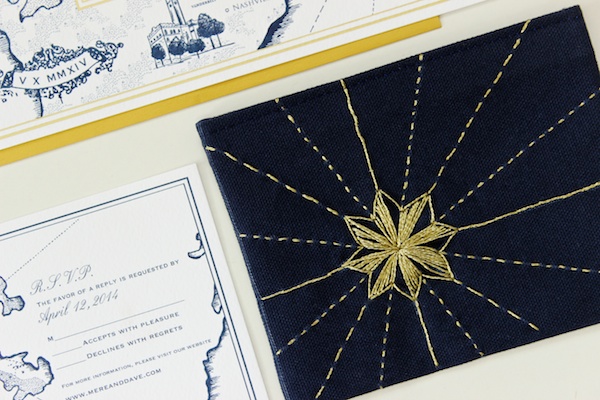
I’m pretty pleased with how I decided to put my new knowledge to use – creating custom invitation pockets. This is a paper blog, after all! I knew the star on the invitation and RSVP card were just screaming to be embroidered. I used a fairly simple set of stitches, but Jessica’s class covers over 30 different stitches and includes downloadable patterns for a handful of projects.
Click here to take the Hand Embroidery with Jessica Marquez yourself complete with a special discount just for Oh So Beautiful Paper readers! Read on for some tips on how to put the lessons learned in the class to use to create your own invitation pockets.
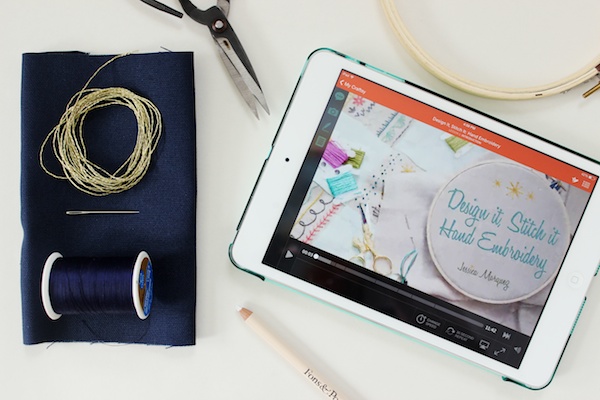
Materials
cotton fabric
marking pencil
embroidery floss
embroidery needle
embroidery hoop
thread
sewing machine
For each invitation pocket, cut the fabric so that the width is 1/2″ larger than the width of the invitation and 1″ larger than the length. Be inspired by the details of your invitation to create and transfer your own embroidery design using the helpful tips from the Craftsy class. Once you’ve completed the design using a combination of stitches learned from the class, double fold the ends that will comprise the mouth of the pocket, press, and top stitch in place. Fold in half lengthwise with right sides facing, and stitch 1/4″ from each side. Turn right-side-out, press, and stuff with your invitation.
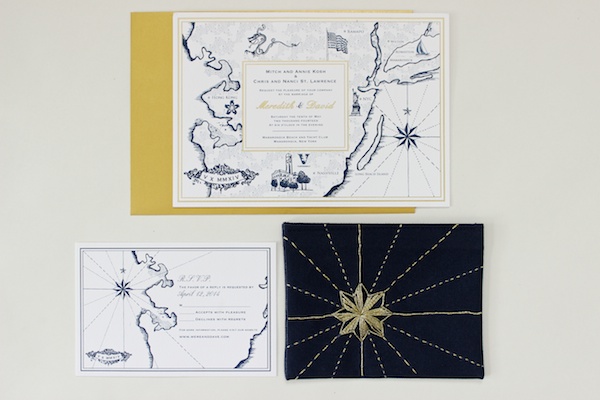
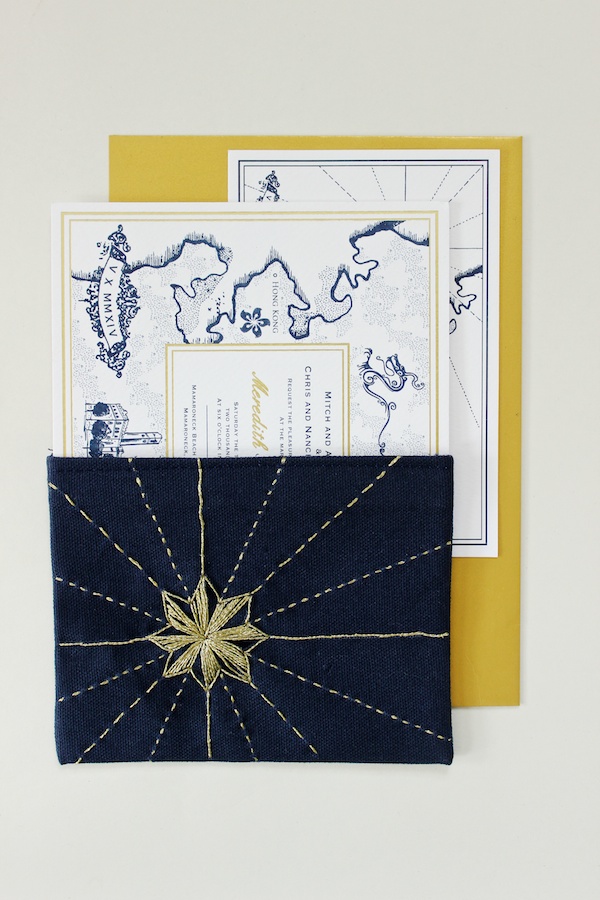
You could also incorporate an embroidered fabric pocket into a baby announcement, moving announcement, or party invitation – the options are endless! Click here to take the Craftsy Hand Embroidery class – with a big discount for Oh So Beautiful Paper readers! This discount is only available for a week – so sign up soon!
Styling + Photos by Mandy Pellegrin for Oh So Beautiful Paper / Invitation sample from Kalo Make Art
This post is sponsored by Craftsy. All content, photos, ideas, and words are our own. Thank you for supporting the sponsors that help make Oh So Beautiful Paper possible!

