Kelsey’s Modern Hand-Lettered Black + White Business Collateral

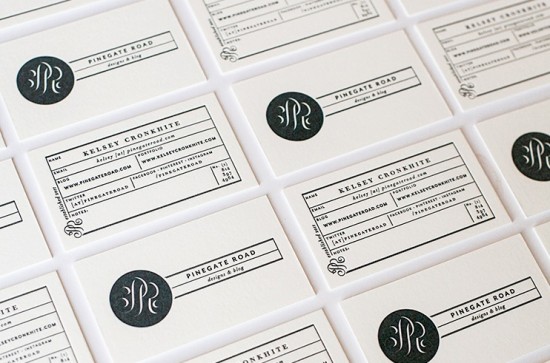
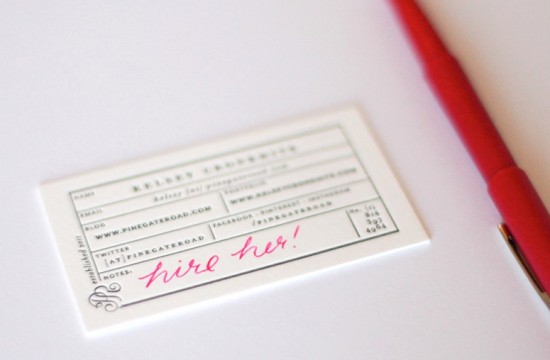
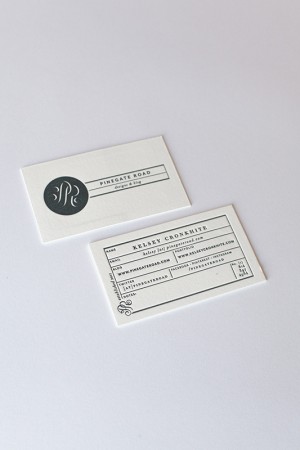
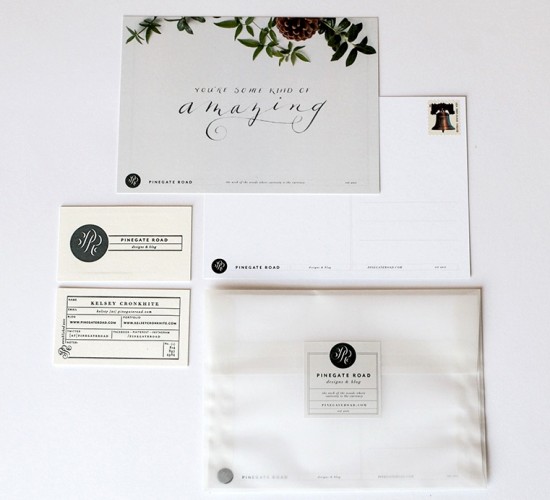
I love business cards in all shapes, colors, and sizes, but sometimes you just can’t go wrong with classic black and white. Freelance designer Kelsey of Pinegate Road Designs sent over the materials that she designed after rebranding her blog and personal identity, and I’m loving the crisp design and hand lettered elements. But my favorite part? The little space for notes on the back of the business card – total genius!

Modern Hand-Lettered Black and White Business Cards by Pinegate Road Designs via Oh So Beautiful Paper (1) (2)

From Kelsey: I’m currently working towards my MFA in graphic design from the Savannah College of Art and Design. I freelance on the side under the name Pinegate Road Designs and have a soft spot for hand lettering and photography. I recently rebranded my blog and personal identity, and I wanted my stationery to go along with the new brand system.

Modern Hand-Lettered Black and White Business Cards by Pinegate Road Designs via Oh So Beautiful Paper (1) (1)

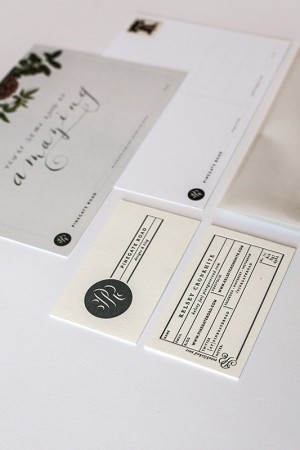
Lately I’ve been inspired by natural elements, my hand-lettering practice, as well as a clean and modern sensibility. My stationery includes a hand lettered postcard sealed in a vellum envelope with a custom sticker, as well as new business cards that I designed myself and were letterpress printed at Cotton Paperie.

Modern Hand-Lettered Black and White Business Cards by Pinegate Road Designs via Oh So Beautiful Paper (1) Modern Hand-Lettered Black and White Business Cards by Pinegate Road Designs via Oh So Beautiful Paper (3)

Modern Hand-Lettered Black and White Business Cards by Pinegate Road Designs via Oh So Beautiful Paper (1) (3)

Thanks Kelsey!

Design: Pinegate Road Designs

Letterpress Printing: Cotton Paperie

Photo Credits: Pinegate Road Designs

Color Inspiration: Vintage Red, White, + Blue

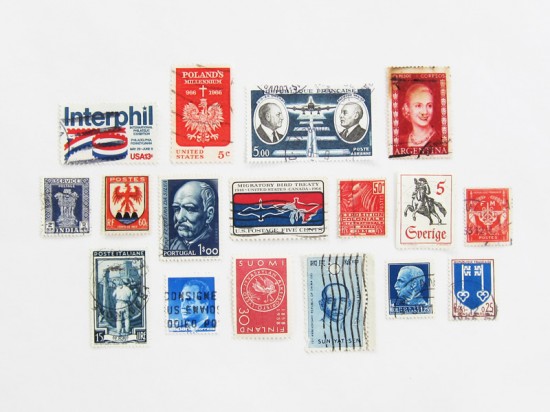
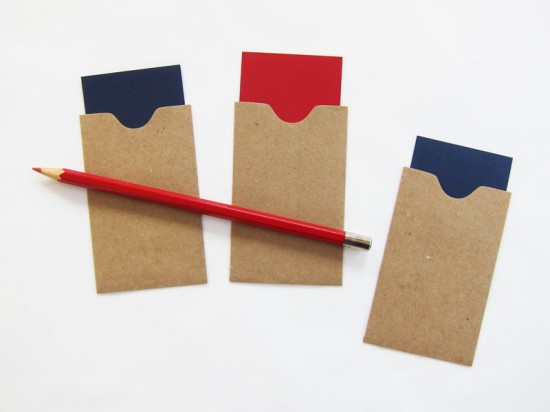
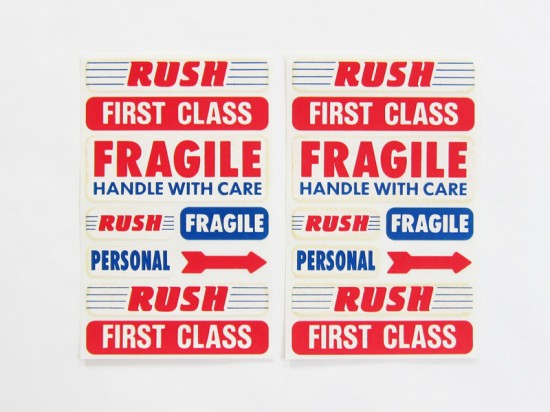
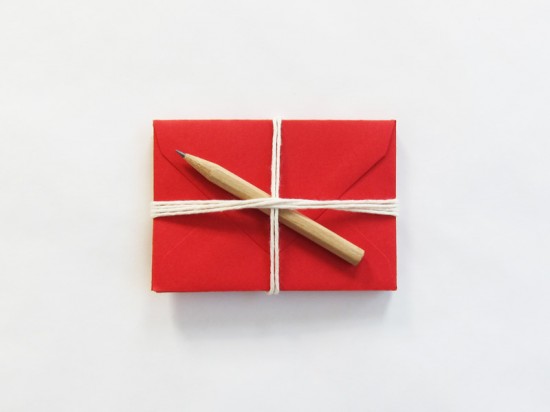
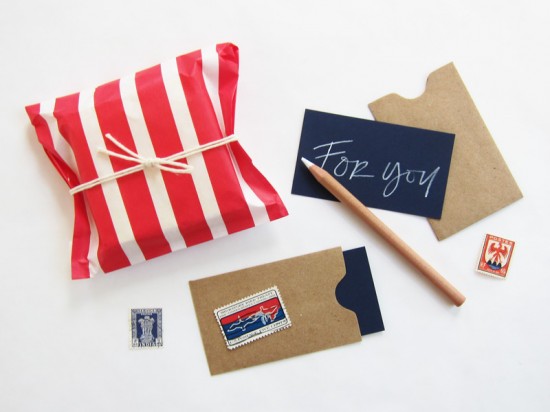
Hi everyone! Annemarie here from Scout’s Honor Co. I am thrilled to be guest blogging this week while Nole is on maternity leave (congrats, Nole!). Let’s start off with some color inspiration. I recently picked up the vintage stamps and mail stickers below… I love how the deep red + navy tones pop against the aged paper. Add some kraft to the mix and you’ll warm up the palette even more (and ensure it does not skew too 4th of July!). Below are a few of my favorite supplies from around the studio, along with a full list of shopping resources.

Vintage Stamps: Angela Liguori / Studio Carta
Kraft Card Sleeves: Envelope Mall
Business Cards: Paper Source
Vintage Mail Stickers: Paper Pastries
Mini Red Envelopes: Paper Presentation
Red Striped Bags: Whisker Graphics.

Photo Credits: Scout’s Honor Co.

Calligraphy Inspiration: Hazel Wonderland

I’m really excited to share the work of this month’s calligrapher. I first saw her work via Instagram, which lead me to her website. Her work resonated with me as I kept coming back. I’m talking about the work of Meredith C. Bullock of Hazel Wonderland. Her first commissioned calligraphy job was at the young age of 16; not to say she’s old, but she’s been doing this for a while, and it shows! She’s definitely a person who adores making weddings beautiful, as she also operates The Brides Hairstylist. On top of that, Meredith is talented artist. (Peeks of her work are available on Instagram.) It’s as clear as day that her artistry transfers to her calligraphy, as well. – Julie

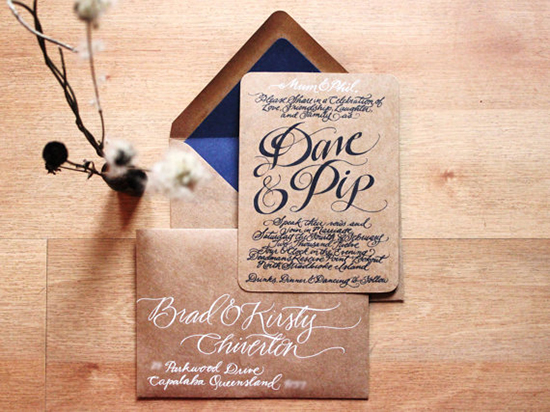
Hazel Wonderland kraft invitation suite

I adore this suite of kraft, white, and blue. It has the warmth of wood in autumn with the cool tones of a dark winter’s night. Perfect for weddings of those seasons.

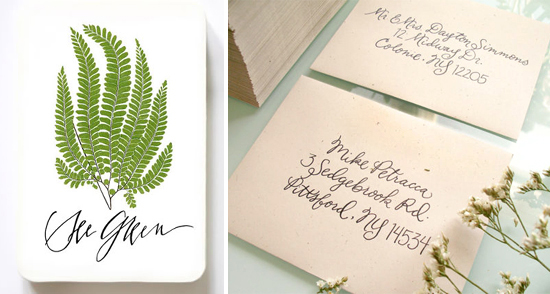
Hazel Wonderland calligraphy tags and envelopes

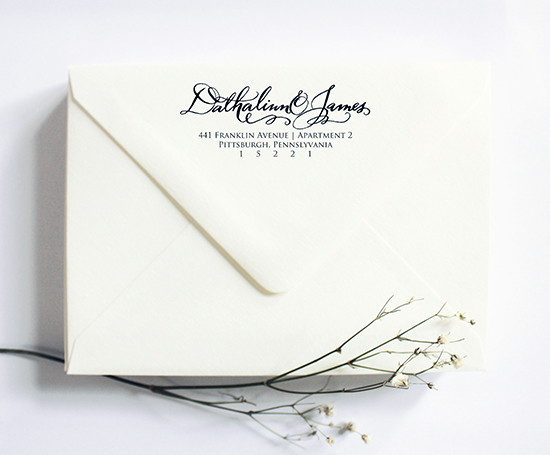
Hazel Wonderland calligraphy address stamp

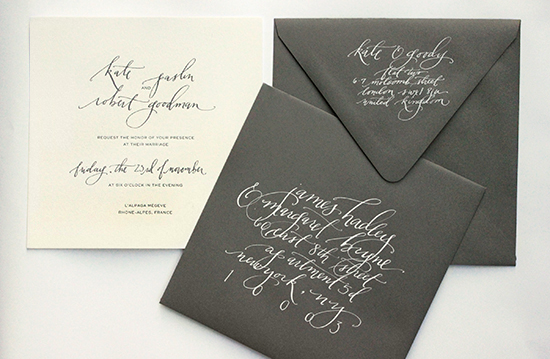
Hazel Wonderland grey invitation suite

The ebb and flow of her lines floor me. I get lost following them to and fro. I’m not sure how something can be so elegant and laid back at the same time, but it’s a feeling she’s achieved with ease in her work.

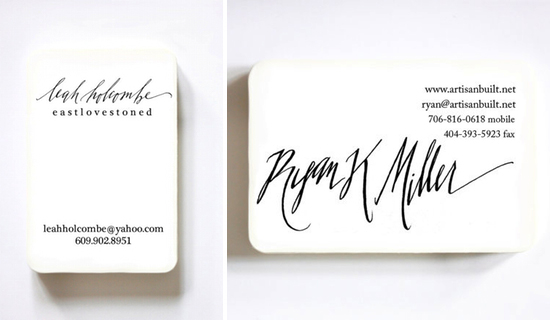
Hazel Wonderland calligraphy business cards

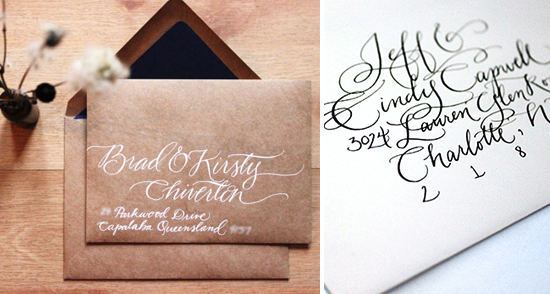
Hazel Wonderland addressed envelope details

Hazel Wonderland’s shop is closed this week, as Meredith is preparing for an exhibition, but don’t fret! She’s giving everyone a thank you for their patience and offering 20% off your entire purchase upon reopening this Saturday! To redeem, use coupon code “EXHIBIT” at checkout after Sept 8, 2012. It’s a limited time offer so I suggest you take advantage. To view some of her items in the meantime, simply visit her Pinterest board.

Photo Credits: Hazel Wonderland

DIY Tutorial: Blue and White Rubber Stamp Save the Dates

We love blue and white as a color combo. It’s fresh, clean & add a great vintage touch without going overboard. A few weeks ago, while picking up some paper for my moving announcements (which will probably be a future DIY project), I spotted from across the room, some gorgeous floral fine art paper. This blue and white paper instantly reminded me of an inspiration post we’d written a while back about our very popular Copenhagen China Collection. After choosing the paper as my starting point, this lovely, demure, save the date came together quite quickly!  – Bailey and Emma of Antiquaria
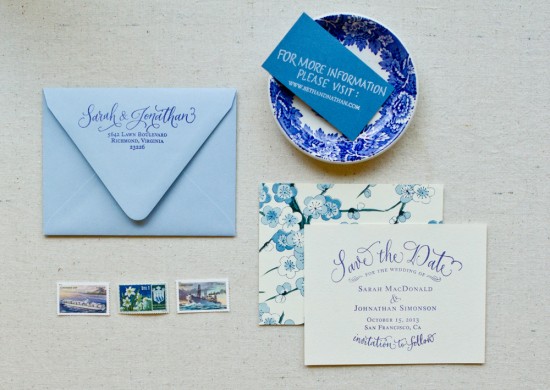
DIY Tutorial: Blue and White Rubber Stamp Save the Dates by Antiquaria via Oh So Beautiful Paper

The blue and white floral patterned paper used as backing adds visual interest and a luxurious quality to the design. It could also easily be used as an envelope liner.
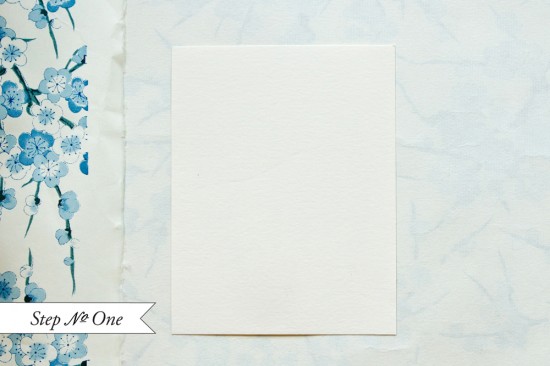
DIY Tutorial: Blue and White Rubber Stamp Save the Dates by Antiquaria via Oh So Beautiful Paper

Step One: You’ll want to first adhere the card to the patterned paper. To do this, use permanent spray mount on the back side of your A2 (4.25″ x 5.5″) card. Let the glue get tacky for a few seconds and then place your card onto the backer paper. Let the two pieces adhere well (like overnight) under a heavy book.
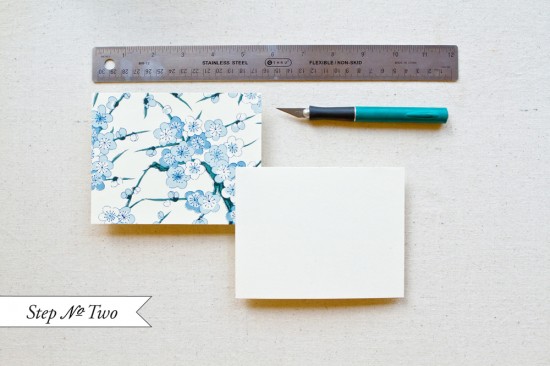
DIY Tutorial: Blue and White Rubber Stamp Save the Dates by Antiquaria via Oh So Beautiful Paper

Step Two: Once you’ve waited for the glue to set, carefully trim the card so that the card and backer are the same size. The easiest way to do this is to use a metal ruler and craft knife on a seal healing mat. Take this step slow so that you don’t warp the size of the A2 front.

DIY Tutorial: Blue and White Rubber Stamp Save the Dates by Antiquaria via Oh So Beautiful Paper

Step Three: Lay your backed A2 card on a hard, flat surface. Ink your invitation stamp (we used our Vintage Calligraphy Save the Date Stamp), using a midnight blue stamp pad and center over the backed card. Press down on stamp making certain to apply even pressure on the entire mount (especially the center). Lift stamp and let the print dry thoroughly.
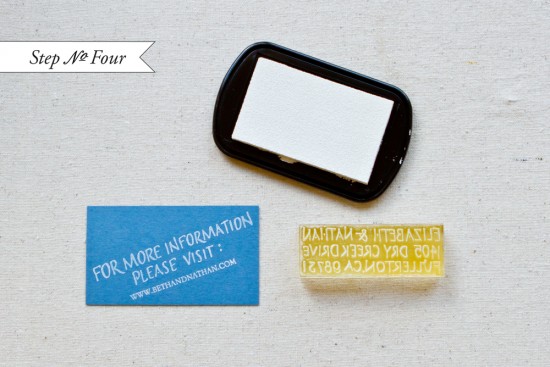
DIY Tutorial: Blue and White Rubber Stamp Save the Dates by Antiquaria via Oh So Beautiful Paper

Step Four: For a reverse effect, stamp your website card using white ink on a blue card. We used our Art Deco Website Stamp on a standard business sized card. This white ink pad really did the trick and was super opaque!
DIY Tutorial: Blue and White Rubber Stamp Save the Dates by Antiquaria via Oh So Beautiful Paper

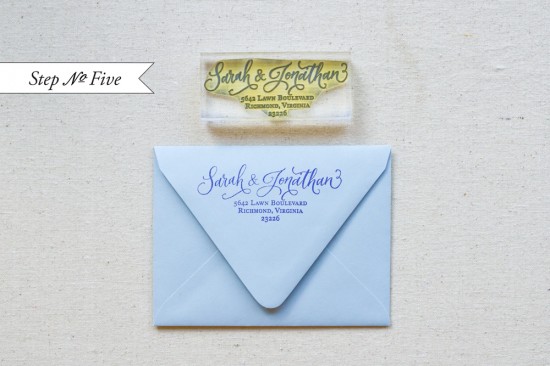
Step Five: Before addressing the save the dates, we stamped our return address (we used our Calligraphy Ampersand Return Address Stamp) on our light blue A2 envelopes.  All done!

Materials:

Stamps:

Vintage Calligraphy Save the Date Stamp

Art Deco Website Stamp

Calligraphy Ampersand Return Address Stamp

Stamp Pads: Midnight and Frost White

Paper (available at Paper Source):

A2 Notecards in Luxe White

A2 Envelopes in Bluebell

Business Cards in Lake, for the web card

Fine art paper, used for backer

Other Materials:

Permanent Spray Adhesive

Craft knife, metal ruler, and self healing mat

Photo Credits: Intertwyned

{happy weekend!}

Happy Friday everyone!  As much as I’d like for the days and weeks to slow down just a smidge (pleaseandthankyouverymuch), I’ll be happy to wave goodbye to summer in a few weeks.  Being 7+ months (we’re at 32 weeks!) pregnant during the hot and humid DC summer?  Maybe not the best idea I’ve ever had… so I’m distracting myself with daydreams of cooler days and beautiful fall foliage.  But in the meantime…

The cutest confetti letterpress printed muslin bags from Paper Lovely

…a few links for your weekend!

This week on Oh So Beautiful Paper:

That’s it for me this week!  I hope you all have a wonderful weekend, and I’ll see you back here on Monday! xoxo