A Day in the Life of Urbanic

Hi Everyone! Our new baby has arrived – so I’ve asked some of my favorite creative mamas to help out while I’m away on maternity leave. This week, one of my favorite ladies and the owner of one of the most amazing stationery stores – Audrey from Urbanic – will be sharing a few posts, from birthday parties to thoughts on running a successful business. Thanks Audrey! –Nole

Hello Hello!  It’s good to be back here guest blogging again, and even more wonderful for such a special occasion! It’s a true honor to fill in for Nole while she takes her maternity leave. For those of you that don’t know me, my name is Audrey Woollen and I have a shop in Los Angeles called Urbanic Paper Boutique. I’ve known Nole for many years and really value our friendship. It’s a rare and amazing thing to find a person in this world that shares the same passion and enthusiasm for paper! I contribute a post here monthly, called Urbanic Faves which is a round up of inspiration that we’re feeling in the shop, but for this weeks posts Nole suggested that I take you on a journey with me of what life at Urbanic looks like. This week, I’ll be giving you a glimpse into the front and back end of our retail shop as well as a peek into our family life.  I will also be sharing some tips of things I’ve learned along the way!  First up, a typical day in the shop… A Day in the Life at Urbanic via Oh So Beautiful Paper A typical day starts at 9am. We officially open at 10 am, but have found that an hour of prep time before our doors open is hugely beneficial for progress. There are usually 2 and sometimes 3 of us working at a time. With so many different facets to the running the shop (many of which often happen simultaneously) it really takes a team to keep this going.  I am extremely grateful for the 5 amazing staff members that we have. Each person plays a big role at Urbanic and it’s our talents combined that make us who we are as a brand. Each day we kick off with front end presentation. Every detail matters here, from cueing up our curated tunes, lighting our featured candle, product entering, tagging, merchandising, and most importantly, working with our customers! There is a slew of email correspondence which takes place daily, as well as our client gift wrapping service, both of which we handle collectively.

A Day in the Life at Urbanic Paper Boutique via Oh So Beautiful Paper

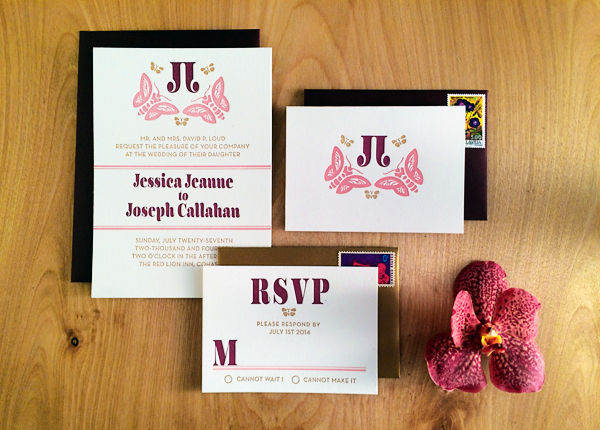
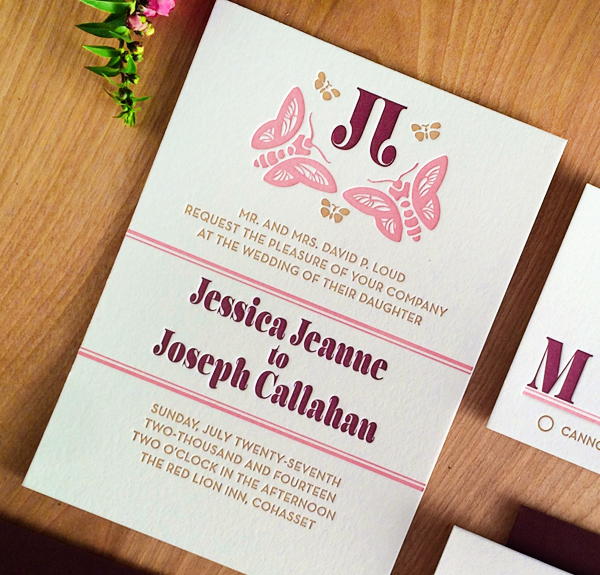
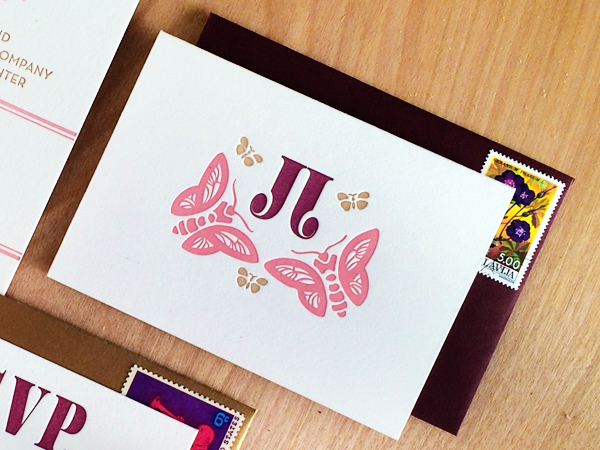
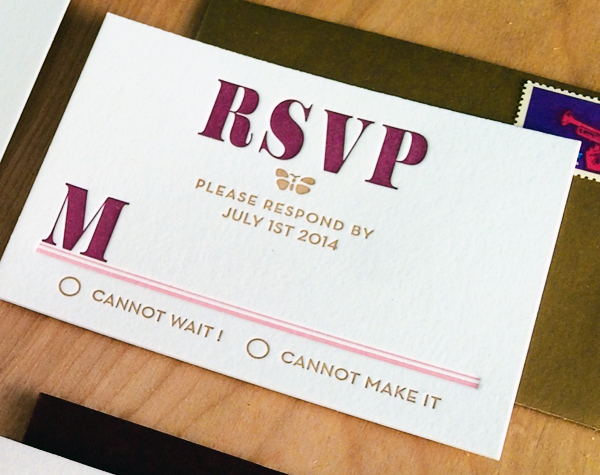
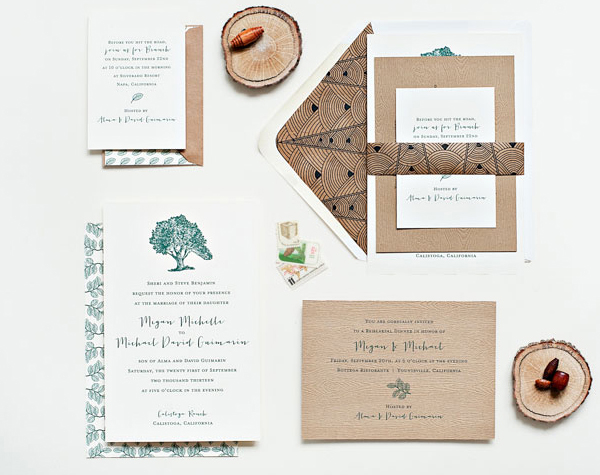
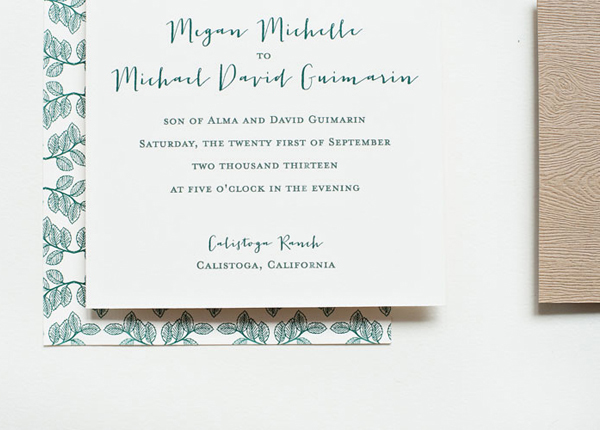
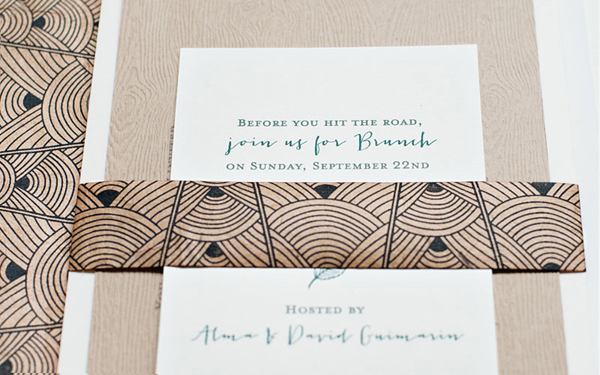
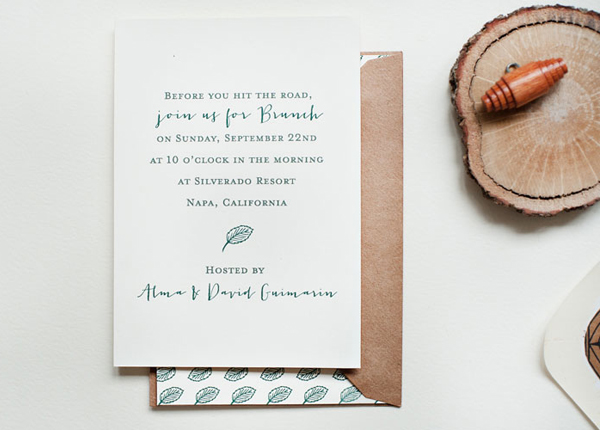
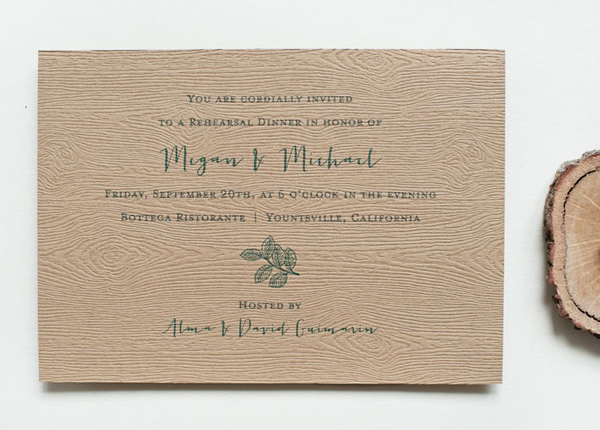
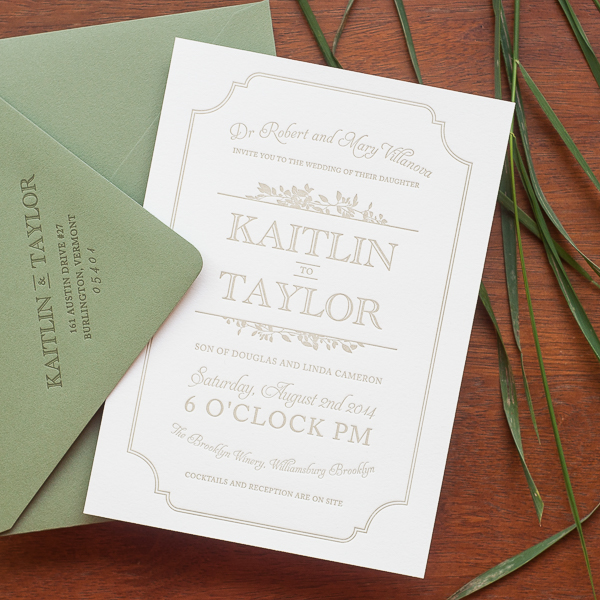
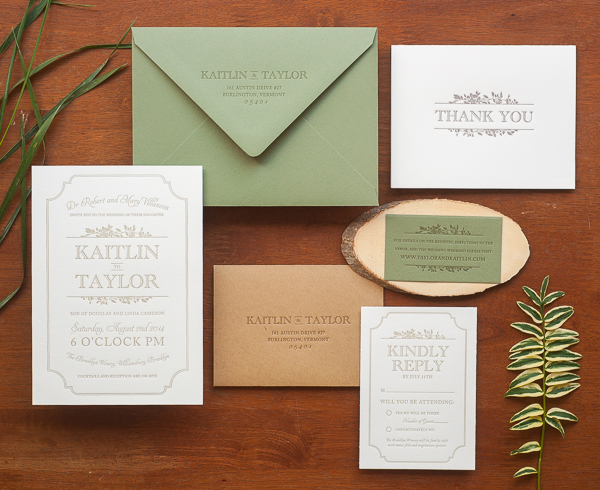
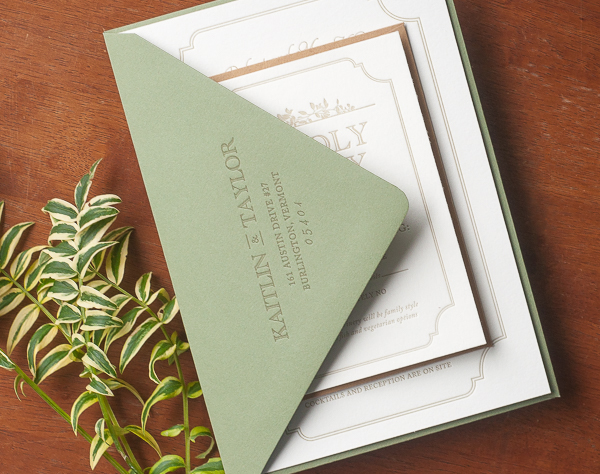
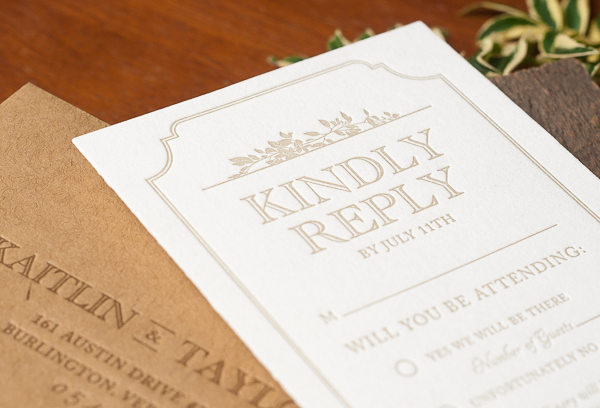
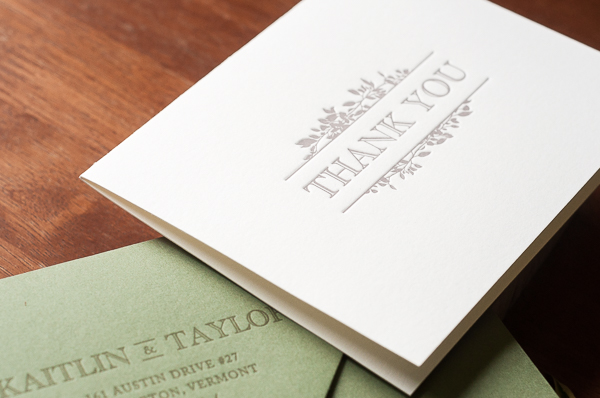
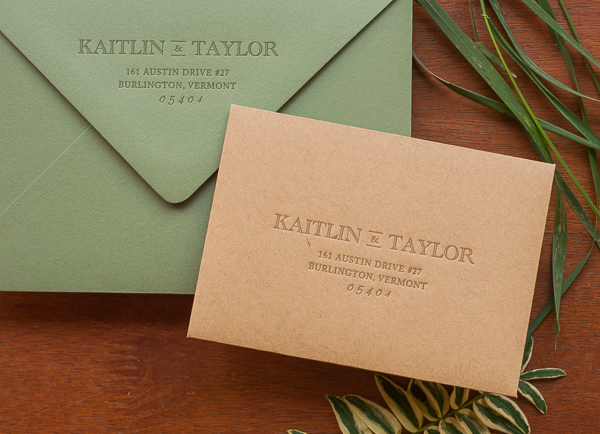
In the back of the shop we host the ‘Urbanic Wedding Lounge‘. This is our by-appointment suite where we work with couples creatively to choose and customize wedding invitations and personal stationery. We have a design library with of a wide selection of options that we’ve hand-picked from the best designers across the country. Our team assists with design concept, layout, proofing and project management of the orders. We often work with couples for a few months throughout the process and build relationships with them along the way. It’s the BEST feeling when a bride comes in to pick up her invitations and we get to see her eyes well up with tears of joy upon receiving them. There are usually hugs all around and we feel privileged to have had a part in such a monumental event in their lives.

A Day in the Life at Urbanic Paper Boutique via Oh So Beautiful Paper

The creative process behind the business is enormous, but also my favorite part about the environment! There is always a work in progress happening with new things forming. These projects show themselves in many different ways! Our store windows entail brainstorming, sourcing, crafting and then finalizing the plan with the install. You can see some of our favorites windows here. When merchandising around the shop we like to constantly re-invent ourselves with new concepts and fresh displays. We work creating blog posts, newsletters, promotions, store events, collaborations, and of course there is the buying and curation of the merchandise we carry. In addition to all of this, we’ve recently started making little video promos of happenings around the shop. Here’s one below of one of some of the amazing mail we’ve been receiving.

[youtube http://www.youtube.com/watch?rel=0&controls=0&showinfo=0&autoplay=1&v=AbvF5rRiJlU&w=640&h=360]

A Day in the Life at Urbanic Paper Boutique via Oh So Beautiful Paper

My husband Joshua and I built Urbanic together in 2006. Since then, we’ve had 2 little boys, and together this is our family business! Joshua and I handle the not so glamorous parts of the company (finances, lease, building maintenance, operations… oh I could go on.) Although he is working more on making videos these days he is still a huge part of all that happens here.

As you can see, a lot goes down each day around here at Urbanic! We keep a digital store log where we document everything. This communication is key to keeping us all on the same page and helps us keep track of customer orders, daily interactions, basic store functioning and the progress of projects. Towards the end of the day the log is finalized, the sales are counted, the orders are faxed in, and the doors are closed… all in preparation for the next day.

photos by Joanne Pio & Jessie Webster


DIY Tutorial: Floral Save the Date Tags

For couples getting married in the first half of 2015, it’s time to send out save the dates! For this tutorial we wanted to create a design that’s easy to make (for those of you in a time crunch) but also highly customizable. Using a simple tag form and patterned card stock we elevated this simple stamped design into something really special: floral save the date tags. The best part is, you can simply change the pattern and completely transform the look of it! – Bailey and Emma of Antiquaria

DIY Floral Wedding Save the Date Tags by Antiquaria for Oh So Beautiful Paper

DIY Floral Wedding Save the Date Tags by Antiquaria for Oh So Beautiful Paper

Materials

Floral Calligraphy Save the Date Stamp
Antique Monogram Stamp
Annabelle Floral Patterned Paper
Watercolor Stripe Patterned Paper
A2 Kraft Envelopes
Self healing mat, craft knife and metal ruler
Stamp Pad in Eggplant
Washi Tape
Ribbon
Envelope Liner Templates
Scissors
Hole Punch

DIY Floral Wedding Save the Date Tags by Antiquaria for Oh So Beautiful Paper

Step One: First, we’ll need to cut the cards that we’ll be using to make our tags. You could make these any size you’d like but for this tutorial we’ll be cutting them to fit inside an A2 envelope. Select 8.5″ x 11″ patterned card stock (we used our Annabelle Floral patterned paper) and cut it into cards measuring 4″ x 5.25.” You should get four cards per 8.5″ x 11″ sheet.

DIY Floral Wedding Save the Date Tags by Antiquaria for Oh So Beautiful Paper

Step Two: To notch the corners of your tag, find the 45 degree mark on a self healing mat. Line your card corner into the square (as shown above) and your ruler along the angle line. With a craft knife, cut the paper cleanly across the corner.

DIY Floral Wedding Save the Date Tags by Antiquaria for Oh So Beautiful Paper

Step Three: Next, you’ll just want to flip the card over and repeat Step 2 on the other side of the card. Now your tag shape is complete!

DIY Floral Wedding Save the Date Tags by Antiquaria for Oh So Beautiful Paper

Step Four: We decided to use gold patterned washi tape to add an extra layer of interest. Tear a piece of washi tape to ~1.5 inches and center it in the top center of your tag (above left). Then, bend the tape over the top and adhere it to the back of your tag as well (above center). Lastly, you want to punch a hole through the card and the washi tape in the center about a quarter of an inch down (above right).

DIY Floral Wedding Save the Date Tags by Antiquaria for Oh So Beautiful Paper

Step Five: Now that the tags are completed, we’ll get to stamping! Stamp your save the date design (we used our Floral Calligraphy Save the Date stamp) on the back of the tag in eggplant ink. To add further customization, we added a monogram (our Antique Monogram stamp) also in eggplant on the front of the tag, over our pattern. If you decided to use a darker patterned paper for the tag, you might want to consider embossing your monogram in a light or metallic color so that it will be sure to show up! If you choose to, you’ll also want to stamp (or print) your return address on your A2 Kraft envelope as well before moving on to Step 6.

DIY Floral Wedding Save the Date Tags by Antiquaria for Oh So Beautiful Paper

Step Six: Next, we added a striped envelope liner (our Watercolor Stripe Coral patterned text weight paper) to coordinate with (but not match) our floral tag. Lining envelopes is really, really easy. Simply trace the liner template (A2 size for this design) and cut it out. To install the liner, you use stick glue or double sided tape along the pointed part to adhere to the envelope.

DIY Floral Wedding Save the Date Tags by Antiquaria for Oh So Beautiful Paper

Step Seven: The only thing left now are the finishing touches! Thread your ribbon through the hole on the tag and loop the ends through. Cut the edges so that the ribbons are even. Then just address the envelopes and add postage!

DIY Floral Wedding Save the Date Tags by Antiquaria for Oh So Beautiful Paper

Anti­quaria is a mem­ber of the Designer Rolodex – you can see more of their beau­ti­ful work right here!

Photography: Antiquaria for Oh So Beautiful Paper

Jessica + Joe’s Modern Butterfly Wedding Invitations

Who knew butterflies could be so modern? Rachel from Robinson Press created this wedding invitation suite for a couple who were married this past summer. Rachel kept the suite simple with two main pieces – the invitation and RSVP card – and incorporated the couple’s romantic color palette of pink, plum, and gold. So pretty!

Modern-Butterfly-Letterpress-Wedding-Invitations-Robinson-Press-OSBP2

From Rachel: Jess and Joe wanted their invitations to embody the essence of summer, so we created this bright and playful butterfly design based on a Viennese Art Nouveau pattern and used a romantic color palette to add richness and depth.

Modern-Butterfly-Letterpress-Wedding-Invitations-Robinson-Press-OSBP5

This is a three-color, two piece, wedding invitation suite, plus a custom monogrammed notecard. It is letterpress printed on 100% cotton paper in a natural white heavyweight stock. The envelopes are plum and metallic gold.

Modern-Butterfly-Letterpress-Wedding-Invitations-Robinson-Press-OSBP3

Modern-Butterfly-Letterpress-Wedding-Invitations-Robinson-Press-OSBP6

Thanks Rachel!

Robinson Press is a member of the Designer Rolodex – you can see more of their beautiful work right here or visit the real invi­ta­tions gallery for more wedding invitation ideas!

Photo Credits: Robinson Press

Megan + Michael’s Modern Nature-Inspired Wedding Invitations

These beautiful wedding invitations from Becca at Suite Paperie also feature a green and brown color palette – this time inspired by the bride and groom’s love of the outdoors! The invitation design features nature-inspired elements like vine and tree illustrations along with a woodgrain rehearsal dinner invitation!

Modern-Nature-Inspired-Wedding-Invitations-Becca-Goldberg-OSBP4

From Becca: To embody their love for the outdoors, Megan and Michael decided to go with a nature inspired wedding suite. The invitation and brunch insert are digitally printed on a natural white felt, while the rehearsal dinner invitation is printed on a woodgrain cardstock. All three pieces are adorned with leaf illustrations and a mix of sans serif and whimsical script. The suite is brought together with a kraft bellyband with a modern tribal print that matches the envelope liner.

Modern-Nature-Inspired-Wedding-Invitations-Becca-Goldberg-OSBP3

Modern-Nature-Inspired-Wedding-Invitations-Becca-Goldberg-OSBP5

Modern-Nature-Inspired-Wedding-Invitations-Becca-Goldberg-OSBP

Modern-Nature-Inspired-Wedding-Invitations-Becca-Goldberg-OSBP2

Thanks Becca!

Check out the Designer Rolodex for more tal­ented wed­ding invi­ta­tion design­ers and the real invi­ta­tions gallery for more wedding invitation ideas!

Photo Credits: Lindsay Nathanson

Kaitlin + Taylor’s Urban Winery Wedding Invitations

I love the juxtaposition of organic elements with a very urban venue in these wedding invitations from designer Christa Alexandra. Created for a wedding at The Brooklyn Winery, the design was inspired by the reclaimed wood walls and decor of the wedding venue. The wedding invitation suite features an organic color palette of soft green, taupe, and brown. Beautiful!

Urban-Winery-Wedding-Invitations-Christa-Alexander-OSBP4

From Christa: I designed and printed this letterpress invitation suite for Kaitlin and Taylor’s wedding at The Brooklyn Winery. Kaitlin was inspired by an organic palette of leaf green, taupe, and brown. The venue, self described as an “urban winery,” boasts a warm ambiance, reclaimed wood walls and locally sourced decor.

Urban-Winery-Wedding-Invitations-Christa-Alexander-OSBP

Urban-Winery-Wedding-Invitations-Christa-Alexander-OSBP6

We created a sophisticated invitation with an informal feel using pretty typography and pops of green. Staying away from the traditional vineyard vines, we chose to use leaves and thin branches to incorporate some natural elements into the stationery. The entire suite was lovingly hand-printed on my 1918 Chandler & Price letterpress.

Urban-Winery-Wedding-Invitations-Christa-Alexander-OSBP8

Urban-Winery-Wedding-Invitations-Christa-Alexander-OSBP9

Urban-Winery-Wedding-Invitations-Christa-Alexander-OSBP10

Urban-Winery-Wedding-Invitations-Christa-Alexander-OSBP3

Thanks Christa!

Check out the Designer Rolodex for more tal­ented wed­ding invi­ta­tion design­ers and the real invi­ta­tions gallery for more wedding invitation ideas!

Photo Credits: Christa Alexandra